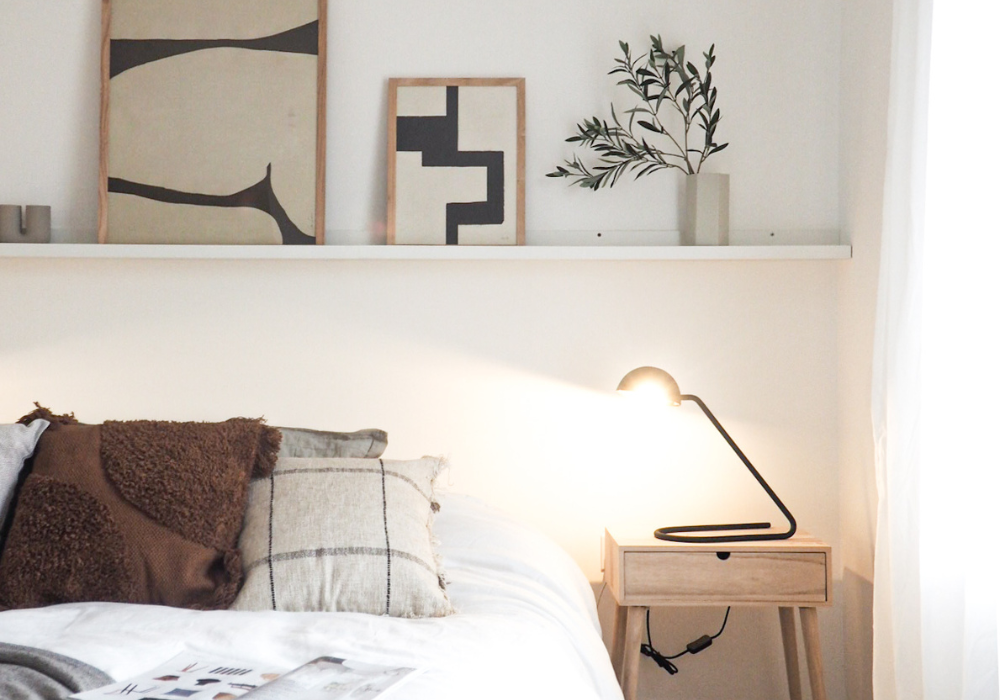
Wall Painting Ideas
As you contemplate changing up your living space, there’s a lot to consider.
You might be ready for a full room makeover with a whole new colour scheme, or you just to gently dip your toe into the world of colour. Luckily, making a huge impact with a tiny amount of effort and a small investment is easy with paint.
With a strategic splash of colour and some clever painting techniques, you can turn your rooms from tired to timeless.
For those who love colour but who are a little scared to take the plunge, experimenting with colour blocks and shapes, clean cut lines, and one feature wall at a time means you can get a taster for colourful paint schemes without committing to the whole room.
If you’re feeling braver, embracing the trends of painting your ceiling, creating an ombre wall or painting everything in your space one uniform colour will show off your personality, and your style.
Feature walls
There are three main reasons that painting just one wall in a room in a different shade is a good idea.
Firstly, you can play with colour without committing to a whole room. Choosing your favourite colour and COATing one wall is a great place to start experimenting. If you want to change it up, repainting just one wall is quick and easy.
Secondly, you can completely change the whole feel of a room by strategically painting certain walls. If your room feels a little small, or the ceilings feel a little low, you can create a sense of space by painting specific walls to draw focus and balance the dimensions of the room.
Painting the smaller walls of a narrow room a darker colour will make the space feel wider. And, if you want to add a light and airy feel, paint the ceiling and the top quarter of your walls white, or a very pale colour will make your ceilings feel higher.
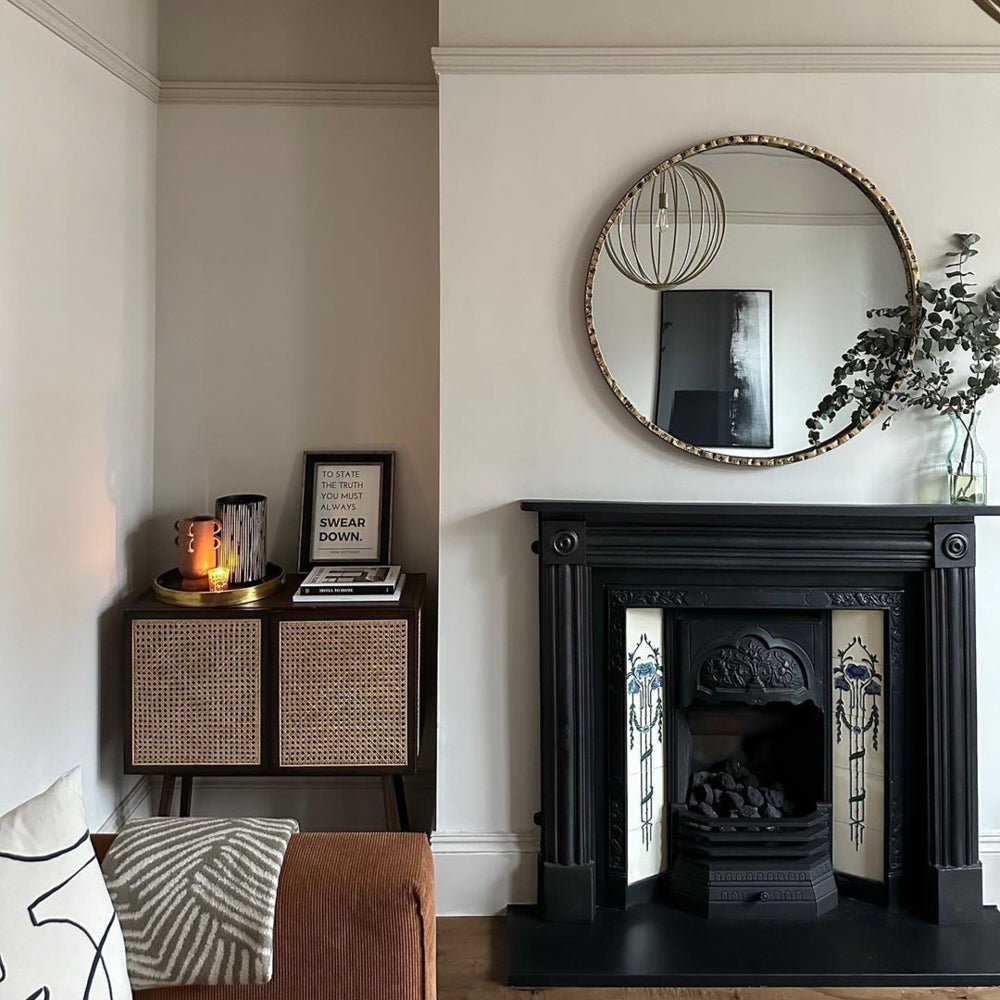
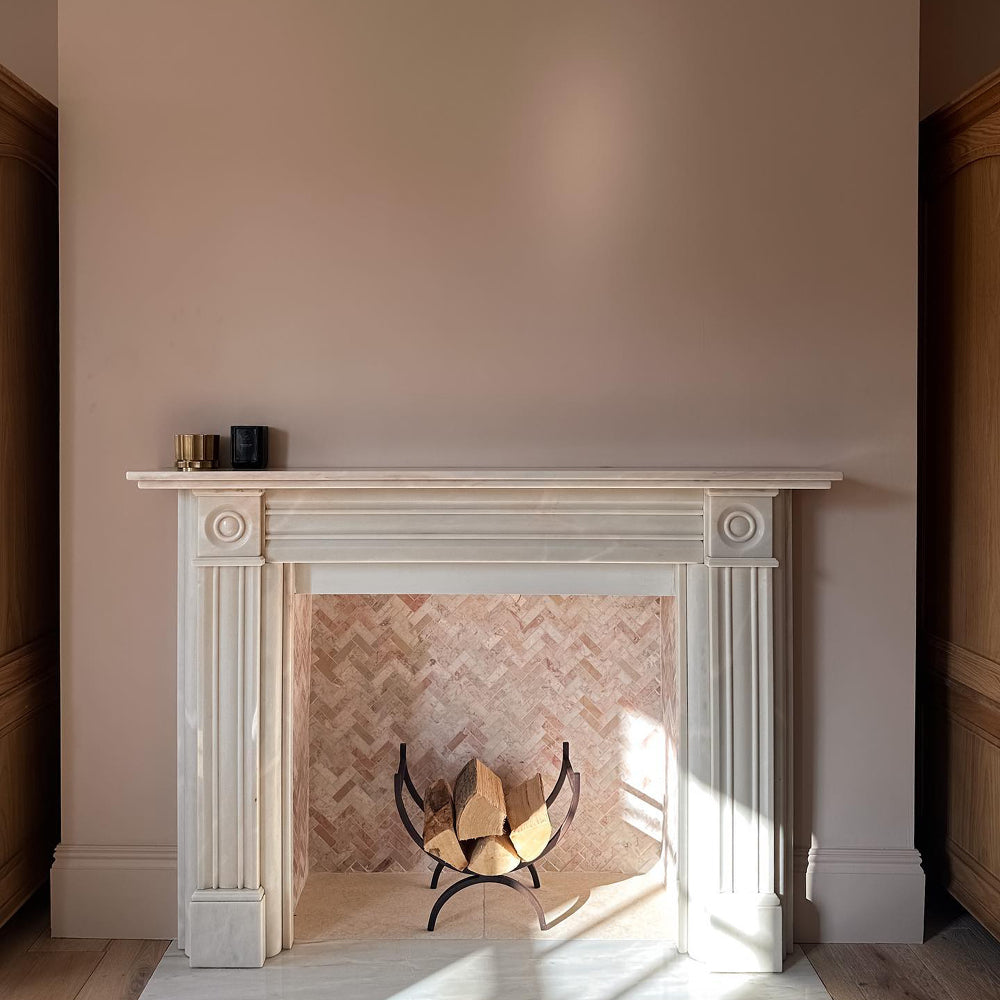
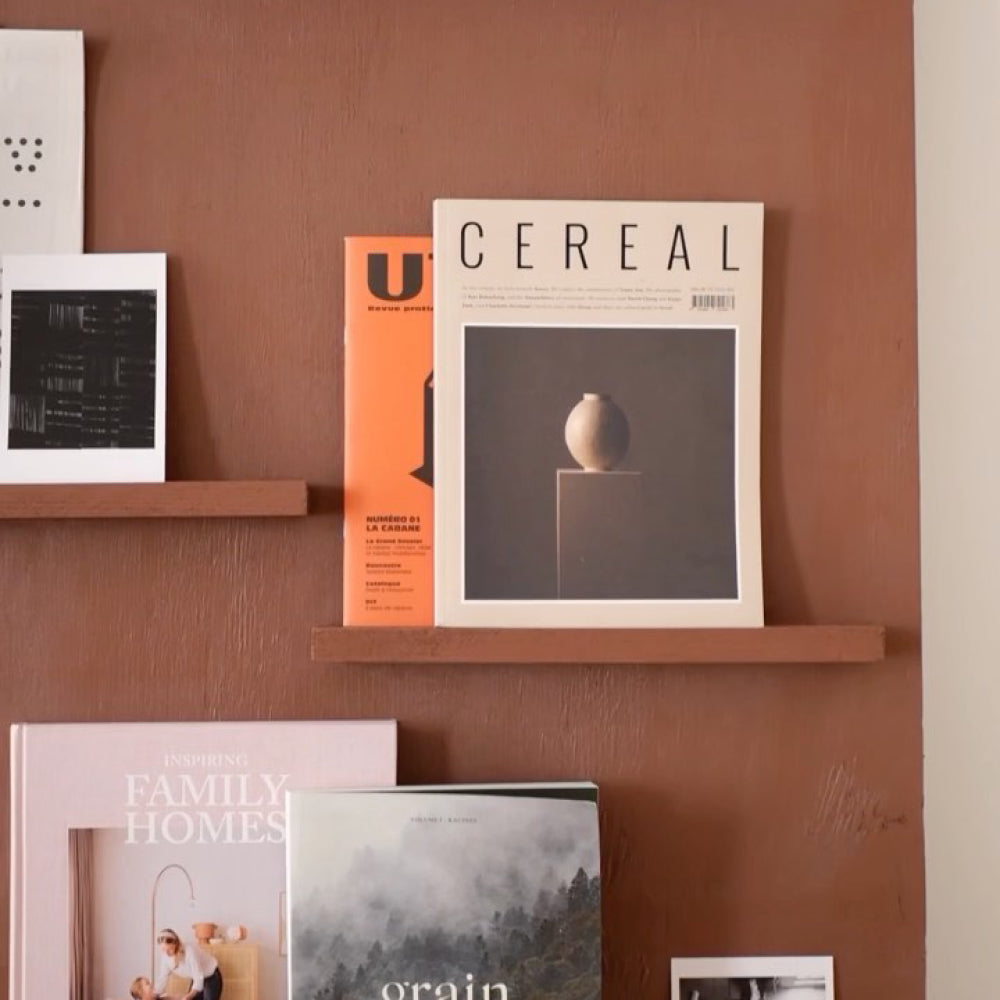
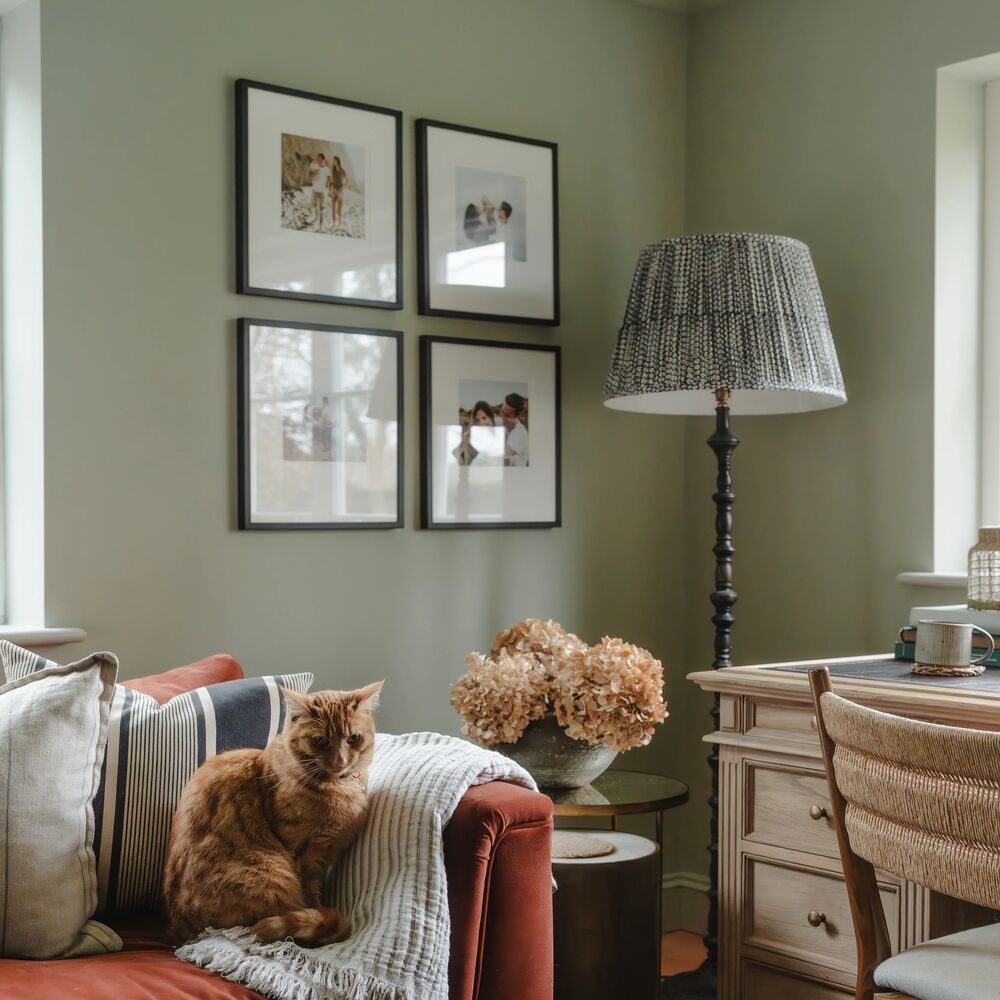
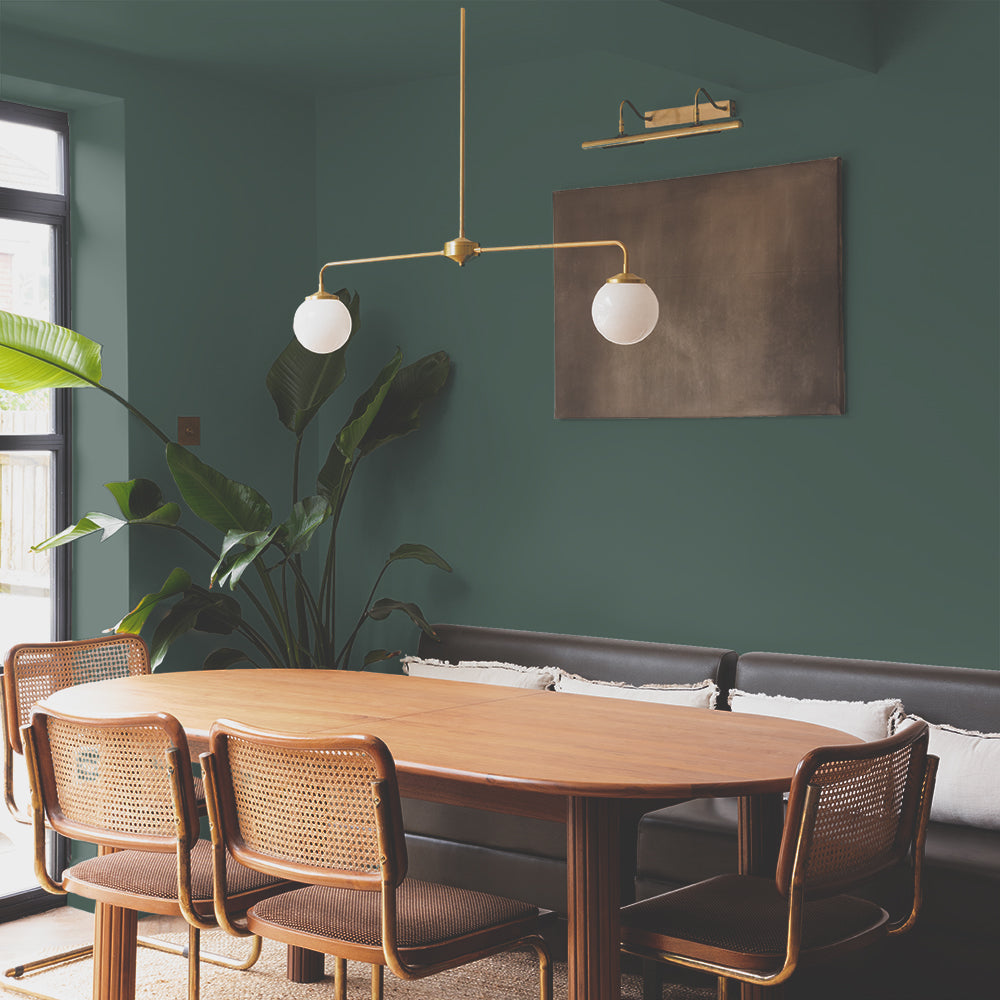
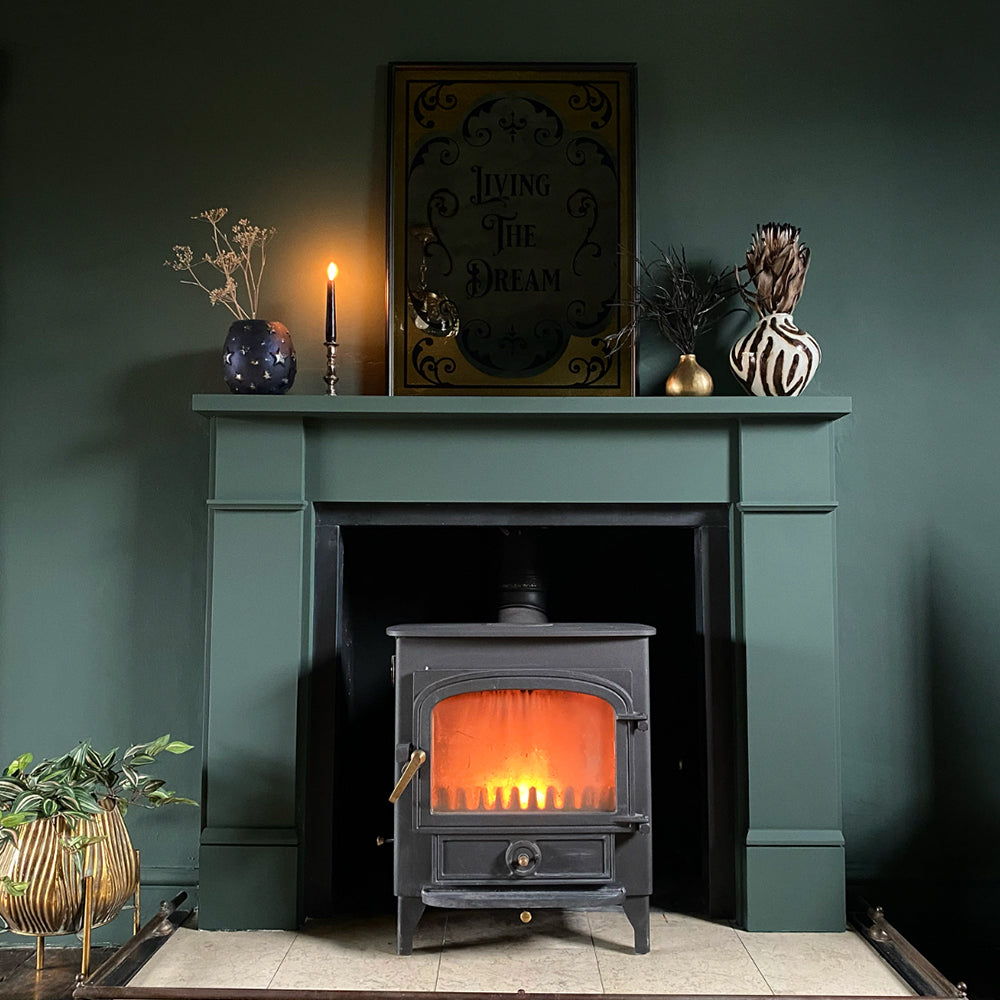
Finally, a feature wall is a great place to highlight artwork, a fireplace or a picture gallery. If you love something in your room, make it stand out even more by framing it with your favourite colour.

Ombre walls
Ombre is a super popular trend on everything from hair styles to cakes. Bringing this trend into your home is a fun project which has a huge impact.
To create an ombre effect you just need to paint a horizontal stripe along the top of a wall. Before it dries, add in some white paint, just enough to alter the tone of the original colour. Paint another horizontal strip, and use a clean brush to blend the two stripes. Repeat the process, adding more white each time, until the bottom of the wall is a very pale version of the colour you started with. The most successful ombres are blended so well that the colour transition is seamless. You’ll need a few paint trays and some good quality rollers and brushes to bring it all together.
Ideally you should create the ombre feature on just one wall. This will make an eye-catching statement, and it’s a pretty easy process. To begin, you just have to make some decisions.
Your first decision is which colour you’d like to go for. You’re open to choose pretty much any colour you like, but it’ll need to be a dark, rich shade. To create the ombre effect, you’ll be adding white as you paint down, or up, the wall, so you can’t start with too pale a colour or the wall will lose the effect.
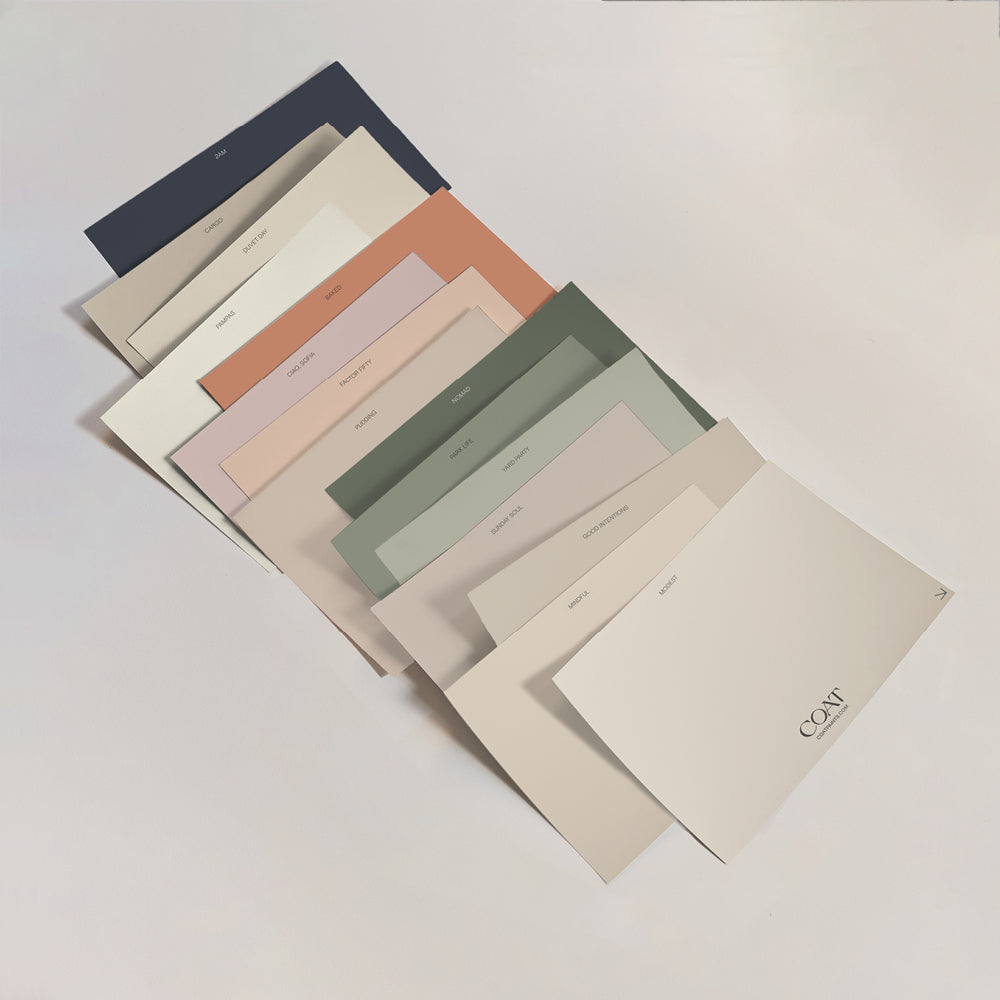
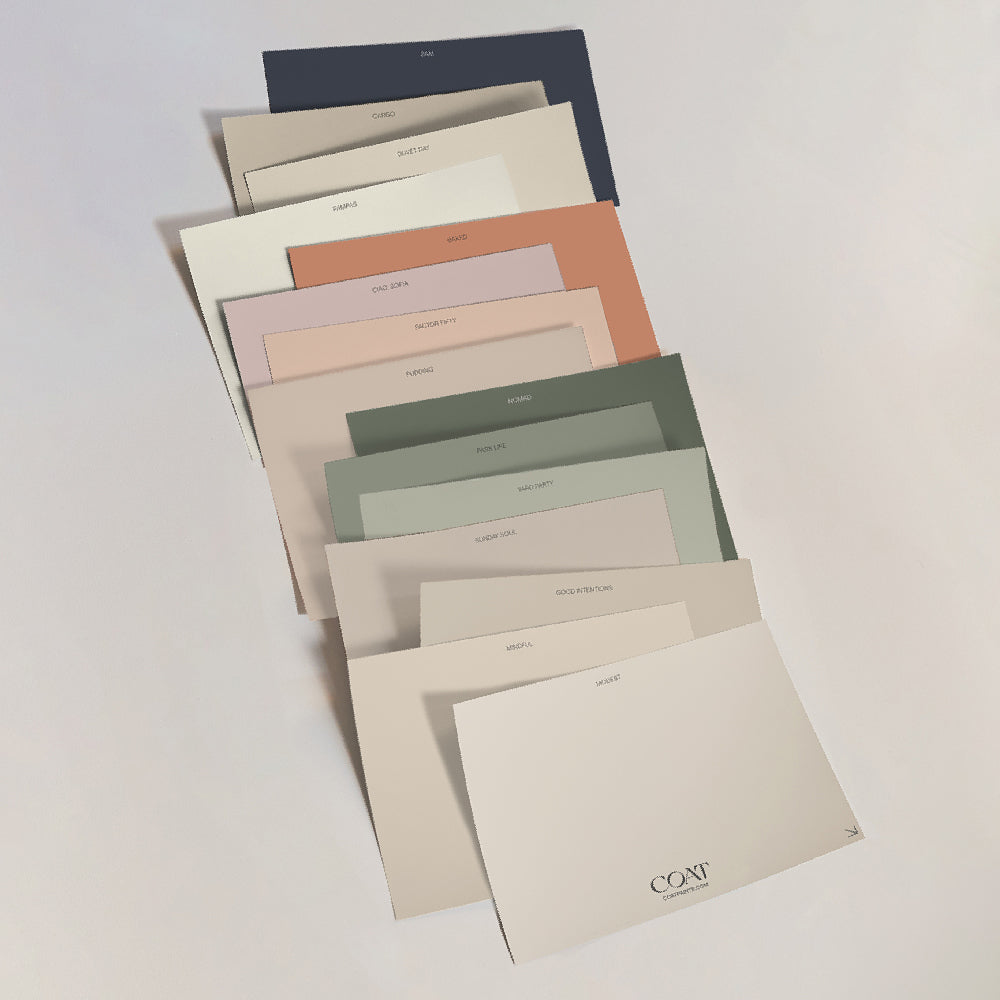
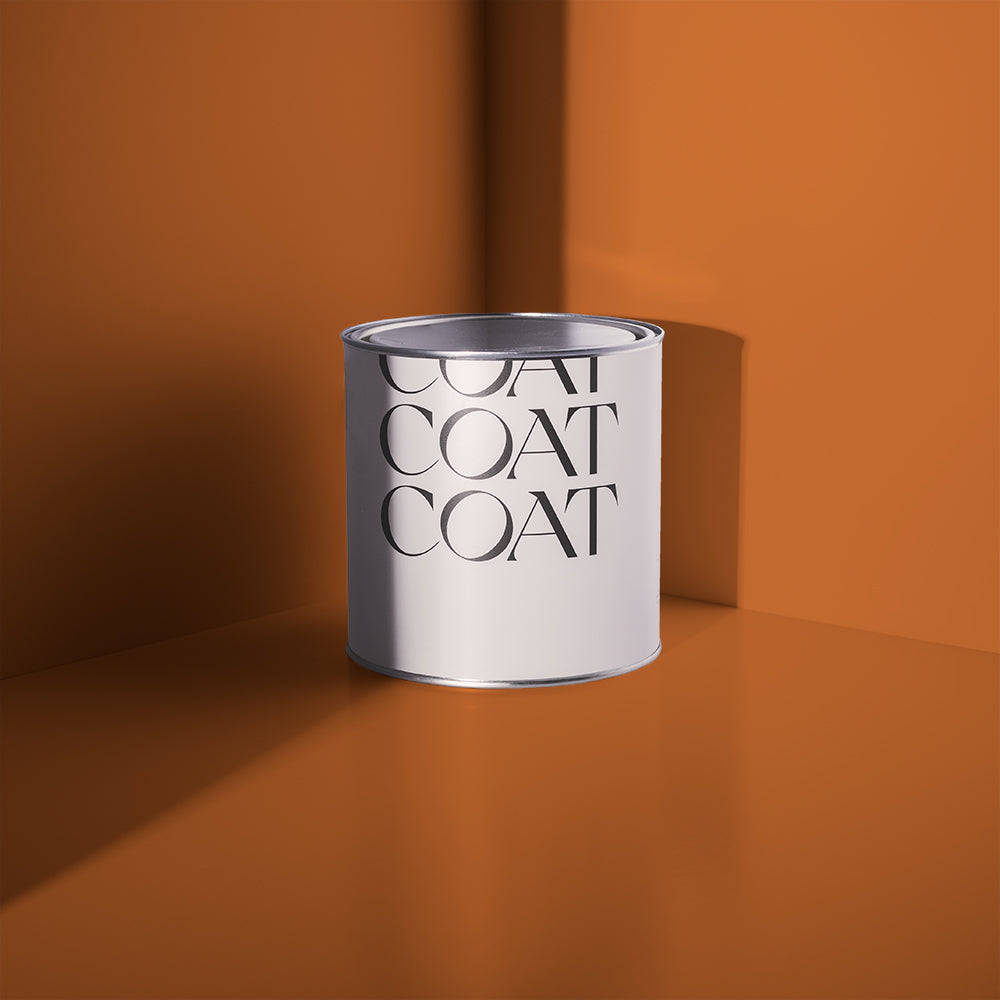
A great colour to start with would be a deep pink like Ciao Sofia, which would fade to a delicate pink. Or, you could go bold with orange My Island, and create some sunset vibes in your room.
The next decision you need to make is which direction you want the gradient of colour to go. You could start with the darkest colour at the top, getting paler towards the bottom of the wall, giving a suggestion of a sunset or a sunrise. Alternatively, you could start with the dark colour at the bottom fading into the light at the top of the wall.
Having the dark shade at the bottom is likely to be covered by furniture, meaning more of the pale shades will be visible in the room, whereas if you start with the darker colour at the top, it’ll be more dominant in the room.
Quick tip: if you’re blending colours of paint at home you have to make sure you’re mixing the same kinds of paint. For example, you can’t mix an emulsion paint and a Soft Sheen paint. Also, you have to mix the paint extremely well, with lots of stirring. You want to avoid any marbling or unmixed paint which will affect your finish. You’ll need to work quickly to blend the colours on the wall before they dry!
Go dotty
You can create a fun and quirky impact with dots on your walls. Creating your own pattern with your own colour scheme means you can be sure you’ll have a unique room to wow your friends. Painting regular, measured polka dots, evenly spaced on your wall, is a timeless and instantly recognisable pattern. Another option is to go with Dalmatian spots, which are more freeform and irregular.
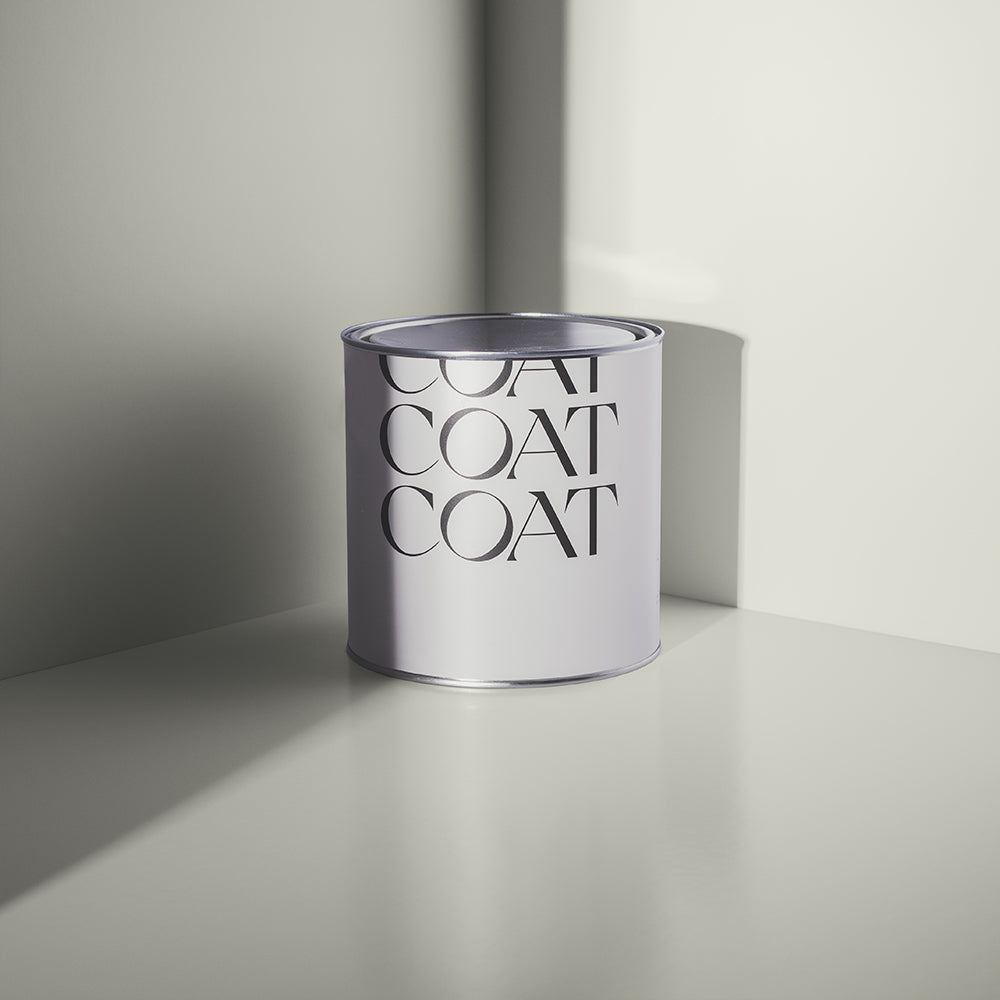
With polka dots, success is in the prep. Measure a grid onto your wall, lightly marking it out in pencil, to keep the dots consistently spaced. When it comes to actually painting the spots, using a stencil will keep the circles regular and even. You can use any base colour and dot colour, although keeping the background pale and the dots darker is more traditional. An off-white like Low Salt, would contrast brilliantly with David Rose for a striking monochrome statement. Alternatively, you could go for contrasting shades, or complementary shades, but either way you’ll be making an impact.
With the Dalmatian dots, they are much more free form. The dots themselves are irregular and they are not evenly spaced. Traditionally, and to make the pattern immediately recognisable, the dots would be black and the wall would be white. If you wanted to mix it up, keeping the background colour neutral means you can experiment with the dot colours.
Clean cut lines
A quick way to add colour and interest to a room is to create lines or stripes on your walls. This can be as simple as dissecting a room with one clean horizontal line, like a more modern dado rail. It works especially well with contrasting colours, or a dark shade and a light shade. For wear and tear reasons, the dark colour should always go on the bottom half of the wall. By using masking tape to section off a few more lines you could create a border around your room.
There are a few other creative ways to incorporate lines, such as creating a line mural. Using a spirit level, a pencil and some masking tape you can create lines which span your walls. Depending on the look you were going for, painting the lines in an ombre colour palette would look great, and so would painting with up to five contrasting colours.
Another creative way to use masking tape for clean cut lines is to mask up geometric patterns on your wall with intersecting lines. Once you’re happy with your spacing and shapes, it’s time to start painting inside the masked lines with a range of complementary colours.
The final technique with clean cut lines is one that absolutely needs a spirit level! If you wanted to make the ceilings look higher and your walls look taller, using vertical lines painted directly onto the wall is a timeless technique. From wide stripes to thinner ones, or even a mix of the two, you can put your own stamp on your space with a totally unique look.
COAT your ceilings
For many years, it was a rule to never paint your ceilings. Ceilings should only ever be white, plain and… let’s be honest… boring. There is a reason for this; it makes the ceilings look higher, reflects the light around the room, and creates a blank background for the walls to stand out against.
It’s becoming an increasingly popular trend to paint ceilings, and they look stunning. It’s super impactful in period properties or homes that have been converted from historic or industrial buildings, where ceilings are usually higher. Having colour on the ceiling offers a great contrast to any ornate cornice or ceiling roses, or any industrial style light fittings or exposed steel joists.
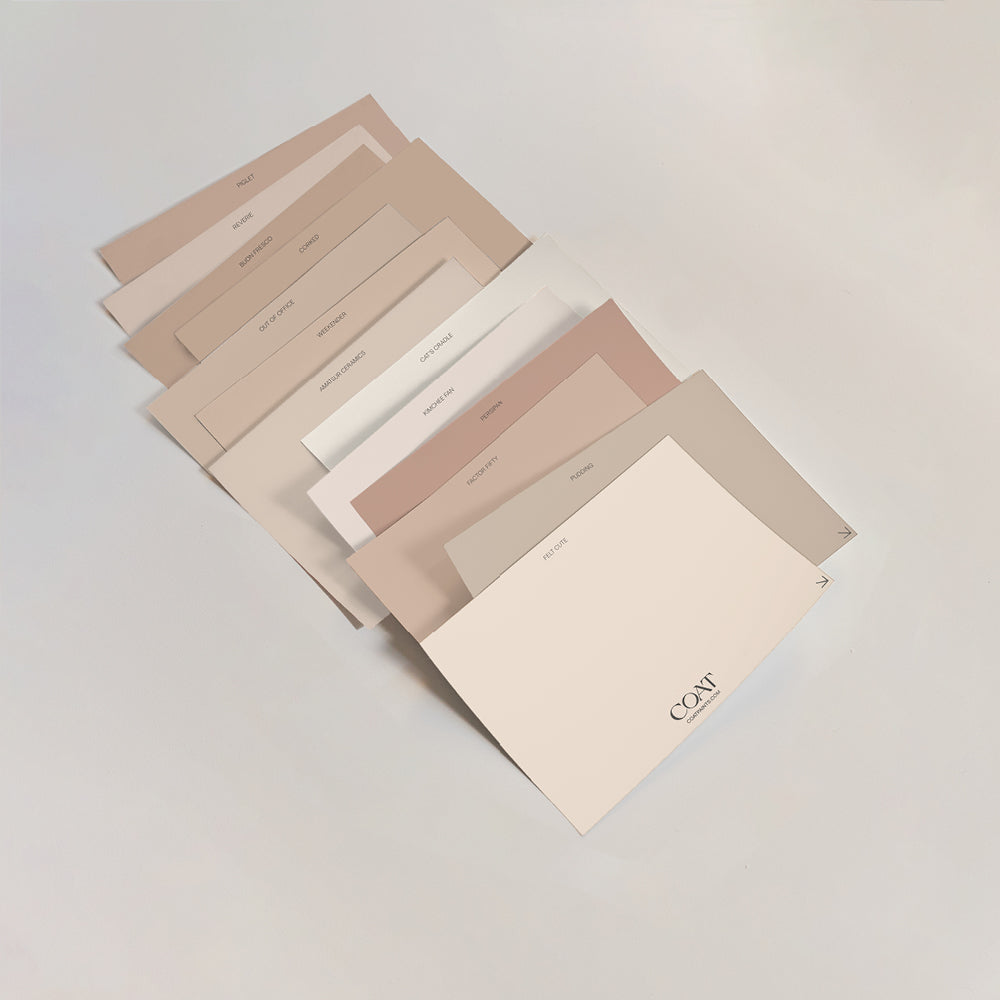
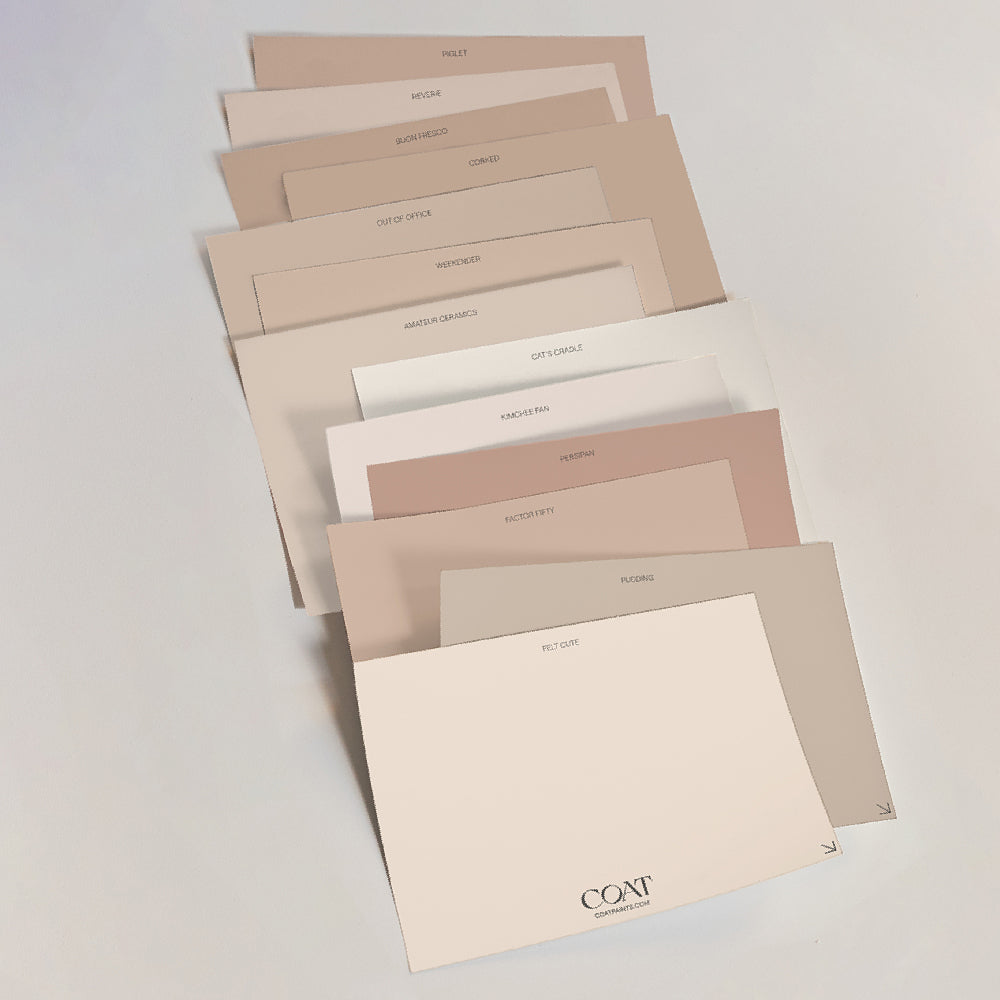
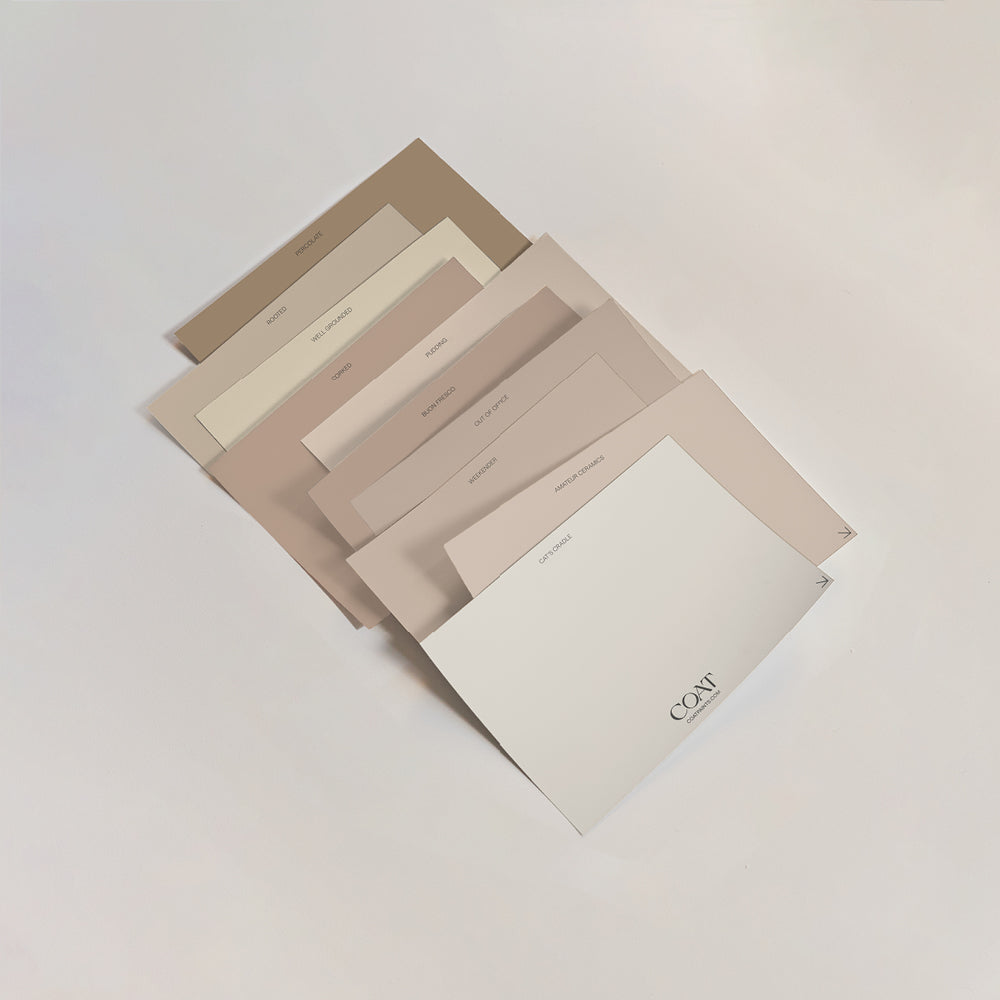
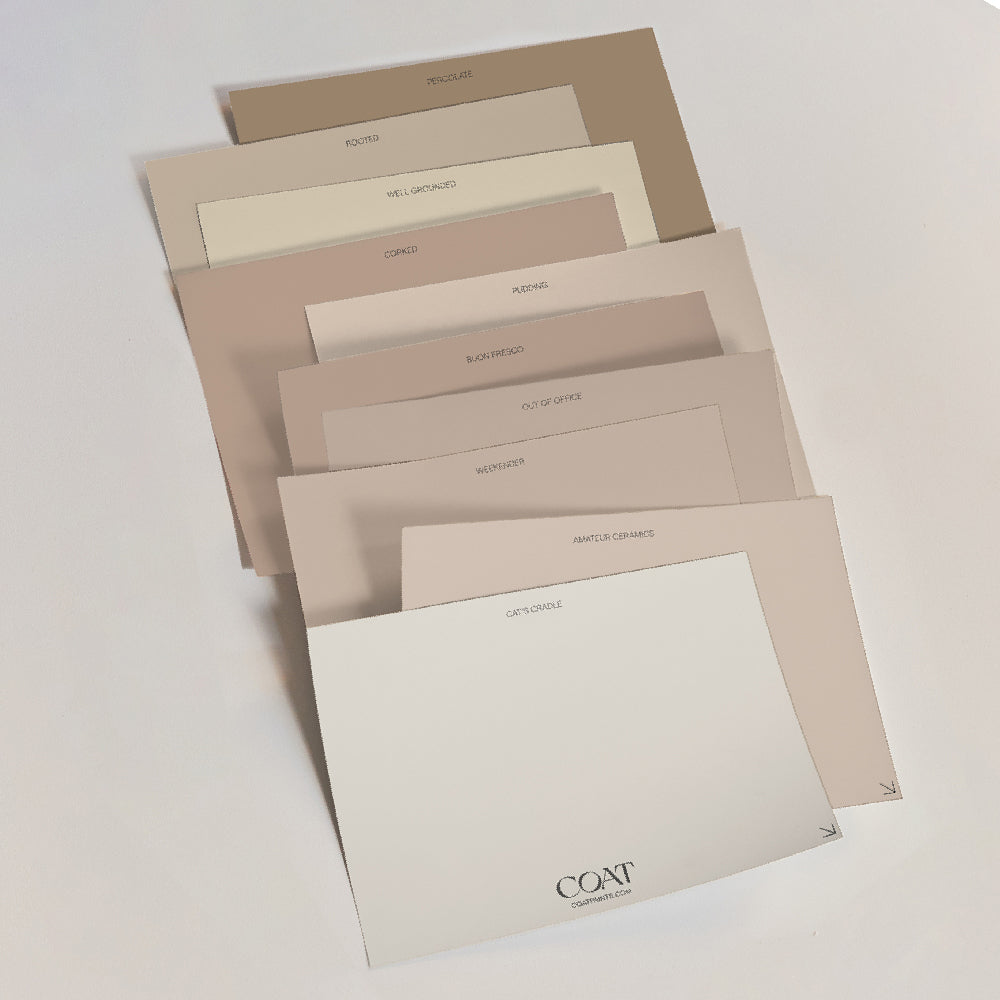
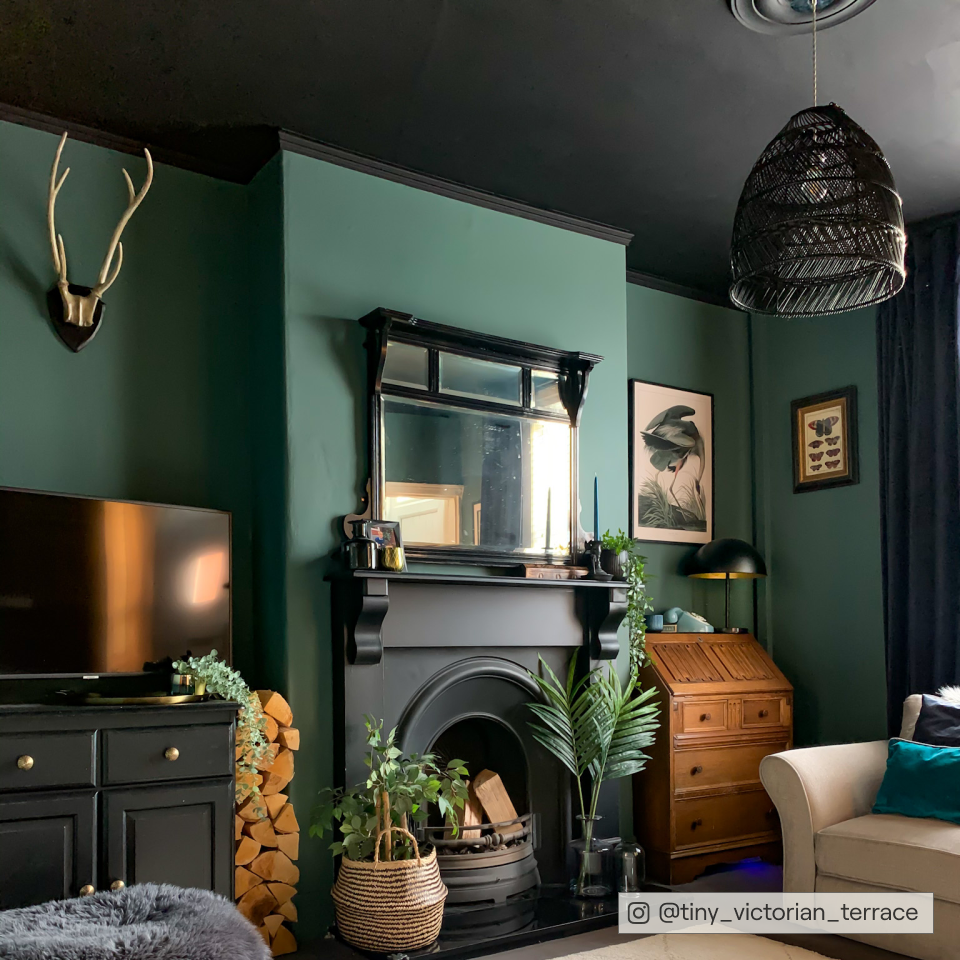
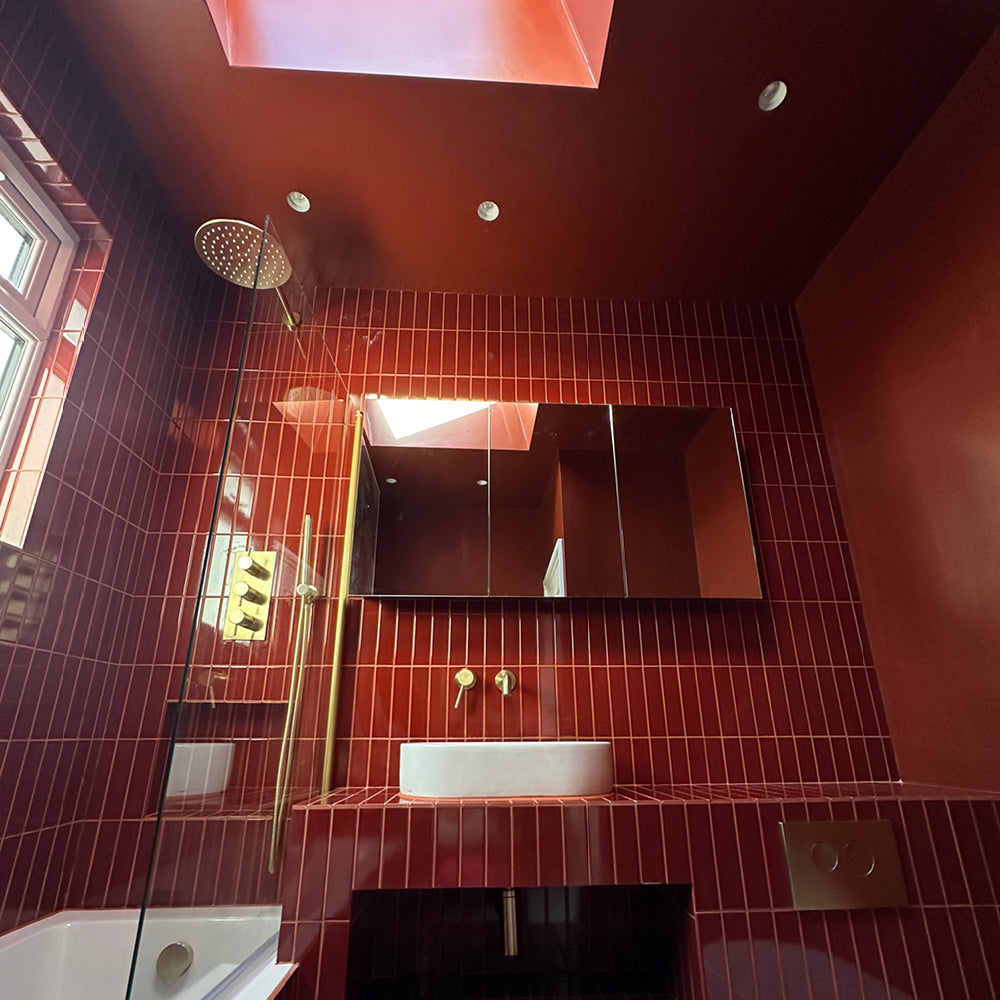
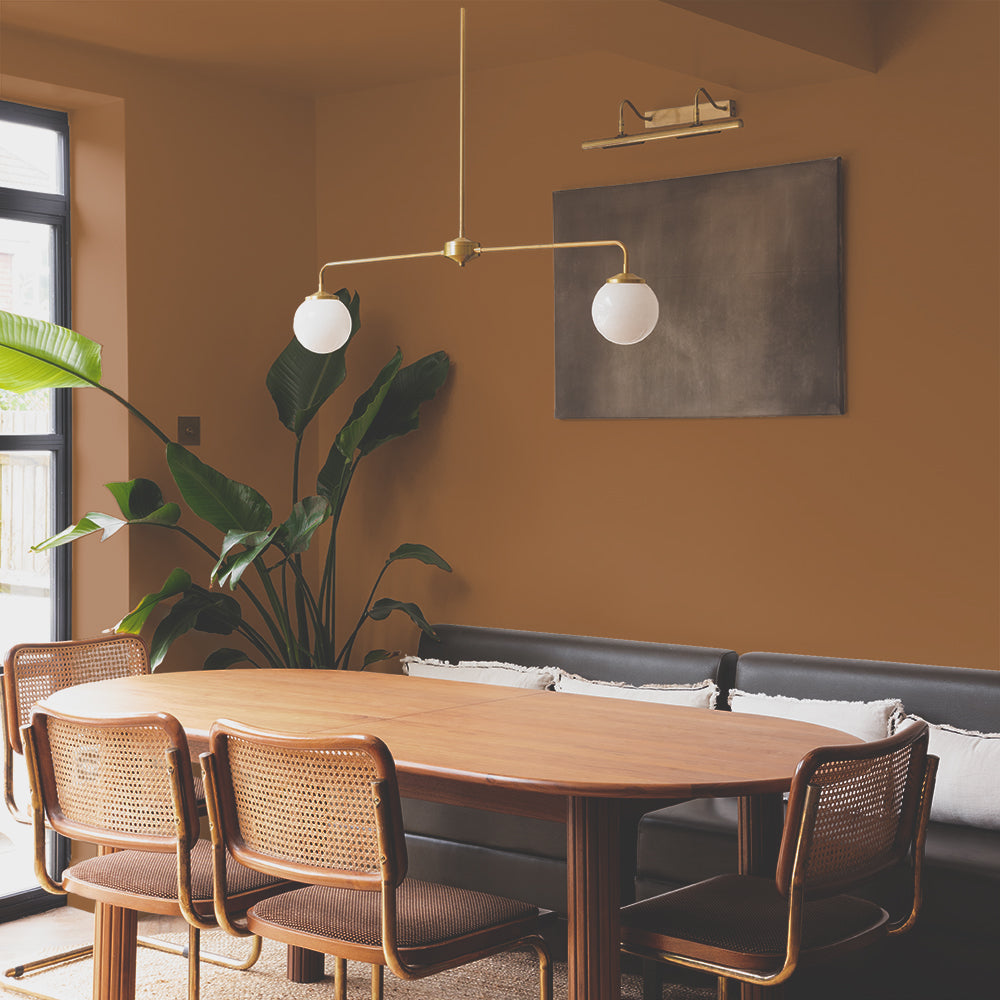
Rich, deep colours like teal Adulting, warm colours like Pudding, and soothing off- white Pampas would all work well.
Painting the ceilings of bedrooms is popular too, regardless of the ceiling height. A bedroom is a more personal space. It’s a room for just you and/or your partner, and so your own tastes can reign free. Having a painted, plain ceiling creates a cosy space, perfect for relaxing and sleeping. If you choose a dark colour, then it’ll make the room even darker at night, which is a great environment for a good nights’ sleep. One downside is that a dark ceiling can make the room feel smaller, so using this technique is a great idea in a room with more windows to let in as much natural light as possible.

Cut some shapes
This is a fun and quirky technique, but one which can create a huge impact in your room. With a little paint and a lot of creativity you can paint a block of colour on one wall to make a focal point, or to highlight some special furniture.
One option is to use a square. Mask up part of a chimney breast, or a rectangle on the wall to outline a cool sideboard, or to frame your sofa. This is a great chance to bring in some contrasting shades, and a personal, hand- drawn element. Paint a square around a picture frame, or a mirror, or around the window. Draw attention to the features of your room that you love. Simply measure, mask up and have fun.
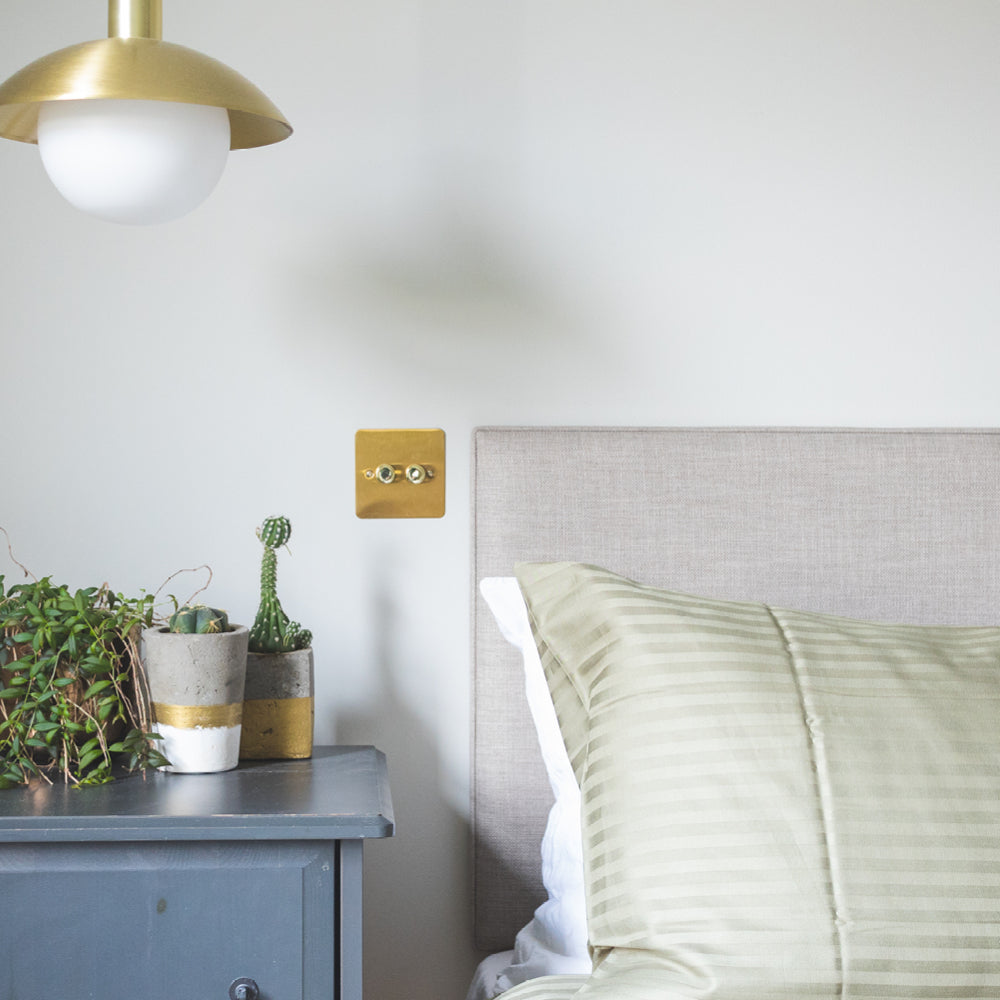
This technique also works in a bedroom, where you can highlight a headboard with a painted semi-circle. Using a string pinned in the centre of your wall, and a pencil at the other end of the string you can draw a perfectly accurate semi-circle. Think about the colours of your bedding, or the current colour of your walls to choose a complementary or contrasting colour.
Painting organic shapes is slightly easier to do and taps into your creativity. Simply use your pencil to draw directly onto the wall in a freeform shape, and paint it any shade you like. Layer up your shapes with no more than five colours, waiting for each colour to dry before adding the next colour.
Create consistency
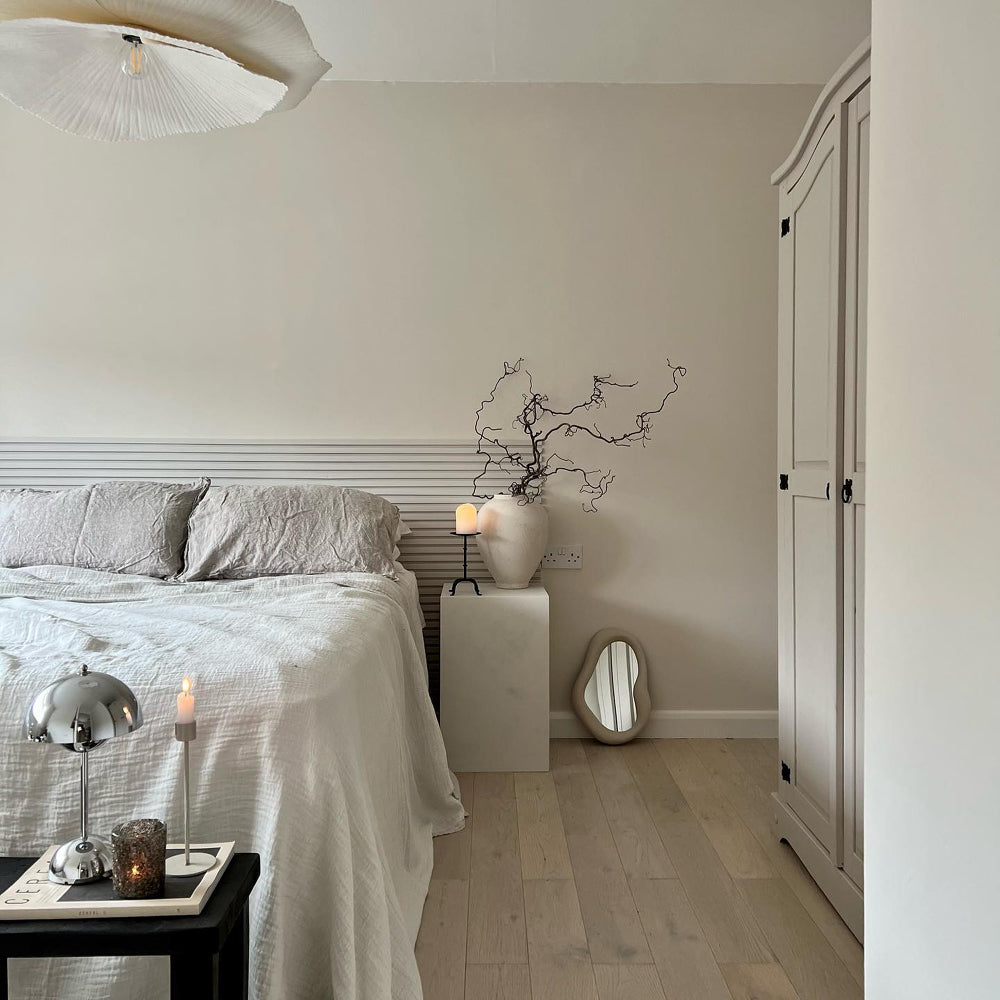
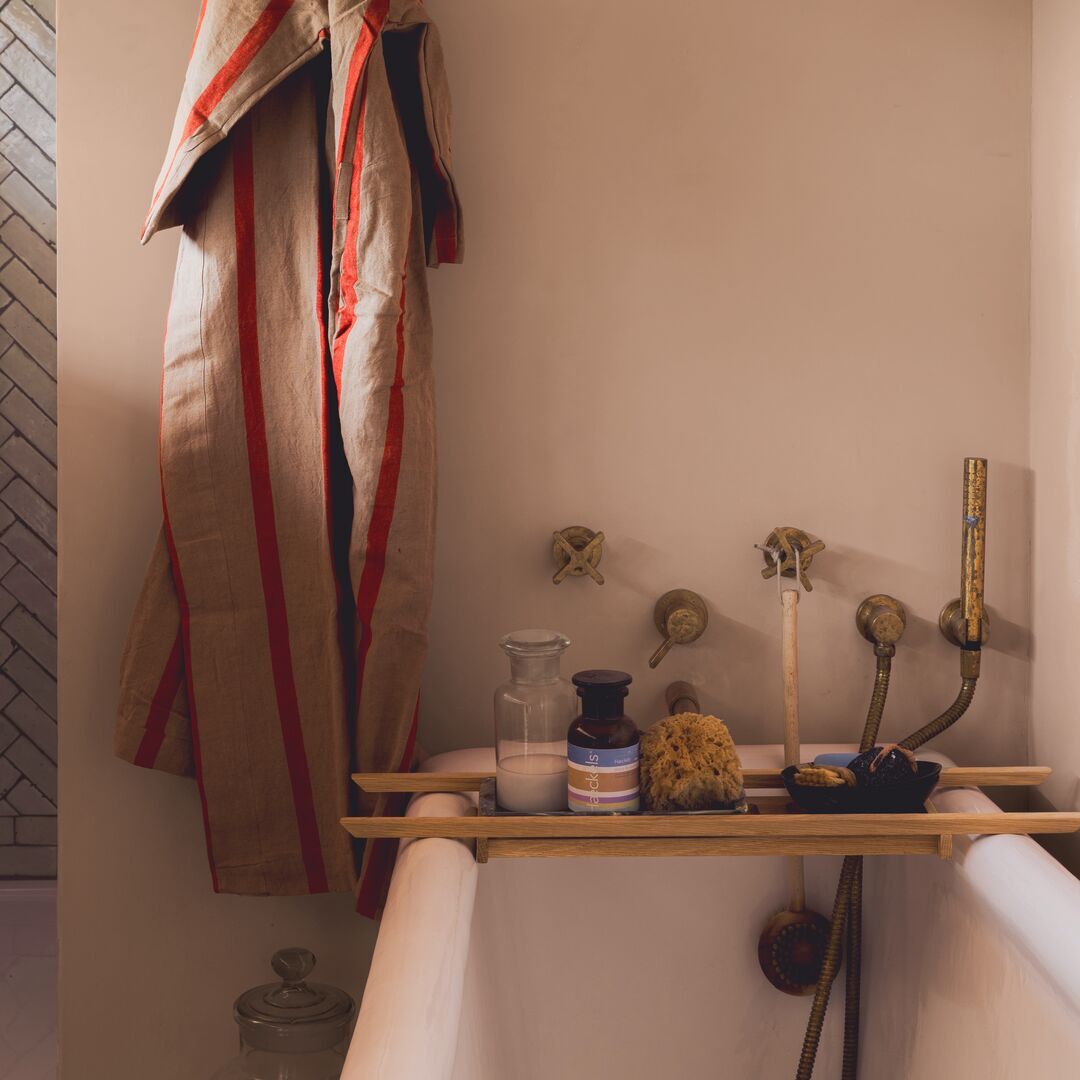
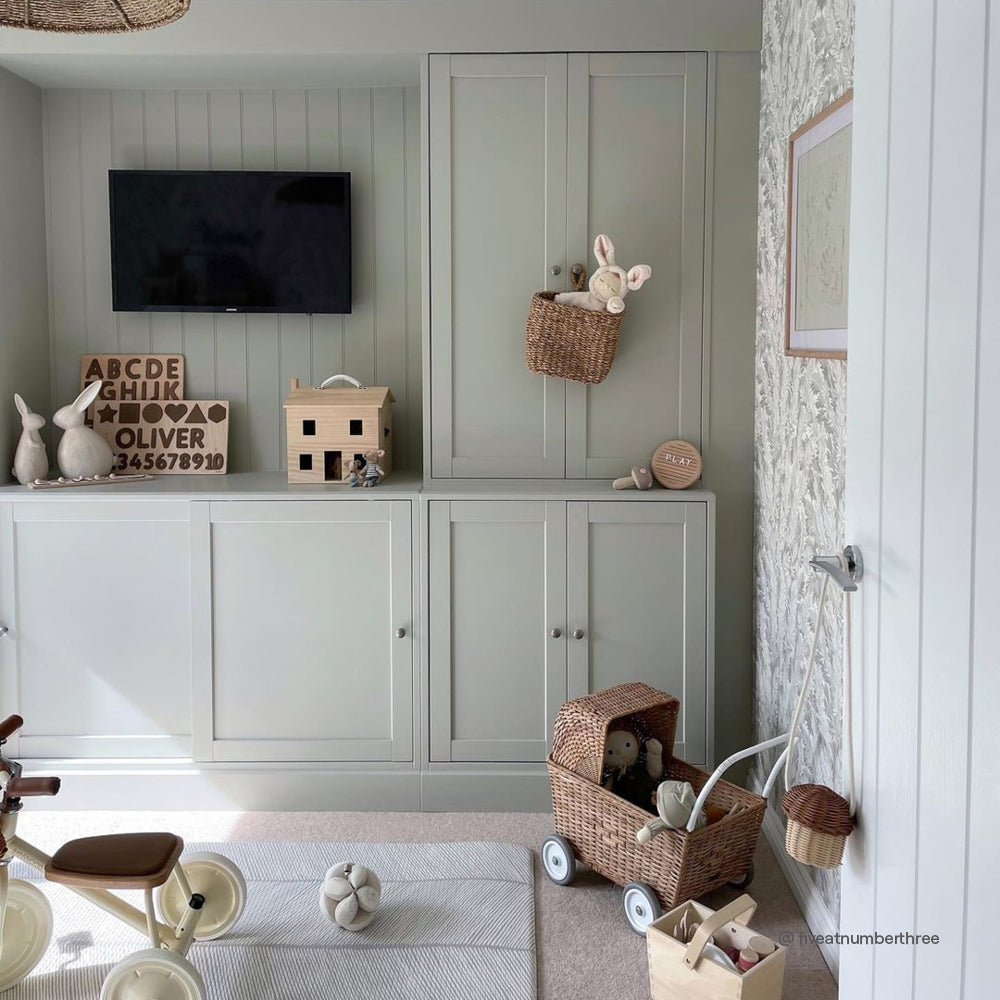
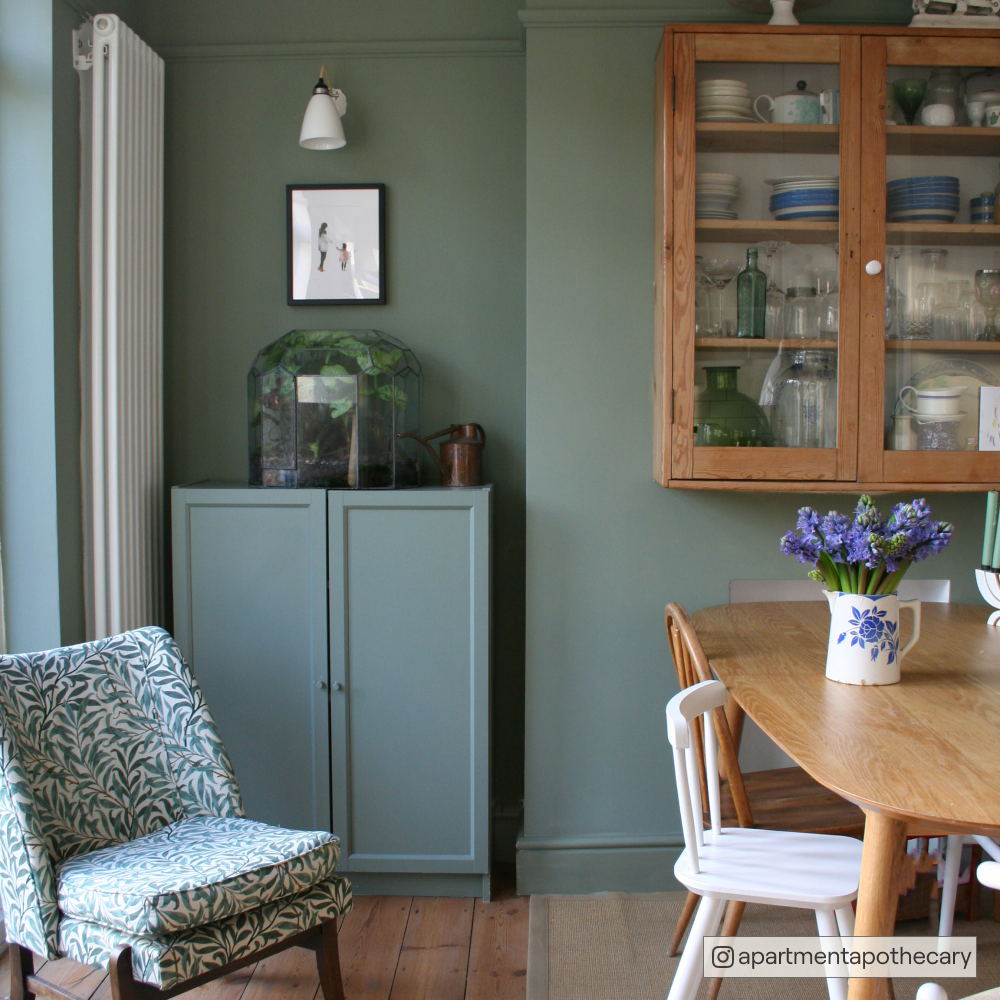
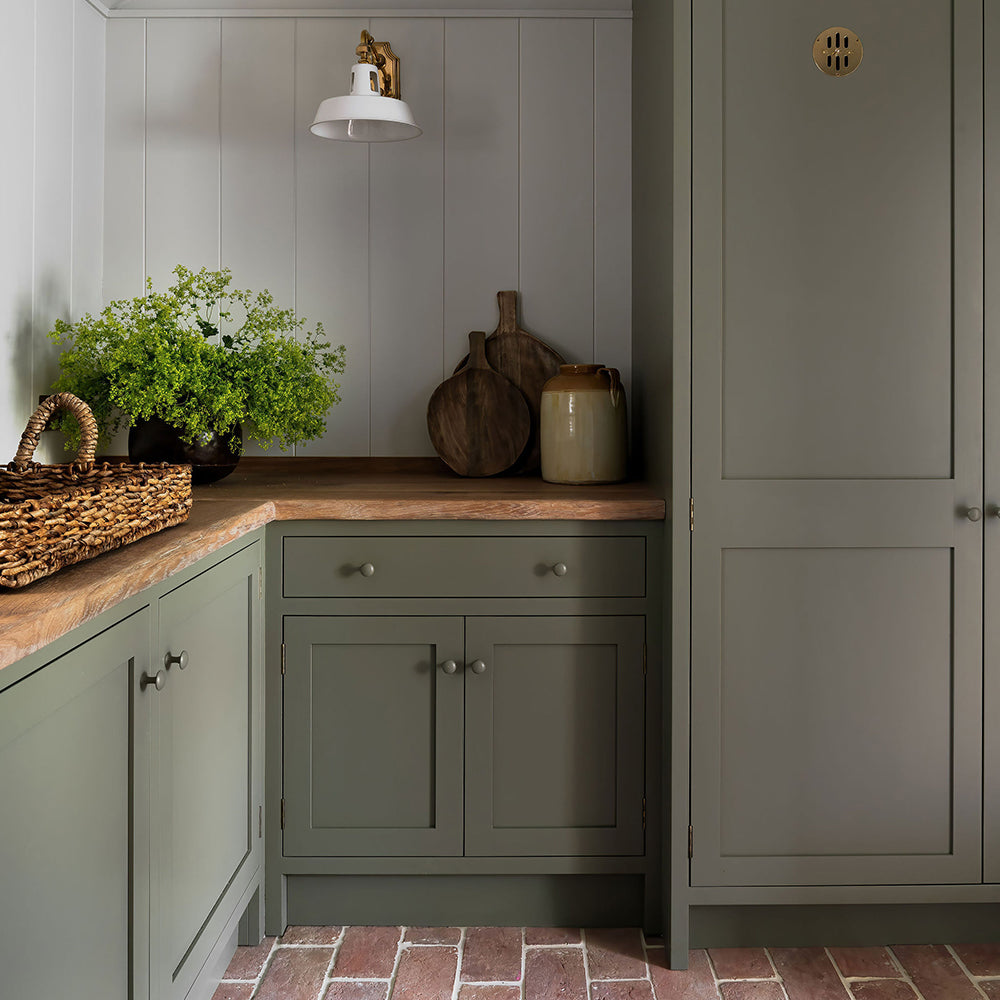
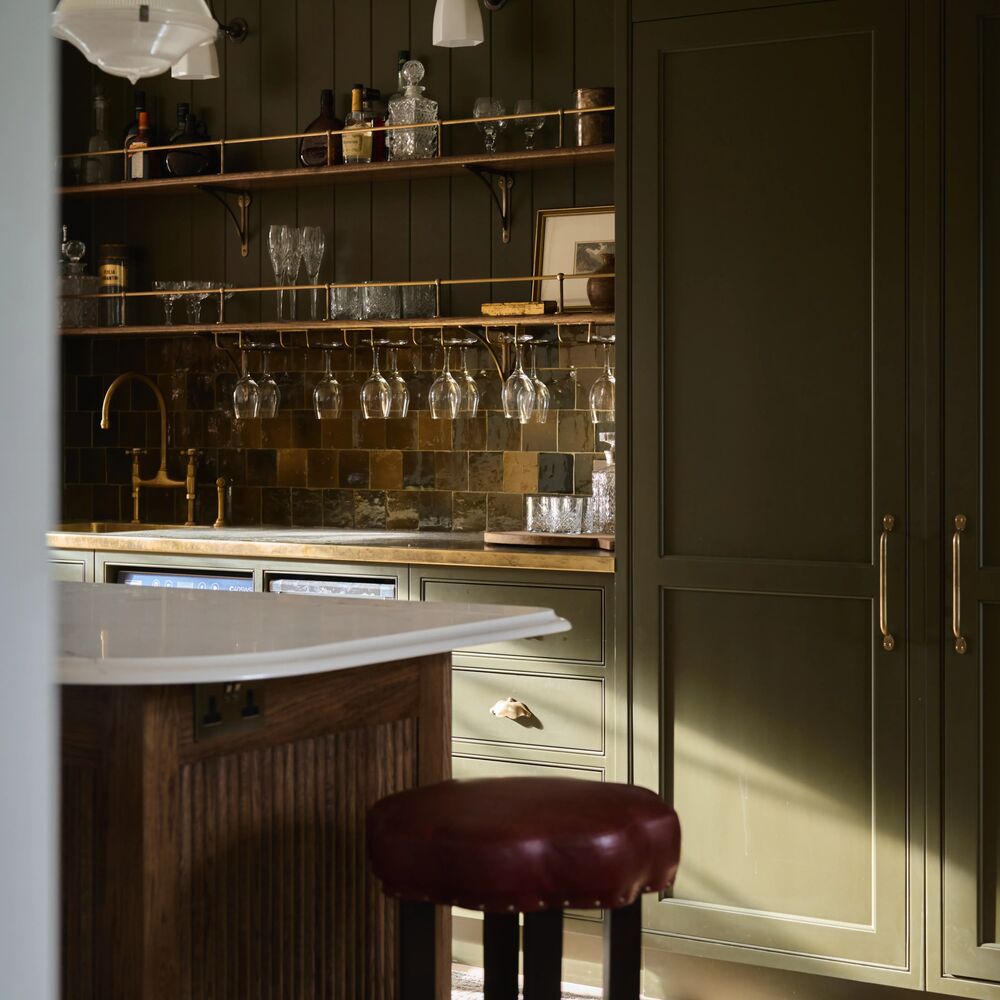
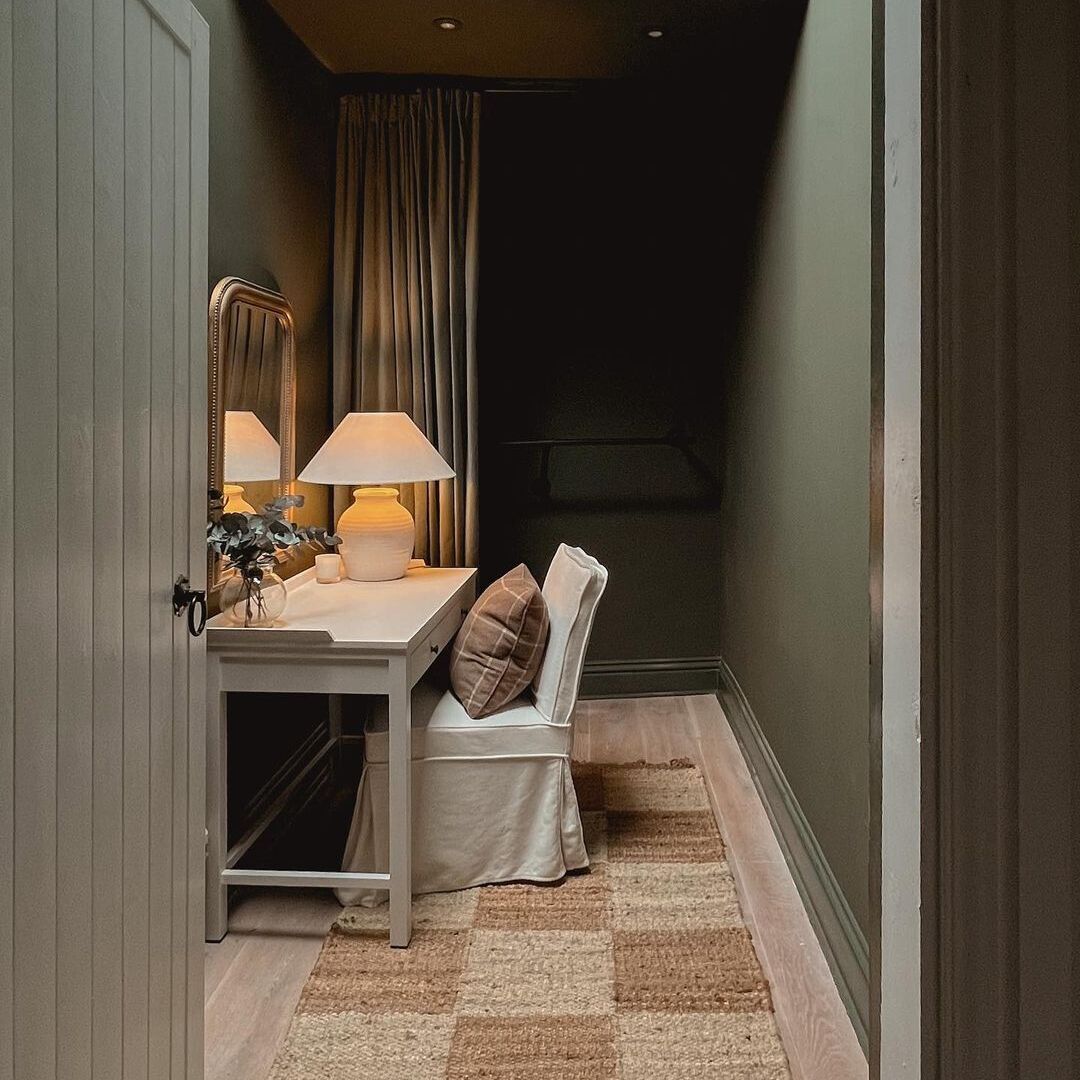
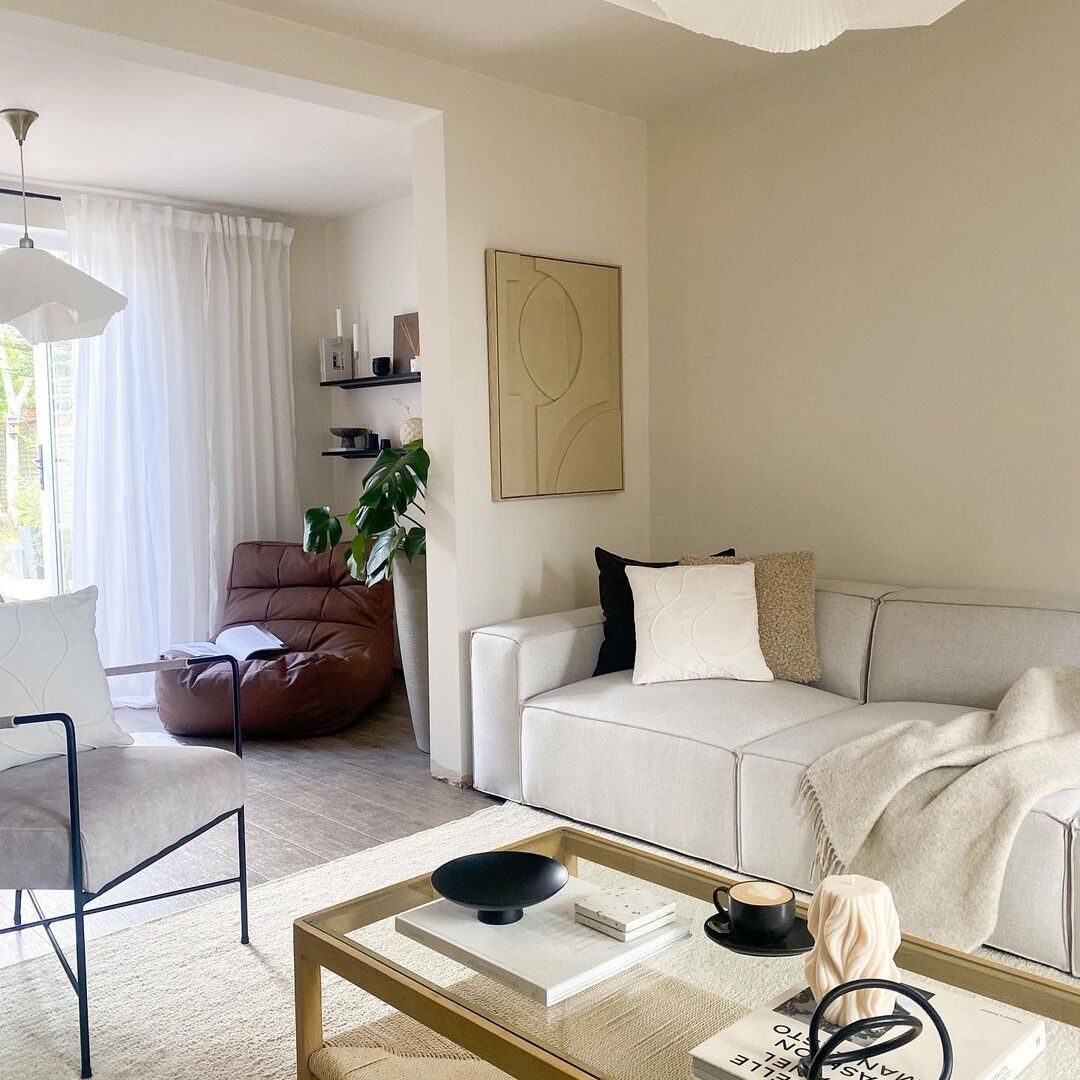
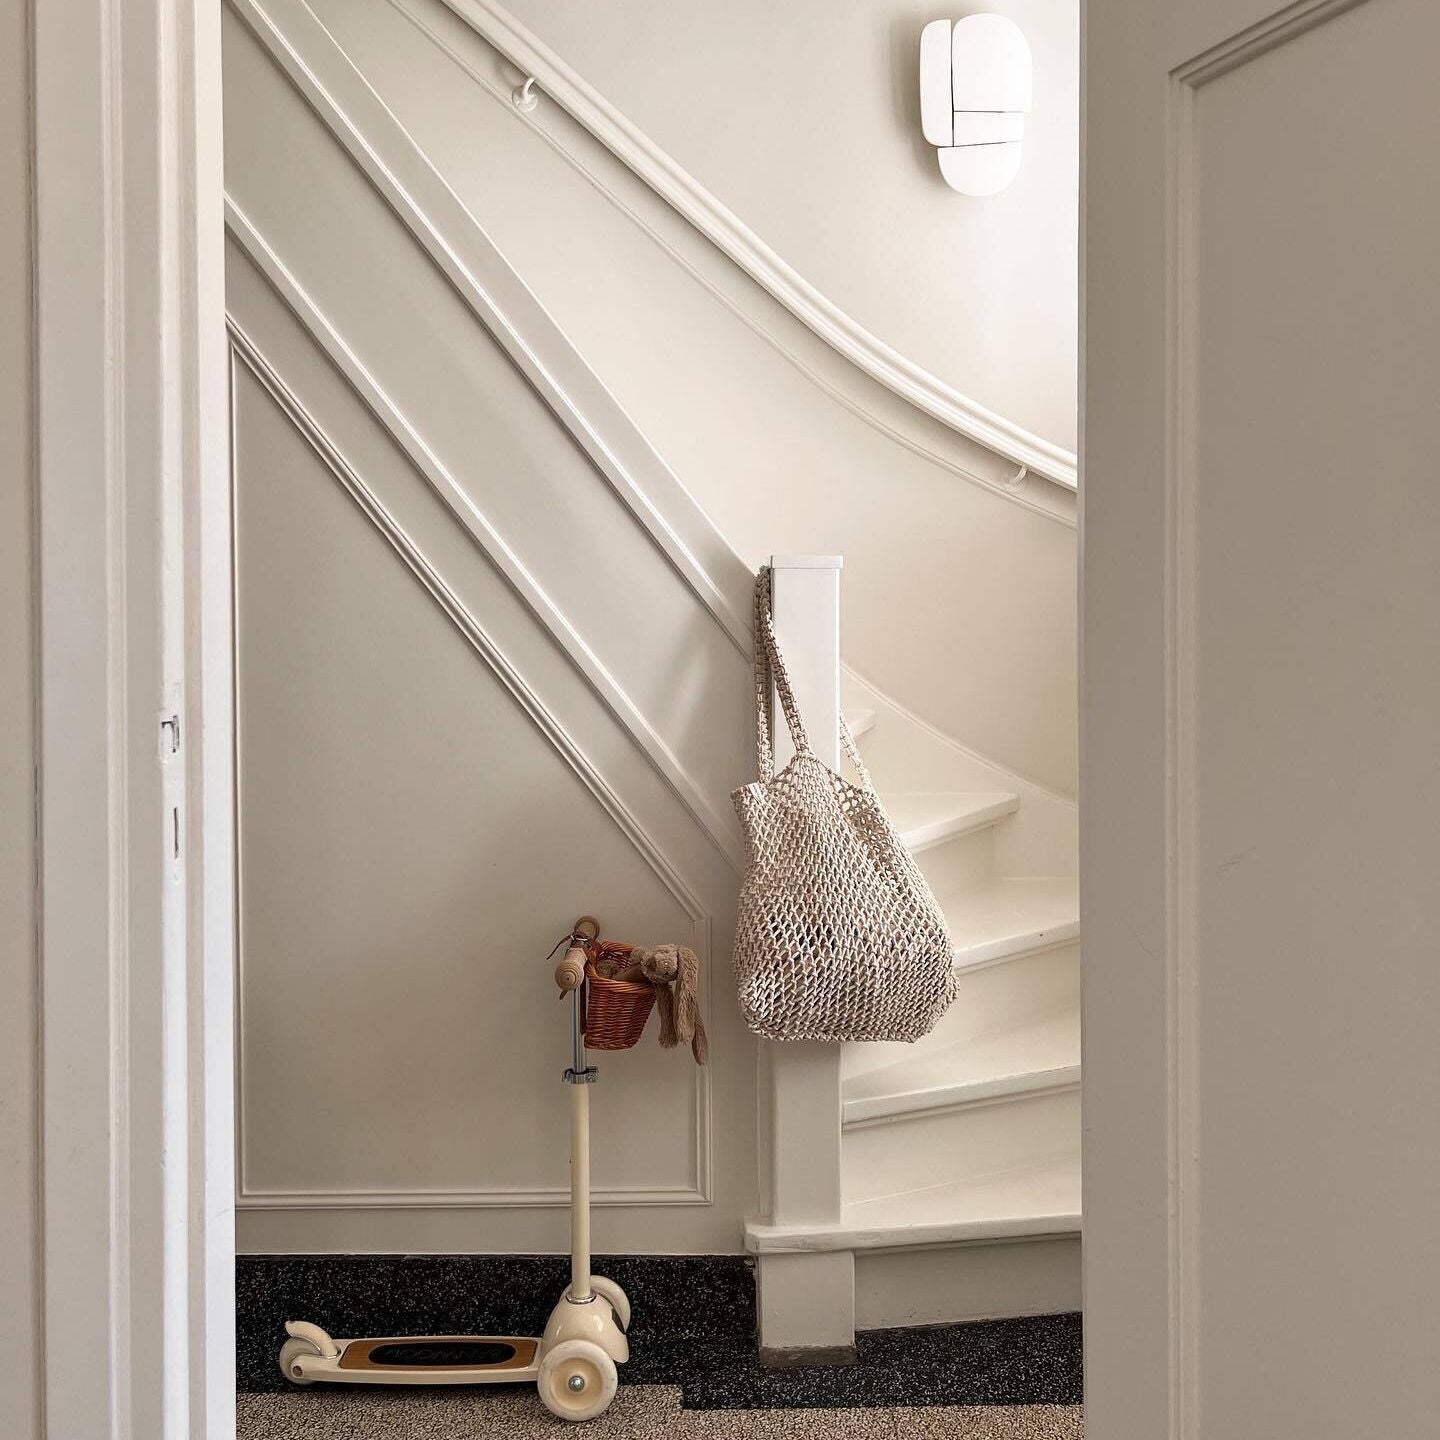
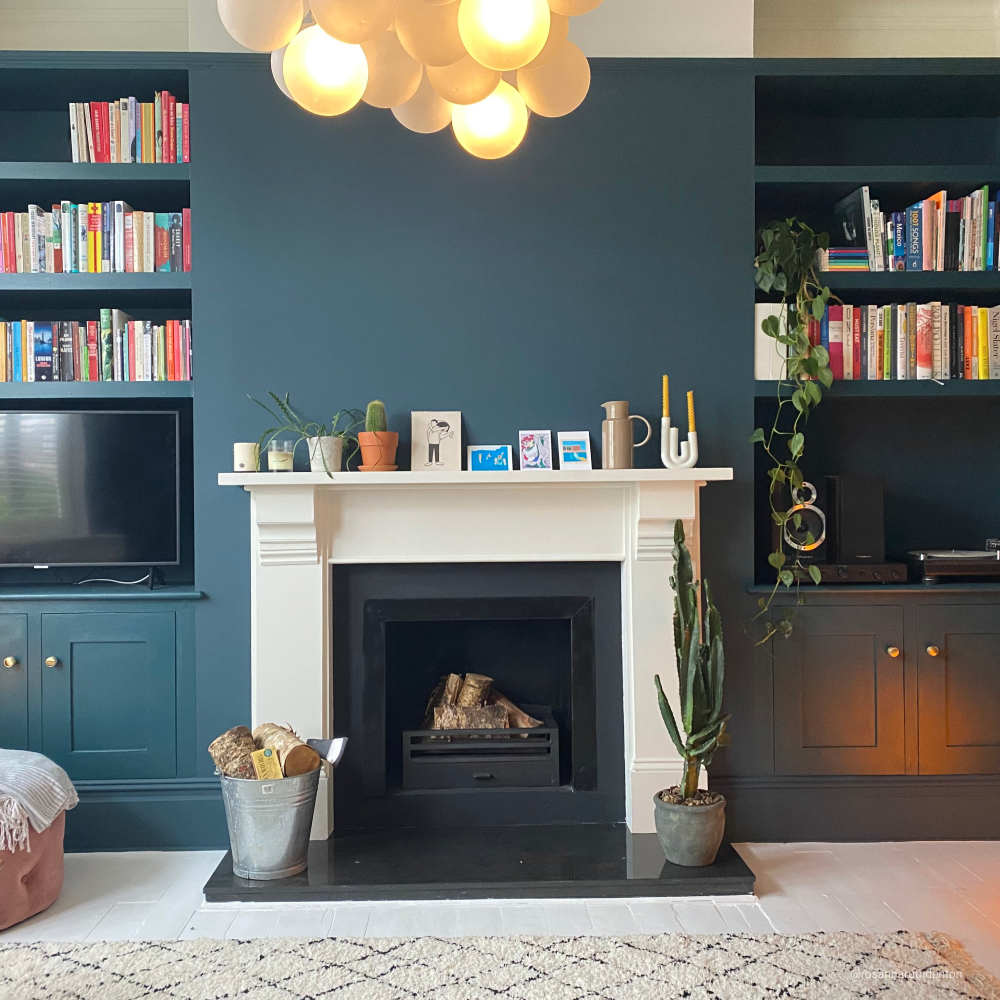
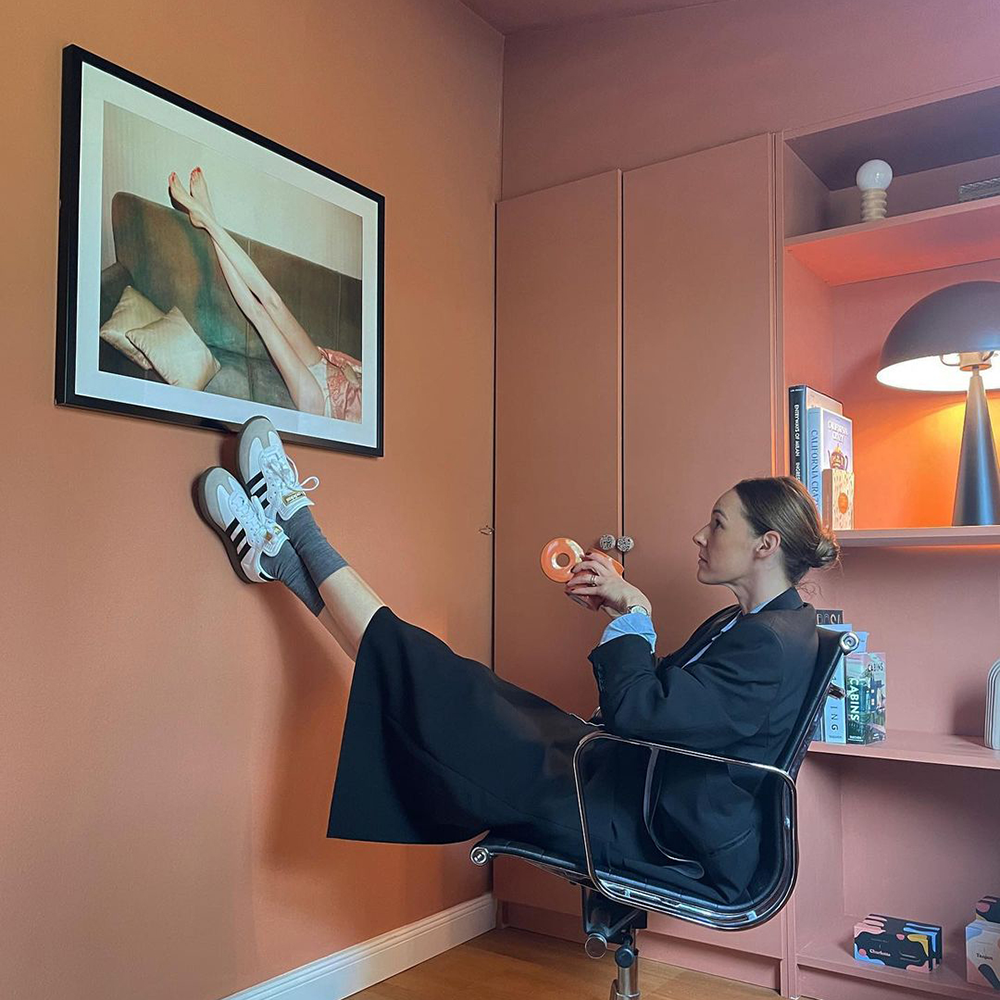
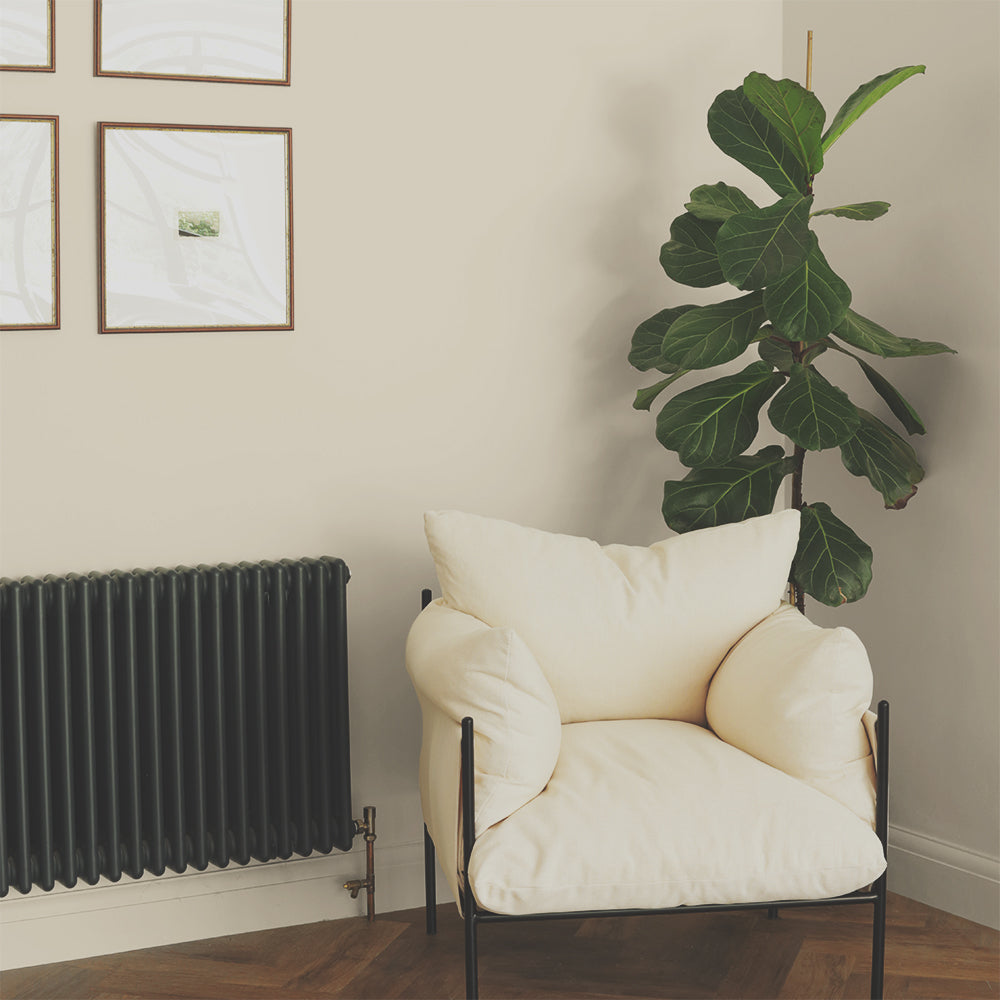
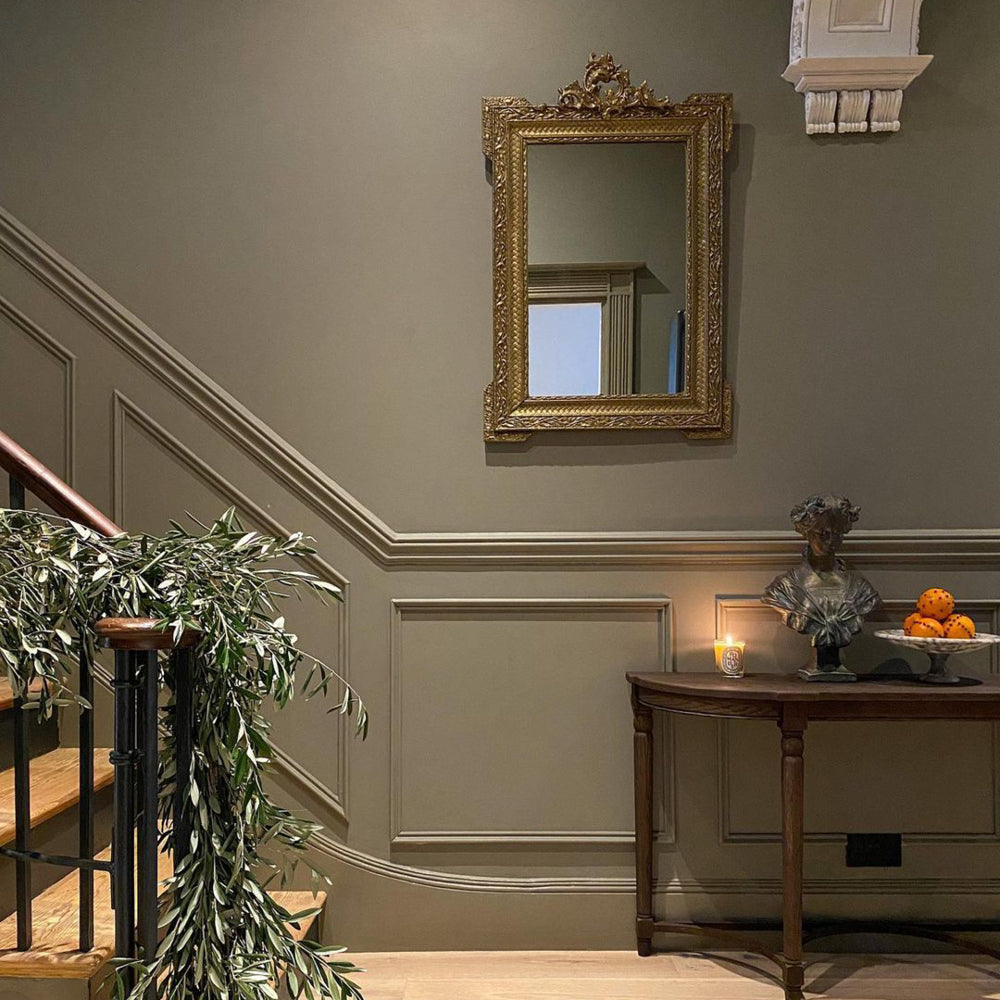
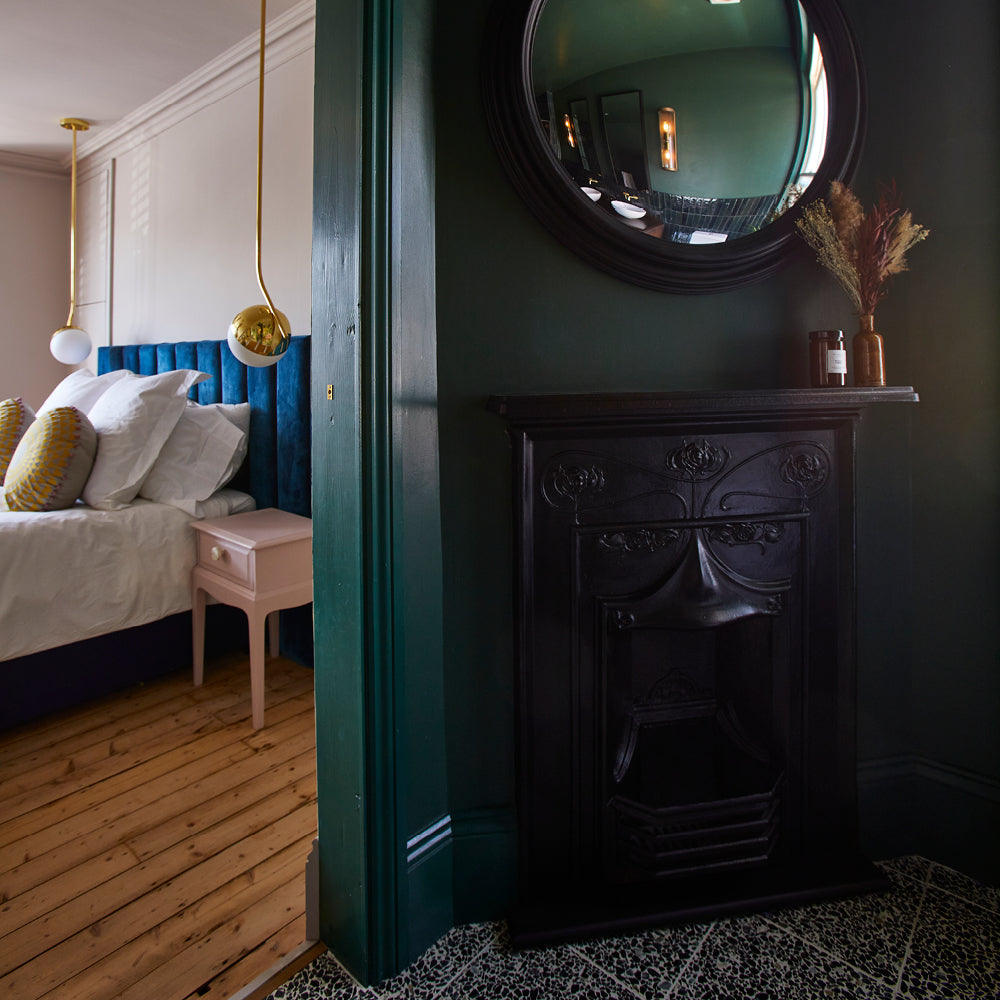
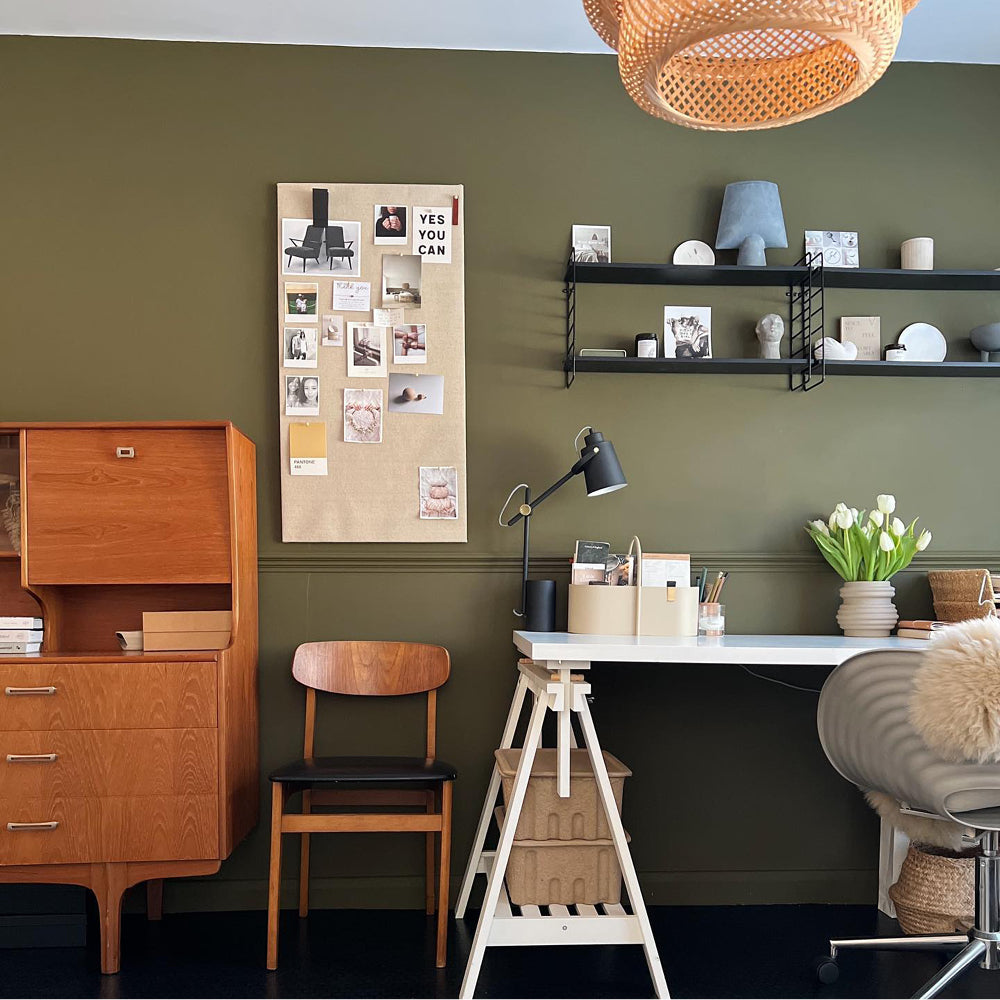
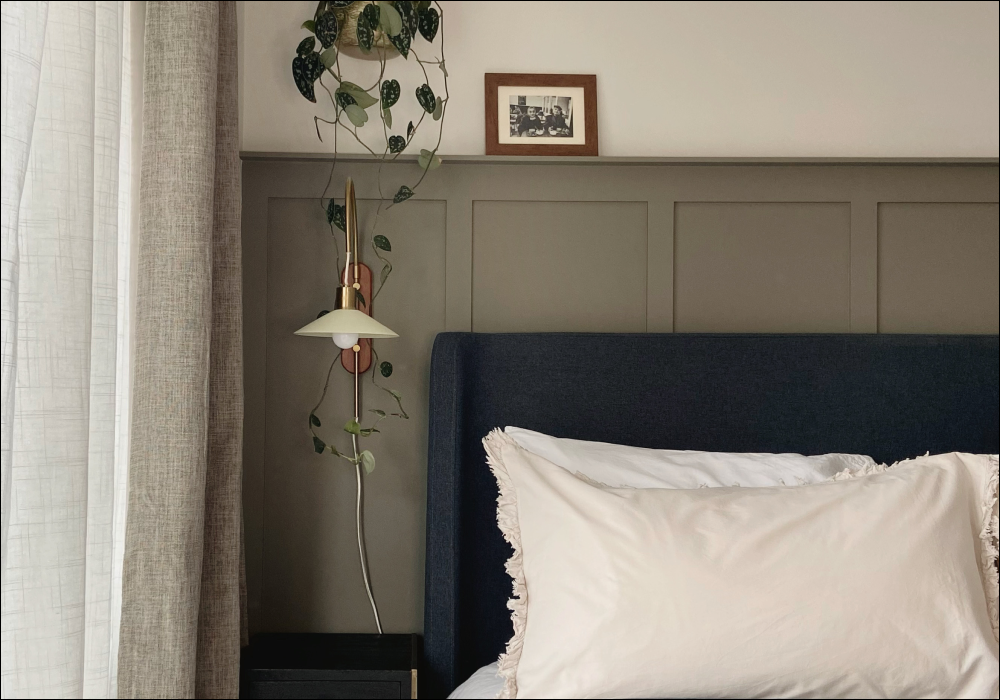
Once you’ve found your favourite paint colour, why not paint everything? Paint your built-in shelves, your skirting board, your radiator, your windowsills, your door and door architrave. Perhaps even small pieces of furniture, such as bedside tables. You’ll create consistency across the room and have the benefit of making your space feel bigger. The edges of your room will just fade away, and the colour will stand out more.
You’ll need to take note of what surface you’re painting. Metal and wood both need an Eggshell, and a primer.
Not only will your room look amazing, but you’ll save tons of time not having to carefully cut in around the edges of your room. You won’t have to paint precisely around the skirting board, or carefully paint around the shelves, or remove the radiator, all the colours will match.
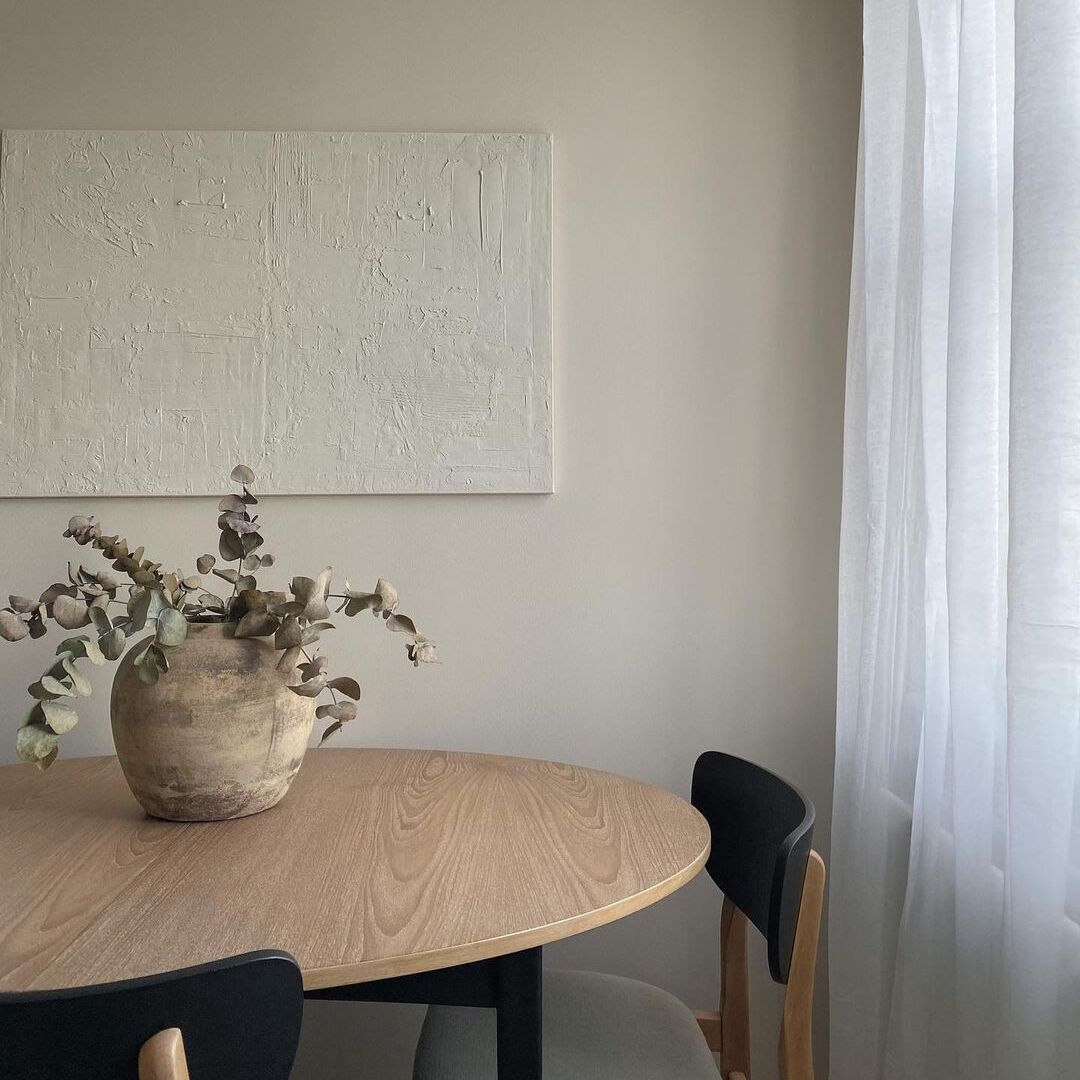
In a large room, you could opt for a moody, deep colour to show off your bold personality, like The Old Corset Factory, Ditch The Tie, or 2AM, or in a smaller space you might like to choose a lighter, paler colour to make the space brighter and airier. A warm neutral like Ambrose, And Breathe or Sunday Soul would be the perfect finishing touch.
Stencils
Using stencils to decorate rooms was extremely popular in the 90s, and is now making a comeback. You’ll want to make sure you use contrasting colours, with paler colours layered onto darker colours, or vice versa.
Creating scalloped edges on walls, making murals with leaves, repeating rainbow patterns, or tessellating geometric shapes are just some of the stencil options you have to personalise your space. Using the stencils in many rooms around your home creates a consistent motif, personal to you.
Stencilling is much easier than sticking up wallpaper and matching a pattern. And, you can use the stencils on furniture, floors and stairs. Using your perfect colour palette means you don’t have to compromise on getting exactly what you want. Your home will have your creative, hand drawn touch.
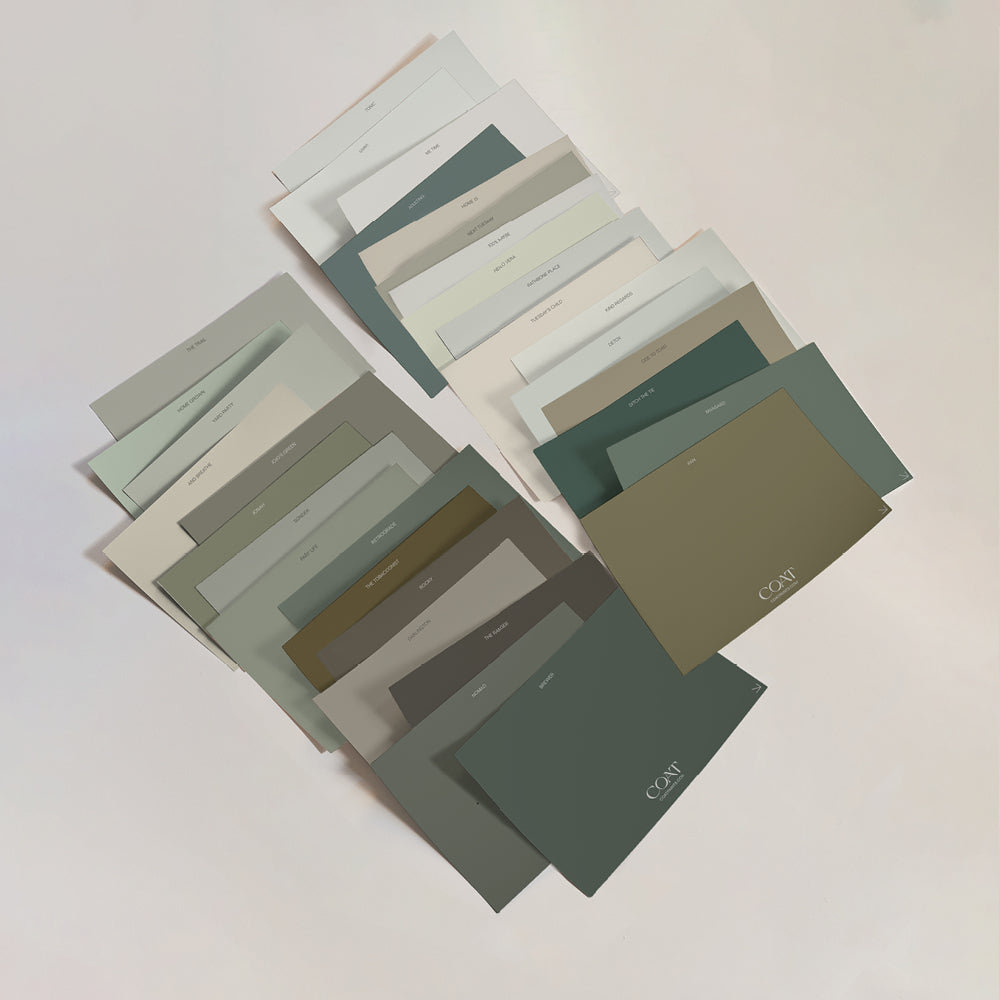
When it comes to making your home your own there really are no limits to the impact you can have with a little effort, beautiful paint and a lot of imagination. If you’re not sure about the colour that’s right for you, or you’d like your own personalised mood board, booking an appointment with our colour consultation experts is a good place to start.
Publish Date
Author






Leave a comment