How To Upcycle Your Furniture With Paint
Sick of consumption and waste? Here’s some good news. Our once throwaway world is starting to decrease. With more people focused on protecting the planet, we’ve become a culture of thrift, reusing whatever and whenever we can. Although this is a positive move, take a look at this post. A stark reminder from Real Homes on just how bad things got. In 2019, as a nation, we weren’t in tune with our waste. The numbers speak for themselves. In fact, a whopping 22 million pieces of furniture were discarded on an annual basis. That’s terrible, right?
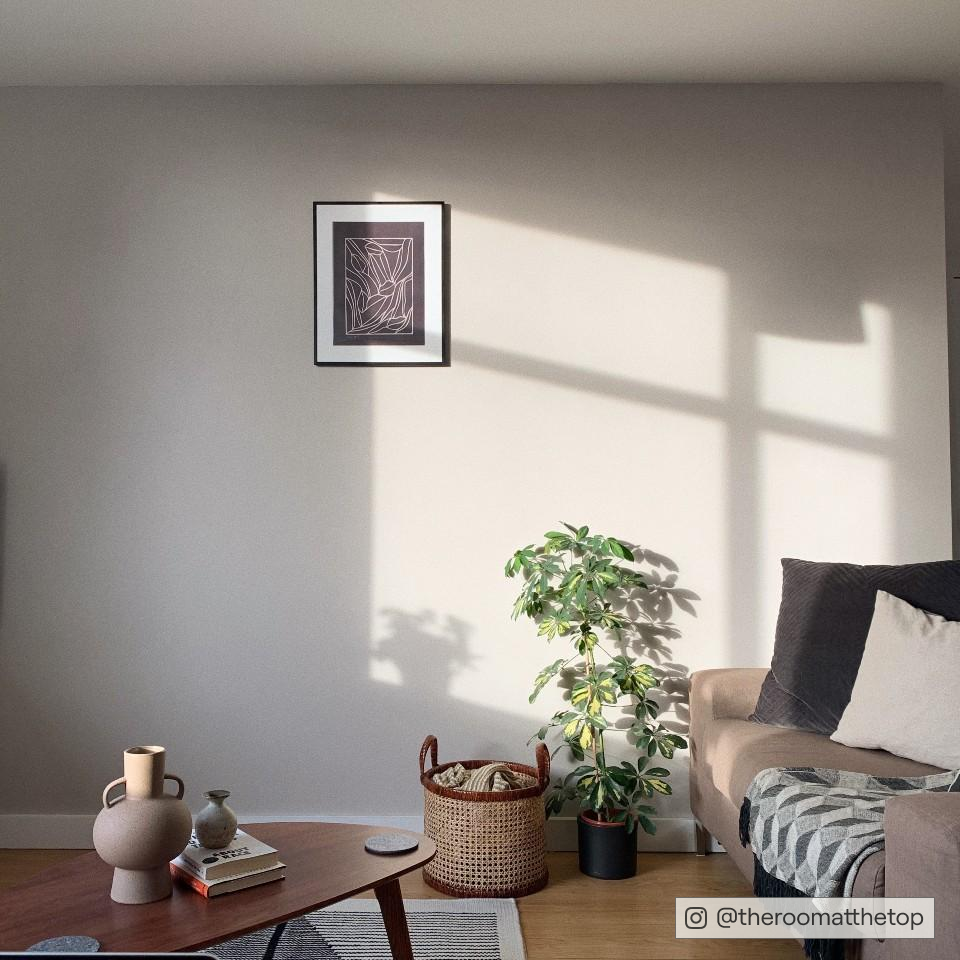
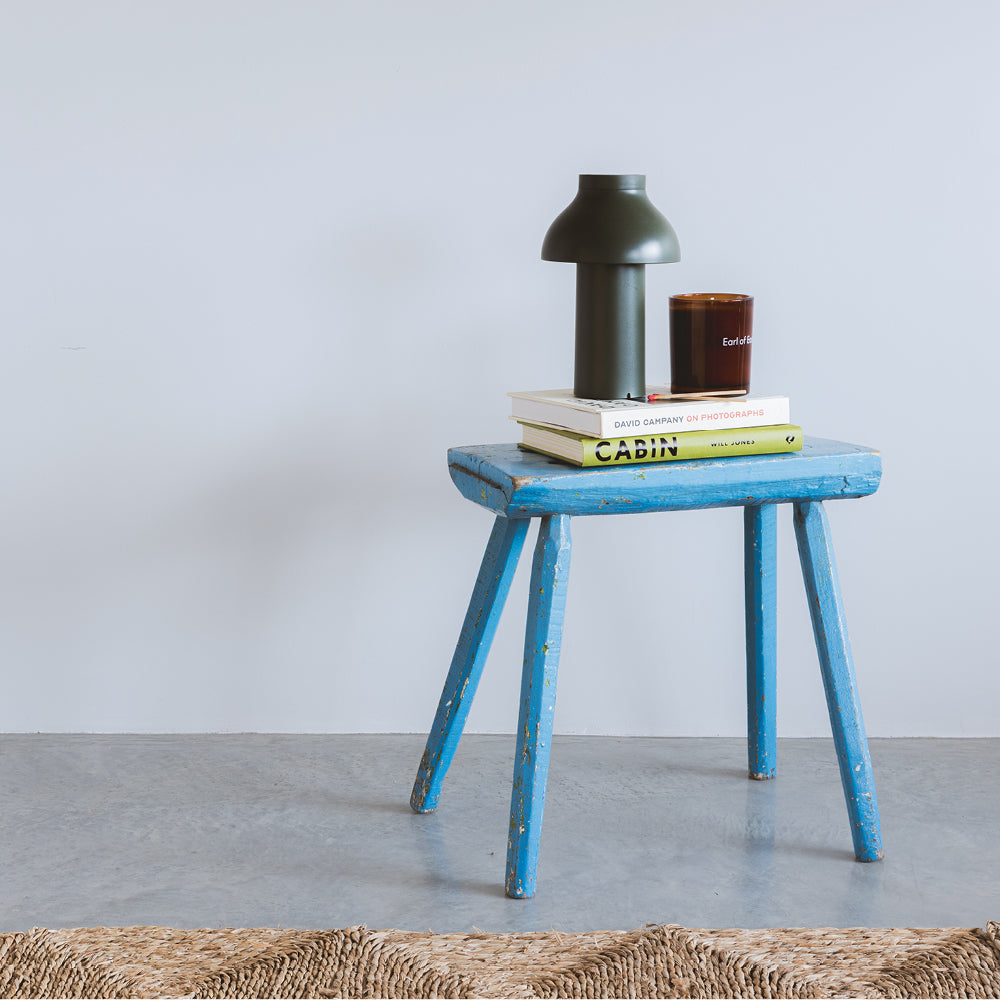
So, if you’ve never thought about upcycling furniture before, give it a whirl. Just because a chair is outdated doesn’t mean it won’t work. What a shame to just chuck it away when all it needs is a paint. Especially when it’s so easy to do. In this post, we’re gonna talk about using furniture paint for restoring old goods. Whether a bedside table or pine bookcase. We’re also gonna show you how to get it all prepped for a spot-on finish. Keep reading - what you waiting for?
Step 1 - Pick the best paint for your project

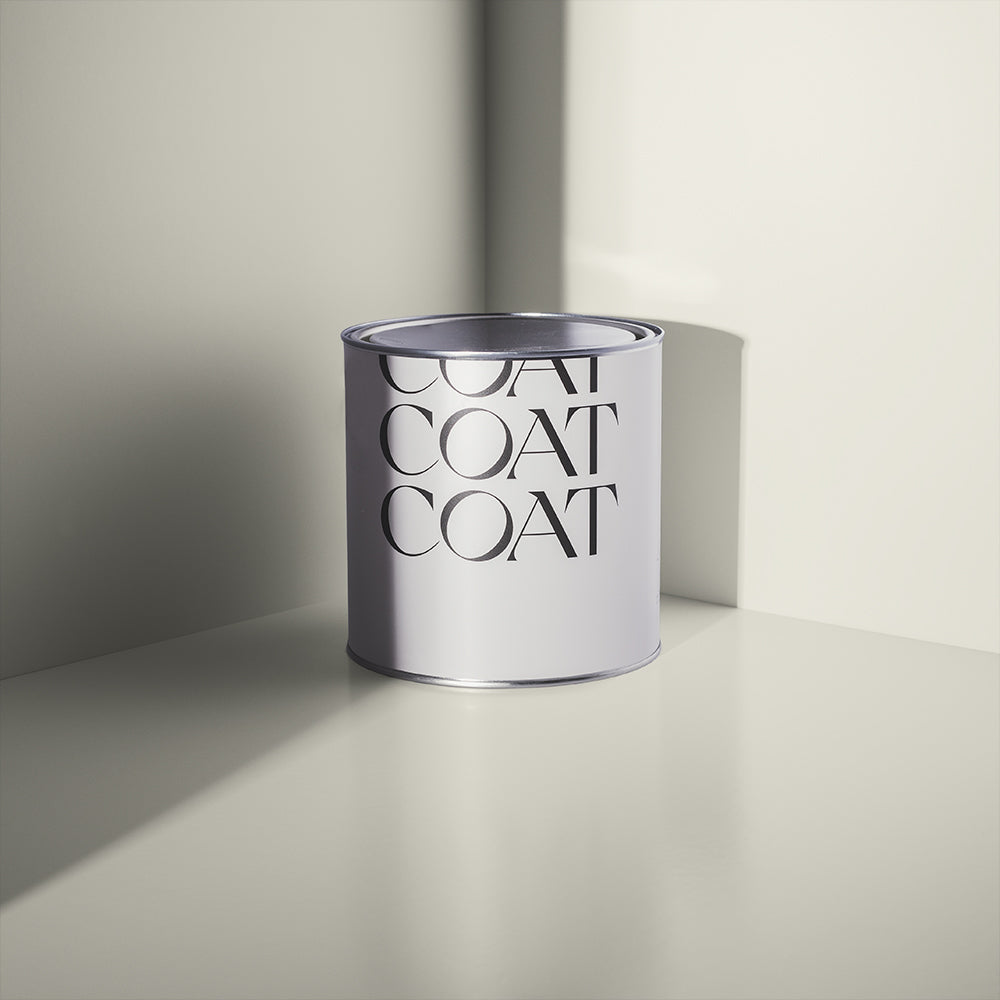
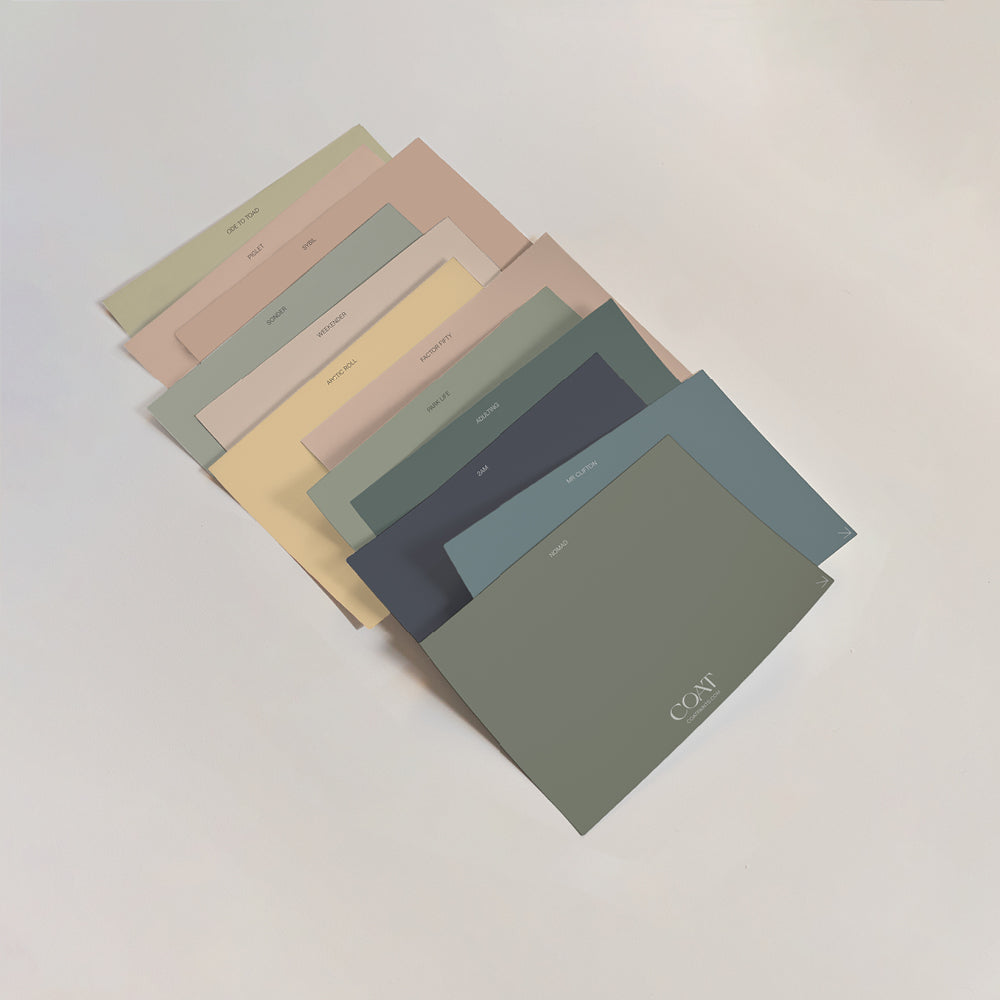
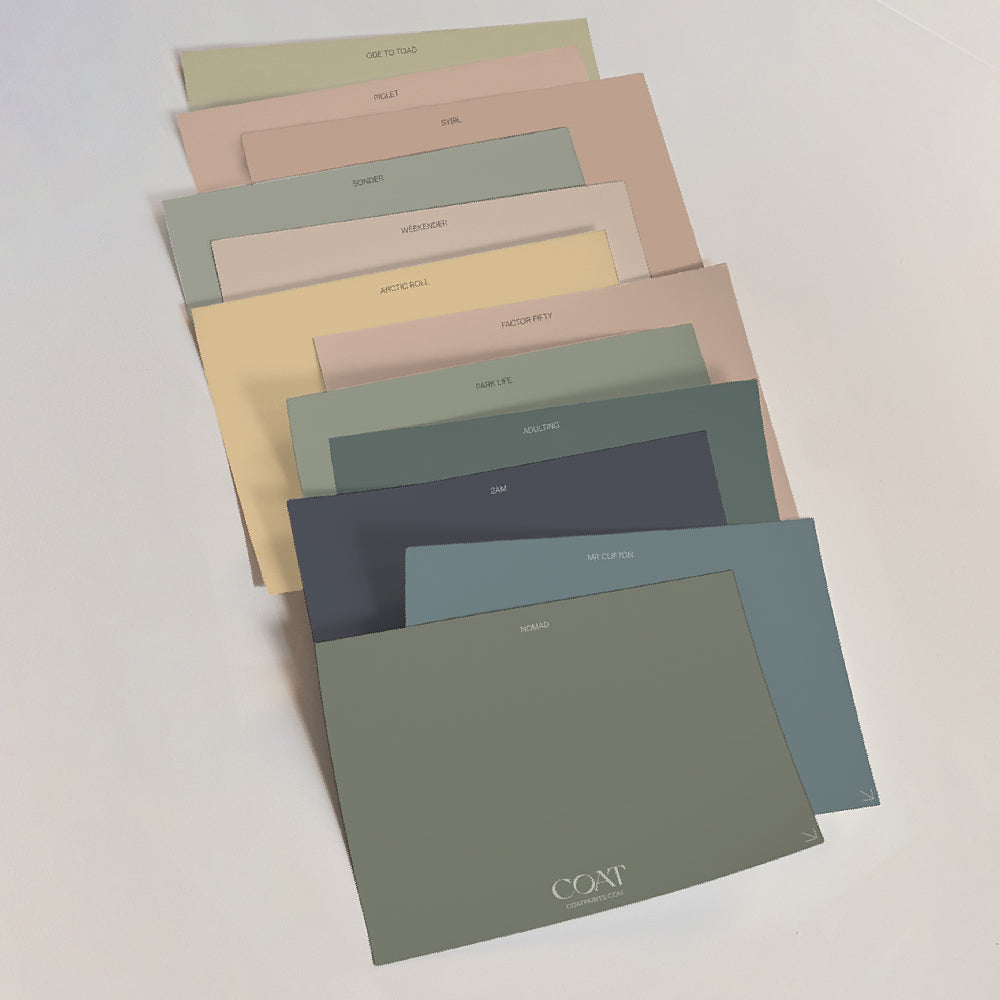
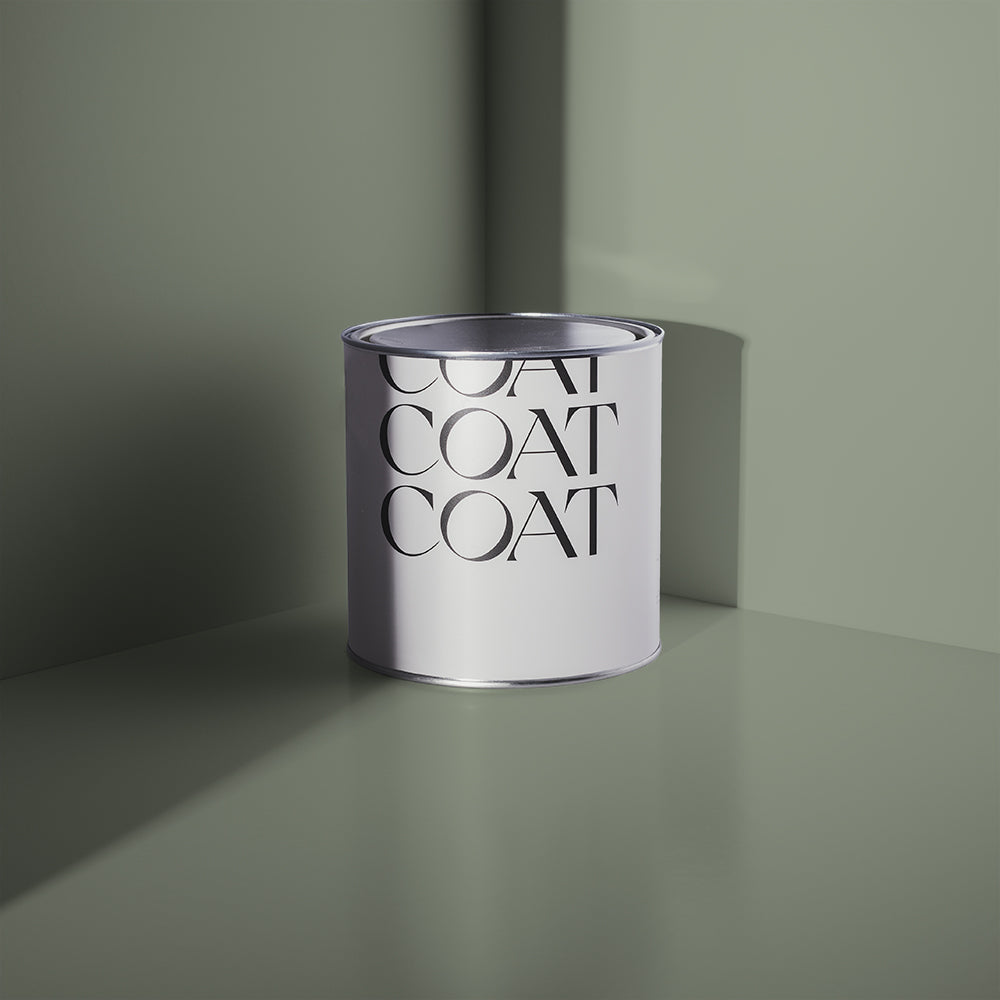
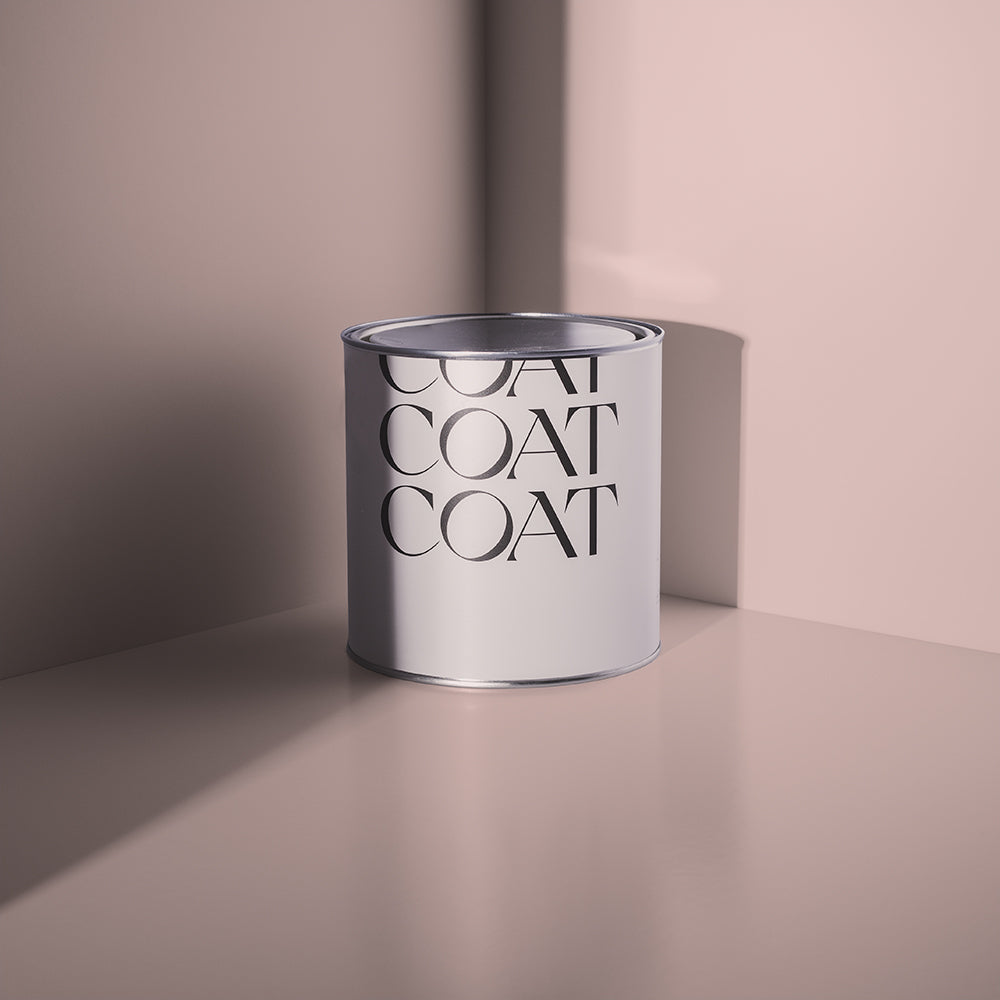
Looking to renew an old table or chair? You’ll need some good paint. One tin really doesn’t suit all. First up, think about the surface itself; is it metal or wood? An emulsion simply will not stick. Thankfully, we make it easy at COAT with our three paint types; Flat Matt, Soft Sheen and Eggshell. The latter is the best paint for wood furniture. Whereas the rest are for walls. So, there’s no confusion about the type you’ll need. Boom.
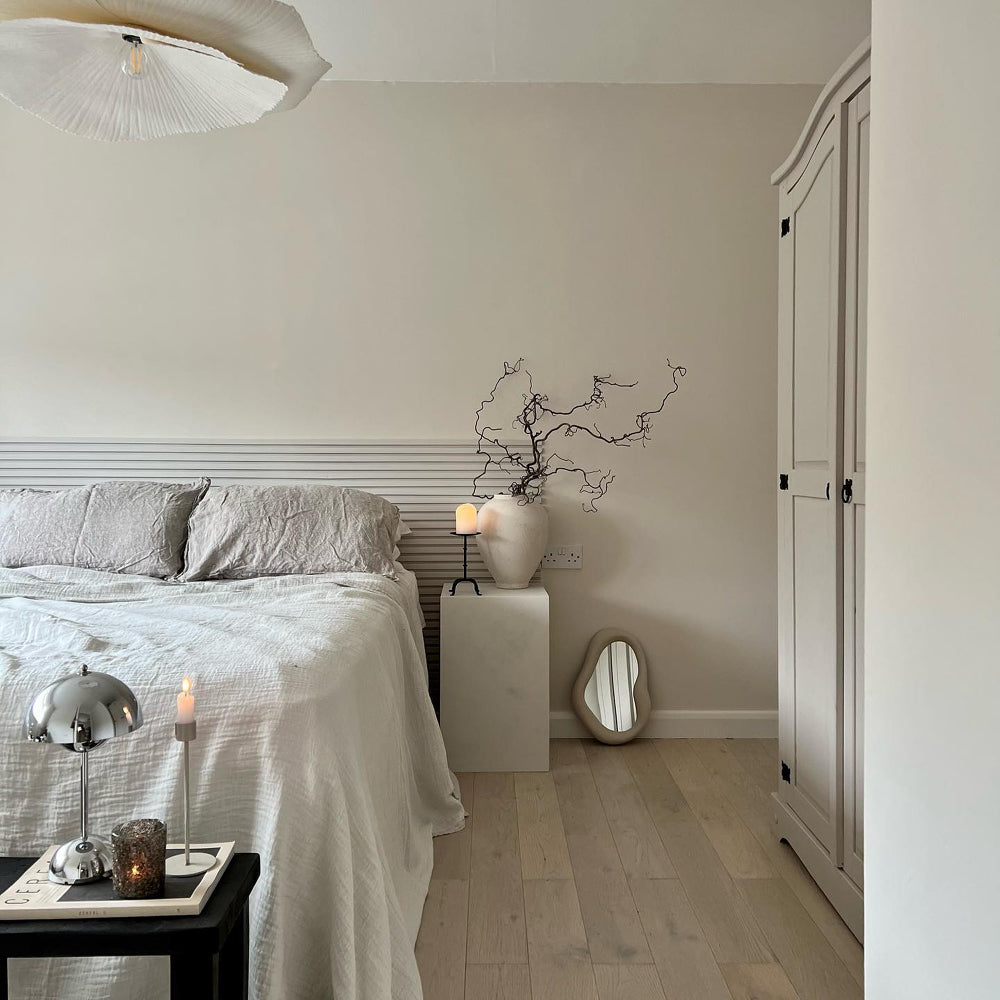
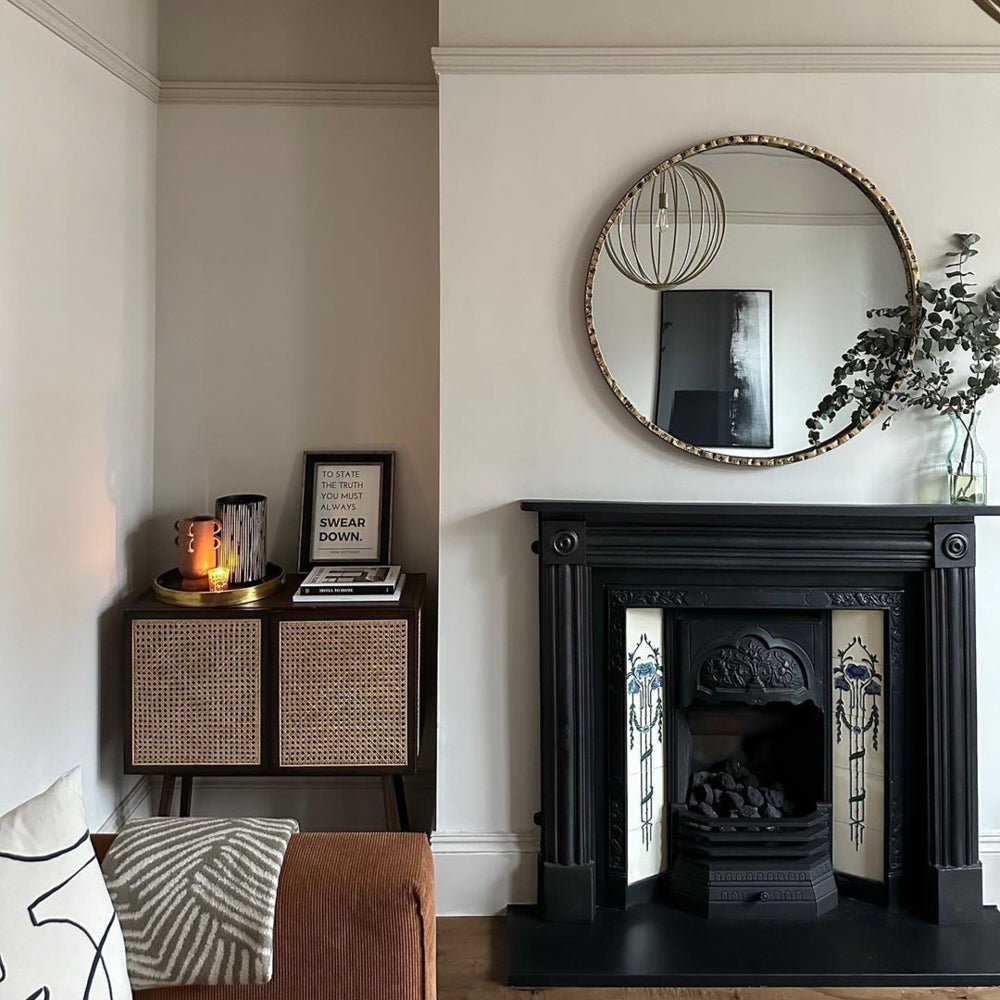
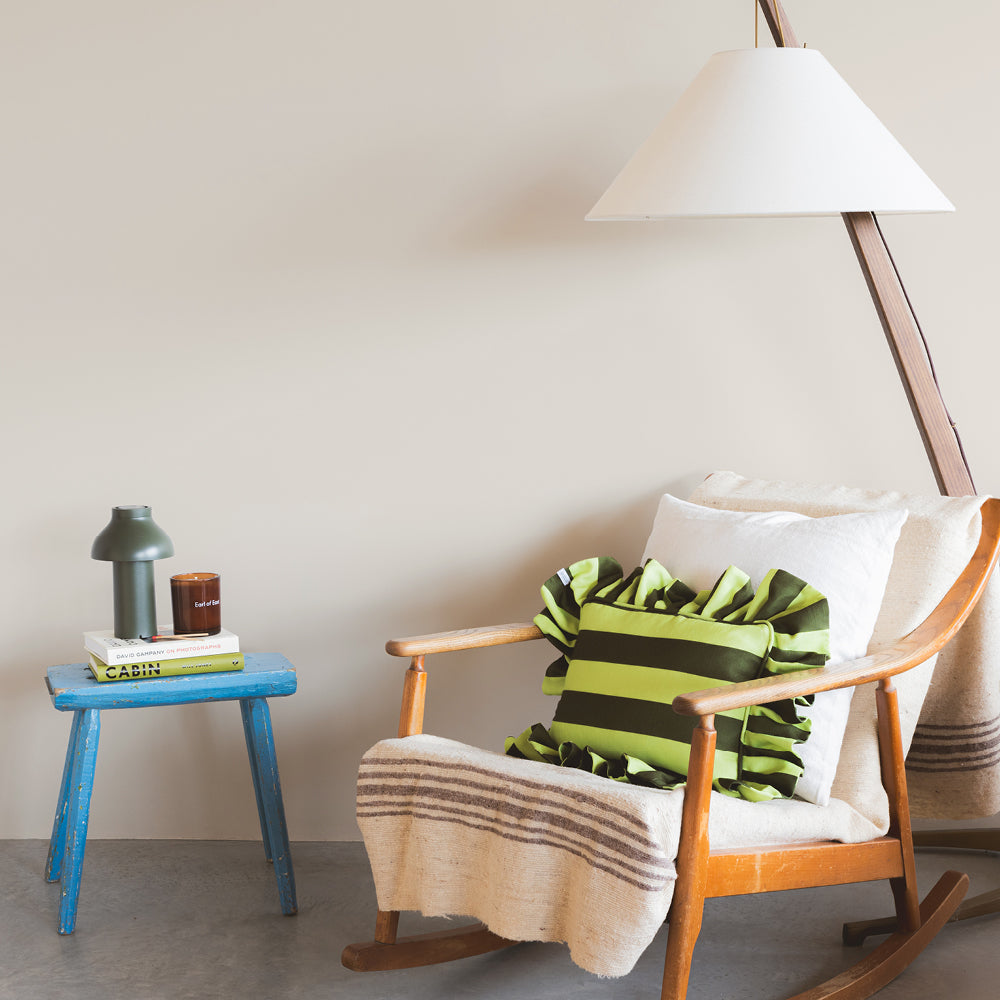
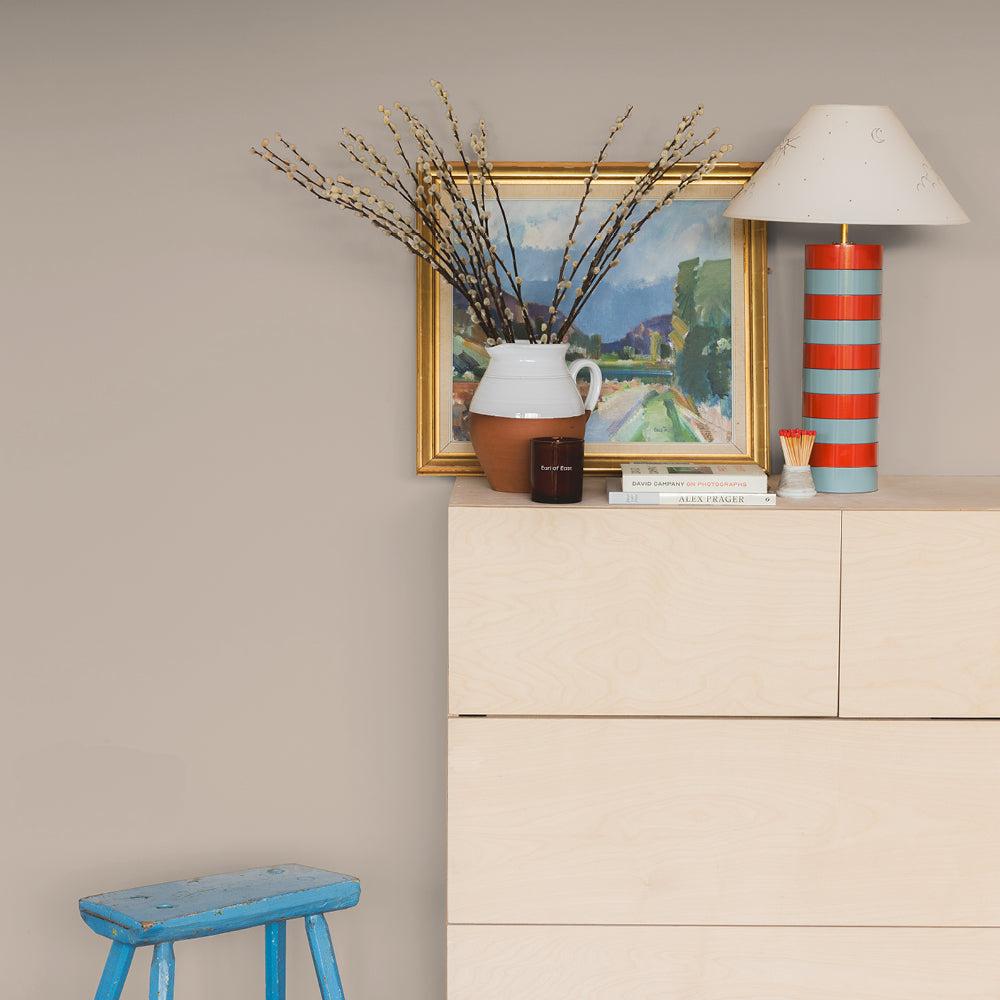
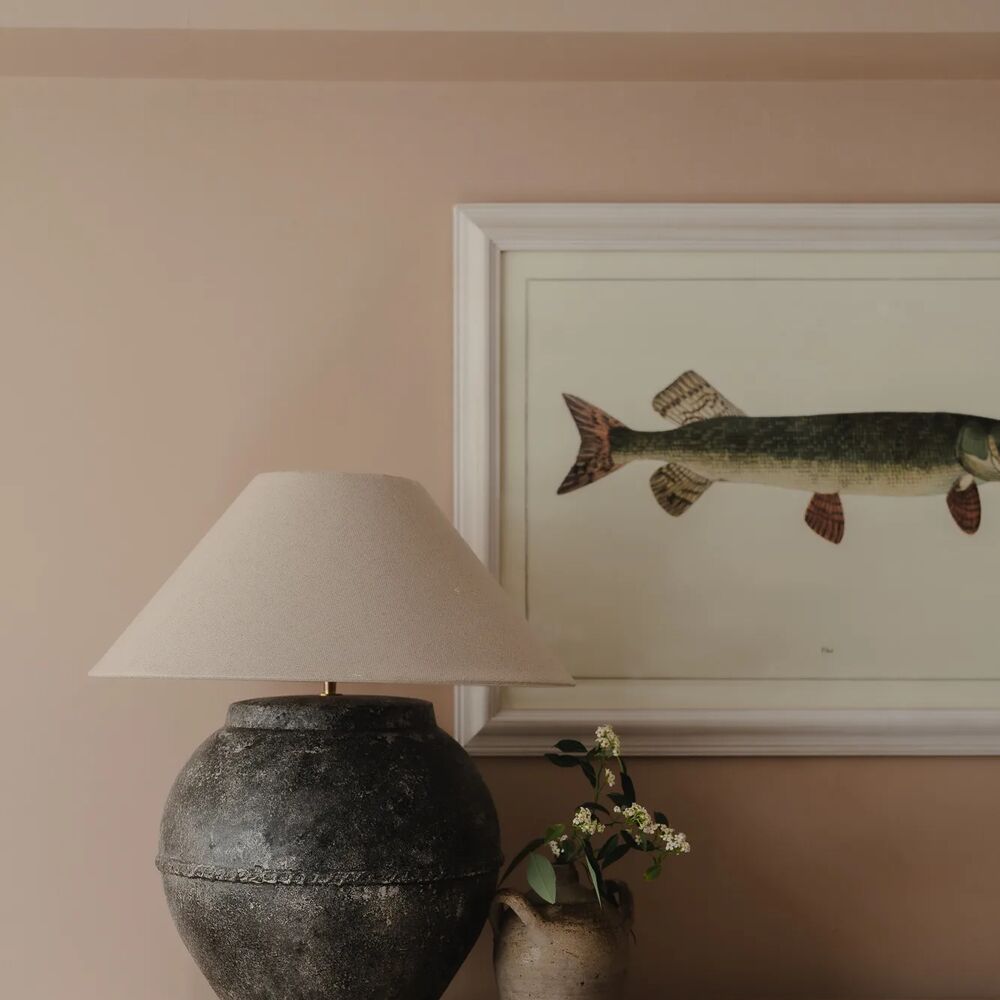
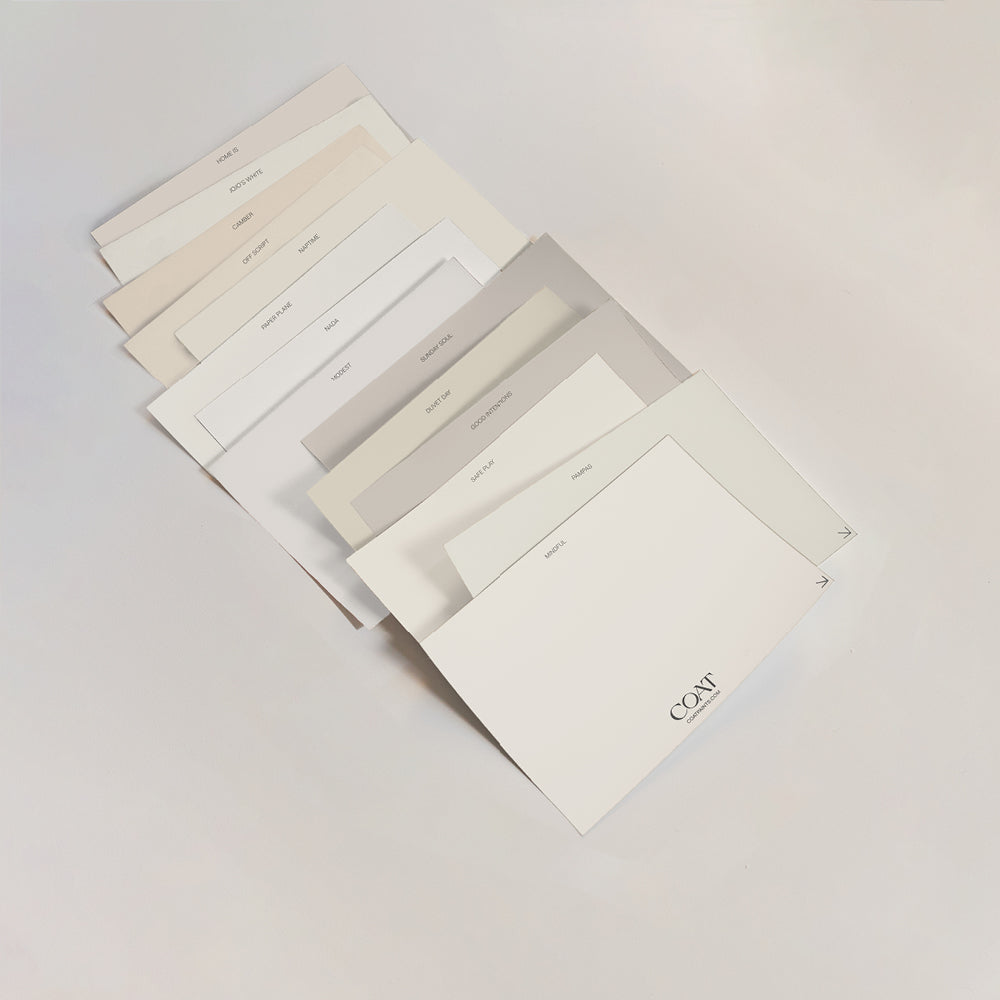
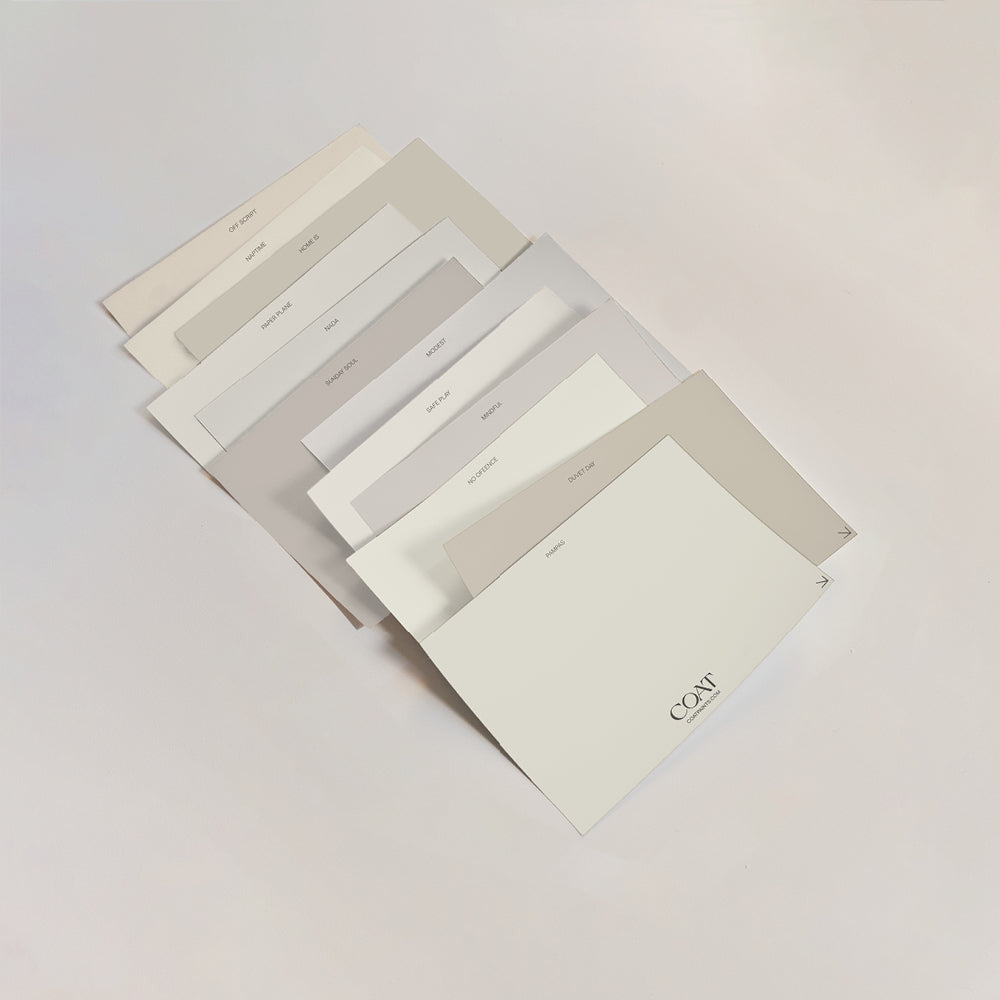
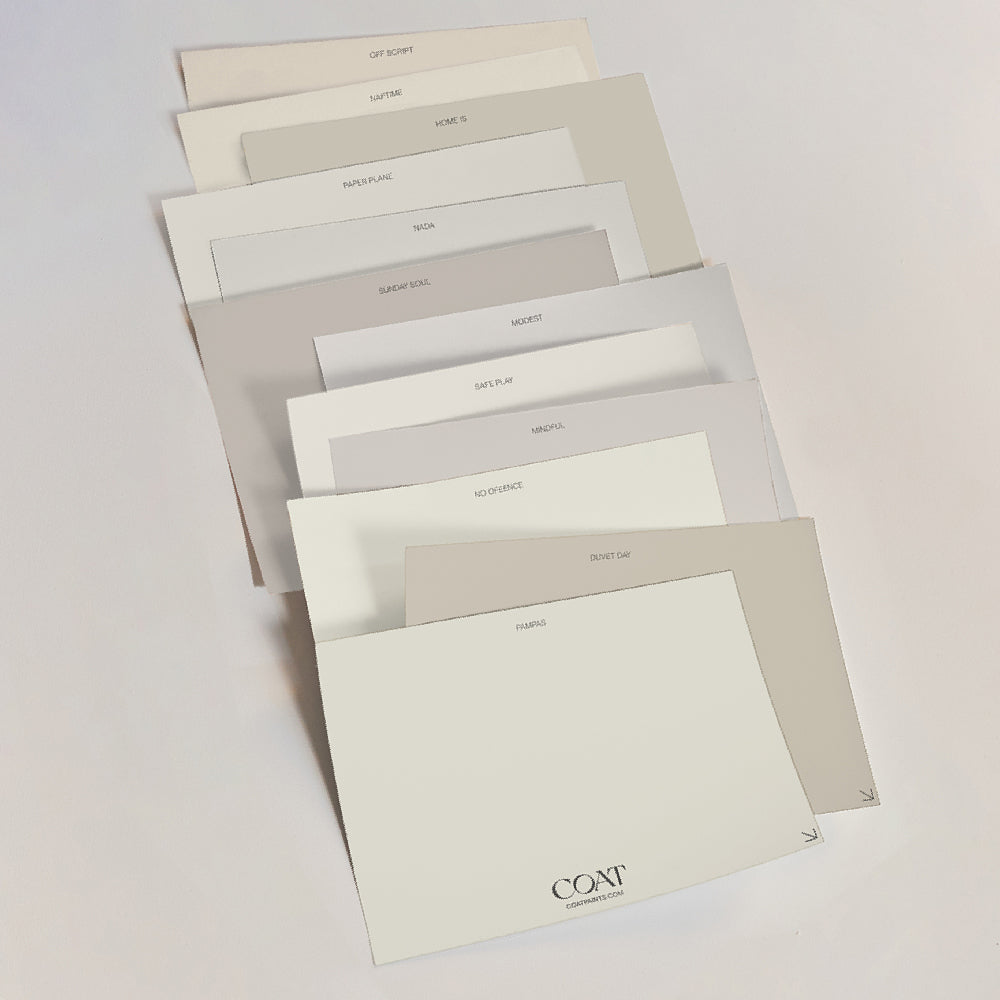
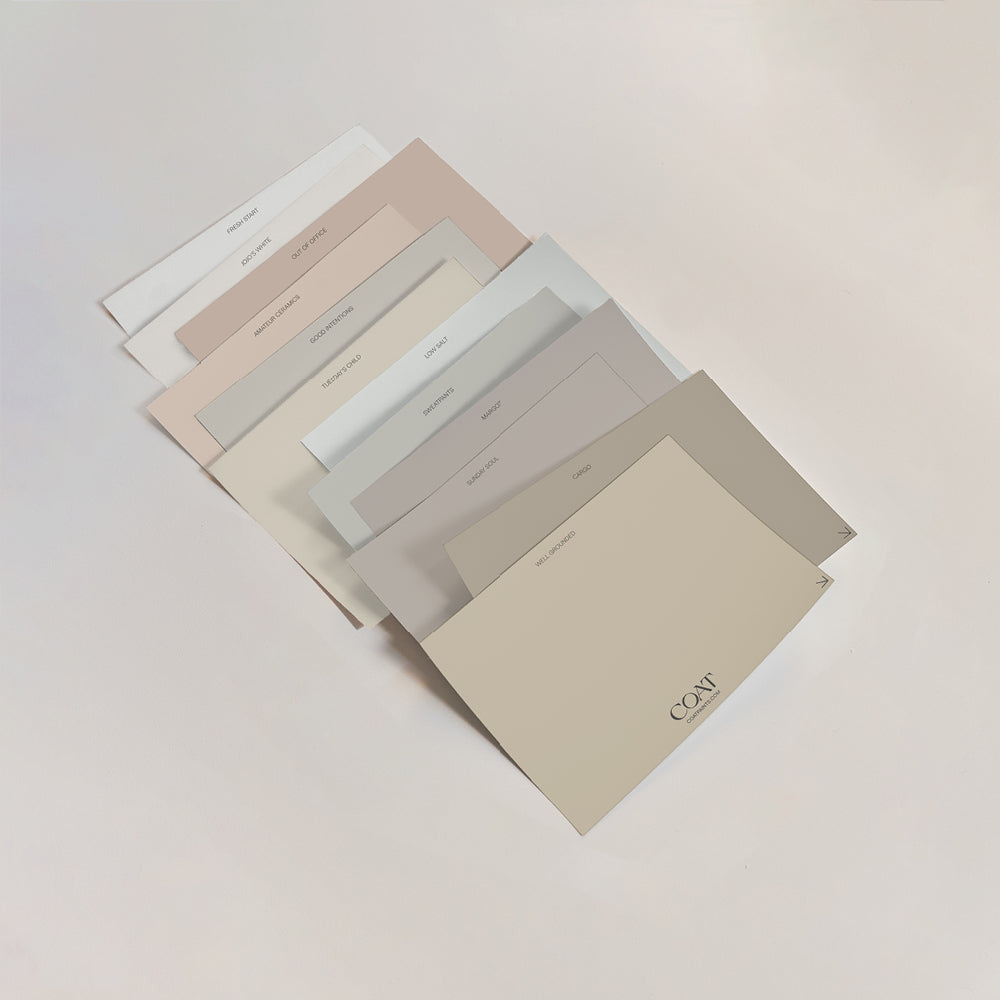
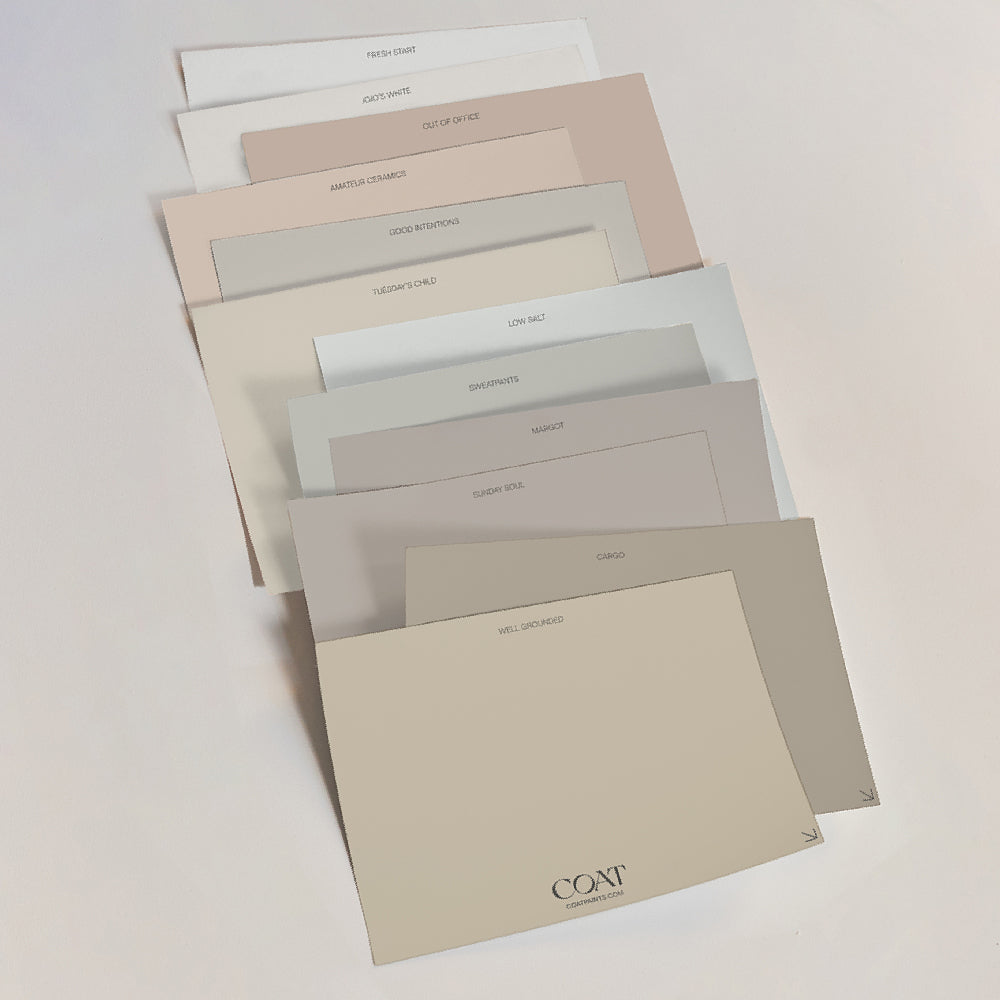
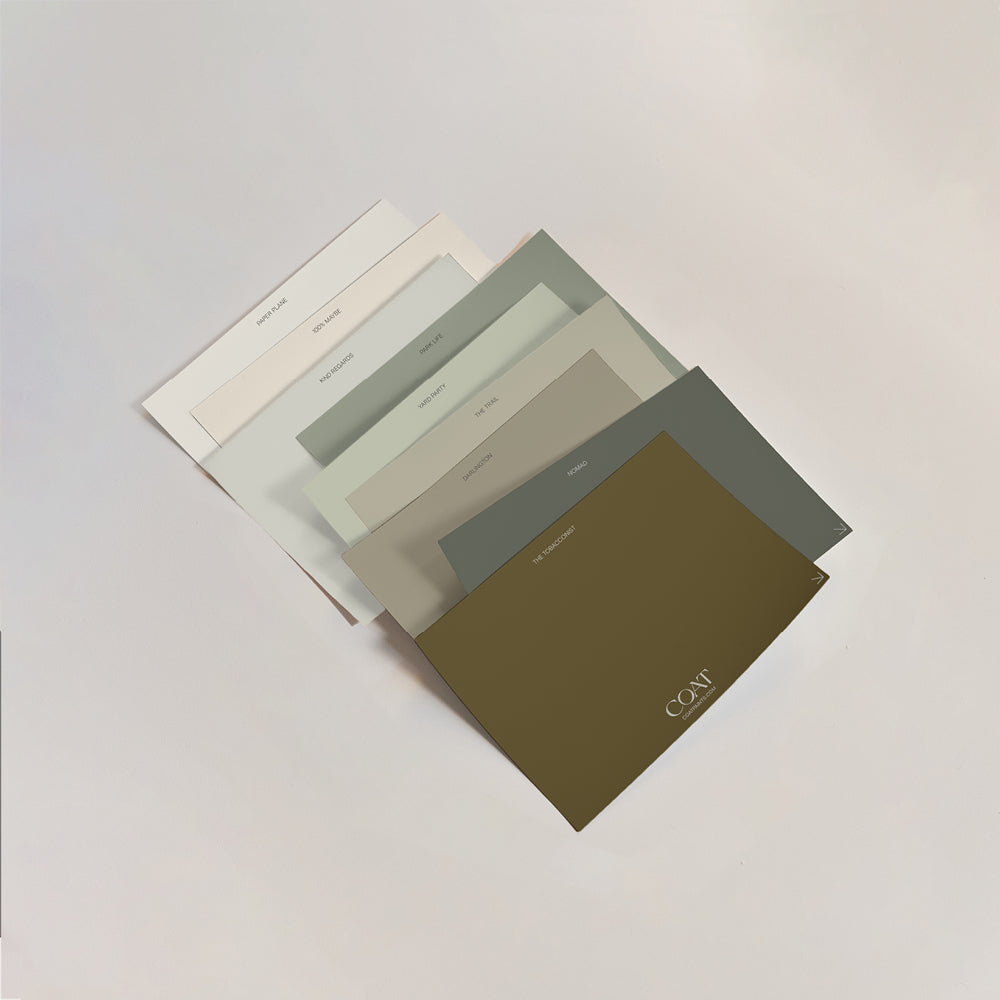
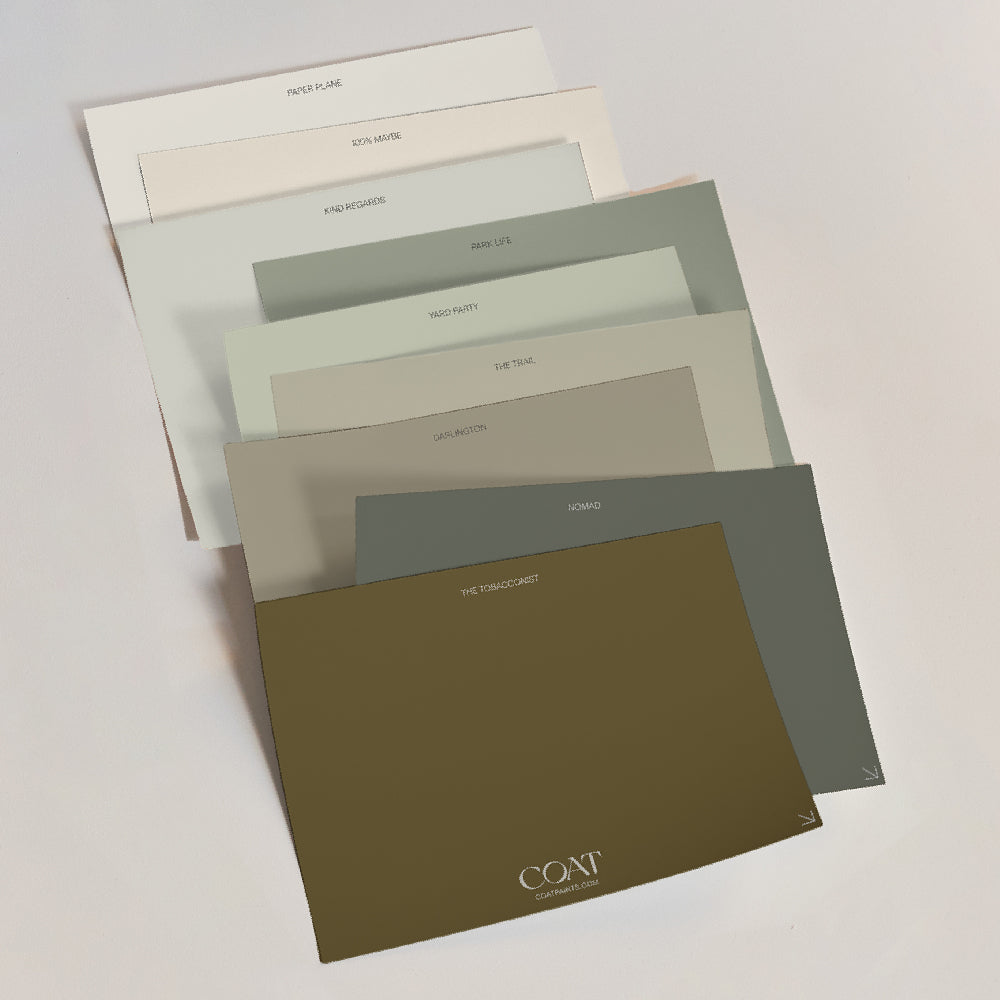
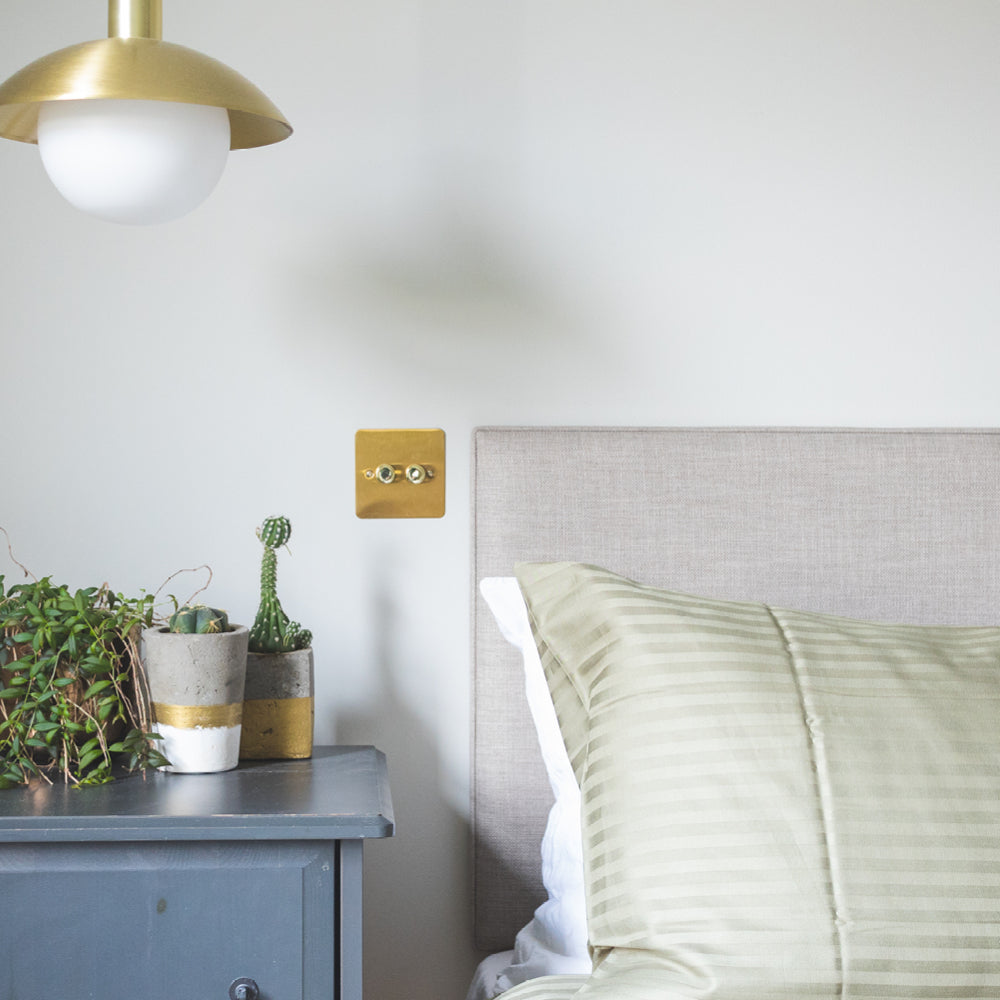
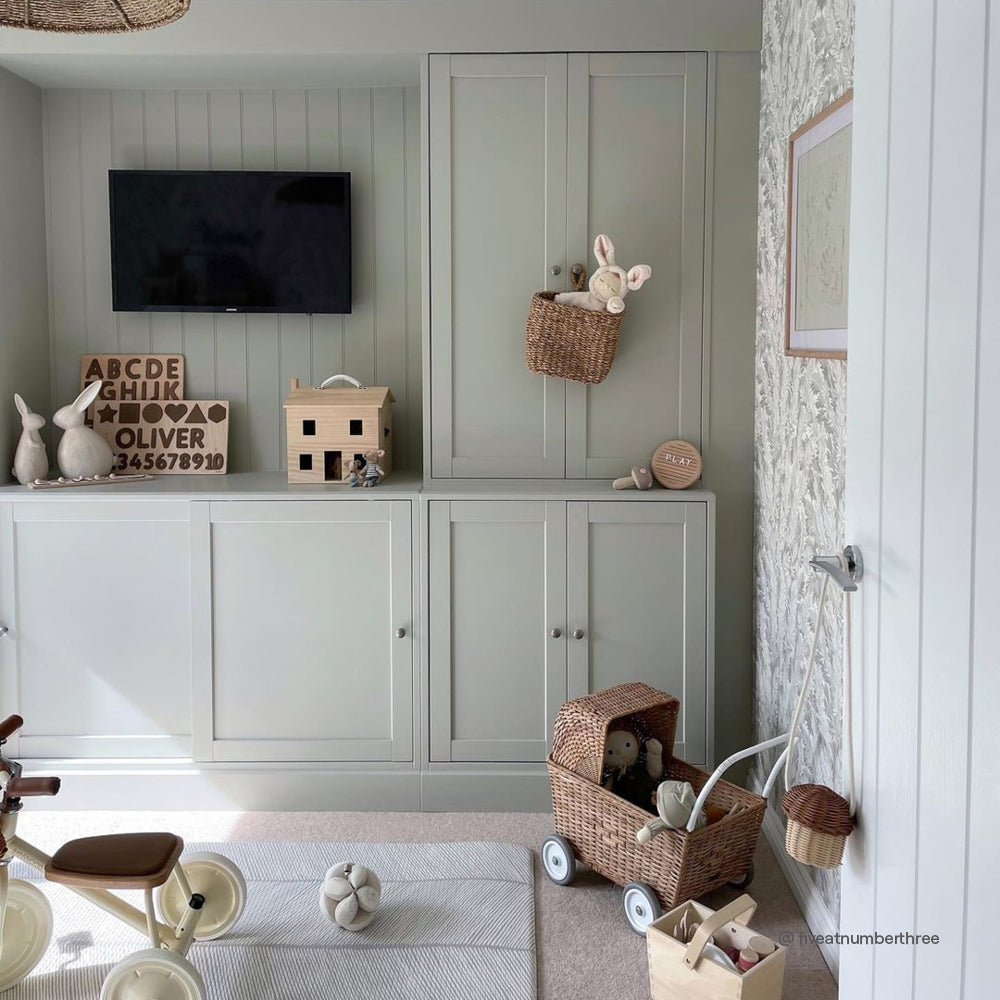
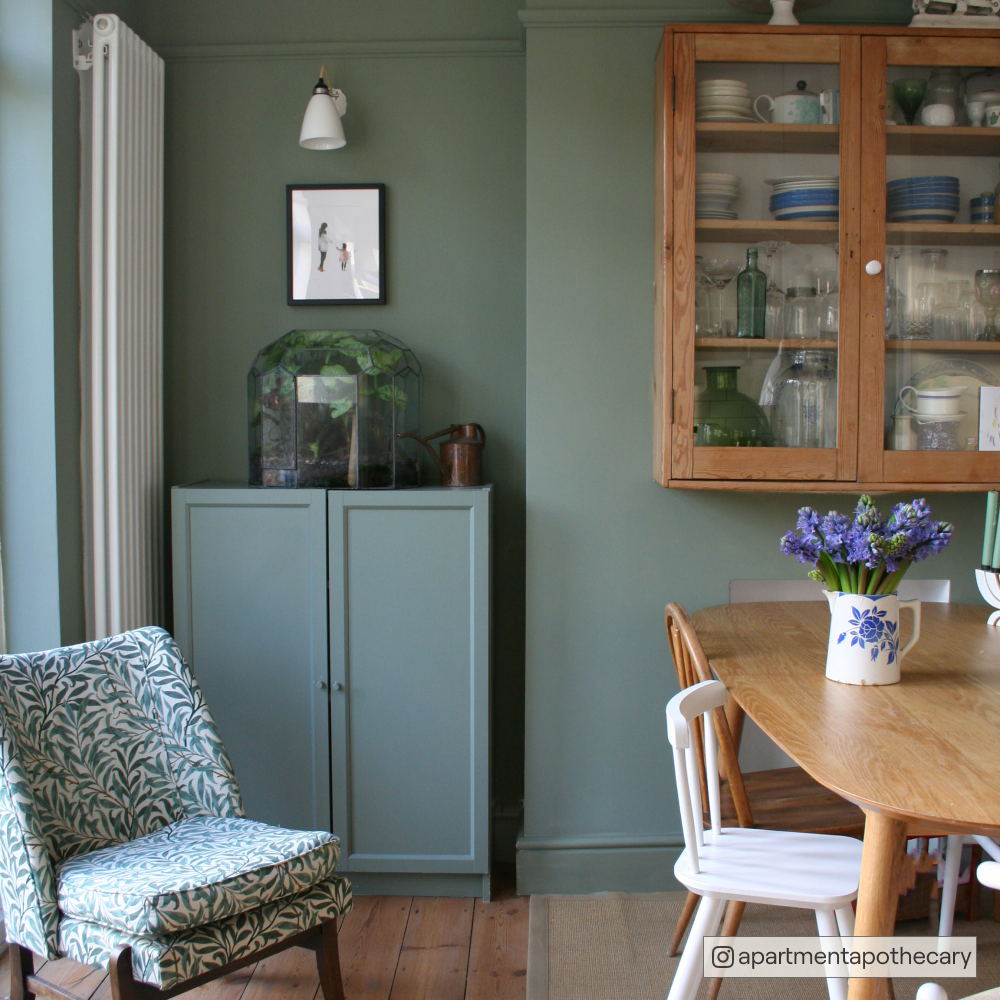
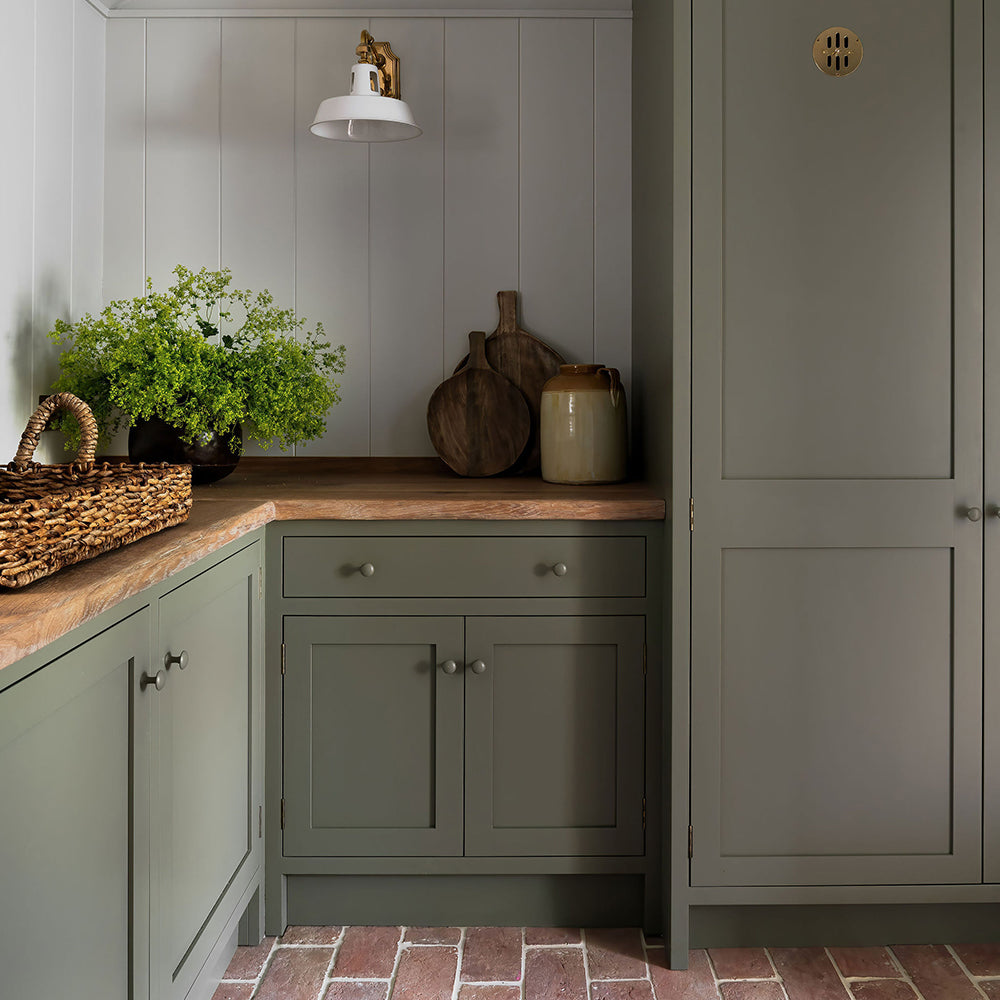
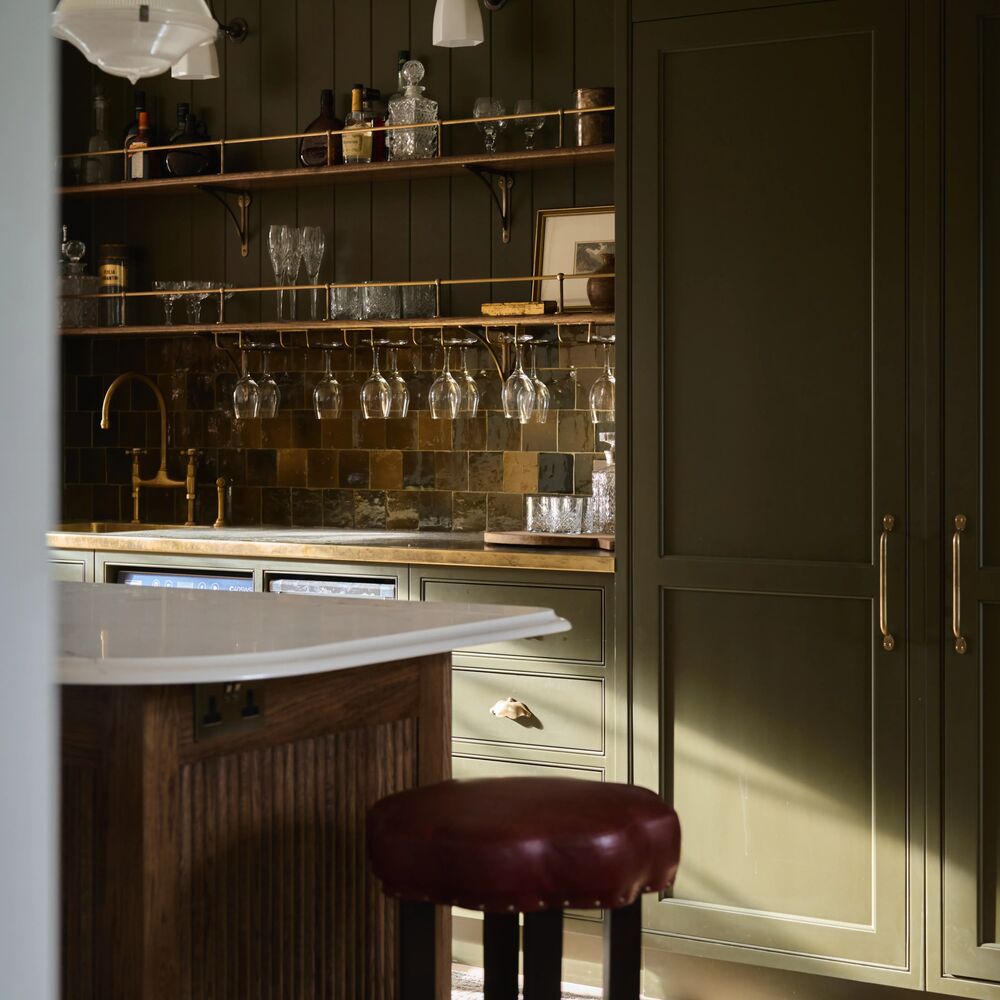
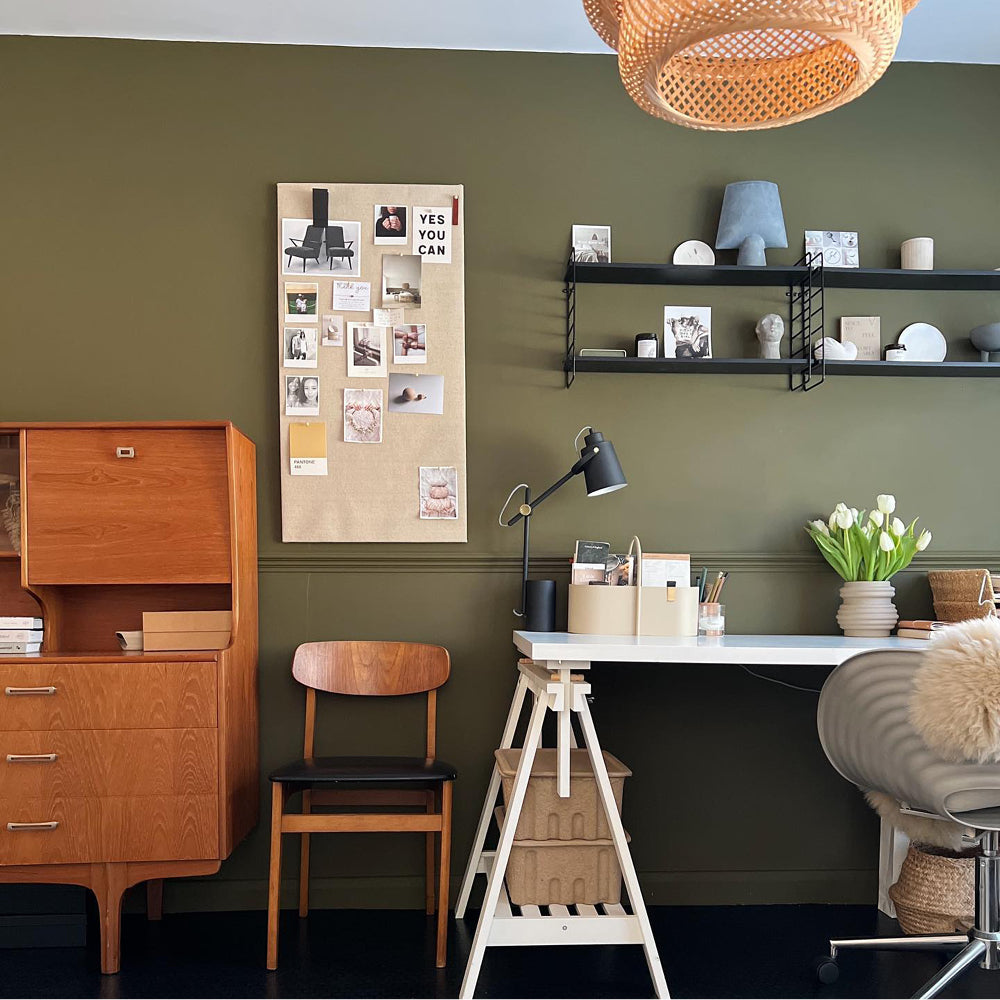
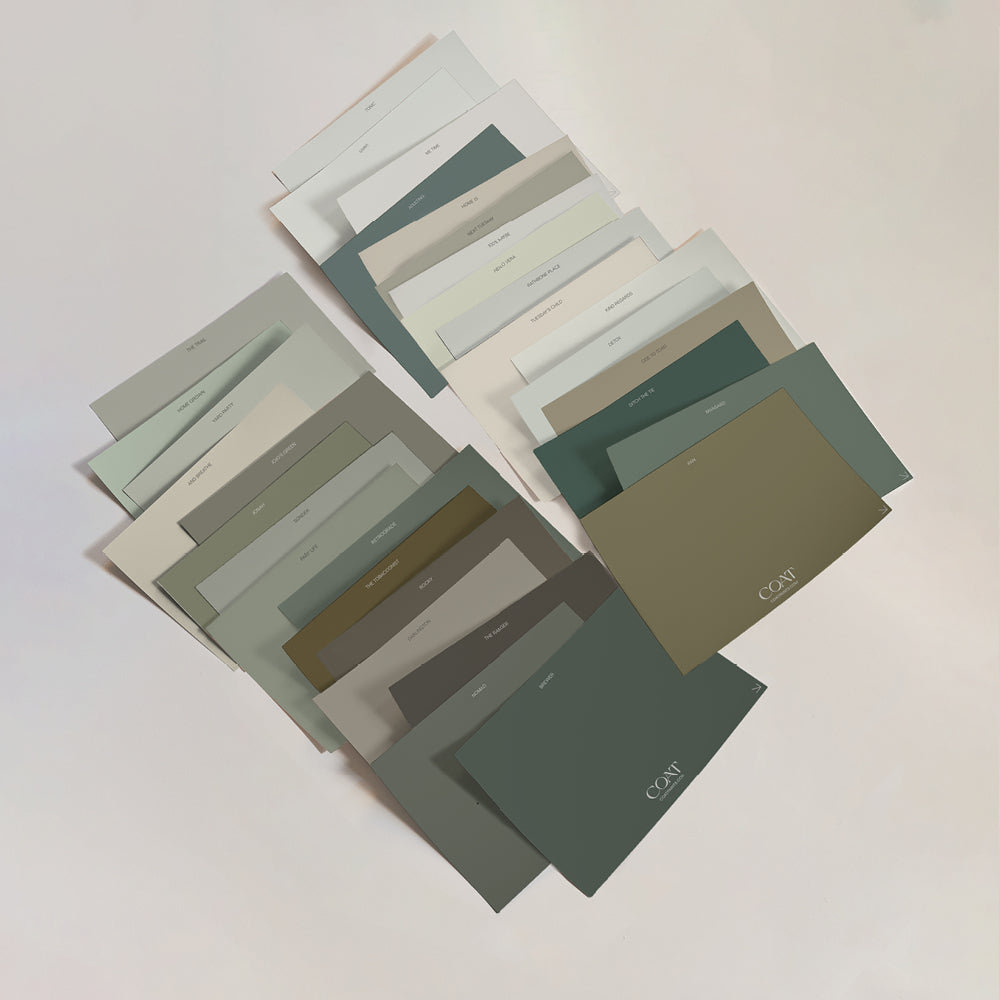
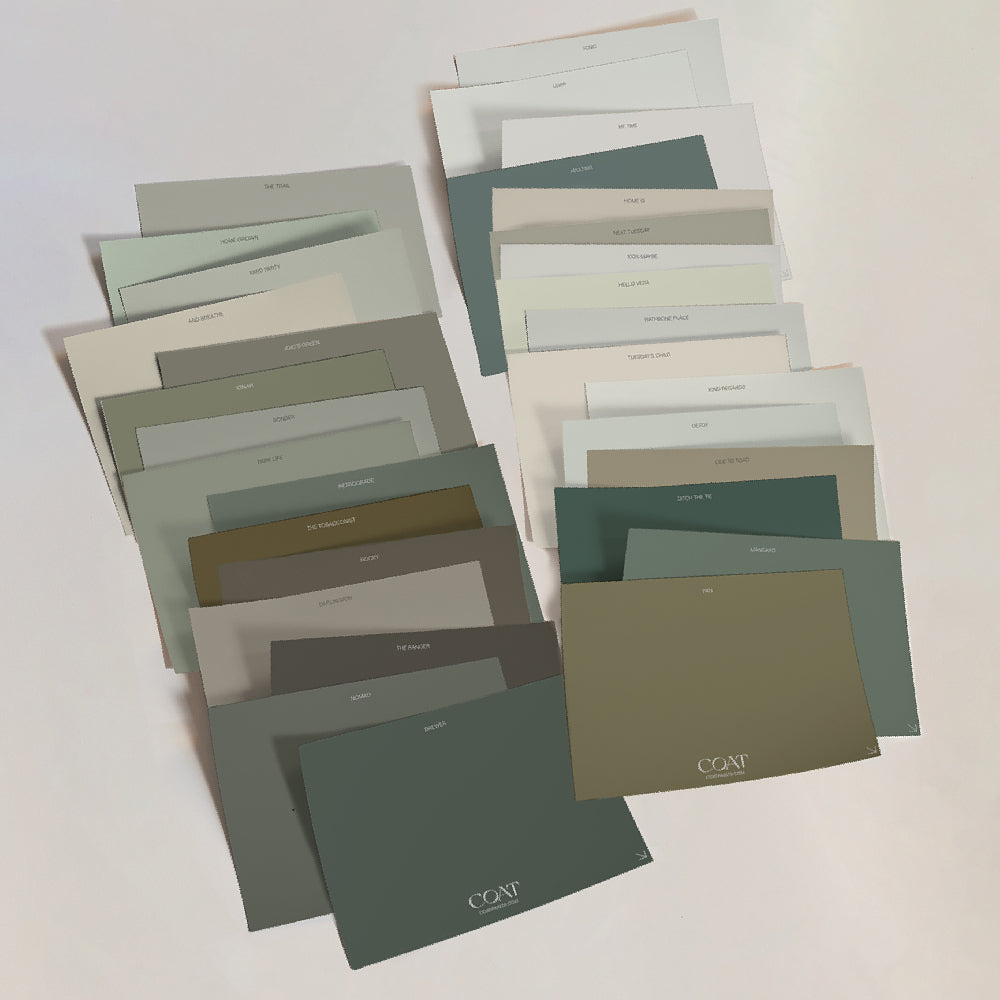
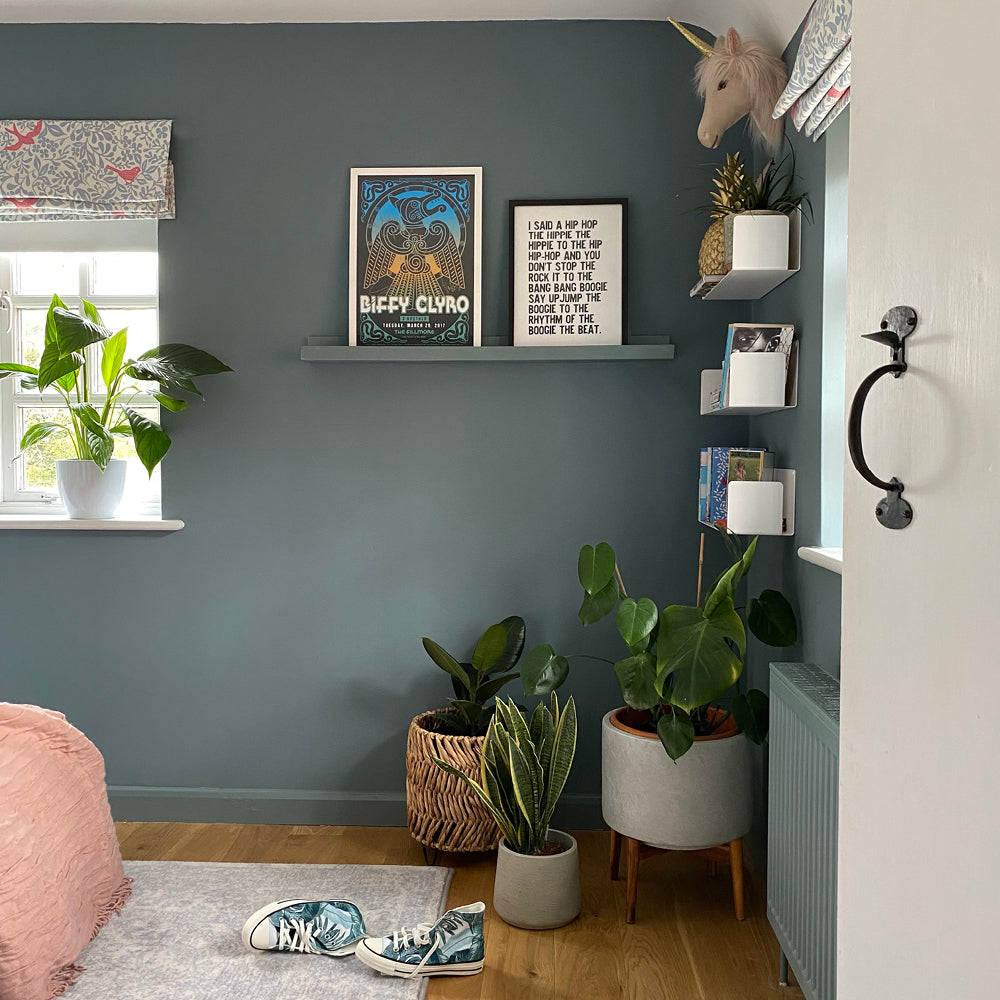
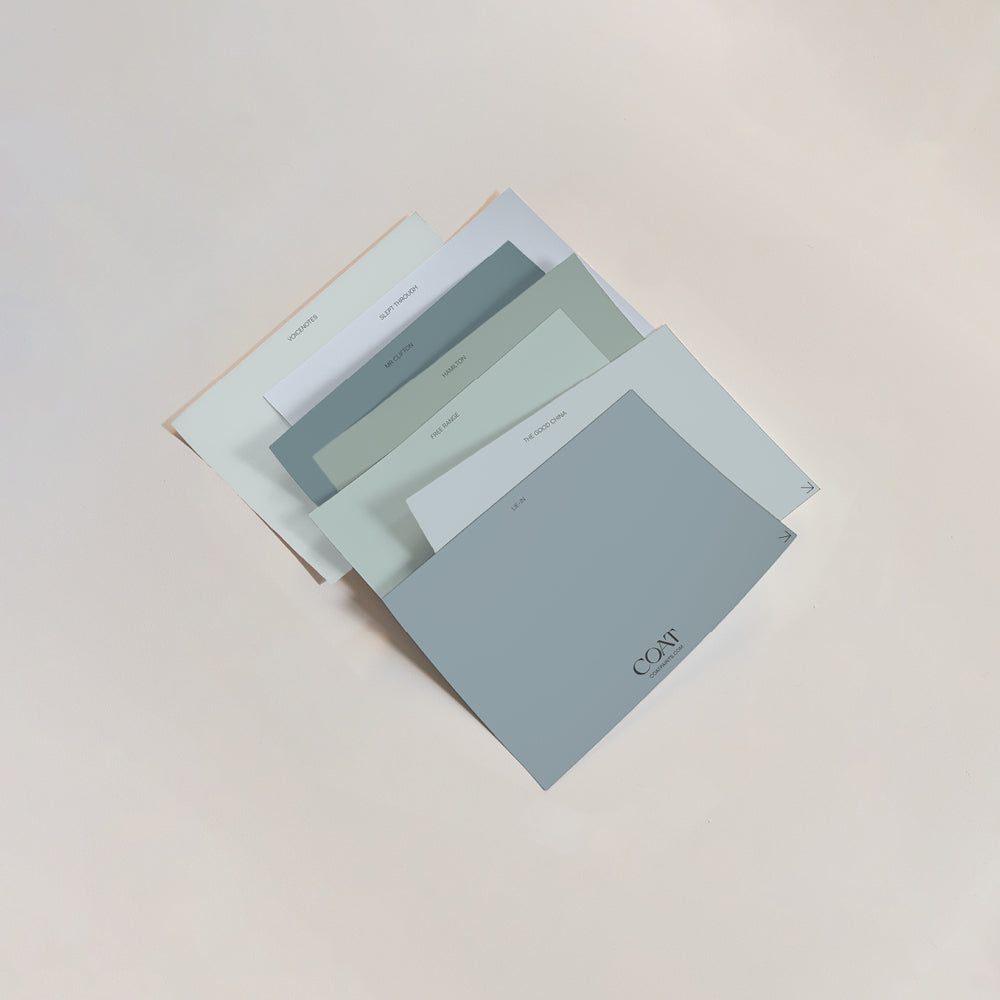
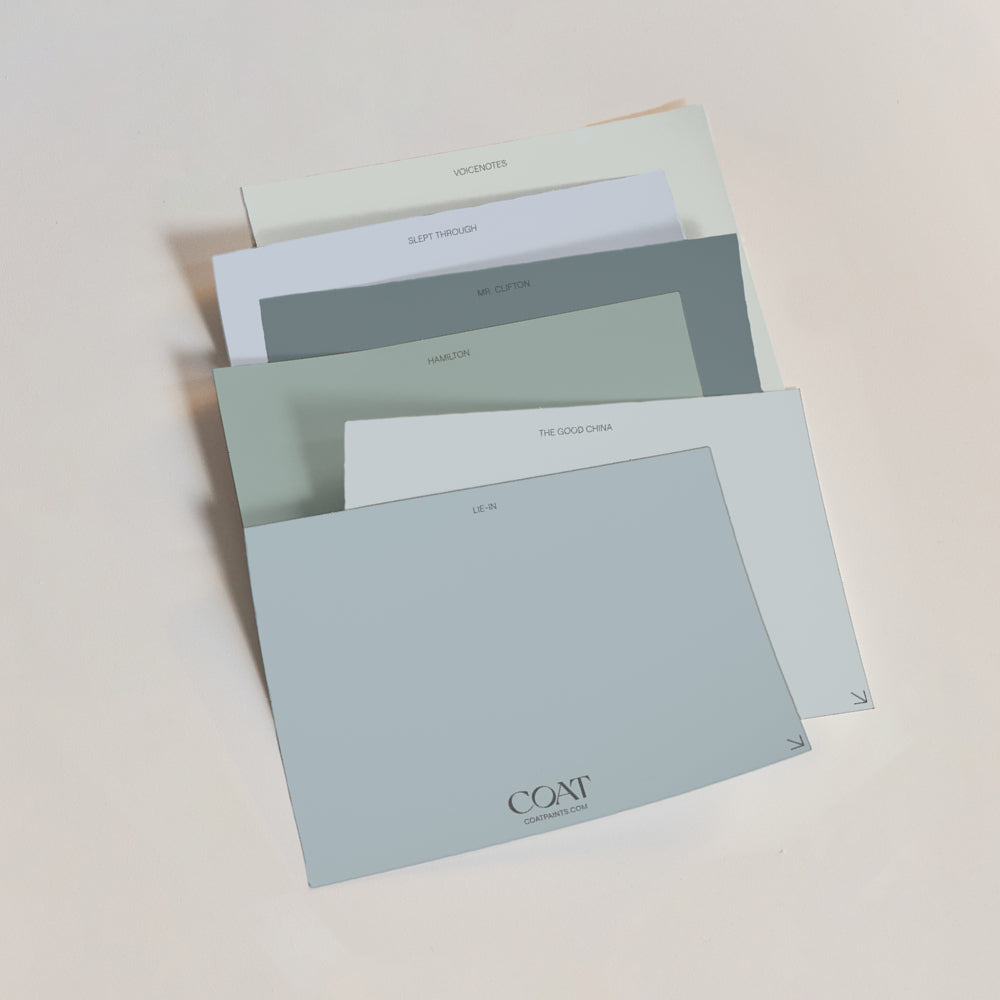
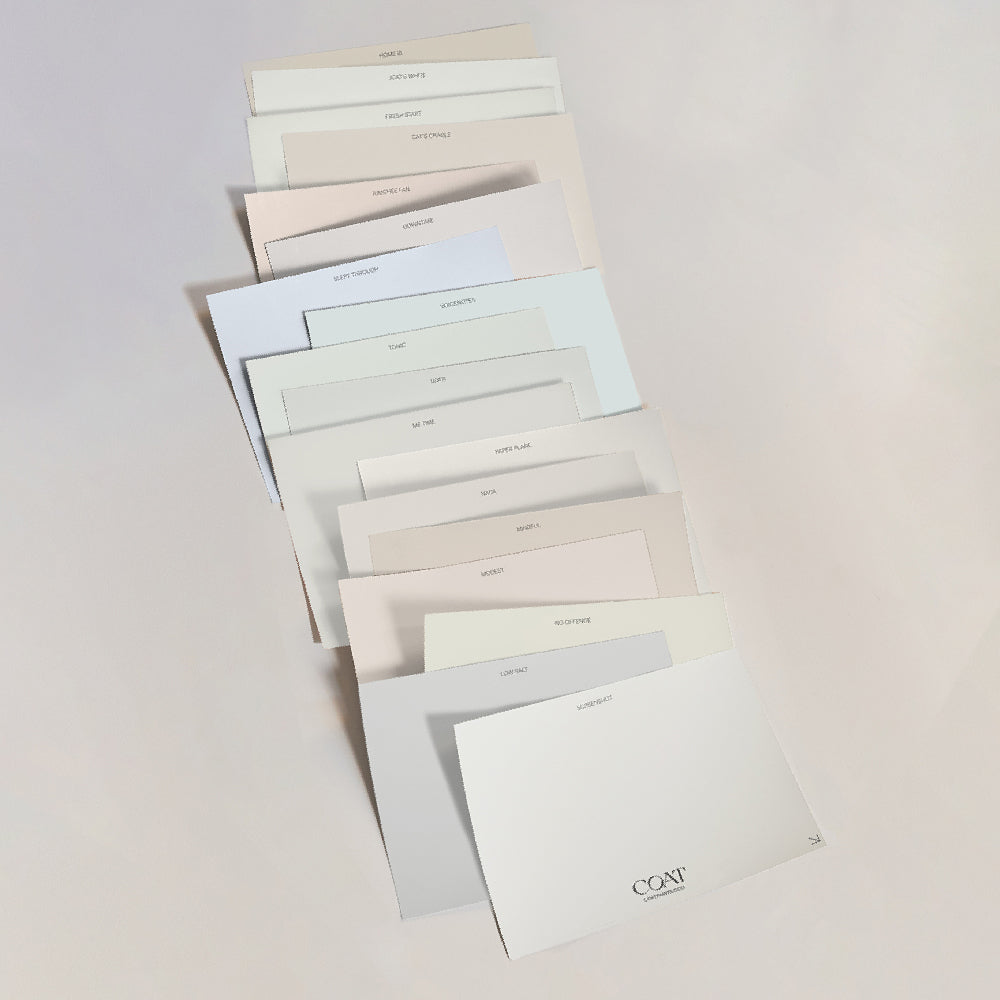
Another thing to consider is whether your piece lives outside, like a patio chair. For this, you’ll need an Eggshell paint for outdoors. Then there’s picking the shade. Which one will you choose? Our designer colours make the impossible totally doable. With Pinterest crammed full of ideas and no set rules, you should be able to quickly narrow it down. We love the idea of a cabinet painted in white with a flash of vibrant colour inside. Furniture paint colours needn’t ever be tame.
Step 2 - Pick the right type of brush for your project

Whether you’re planning to repurpose your nan’s old chest of drawers or a shabby-chic bench, consider the supplies you’re using to apply your paint. We’ve even got a host of eco painting supplies, so you won’t need to pop out to the store. Including decorator’s tape, mini rollers and brushes. But what kind of paintbrush is needed? Don’t stress, we’ll explain. There’s a few things you’ll need to consider first. It’ll depend on the type of project you’re doing, plus the size of the piece. With the right paintbrush, you’ll get much better results.
Painting the frames of a chair? Use a small brush. Save larger ones for bigger areas such as tabletops. Additionally, natural bristles are best. We’re done with fake junk. For bigger projects, you’ll also want to have more than one brush to hand. At COAT, finding the right one doesn’t have to be hard. Which is why we’ve made our brushes for life and for any paint project. They’re also super easy to clean and a pleasure to use. Grab your Eco Brushes right here.
Step 3 - Clean your piece of furniture

Whether your piece is a hand-me-down from your mum or a Marketplace find, the process of upcycling always starts the same way. You’ll first wanna protect the space where you’re painting with a drop cloth or sheet. Then give the surface a wipe to remove any cobwebs and dust. Like with any paint job, preparation matters. You can’t expect to paint over years of grime and get a great finish. With that, time to crack the marigolds out and grab a cloth which should be quite damp. This will help the paint to adhere and prevent any blemishes showing.
Step 4 - Sand (if necessary)

Next, you’ll need to lightly sand the area, especially if the surface is wood. But first, make sure to remove any handles and knobs. Likewise, if your subject has drawers, then these will need taking out too. Try not to sand and paint them in place. Begin by using a medium-grit of sandpaper; around 180 will do. Anything harsher and it might ruin the pattern of the grain. For instance, an upcycled table might look amazing once done, but they can be a nightmare to sand. Just remember, the higher the number, the smoother the paper.
As well as choosing the right kind of paper for wood, it’s also important to sand in the direction of the grain. With metal, direction doesn’t matter as such but it’ll still need a good buff. A coarser paper of around 60 grit will do the trick. This will remove any flaking old paint and even rust marks, leaving a surface that’ll take the new COAT. When you’re done, grab a clean cloth and wipe away any dust. It’s not ideal when it gets stuck in the paint.
Step 5 - Mask off areas you don't want to paint
If you don’t have anything to remove handles and knobs, no problem. Simply mask them up to protect them from paint. Painter’s tape will also protect other places from splatters for a super clean finish. For instance, you might want to paint the legs of a chair a totally different shade. With this, attention to detail is key. It’s not like painting a wall. Furniture can be detailed with lots of things going on. Want to get a good finish? Then grab a roll of good tape. It’s a must-have to banish sloppiness.
Step 6 - Prime your furniture (if needed)
Want to know how to paint furniture for the best possible look? Always use a primer before applying the paint. Wooden furniture like bedside tables are porous, and these pores need to be sealed. Unless you want the corners peeling away. We know priming’s a pain, but it’s especially key if you plan to paint over a dark colour with a much lighter shade. You’ll also get better coverage, but if you’re painting metal, you can go ahead and skip this step. Unsure what primer to use? A versatile one is ideal for filling and bonding the surface. Our multi-use primer will help you prep wooden furniture like a boss, plus it dries really quick. See ya later, cracked peeling paint.
Using a foam mini roller, apply a thin layer in smooth up and down motions. Remember, the goal is to prepare the surface for paint, so cover it all. Let it dry completely before applying the second coat. As primer can sometimes raise the grain of the wood, so once it’s dried out, it’s usually a good idea to give it a light sand. Once your surface is perfectly smooth, you can reach for the paint and apply it with an eco paintbrush.
Step 7 - Mix and apply a first coat of paint

Once your primer is dry, you’ll be ready to paint. TF for that, hey. Although it’s been a bit of a slog, it’ll be worth it, we promise. Where else are you gonna find a piece like this? Nowhere that’s where. First up, give your paint a good stir and dip your brush in. Give it a little tap so you don’t drip paint on your drop cloth. Be sure to work in small sections, and don’t forget the edges either. What’s the best paint for upcycling furniture again? You got it. Eggshell.
Step 8 - Let it dry and decide if you need to apply a second coat

Once that first coat has dried, apply the second. One will not give you the best finish. Although it’s tempting to paint one single thick coat, resist at all costs. You’re only gonna undo your hard work. Thick, clumpy paint will cause ridges and lumps. If you’re really unlucky, it might even peel. Your best bet? Keep your coats nice, even and thin. You might need a third. Let it dry completely before moving on.

Step 9 - Distress your furniture (optional)
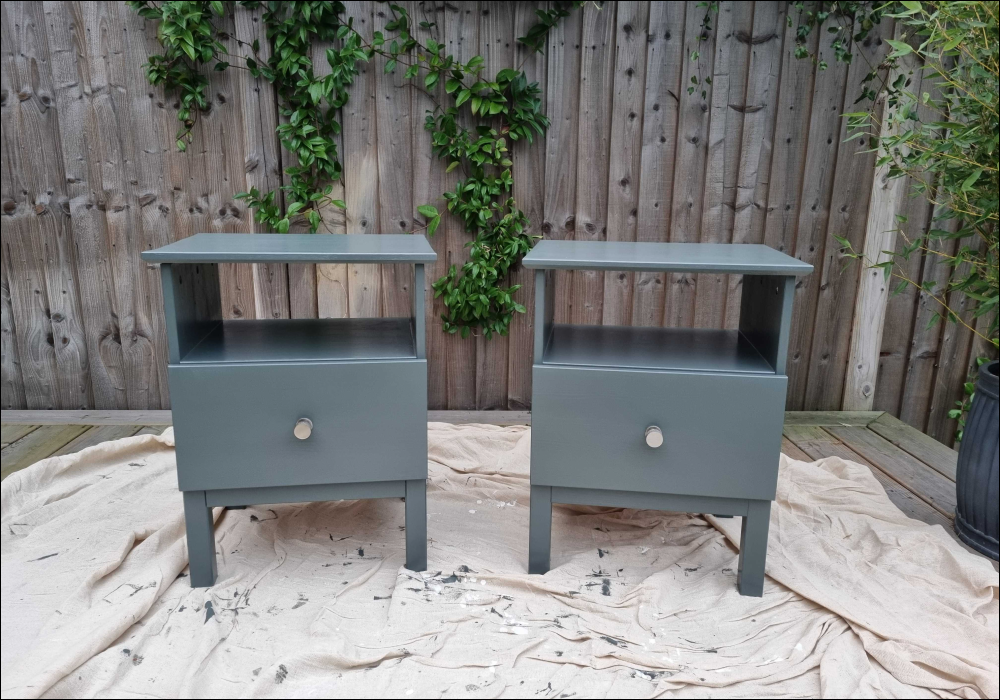
Like a bit of disheveled-chic? This section’s for you. ‘Distressing’ furniture can bring out the vintage flair of a piece. You’ll just need a bit of sandpaper and a cloth for the dust. It’s really easy to recreate a cute, weathered look at home. Using a medium-grit of sandpaper, sand away at the paint. Although it might feel a little counterintuitive after all that prep work. Make sure to go in the direction of the grain to avoid causing damage. It’s meant to be ‘shabby’, not totally wrecked. A finer sandpaper will get a softer result. Great if you’re just dipping your toes into the farmhouse style. Once you’re happy with how much paint has buffed off, you’re pretty much done. Grab a cloth and wipe away the dust.
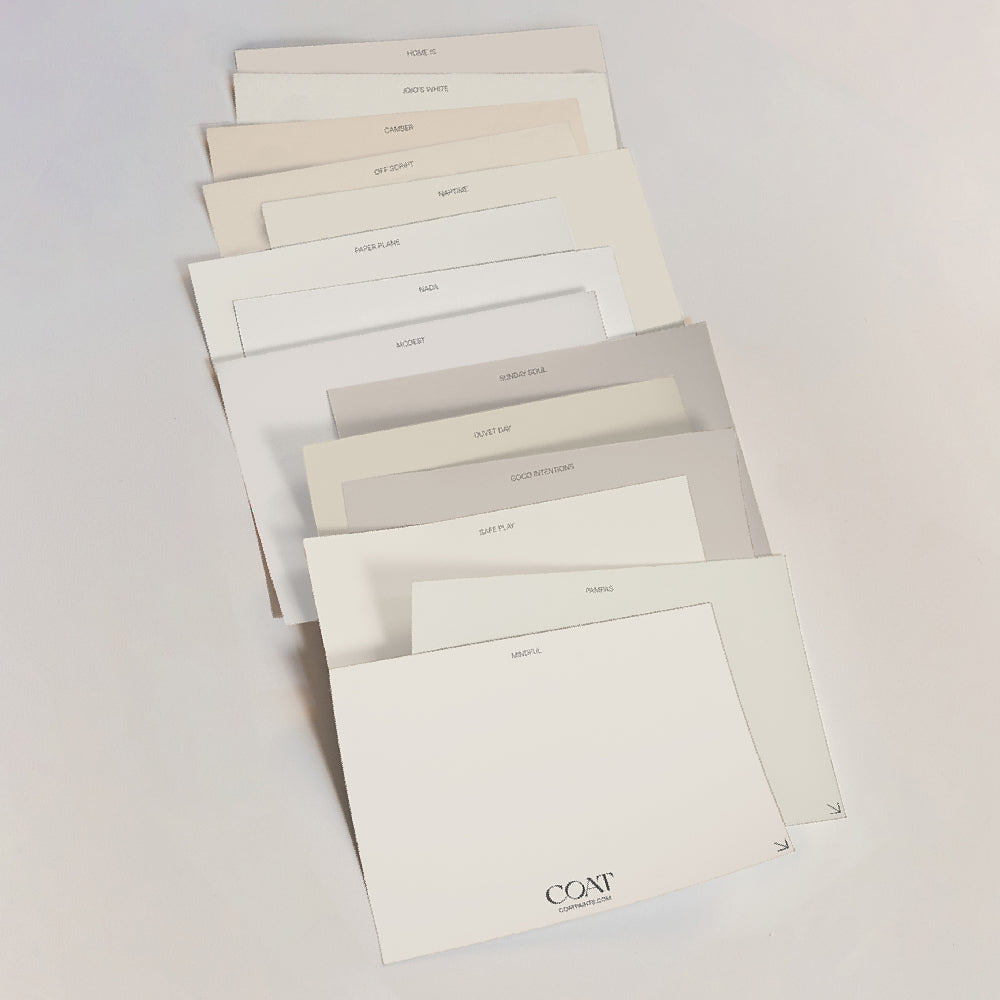
Ta-da, you’re a repurposing pro. We’re so very proud. Now you know how to upcycle furniture, grab a swatch and get going.Publish Date
Author