How To Paint Kitchen Cupboards
Is your kitchen in need of a makeover, but you don’t have the funds to rip everything out for something new? Well, maybe you should consider breathing new life into your cabinets with a lick of kitchen cupboard paint. It’s an affordable (and easier) alternative that can add an extra wow factor to your home. And who doesn’t want that?
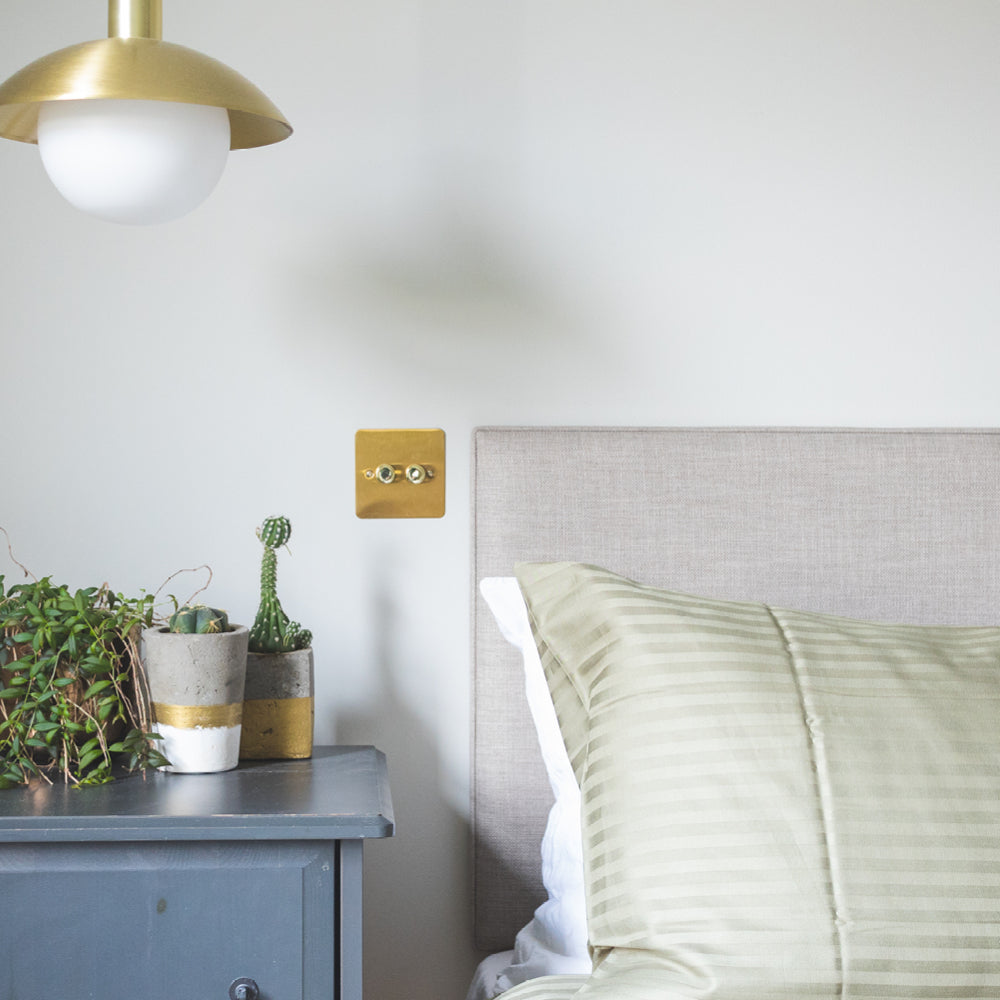
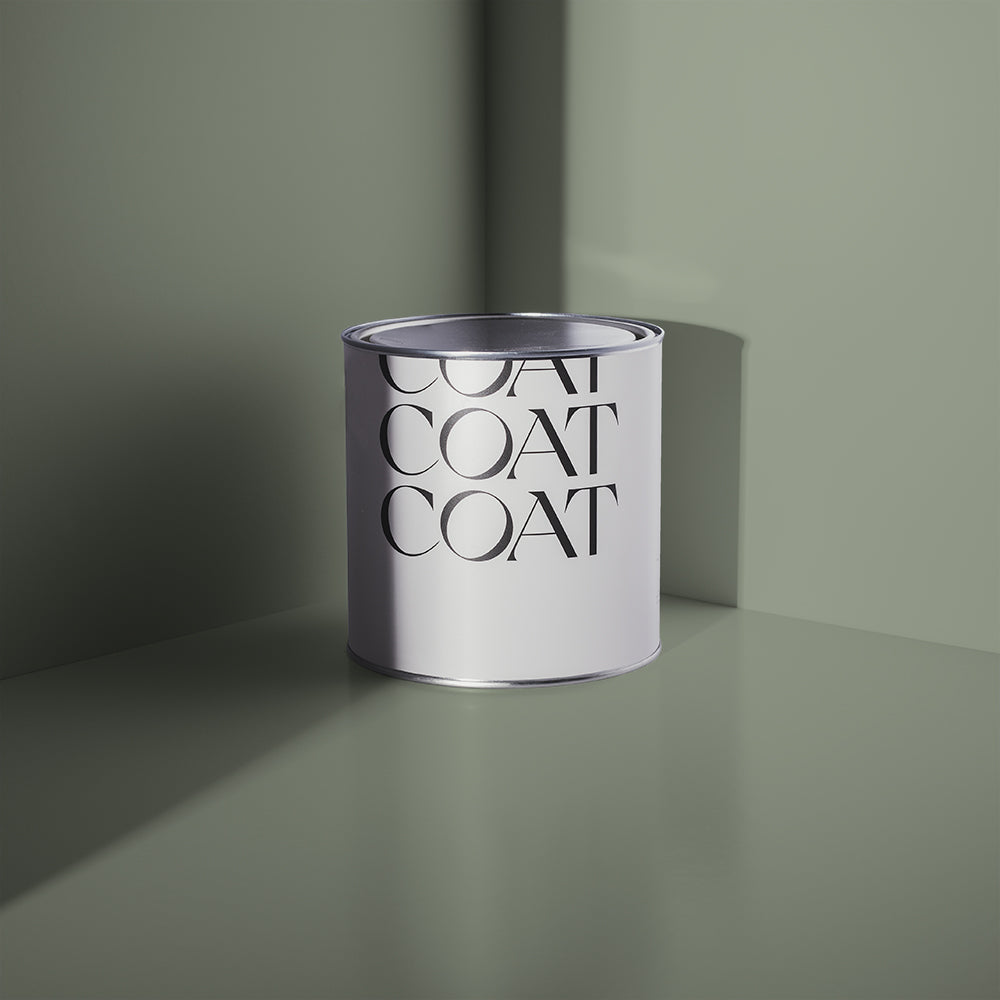
When it comes to kitchen cupboard paint, eggshell is the way to go. It’s designed for wood, so easy to apply, and we can guarantee the final result will look fab. Want to give it a go? Here’s our guide on how to paint kitchen cupboards. But as always, there’s some prep work to do first!
Like with all DIY jobs, you’ll need to have the right tools to hand. And pending on your cupboards material, it will affect the product you choose for priming kitchen cabinets. Don’t worry; we’ll give you a checklist and go over all you need to know.
If you paint without sanding, there is a risk that the paint won’t stick to the surface. Also, sanding allows for a nice, smooth finish. So, the short answer to the question...no. Sanding should be part of prepping cabinets for paint.
However, if your cabinets are solid wood, you might be able to go straight to priming without sanding first. If the wood isn’t covered in a clear gloss, or you’re not repainting kitchen cupboards, and there are no imperfections to buff out, then go for it. But if you want to play it safe, give them a light sanding first.
Some will say you shouldn’t sand laminate, whereas others will say you 100% should. Let’s put it this way; if you don’t sand it and the paint doesn’t stick, then you’re going to have to start all over again. And nobody wants that.
Basically, we’re pro-sanding. Whether you have wood, MDF or melamine cabinets, a light sanding will help create a surface for the paint to stick and a smooth final result. We’ll go into more detail on sanding kitchen cabinets before painting a little later.

Selecting Your Kitchen Cupboard Paint and Gathering The Right Materials
As we touched upon earlier, when thinking about what kind of paint to use on wood kitchen cabinets, eggshell is best. Why? It’s designed to be used on wood and difficult surfaces, so you know it will apply easily and smoothly. Eggshell is also easy to clean - always a plus in a kitchen! And it’s durable, so can cope with slamming cupboard doors or the odd knock as you put your frying pan away.
That’s not to say you can’t use other paints. Some recommend using gloss. However, unless you’re a pro-painter, you’ll likely see the brush marks. Not good.
Can you still use eggshell when painting laminate kitchen cupboards? Yes. As long as you prep first. You’ll need to give it a light sand and use a water-based primer that works for laminate before painting.
The best way to paint kitchen cabinets, whatever their material, is to prep them thoroughly first. Skip this stage, and you risk things like grease stains bleeding through or your paint not sticking at all. So, if you want to avoid hours of painting counting for nothing, give your cabinets a clean, sand and prime before even thinking of adding any paint!
Not sure about what colour to go for? Chat with our Colour Consultant and get that vibe nailed 🙌

Ok, we’ve drilled in the importance of prepping; let’s move on.
Here’s what you’ll need for this project:
- Safety goggles
- Dust mask
- Screwdriver
- Masking tape + pen
- Clear bag (e.g. a freezer/sandwich bag)
- Dust sheets
- Sponge
- Water + sugar soap
- Sandpaper (anything between 120 to 220 - it needs to be fine)
- Damp cloth
- Good-quality paint brush
- Roller
- Primer (scroll down to ‘Prime Your Cupboards’ to see which version you need)
- Paint
Now that you have everything you need, I suggest you empty the contents of your kitchen into boxes. Nobody wants flecks of paint all over their crockery! Also, move any furniture you don’t need to another room. The more space you have to work in, the better.
Done? Great, you’re ready to begin the prep process.

Remove Doors and Handles
Your first task when prepping cabinets for paint is to remove all of the cupboard doors and drawers. But don’t forget to label them. Add a piece of masking tape to the inside of the door/drawer (the side you’re not painting first) and write down where it goes.
Also, while painting kitchen cupboard doors, you don’t want to get any paint on the handles. So, you’ll need to remove these too. Keep them in a clear plastic bag - that way, you won't lose any of them. If you’re unable to remove the handles, cover them in masking tape instead.
Planning on changing your handles? You’ll want to add some filler to the current holes and sand down. This will give you a clean area to add the new handles exactly where you want them.
Clean Your Cupboards
Before you begin cleaning your cupboards, it’s best to prep the room. Put down sheets to cover worktops and floors, and tape over any areas you don’t want to get paint on, e.g. tiles, backsplash, wall area surrounding cabinets, light switches etc.
Now for the cleaning. You’ll need to be thorough here. The aim is to remove any grease and oil (or food!) before painting. If you don’t, there’s a chance the paint won’t stick, or the grease/oil stains will show through.
- Wipe down your cupboards (including the doors you removed) with water.
- Now scrub with sugar soap for a deeper clean.
- Rinse off the sugar soap with clean water.
Allow everything to dry before moving onto the next stage. This is a good time to put the kettle on. Hmmm, wait a minute. I’ve taped all the sockets up. Yeah, maybe we should mention that before your kitchen becomes out of access, move your kettle, microwave, fridge (and any other portable items you use to cook food) to another room. That will be your make-shift kitchen during this project!
No sugar soap? We've got you covered. Shop our prep kit 👉 here

Sand Your Cupboards
Safety first! Wear goggles and a dust mask. And make sure the room is well ventilated by opening the windows and doors to the outside world.
Use fine sandpaper when sanding kitchen cabinets before painting. Anything between 120 and 220 will work well to get rid of any imperfections. The aim is to create a flat, keyed surface for your paint to stick to.
- Sand the crevices first - a tip is to wrap the sandpaper around a sponge as this will allow you to get into the ridges and corners. Sand slowly, and don’t apply too much pressure.
- Now sand the large surfaces - always sand in the direction of the grain of the wood.
- Clean up - use a damp cloth to wipe down your cabinet and doors after sanding. You want to remove all of the dust, so give the room a vacuum too.
- Allow it to dry.
If you’re painting laminate kitchen cupboards or a cabinet with a shiny surface, you might need to work a little harder when sanding because of the glossiness. Start with the 120 (or slightly higher) before going over again with even finer sandpaper (200 to 220).

Prime Your Cupboards
Priming is an important step before painting cupboards. It will create a seal to prevent your paint from sinking into the wood and provide a great surface for your top coat to stick to.
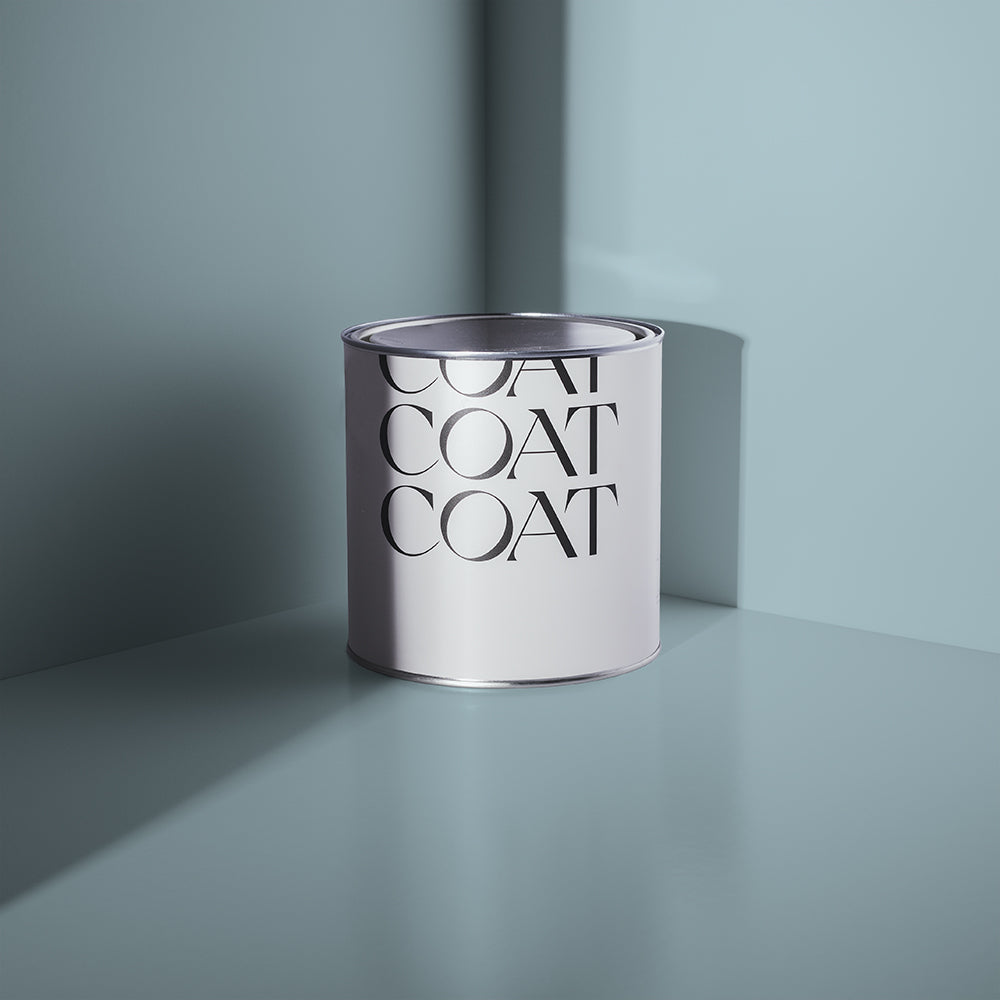
Did you know, we do our own primer? AND prep kit! So grab everything you need and skip the DIY store 👌
So, when priming kitchen cabinets, what should you use? If you’re repainting kitchen cupboards, you can skip the primer after sanding the painted surface unless you hit bare wood (just spot over those areas).
If you’re painting over a dark wood/colour, you’re best to use a stain-block primer. It will prevent knots in the wood from showing through (as well as the colour, so you won’t be having to apply an extra 1 or 2 coats of your paint).
For everything else, make sure to buy a primer that suits the material you’re painting over. So, a wood primer for well, wood, but it can also be used on MDF. For laminate, go with a multi-purpose version or a primer designed for use on melamine.
- Apply the primer with a brush or roller - make sure you’re getting into corners and ridges too. You only need a thin coat as you’ll be doing a second coat.
- Allow the primer to dry.
- Go over with fine sandpaper.
- Use a damp cloth to wipe away the dust - don’t forget to let it dry before the next step.
- Apply a second thin coat of primer.
- Allow it to dry.
- Give it another sand.
- Use a damp cloth to wipe away the dust - and vacuum up the dust too, so it doesn’t end up in the air and landing while you’re painting.

Once you’ve allowed your cabinets to dry, the prep is over. Phew. You can get on with the fun part now and start painting.
Apply The First Coat of Paint To Your Kitchen Cupboards
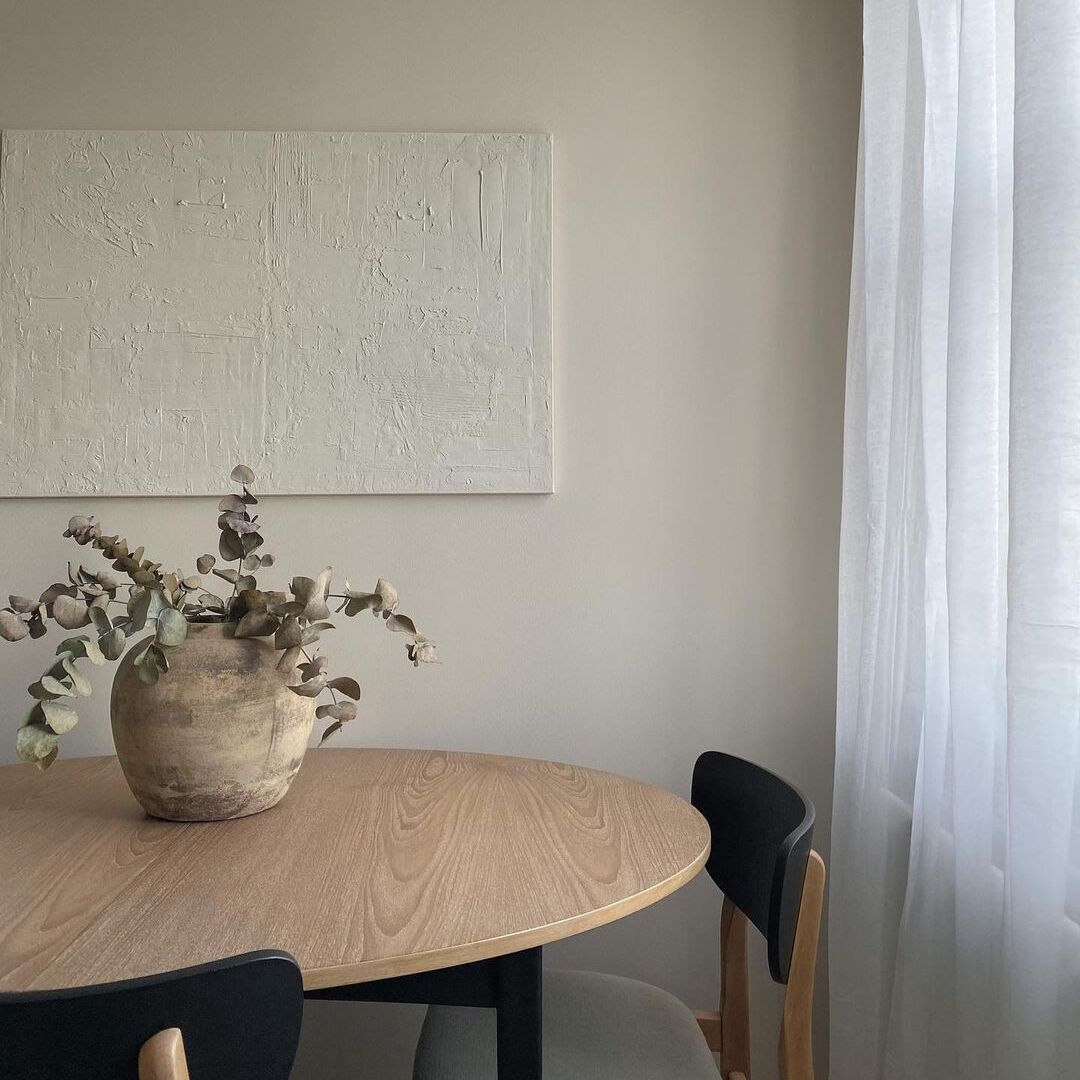
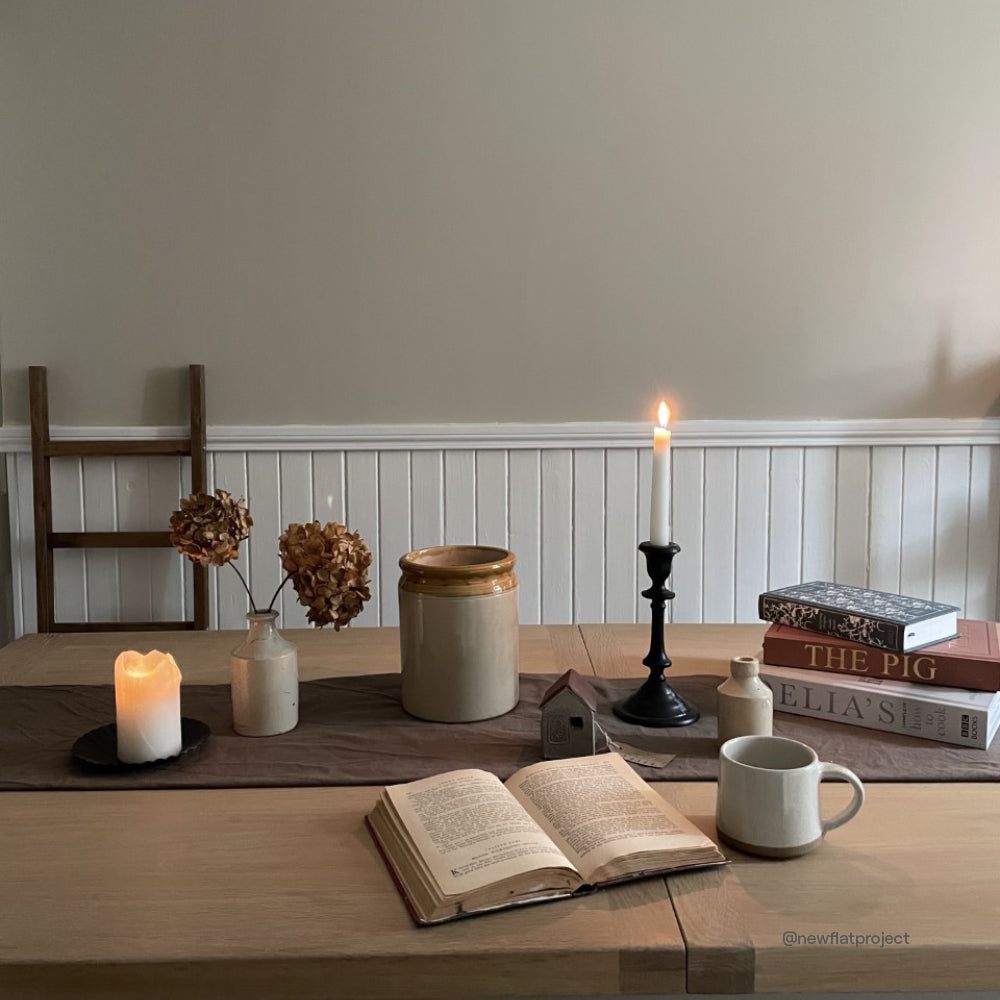
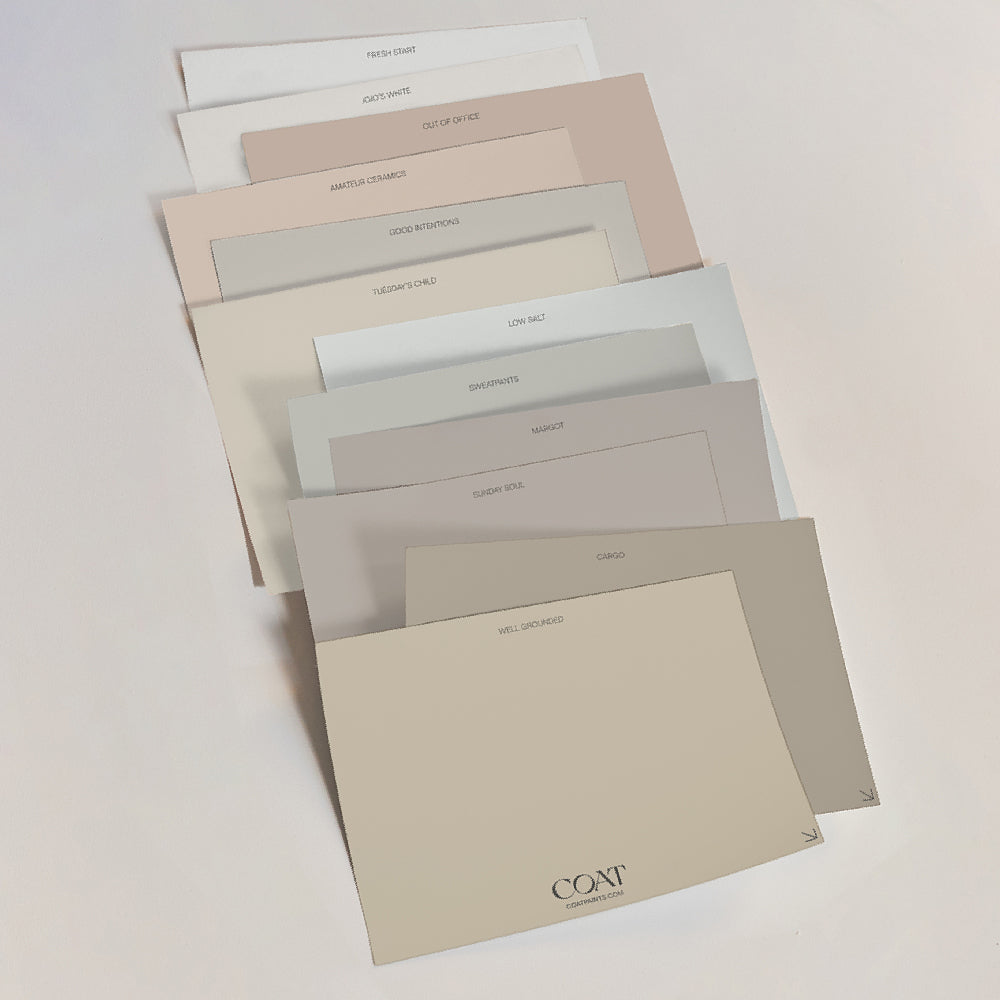
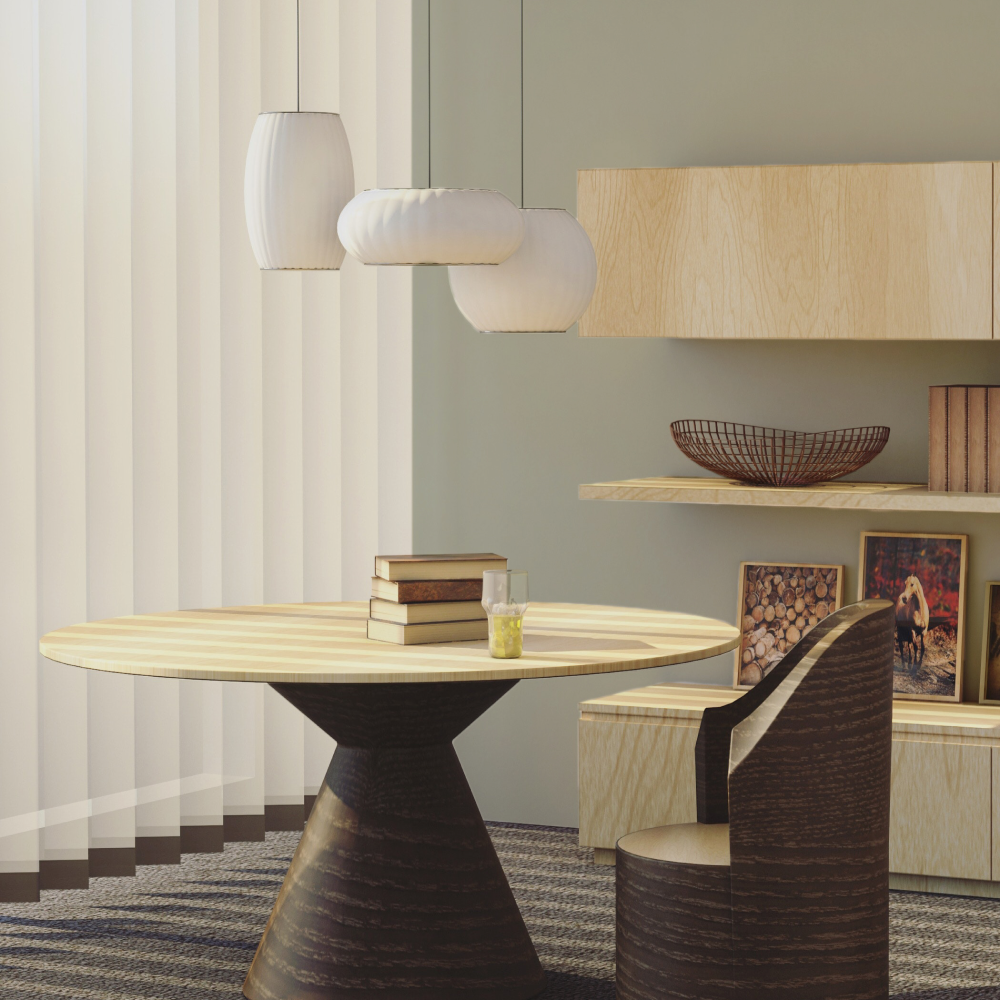
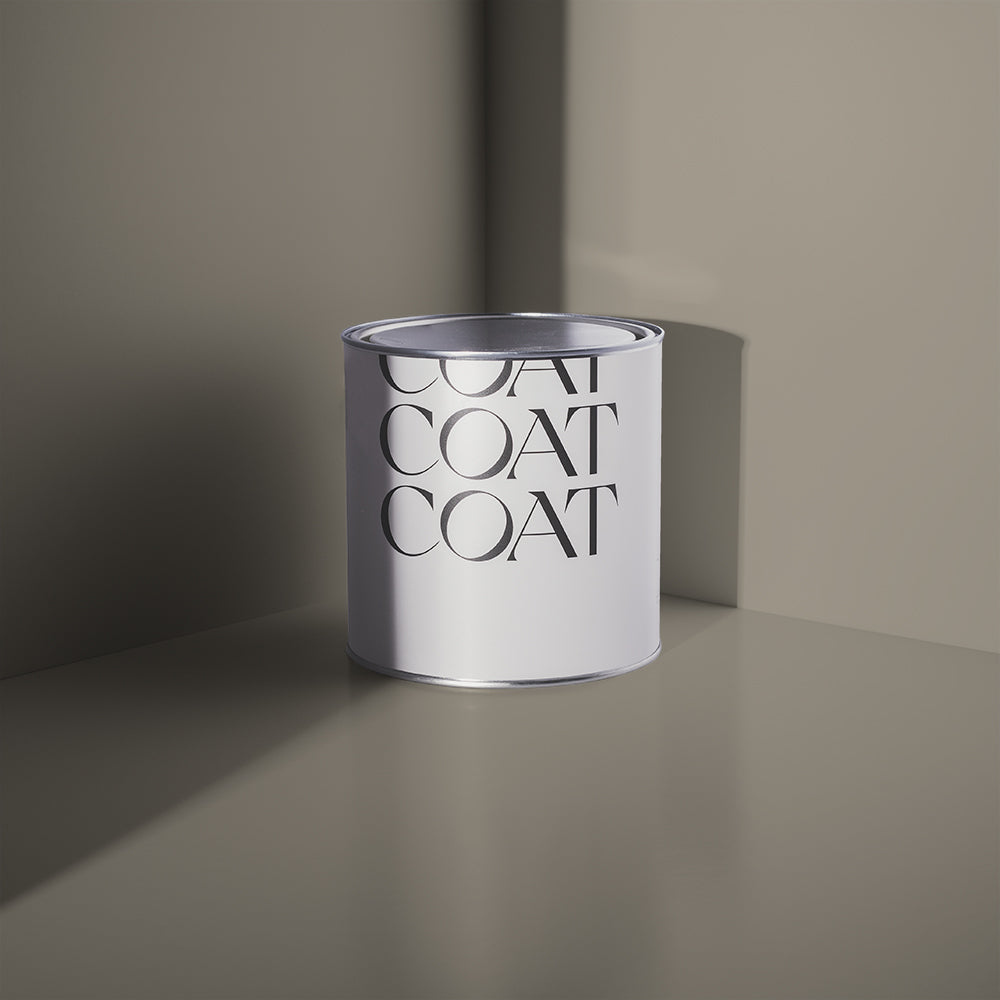
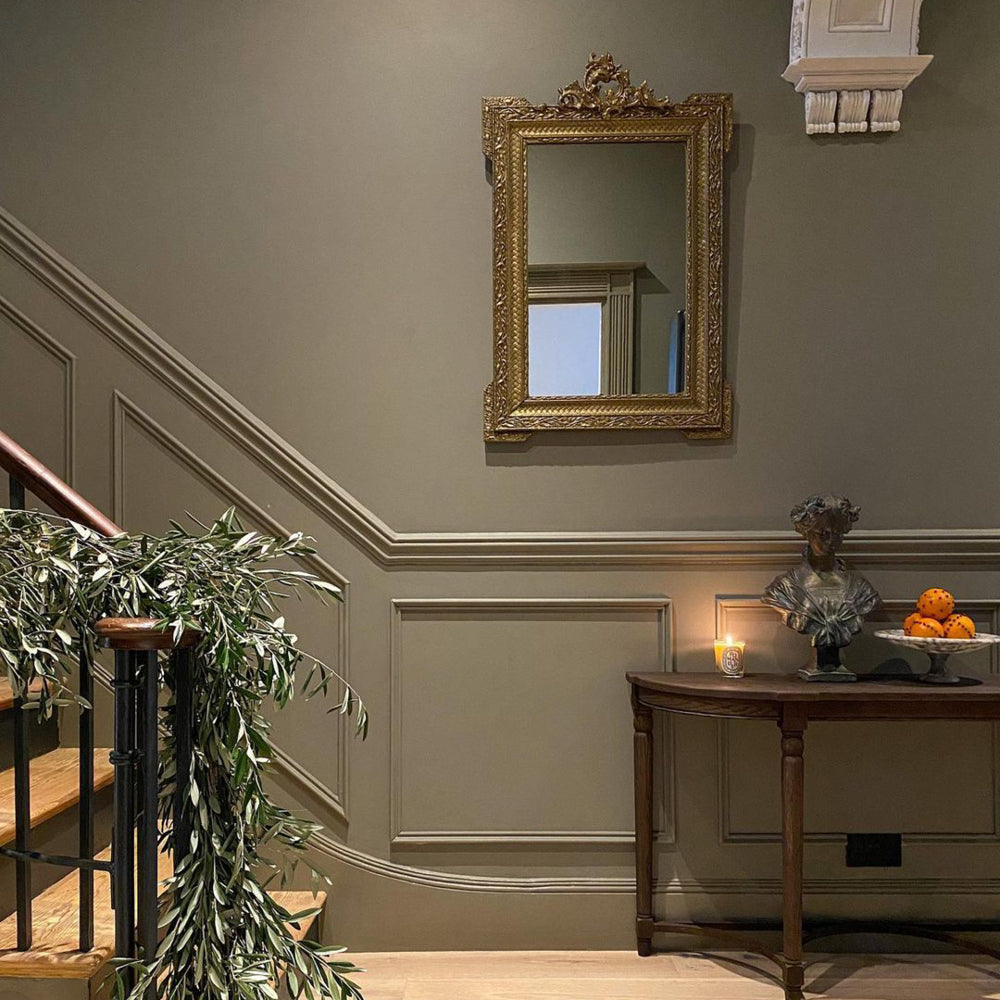
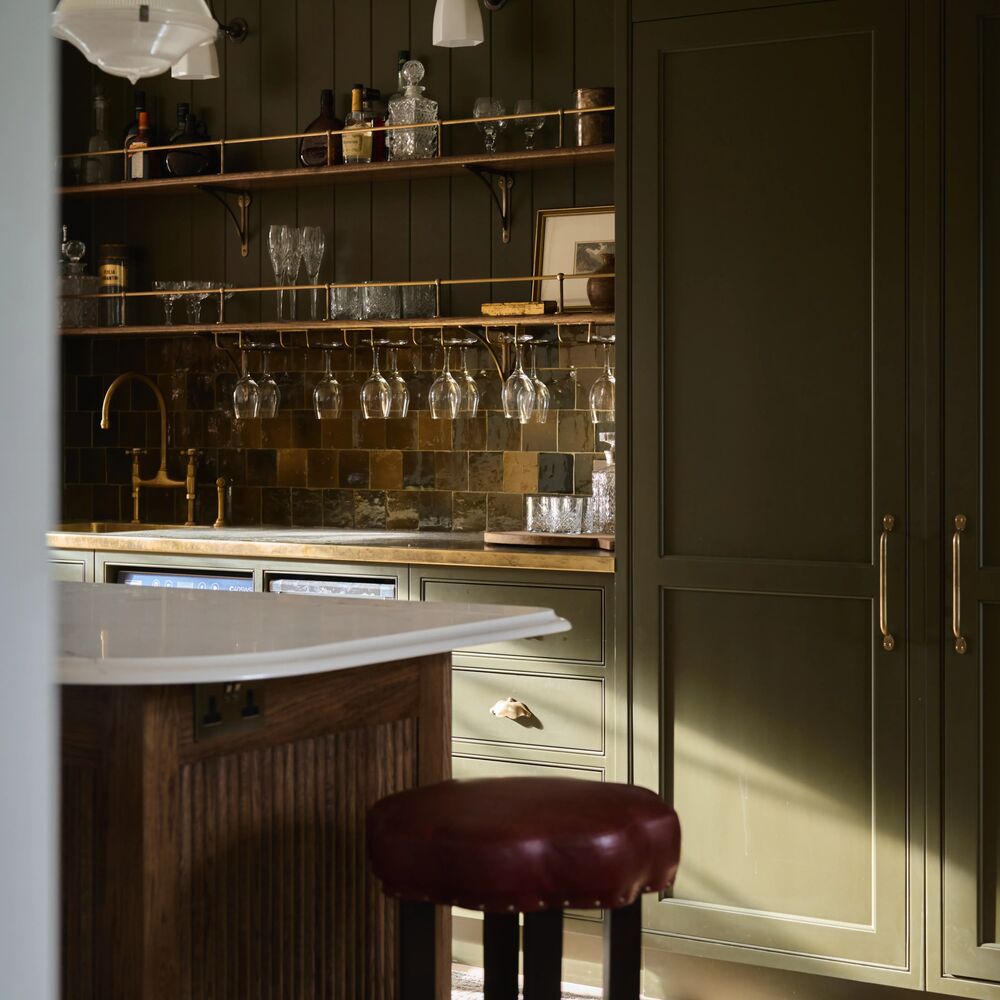
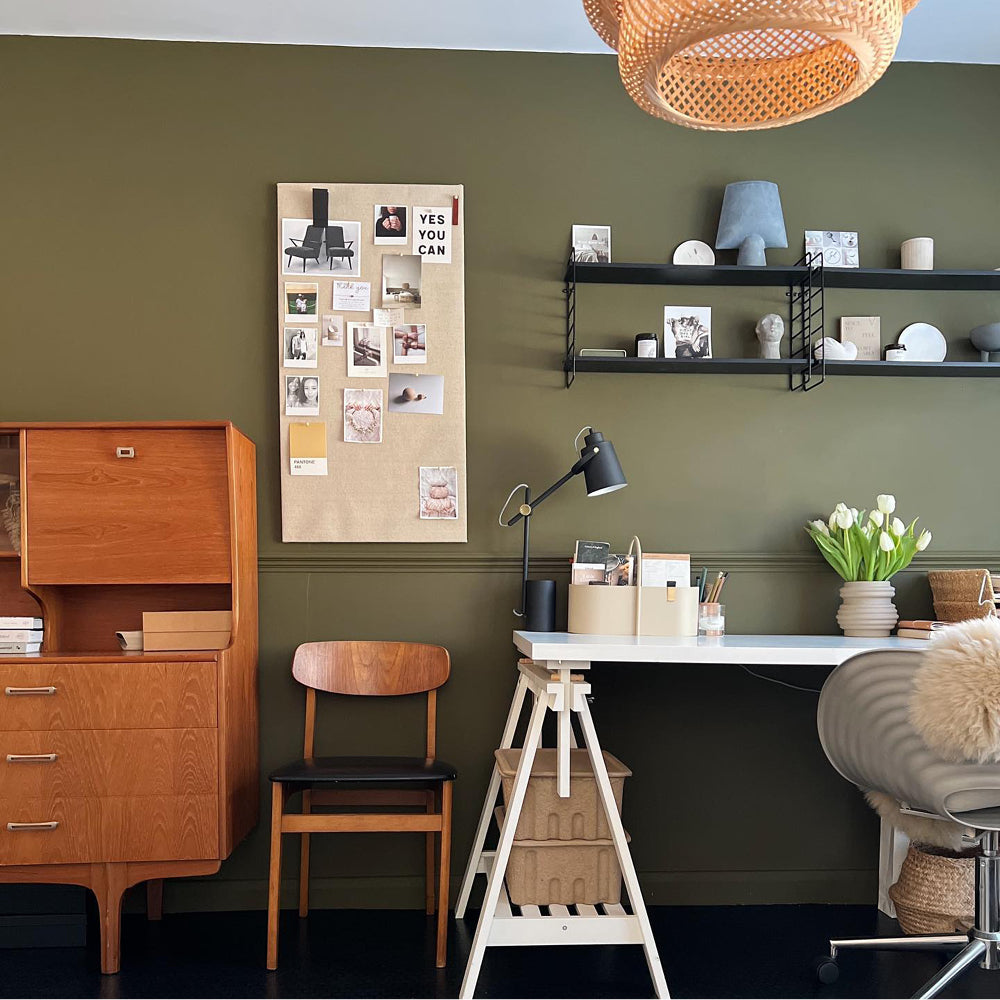
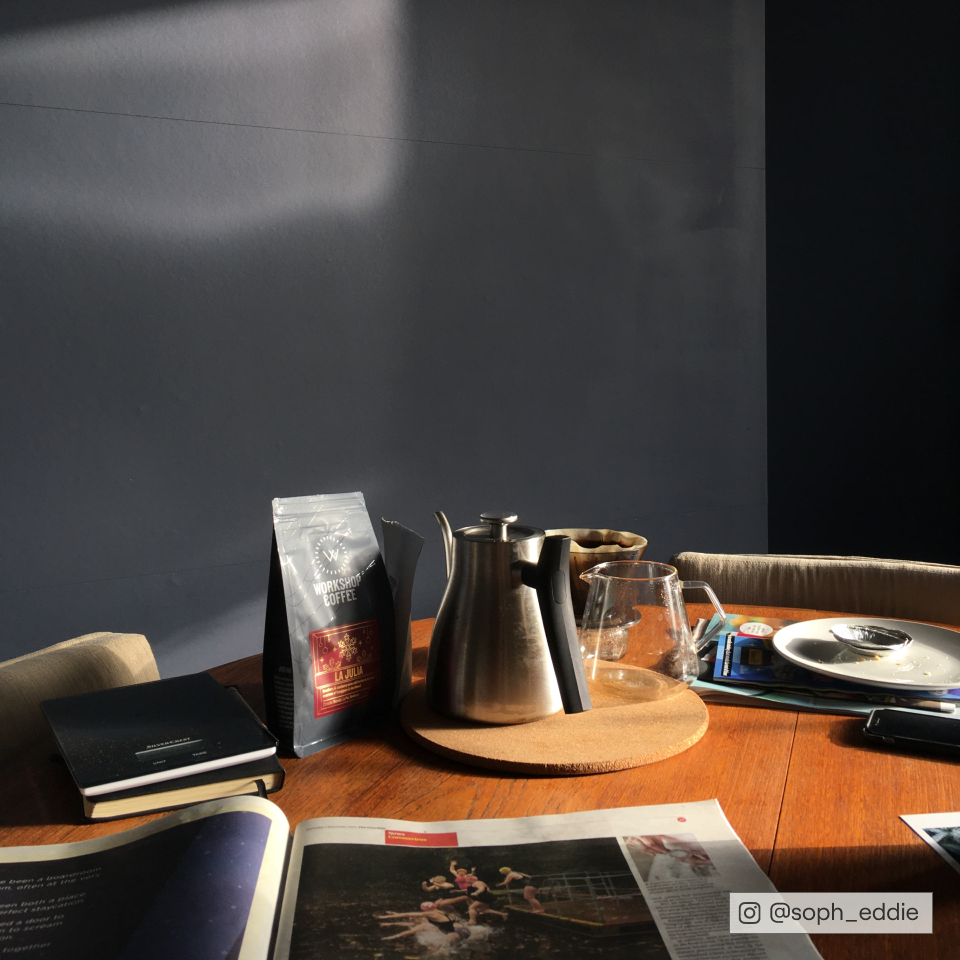
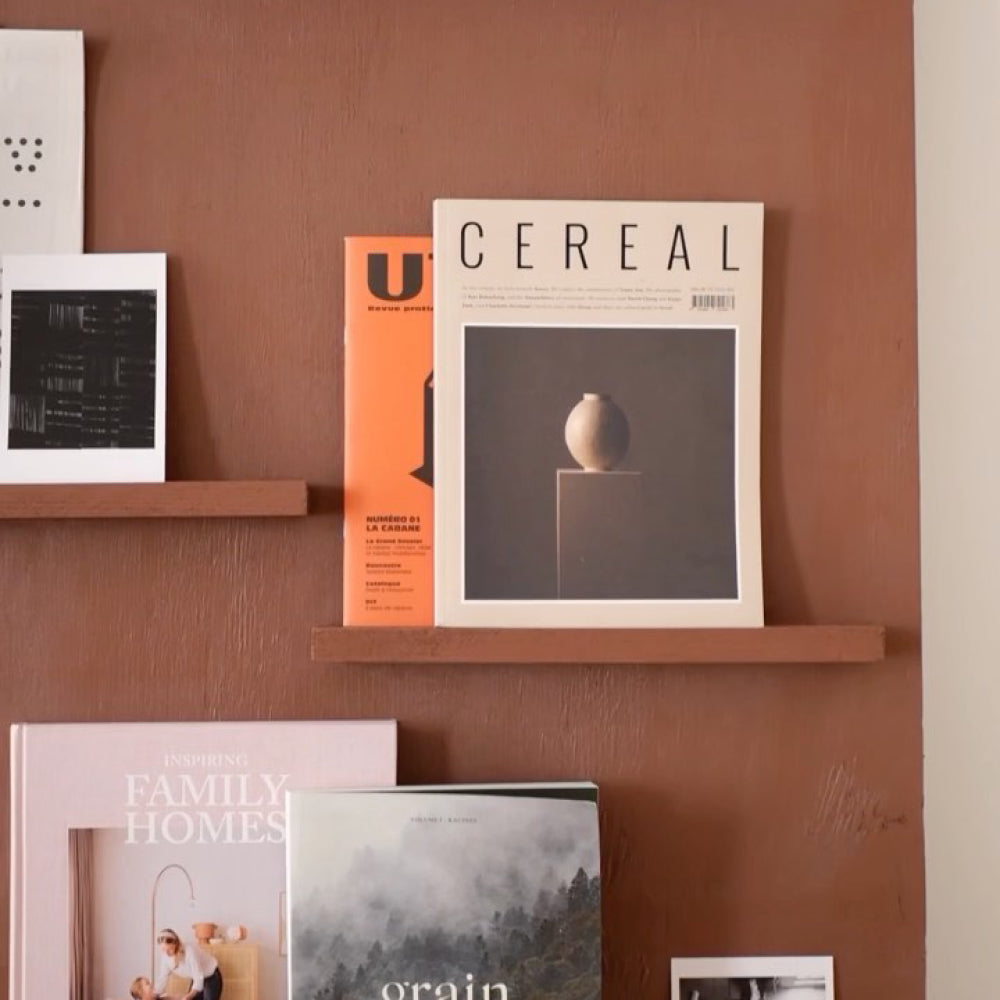
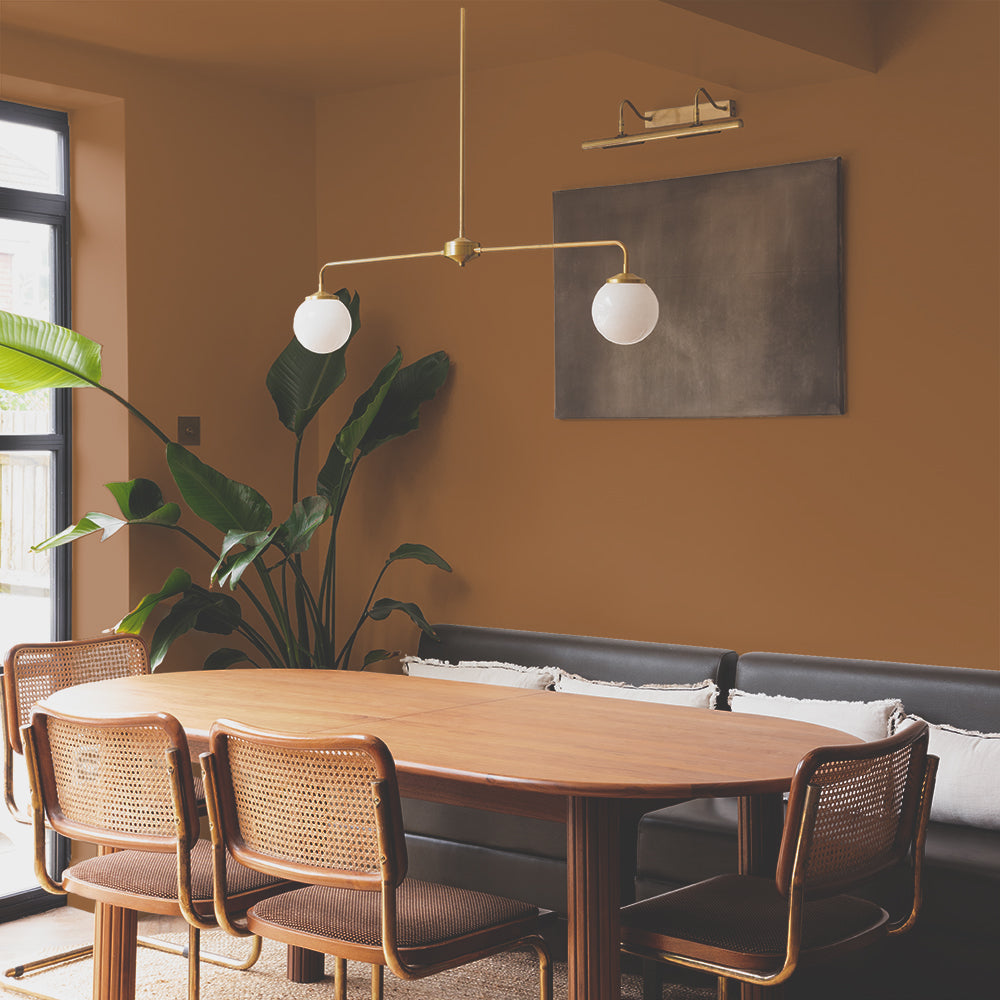
Dan opted for 'Good Intentions'. Fancy the same? Grab a sample!
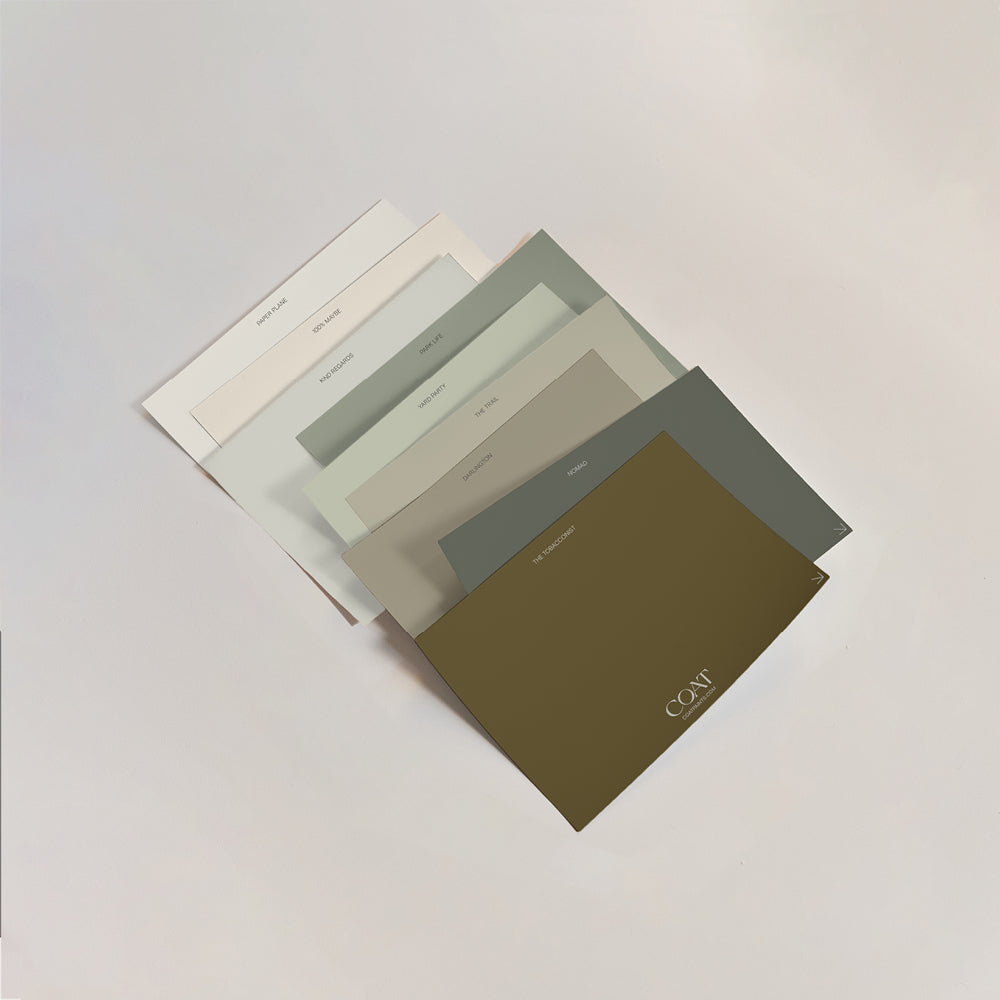
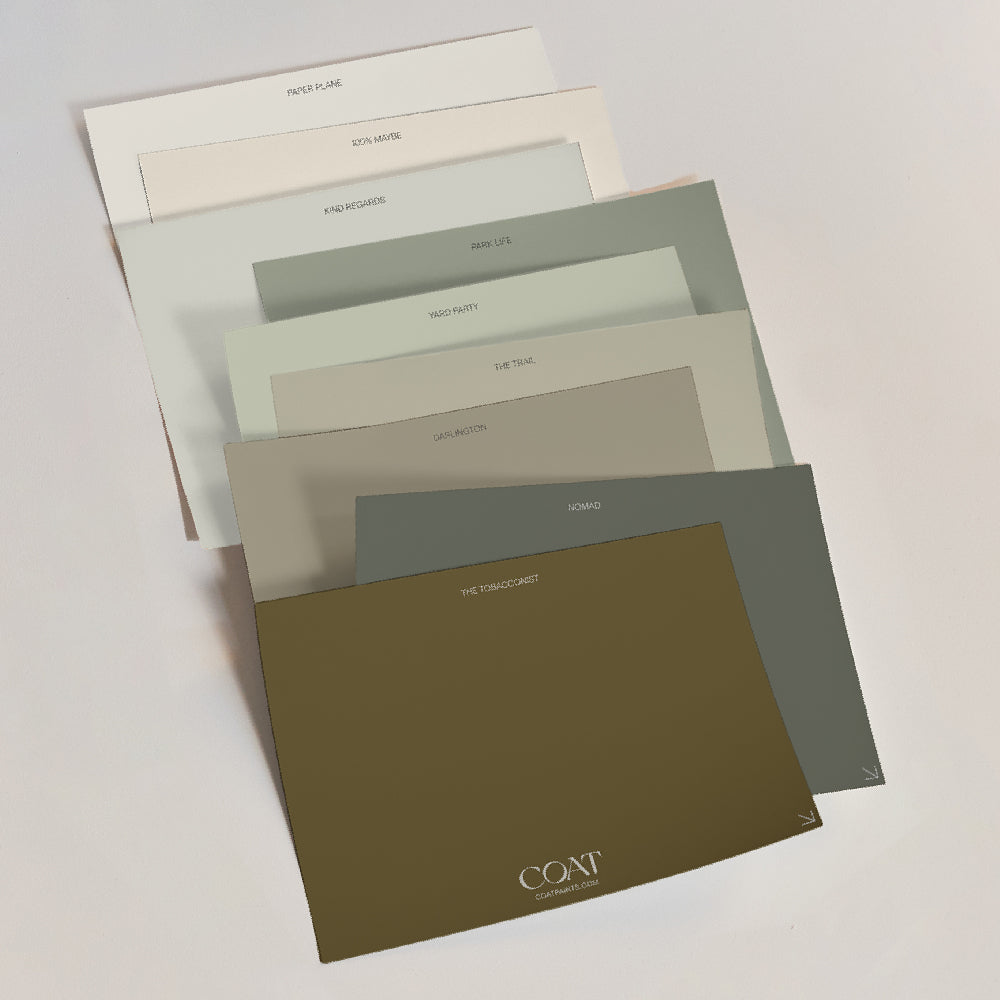
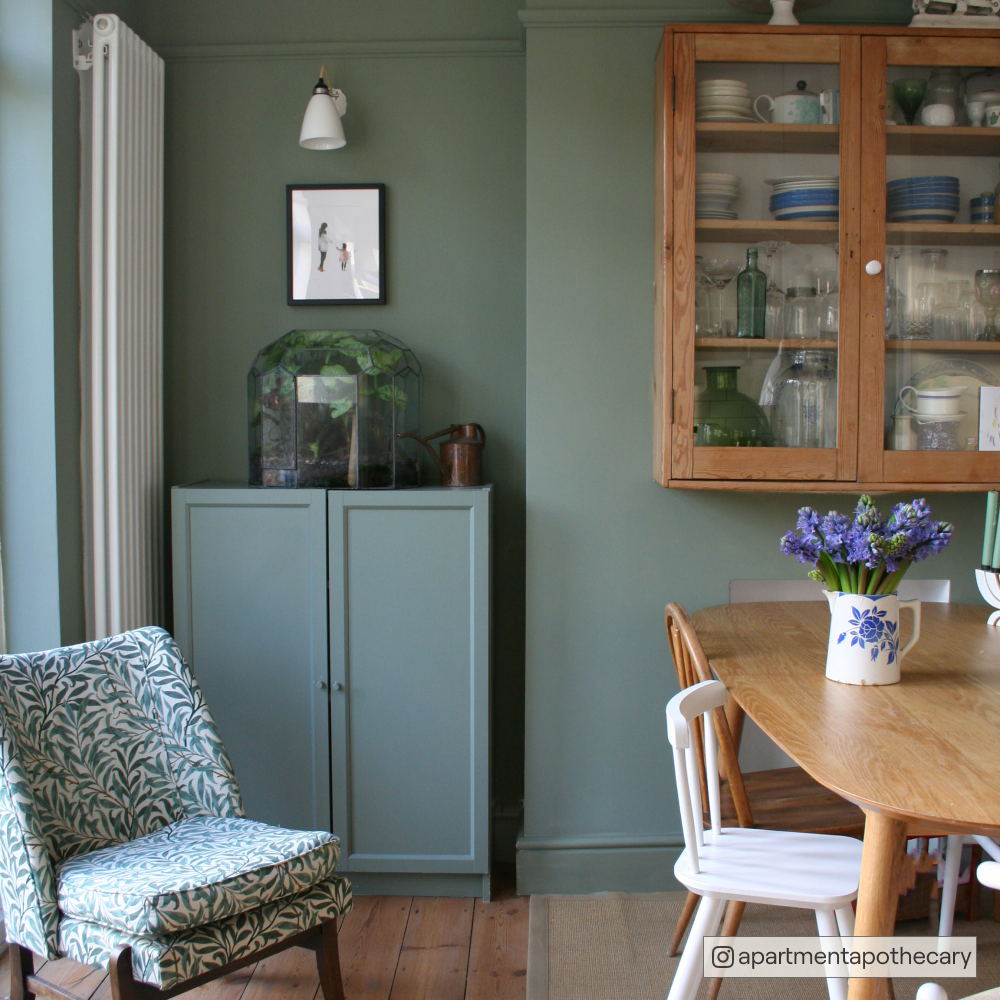
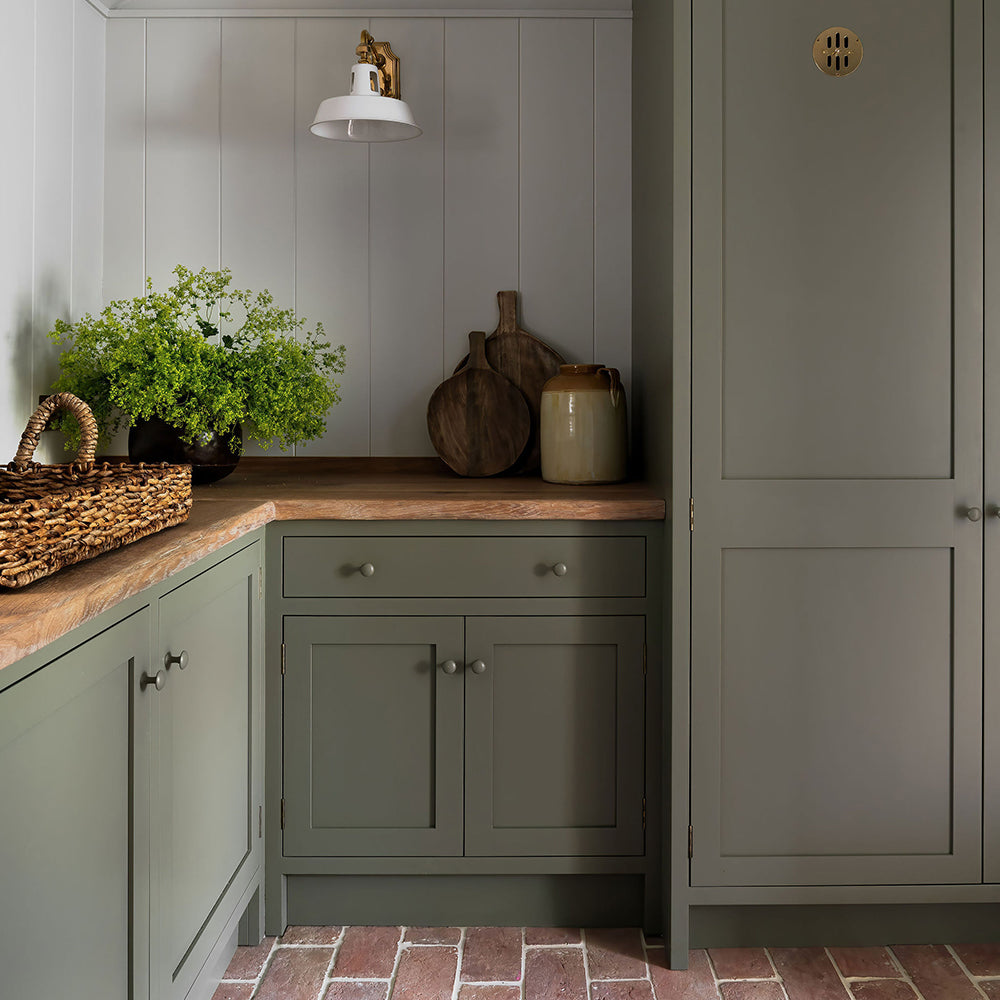
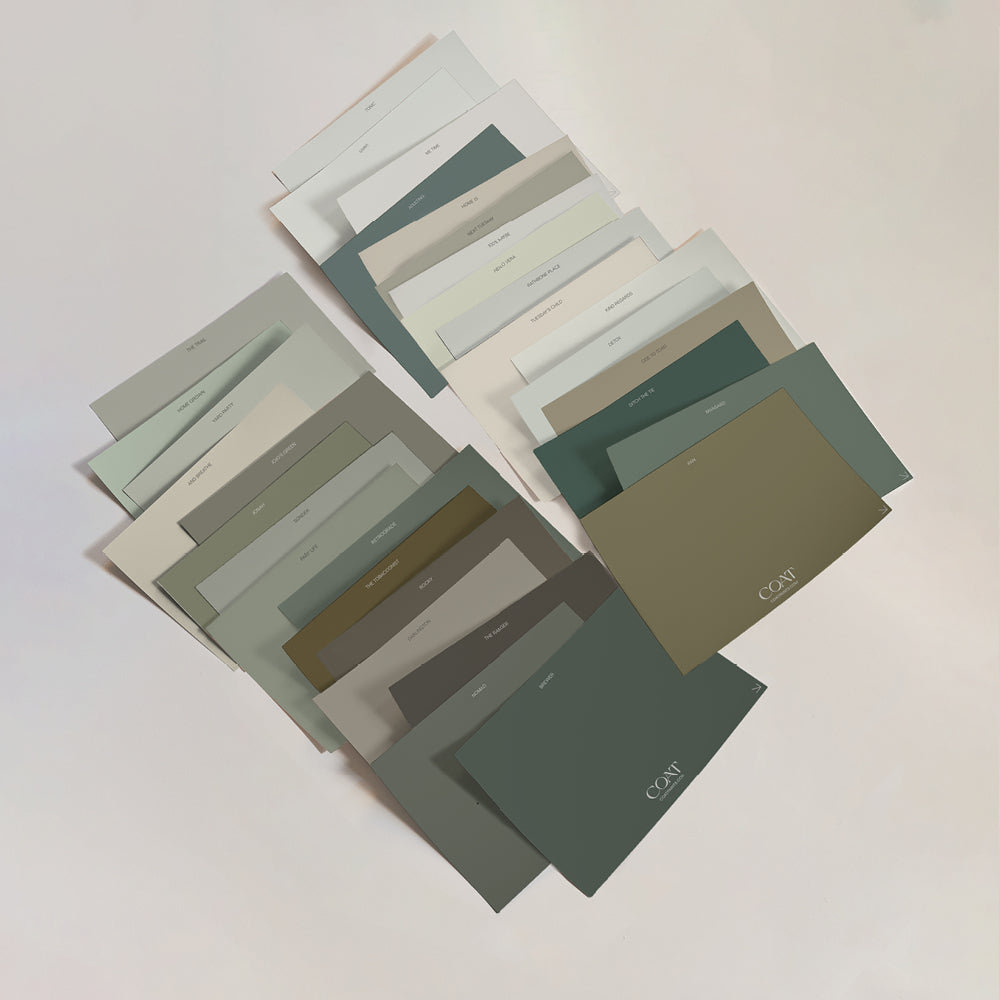
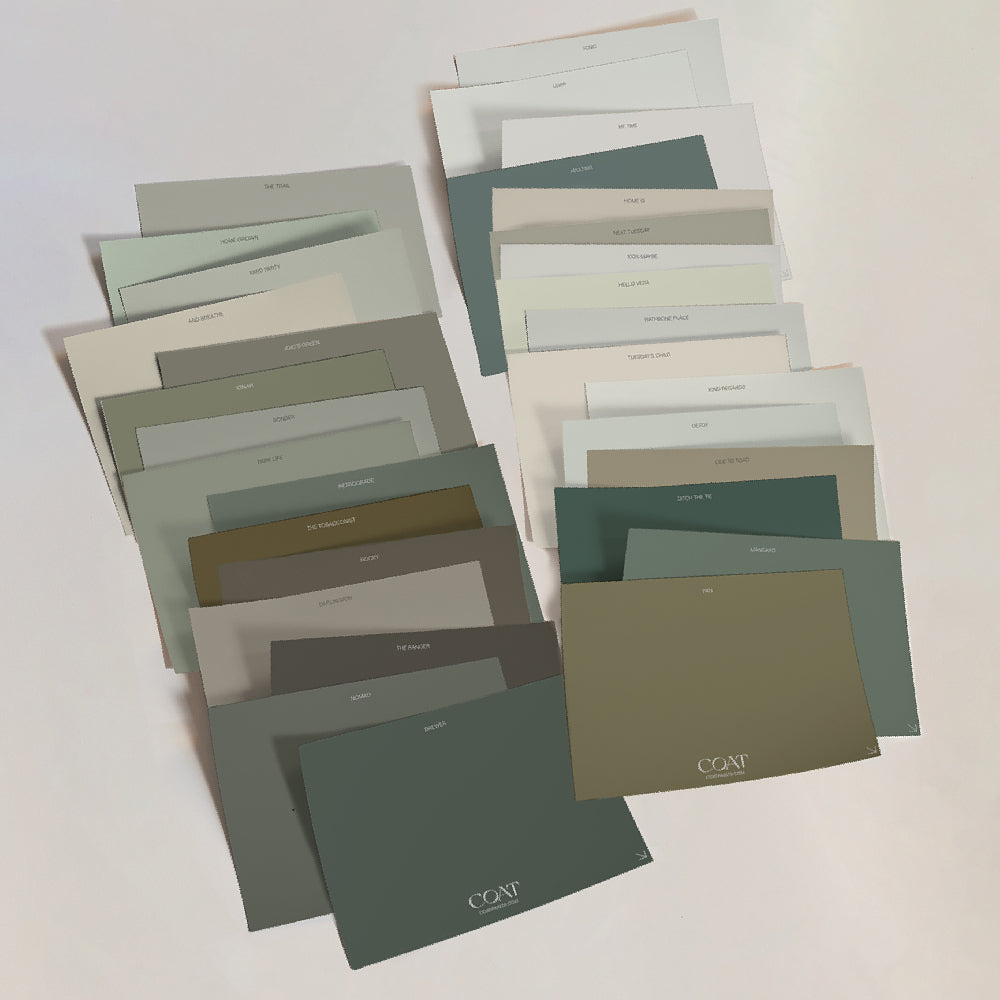
It’s time to add some colour to your cupboards… or paint them white. Whatever look you’re going for you, COAT’s Kitchen Cupboard Paint Collection has our entire colour range.
Right, let’s get into the best way to paint kitchen cabinets:
- Stir the paint - give it a good stir, so the colour is consistent.
- Paint in long, even strokes from top to bottom - don’t put too much paint on the brush to avoid drips. Take your time too. And make sure you’re getting into those crevices (you may have to do up and down strokes for this).
- Allow the paint to dry - time for a tip: while your first coat is drying, you can cover your paint brush with cling film to prevent it from drying out.
- Lightly sand the cabinet before moving on to the second coat - don’t forget to wipe it down with a damp cloth afterwards and allow it to dry.
By the way, a few thin layers of paint are better than one thick coat. That’s if you want a professional-looking finish. Which you do.
When painting kitchen cupboard doors, you’ll want to make sure it’s 100% dry before turning over to add the first coat of paint to the other side. Don’t forget to move the masking tape labelling the cupboard door - would be a shame to accidentally paint over it!

Add A Second Coat Of Paint
Again, use light, even strokes with your brush from top to bottom until you’ve covered the entire surface. Then go over with a roller to cover over any brush strokes. Allow your second coat to dry.
Not achieving the results you’re after? You may feel you still need another coat of paint. Don’t fall into the trap of thinking your coats so far have been too thin and then plaster on a thick layer of paint. It’s common that you may need three coats, especially if you are painting over a darker colour.
If you're adding a third (or even fourth coat), remember to allow the previous coat to dry first. Then give it a light sand and wipe down with a damp cloth. And of course, then wait for it to dry before getting your brush and roller back out.

Allow your final coat to dry
Once you’re happy with your new look cabinets, allow plenty of time for them to dry before putting your doors and drawers back on.
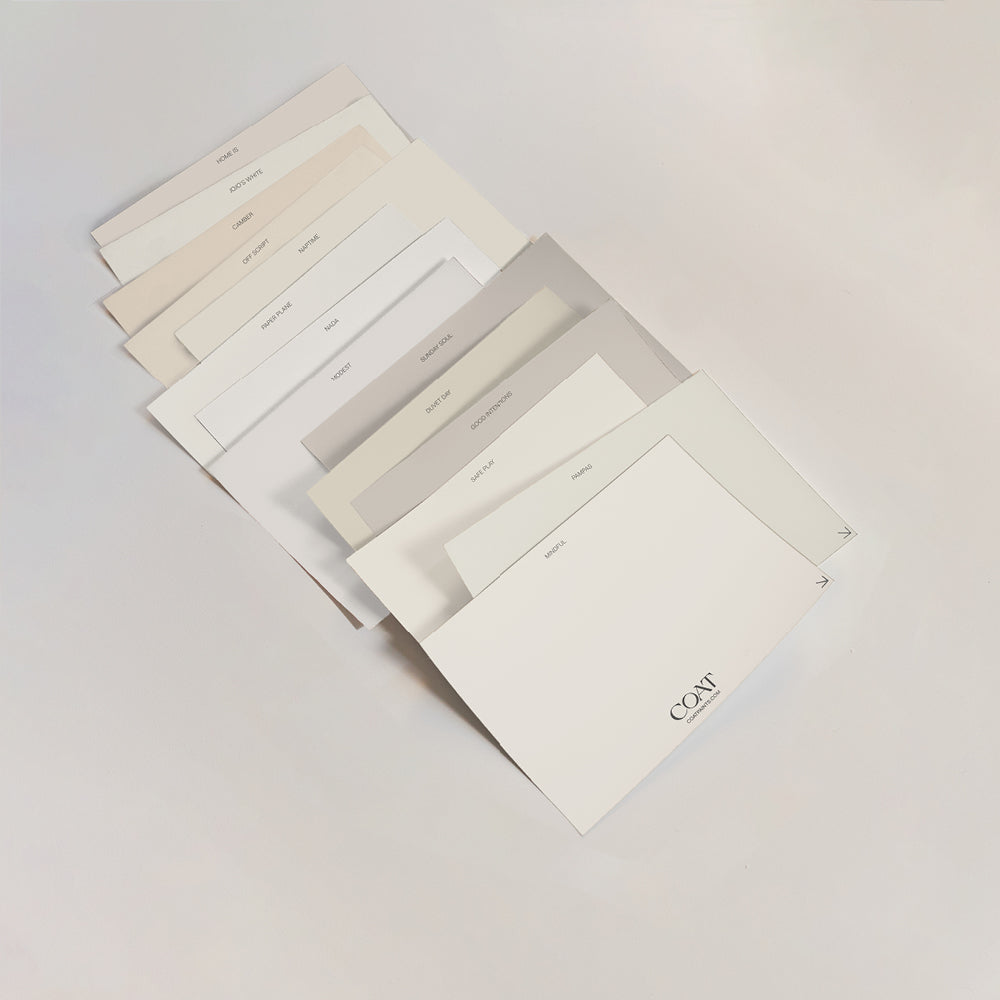
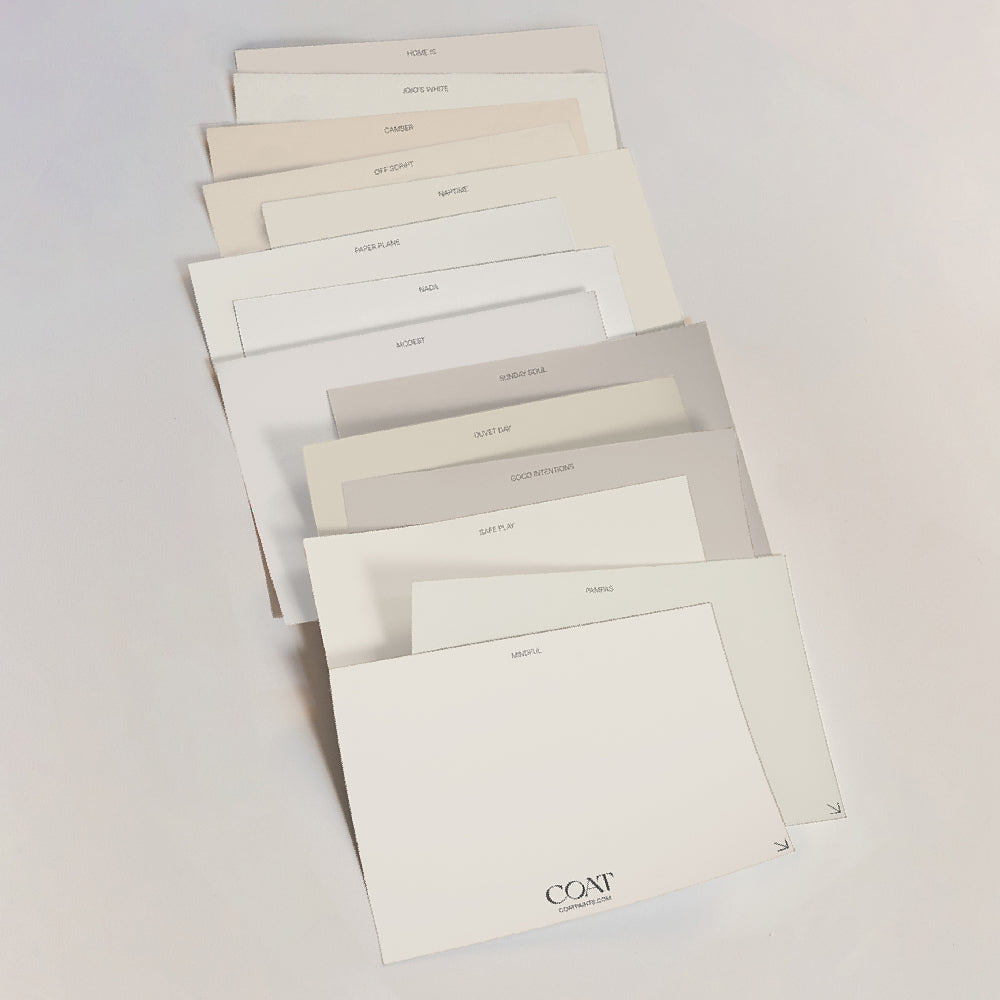
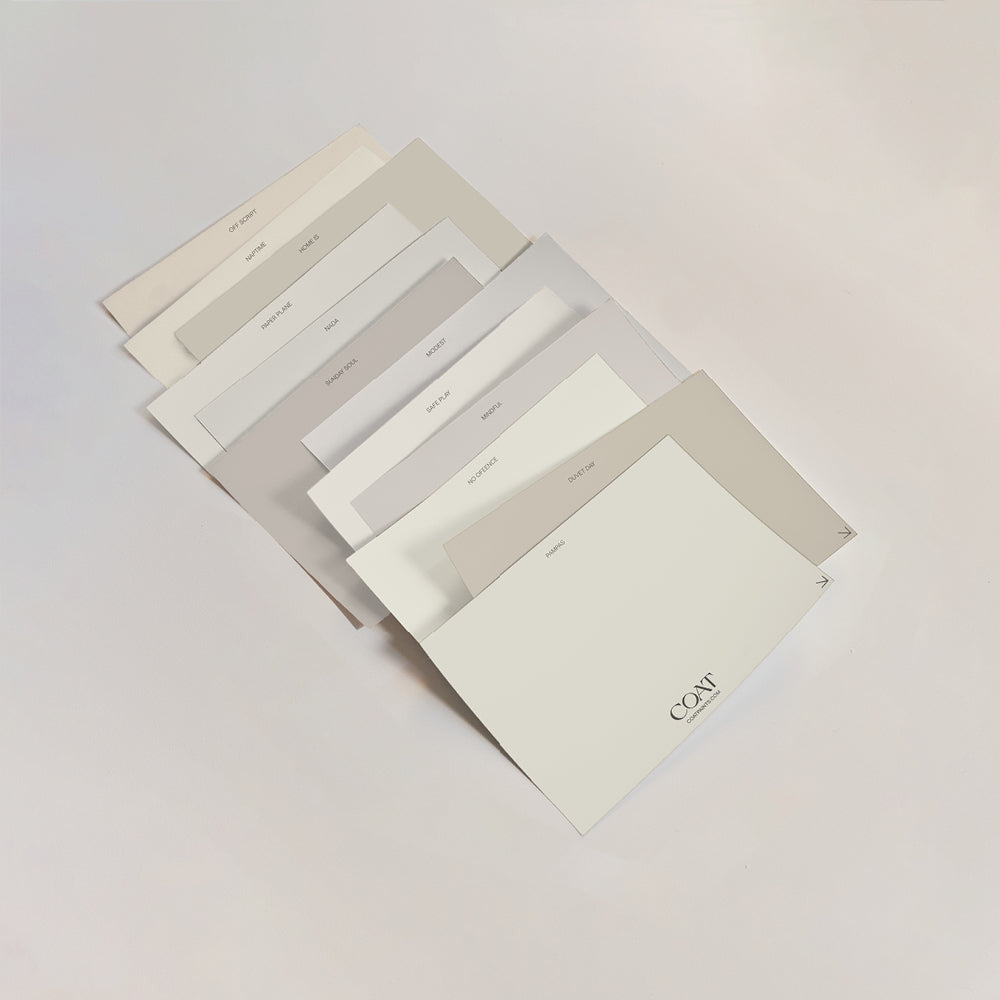
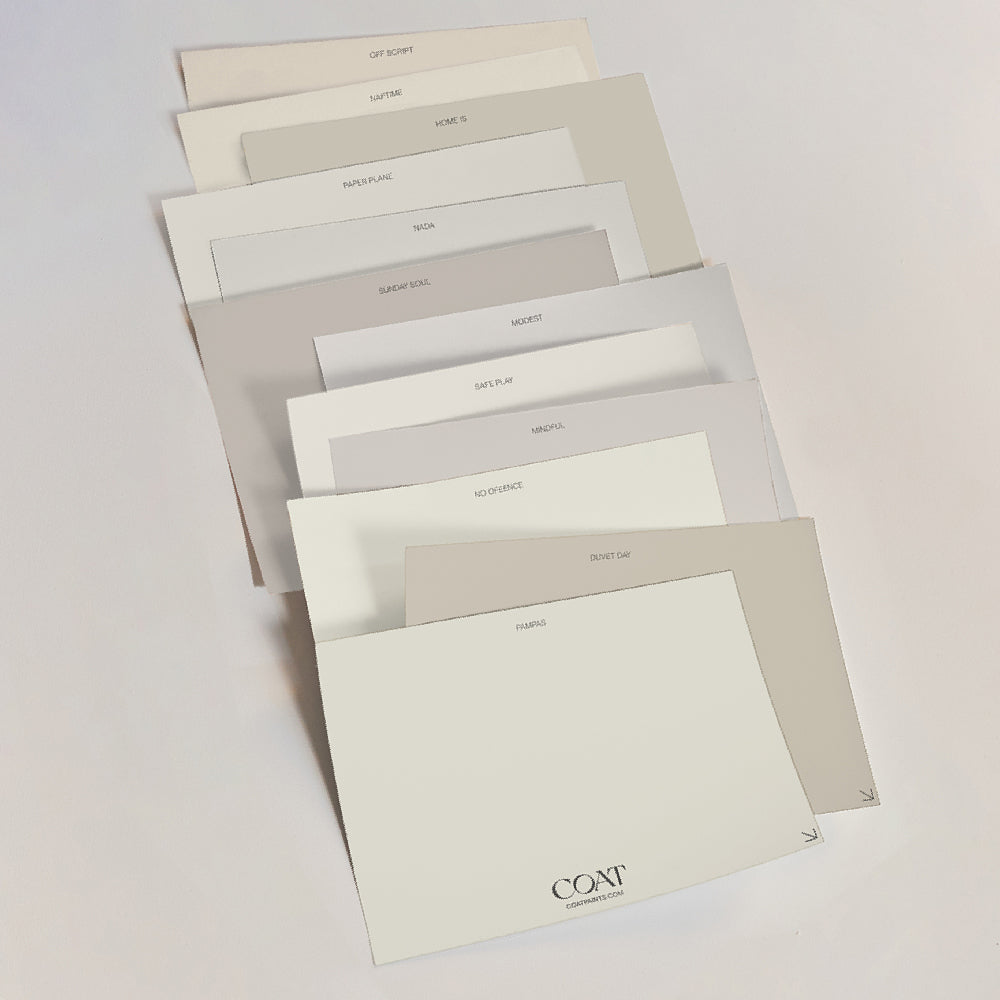
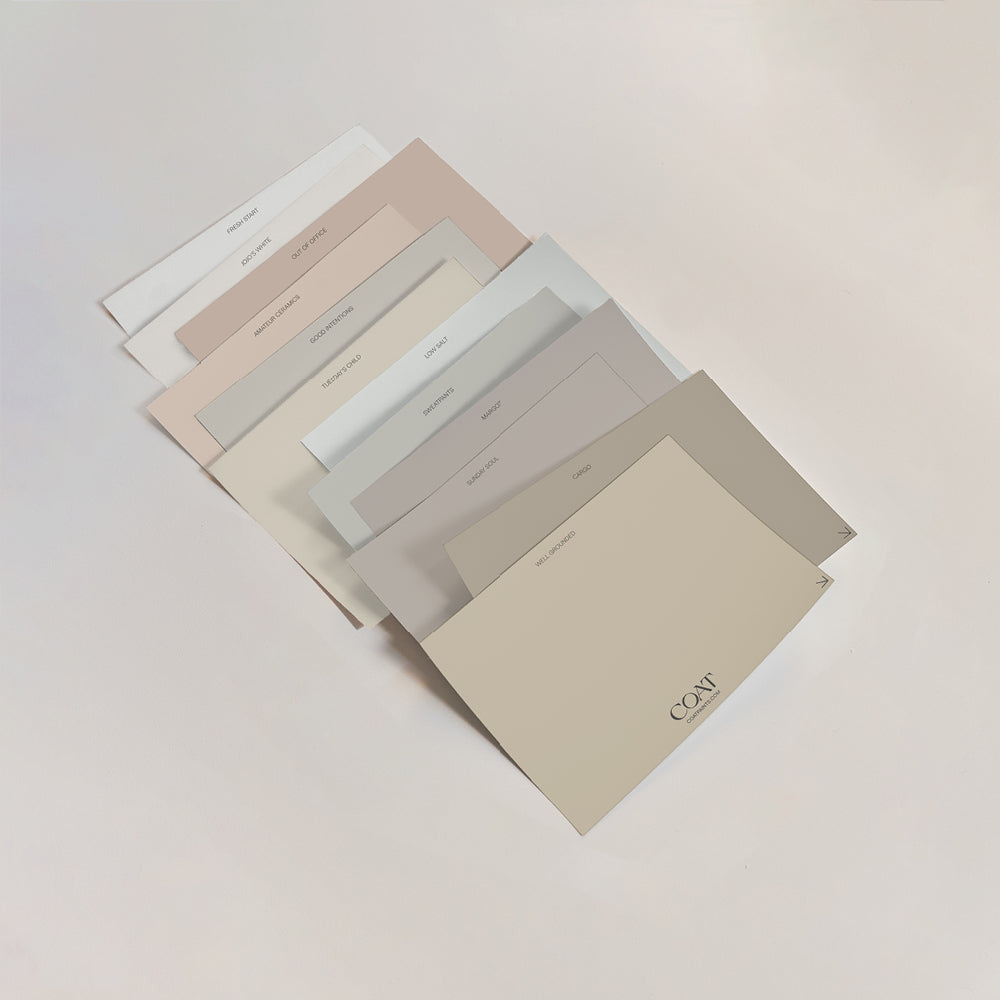
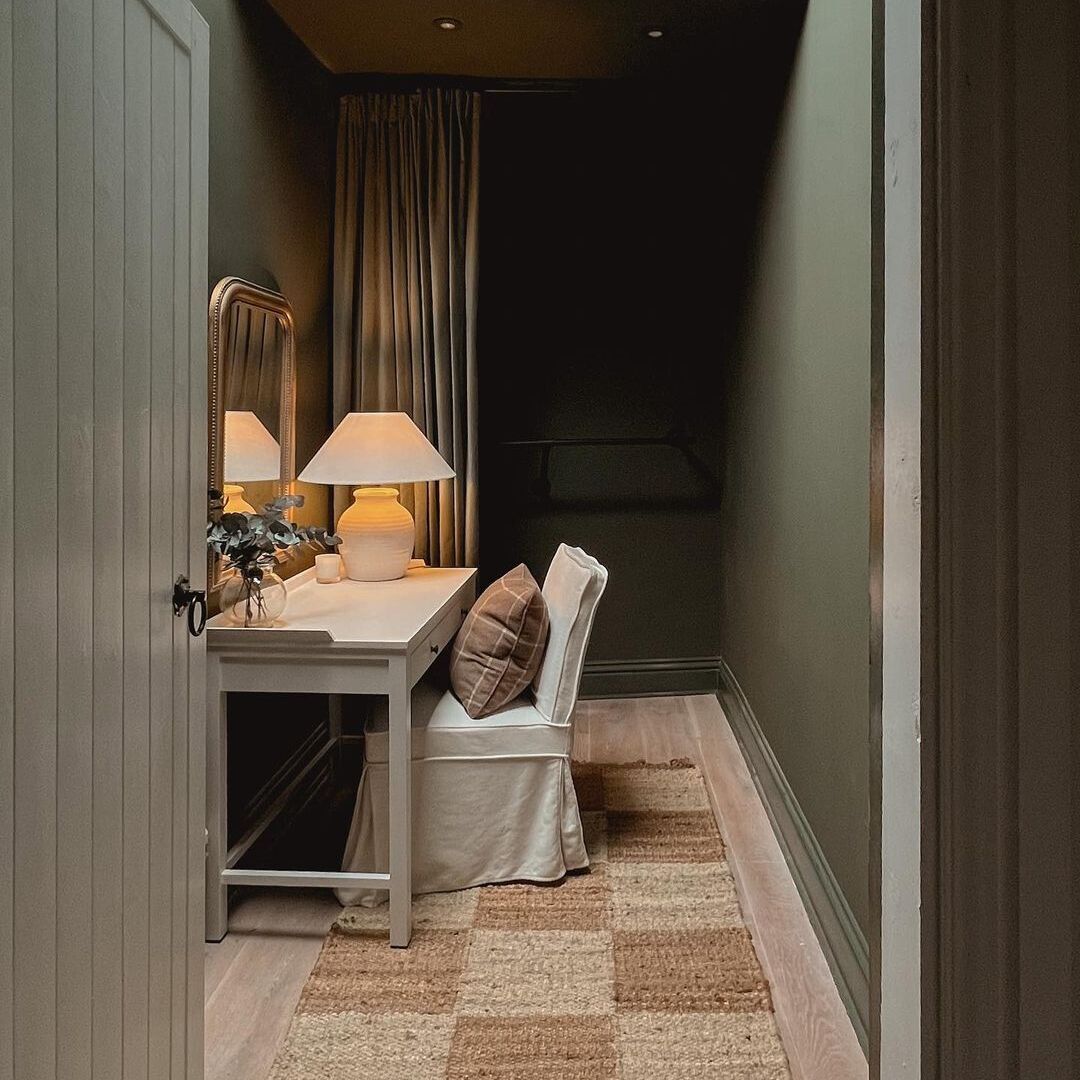
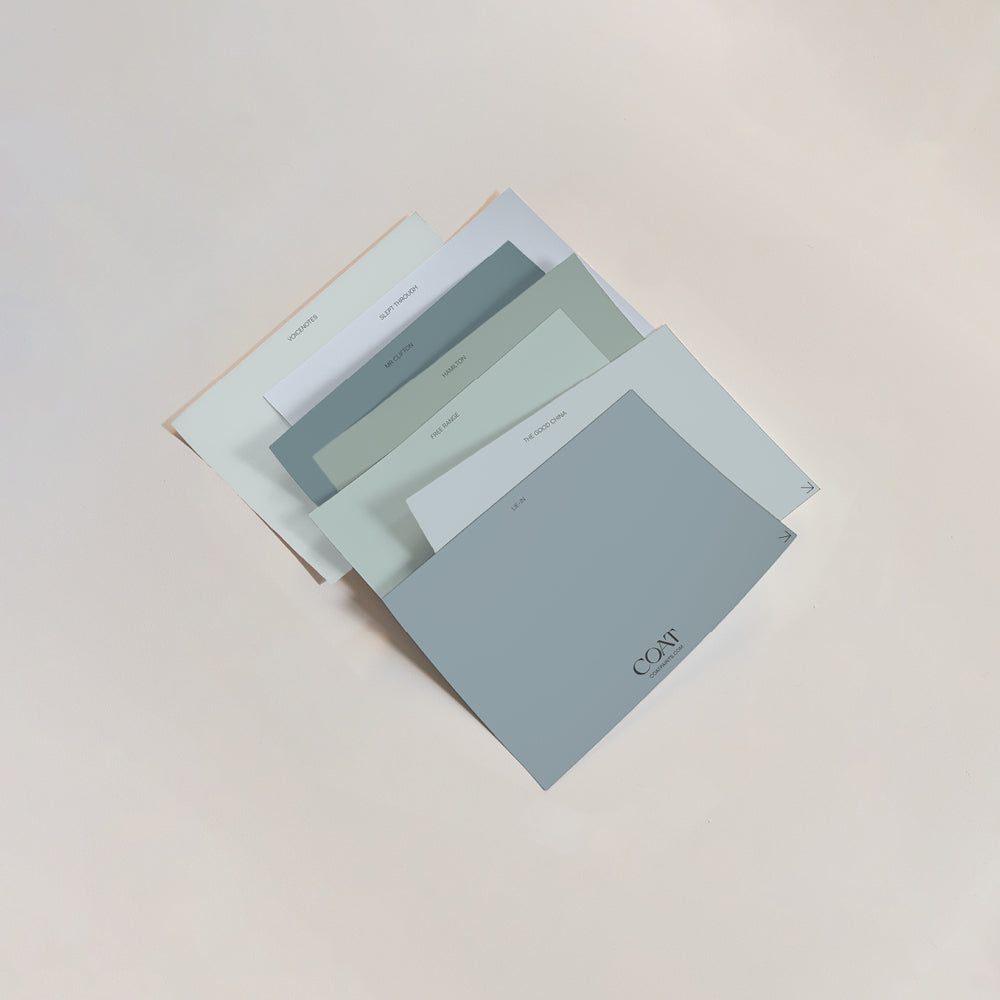
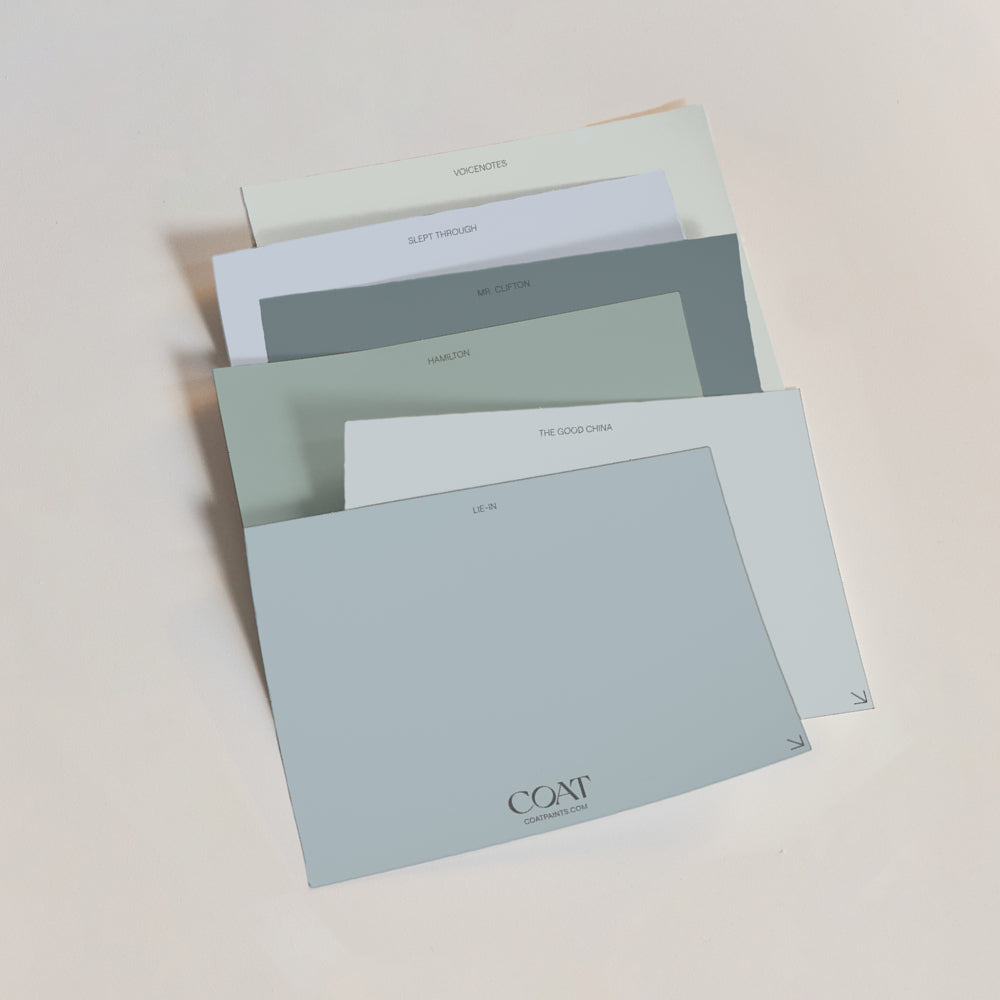
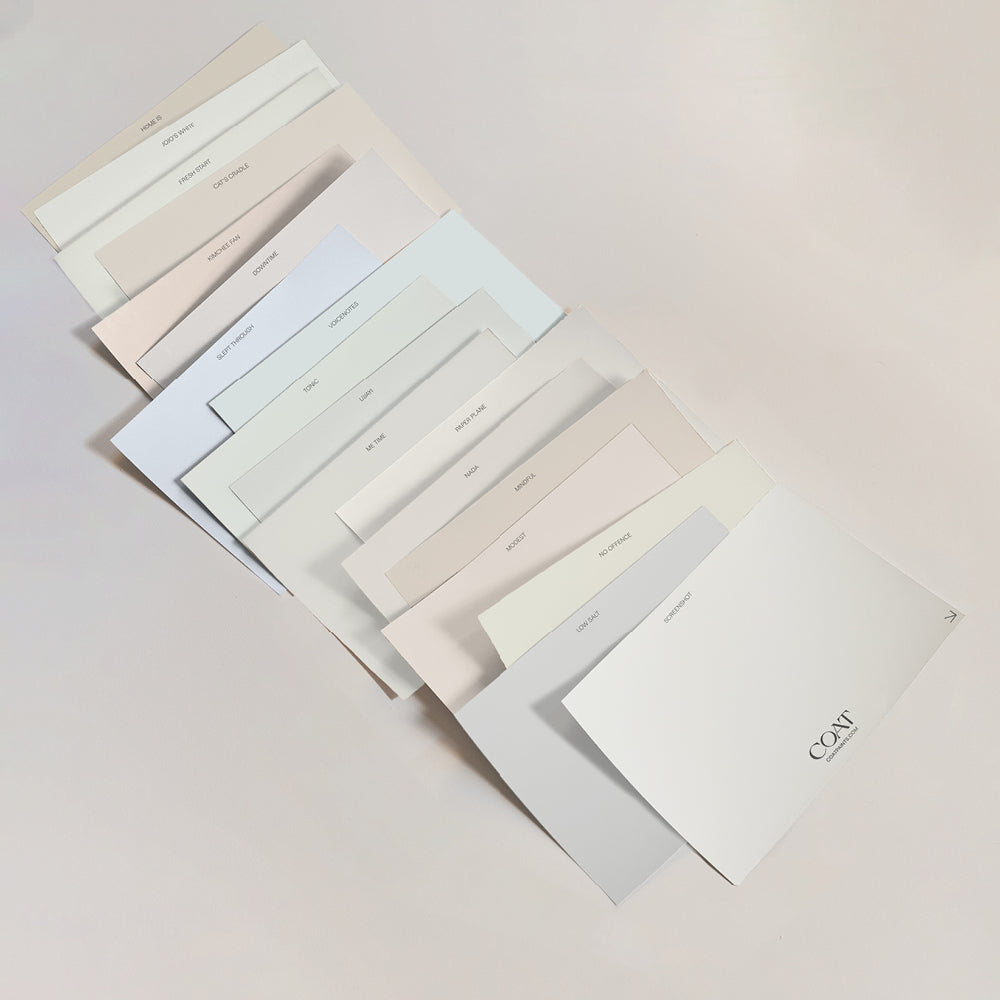
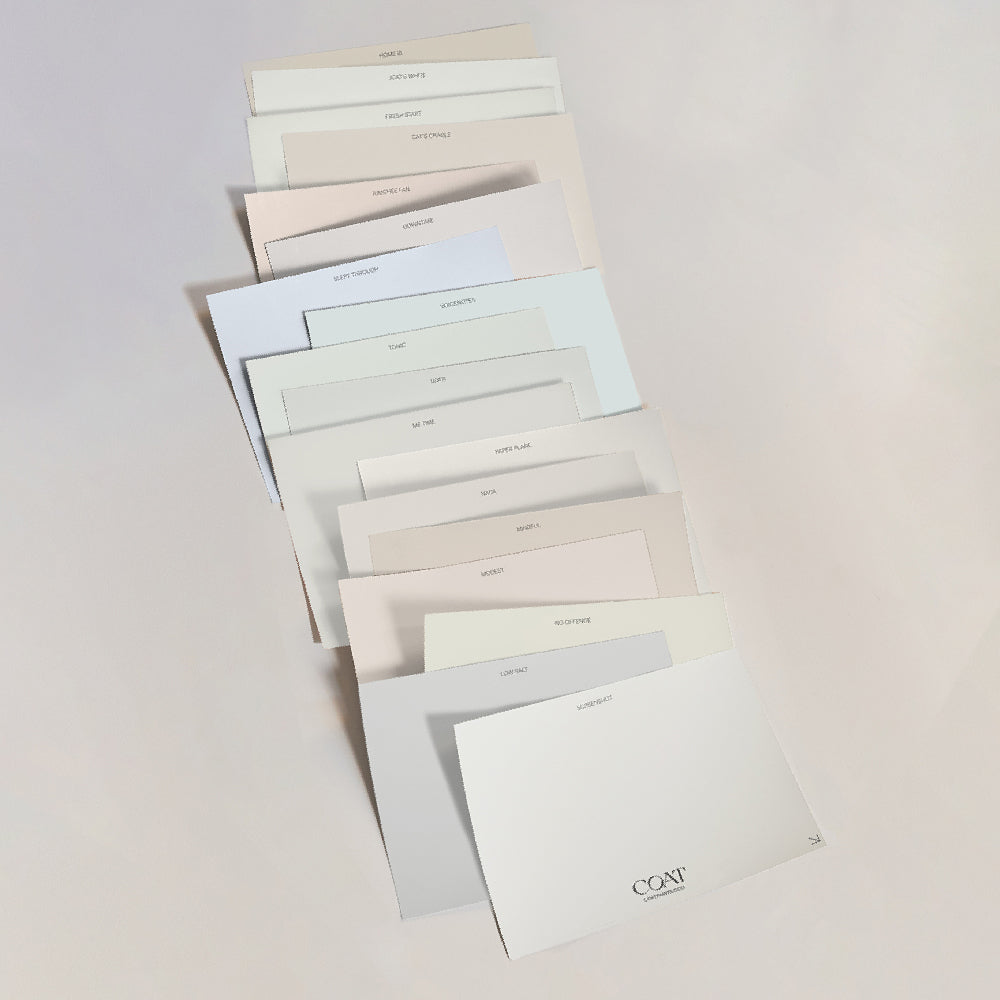
And that’s it. You now know how to paint kitchen cupboards. Remember, we recommend using eggshell paint for wooden cabinets. Use our peel & stick samples to see how the colour will look in different areas of your kitchen. And in different lighting!
Feeling inspired? Grab a sample of your fave shade and see how you can transform your kitchen space ✌️
Publish Date
Author