How To Paint Brickwork
You can’t beat freshly painted brick, and it looks so much better than an outdated shade that hasn’t been touched in years. Painting something like a garden wall is also a fairly low-cost job, and a task you can easily do yourself. So with spring well on its way, we thought we should share some handy tips on painting brickwork. That way, when the time finally comes, you’ll be raring to go, and with a good excuse to get outdoors!
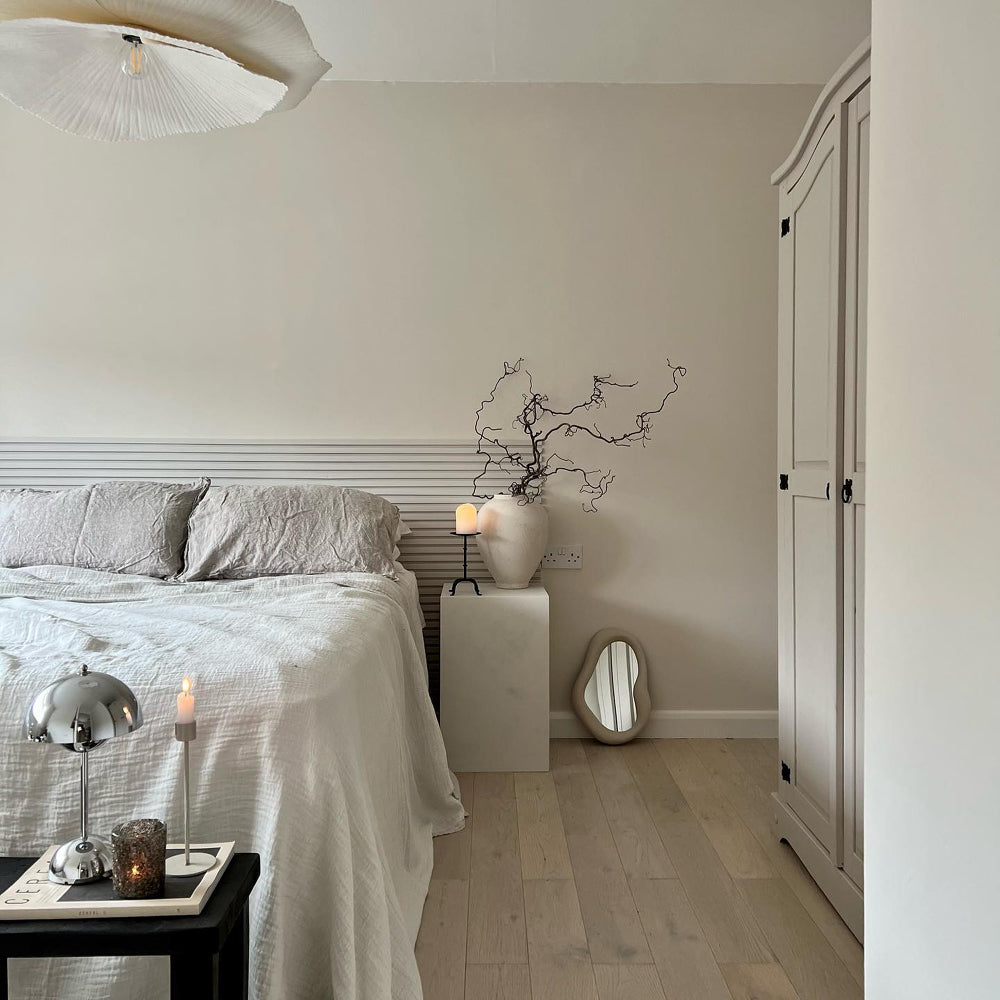
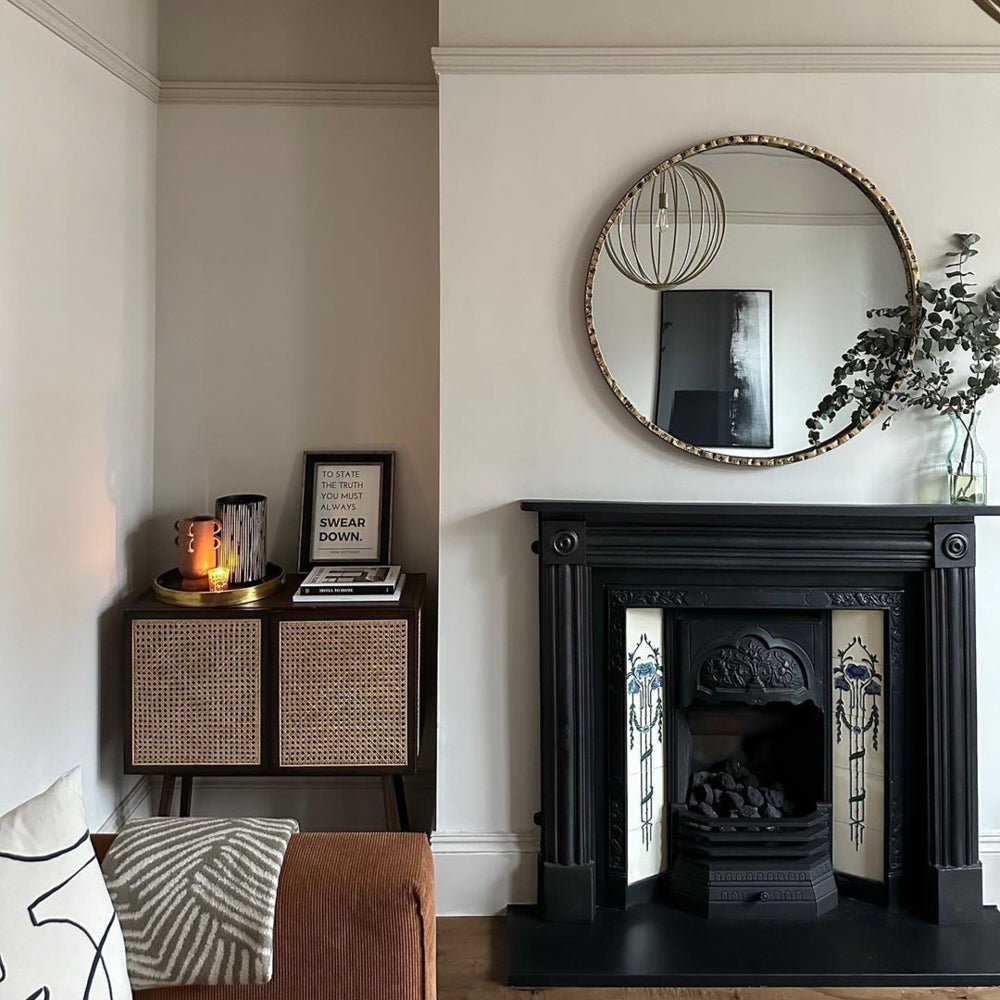
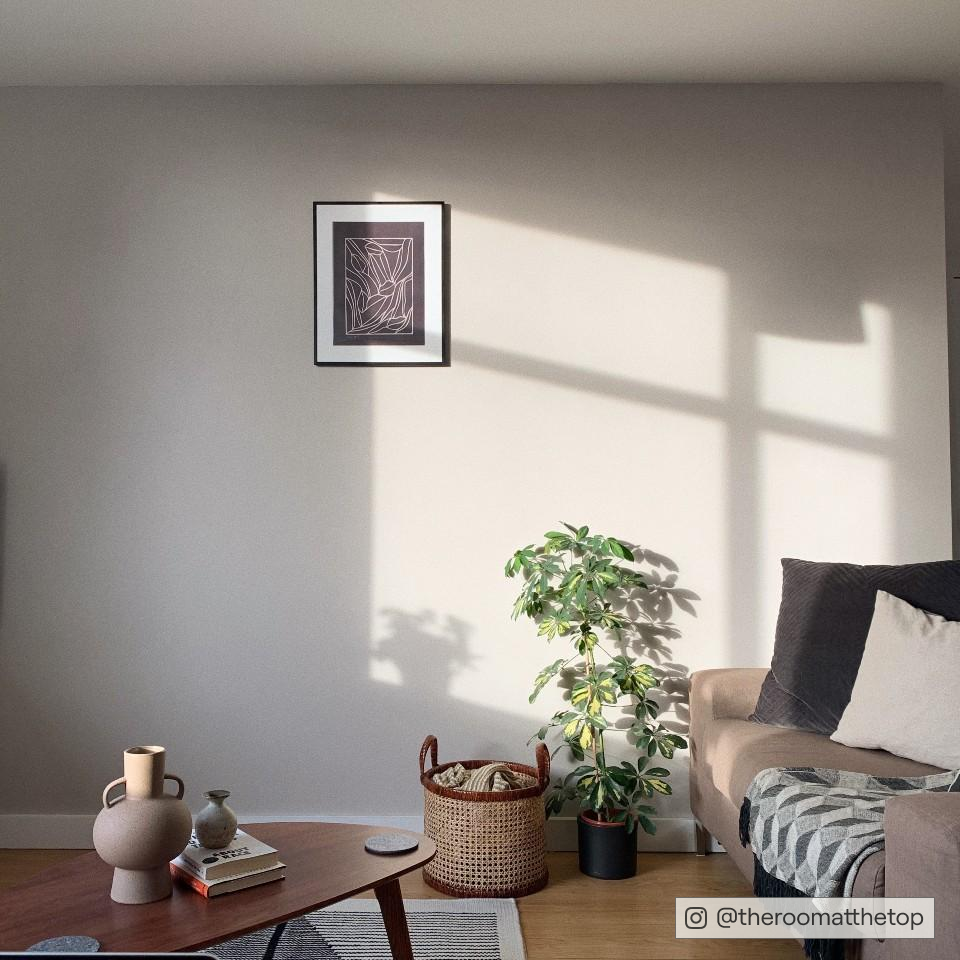
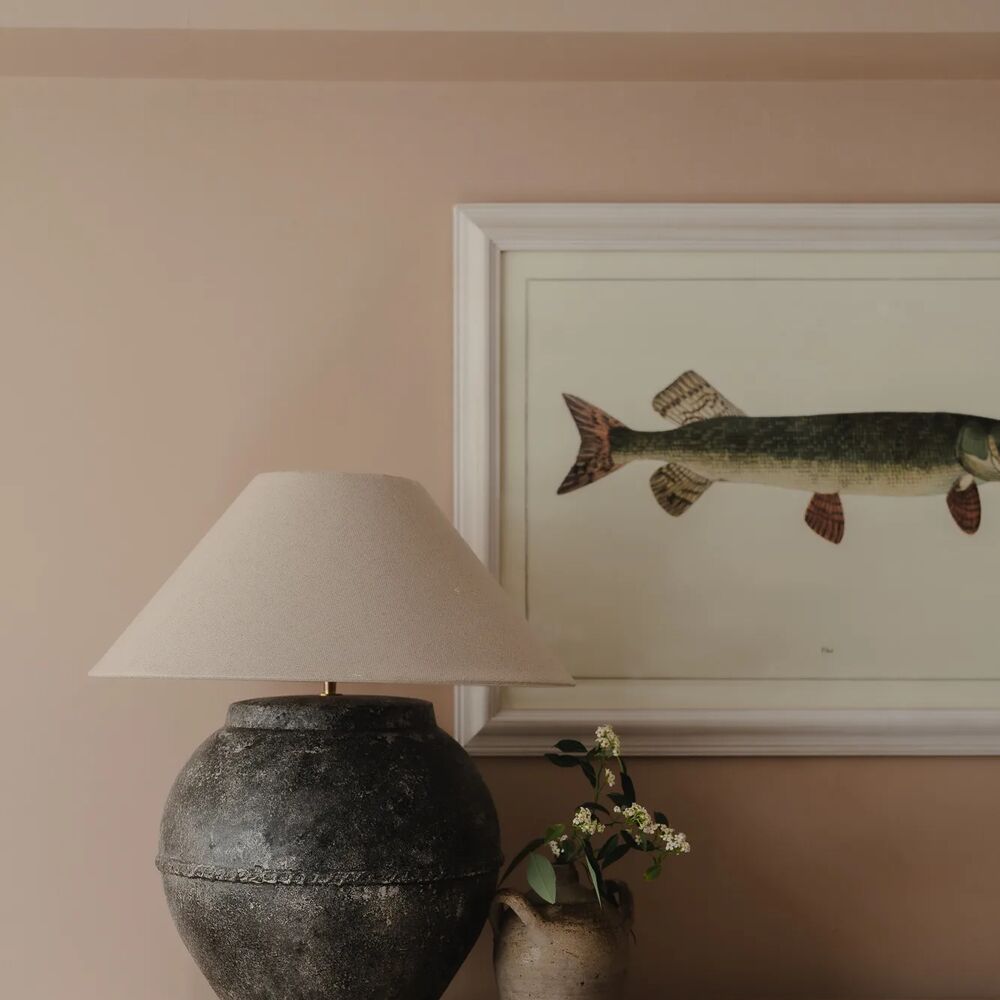
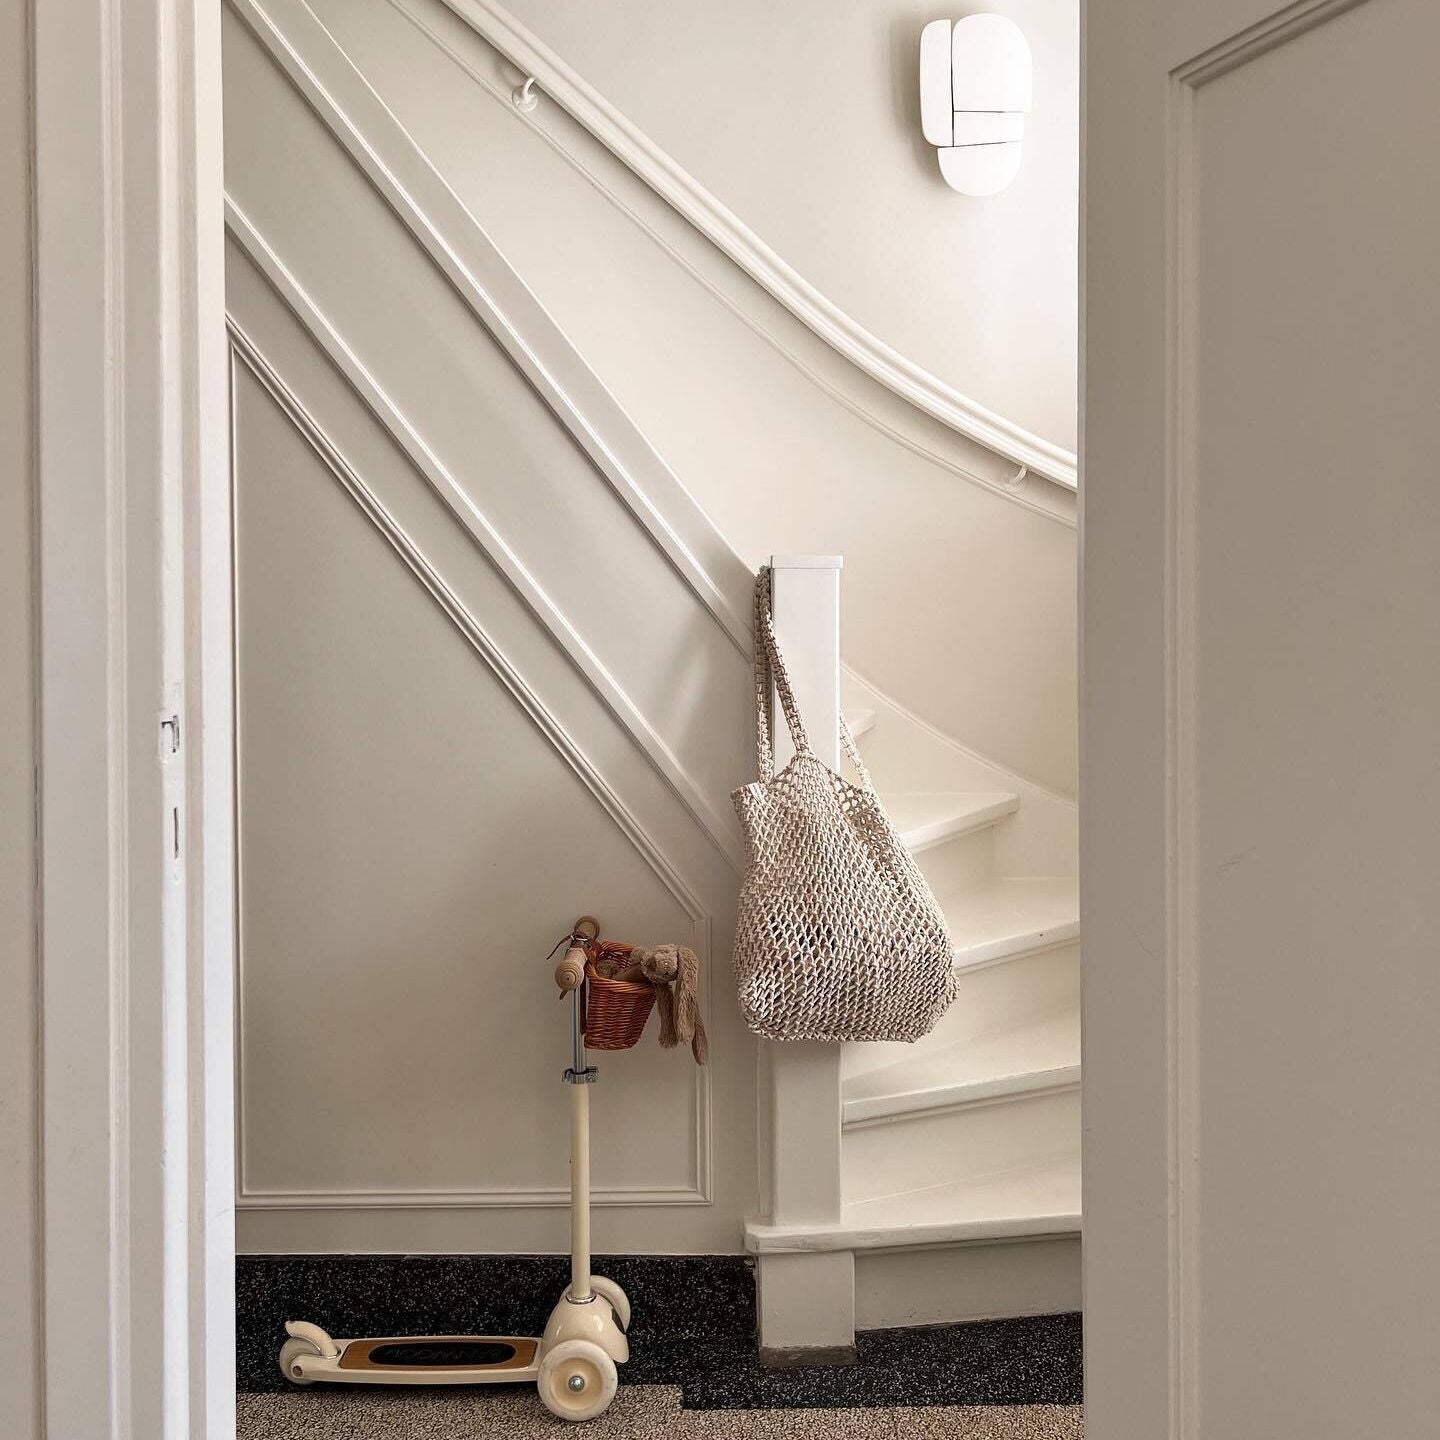
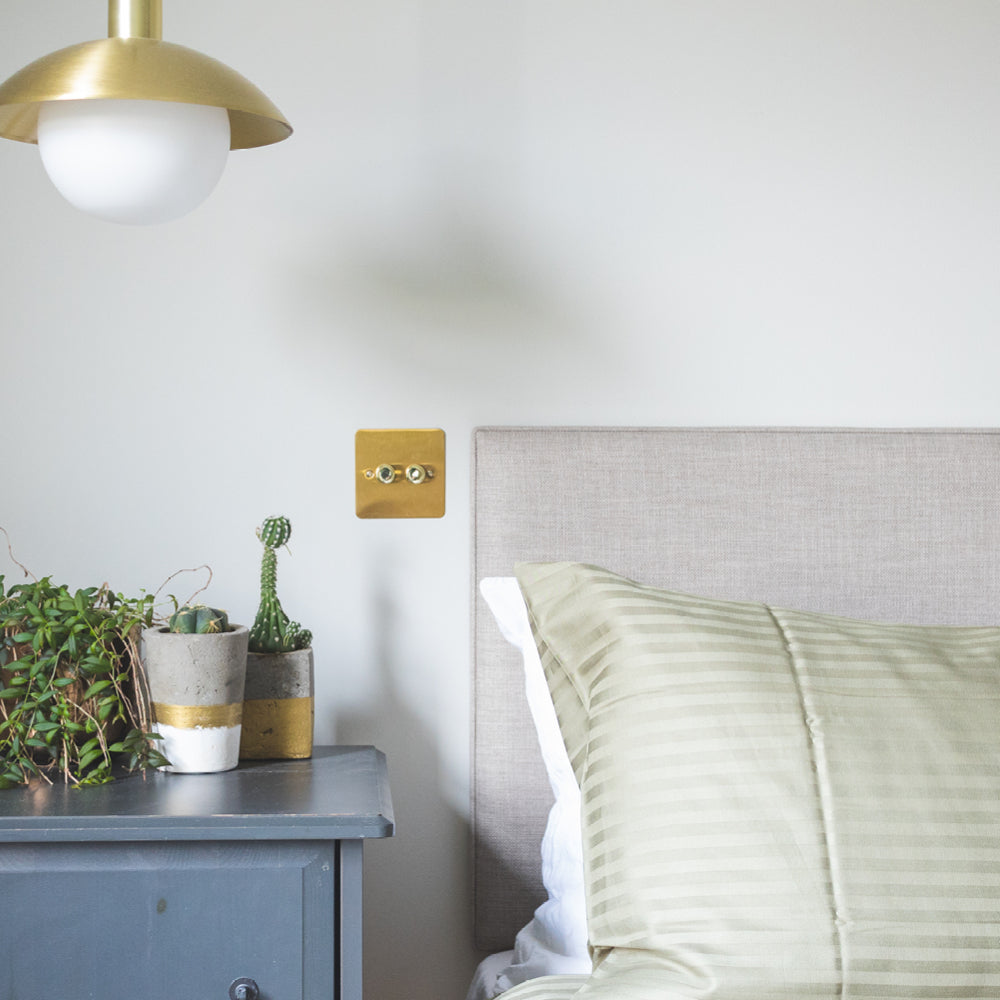
Because bricks are really porous, they absorb moisture, and over time, this can leave them looking discoloured. Dirt can also become ingrained in the brick, making garden walls harder to clean, resulting in a dull appearance. A coat of masonry paint, however, is all that you need to provide a tougher surface that is water repellent. It’ll also make your lawn and plants pop and boost the appeal of your home - an essential if you’re thinking of selling.
Although painting a brick house is something you’d get a professional for, a simple wall glow-up is most definitely DIY territory! This post provides a basic step-by-step guide along with some brick painting ideas and tips to get it right the first time.
Gather Your Tools
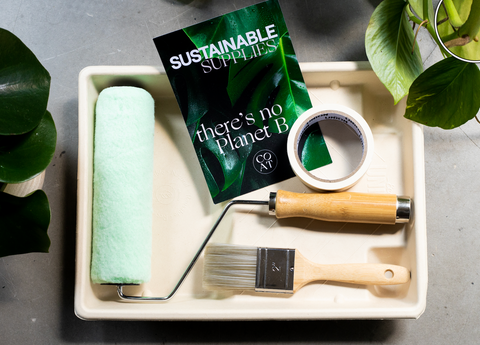
To get the job done, you need the know-how, but the materials and tools are just as important too. Here’s all of the things you will need to get a fresh and clean look, whether driveway pillars or the brick of an exterior cosy nook.
- Drop cloths (or old bedsheets will do fine)
- Household detergent and water
- A hand scraper or soft brush (not wire)
- Sugar soap (if needed - or a jet wash for super stubborn dirt)
- Premium decorator’s tape
- A Primer suitable for masonry paint
- A set of Paintbrushes - these ones are for life
- Large paint roller or a mini roller (depending on the area)
- Recycled eco paint tray
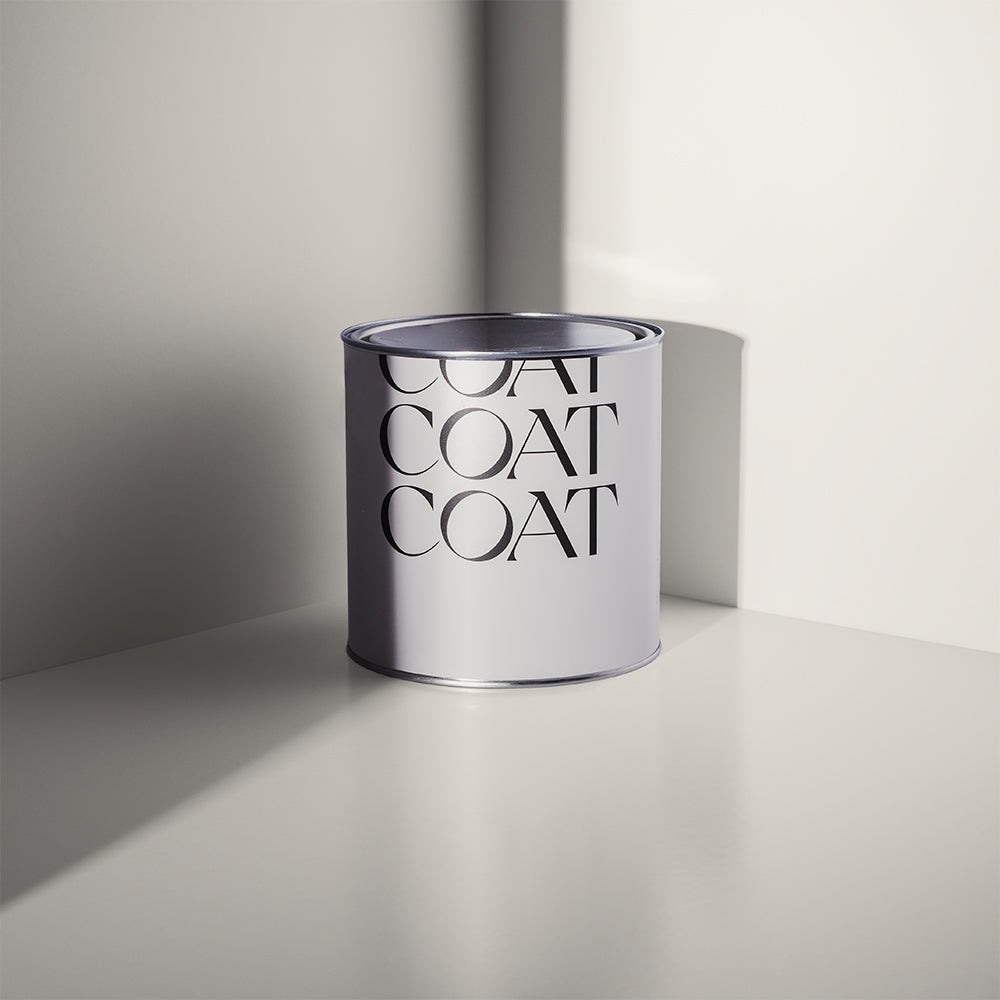
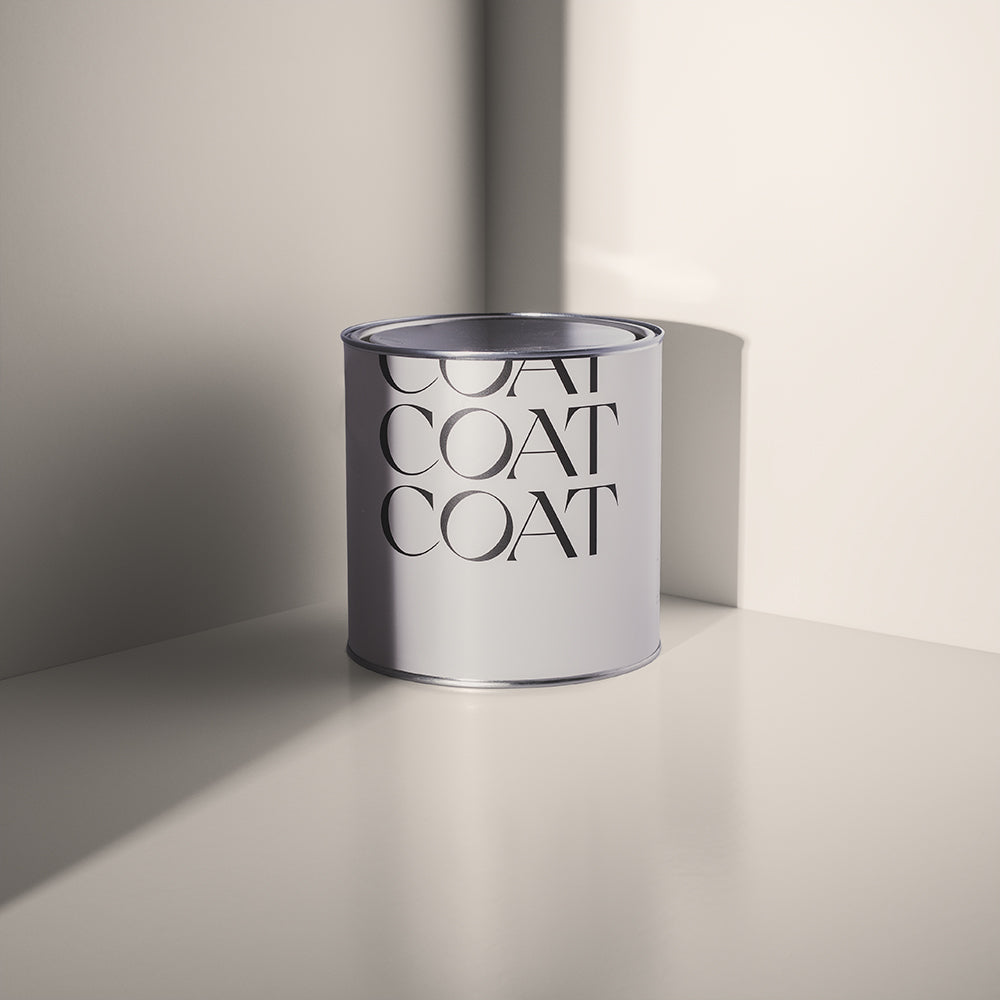
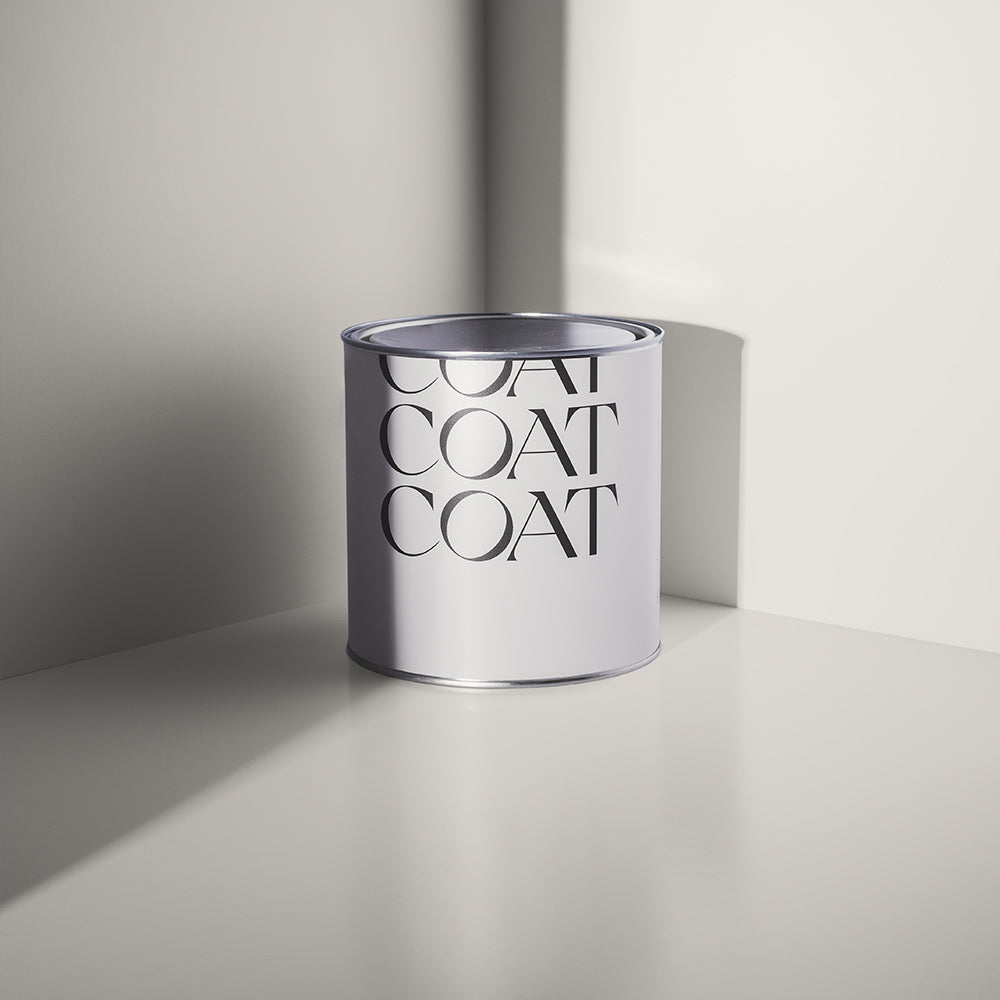
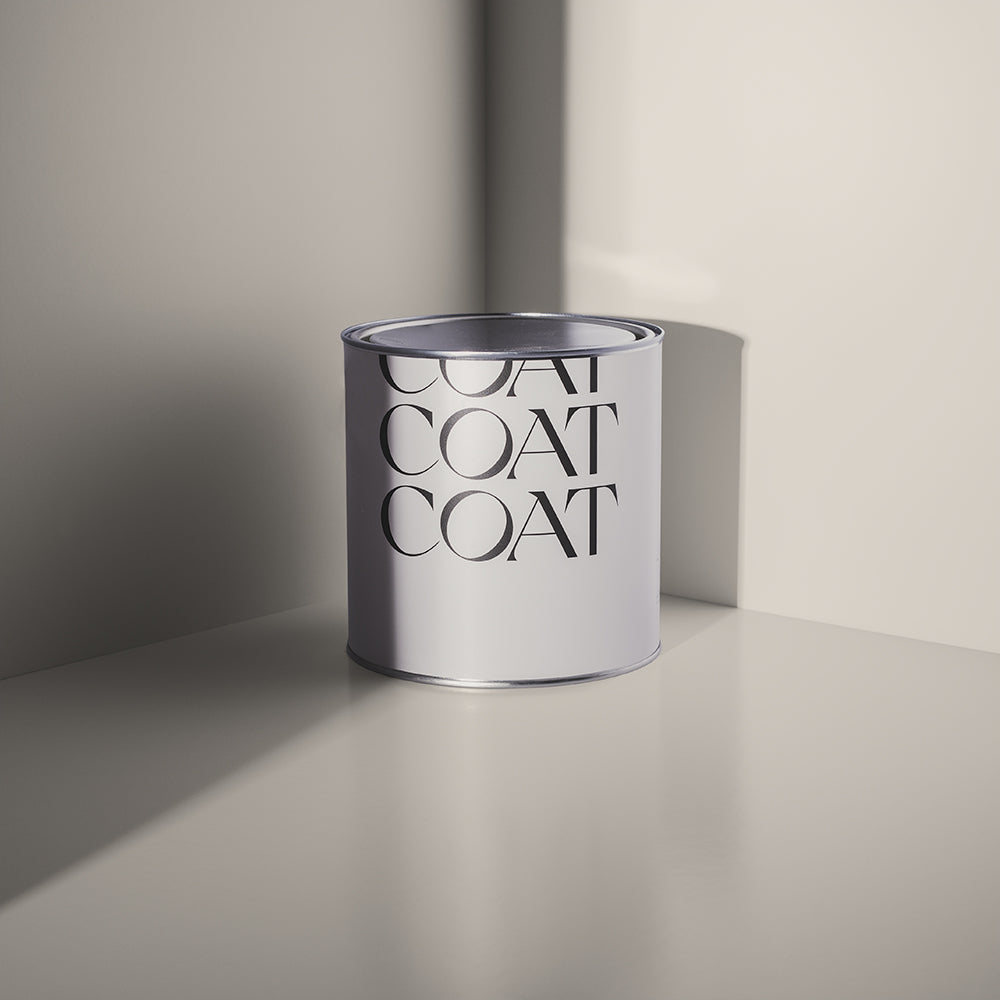
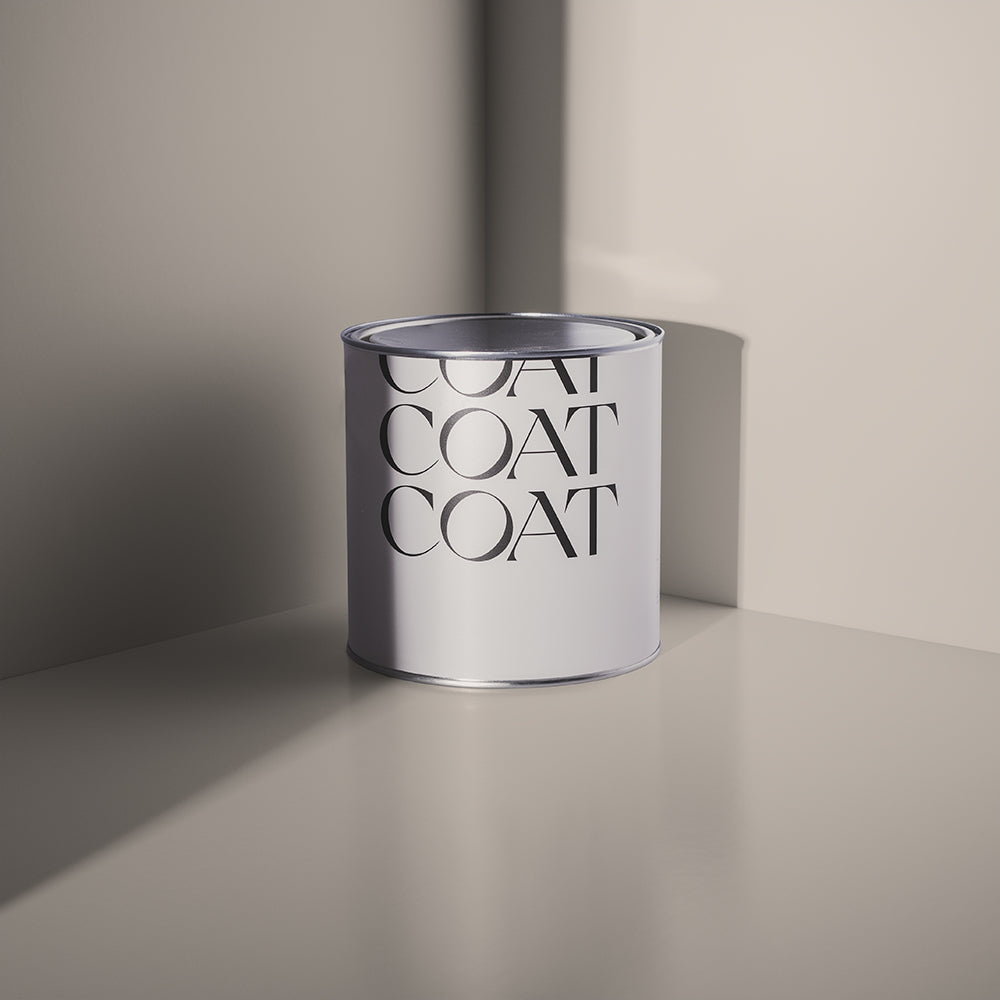
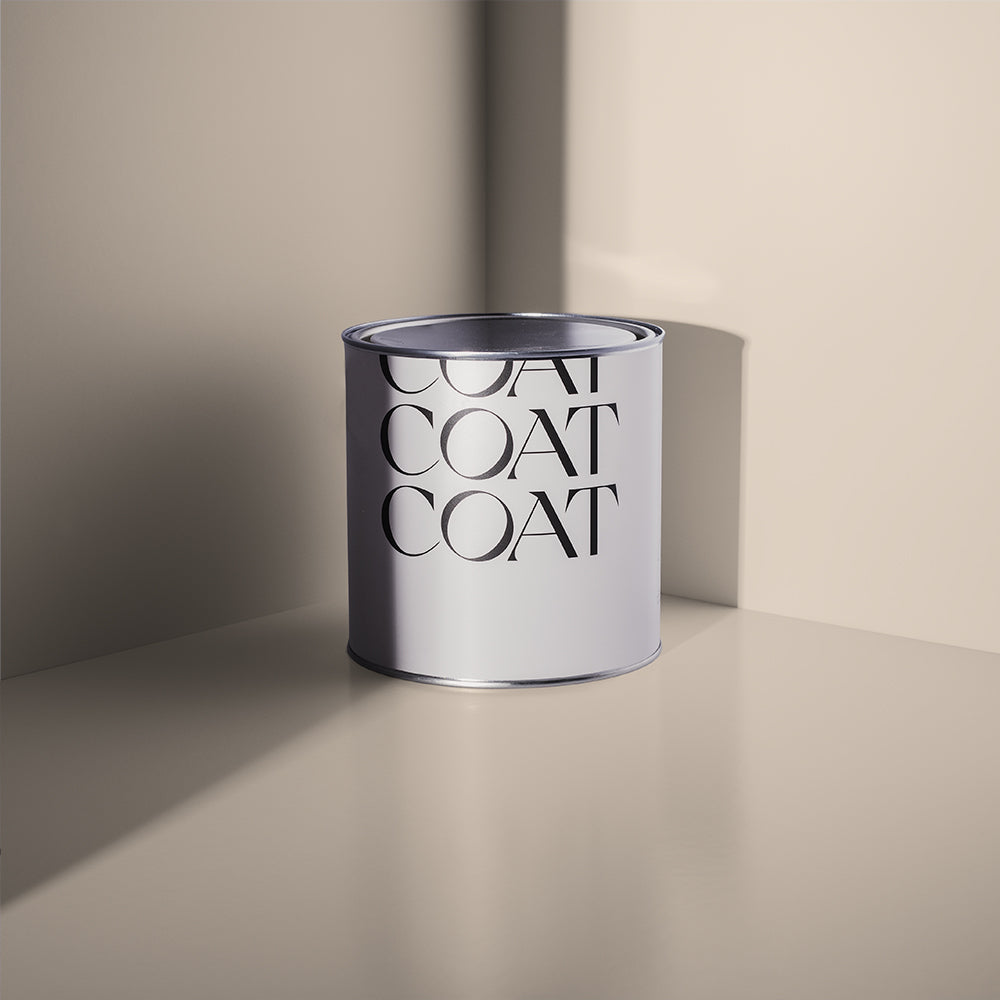
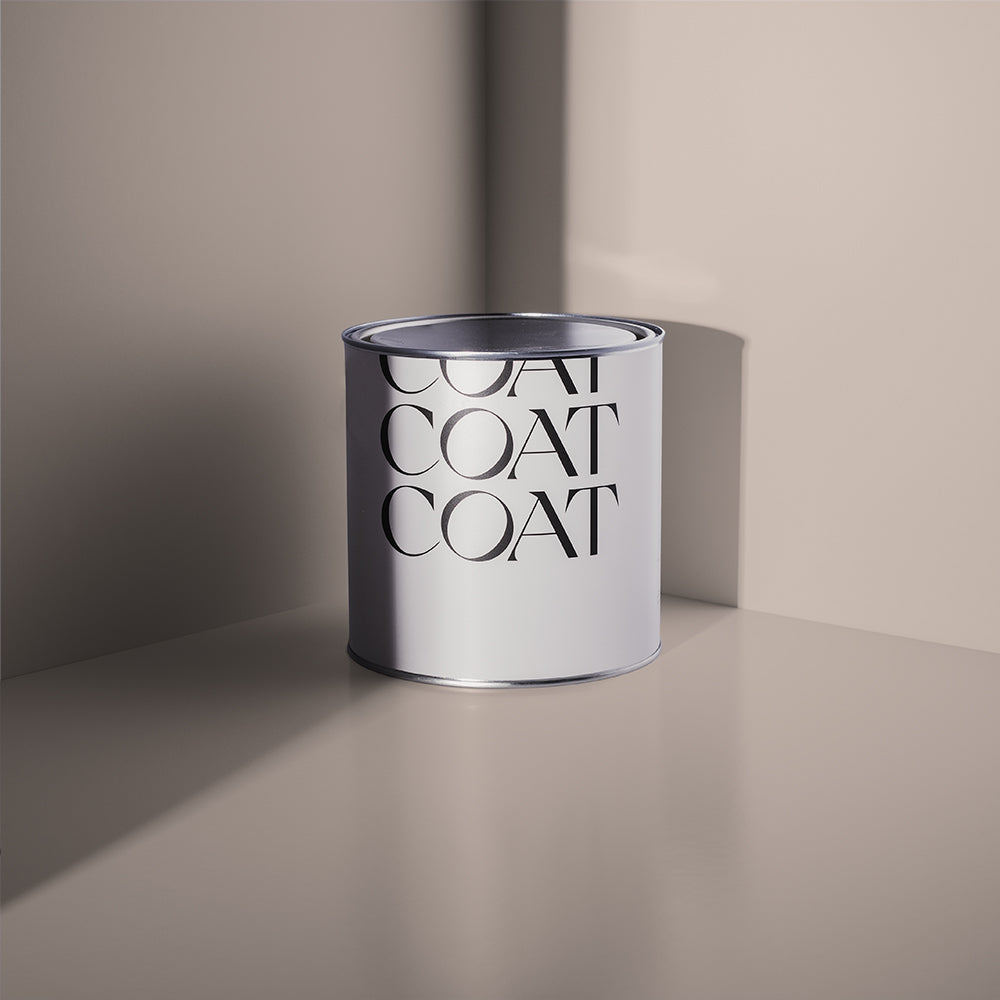
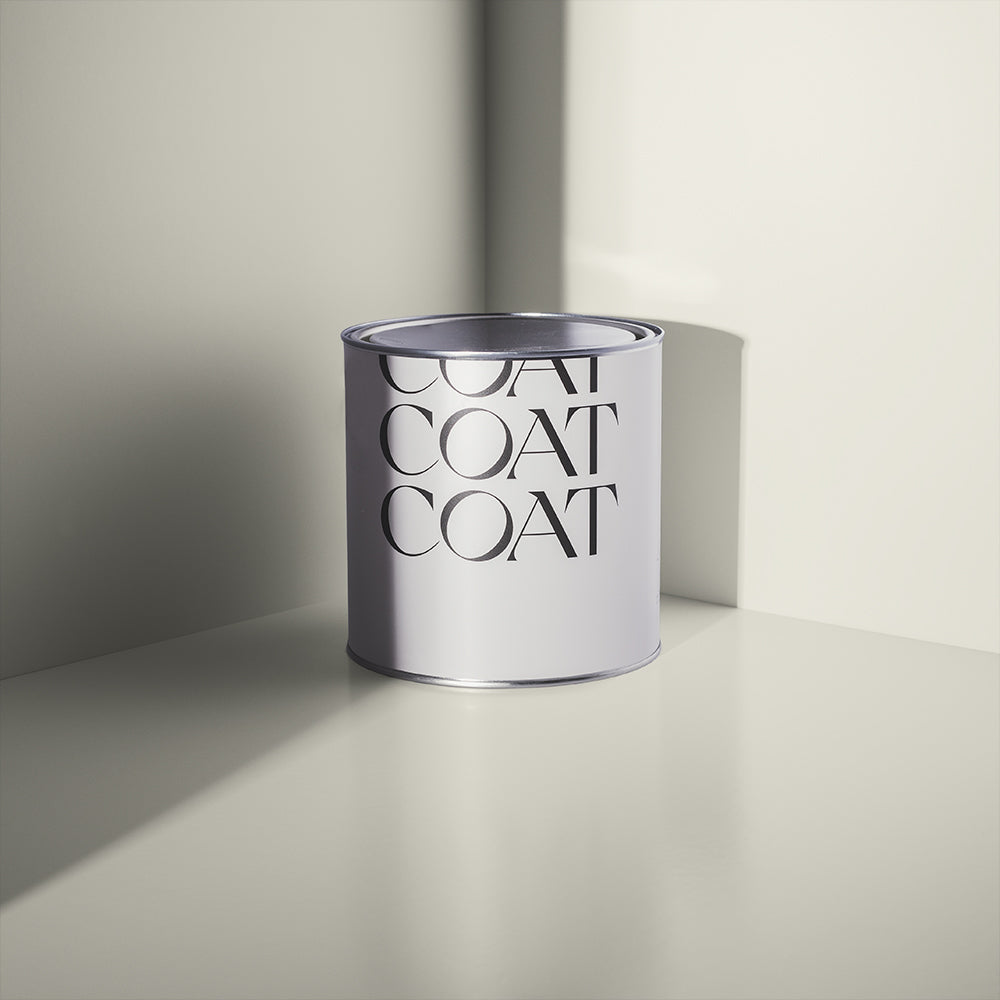
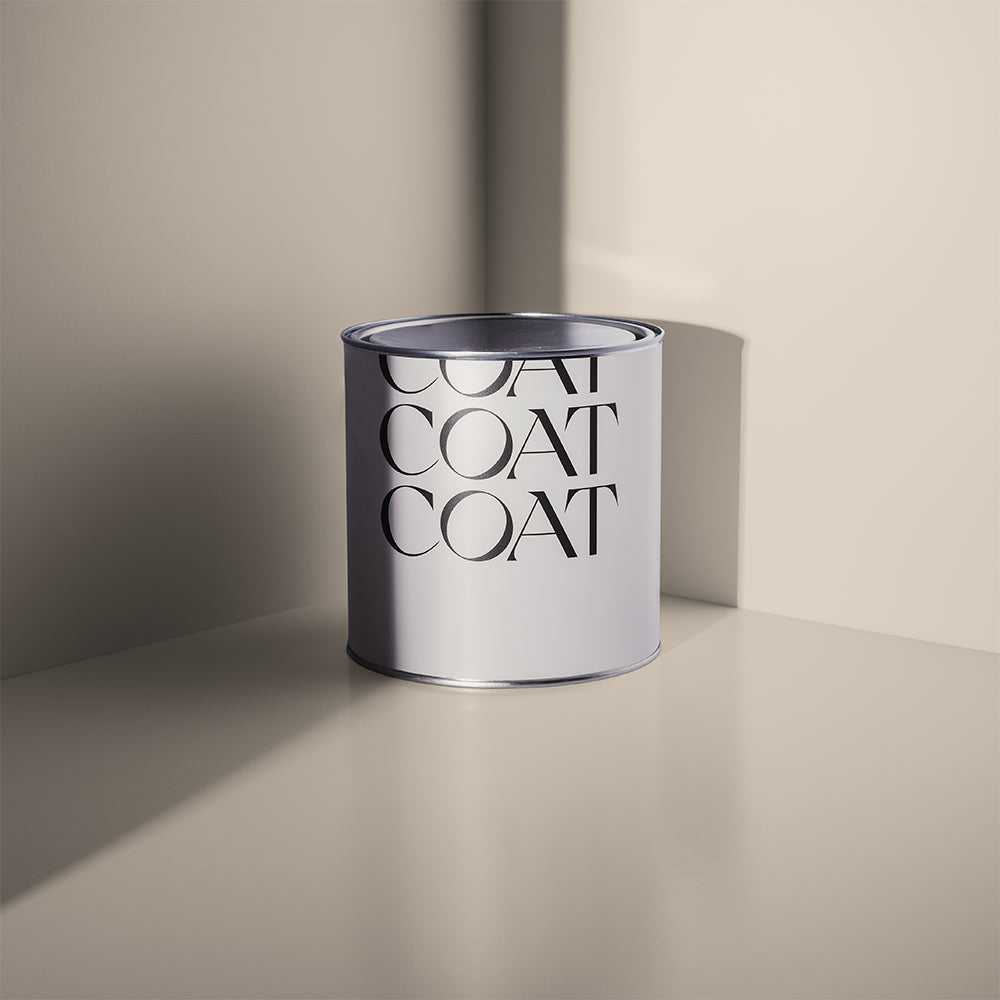
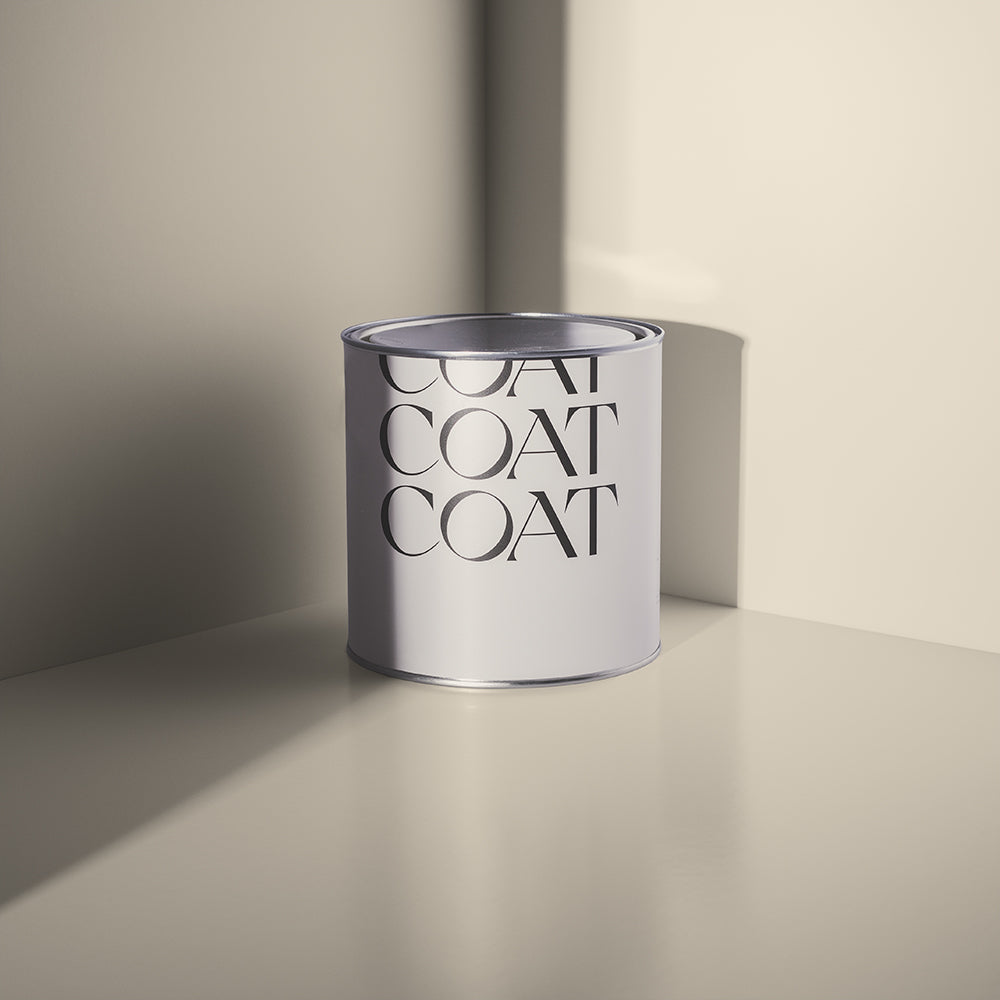
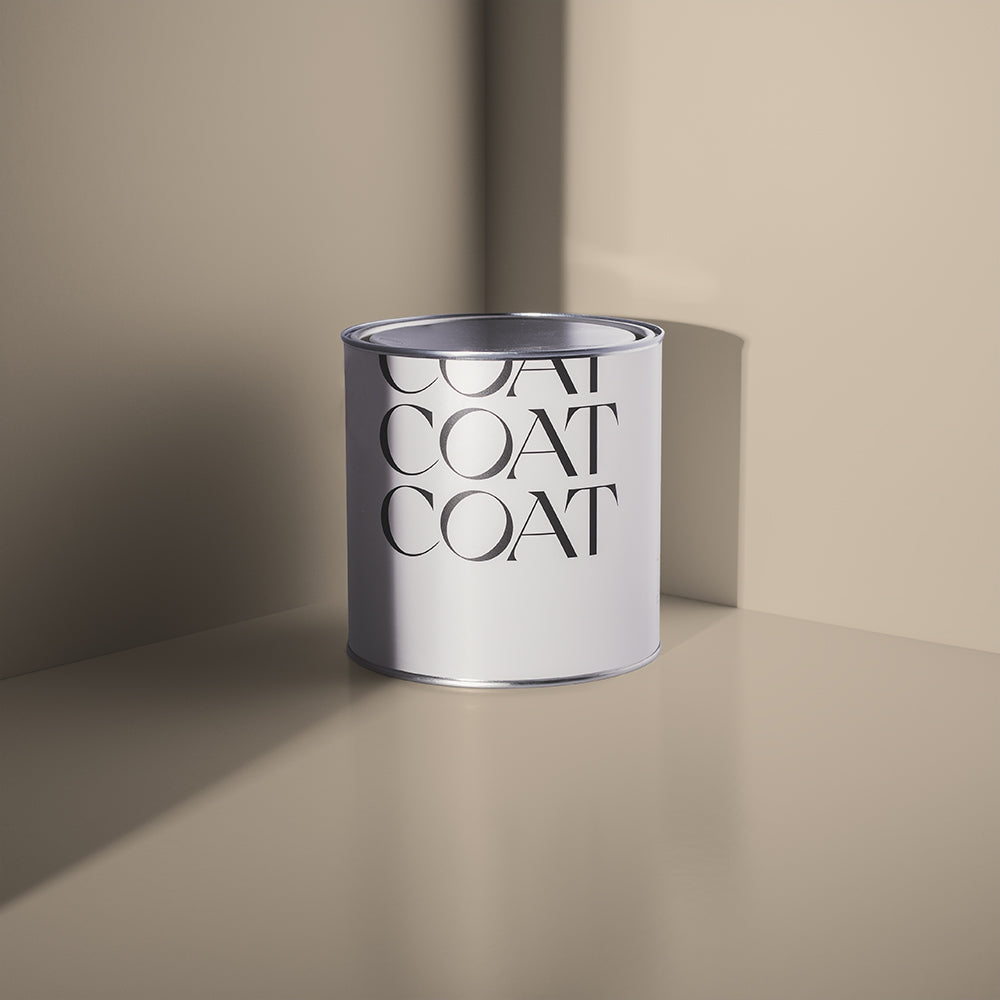
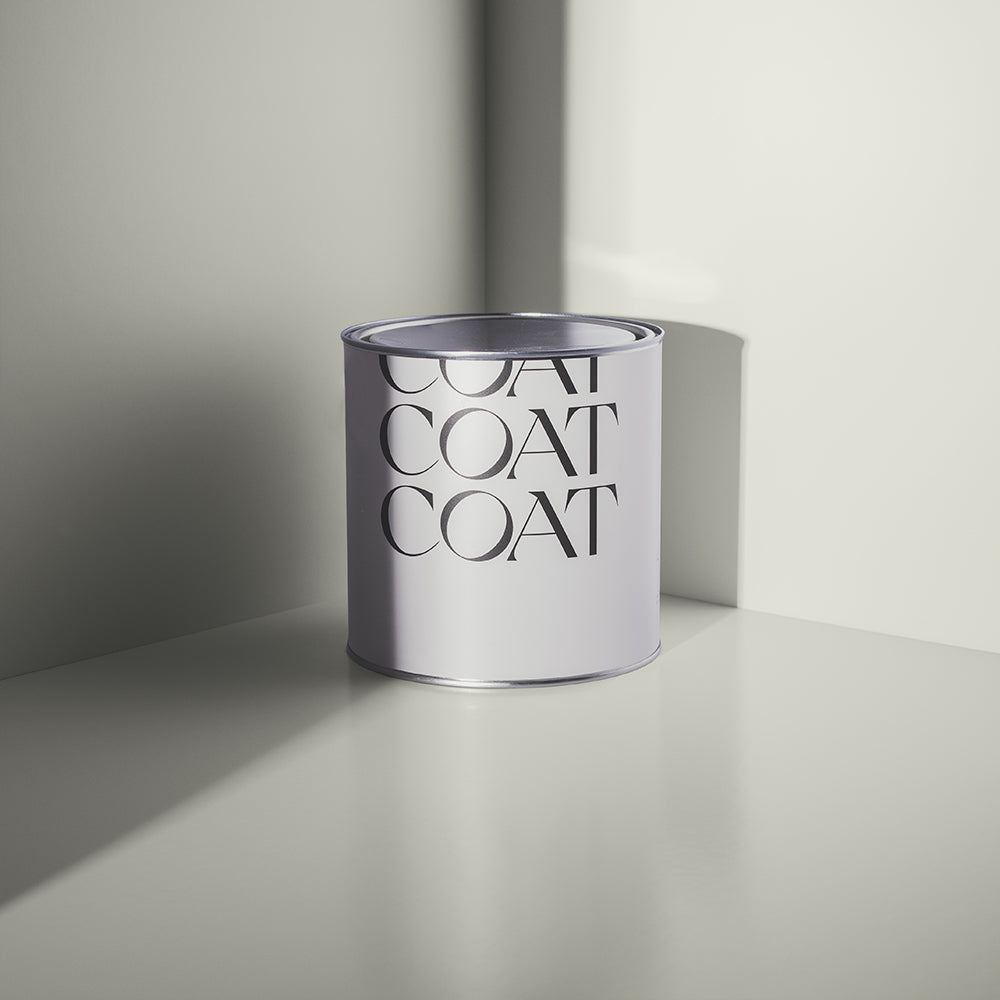
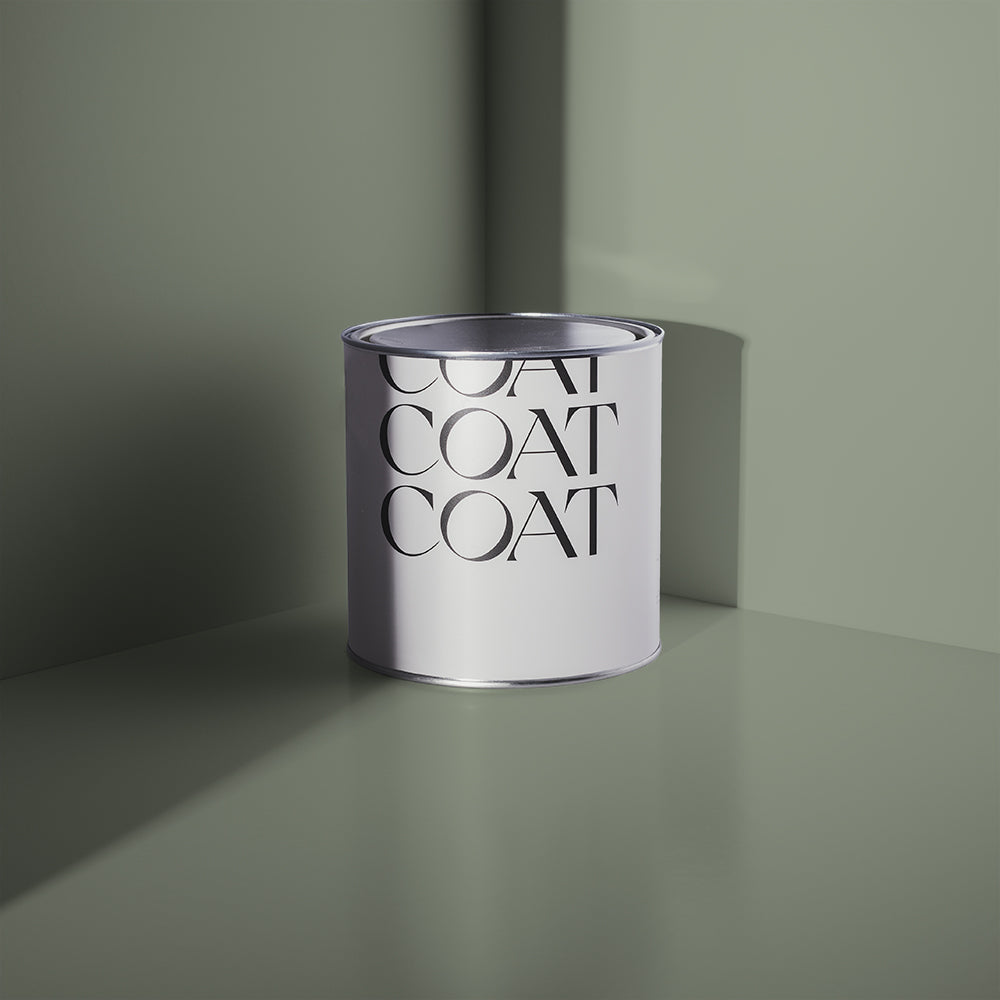
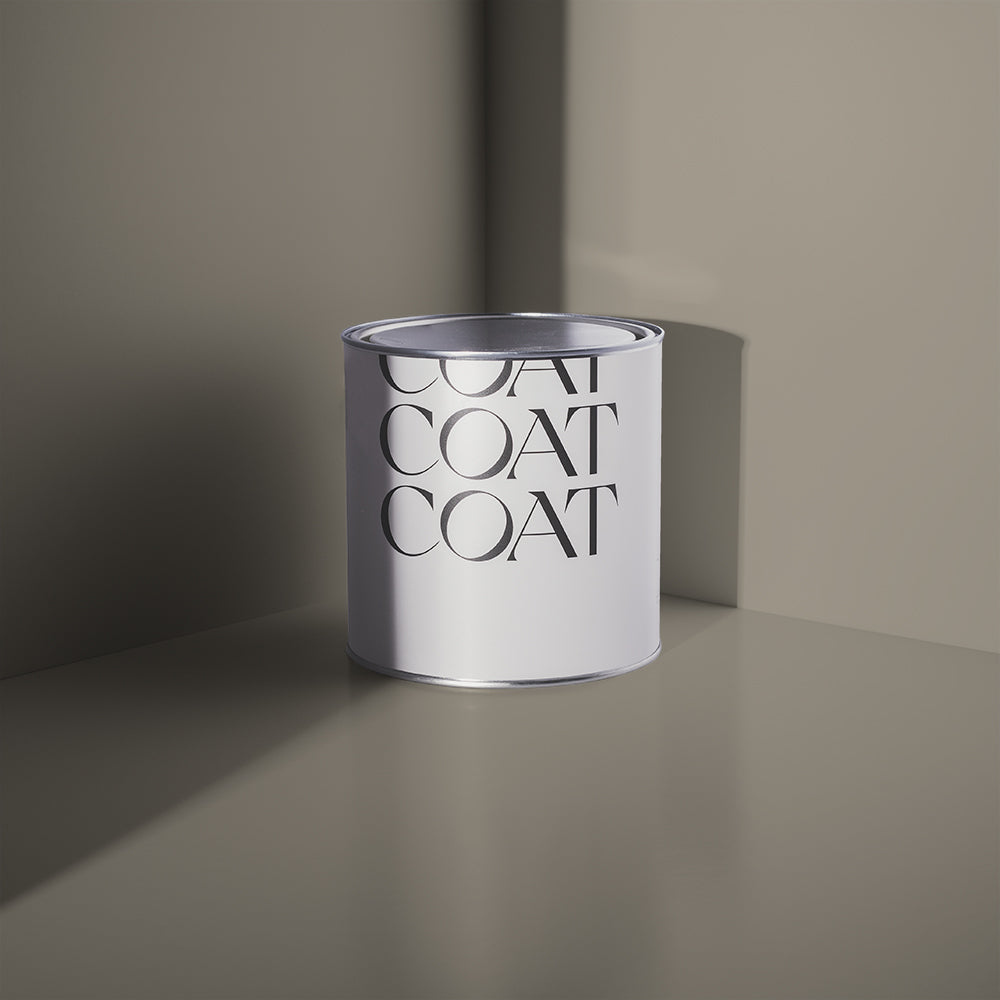
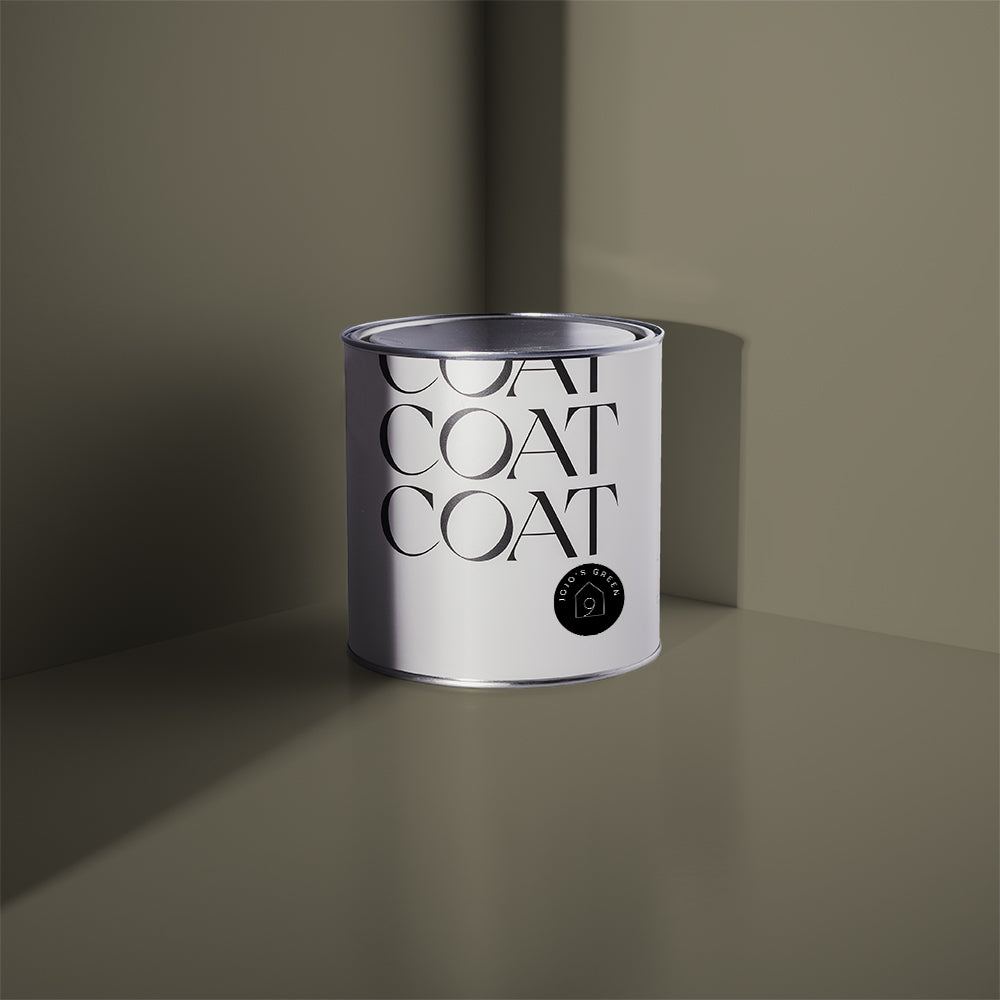
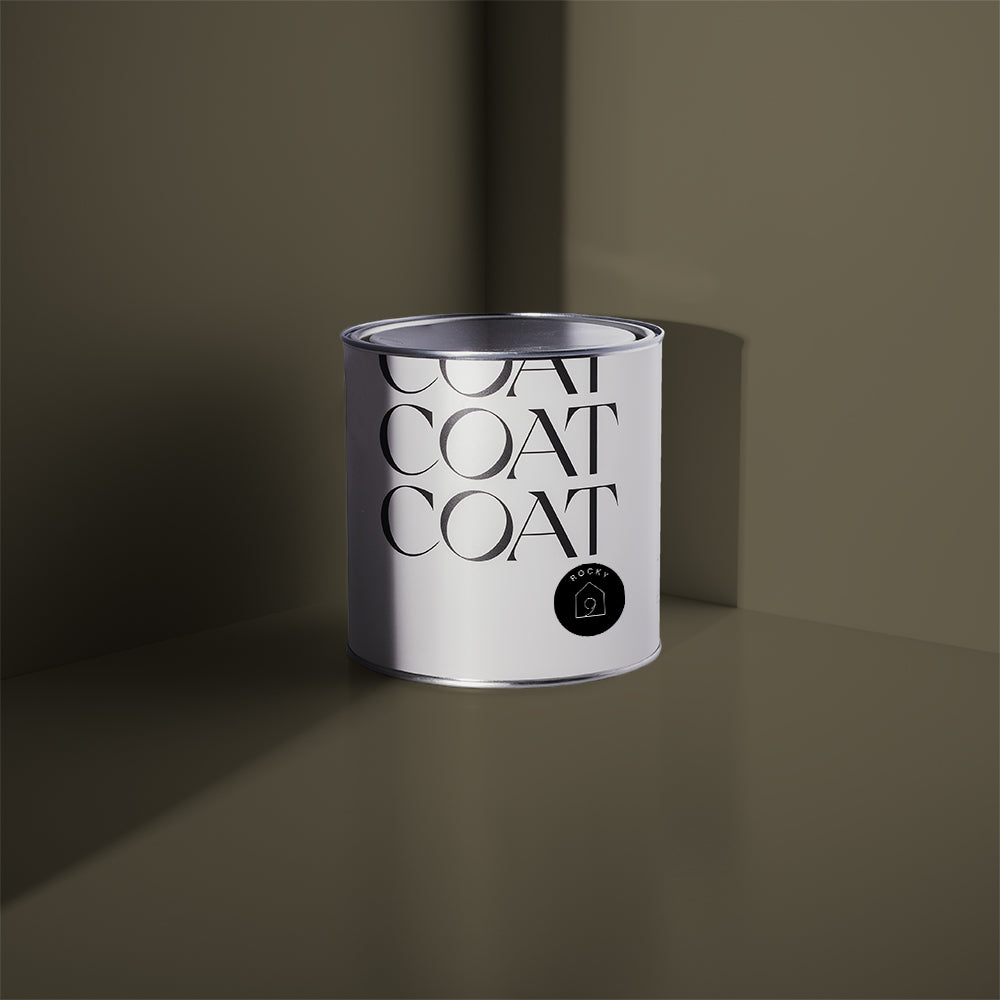
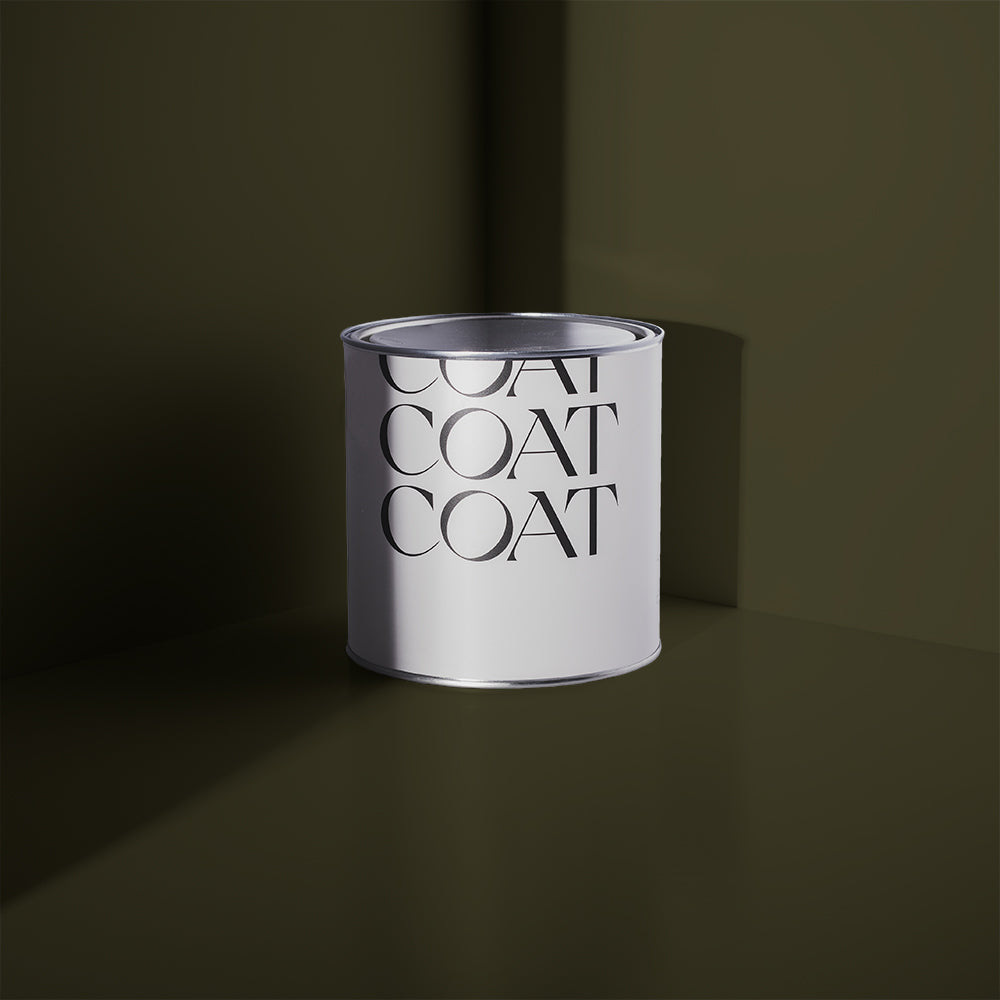
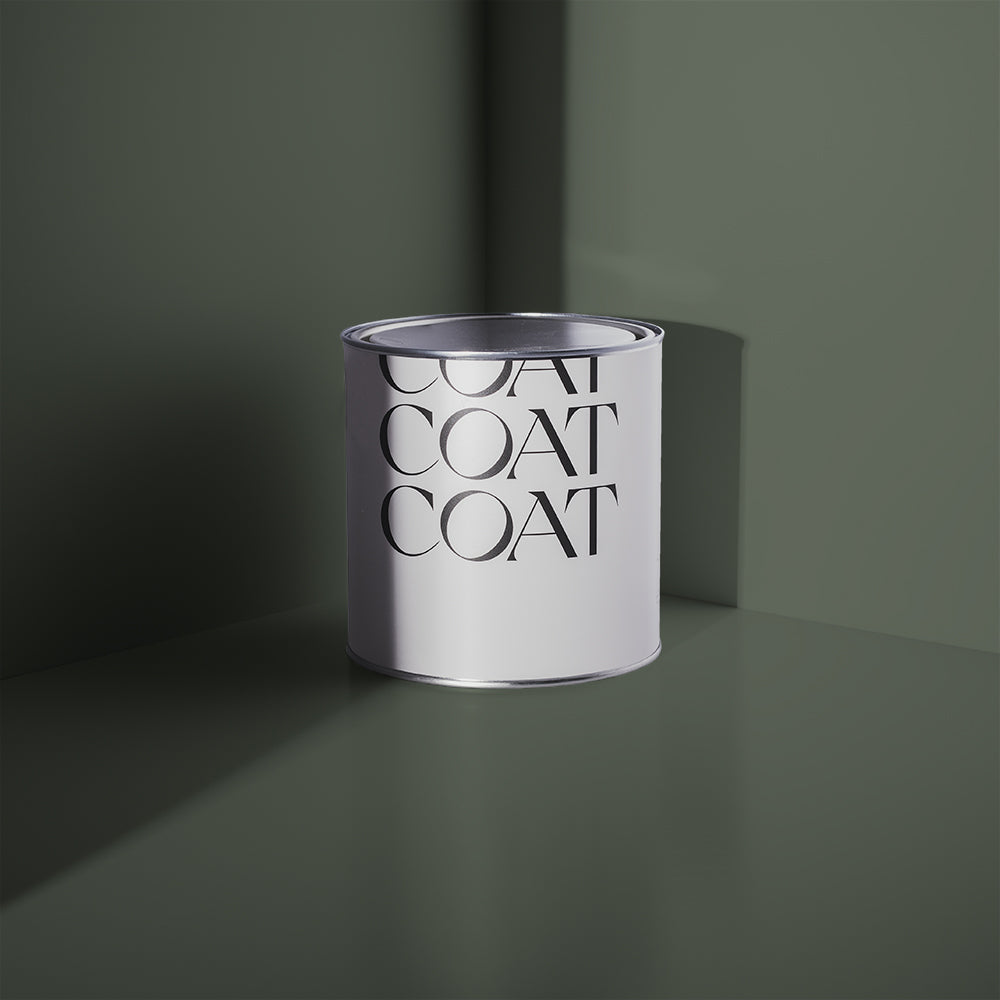
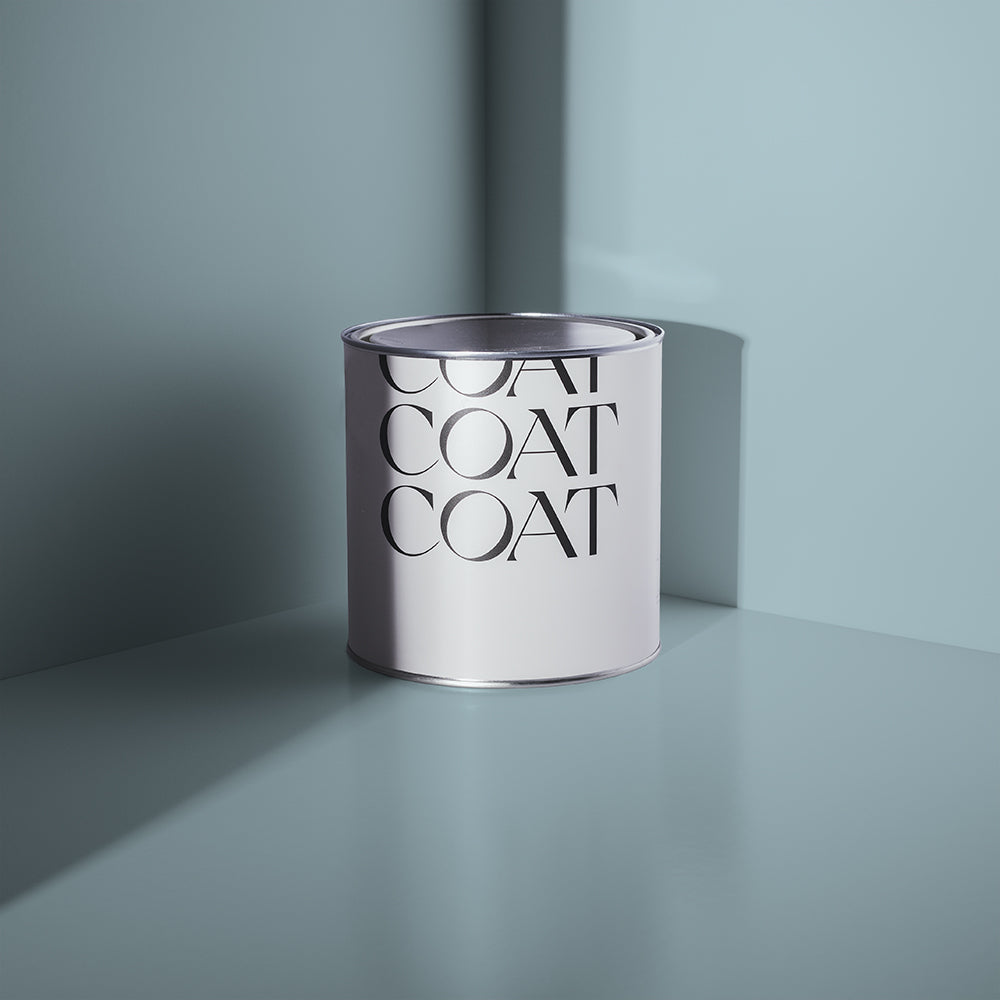
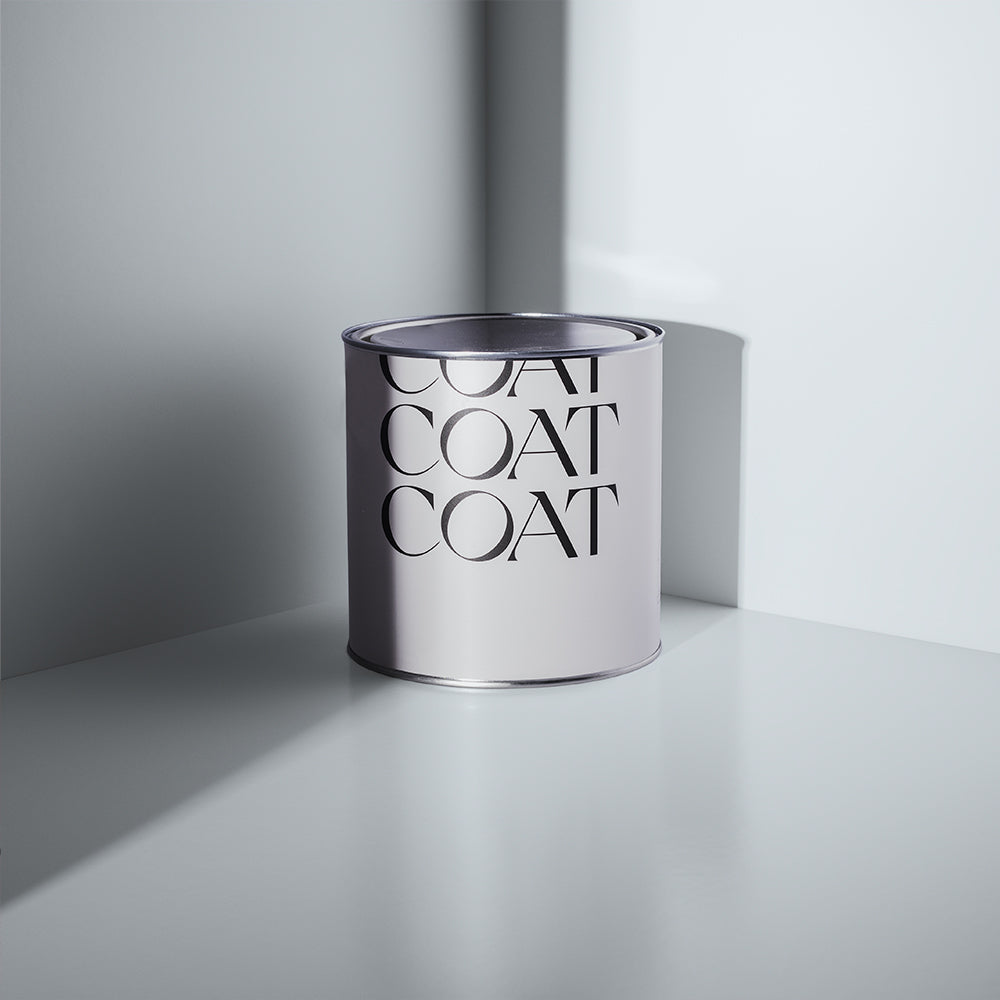
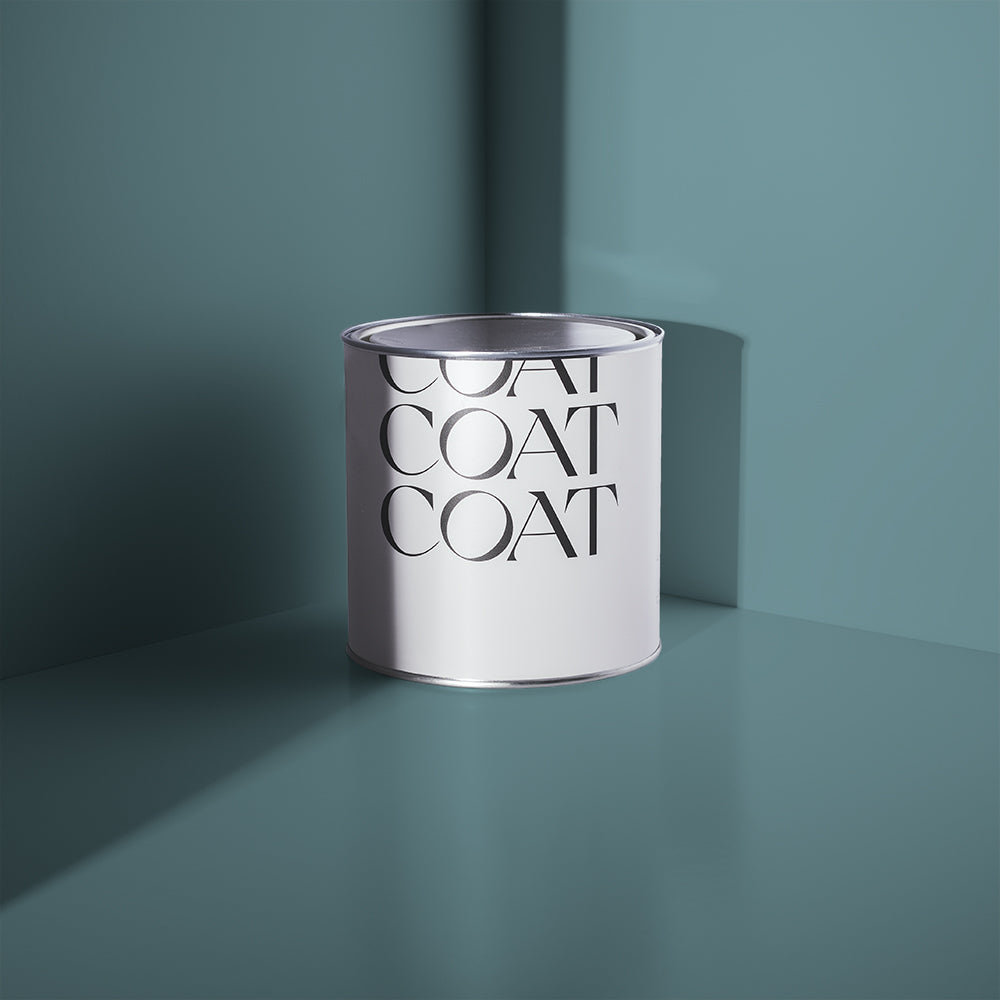
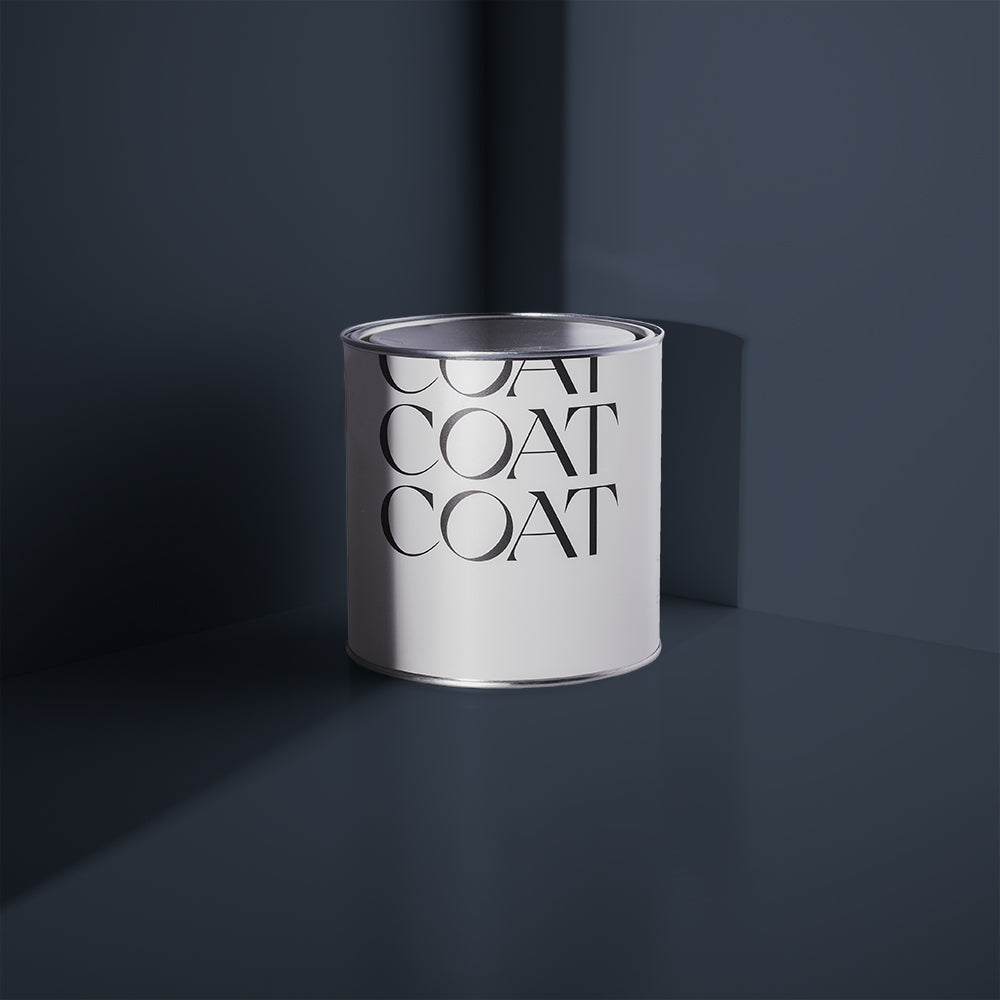
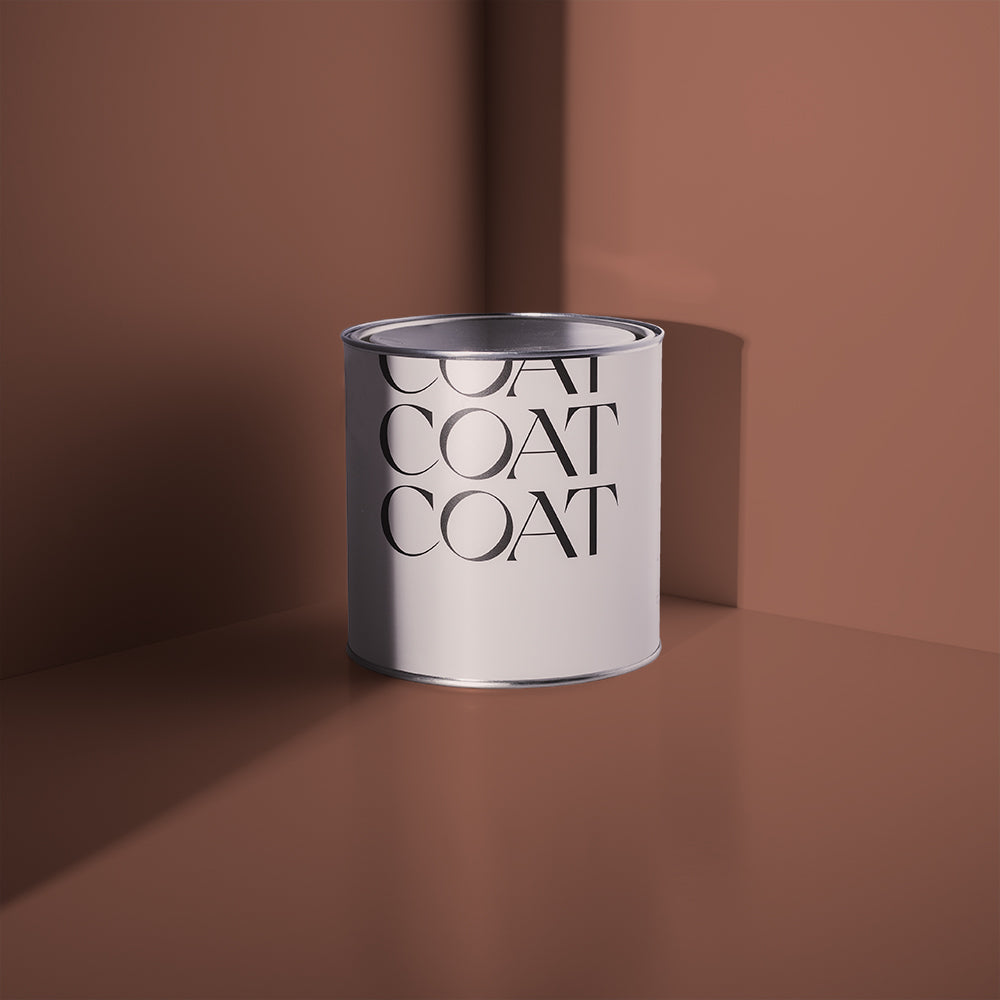
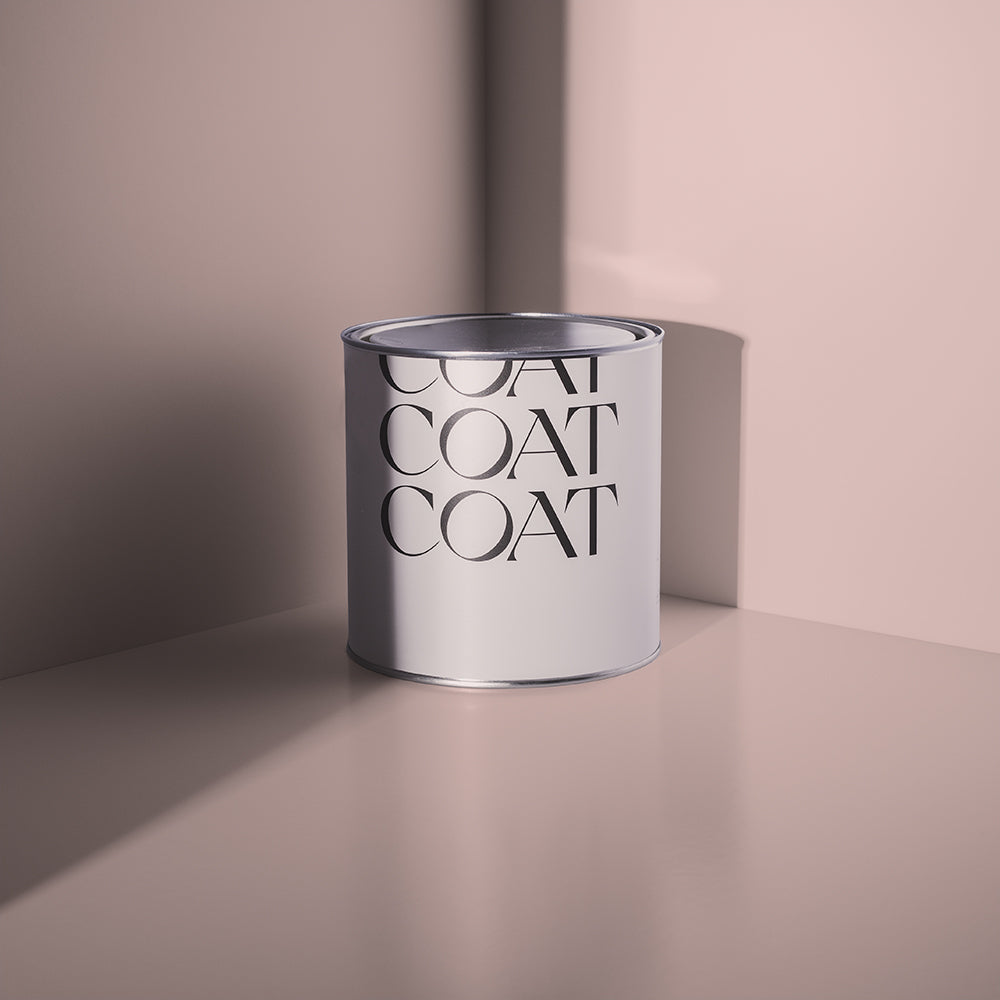
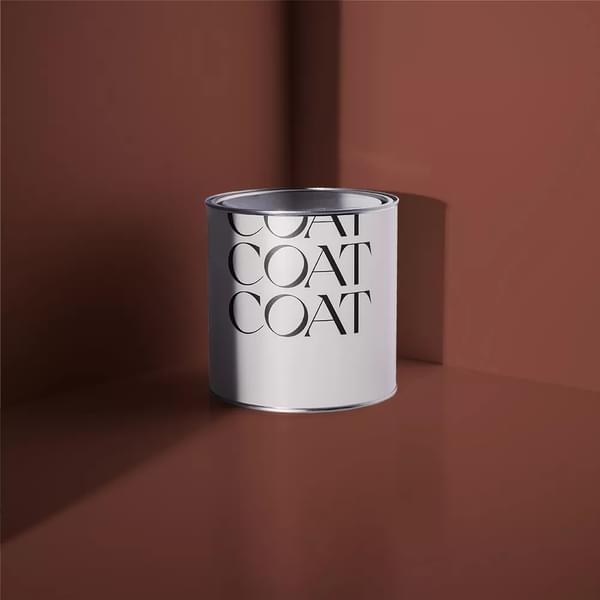
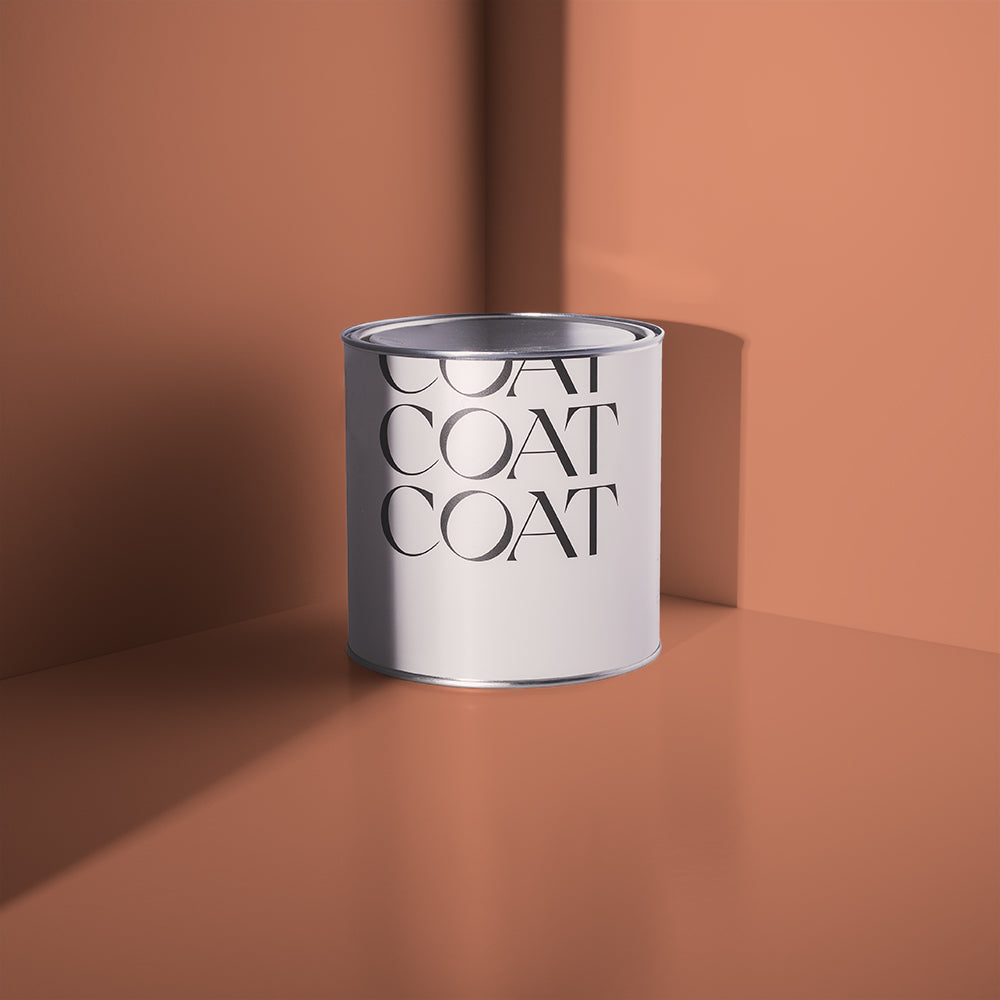
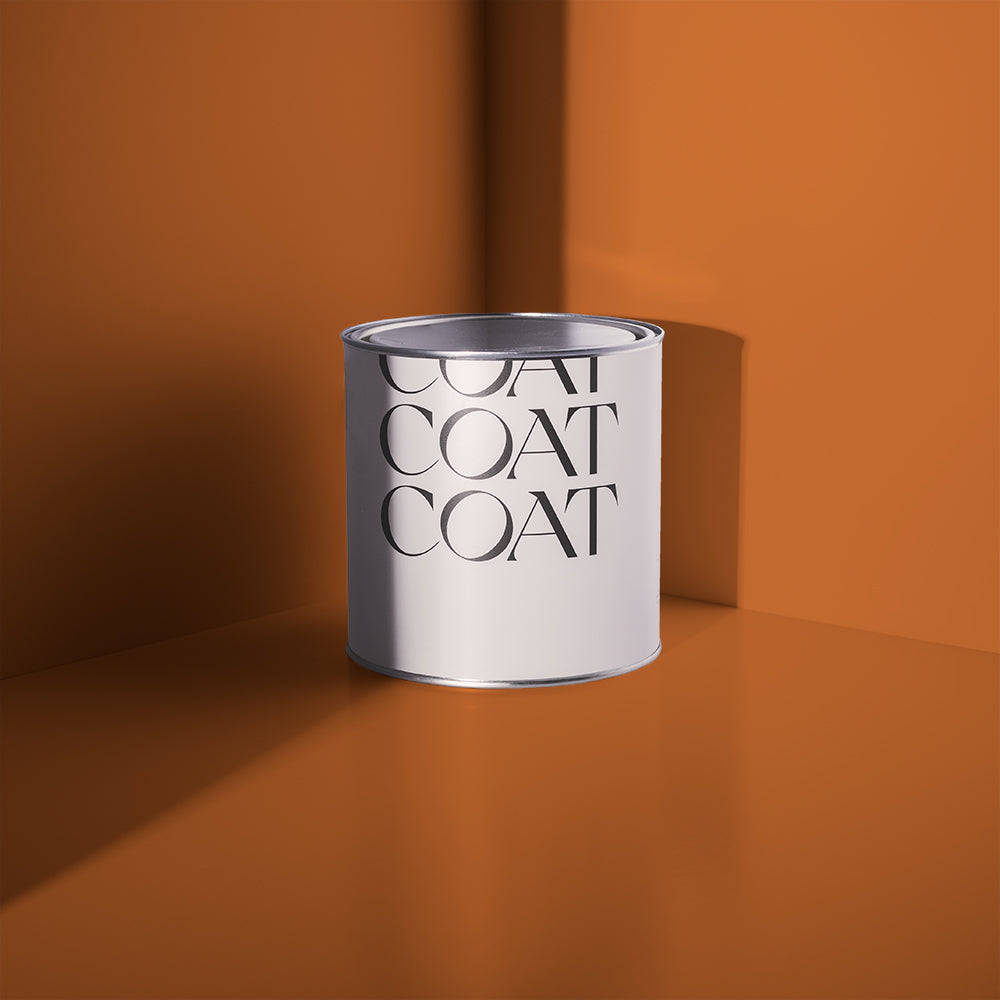
- COAT’s Exterior Masonry Paint (in your chosen shade)
Pick Your Paint
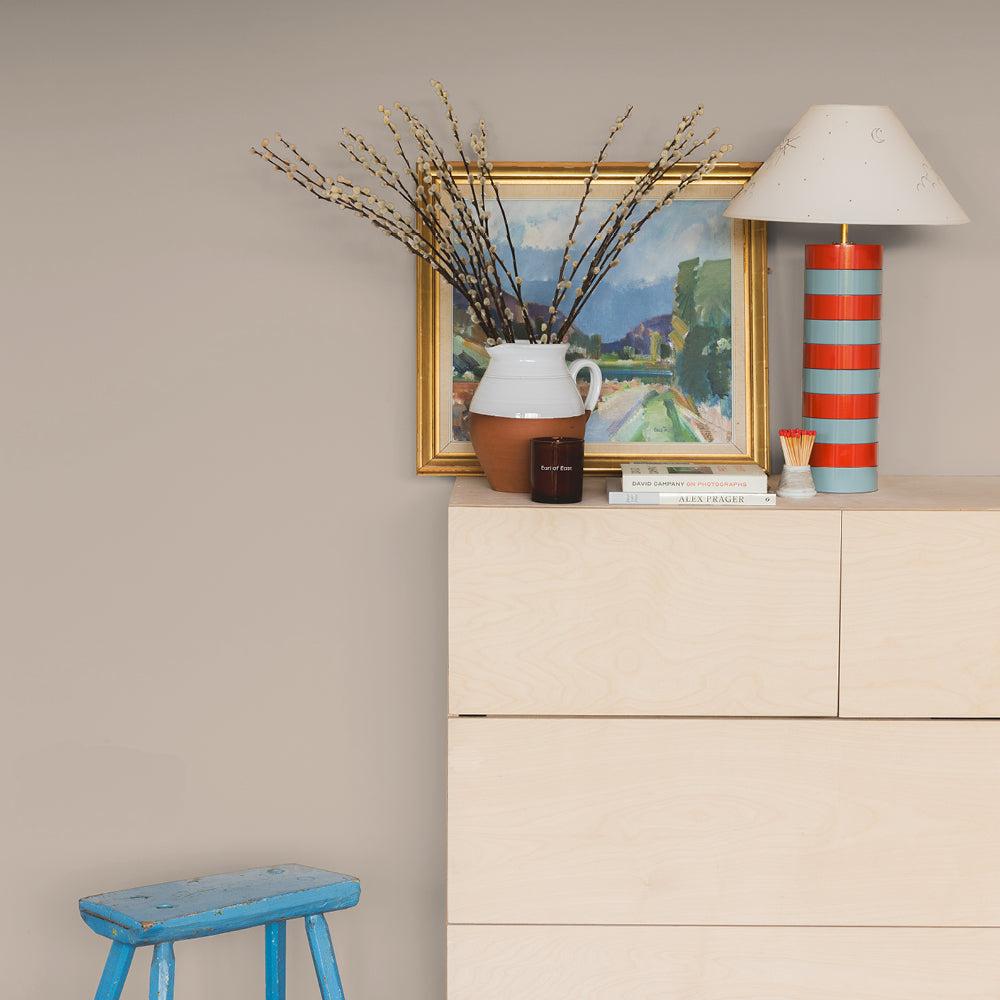
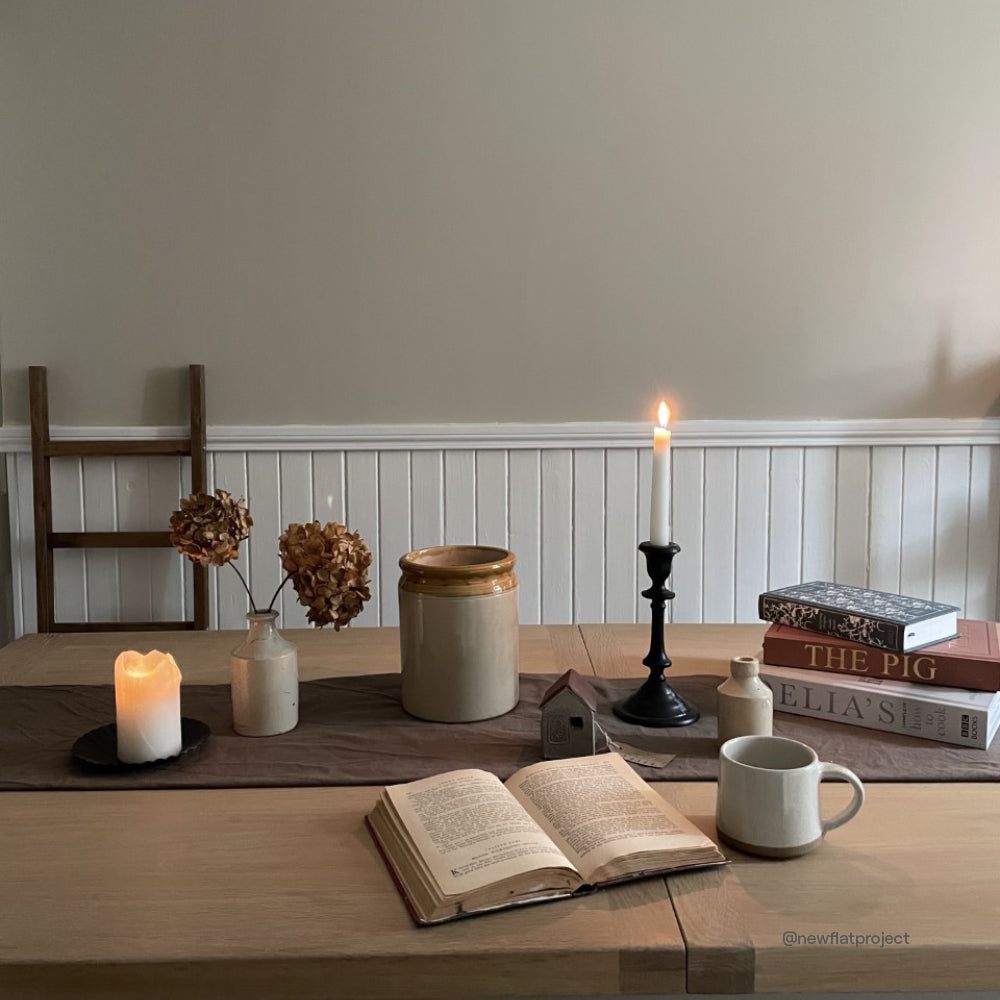
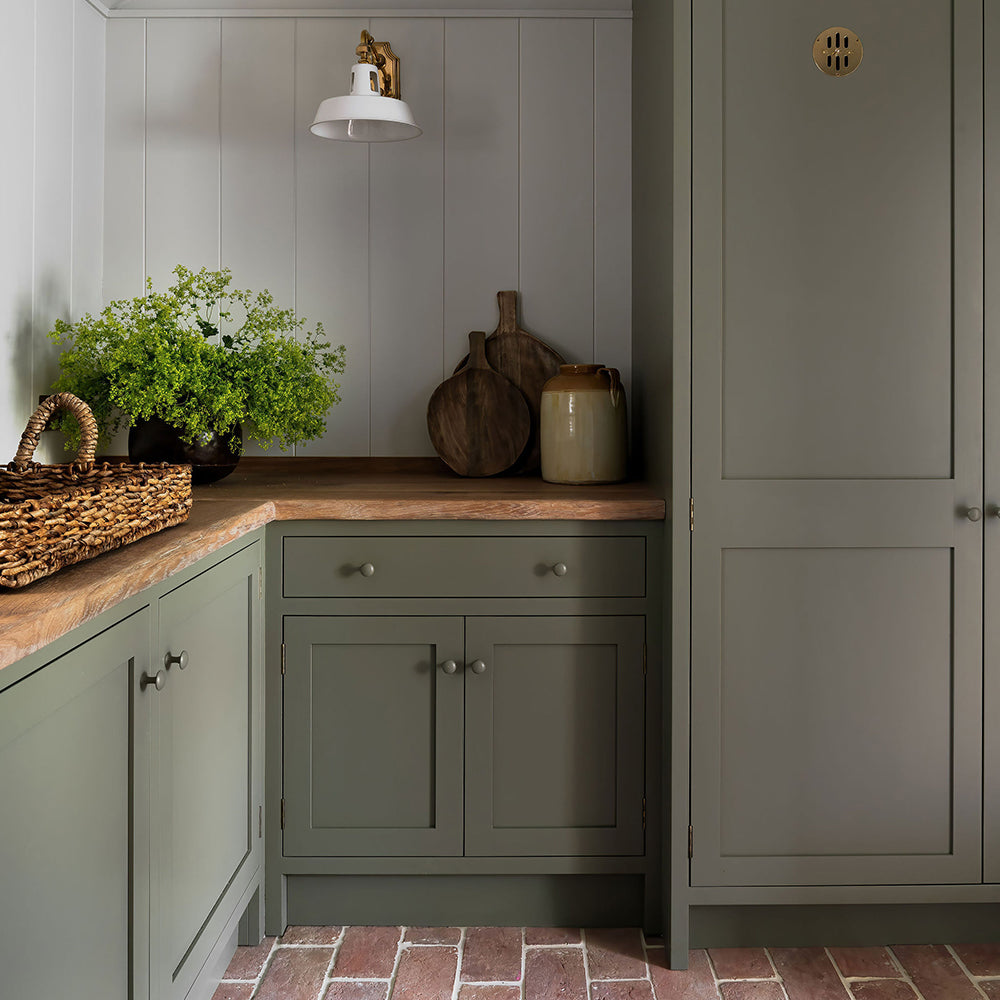
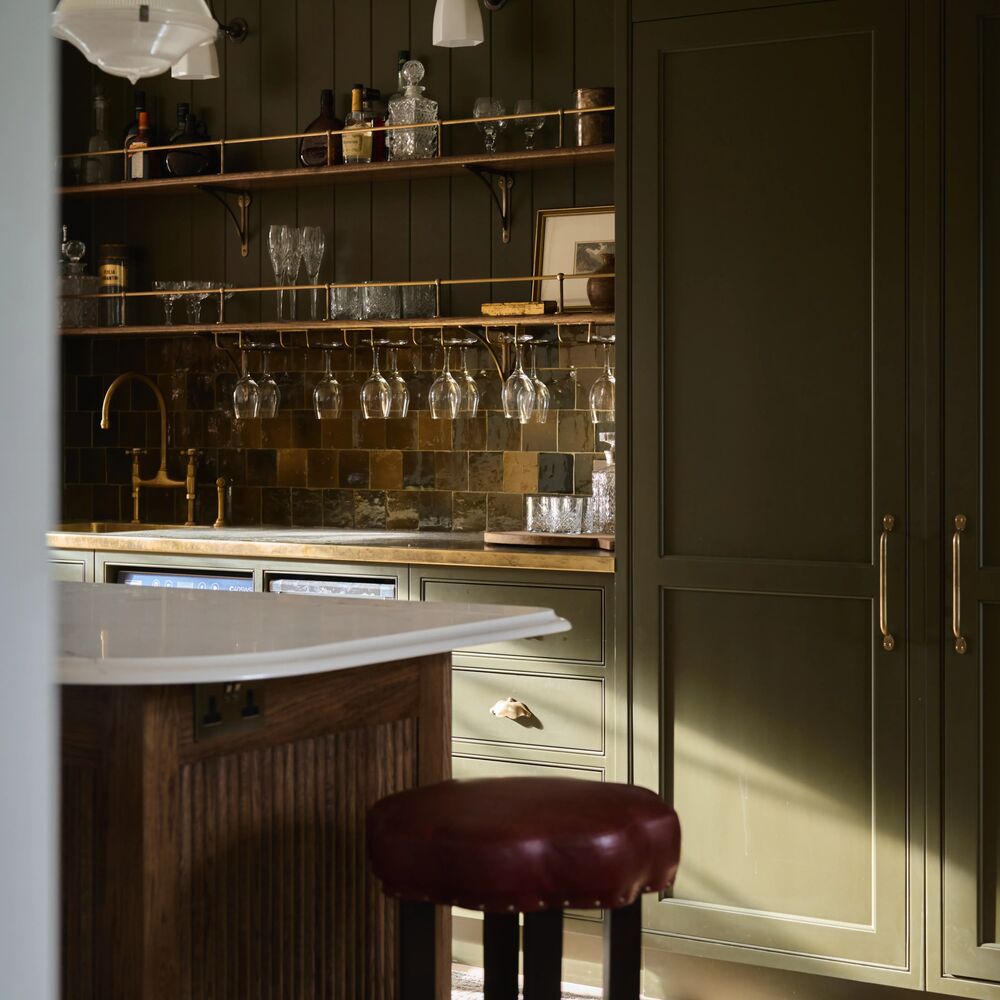
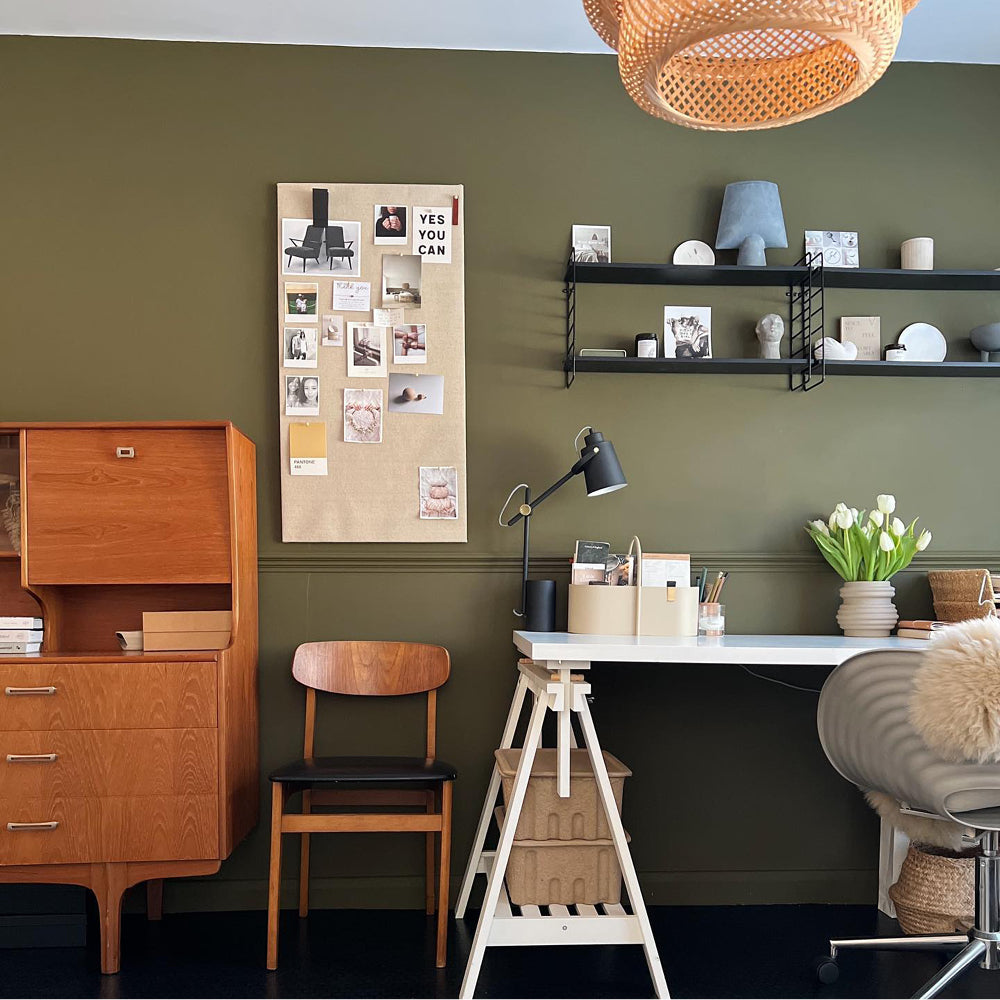
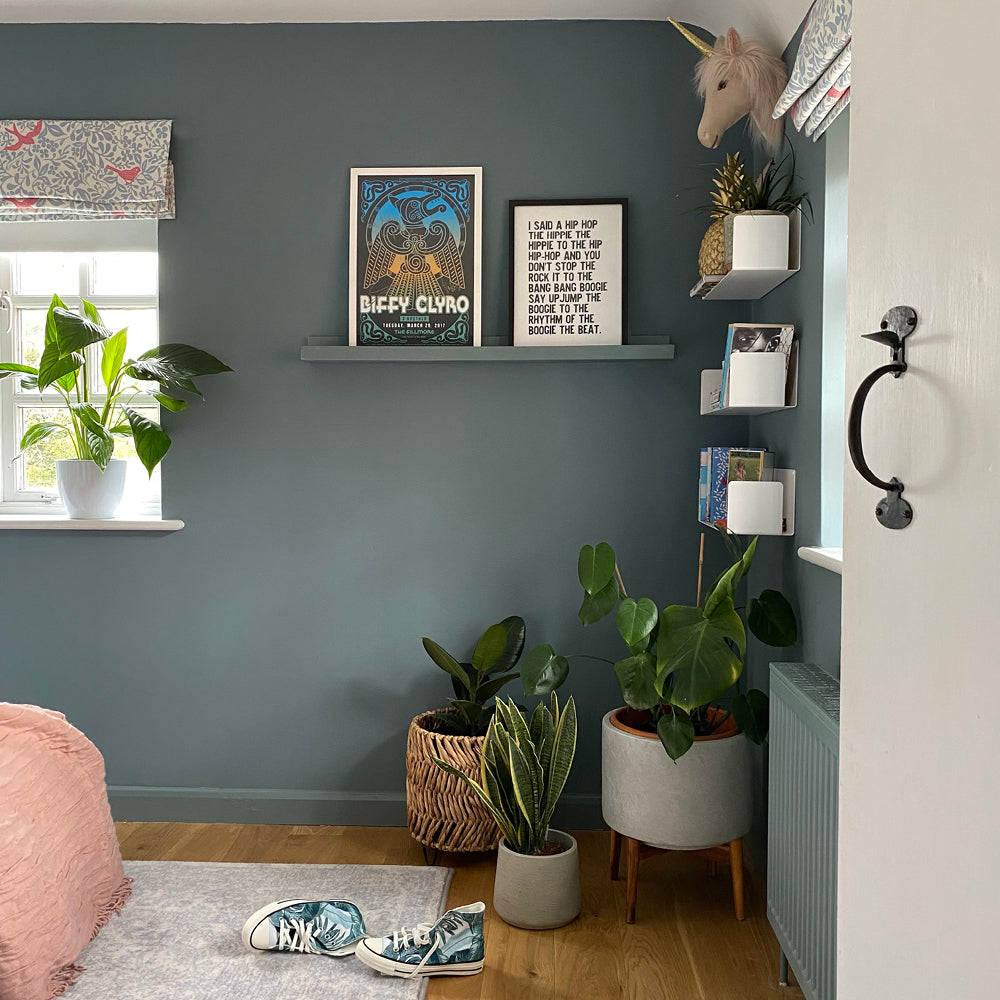
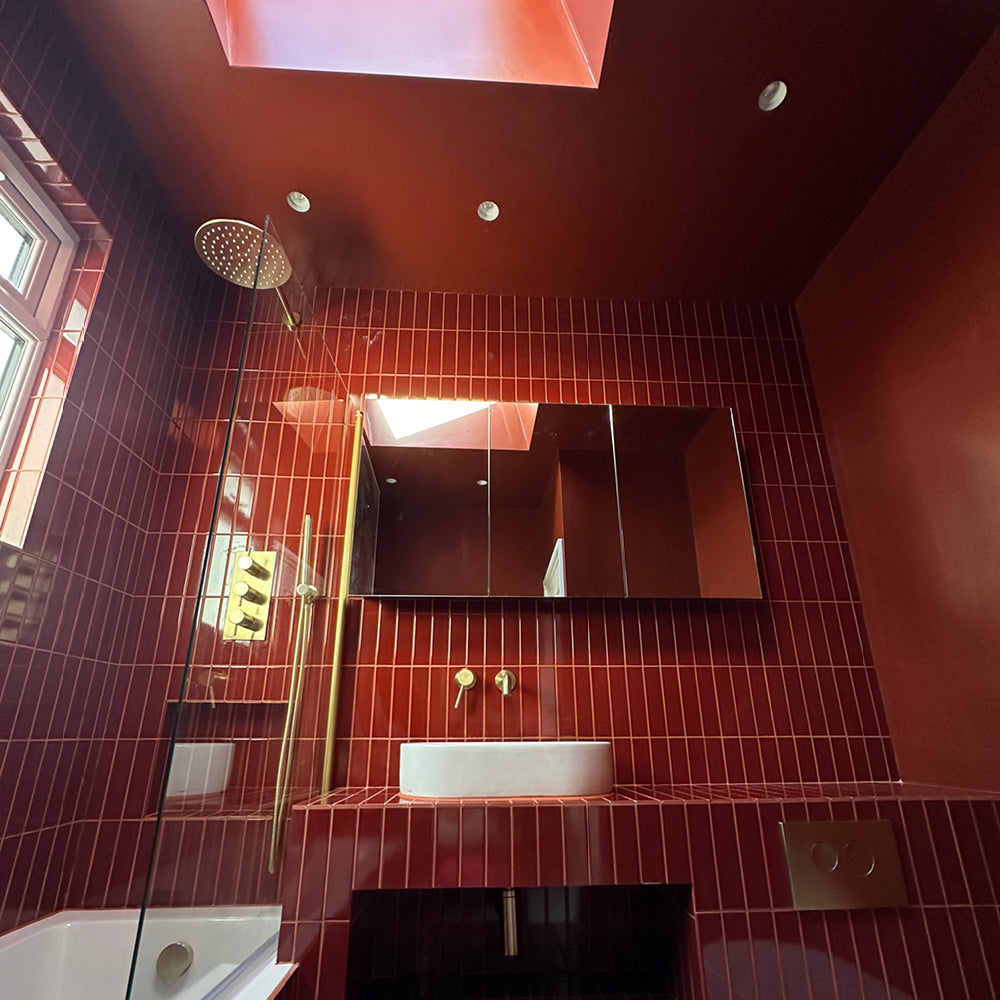
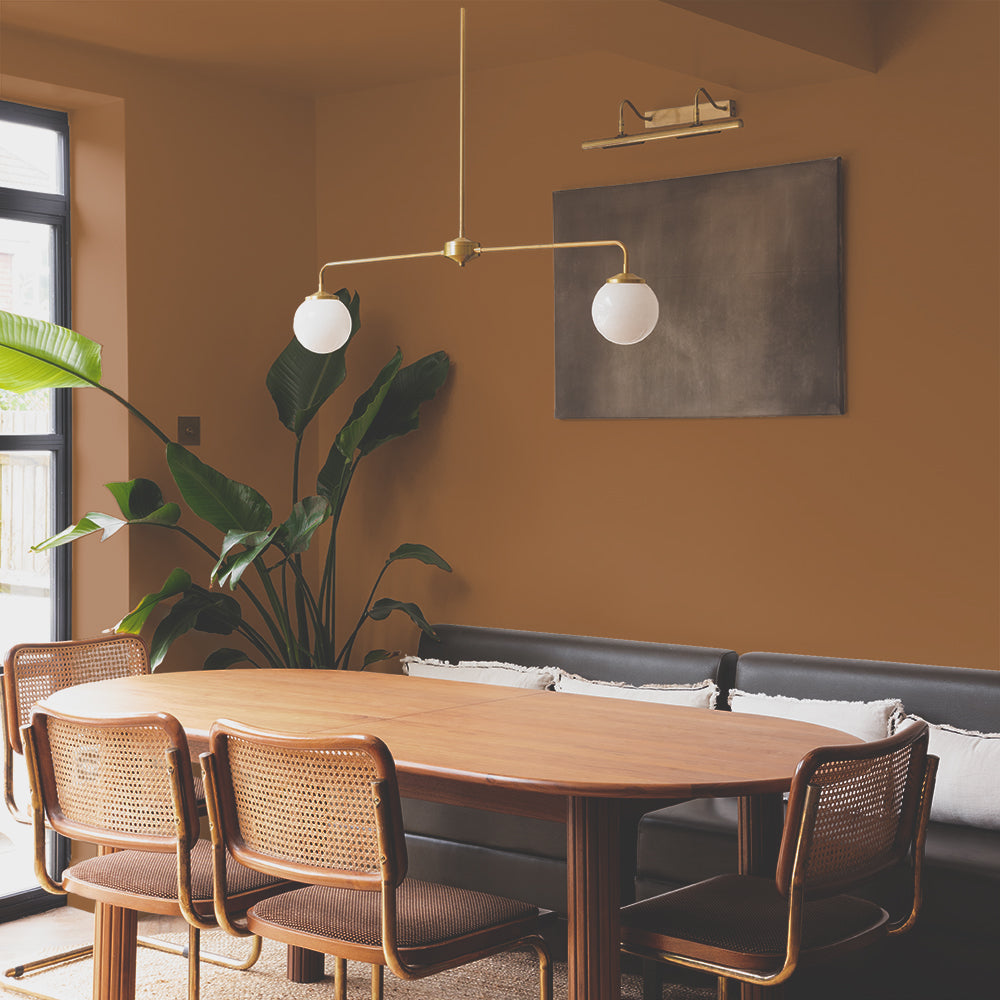
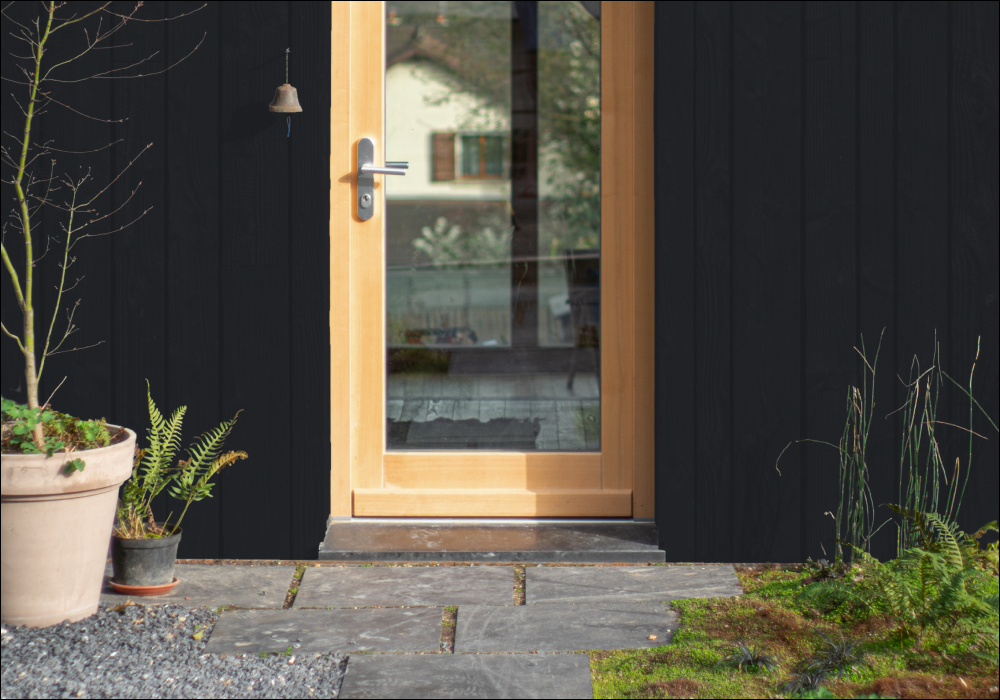
Painting exterior brick is the quickest way to transform the vibe of any garden space. At COAT, our high-grade external paint shades are great for outdoors and easy to apply with either a roller or brush. They’re also flexible, crack-resistant and weatherproof, able to achieve a fresh new look in just a matter of hours. If you want a smooth, straightforward finish, our paints can promise just that - just pick your colour, and we’ll whip it up fresh for you.
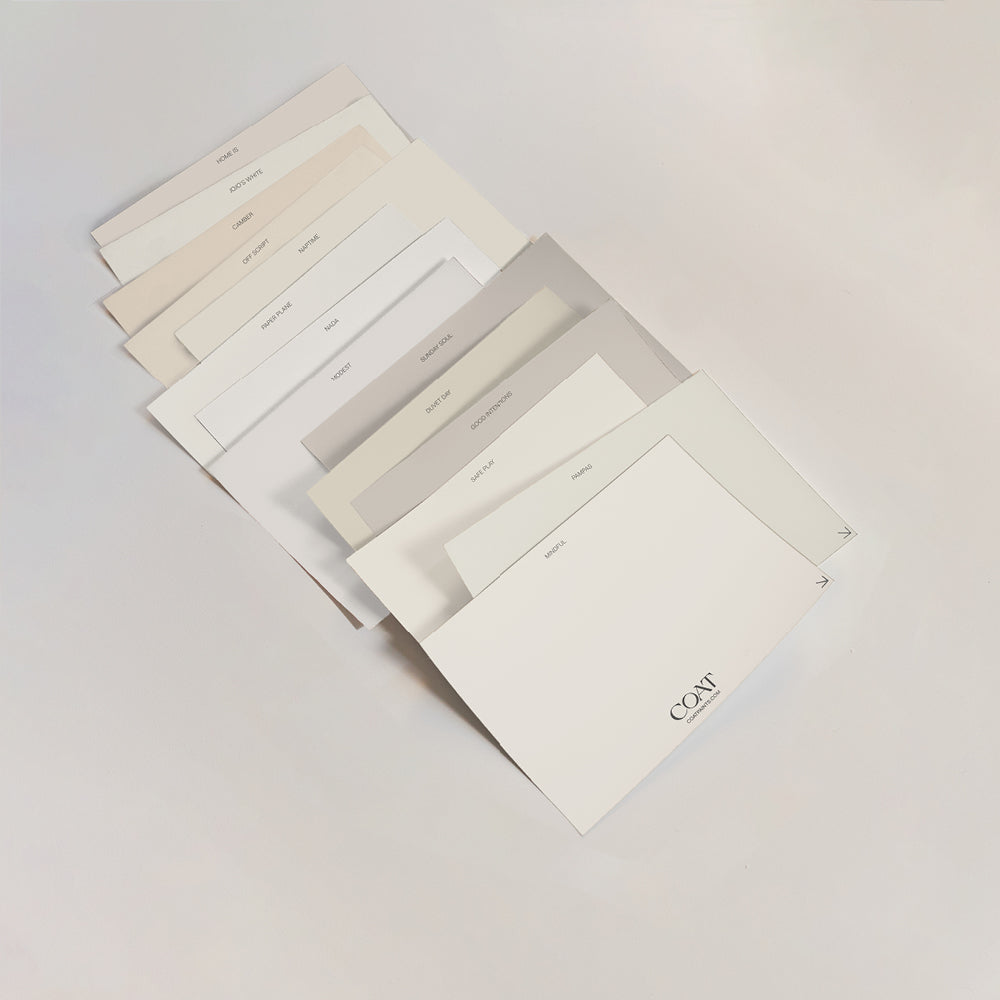
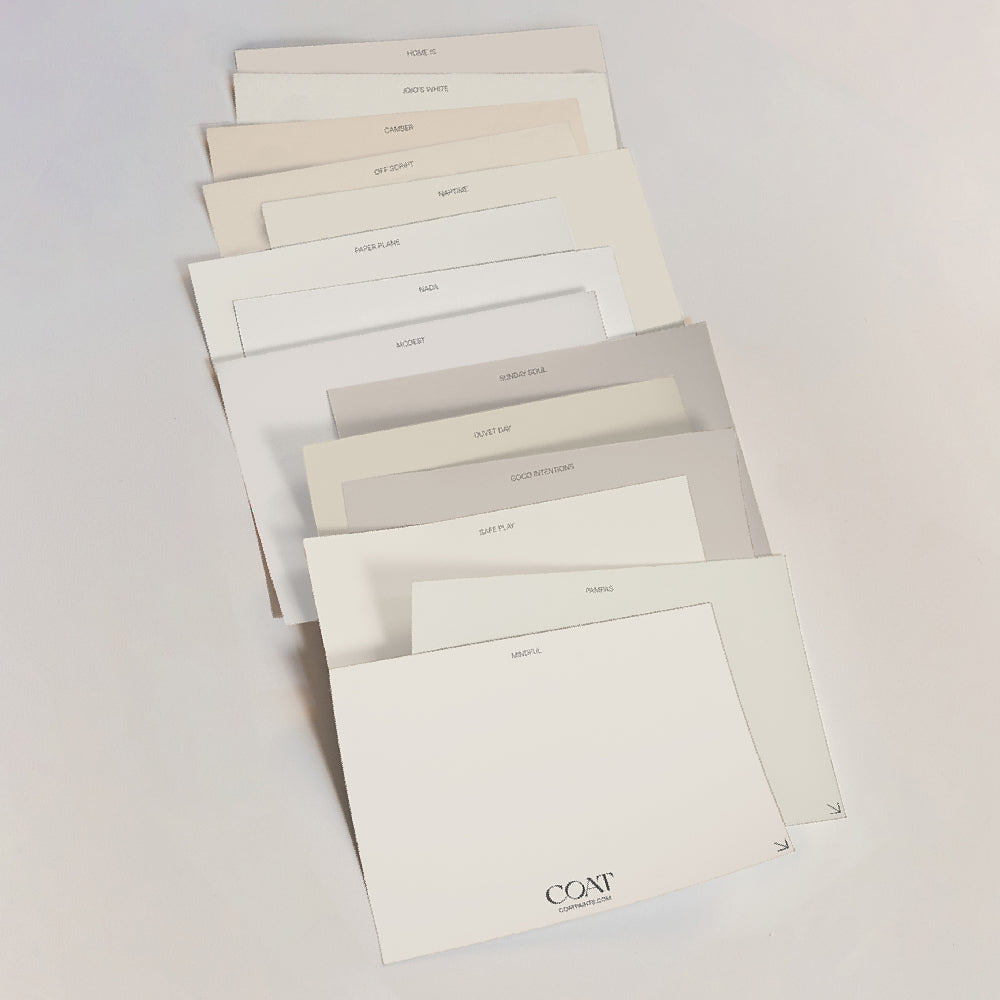
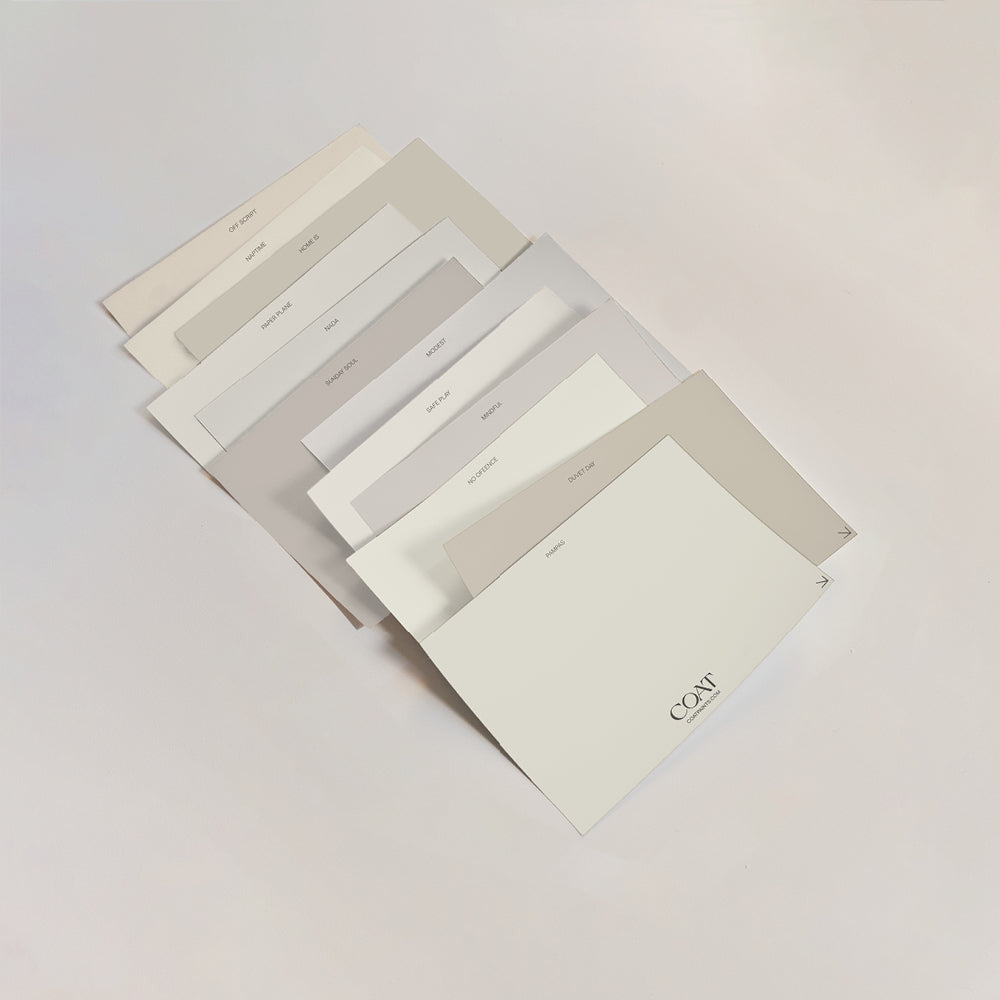
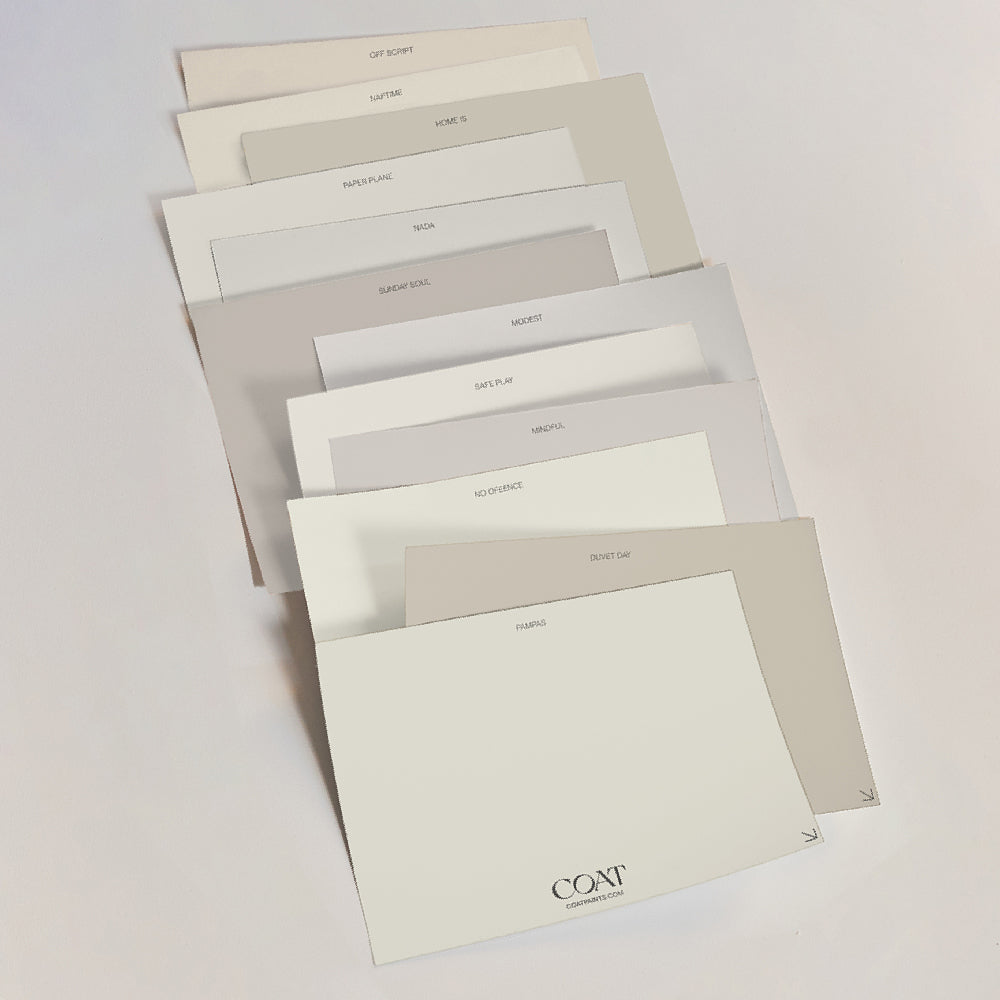
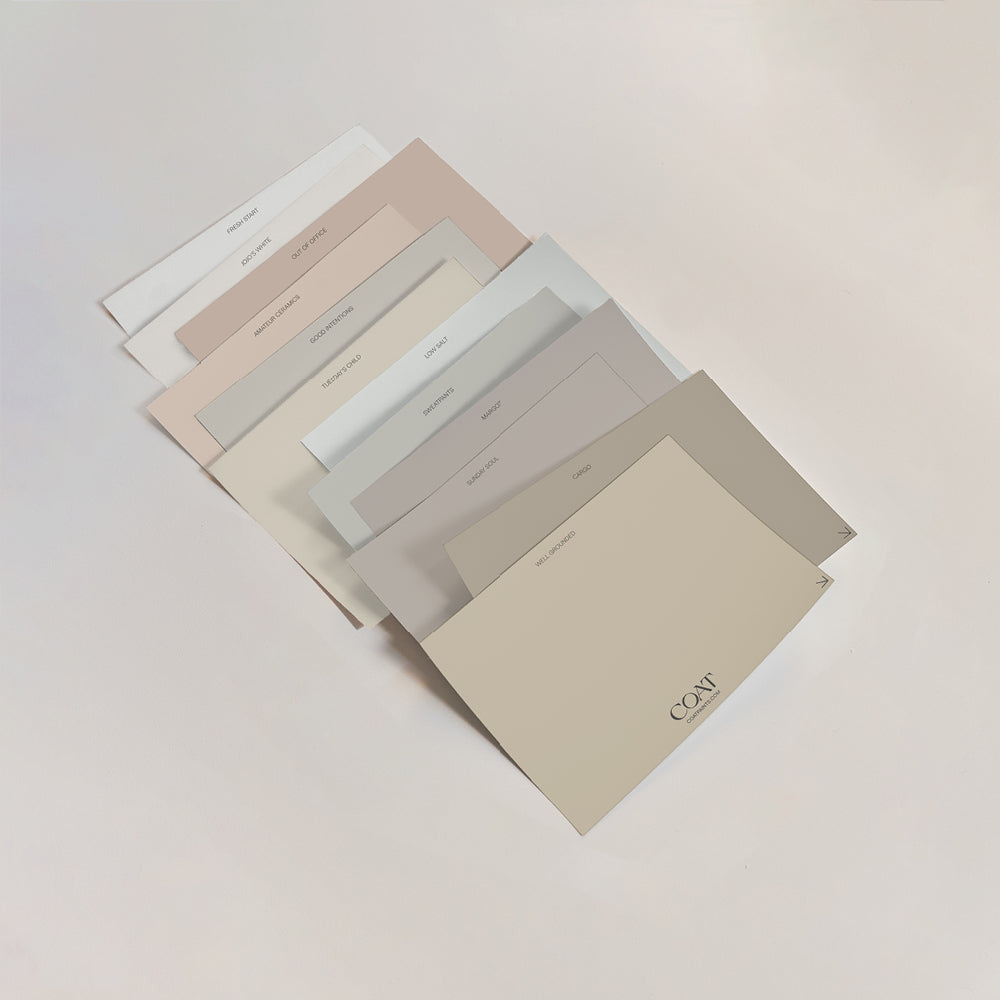
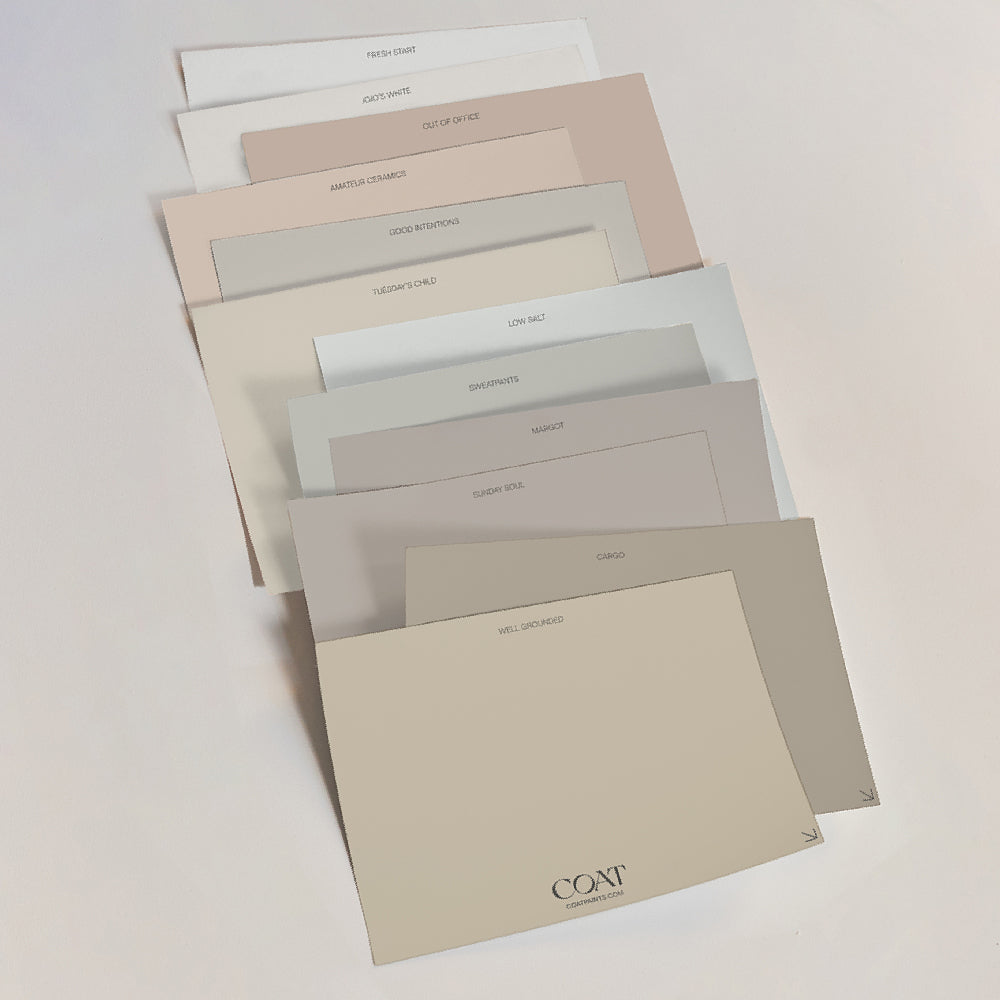
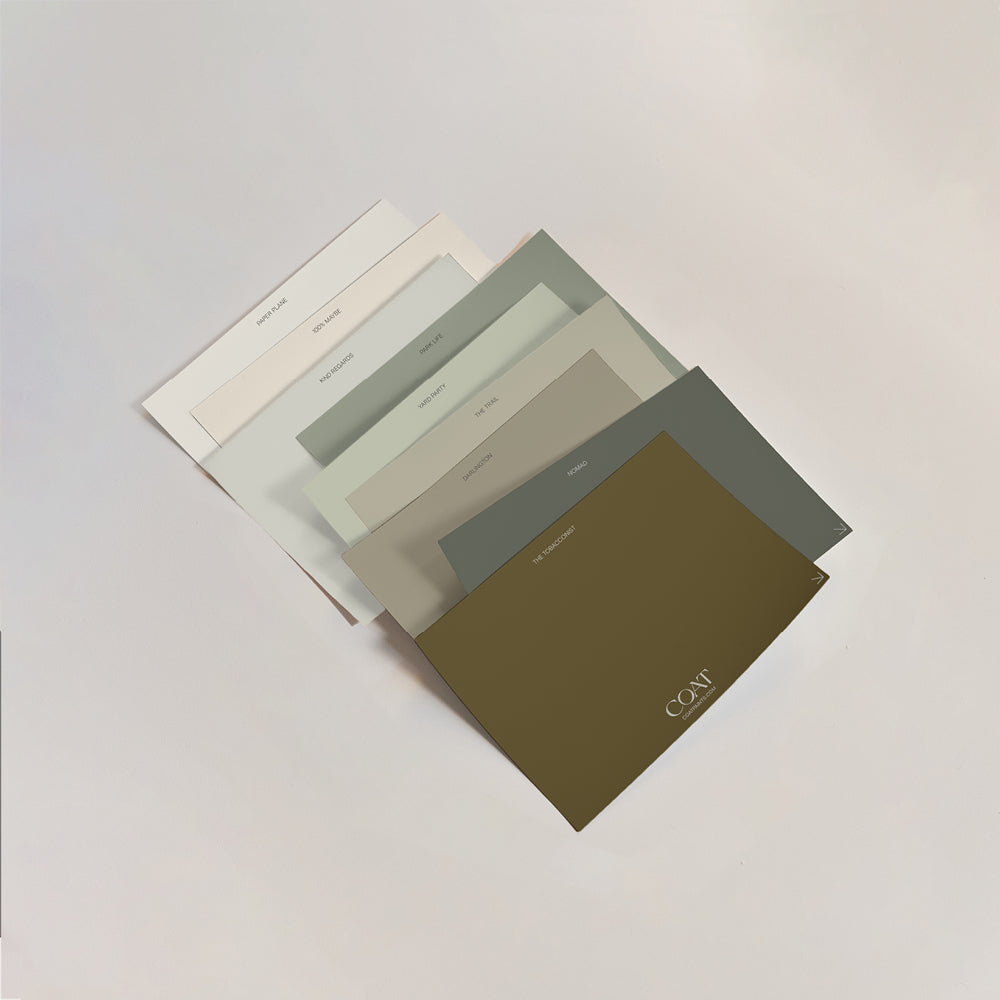
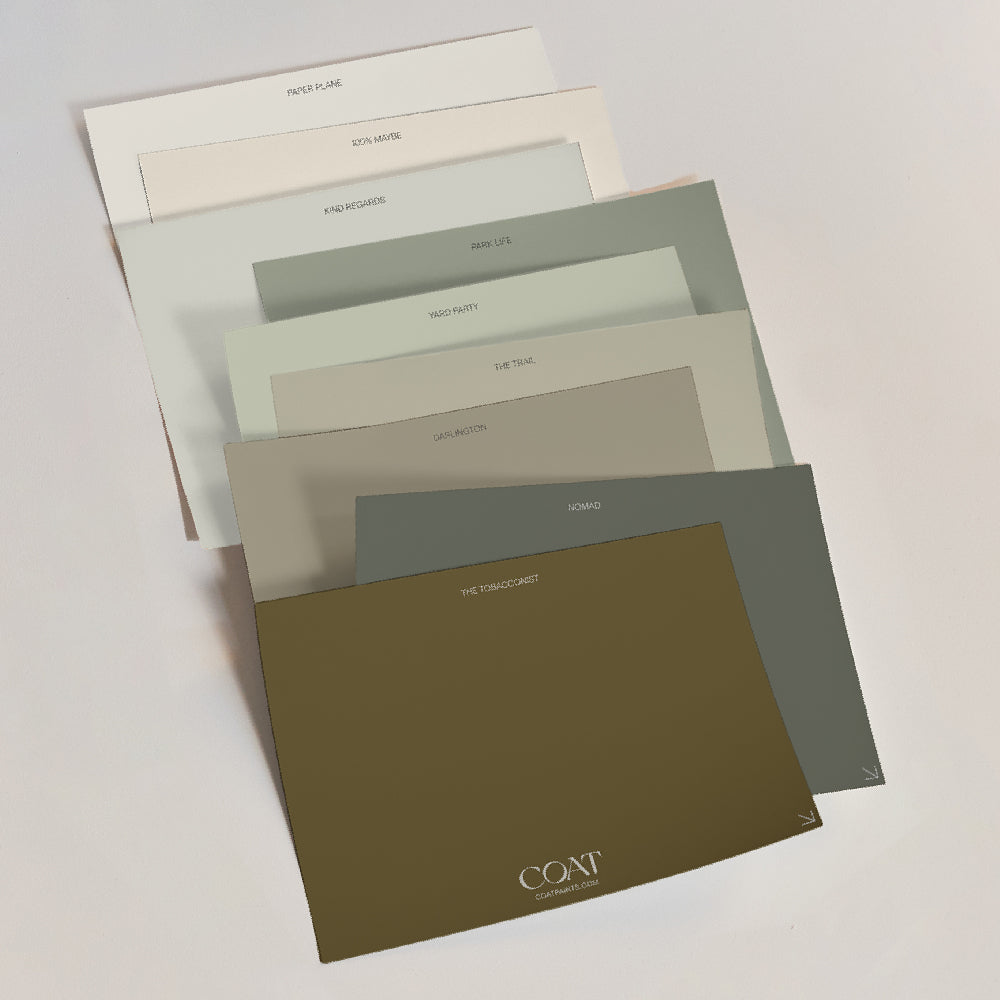
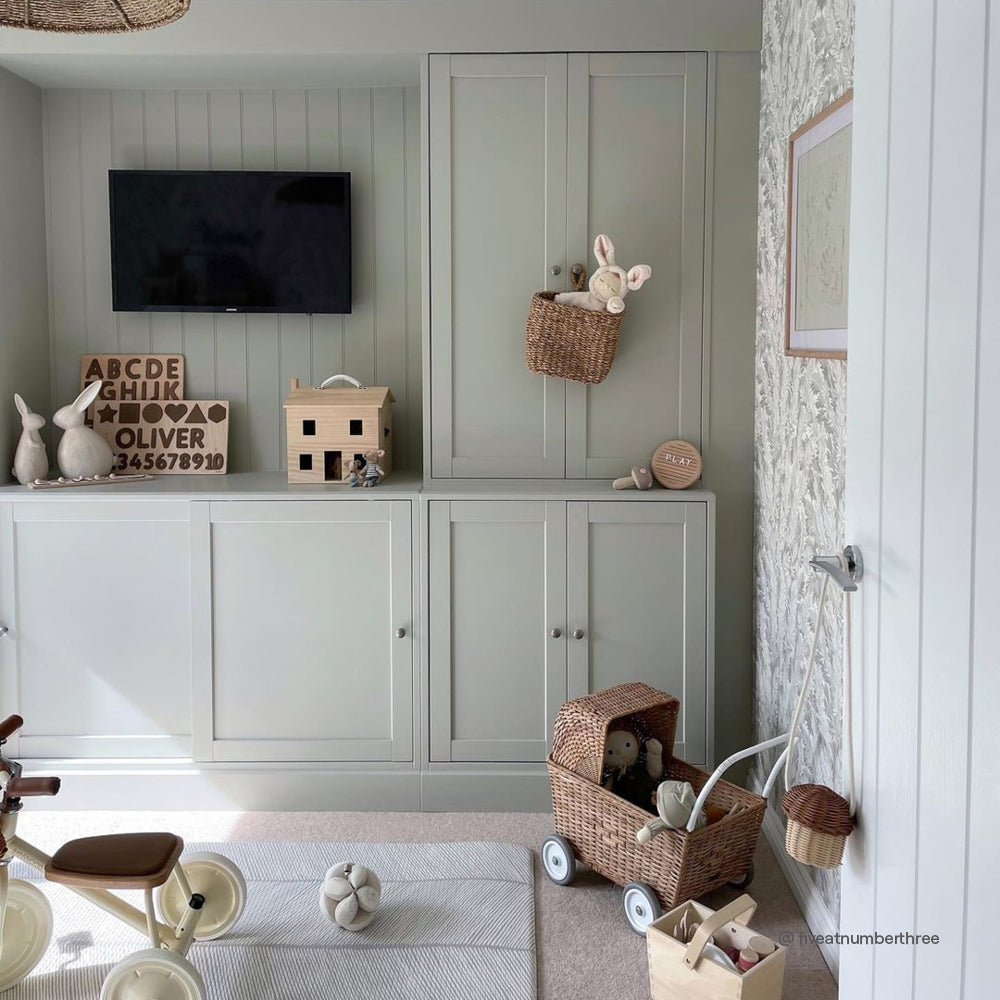
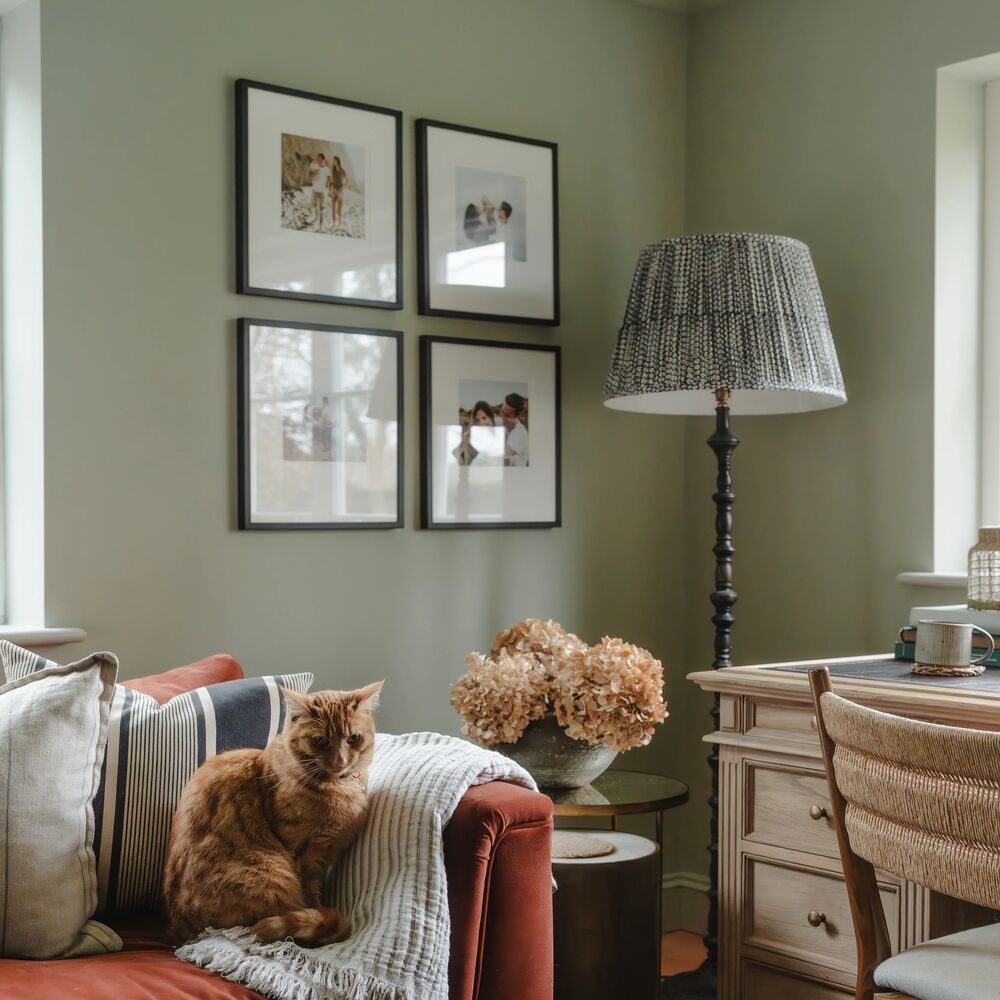
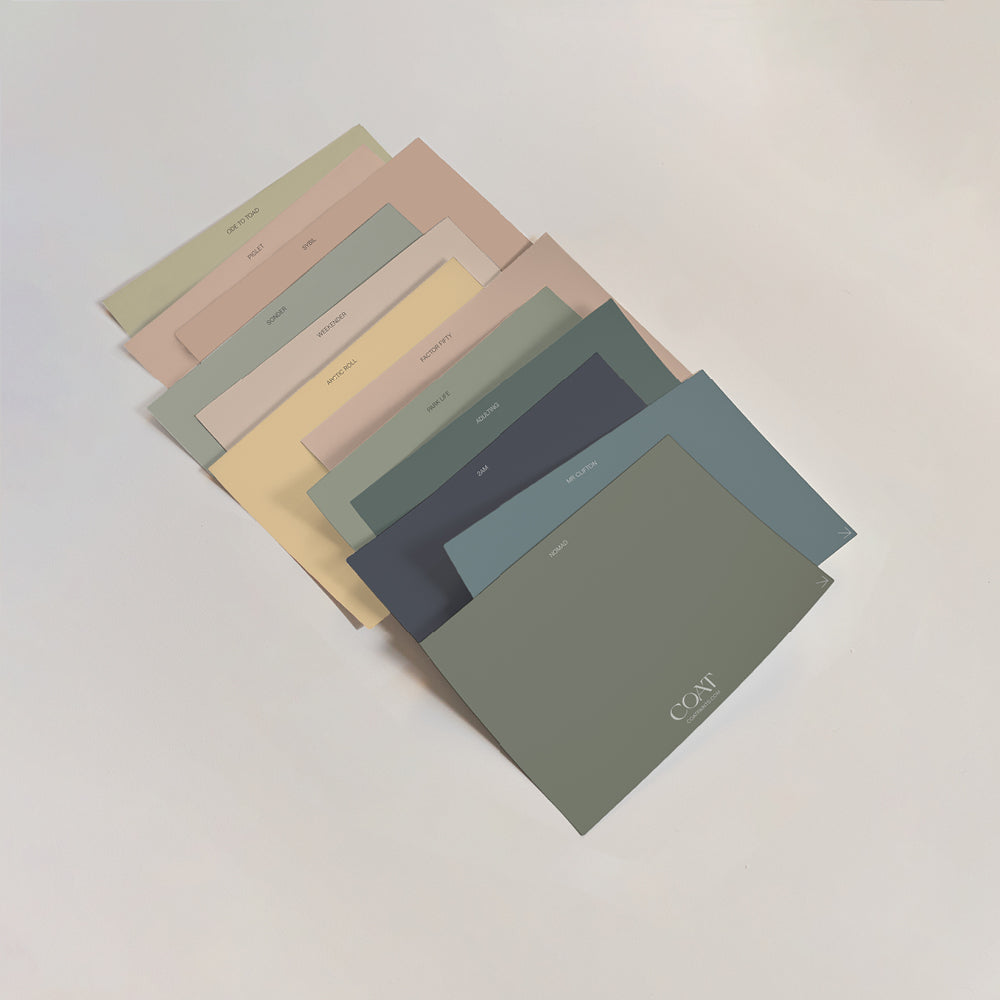
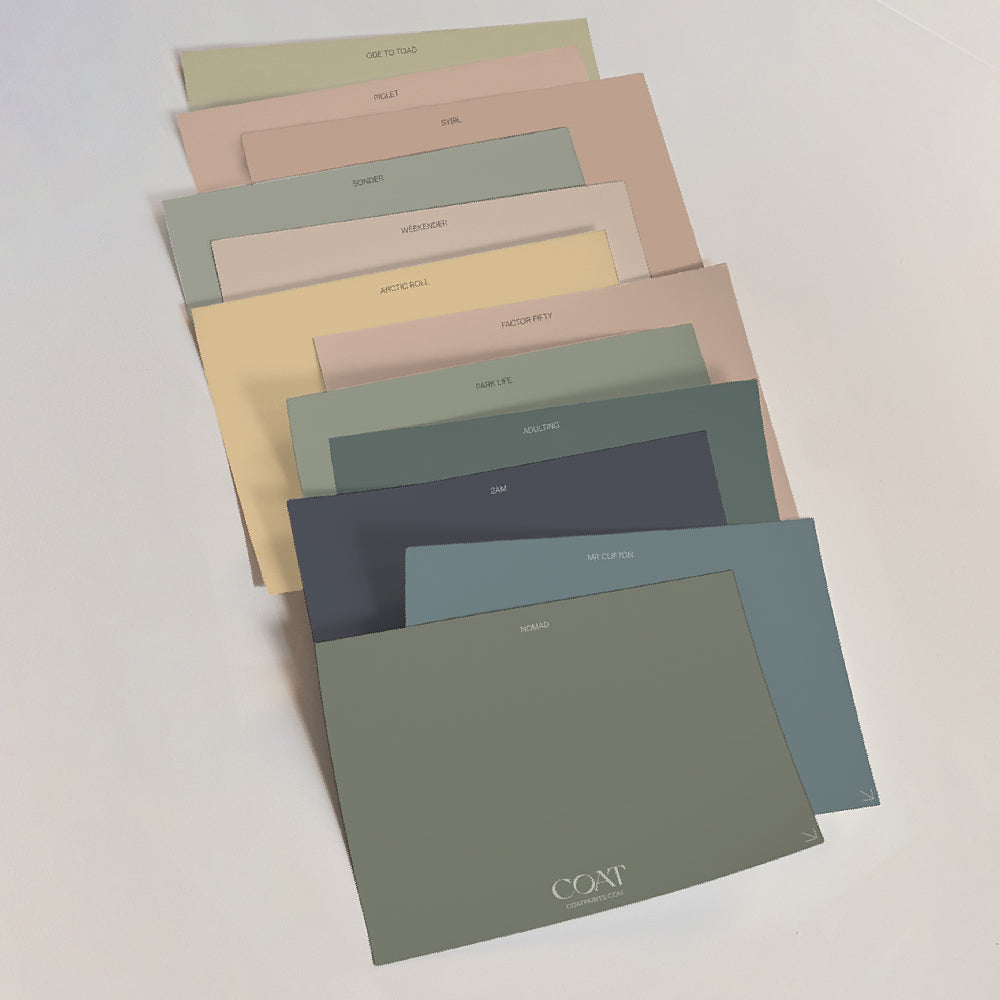
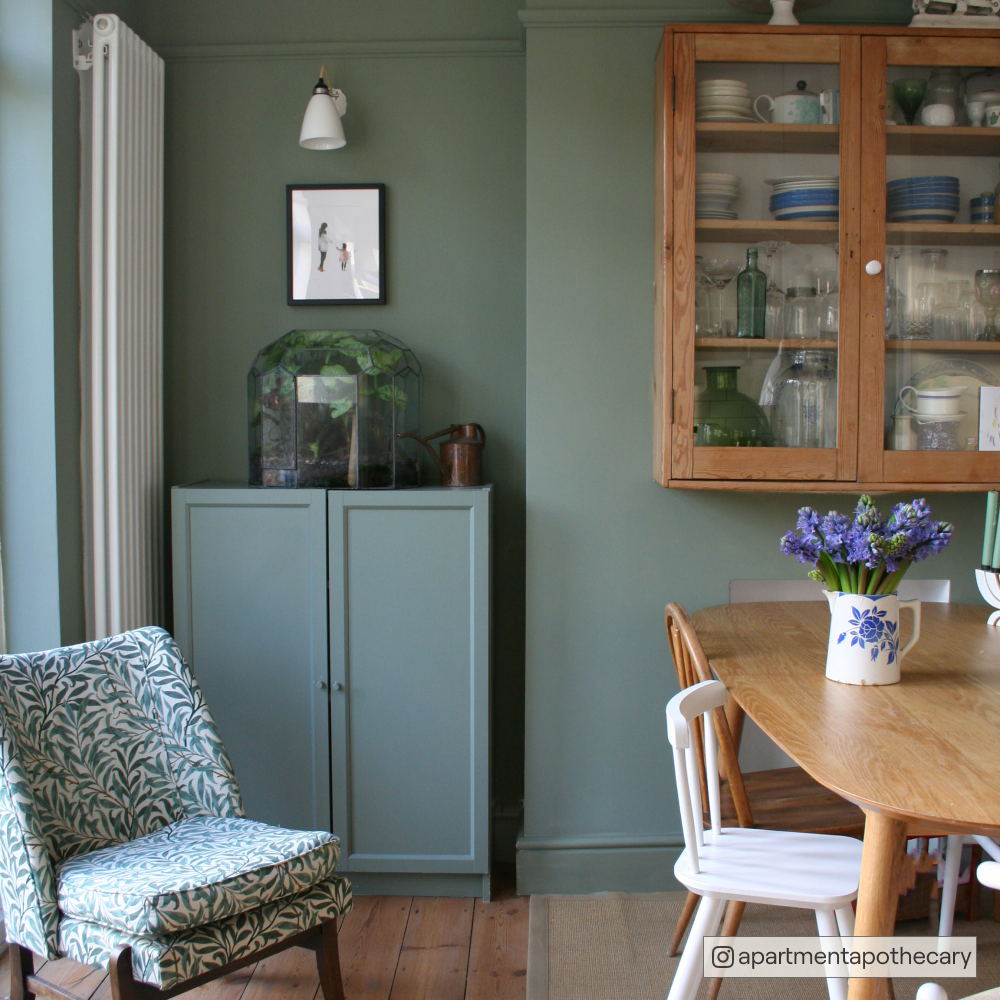
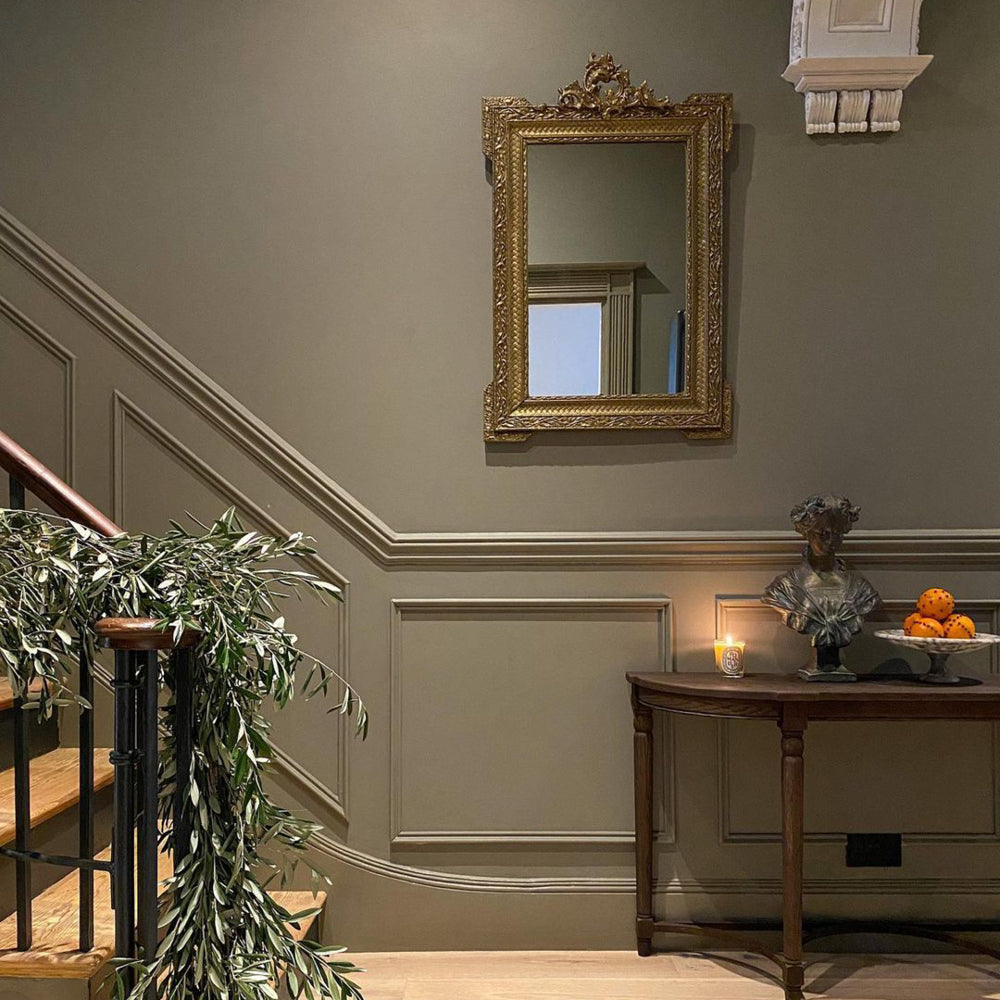
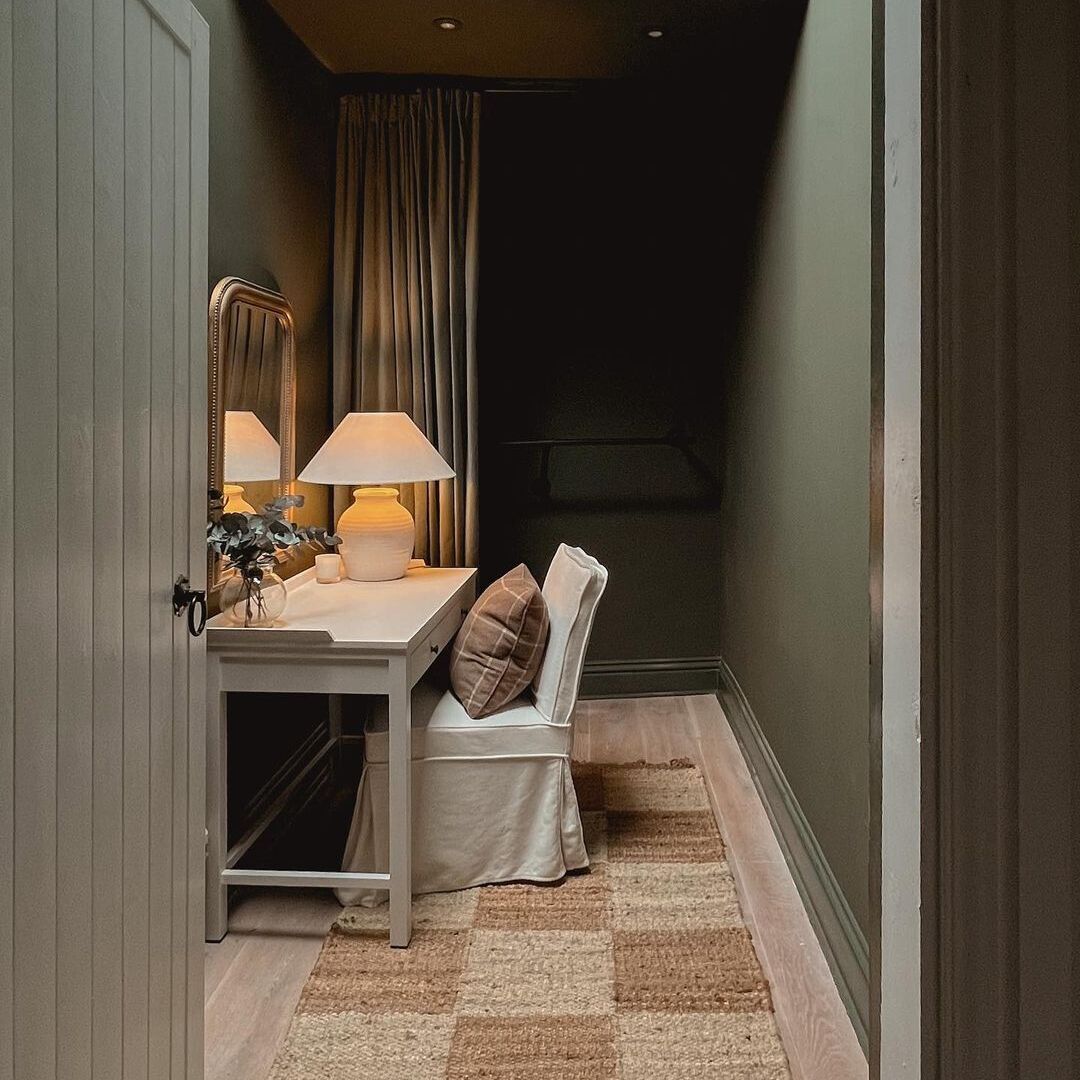
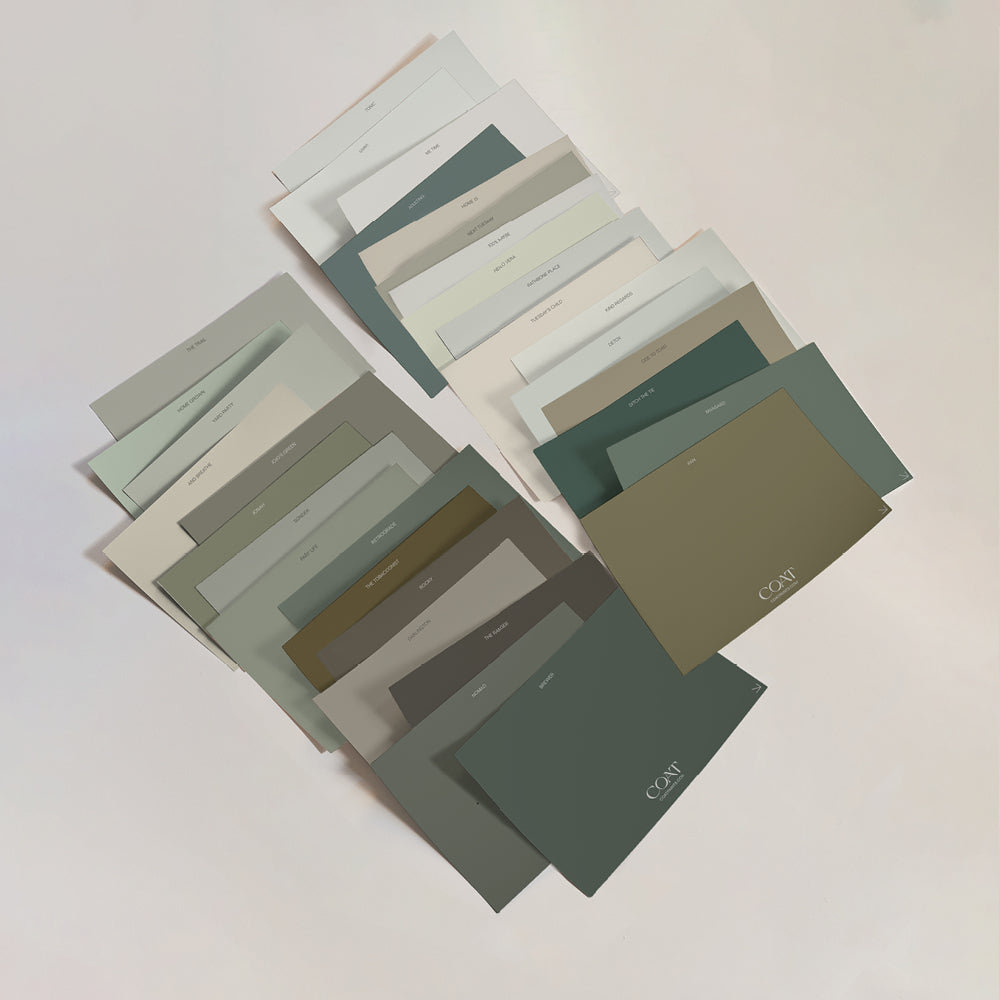
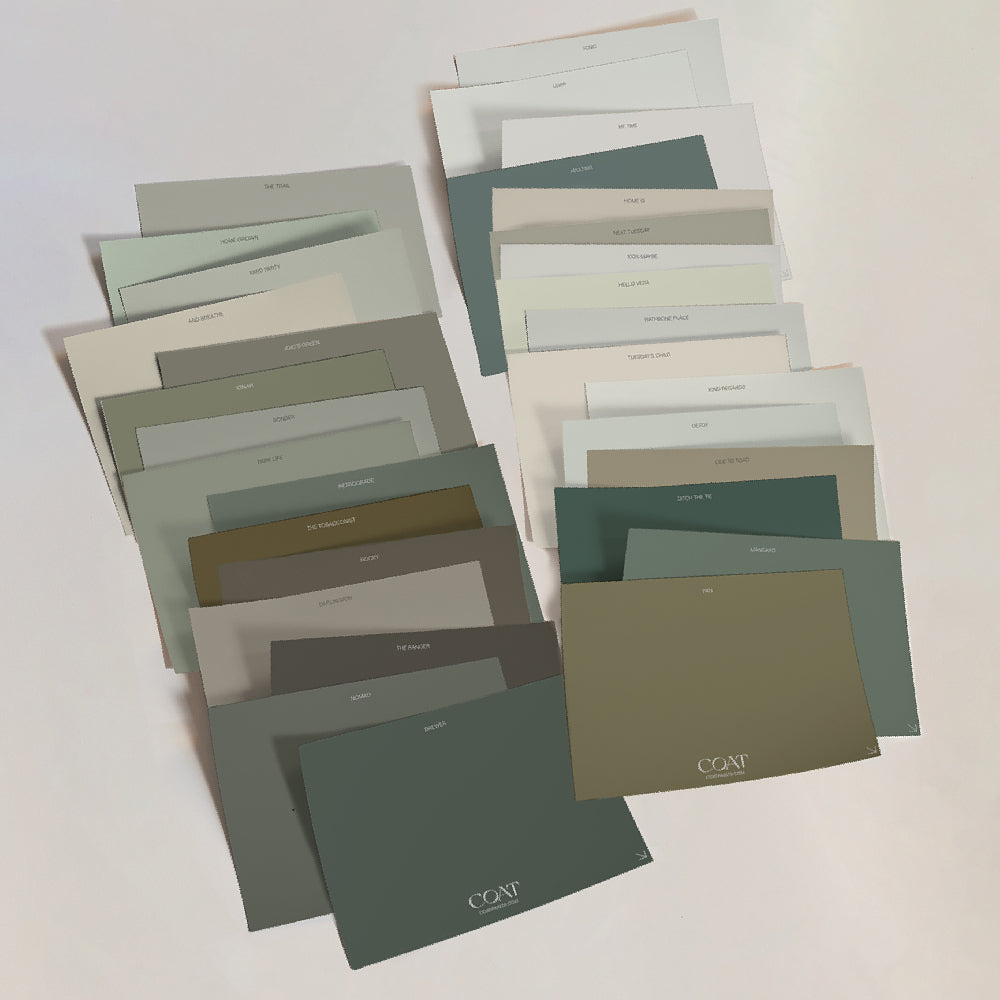
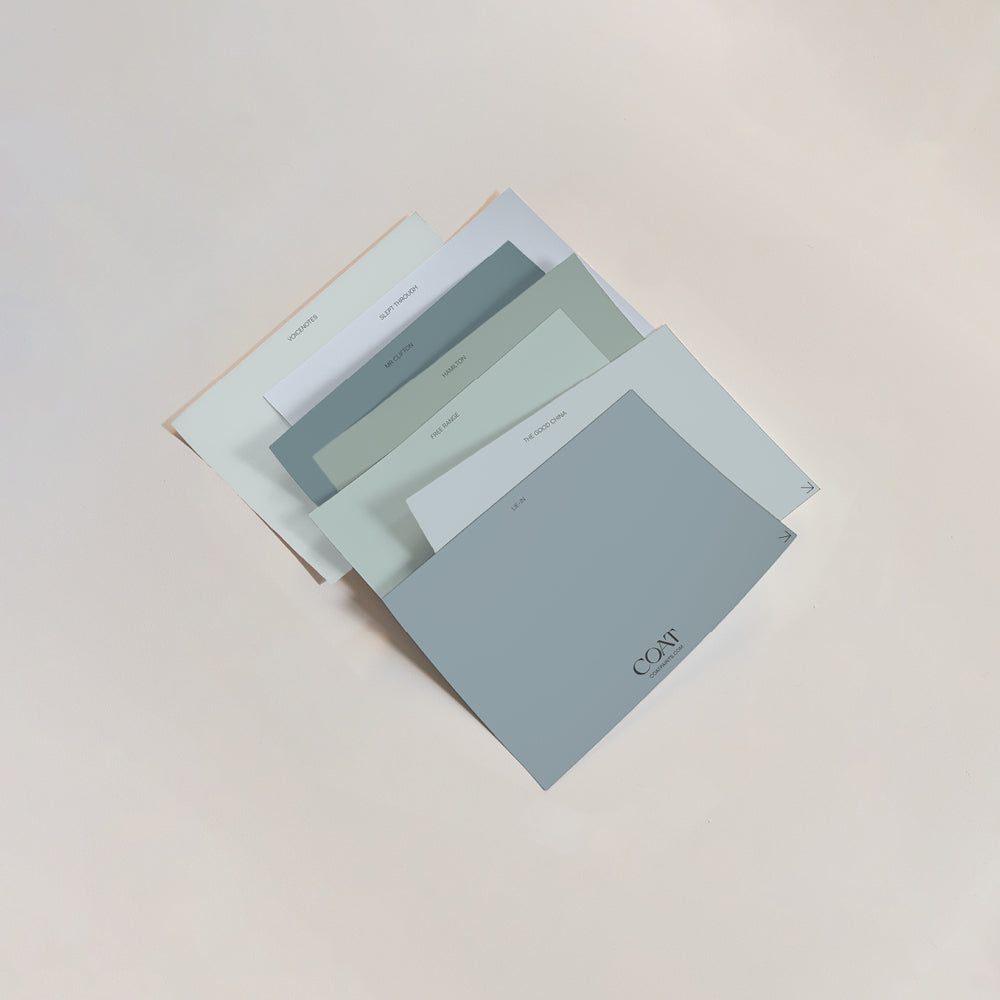
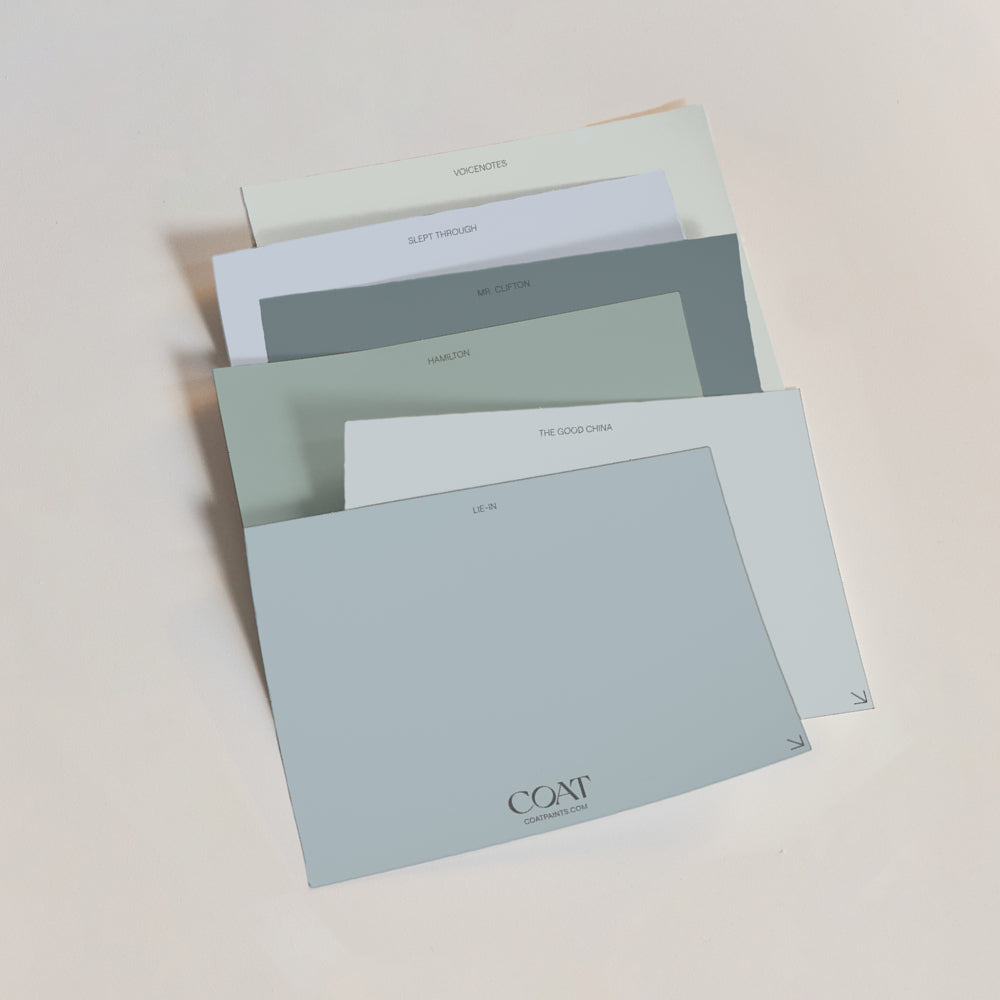
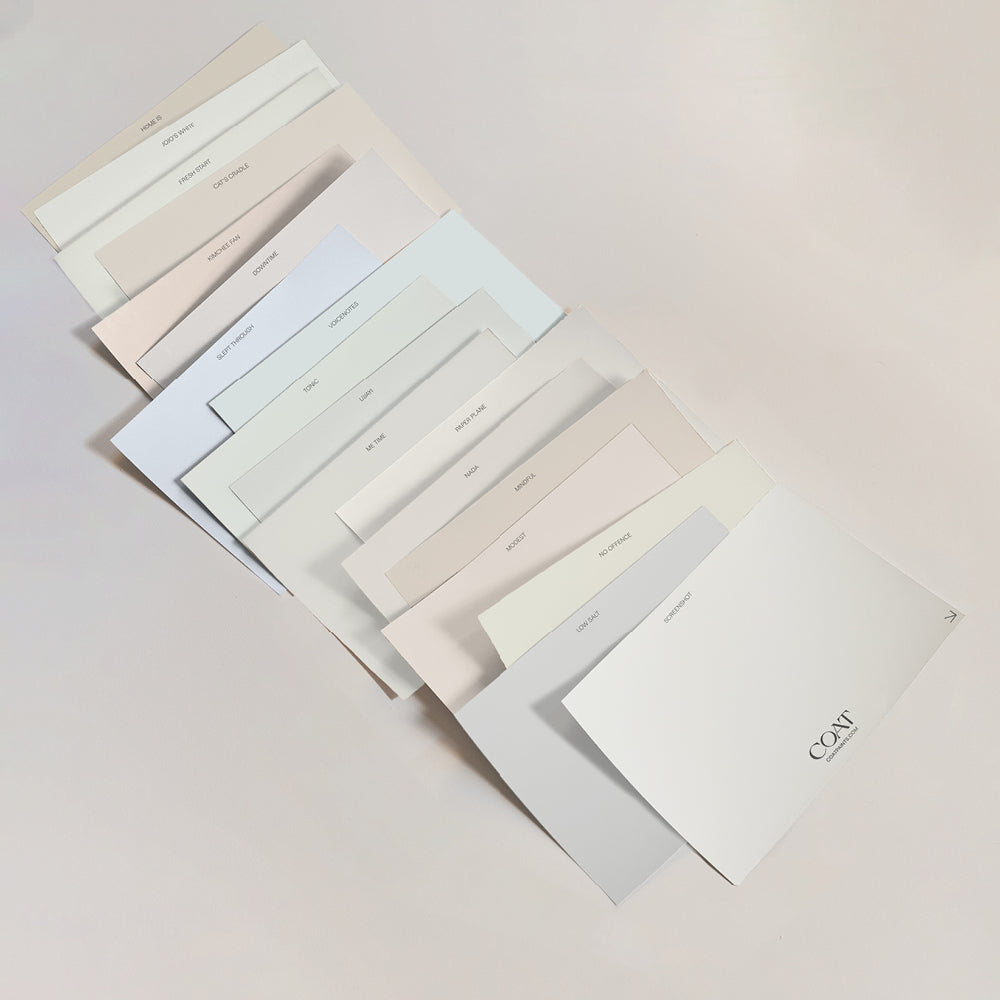
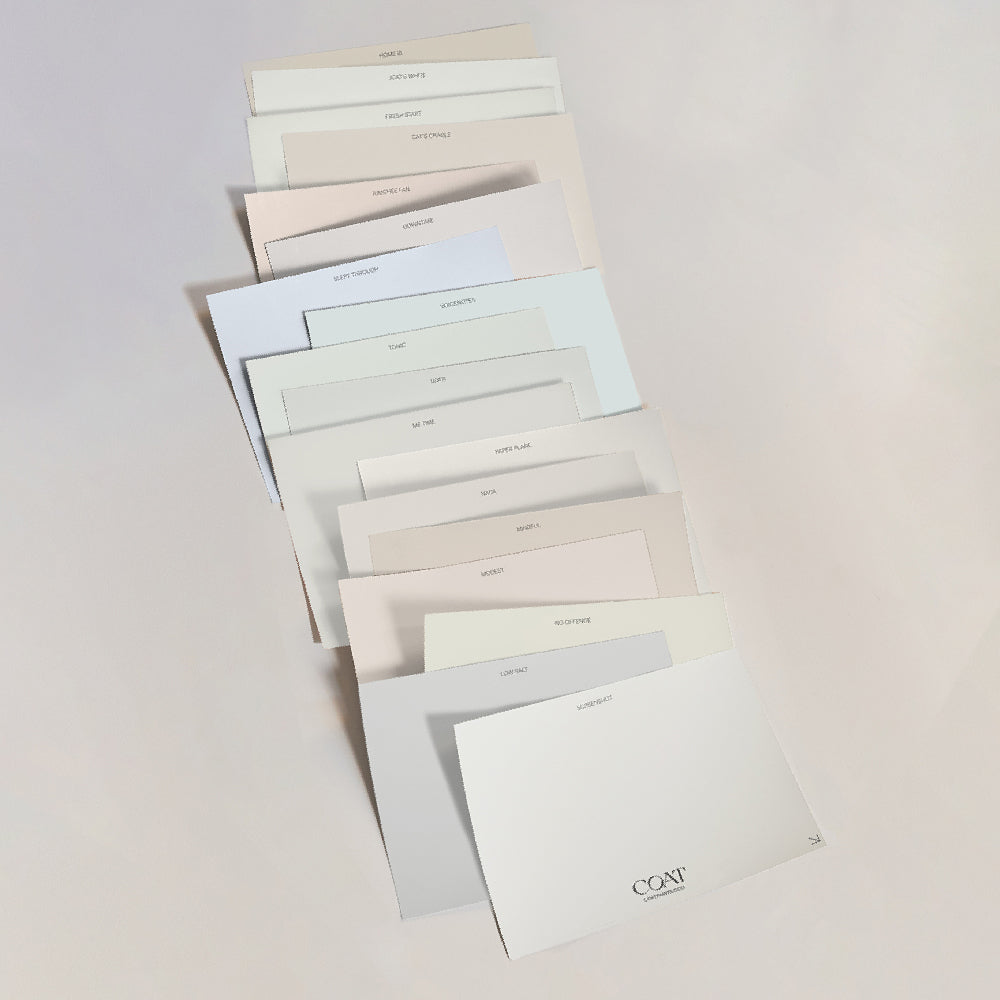
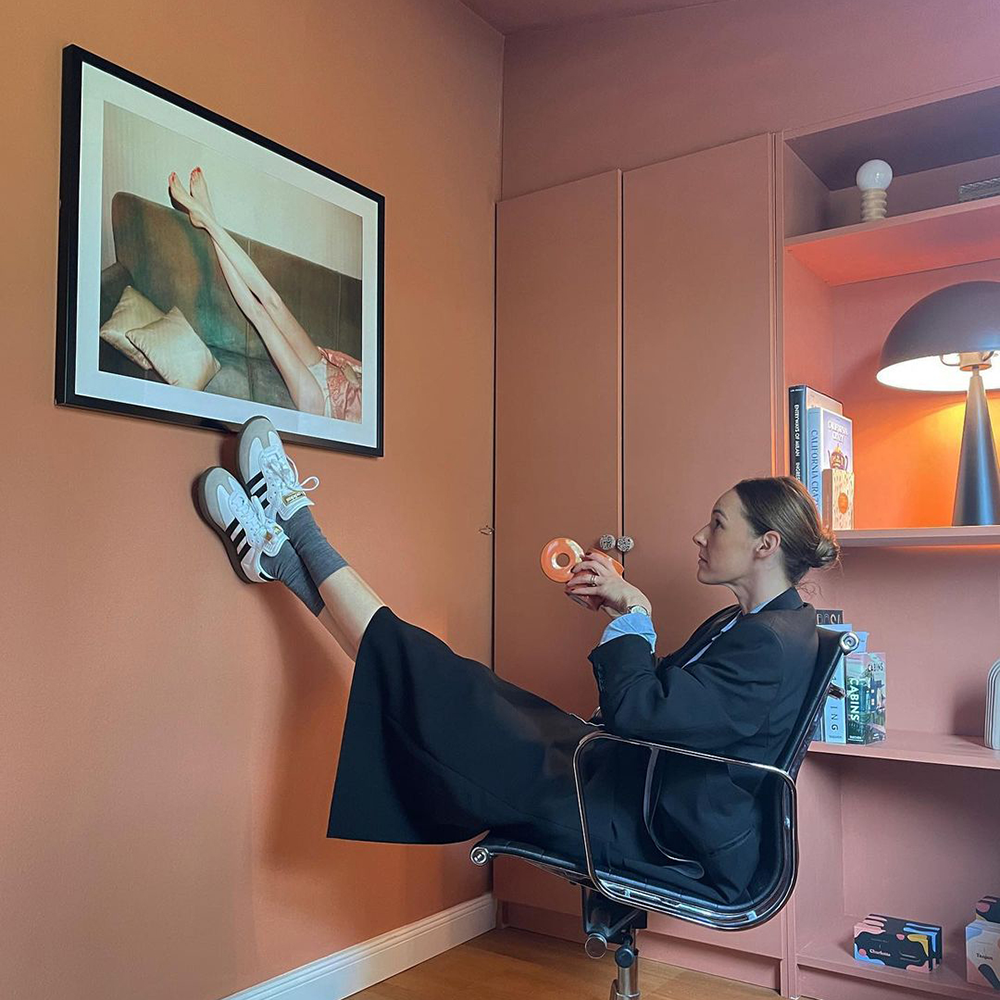
If the idea of choosing new brick paint colours is blowing your mind, why not try our Adulting Swatch Pack to find the right fit? Whether a neutral backdrop to show off your plants or a completely dramatic contrast, our shades are sure to add an extra dimension.

Clean & Prep The Brick
Before you can get to work with your painting, external brick needs to be thoroughly clean and bone dry. This includes removing any mildew, dirt and efflorescence (those streaky white marks). It’s also important to check for any structural problems such as cracks as the wall may need repointing. Any defects can always be tackled with the right masonry filler and left to cure for one week - you’ll just have to rearrange your painting project for later on.
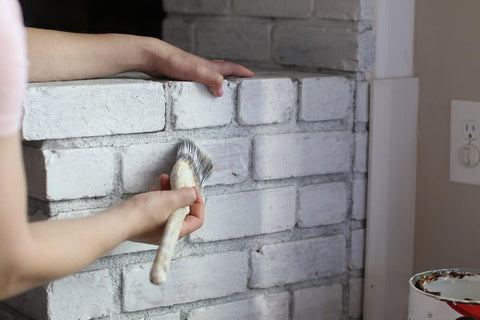
Get started by putting down your protective sheeting to prevent any paint from splashing onto the ground - the last thing you need is to be scrubbing the driveway for hours on end. Then using a soft brush with soap and water, start scrubbing the brick - this should loosen any flaking paint, loose stones or debris. If you’re having trouble cleaning the surface, a mixture of trisodium phosphate (TSP) and water will tackle any stubborn dirt. Ensuring the surface is clean and ready to go will help the paint to stick and give a silkier, soft finish.
Next, it’s time to mask up any areas you want to avoid, before getting stuck in with the primer.
Apply The Primer
When painting a bare surface like brick, primer is key, as it acts as a glue for the best possible bond. It also doesn’t matter if your brick is indoors or outside; whether it’s ancient or new, applying a layer of primer is an absolute must. Ideally, you want the product to ‘bite’ into the brick and pack into every square inch, like our water-based primer which, fills, smooths and bonds. This milky substance will also improve the look of the wall and the durability of the paint, so you can happily enjoy your work for much longer.

When it comes to application, you’ll need your brush or roller, depending on how big the area is. If you’re applying primer onto a large brick surface, then we’d suggest the use of a roller but for smaller sections, a paintbrush should be all that you need. Apply a fine but even layer of primer, paying particular attention to those sections that have been affected either by efflorescence or mildew. These will need additional coats before leaving to dry for at least 24 hours.
Apply First Coat Of Paint
Once you’ve chosen your paint, and you’ve prepped like a pro, you can go ahead and apply that first coat. When painting exterior brick, a sealer also shouldn’t be needed as long as you’ve chosen a hardy exterior paint. Start by cutting in with a brush, top and bottom, before loading your roller with an even coverage. Then begin at the bottom, moving the roller towards the top of the bricks and from one side of the wall to the other (never attempt to start in the middle). You should also get as close as you can to where you cut in because of the difference in finish between the brush and the roller.

Every time you complete a 1-2 metre section, lay off your paint by rolling the roller up and down the length of the wall without stopping to load up. The goal here is to distribute the paint in a uniform look and hide any visible marks when the paint eventually dries. A minimum of 2 hours of drying time should then be allowed before the second coat is applied.
Apply Second Coat Of Paint & Freshen Up If Needed
A question we’re asked quite a lot is, ‘’how many coats do I need when it comes to painting exterior brick?’’ The general rule of thumb is two coats of paint, but it does depend on a few things, such as what paint you’re using and whether the surface is primed. In this case, one coat may do, but if you feel it’s a bit patchy, a second coat will even it out. Apply the second coat in the same way as before and a third if it’s needed - the more coats you apply, the longer the paint will last.
Extra Tips & Tricks
Brand-New Brick? Don’t Paint Yet!That’s right - if you were hoping to paint a brand new brick wall, maybe leave it for now; new bricks and mortar can give off a powdery substance. Your best bet is to leave it a month before any painting; otherwise, you could end up with a chalky finish that doesn’t hold paint well.
Avoid Acidic CleansersNever use acidic cleaning solutions when cleaning your brick - stick to good old fashioned soap and water instead. Acidic cleaners can affect the final paint job, cause chipping or worse, strip your newly painted surface completely.
Repair Damages Before PaintingNoticed a few small cracks in your brick? These need to be sealed, but it’s nothing a bit of caulk won’t sort. If the cracks appear large, however, or bits of the wall are falling away, this is a job that will require a pro.
Consider Weather ConditionsA dry, cloudy day is a great time to paint as it’s likely the temperature will remain the same. You should also avoid super hot days as this might cause the paint to peel off and freezing weather, because well, it’s just far too cold.
Remove Old Paint Before PaintingAs tempting as it is, do not paint over old paint - the new one might not properly stick, or it might even flake off. Bad times.
Don’t Underestimate How Much Paint You Will NeedThere’s nothing worse than starting a job to have it bluntly finish, especially when it comes to painting. So if you want to avoid getting sidetracked mid-paint, make sure to buy enough at the start; if there’s too much, you can always keep it for later touch-ups can’t you? At COAT, we know all about this, and so our clever paint squad have put together a paint calculator. Just stick your project details in here, and away you go - we’ve taken the guesswork out of paint buying for you.

If you need some brickwork painting ideas - we’re here for you; why not book a colour consultation with one of our team? Whether you’re trying to spruce up a laid-back BBQ space, planter or gated wall, we take the faff out of choosing paint colours!
Publish Date
Author