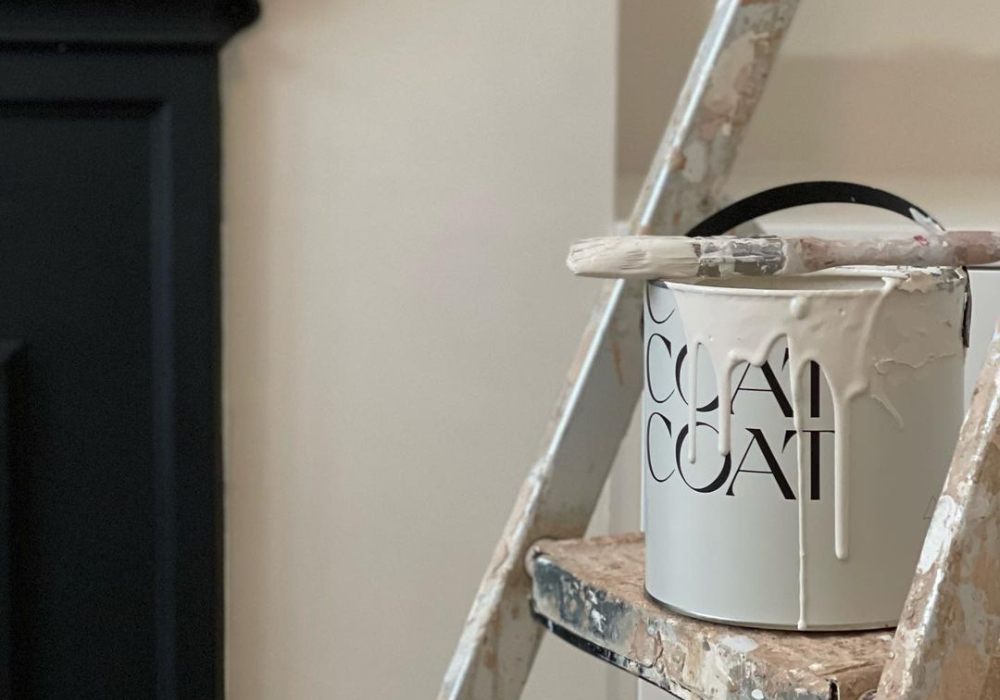
How to Paint a Room: 6 Easy Steps
Do your walls need some love? We get it. Drab, flaking paint ain’t no joke. So if you’ve been putting it off, this one is for you. Here, you’ll find some COAT tips for painting a room. A common DIY task, painting the walls is an affordable way to upgrade your space. It’s also kinda painless. Note, we said kinda. And if you happen to f*ck up, it’s pretty easy to fix. Still, although straightforward to do, with painting a room, you need to have a plan of attack. It’s no good glibly grabbing a brush and slapping it on. It’s all about that finishing touch. Getting that new COAT absolutely bang on without causing a mess will require a bit of focus from you. Luckily, our step by step painting guide is really easy to use. It can even be done in a day.
Want to paint your room but not sure where to start? We’ve asked the experts for you. And, here’s how to approach things:
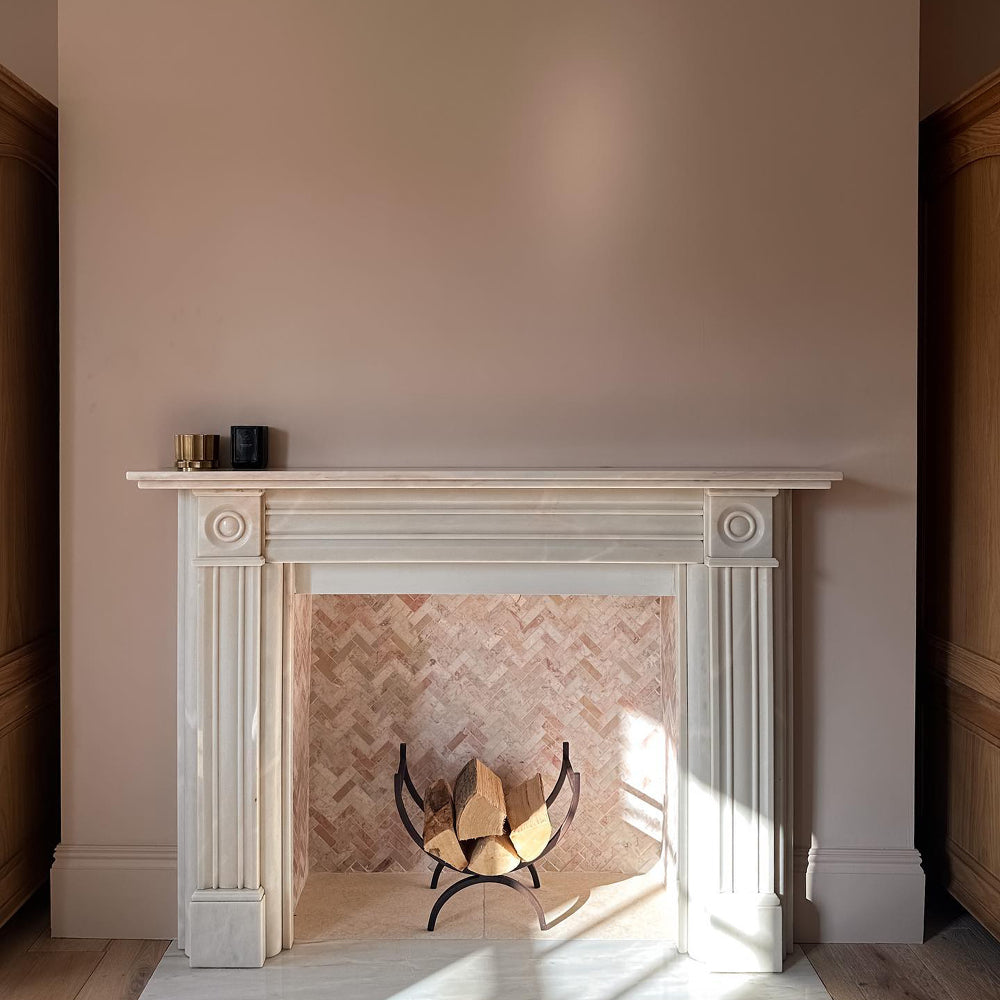
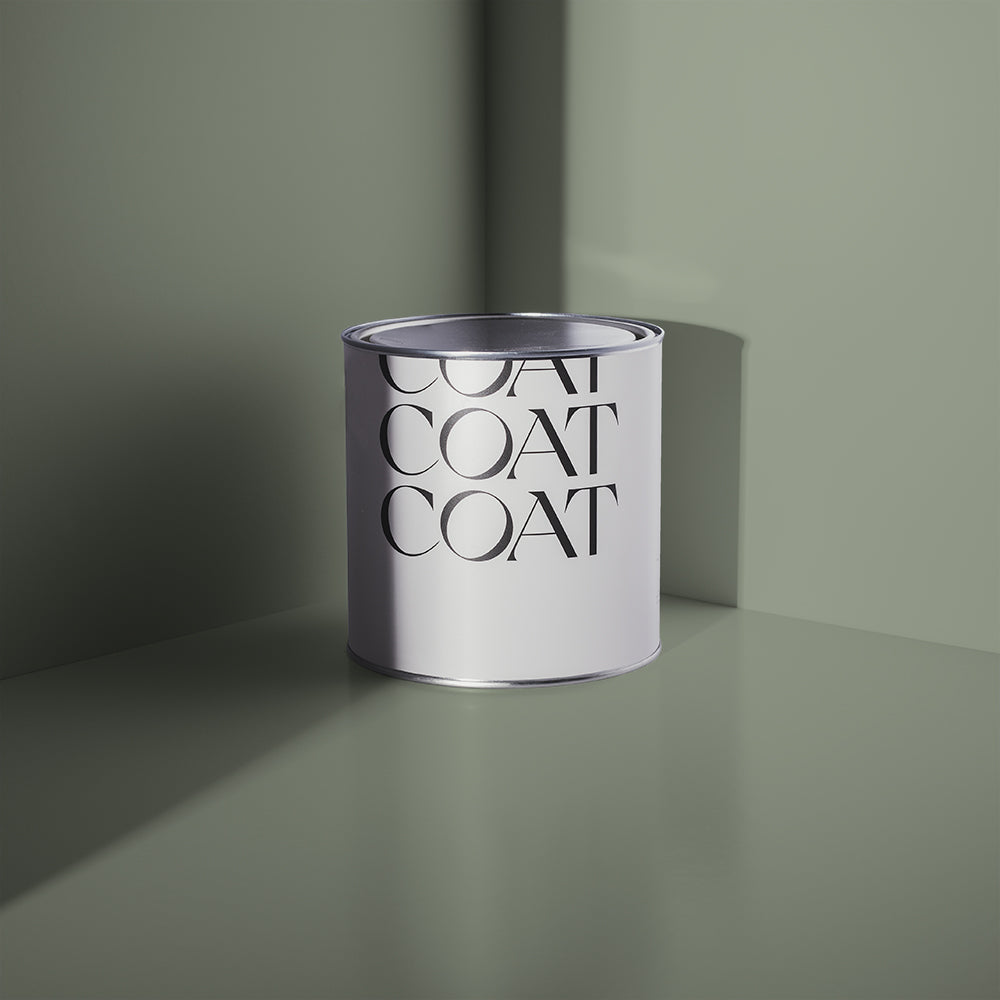
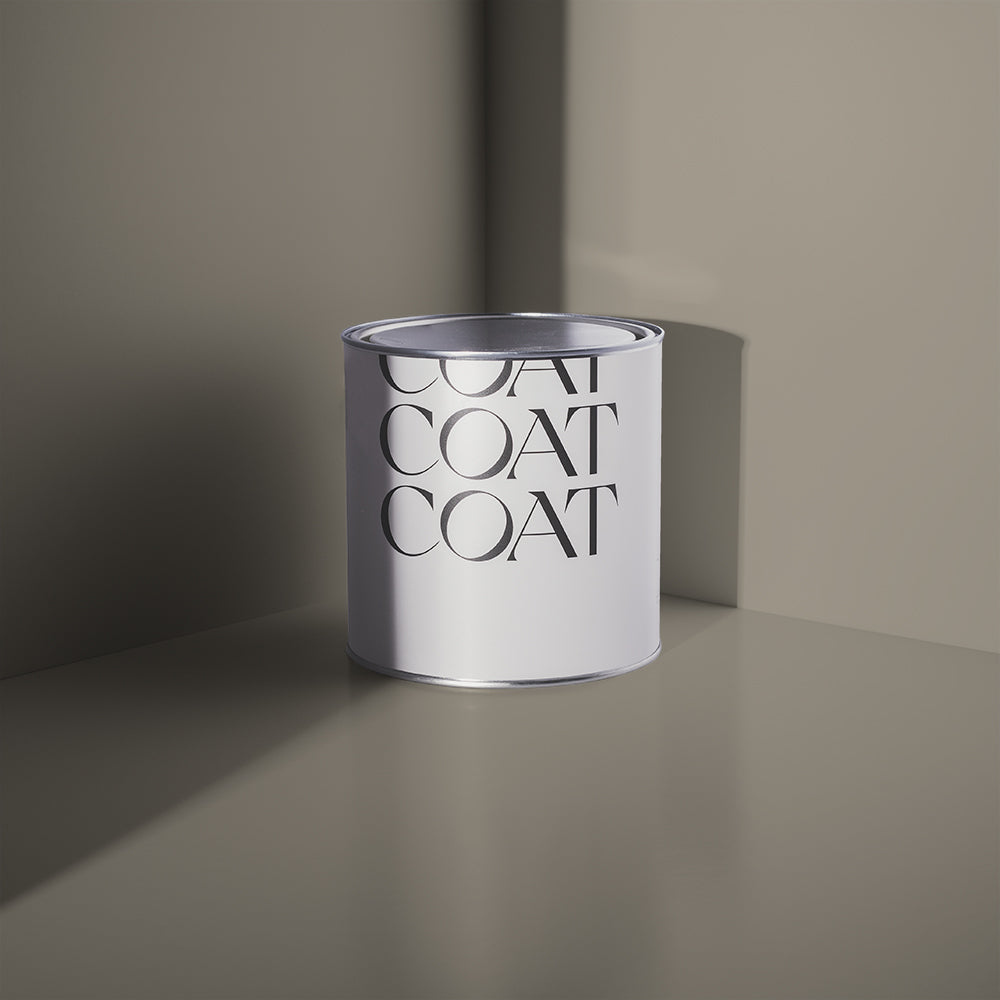
1. Choose Colours
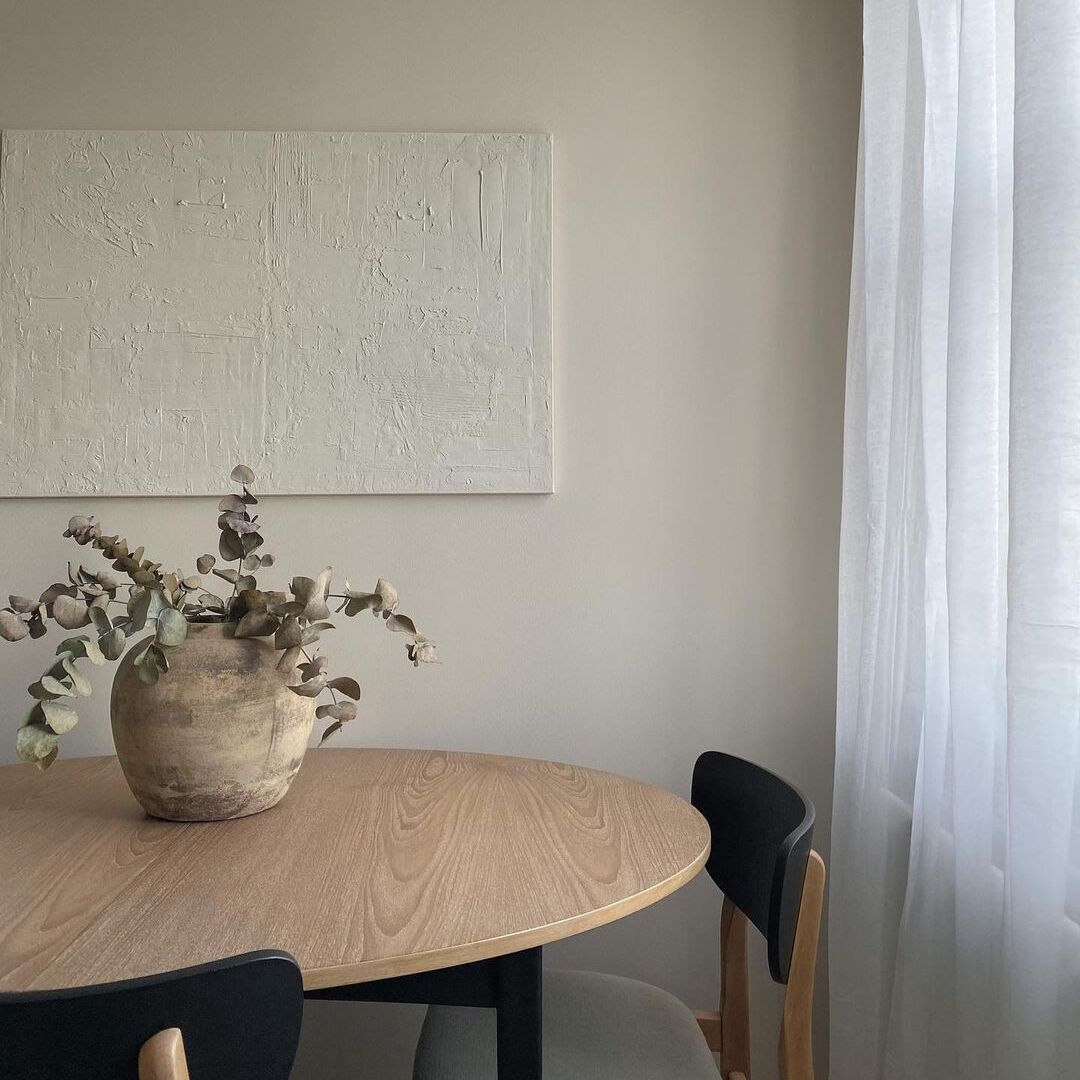
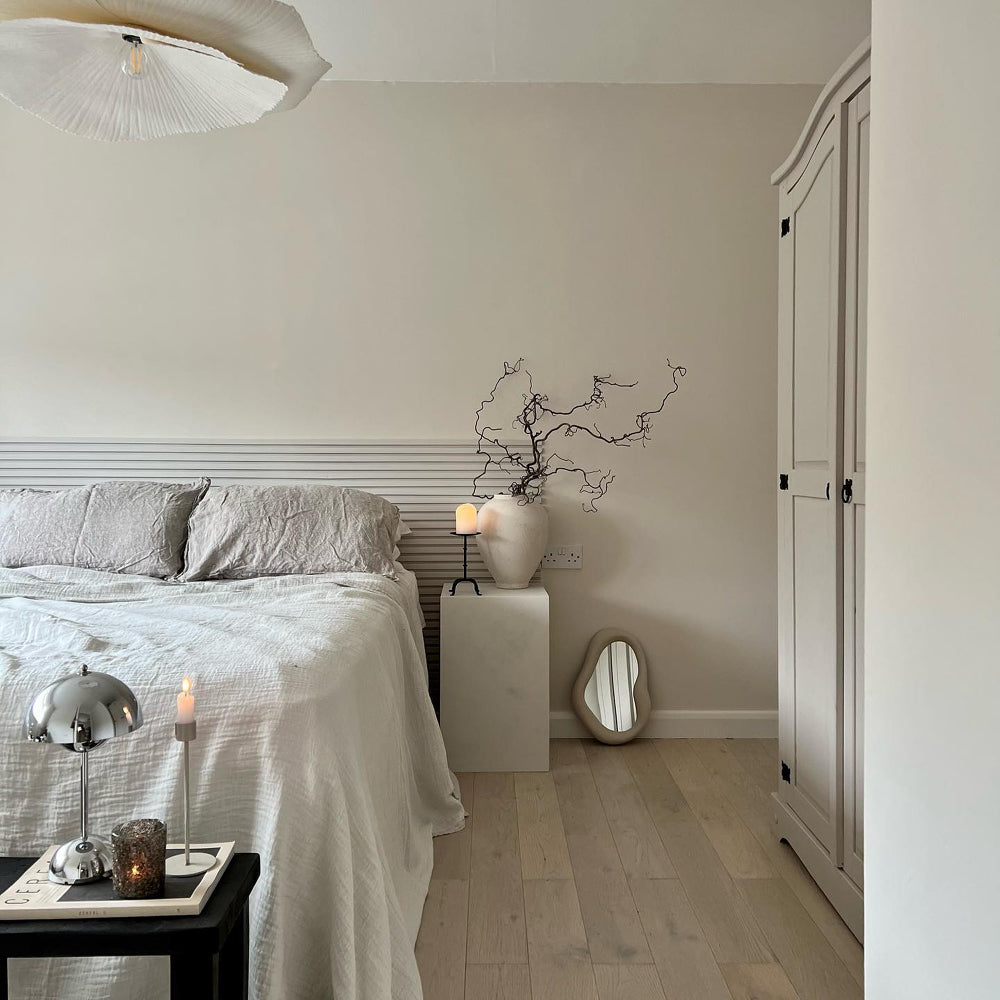
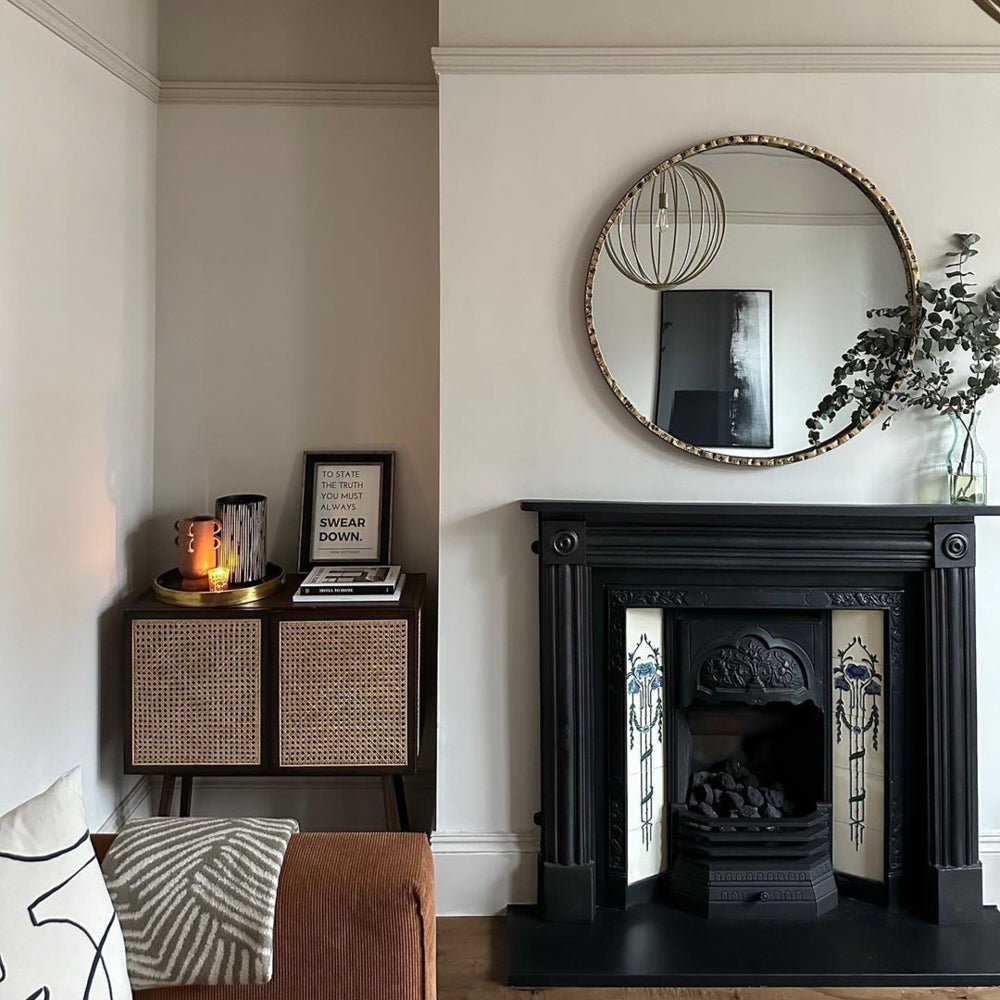
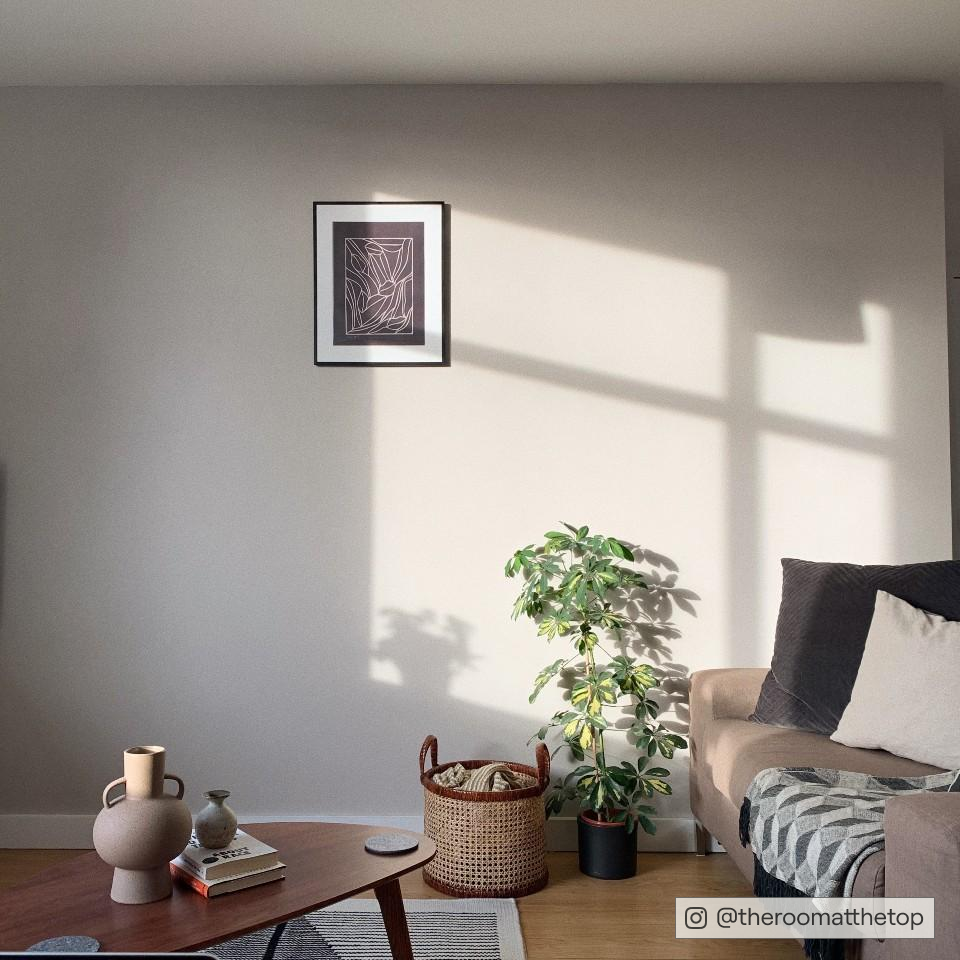
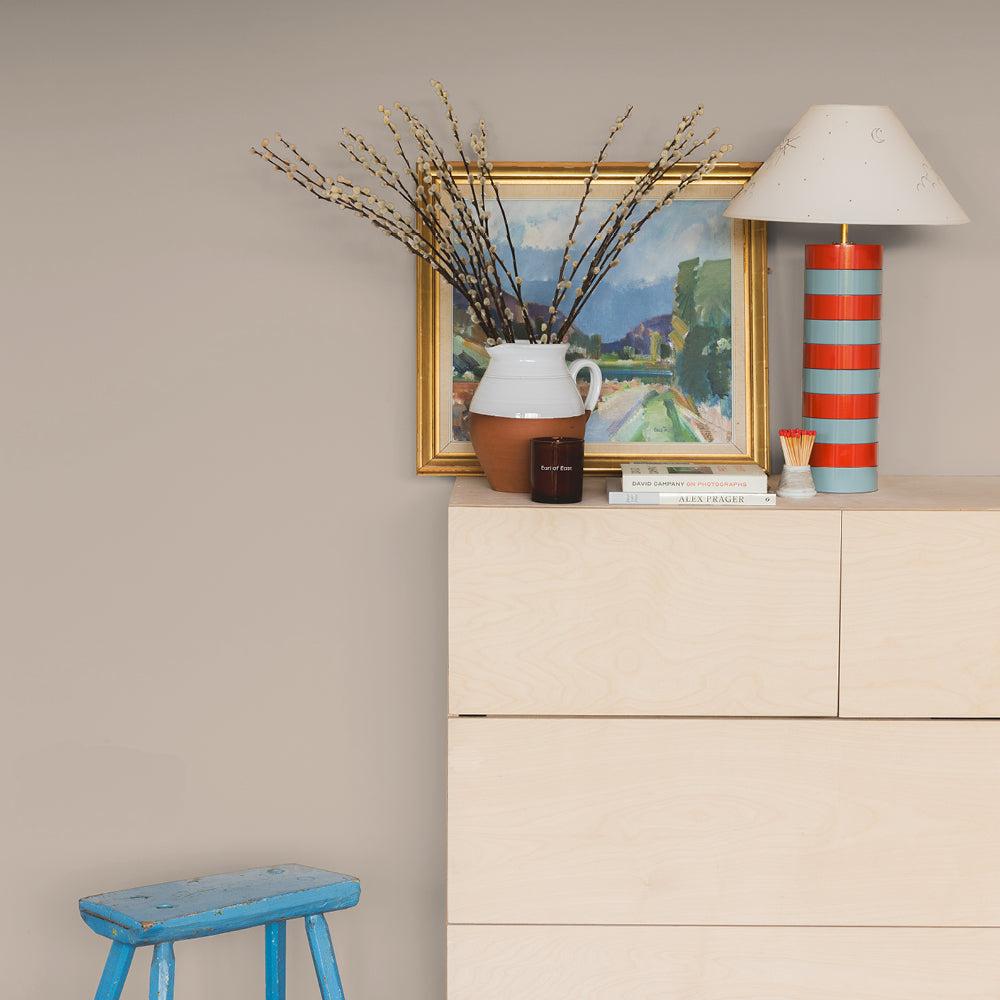
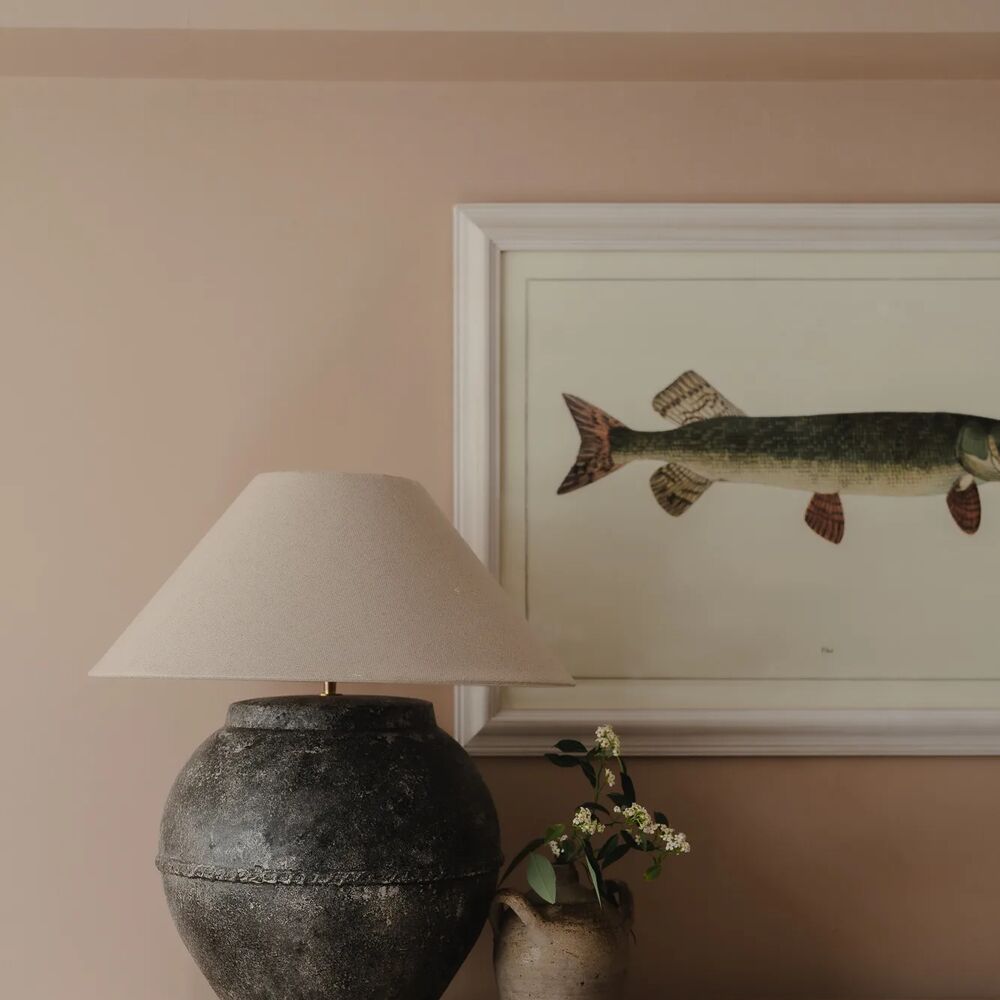
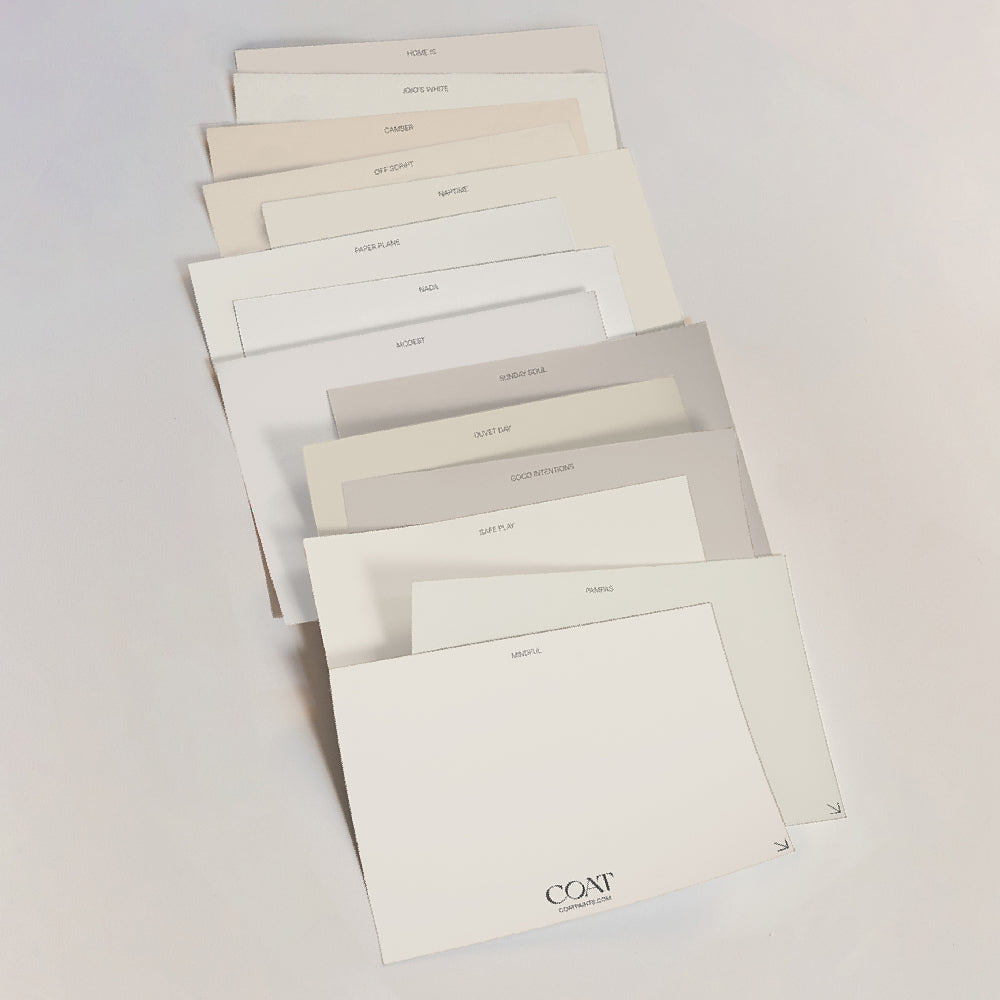
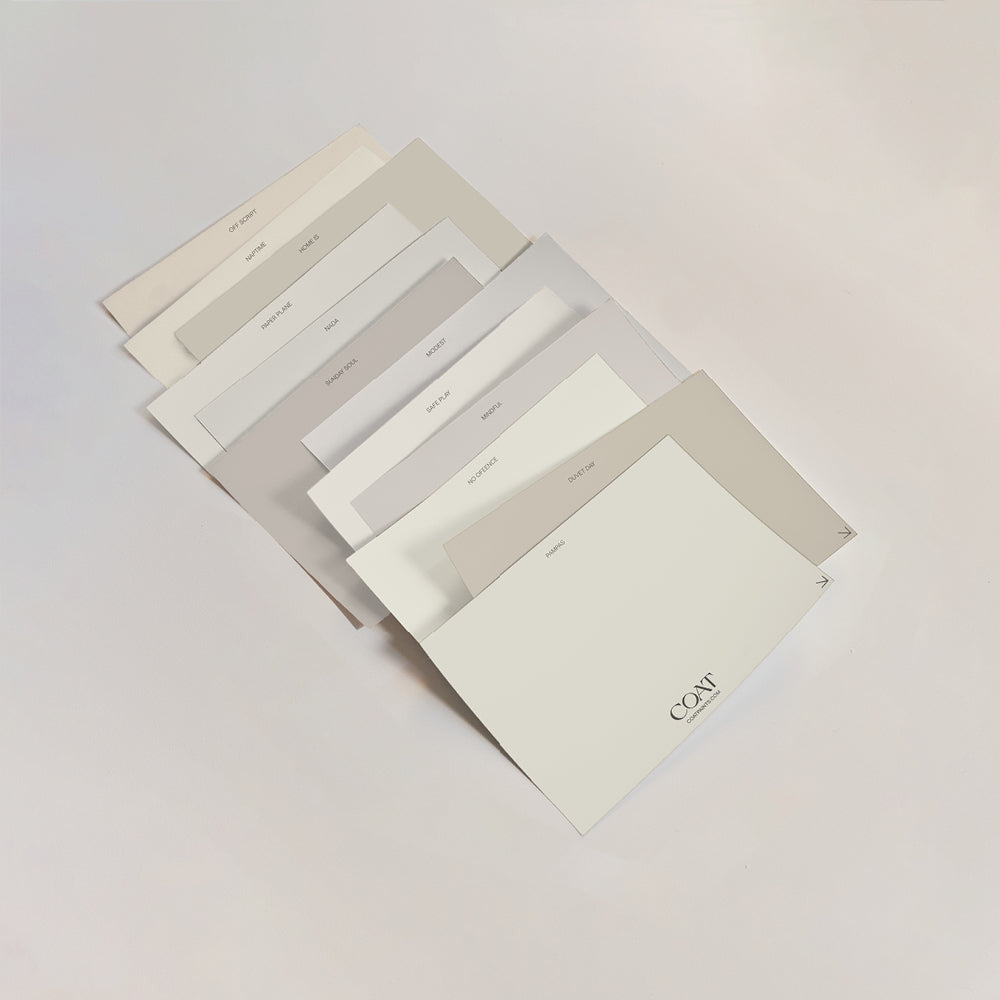
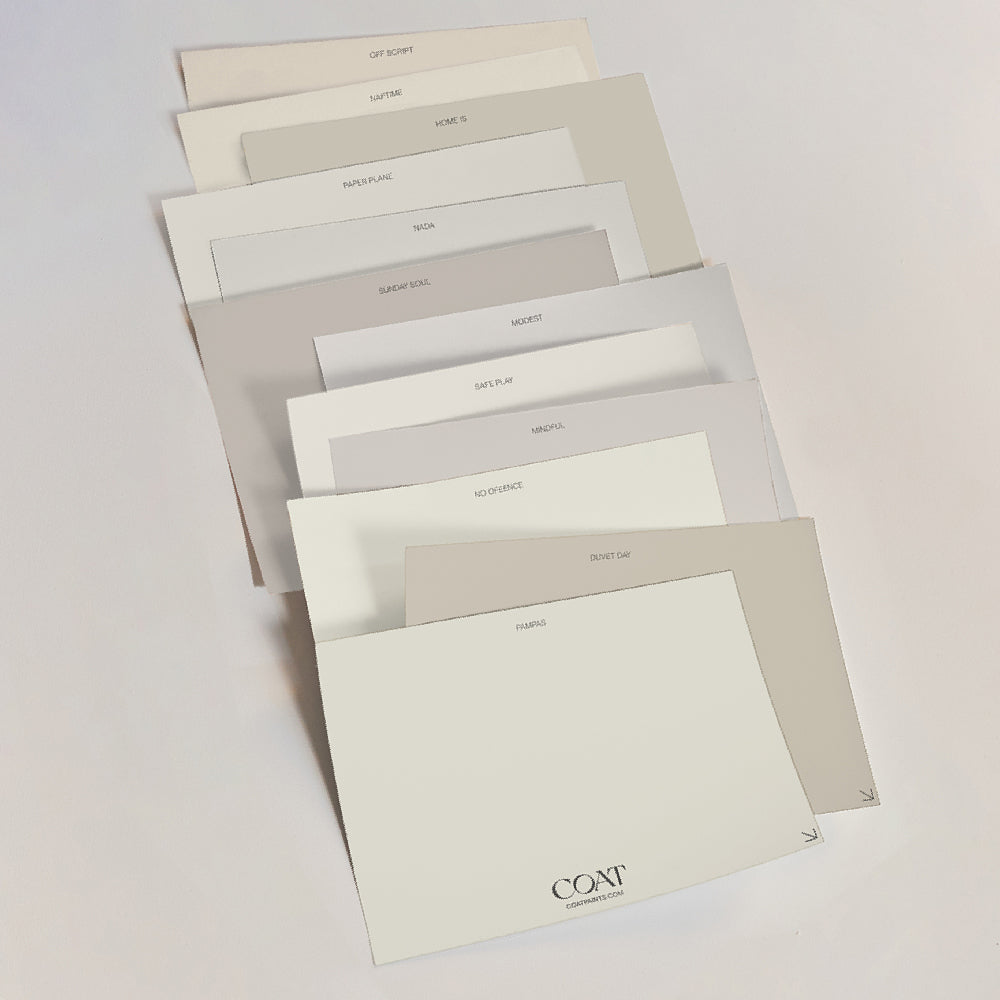
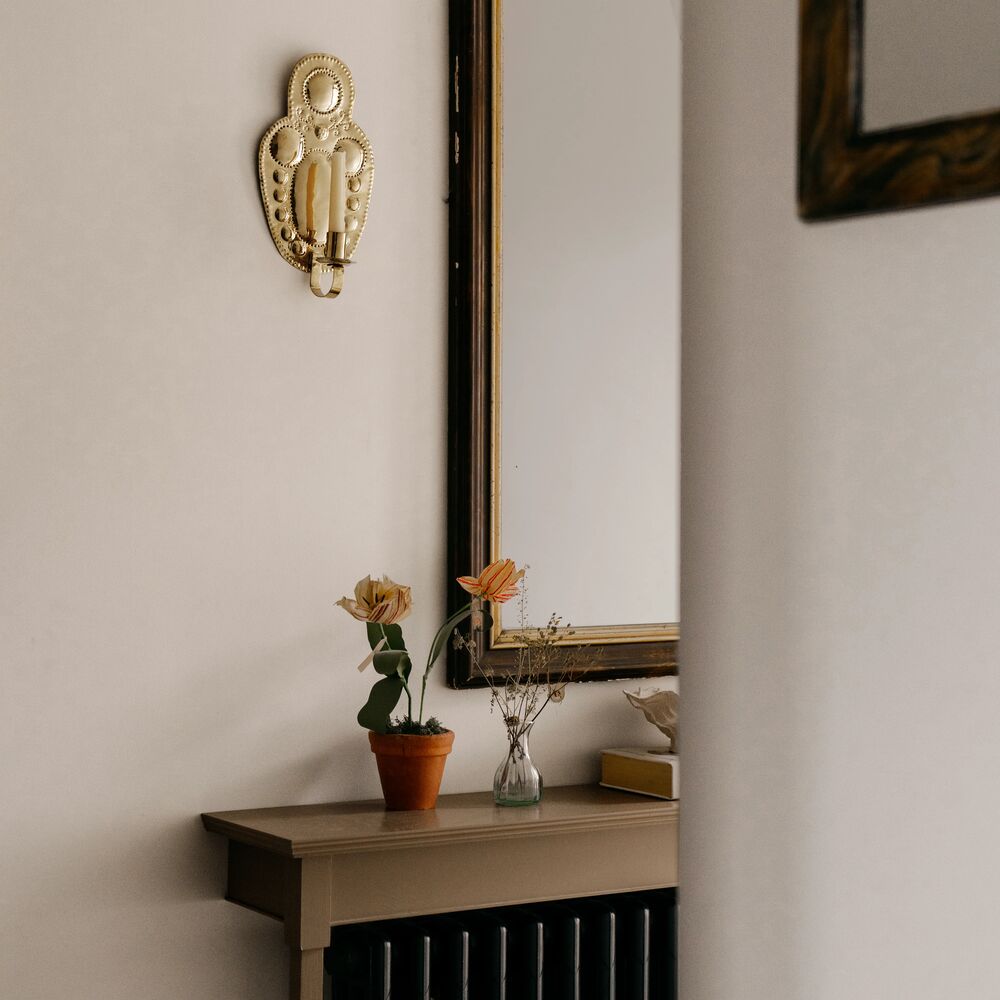
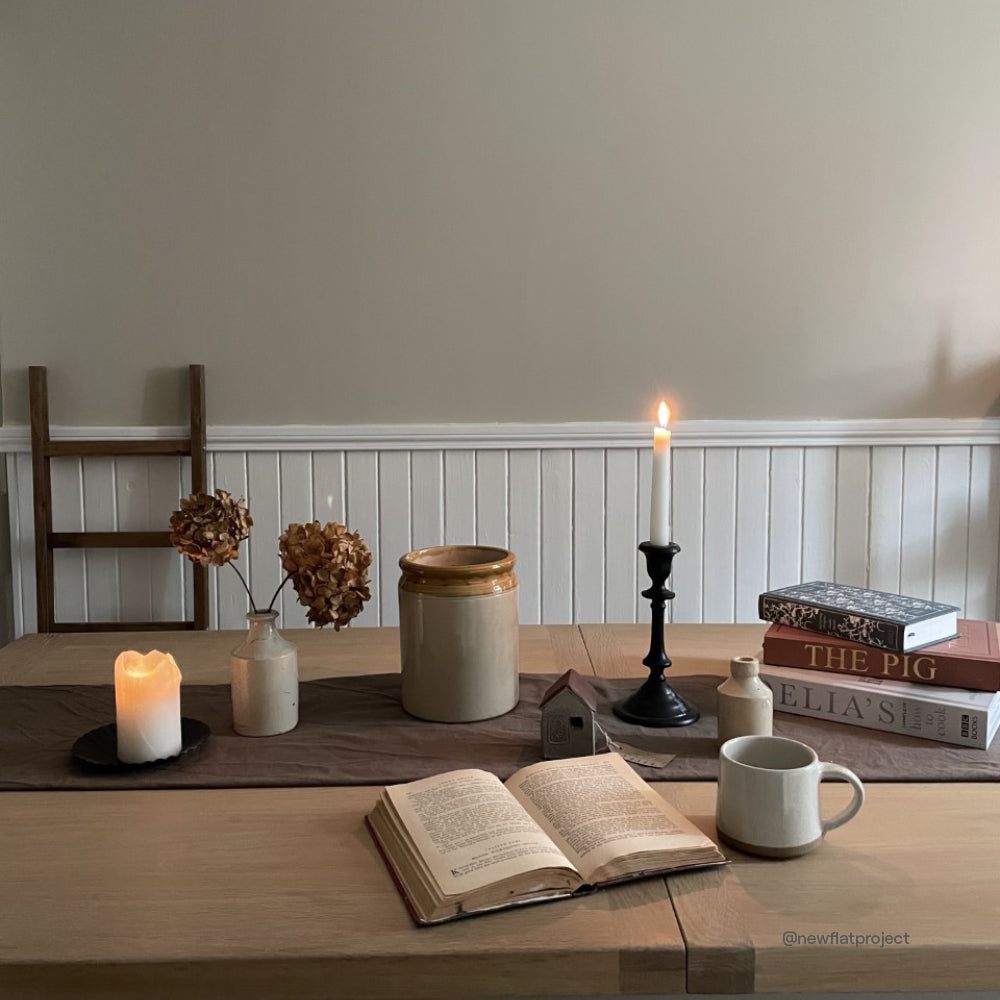
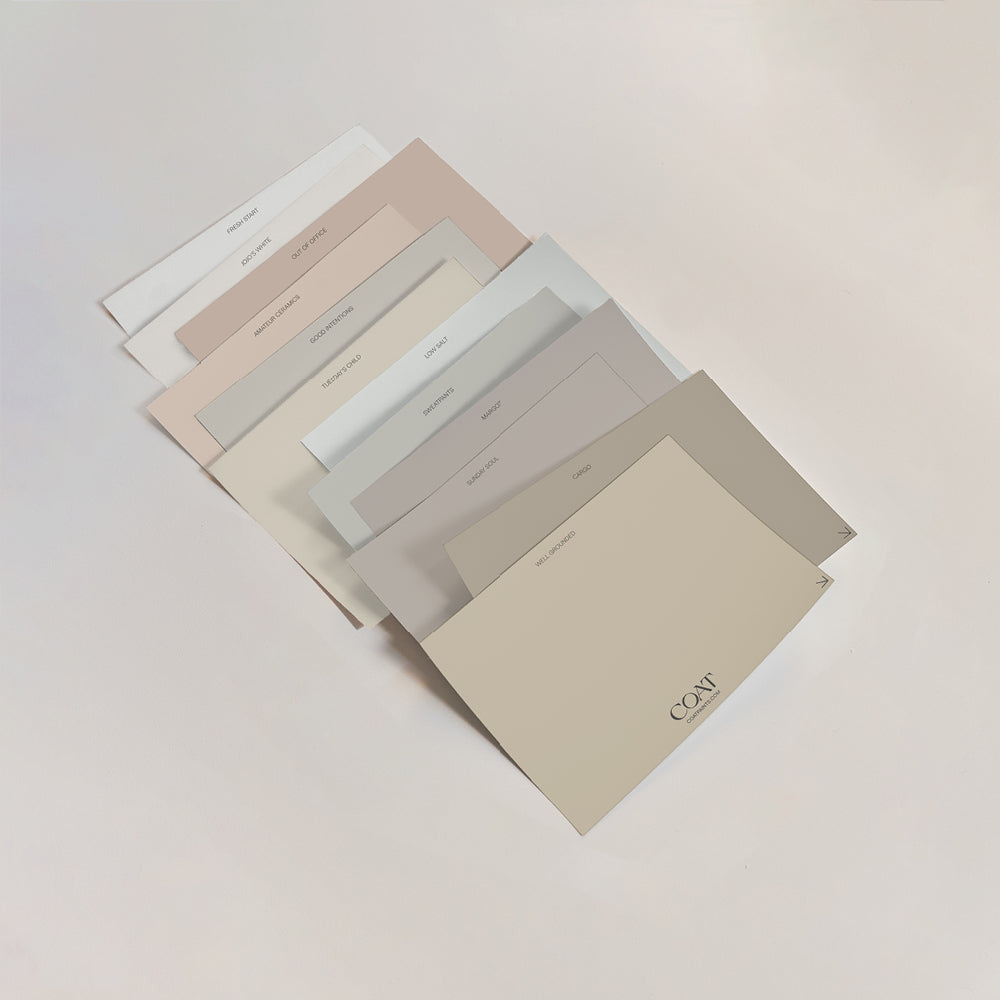
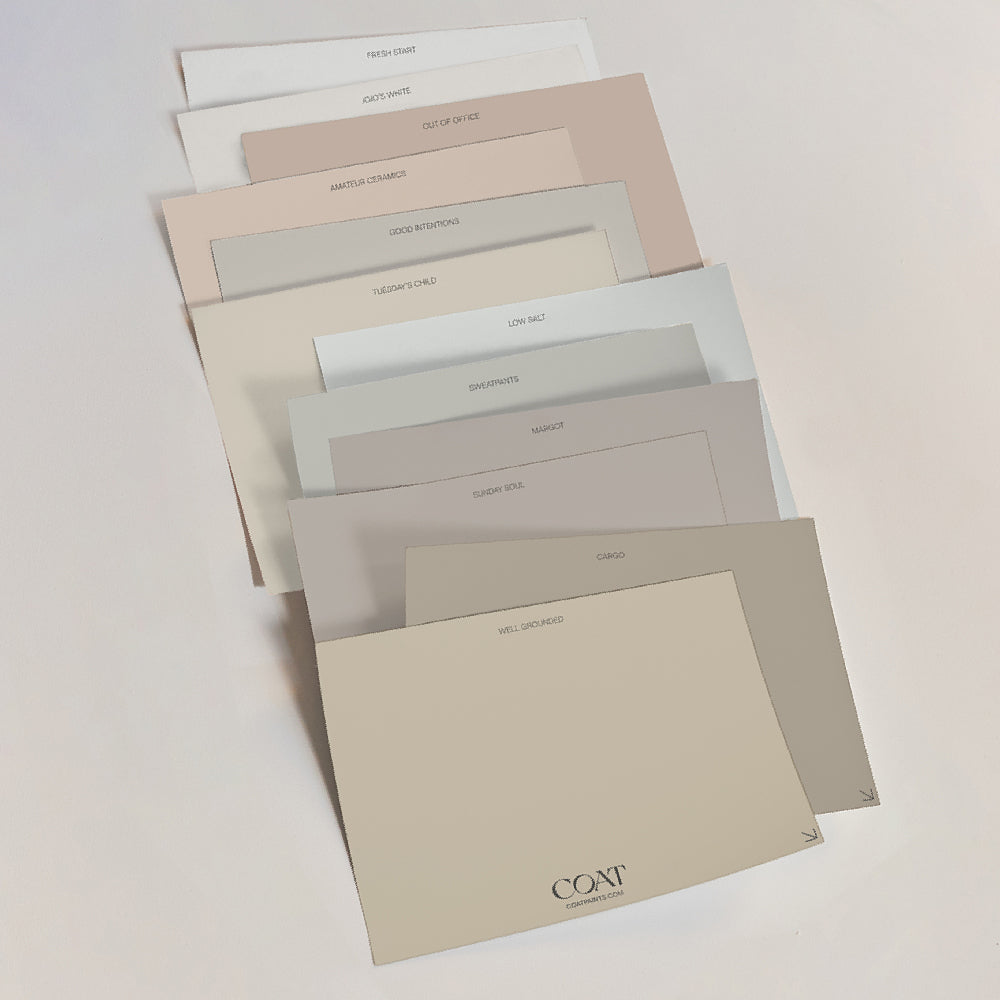
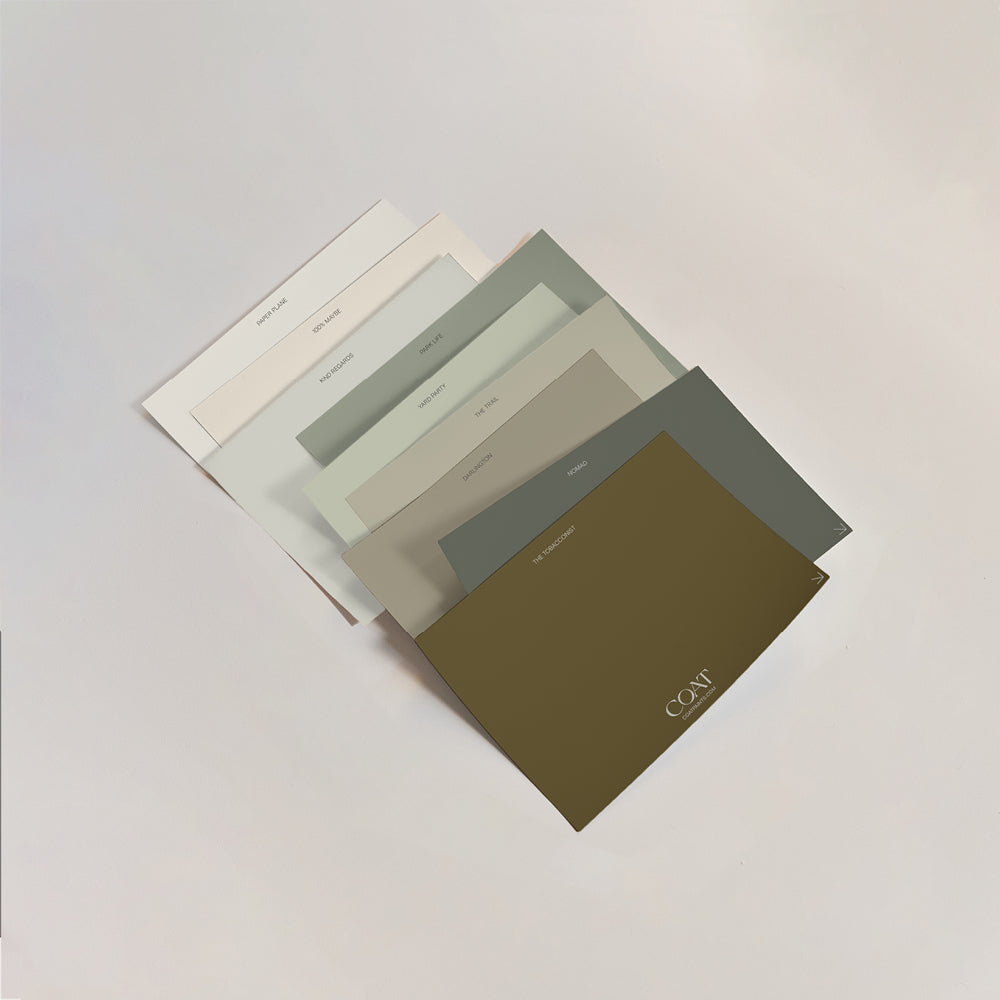
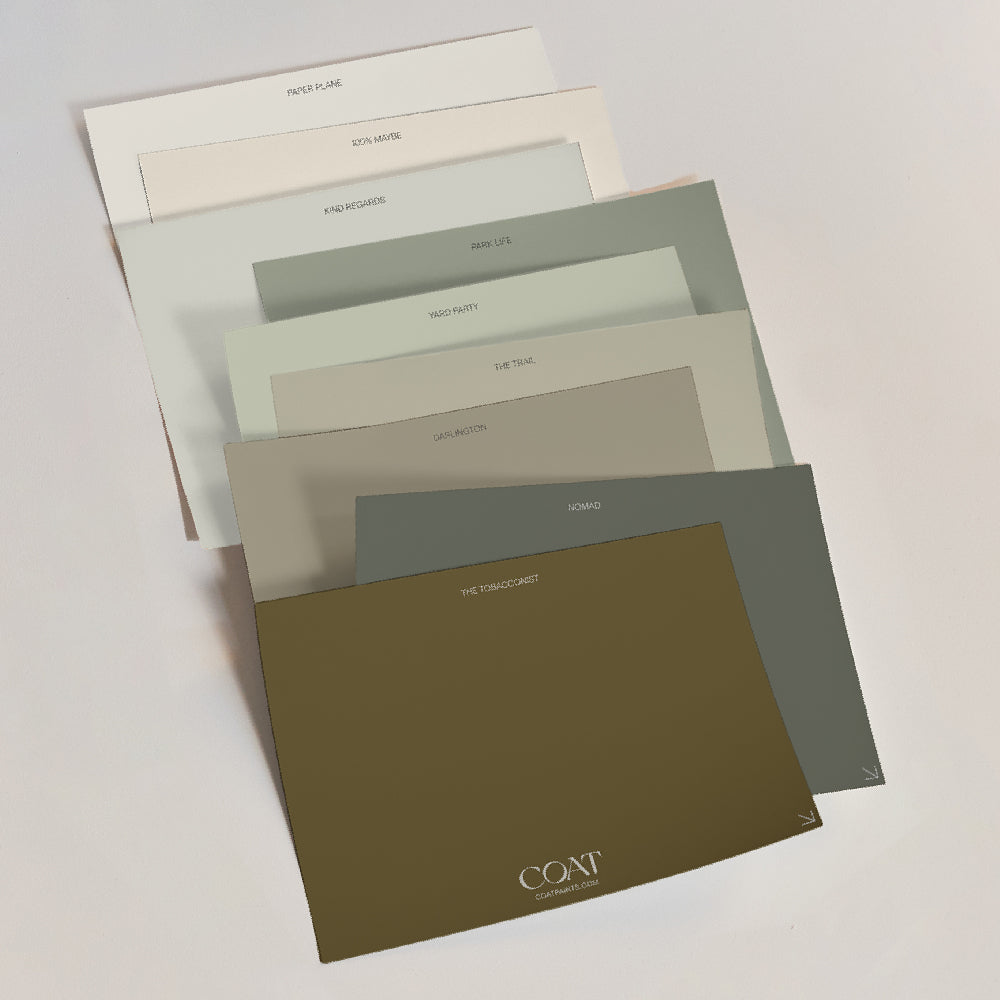
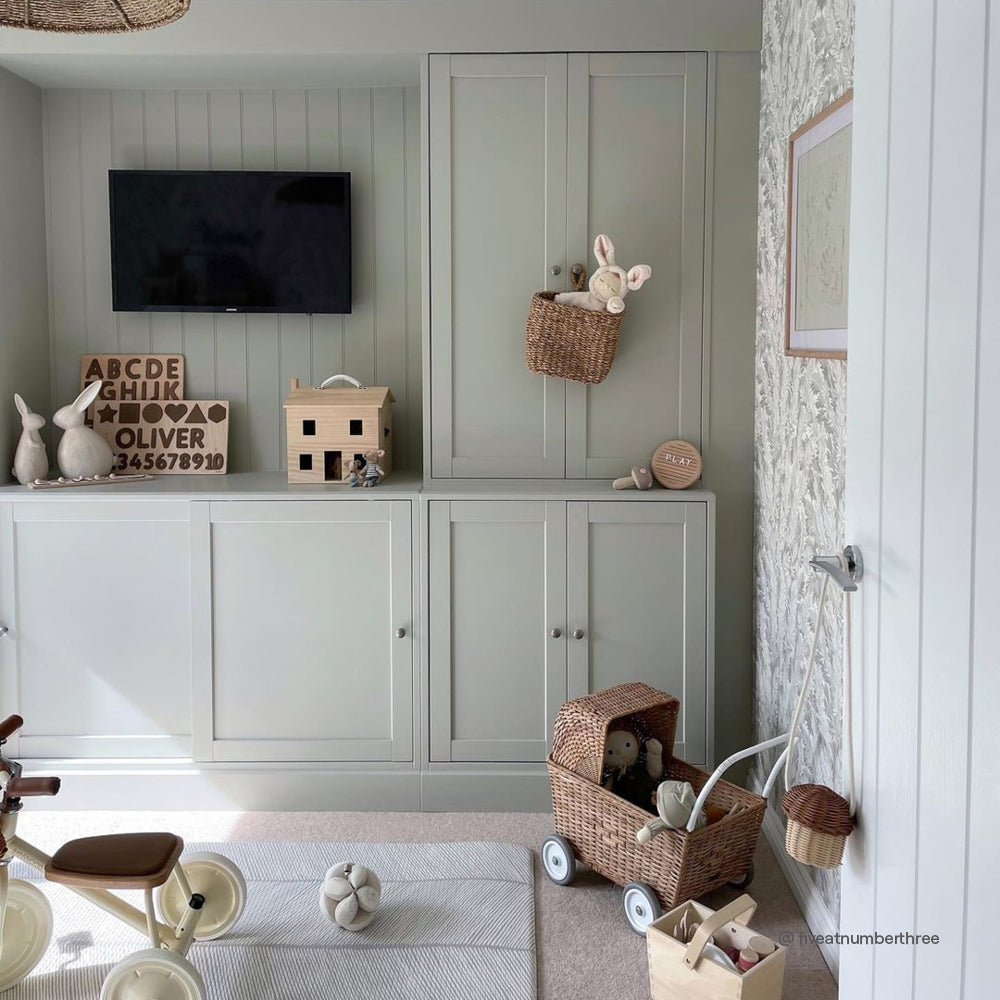
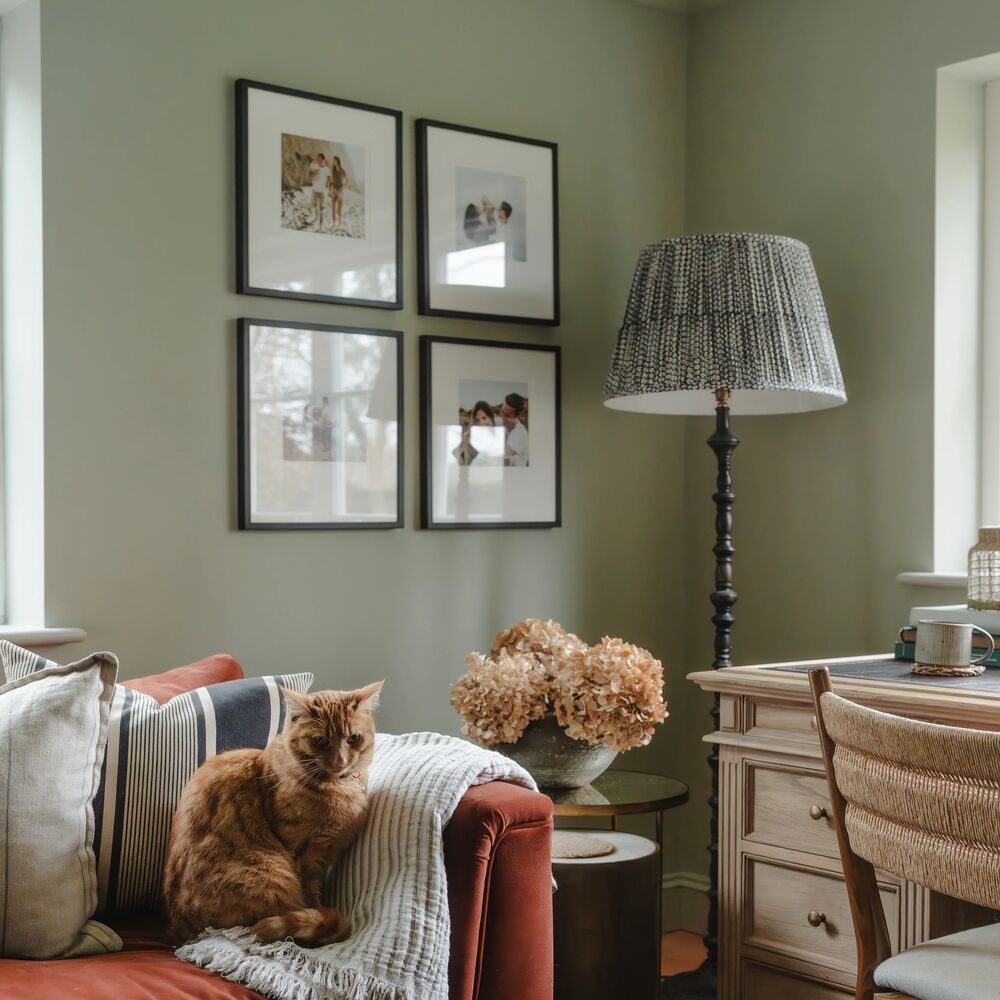
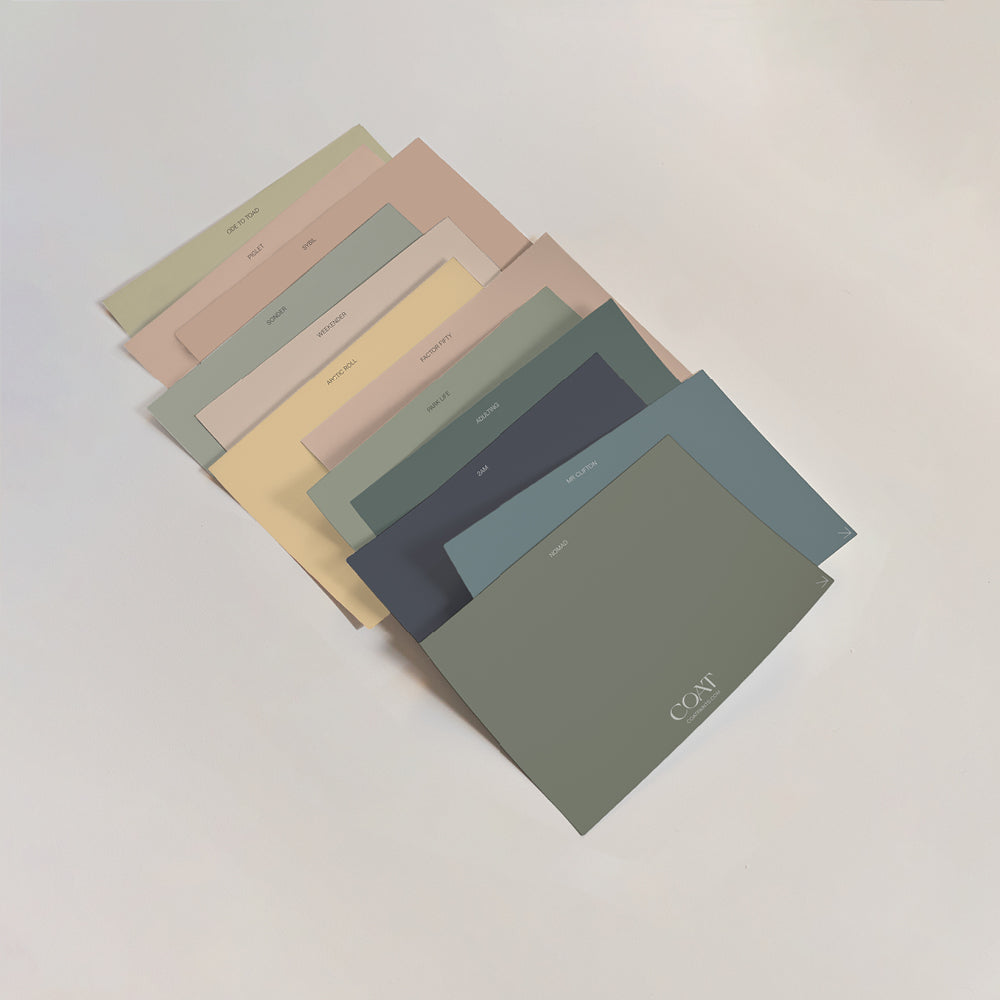
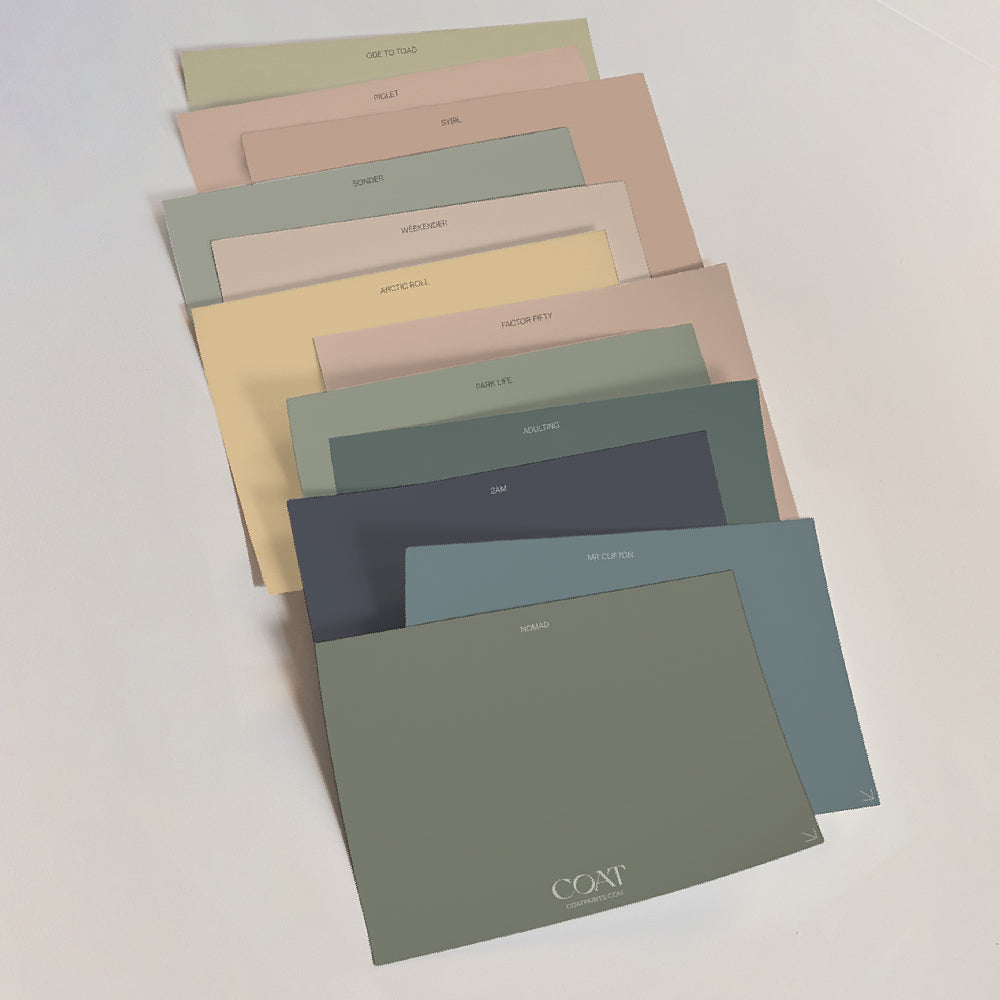
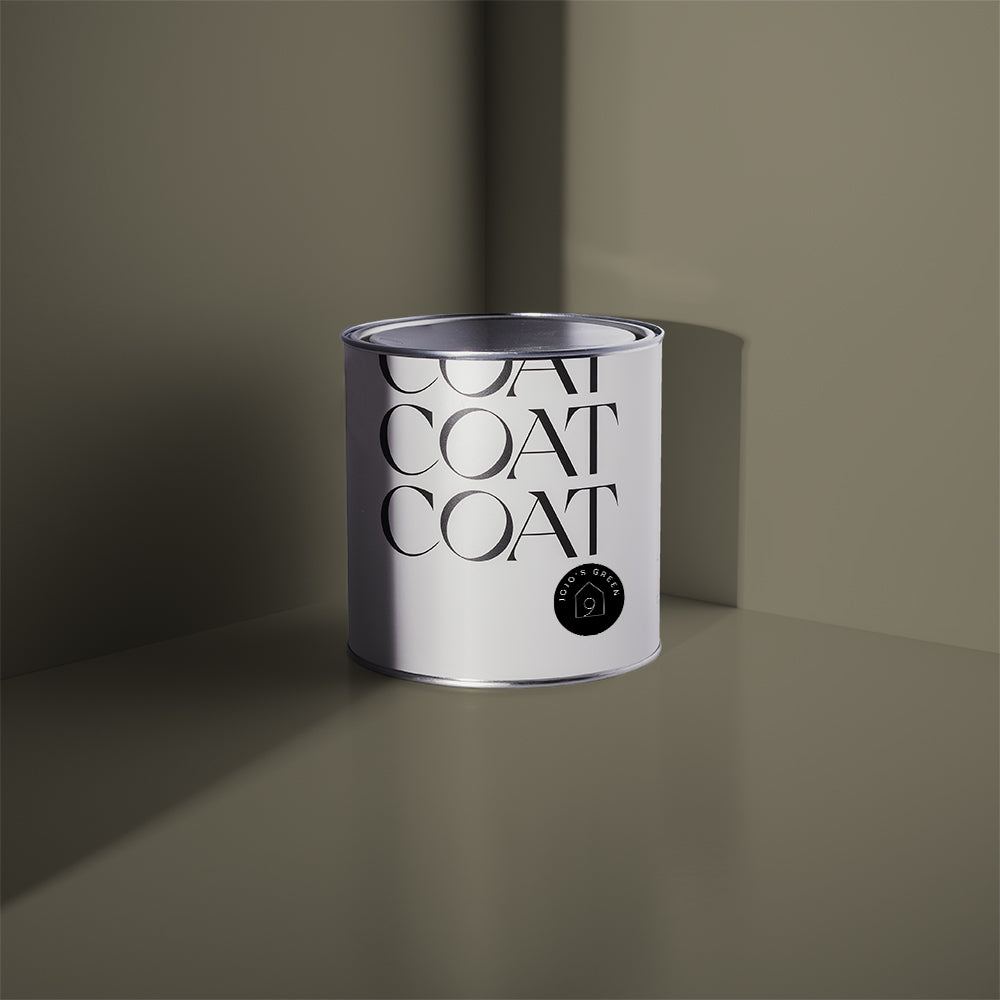
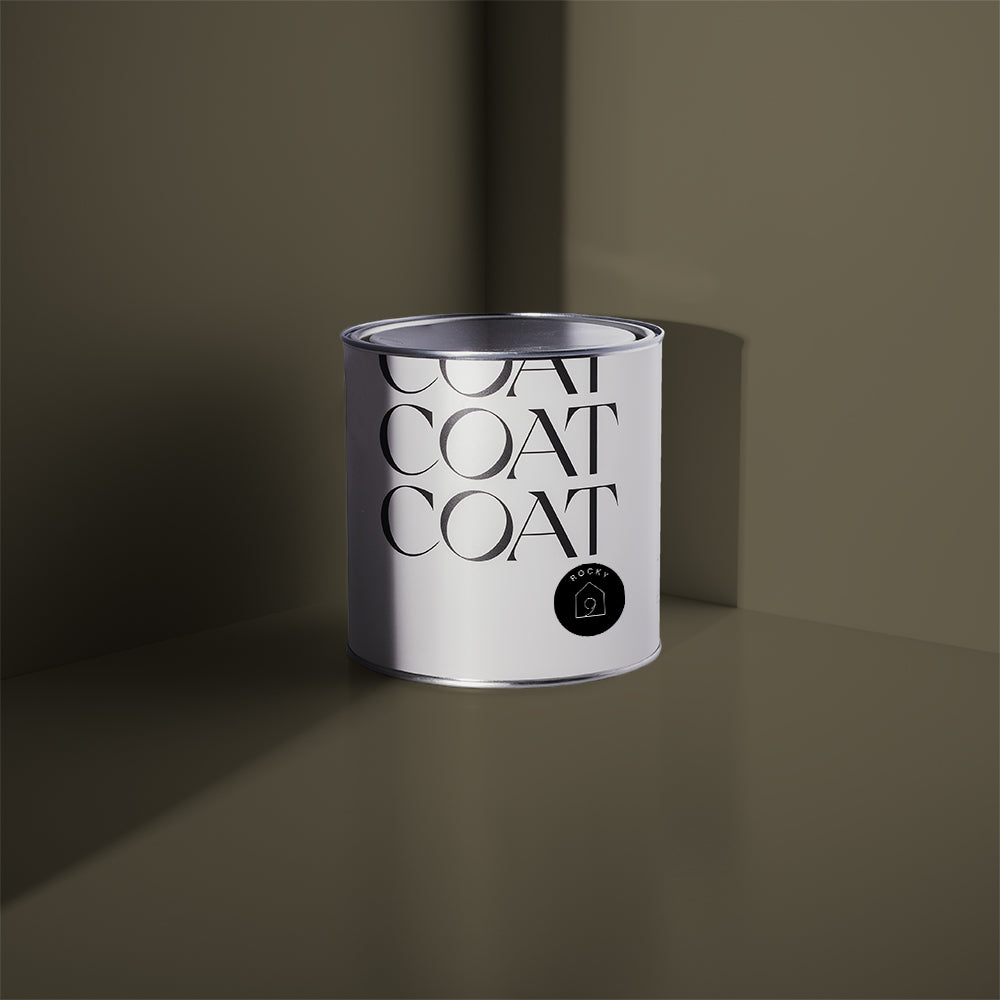
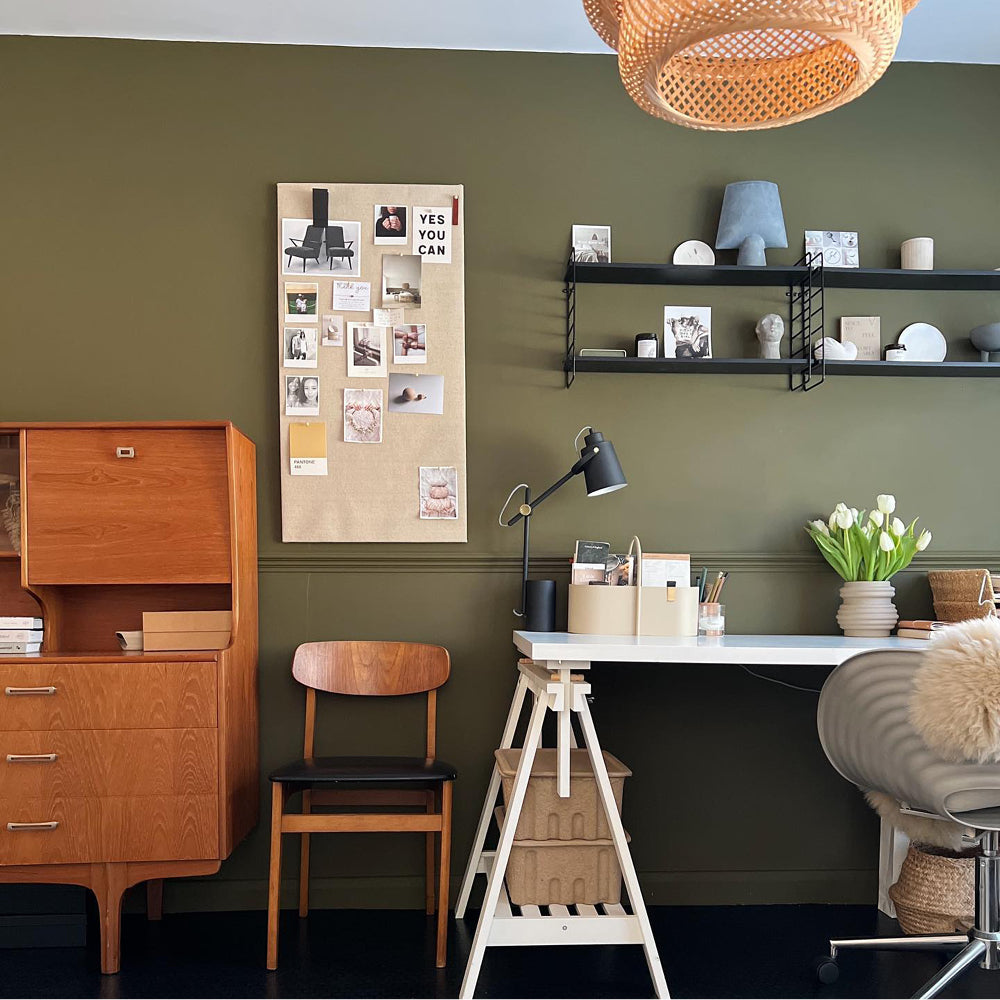
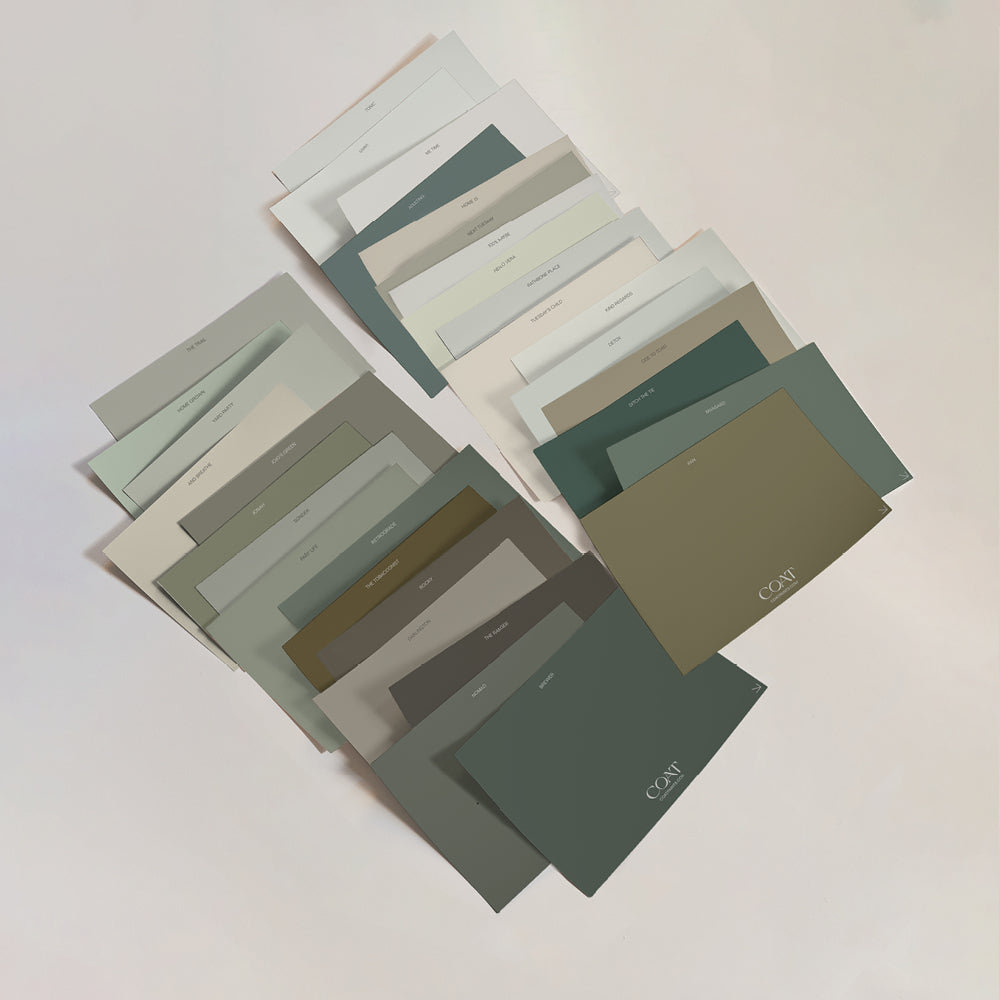
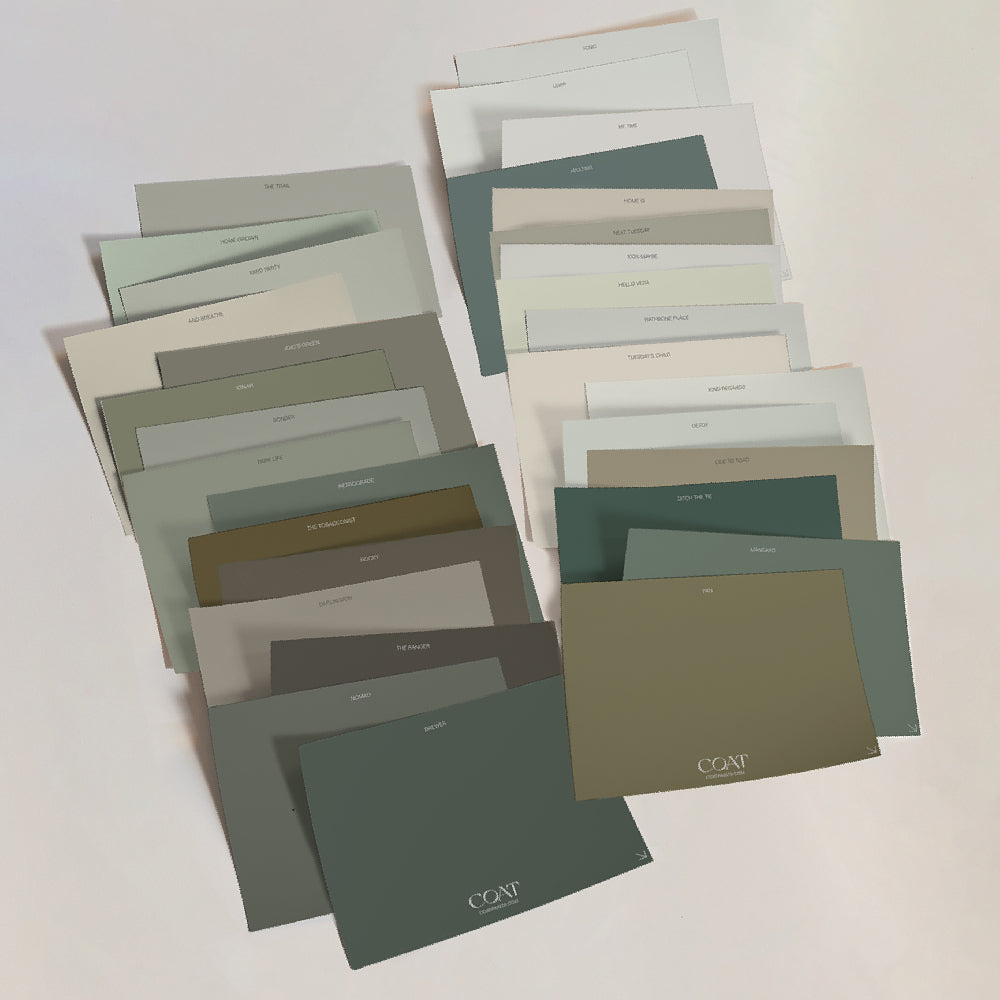
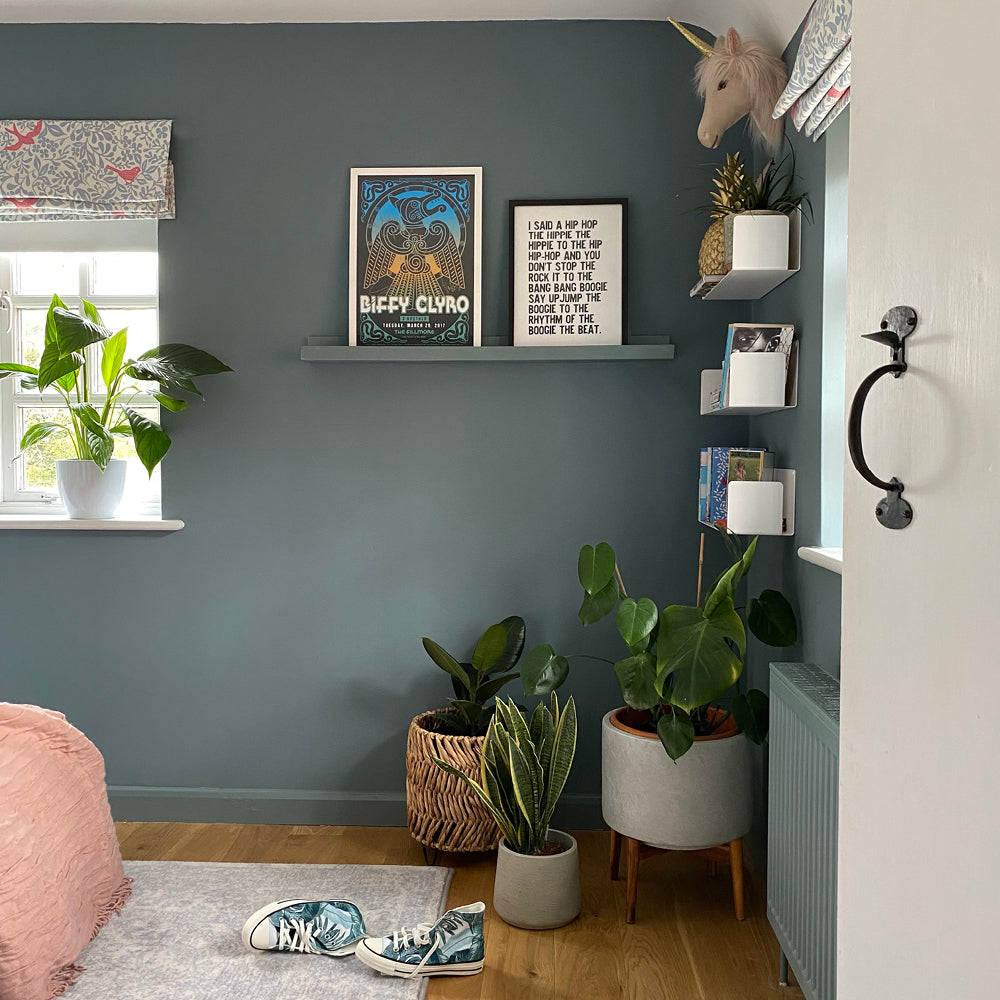
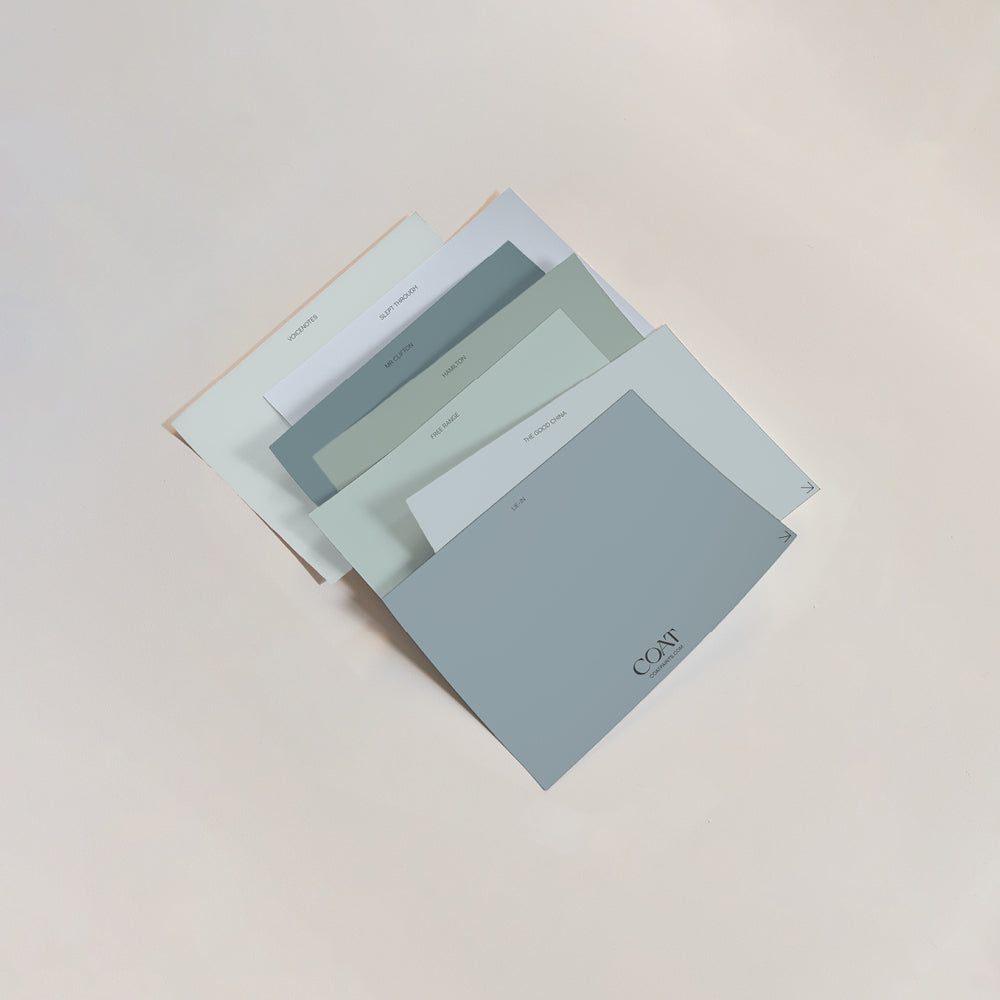
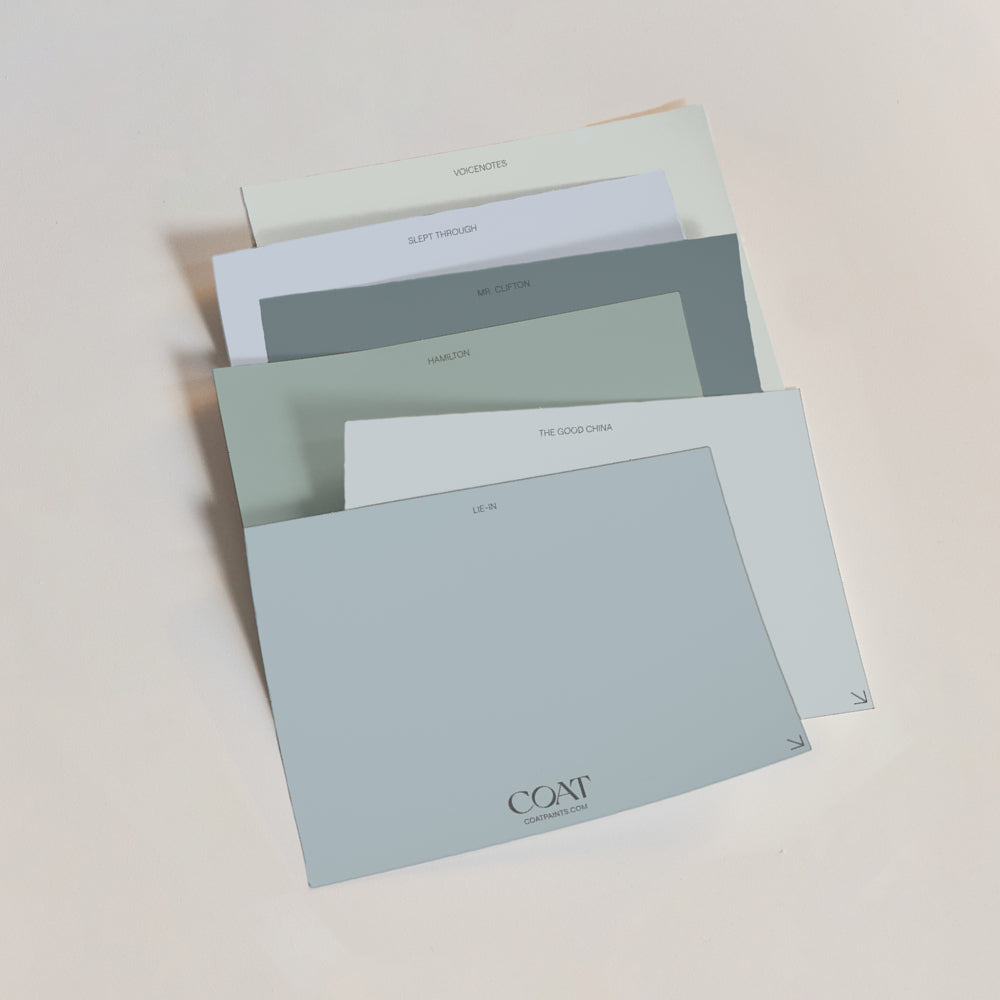
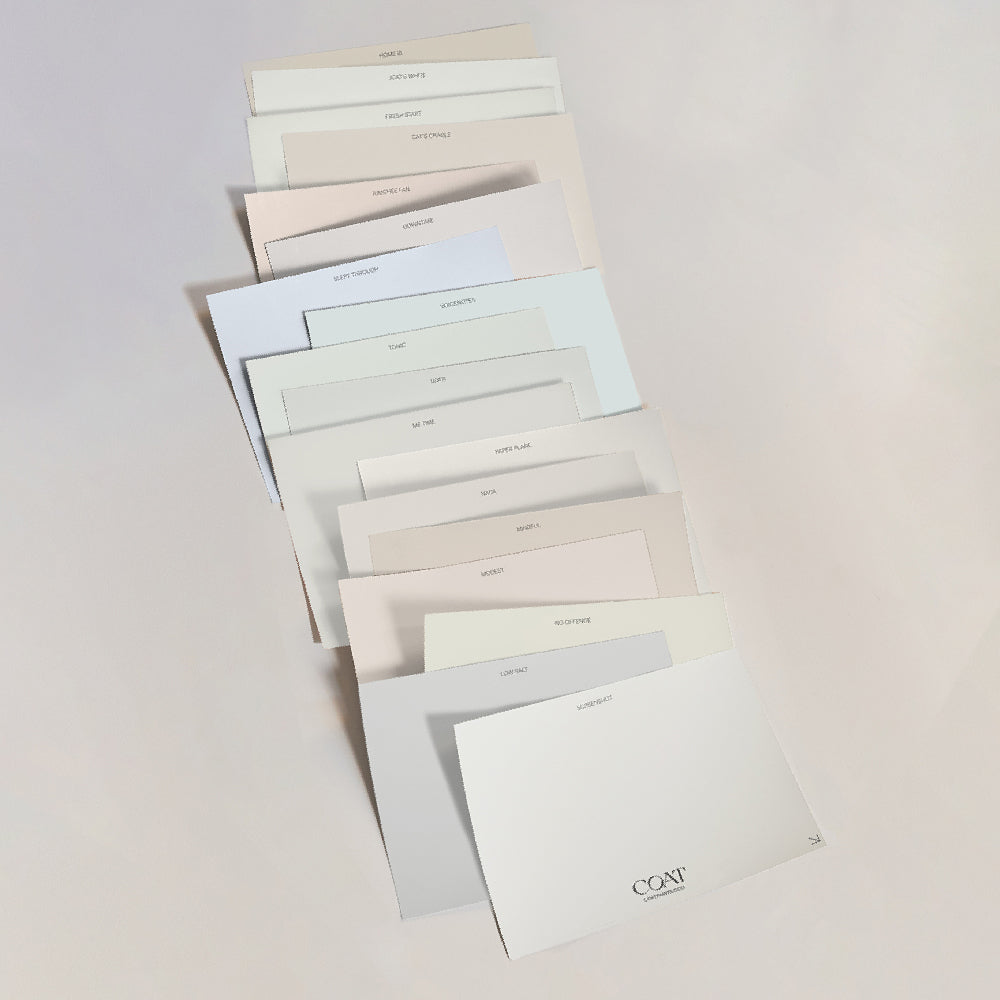
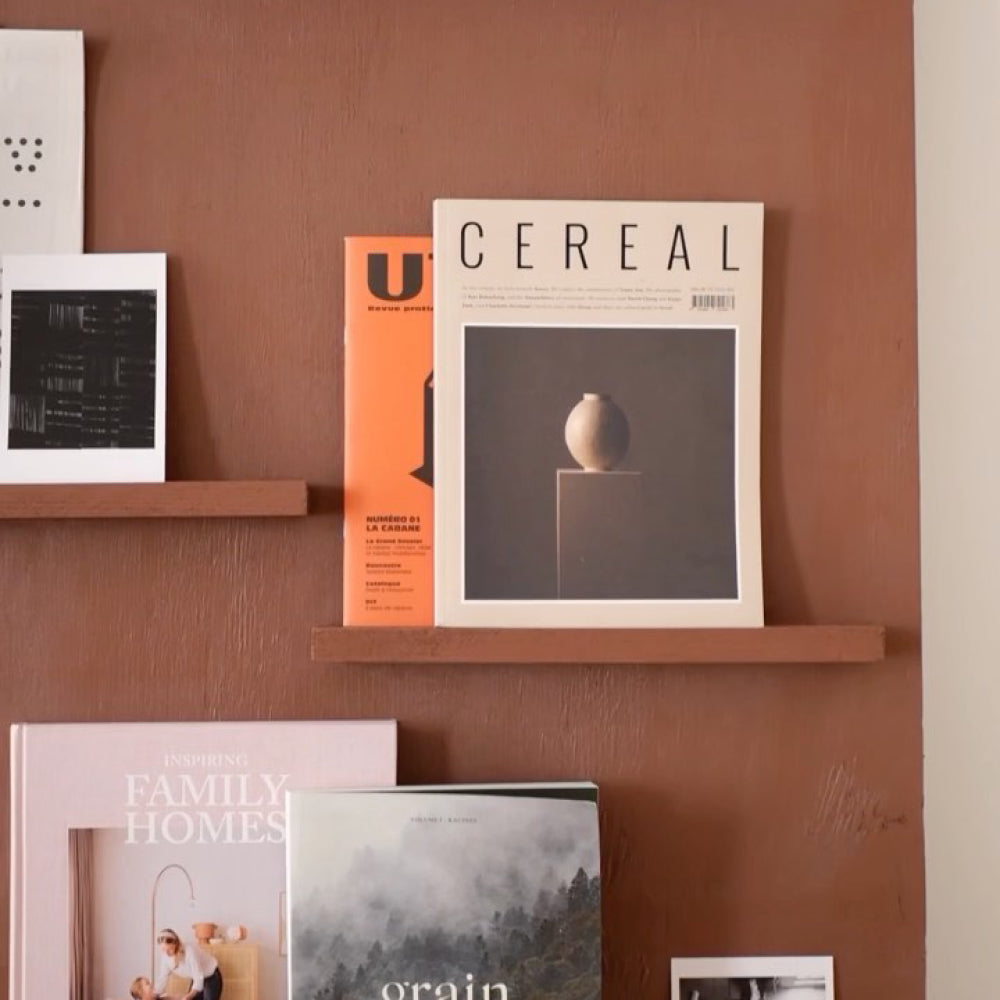
Not sure how to choose paint colours for a room? It’s really easy. Just look at the general vibe of your home. In fact, Scandinavians have a term known as the ‘red thread’. This essentially means tying rooms together using a similar theme. For instance, are you mad for loud shades, or do you prefer something subdued? It also helps to consider any art and your furniture too. Once you’re getting a feel for the space, you can pick a few shades and order your swatches before you fully commit. Our Swatch Packs come in a real flat matt paint for total accuracy, so you’ll get a realistic preview of how your room will look. It’s no good pinning a million room painting ideas if you can’t visualise them. Plus, with our swatches, you can see how the colour will look at different times.
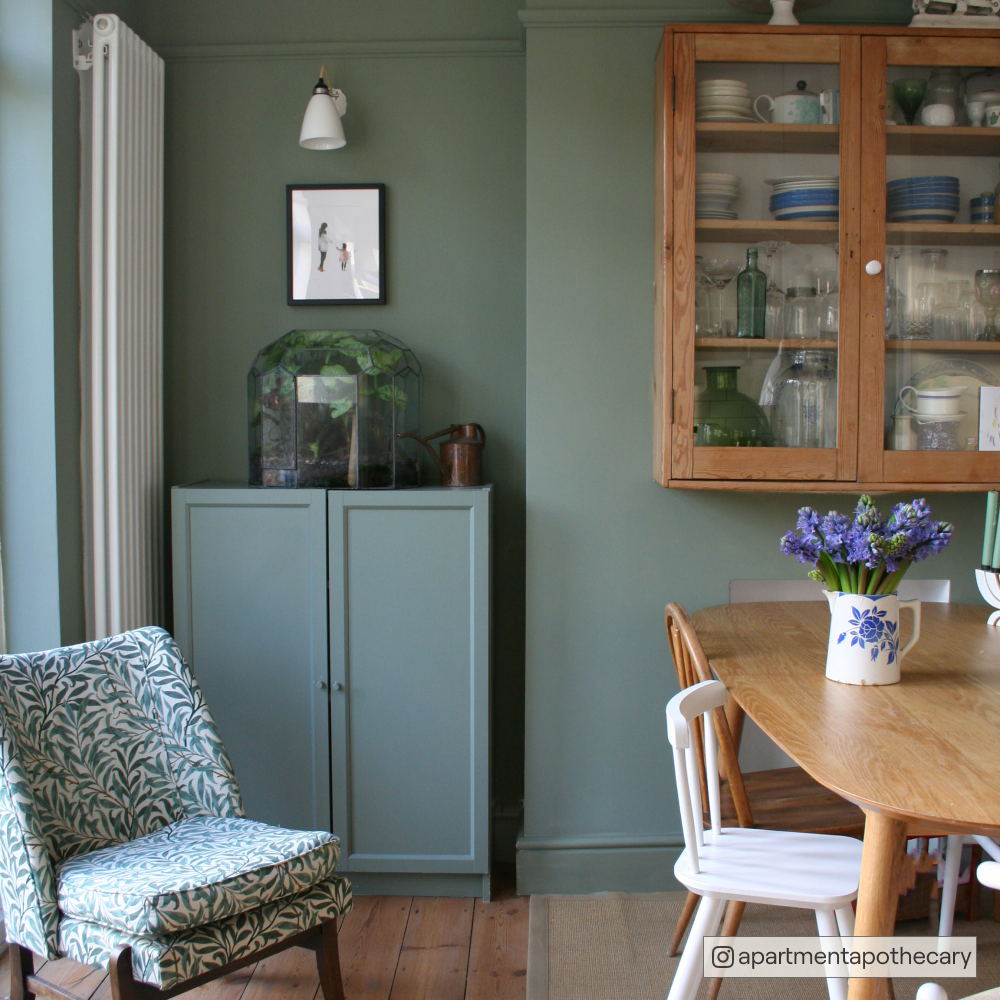
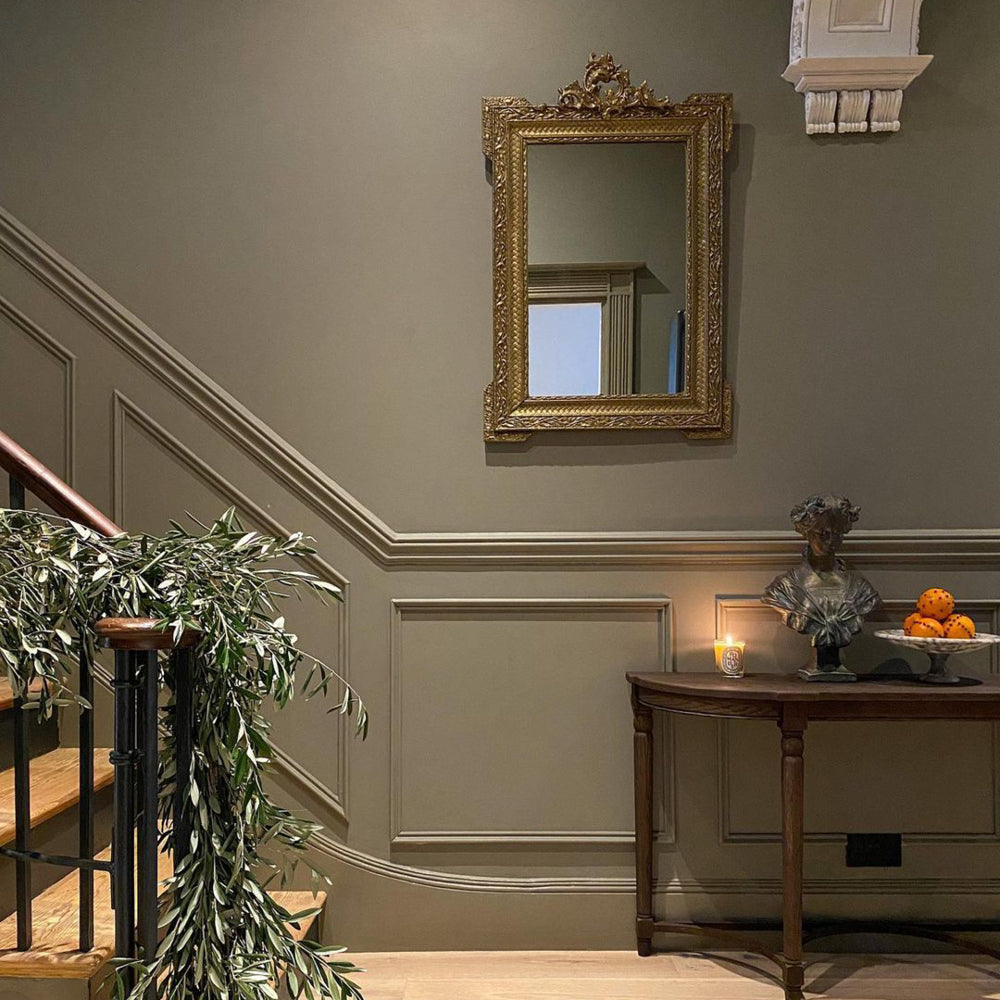
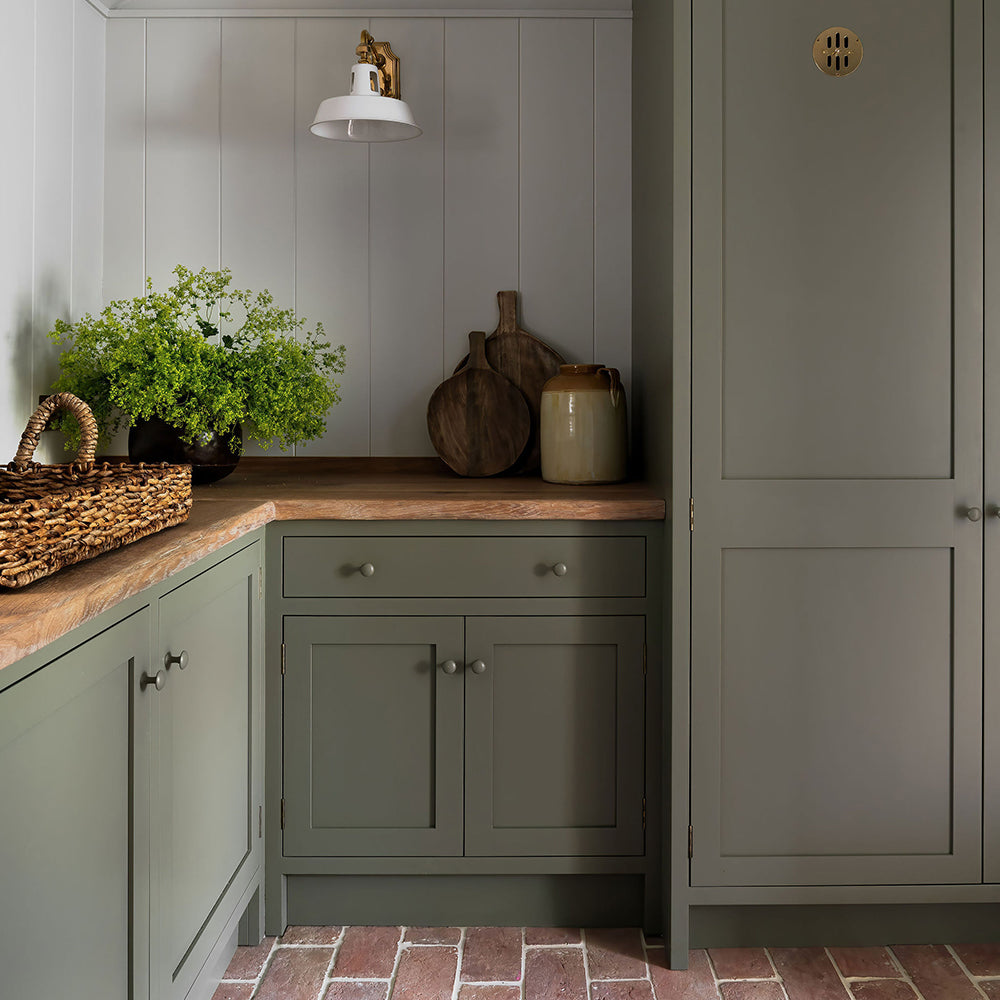
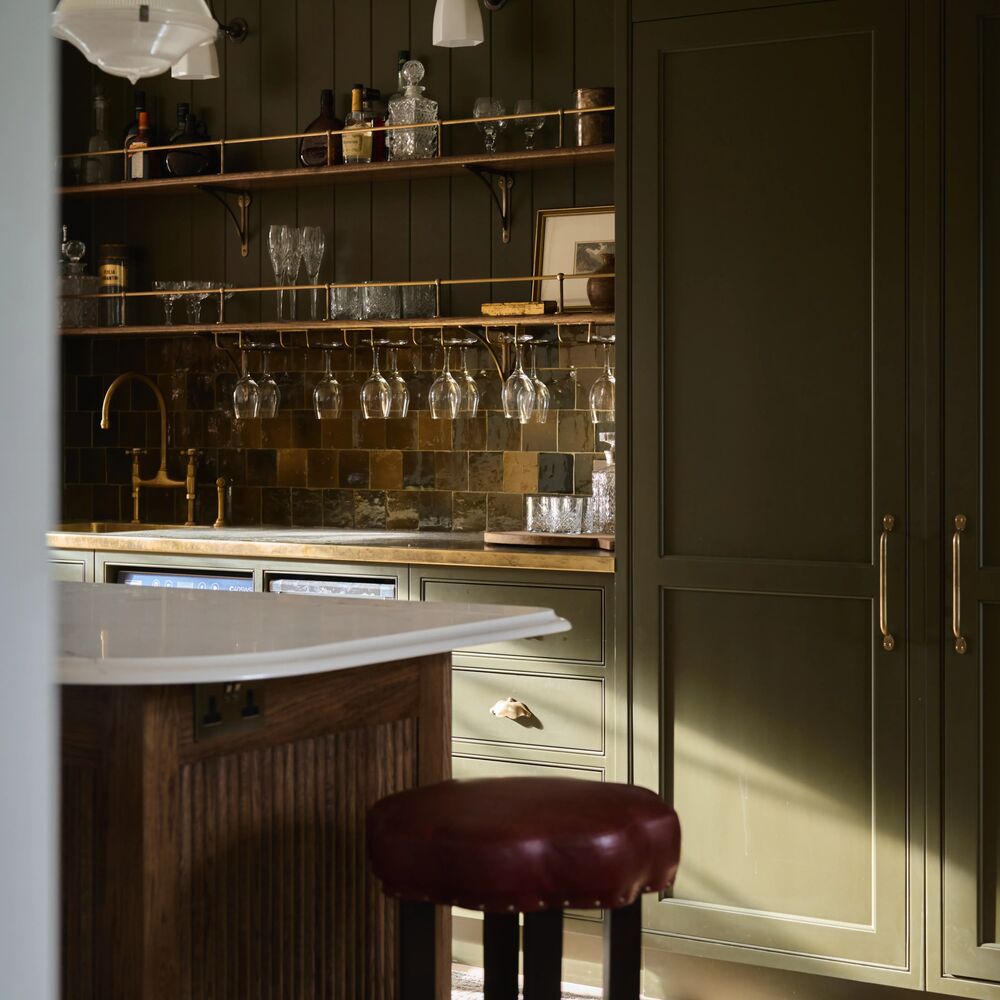
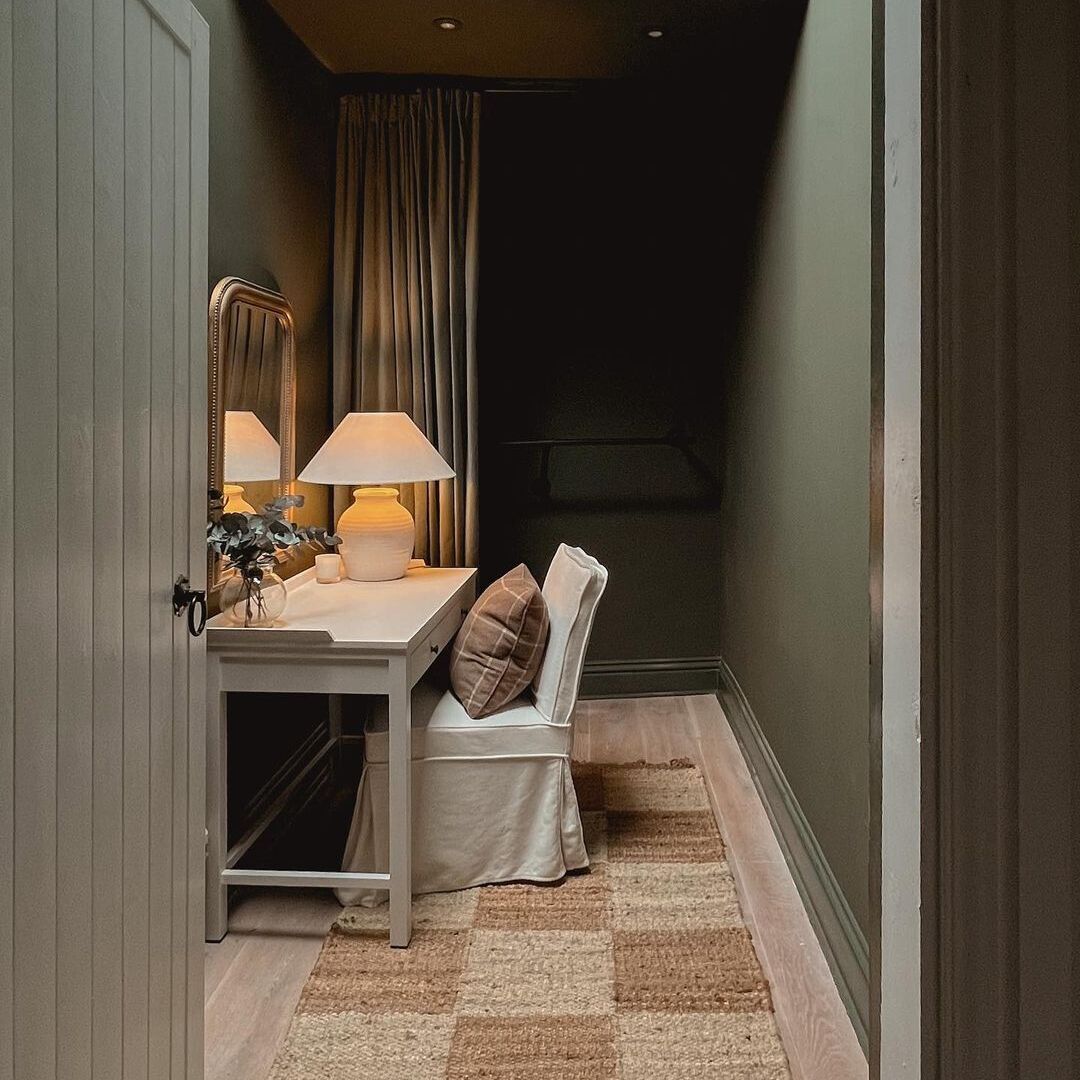
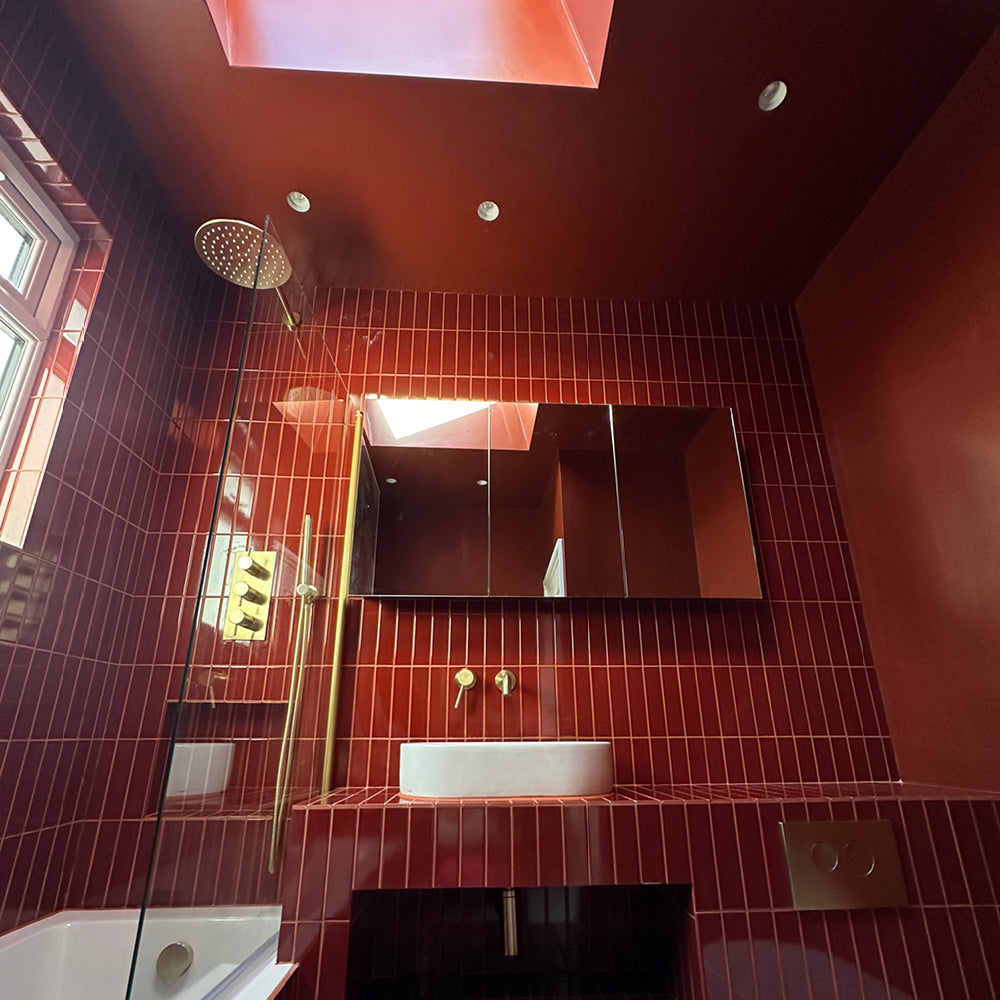
Thinking of doing the ceiling as well? Why not use the same shade? This can prevent a choppy, disjointed look. Our Flat Matt is also fab for covering flaws for a spotless finish. Soft Sheen, on the other hand, is easy to clean and can cope with stains.

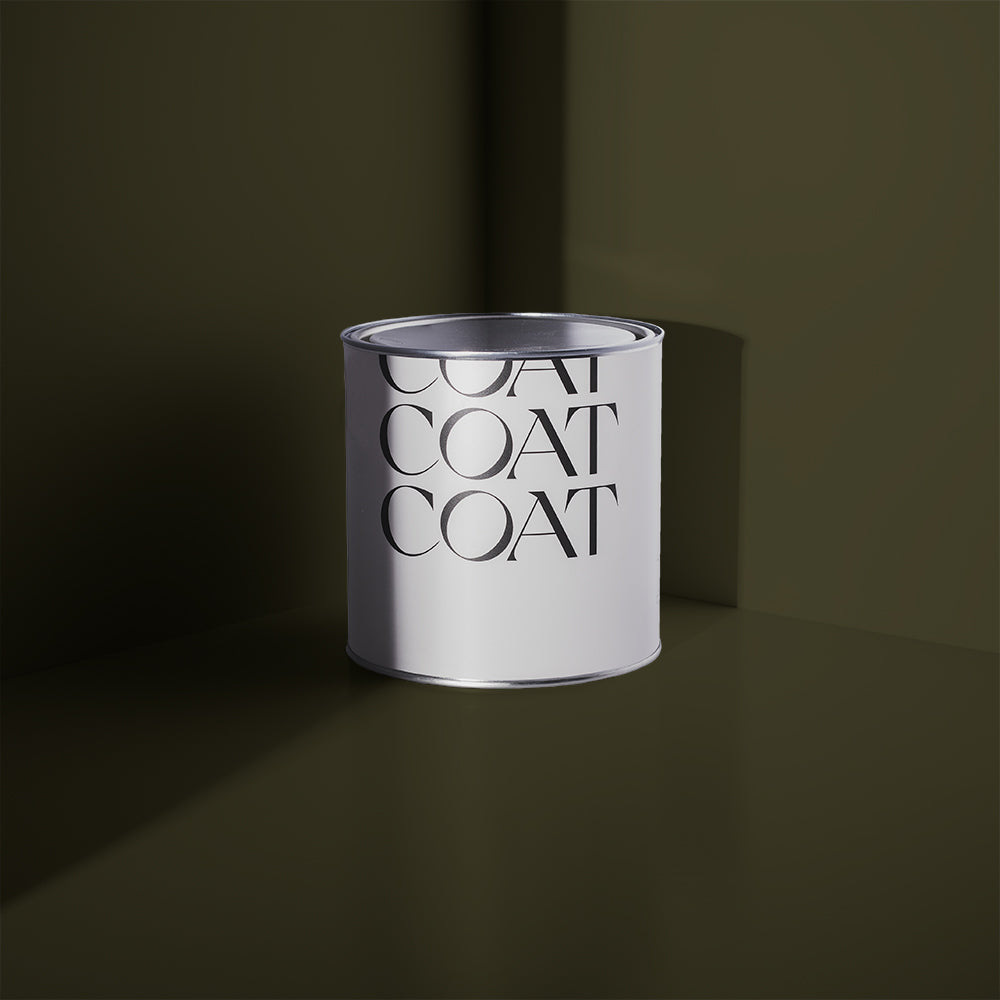
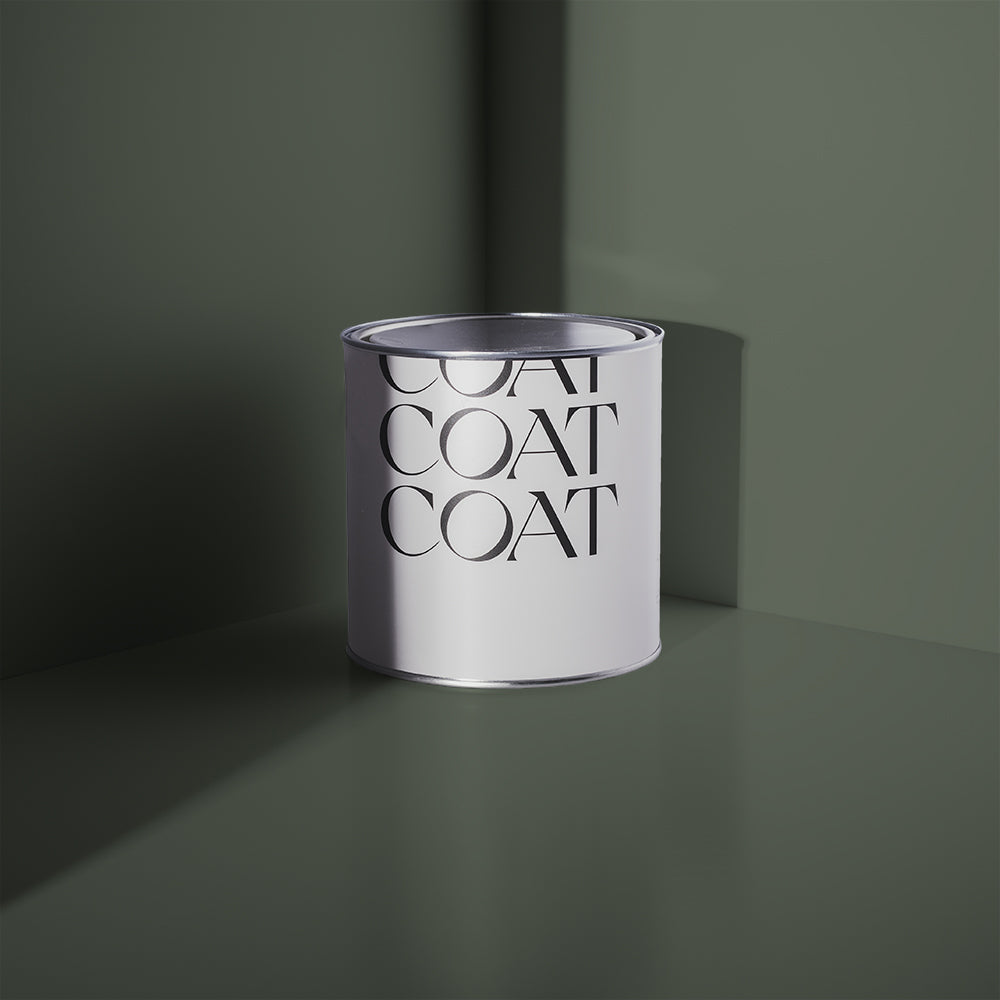
Try Peel & Stick Colour Swatches made using real paint!
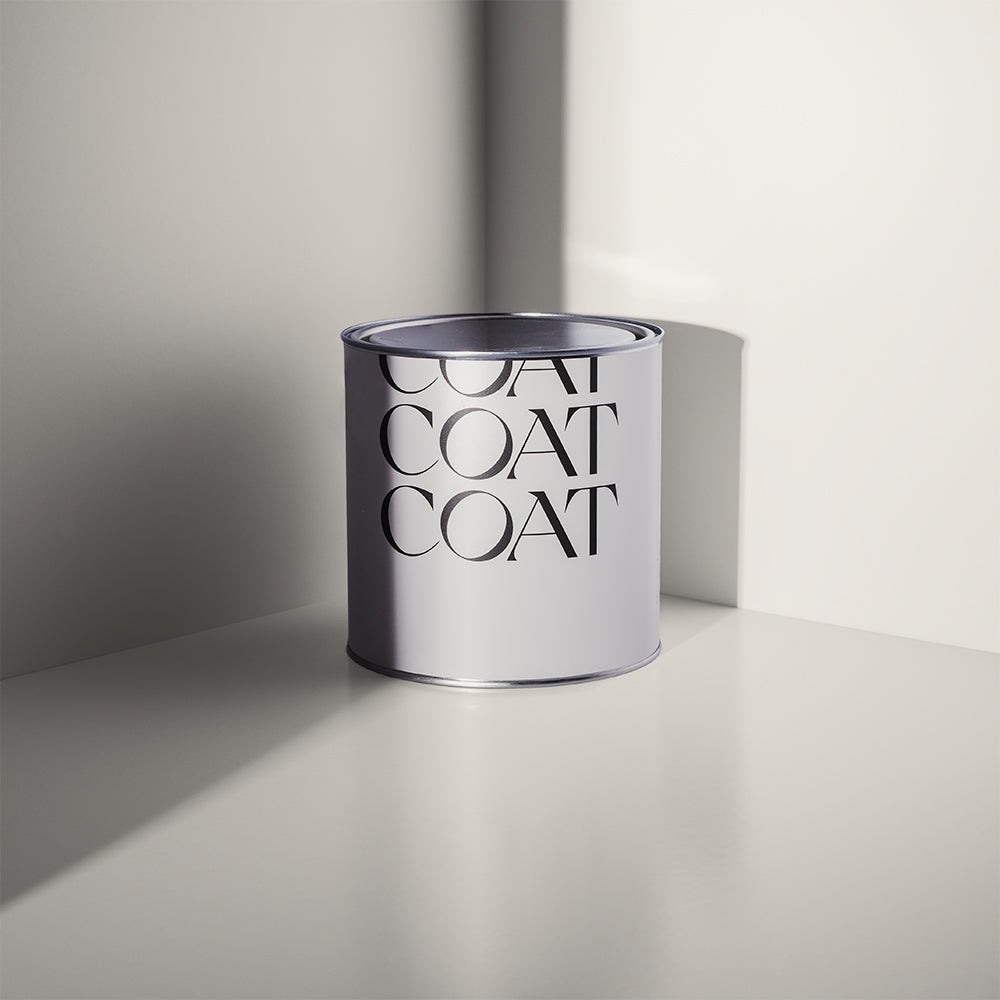
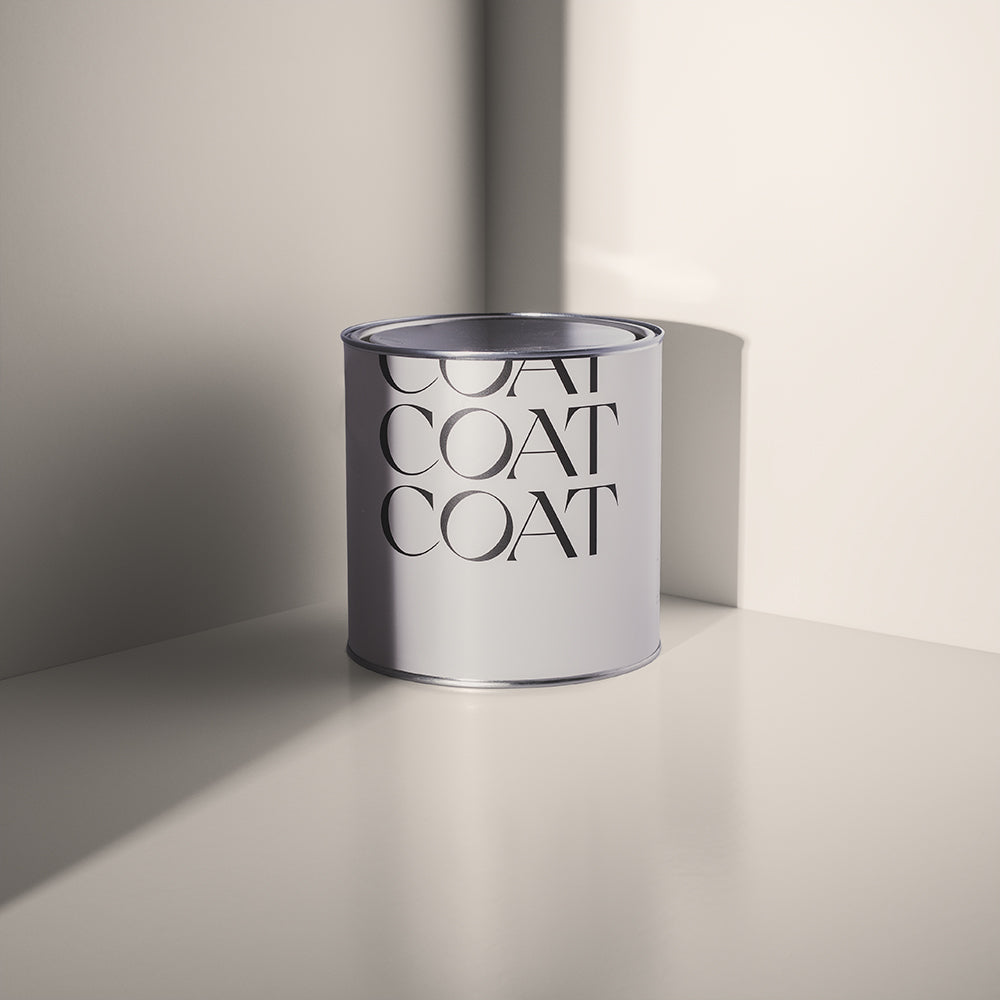
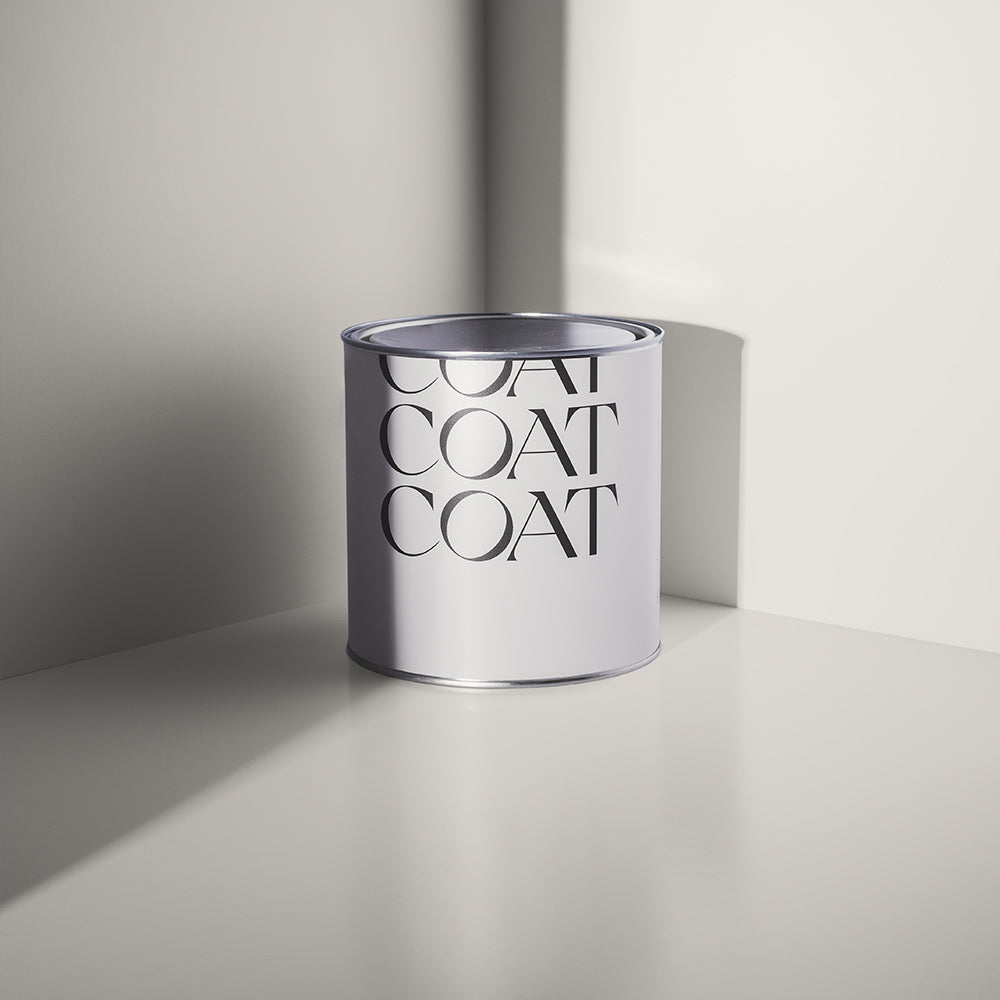
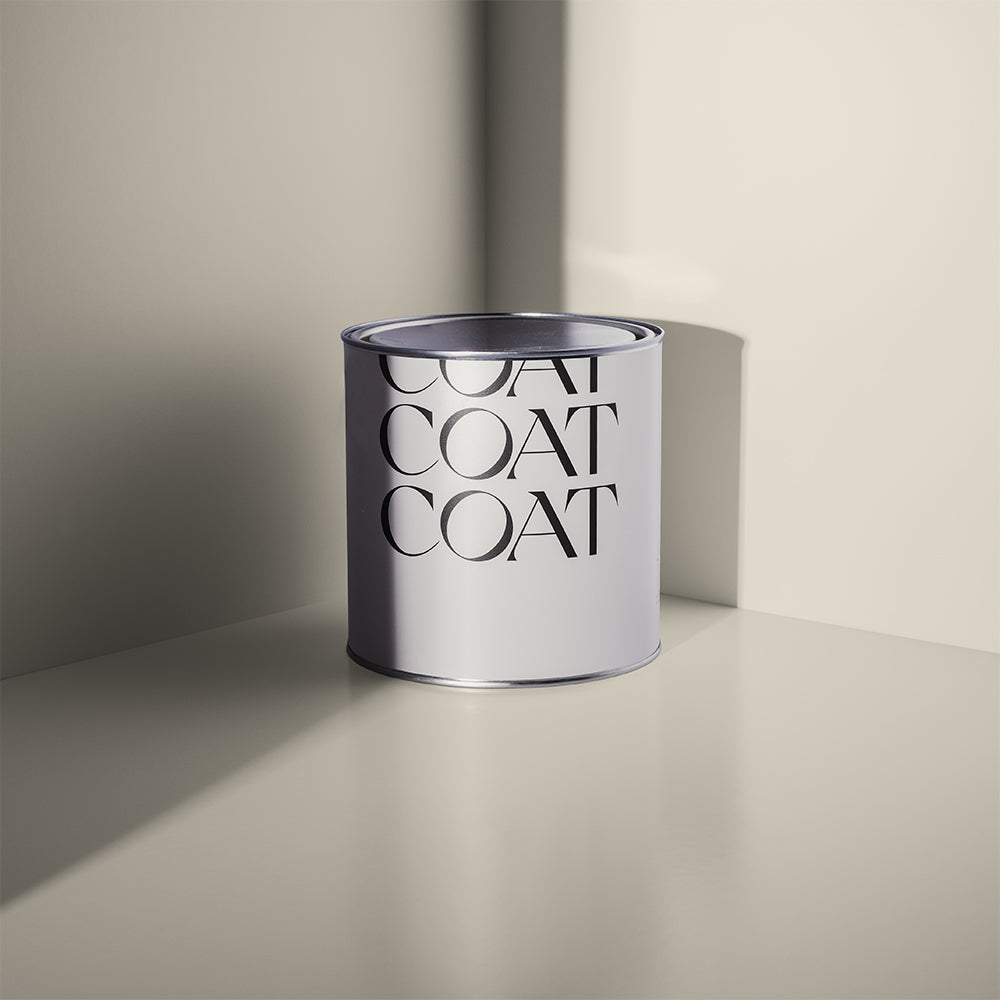
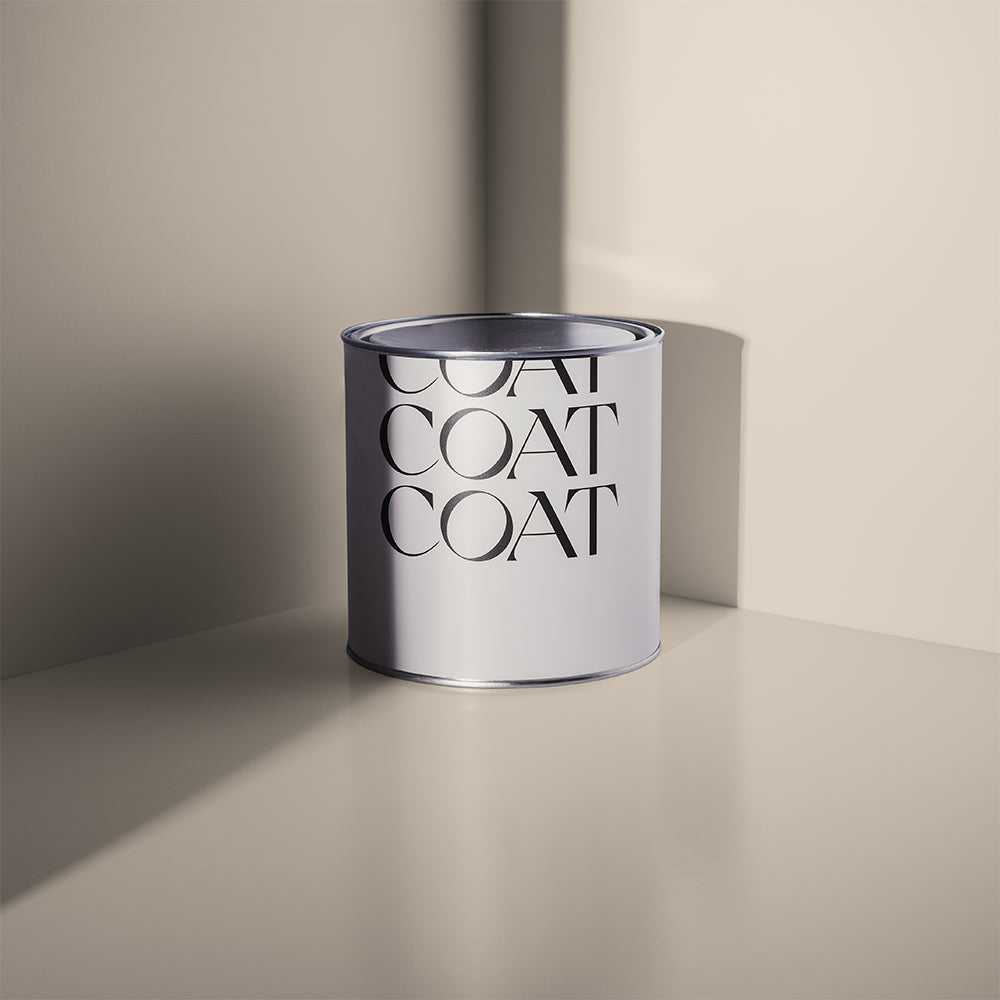
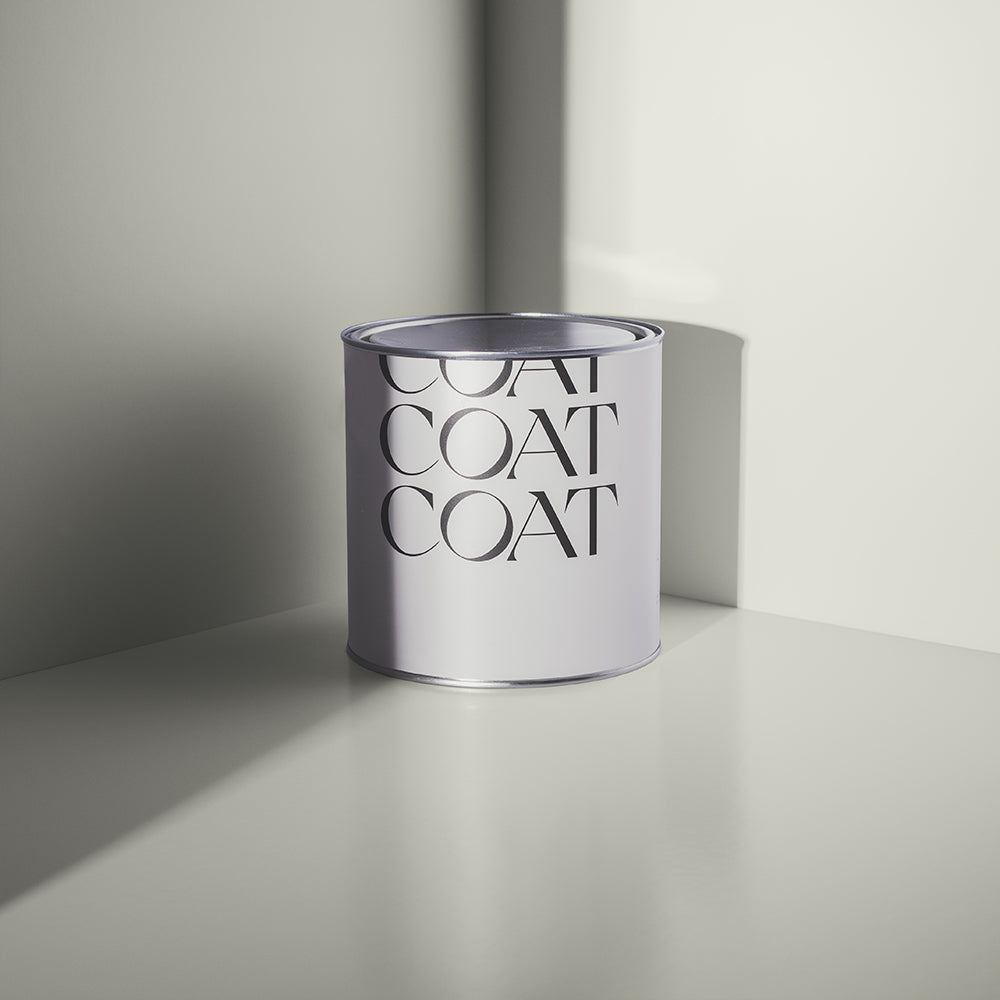
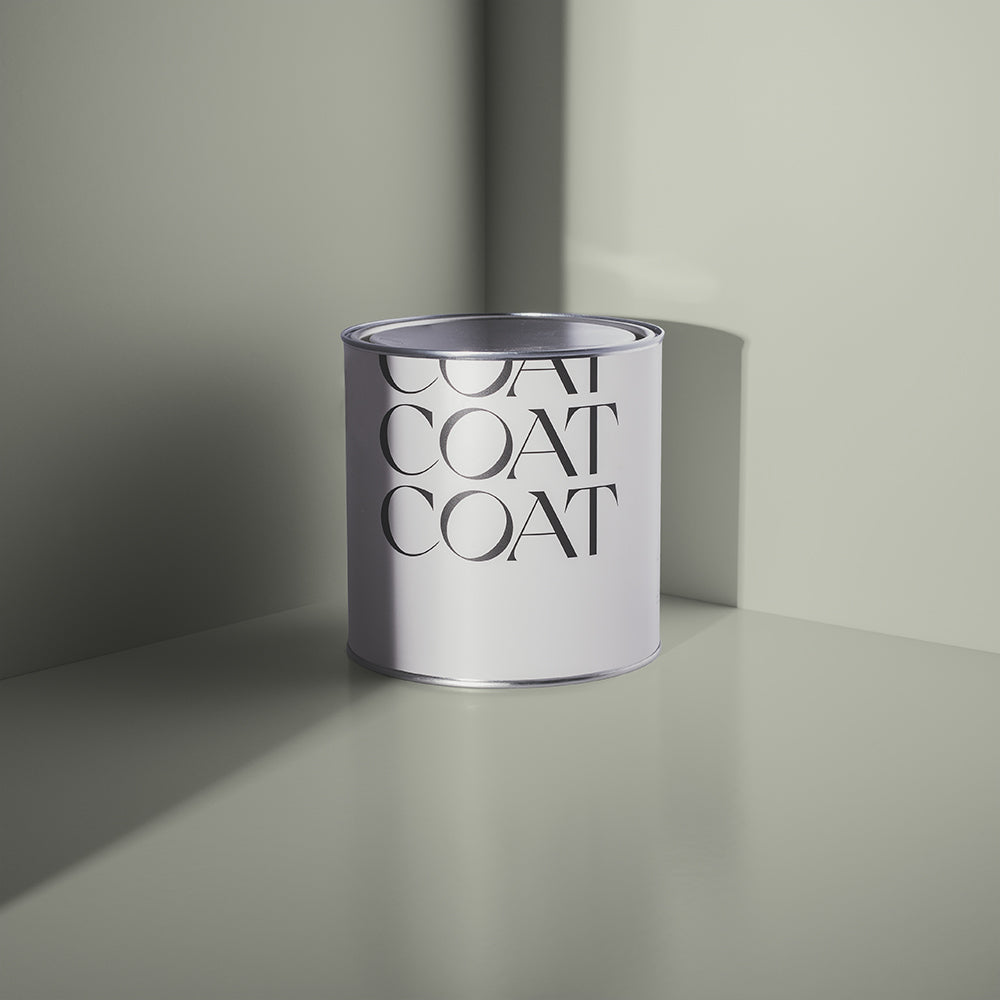
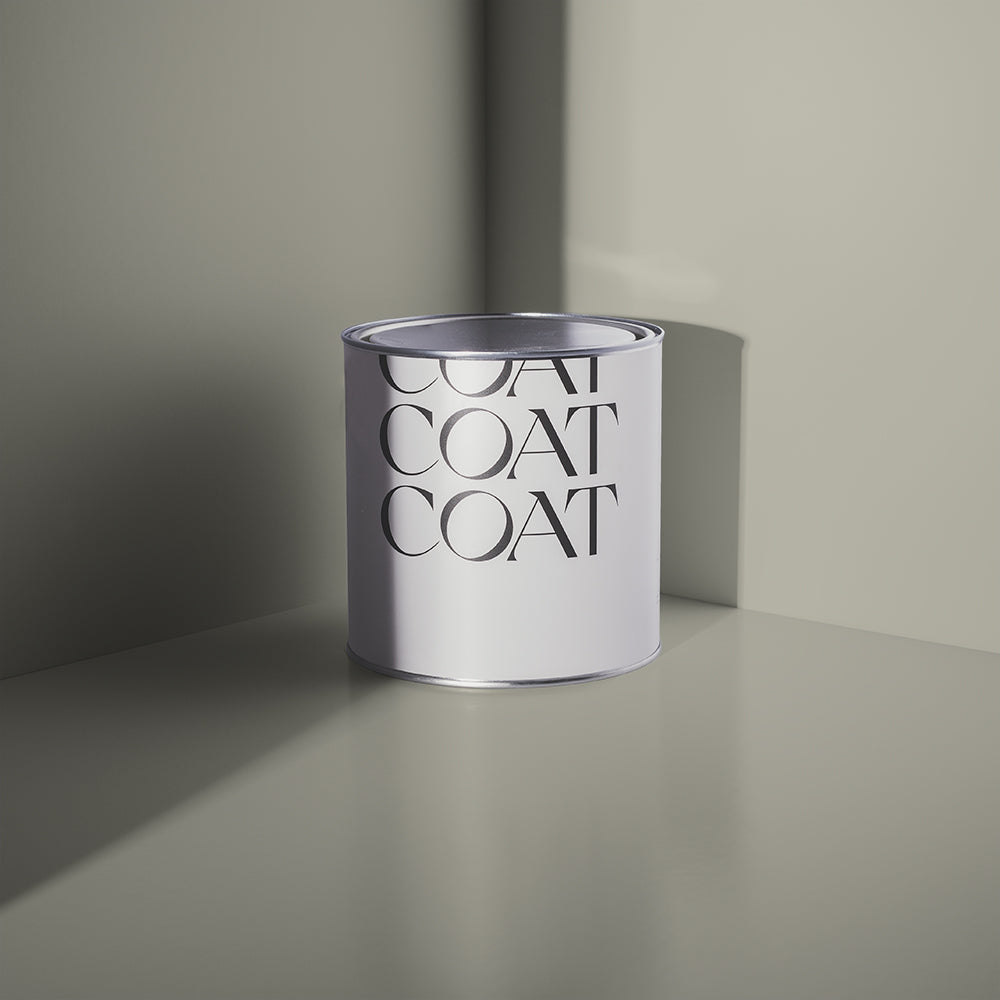
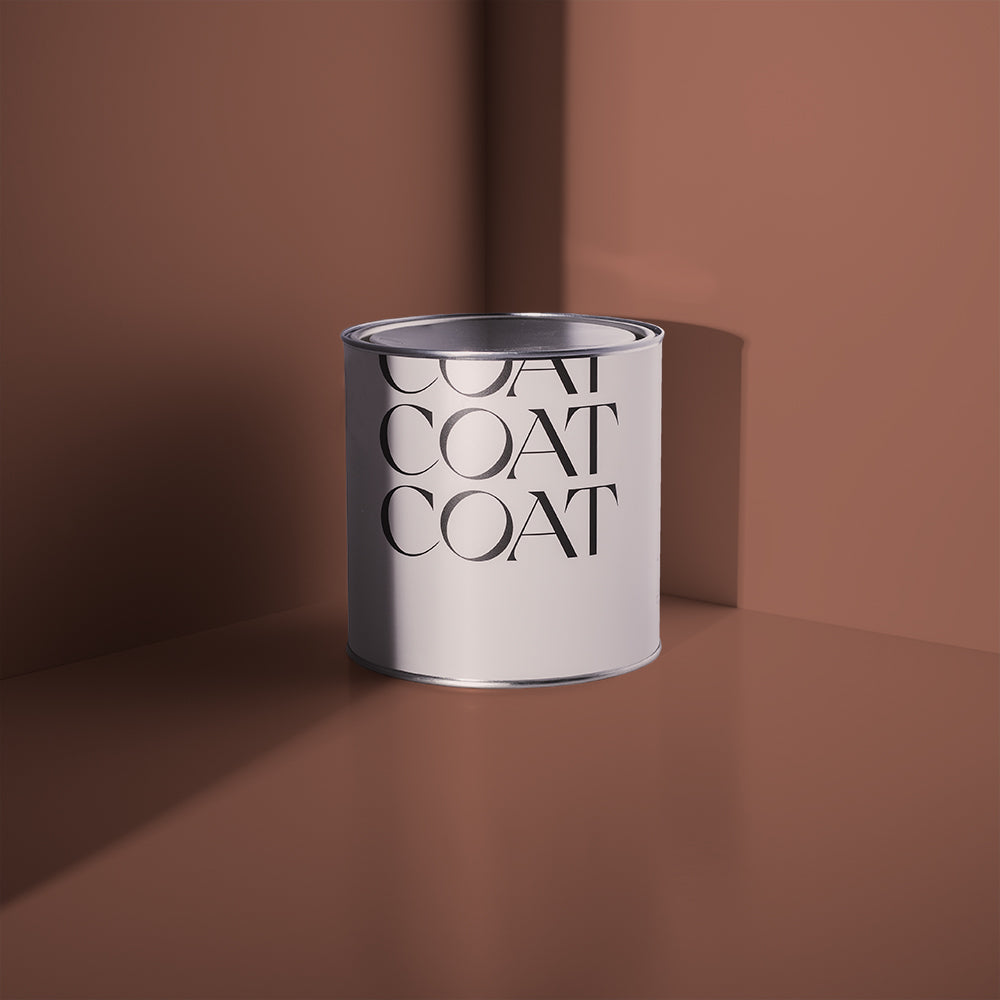
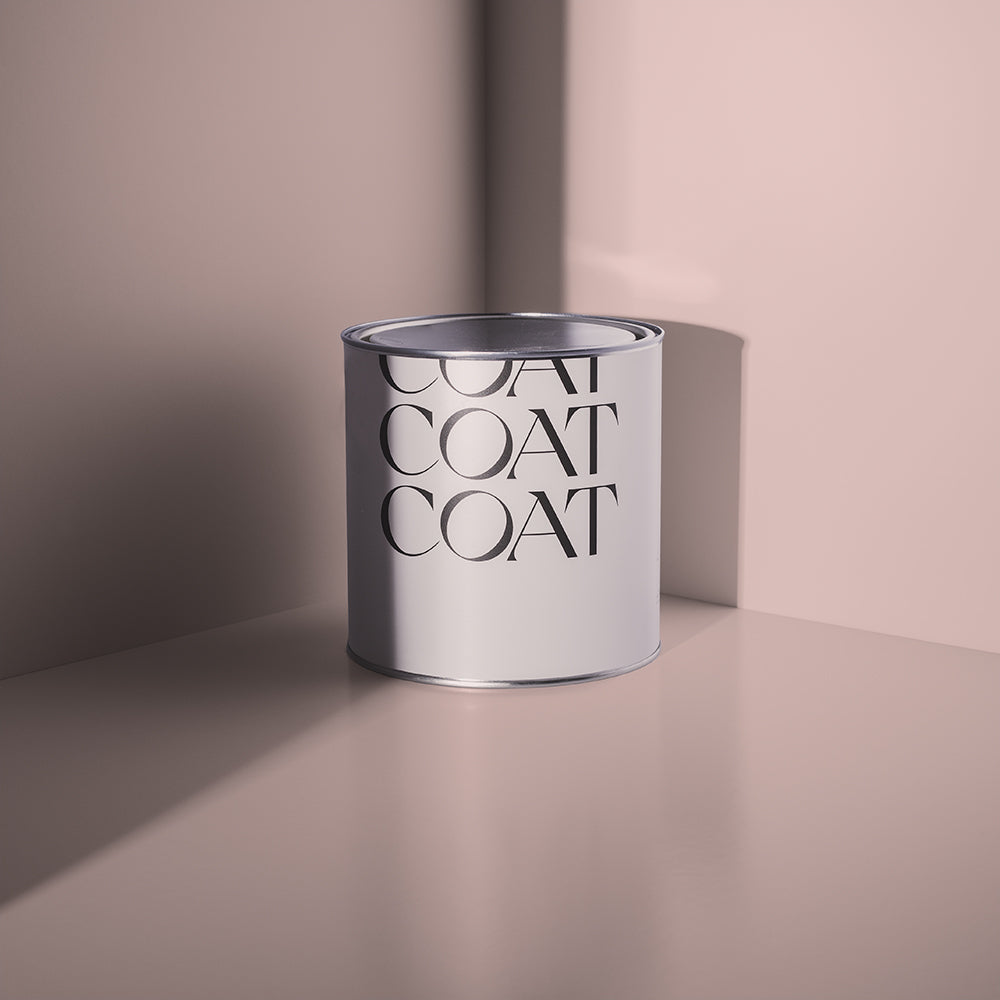
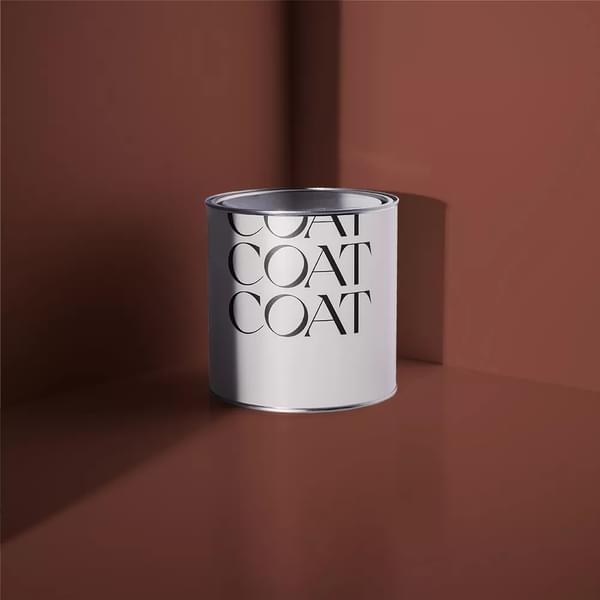
2. Get paint and tools together
You’re roughly looking at one litre of paint per 10 metre square of wall (or ceiling). “What the hell does that mean?” Check out our paint coverage calculator, just let us know what type of room it is, and we’ll do the leg work. Remember to buy enough paint for two coats plus extra if the surface you’ll be decorating is very textured. And bolt-on your tools too - decent quality brushes, roller cover and handles, paint trays, masking tape and sheets.
A 2-inch brush is ideal for cutting in and less delicate jobs. For window frames and trim, 1 inch will help you get to those trickier spots. Additionally, there are different brush shapes for different paint jobs. An angled sash brush is really useful for getting around corners and fiddly switches. Check out our Eco Brush Set, made from bamboo and everything you need to smash your next project. Sustainably made, they’re also crafted to last and pure heaven to paint with for sure.
Want to have all the gear and all the ideas? Shop our range of tools and painting supplies 🤩
As well as a good set of brushes, you’ll need a roller. These babies avoid streaks, drips and patchy paint. Rollers also provide the fastest way to get that paint on the wall. Even the widest paintbrush won’t get around a room as quick. At COAT, we offer two different types; Mini and Large. Like our brushes, they’re responsibly made and built to last. If you use the best tools for the job, it’ll only show in the paint. And your room will look well-put-together.
3. Prep
Never painted before? It always starts with some prep. Whether woodwork, ceilings or walls. As your new COAT won’t adhere to greasy patches or dust, walls need to be clean. And free of flaky plaster or paint. Remember, you don’t want to do half a job to have to do it again. This part is key to long-lasting paint. So, make sure you take the following steps before you even open that tin. But first, start by covering furniture and flooring.
To get a nice smooth finish, look out for any scratches or holes. These can be filled and then sanded once the filler is dry.
You’ll also need to have a good sand of the wall using a finer grit of sandpaper. Then thoroughly brush away any dust before having a clean. Sugar soap or soap and water will do for washing the walls. But make sure they’re dry before you whip out that brush. As we said, a little prep is key for a gorgeous colour that lasts. Skip, and well, you run the risk of a bad paint job.
No sugar soap? We've got you covered. Shop our prep kit 👉 here
4. Ceiling first
It makes sense to start painting here because, despite best intentions (and paint formulations), the roller can leave a light mist on the walls. If you touch the roller on to the wall as well it’s not the end of the world as you’ll be re-painting anyway. As long as it’s not raining, open the windows to speed up drying too.
Once your ceiling is ready to go, we’ll begin here. Start by stirring your paint with a stirrer or a bit of wood. Transfer a little into a small bucket, and grab a paintbrush. Cut in by painting a 3-inch strip around the ceiling edges. Any ceiling lights will also need painting around and properly masked to save them from getting covered in paint. You can then fill up your tray and load your roller. Start in a corner and work outwards in W-directional movements until your ceiling is covered. If you want an even layer of coverage and to prevent tide marks, repeat the process with the second coat once the first coat has dried completely.
Although we said this job can be done in a day, if you run out of time, rollers and brushes can be stored specifically to prevent them from drying. Simply wrap them in a towel or cloth and leave in the fridge. Just remember to remove them half an hour before using again.
5. Then the walls
Only start on your walls once the ceiling is completely dry. Carefully remove plug socket covers and light switches, usually just a couple of screws - do what you need to do with the electrics to be safe. Now paint one wall at a time, and in sections (columns). Use a brush to edge a border (cut in) and paint the awkward bits - corners, around sockets, joins at the ceilings, skirting boards and doors. After you’ve edged a section use a roller to finish off the rest by rolling long thick strokes in a W motion from top to bottom. Absolute pro moves. Two coats of paint will get you a quality finish.

6. Now the skirting boards
Once the walls have dried, start on the skirting boards. Paint these using a brush or mini roller (or both)Place decorating tape along the top of the skirting boards to protect the newly-painted walls (obviously once the paint is dry). Plenty of paint and long strokes to get a smooth finish, two coats again for a hardy job well done. We’re over the gloss paint look, so COAT Eggshell Wood and Metal paint will give a contemporary flatter finish that can’t be knocked about.
Check out our blog about Skirting Boards specifically for more tips.
Feeling inspired? Grab a swatch of your fave shade and see how you can transform your space ✌️
7. Finish with windows and doors
Prep is pretty important with frames, hopefully you did the prep in step 2 (sanding down any rough bits and filling in holes). On windows, make sure the seal isn’t broken between the paint and the glass. It’ll avoid damp getting in and any rotting.
As for doors themselves, get a roller and brush. If the door has panels, do them first. Use a brush to paint the outline of the panels and then fill in with a mini roller if you like, this will give the smoothest finish on the larger flat areas. Keep on top of any rogue drips running from the corner of door panels - they look crap.
In this section, we’ll talk ventilation. Because paint drying is literally the most exciting thing ever. By making sure your space is well-aired, your paint will dry quicker. Even if it’s a damp, horrible day. You can either open a window or use a fan to help speed up the drying process. With COAT, you also needn’t worry about fumes, our paints are non-toxic and they’re low VOC too.
Another good tip before you grab that roller or brush. Use drop cloths to protect the areas you don’t want to be painted. Rollers can accidentally splash plaint, so it’s best to be safe. Fabric drop cloths work better for this and are less horrendous than the plastic-type. You should also use masking tape to protect light switches, trims and plug sockets. Just remember to remove it at a 45-degree angle to avoid tearing the tape.
Action plan in hand, time to get started. Not chosen yet, shop COAT paints.
Explore our range of Flat Matt, Eggshell or Soft Sheen now ✌️
Publish Date
Author