The Best Paint For Exterior Walls
So, you’ve painted every square inch inside your house. But how’s your outside looking? If your brickwork is lacking kerb appeal, you may be wondering which exterior wall paint to use. And what steps you need to take before adding a splash of colour. Don’t worry; we’ve got you.

First, I guess you wanna know why you can’t just use any paint? Well, exterior house paint acts as a protector. So it needs to be durable to changes in temperature as well as weather. And tough enough to handle knocks like a rogue football flying at the wall.
As British weather is unpredictable (thanks mother nature), you’ll want to make sure you pick a paint that is both weatherproof and quick-drying. Our masonry paints do both (and much more!). And with plenty of colours to choose from, your home will be insta-worthy in no time. But of course, we have a few things to go over before you can start snapping away.
Ok, so we’ve got the paint down. What else do you need to consider?
- Safety first! Make sure you have an extendable ladder - one where you can easily reach the top of where you need to paint without stretching. The rest is the obvious stuff: place it on sturdy ground, have someone holding the bottom of the ladder.
- Prep the brickwork. Like with interiors, you’ll need to clean the outside before painting. Pending on the brickwork, you may need to seal with a primer first. Although, all of COAT’s paints are ready to use without a primer.
- Check for repairs/gaps to fill. Right, so you’ve picked the best paint for exterior walls. Great stuff. But despite it being waterproof, if there are cracks and gaps in the brickwork, there’s potential for water to still get inside. Nobody wants damp or mould to ruin all their hard work later down the line.
But we’ll talk more about that later...

What is the longest-lasting exterior paint?
Well, this really depends on the quality. COAT’s masonry paints are long-lasting and should give colourful protection to your walls for over 10 years. That’s if you don’t decide to change the colour again before then!
As long as you do your prep work beforehand (scraping off old flaky paint and filling in those pesky gaps and cracks!), your house will be picture-perfect for years.
What to put on outside walls before painting
Like when sprucing up inside, you’ll need to do some prep work before rolling on exterior house paint. We know it’s the boring bit. But it has to be done (believe us, it will be worth it in the end).
First, give the walls a good clean. And we mean more than just a quick spray with the hose. Ideally, you want to use a pressure washer to remove all the dust, moss and cobwebs that have made your home theirs. Don’t have a pressure washer? I’m afraid you’ll need to use some elbow grease instead. In other words, clean it manually with soapy water. We suggest you put on our COAT Spotify playlist to get through it!
Spotted some cracks? Best get those filled in with some masonry filler to create a smooth service. It’s repair work time. Well, once the walls are dry after all that cleaning! Don’t forget to remove any old flaking paint and loose screws while you’re at it. Plus, fill in any gaps in the mortar.
The walls will then need sanding. As expected, you’ll have to tidy up afterwards to remove the dust. Don’t worry; you don’t need to get the pressure washer out again - a brush or hose down will do.
What if the walls are still dusty after cleaning? Sounds like you’re in need of a primer, or you might not get that smooth finish you’re after. Although, you should still be able to use our exterior wall paint straight away. For the first coat, thin it down (similar to a mist coat for new plaster). Drop us a line if you need our advice on this.
Are your walls now clean and dry? Rightio, you’re ready to go. Well, pending on the weather, that is!

What are the best weather conditions to paint outside?
You want your walls to be dry before you paint them. So that means you’ll need a couple of dry days before you begin adding colour.
And when it comes to painting day, you guessed it; it needs to be dry. Also, try to plan it for a day that’s not too sunny and definitely not too hot (your typical British summer’s day then). Last thing you want is for the paint to peel after all your hard work making the walls nice and smooth beforehand.
How about that all-important second coat? COAT paints are touch dry in 1-2 hours and ready for a second coat in 4 hours.
How do I protect my exterior walls?
Good news… masonry paints are weatherproof. But if you have damp walls, you’ll need to fix any problems before painting. Cleaning gutters and identifying any leaks is always a good place to start. You’ll need to postpone painting to make sure you fix any issues first.
Also, if you have noticed damp patches on the inside of your home too, then it could be that your home’s damp proofing has failed, or your chimney is leaking. You’ll want to get this sorted, or you’ll just be masking the problem and constantly having to repaint! Great for us selling the paint… but, uh, not so great for your wallet!
Ok, so you’ve done all that, and any problems are now a distant memory. Woohoo! But what next?
After cleaning your walls prior to painting, you’ll need to fill in any cracks in the bricks or gaps in the mortar. This will help prevent any extra moisture from getting in. FYI - when it rains, moisture is absorbed by the brick but will dry out. Completely normal behaviour. But if it rains loads where you are, then we’d recommend adding a waterproofer product to the outside walls before painting them.
Cream-based waterproofers have the best reviews as they are absorbed deeper into the wall and offer longer-lasting protection than liquid versions - some offer over 20 years of water-repelling greatness. Whatever you pick, check to make sure the waterproofer is breathable. You may be preventing water from getting in, but you also don’t want to prevent moisture from getting out - air molecules are much smaller than water molecules.

How do you waterproof an outside wall?
Well, first, you’ll want to follow the same steps if you were getting ready to apply exterior house paint. Clean the walls, allow to dry, repair and fill cracks, allow to dry, then sand the walls, clean off the dust… and you guessed it, allow to dry.
Get checking that weather forecast. You don’t want any rain on the day or the day after you apply the cream. By the way, you can use a roller or a brush for this. I think we know which one you’ll pick!
Always do the inconspicuous test first - there’s a reason they tell you to do them. And if the instructions say to add a second coat, you can expect to have to wait until the wall is dry before slathering more on. Patience is key when decorating. Rush the job and make a mistake, then you’ll have to do it all over again from scratch!
How long does exterior paint need to dry before rain?
Ideally, you’ll want a whole day of dry weather after painting. The best time of year for outdoor painting is early summer to early autumn. Not just because it will hopefully be dry for a few days in a row but also because the temperature during the day and night doesn’t fluctuate wildly.
We highly recommend painting when temperatures are above 10°C. Other paint experts agree, so it must be true.
Prepping, painting and curing walls in dry weather will leave you with the best results. Follow all our advice and you’ll have a nice smooth finish too.

Can exterior paint be used to paint an interior room?
In short, no.
Exterior wall paint is formulated to withstand outdoor elements - fluctuating temperatures, rain, frost, direct sunlight - so although it’s durable, it’s not going to look good on your interior walls.
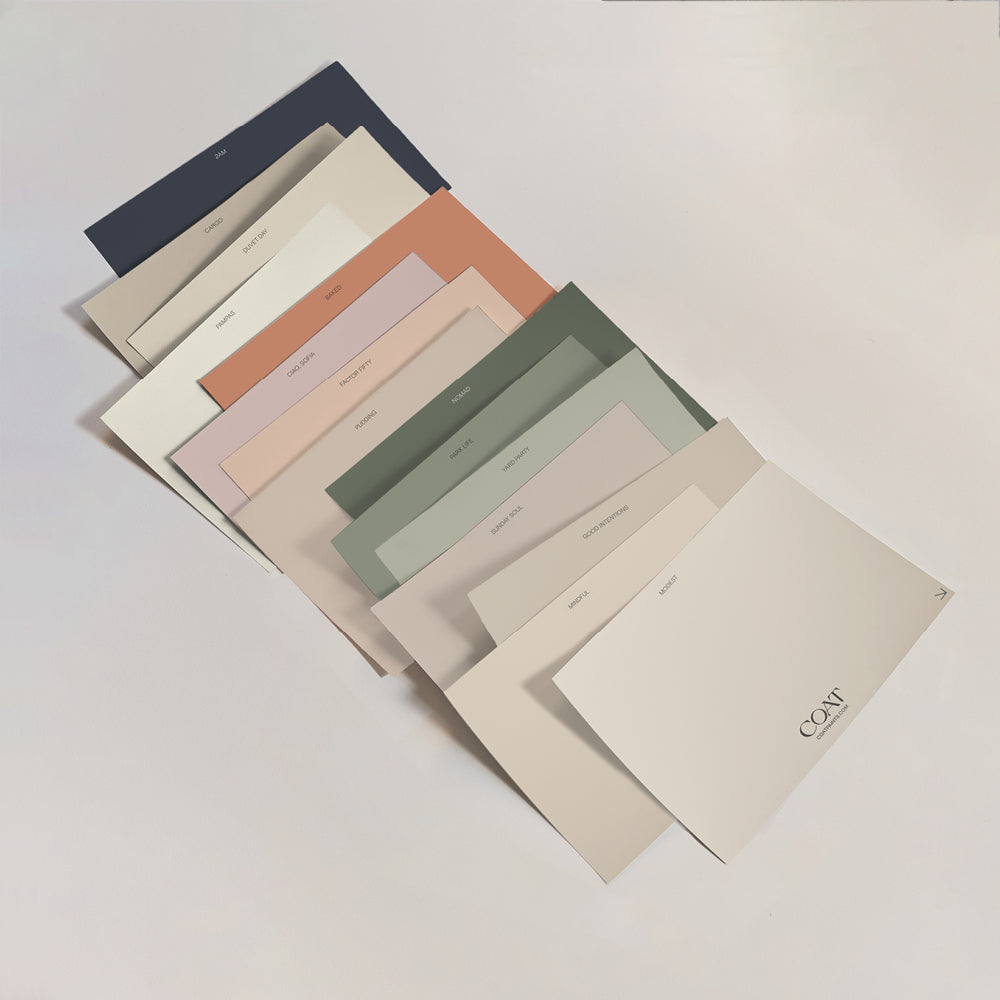
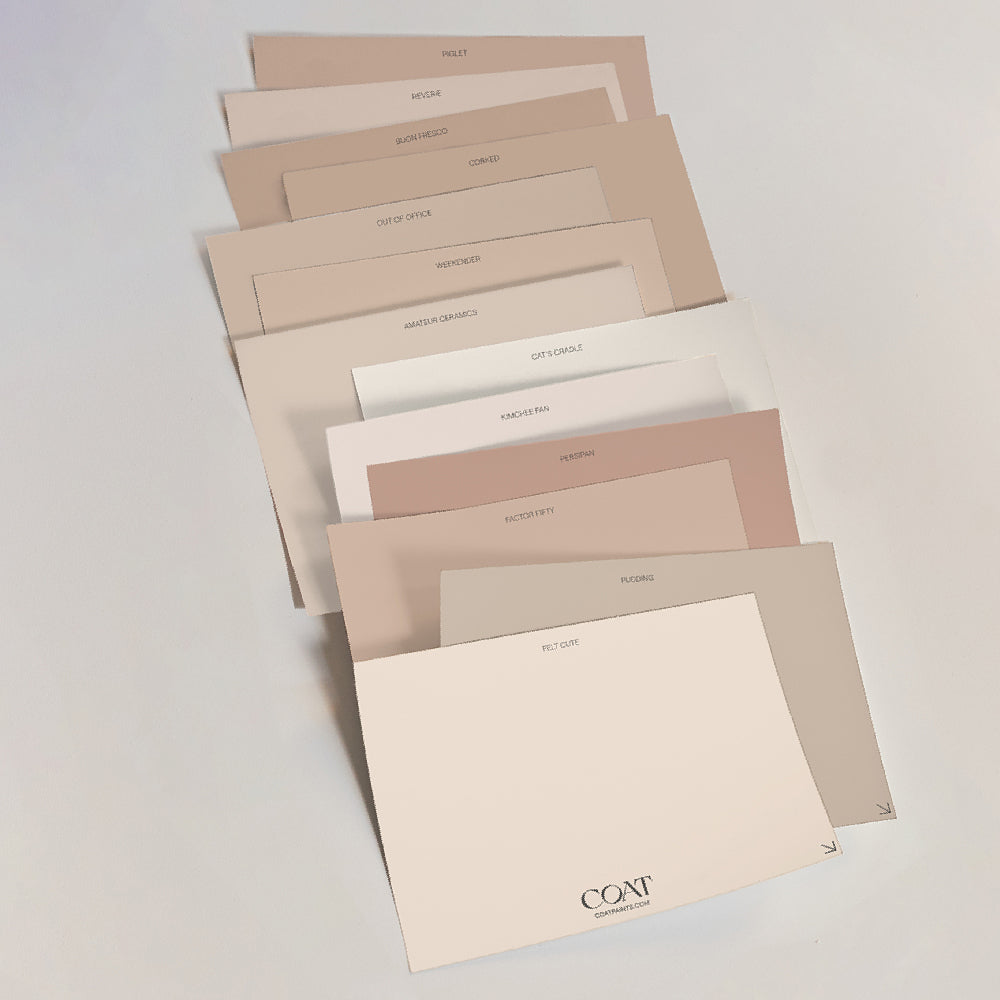
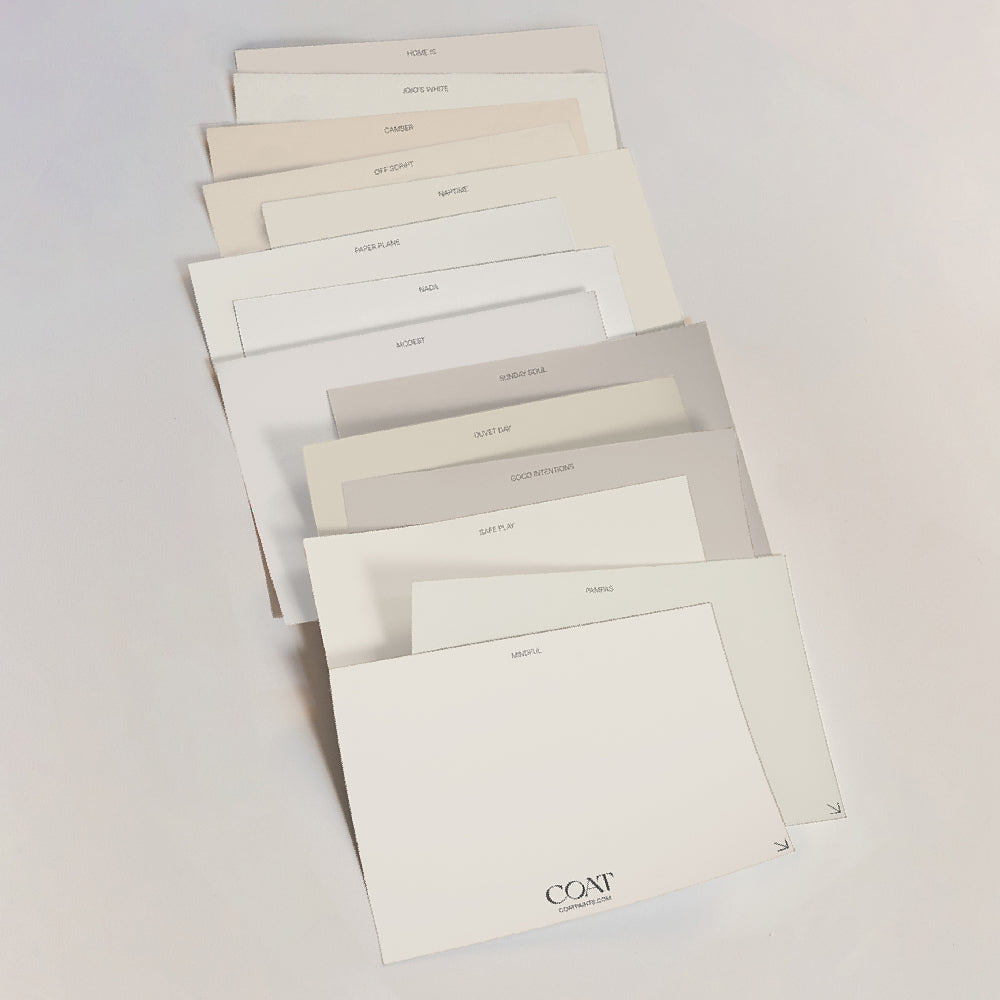
Luckily for you, you can roll the complete COAT colour range onto your brickwork. And the paints are just as rich in colour as our interior ones, just in case you want your walls inside and out to be the exact same colour. I mean, we wouldn’t do it. But who knows, maybe you’ll start a new trend? Just remember to point everyone back here to where you got the idea from!
Publish Date
Author




















Leave a comment