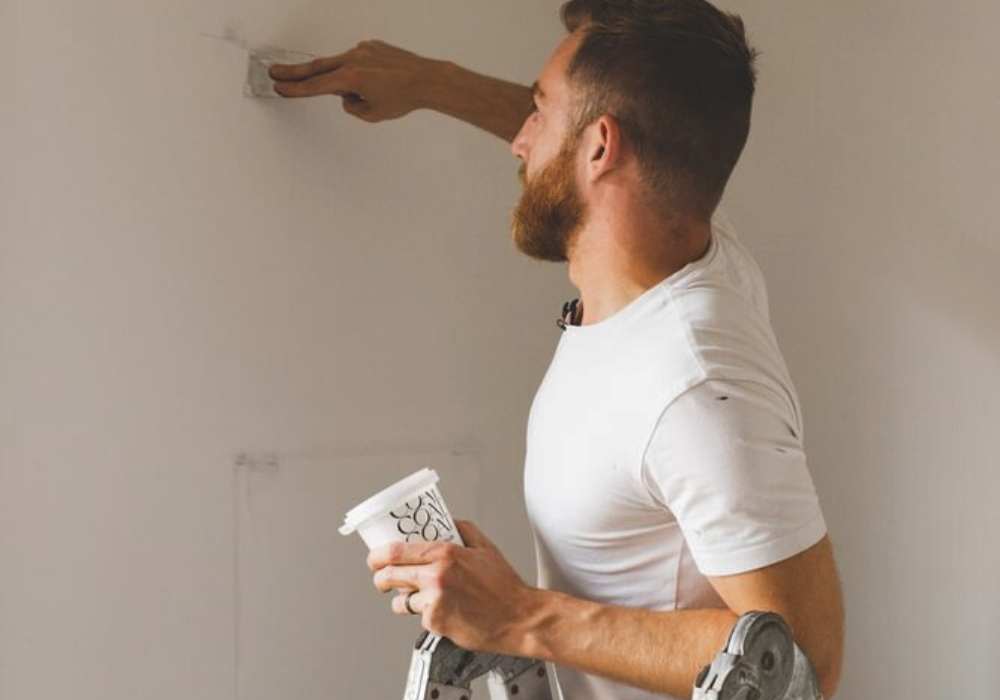
How To Touch Up Paint - The Do's and Don'ts
"Touch-ups" are most commonly done after painting is done to achieve a nice blemish-free surface. Whether it’s to conceal minor repairs or cover defects and marks, ideally, touch-ups should blend with the existing paint colour. While they sound easy to do, let us tell you, "touching-up" poses quite a bit of a challenge. Things like matching up to the shade can be fairly tricky to do. Especially if a bit of time has passed.
Even the most hard-wearing paint will only last a few years before it becomes the victim of scrapes. If you have pets and kids, you’re probably looking at less and who’s got the time to keep re-painting walls? This is where touch-ups come in, but remember, they’re tough. And they can make or break a paint job. In this post, we’re gonna whiz through some tips and the dos and don’ts. Here’s how to touch up paint on walls.

DO Make Necessary Repairs
Getting the best touch-up results doesn’t have to be hard. All it takes is a little prep, and you’ll fly, honest. So before you flip the lid on that tin, take a look at your walls. Are there any dents or scratches that need to be filled? No matter how careful you are, they’ll always be something to patch. And it’s crucial this is done before you can touch-up. Start by removing any flakes of loose paint, and grab a tub of filler. Load this onto a filling knife and press down firmly until the damage is filled. Once the filler is dry, you can have a light sand. Medium-grit paper will create a smooth surface for the paint to adhere.

DON'T Forget To Prep The Area
Before we get into how to match paint, you’ll need to prep first. Jumping the gun does nothing. So grab some soapy water and cloths to clean the surface. Before drying with a soft clean towel. For any particularly dirty patches, you might need a degreaser. But don’t be tempted to skip this step, or you’ll regret it. Massive facepalm. Dirt and grime can actually prevent touch-up paint sticking. The surface needs to be clean and free of dust if you want your handiwork to last. You’ll also want to use decorator’s tape to mask skirtings and trim and remove the plates of any nearby switches and sockets.
DO Think Protection
When it comes to touch-up paint, protection is key. You don’t want to worry about splashing that new table or chair. Remove what you can from the room, then cover the rest. Larger items like sofas can also be moved into the middle of the room. Now that everything’s outta the way, you can cover the floor. Dust sheets or old bedding work great. You might also want to open the windows, and girls, tie that hair up. Don’t forget to wear something you don’t mind getting dirty either. Did you also know some people like to do away with their shoes and paint barefoot? They do it so they can feel when they’ve stepped in wall paint and therefore won’t tread it about. Just be wary while you’re working with tools.

DON'T Skip The Primer
Once the repairs have been made and your drop cloths are down, it’s time to prime the areas that you plan to touch-up.
Without primer, the touched-up spot will stand out, and it’ll look a right mess. The trick is to blend the new paint with the original surface. Priming will also prep your surface for paint and seal any stains - especially those that wouldn’t come off. Want to get your new paint spot on? Trust us and prime. You’ll need fewer coats, and the new paint will also last longer.
DO Choose The Right Paint
Want to know how to match touch-up paint best? Use the original one. Or at least the same type that was initially used.
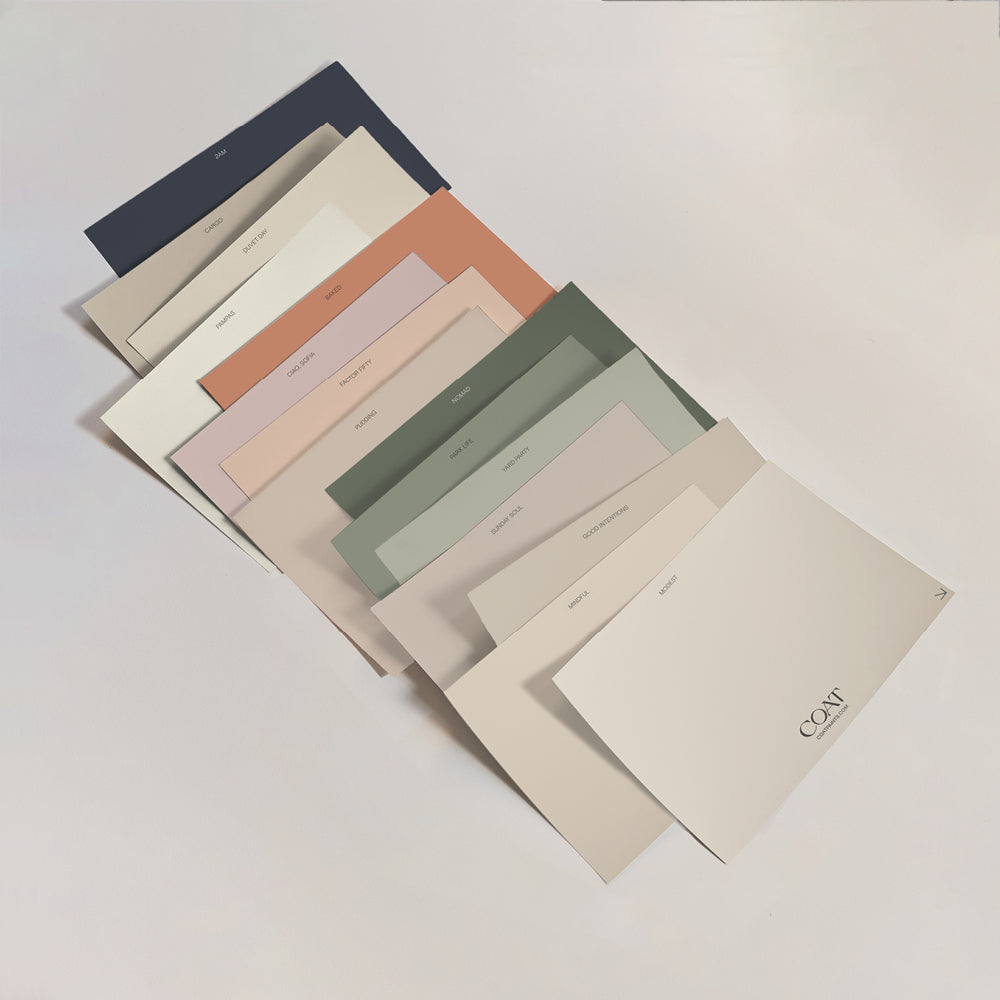
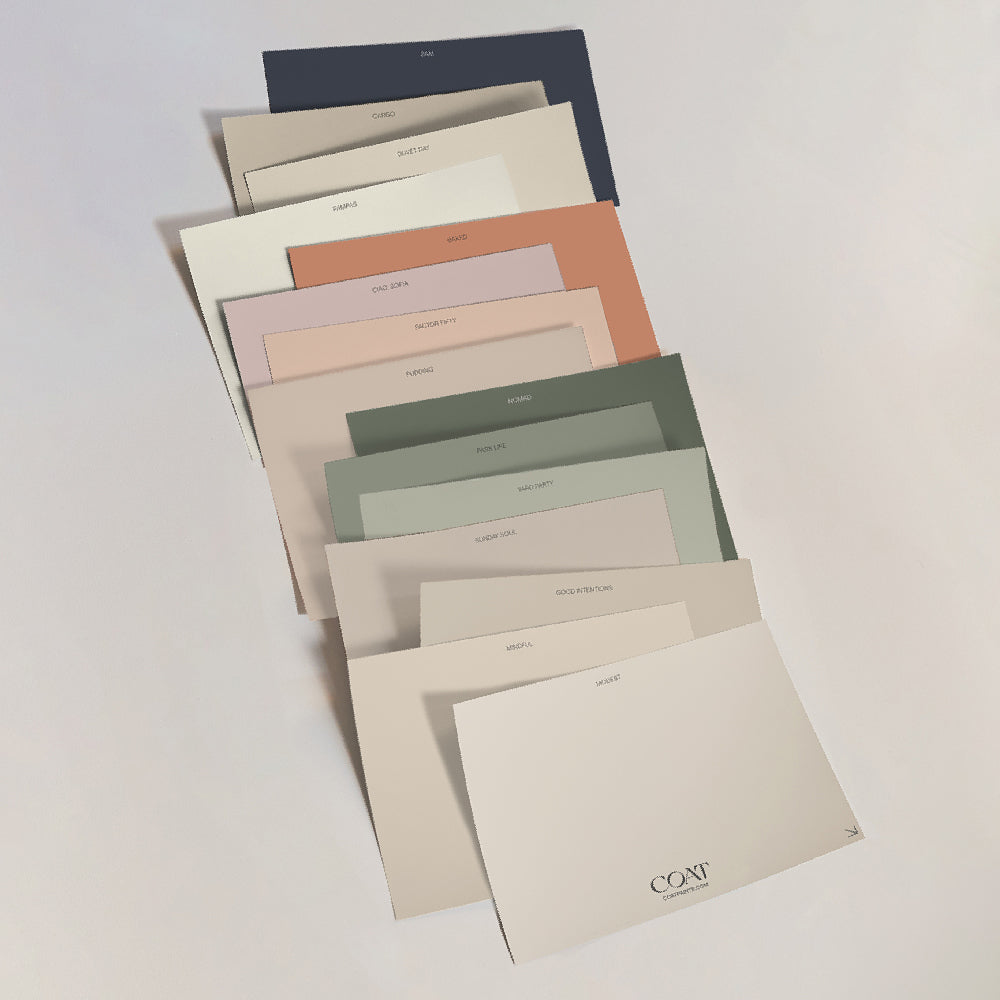
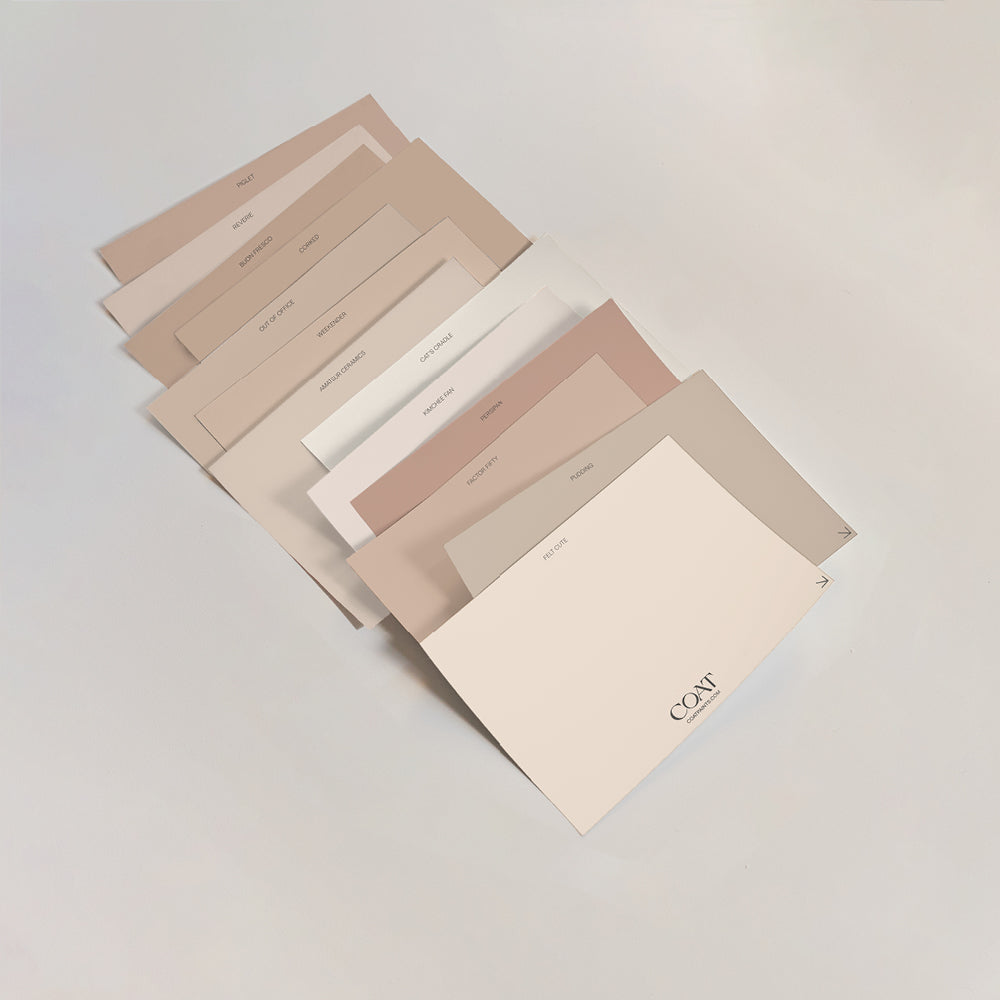
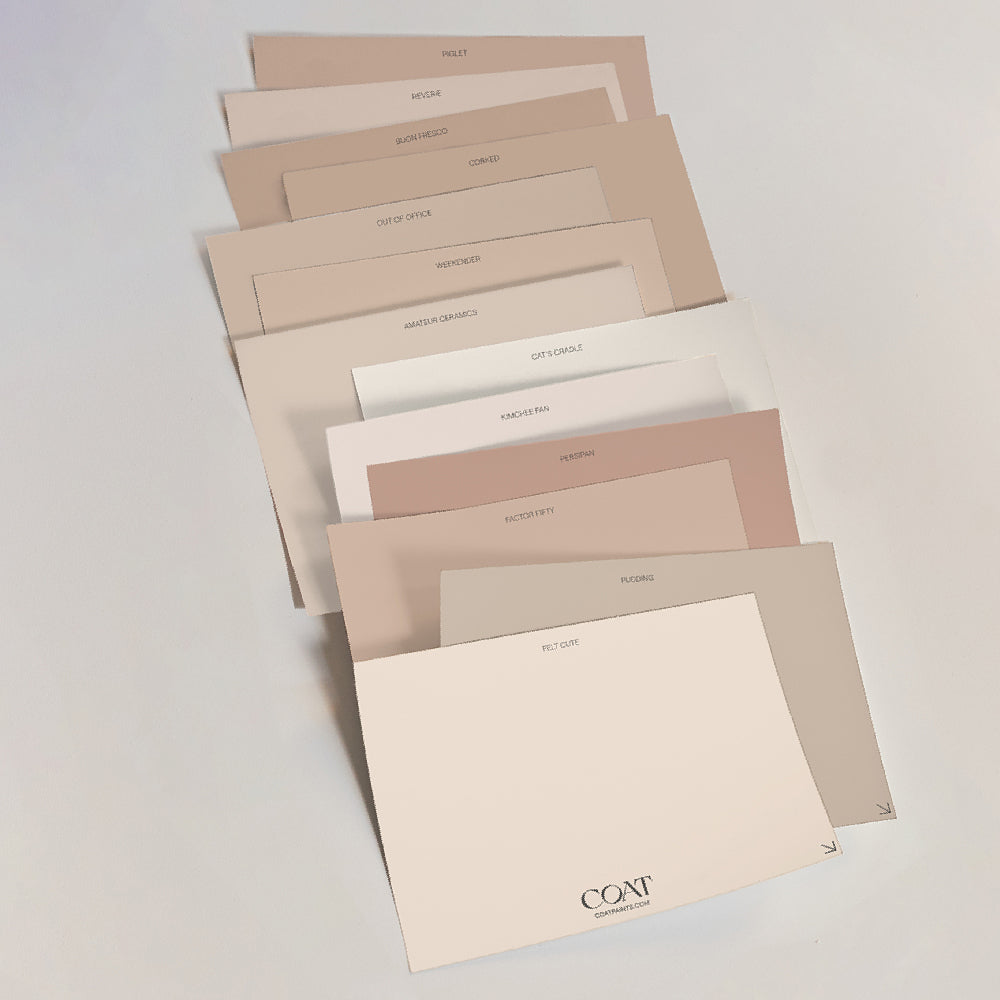
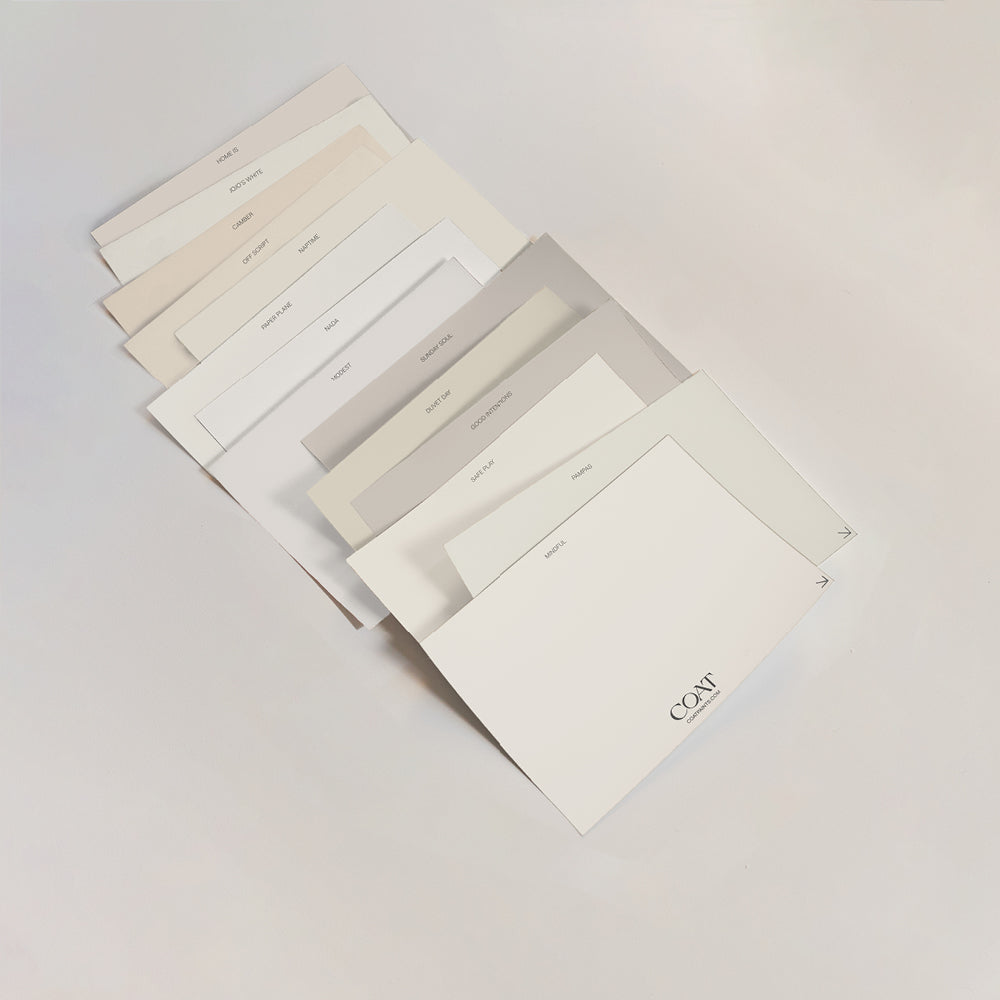
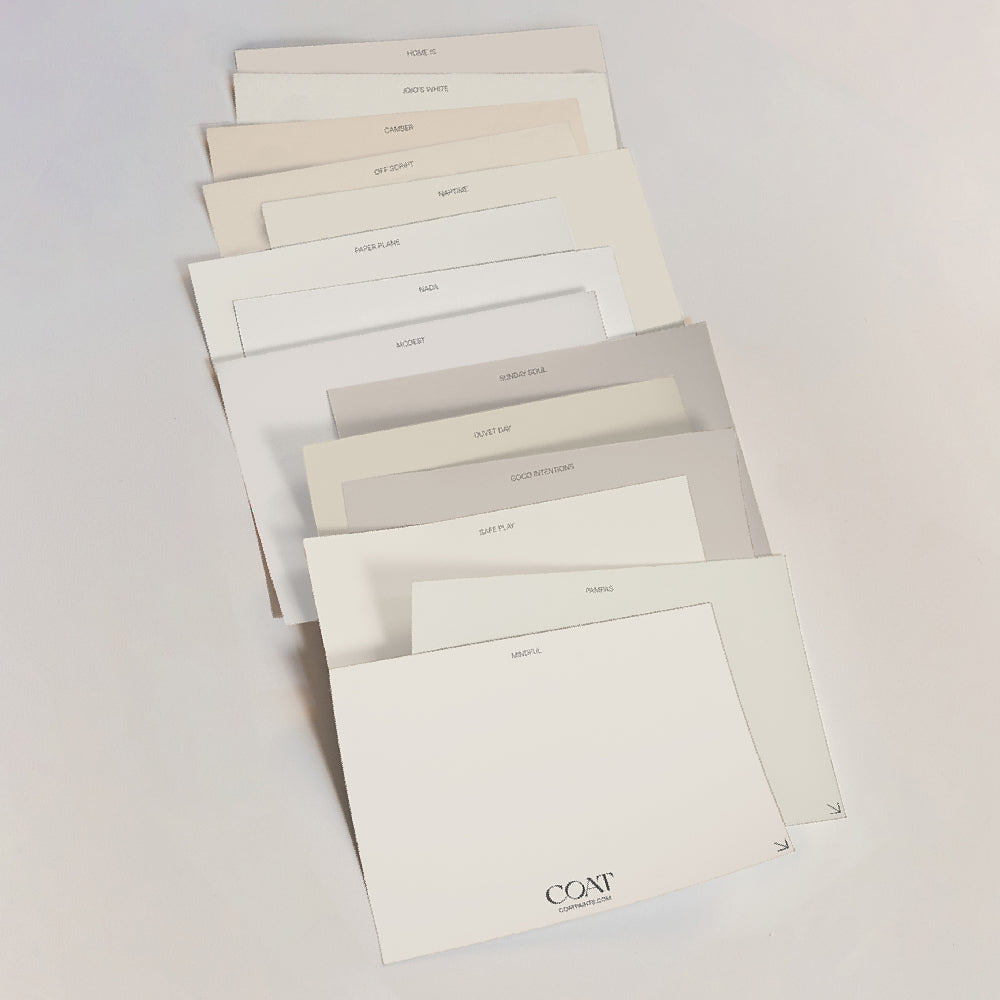
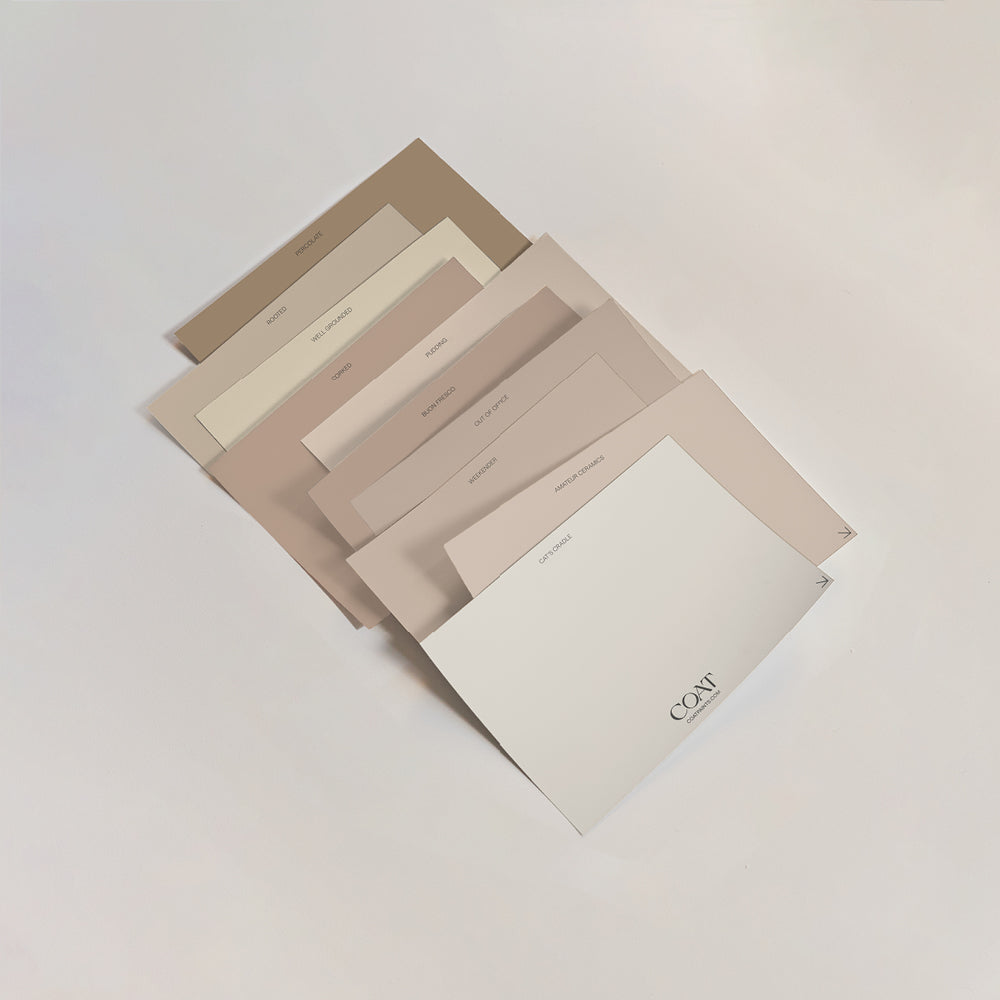
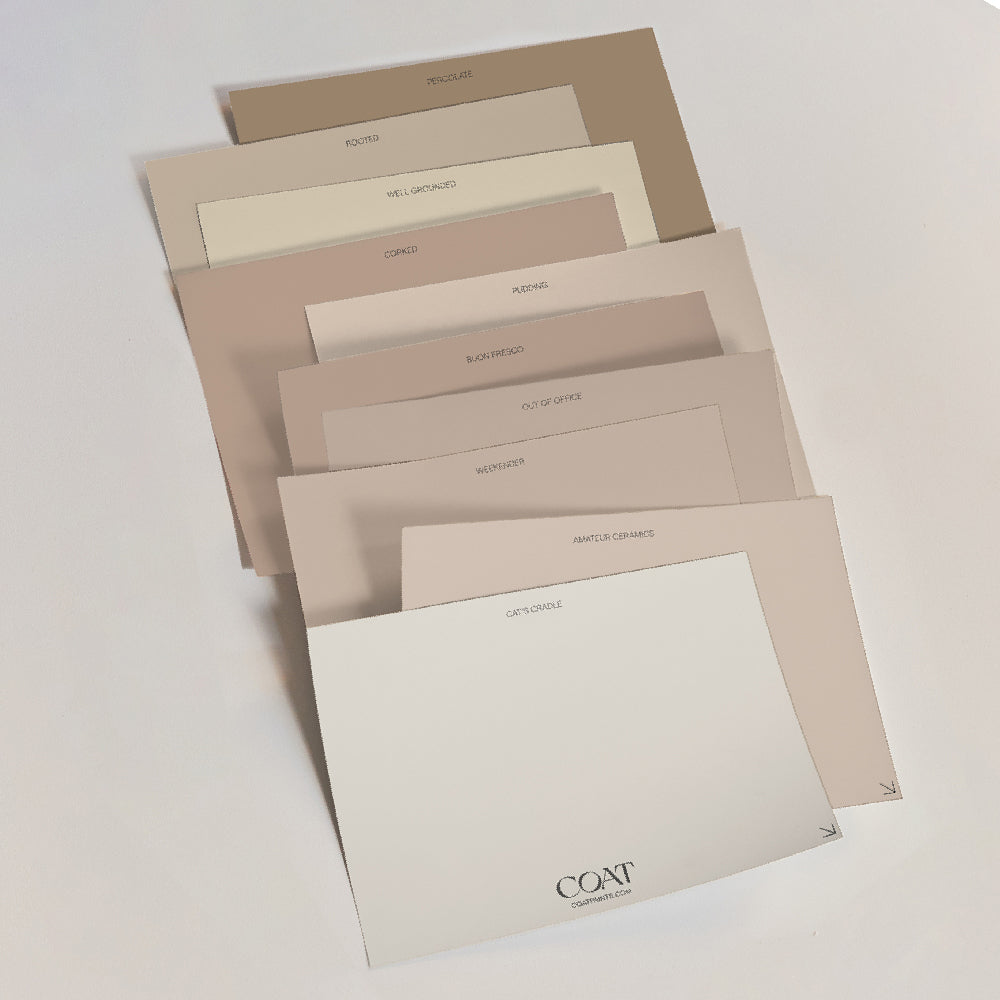
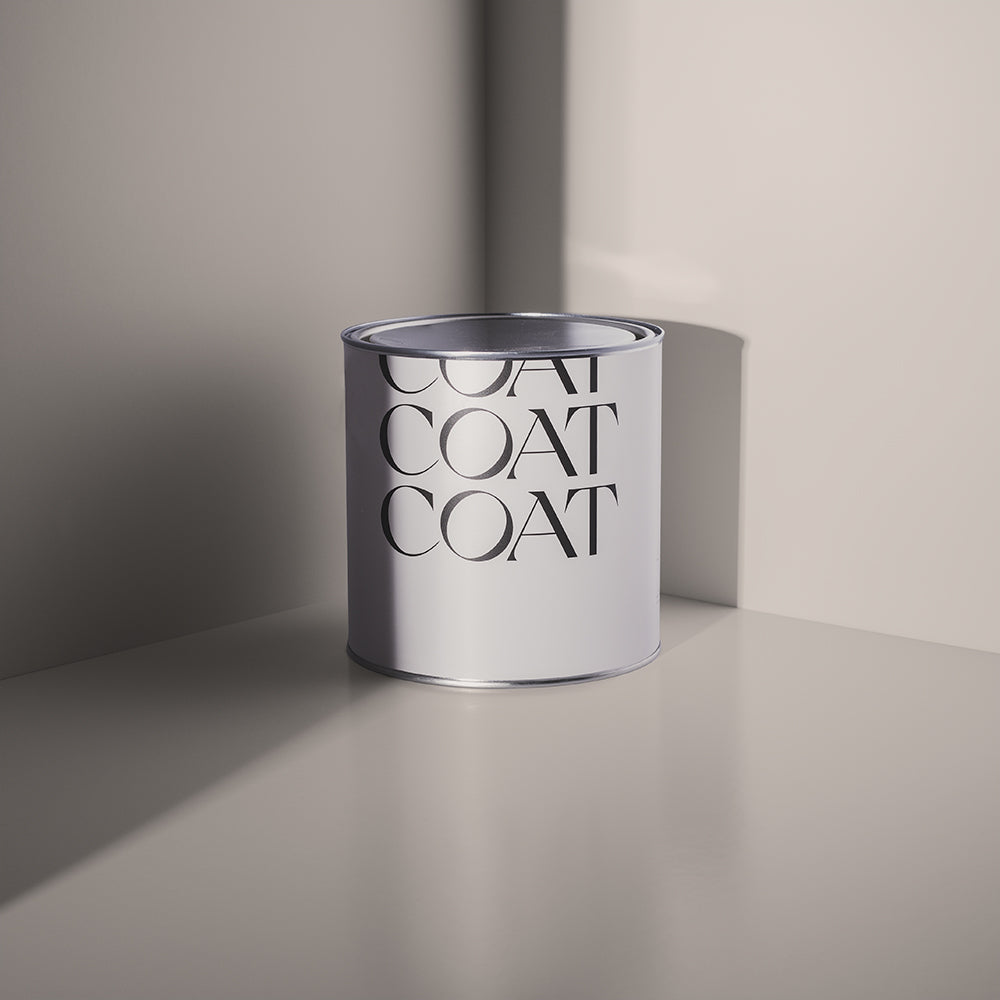
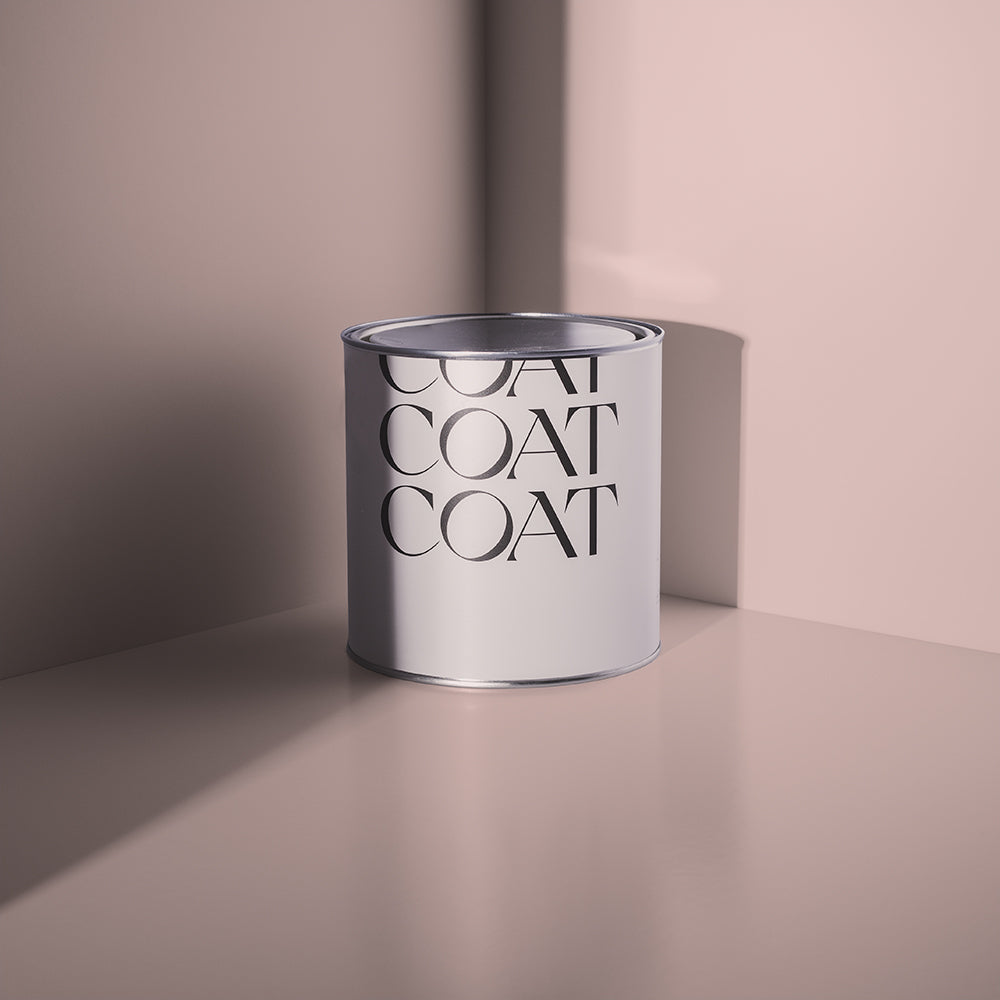
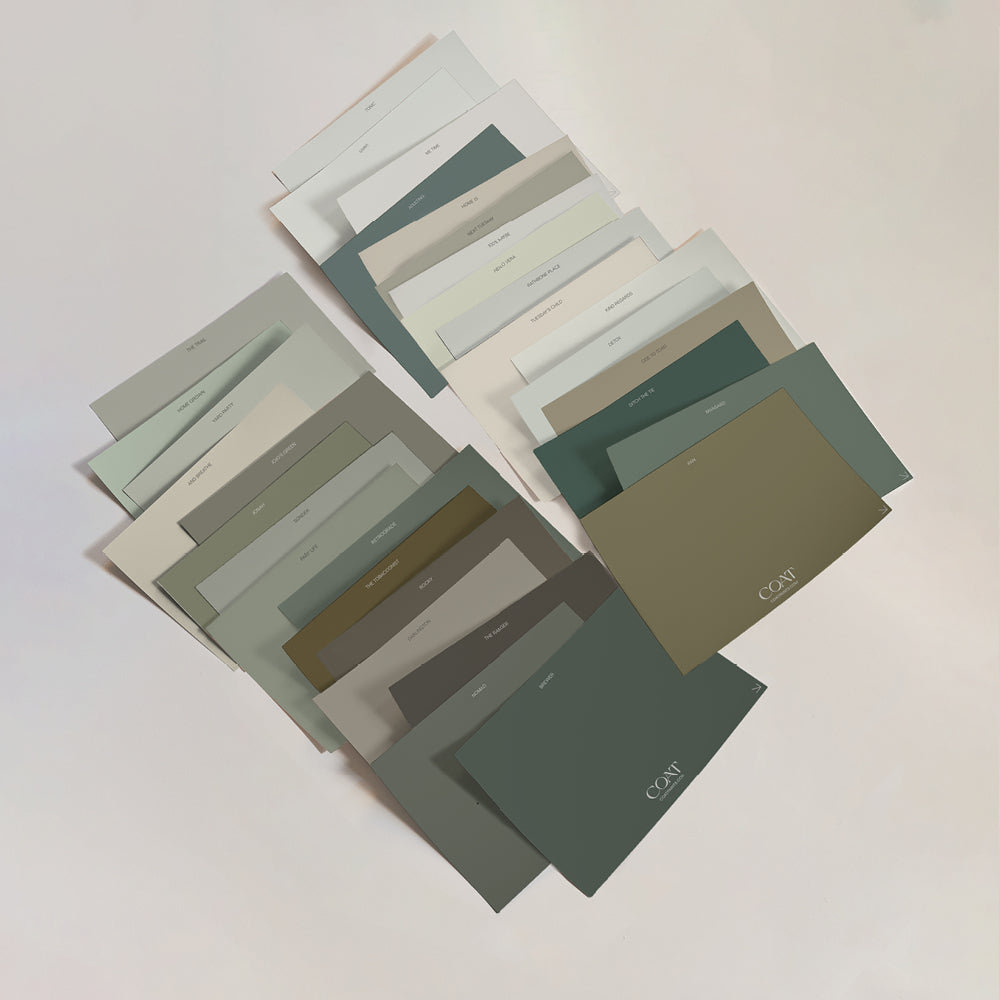
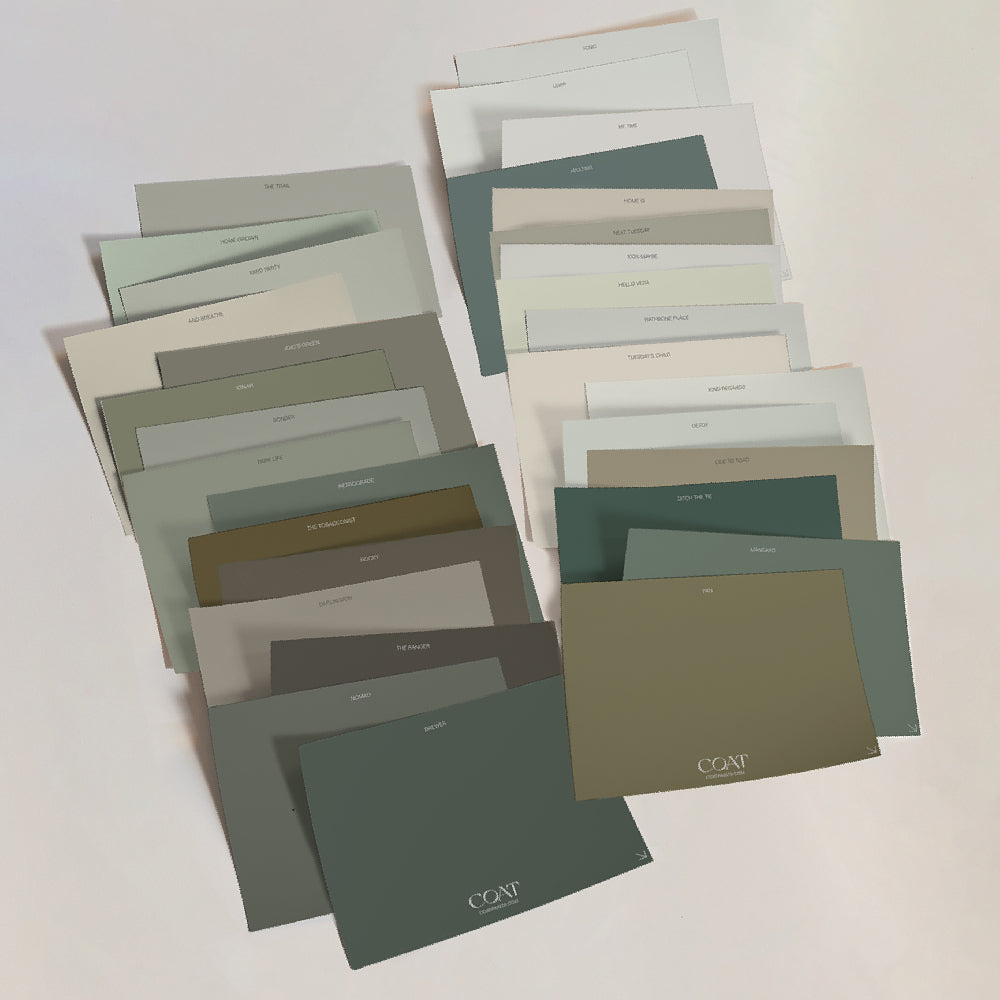
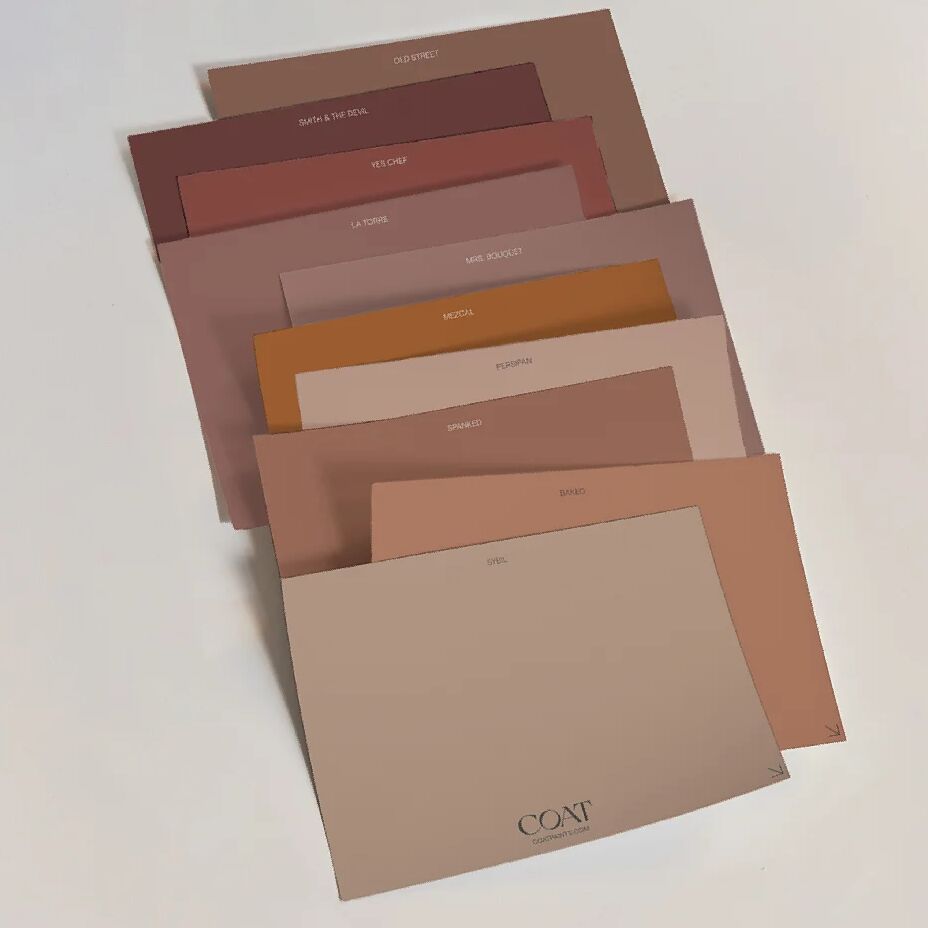
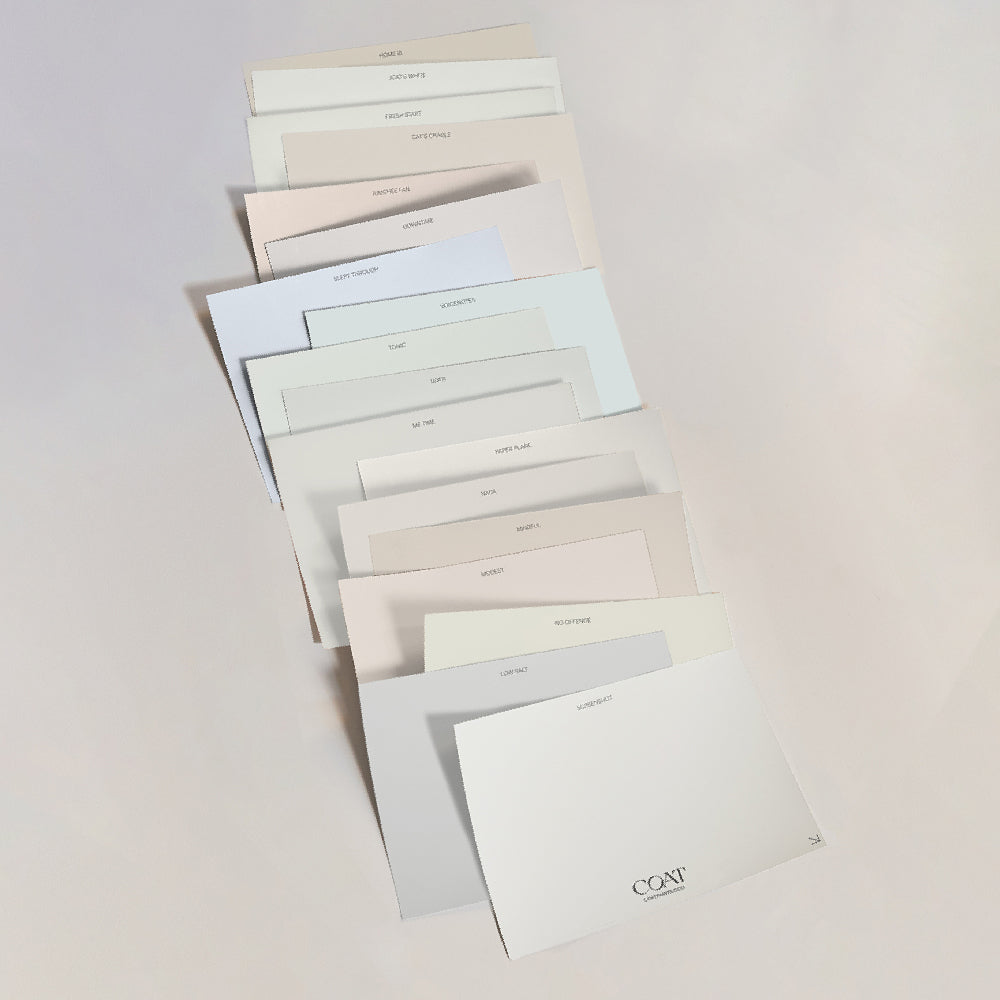
If you originally painted with COAT, but it’s been over 6 months, you’ll need another tin of the stuff (only iffy paint has a longer shelf life). When you use the same colour and sheen, you’ll get much better results. And your touch-ups will be less noticeable too. But if you don’t recall the shade of paint that you used, why not have a word with our team? We’ll do our best to try and match it up. Our Peel & Stick Paint Swatches are also helpful to try and replicate the shade. On the lookout for a nice, white touch-up paint? Have a nosey of these. You’ll be spoilt for choice with our range.

DON'T Forget To Mix Your Paint
It goes without saying, when it comes to painting, you need to stir the paint before using. It doesn’t matter if the tin is brand new or it’s 5 months old; give it a good mix before painting the surface. This will bring the binding and pigment components together for an even finish. Paint has a habit of separating in the tin. Use a wooden paint stirrer or an old coat hanger will do to ensure both the consistency and colour look fab.

DO Use A Smaller Brush
Before we get into how to use touch-up paint, we’re gonna explain the type of brush you will need for this task. There’s many reasons to warrant touching-up paint, and the specifics will determine whether you should use a brush or a roller. In terms of small scratches, or marks, a small touch-up paint brush will help you to apply the right amount of paint. A smaller paintbrush will also give you greater control and even better precision. You don’t want that patch to stand out. For larger patches of paint, on the other hand, a roller will get a super smooth finish. At COAT, whatever touch-up you need, we’ve got sustainable hardware to suit. Check out our eco painting supplies.
DON'T Use Too Much Paint
Whether it's a minor touch-up or a much larger paint job, be aware of how much paint you use. Overloading your brush can end up in thick, ugly blobs. Remember, with paint, less is more, always. Ever seen a pro decorator paint walls? They work in paper-thin coats. At the end of the day, you can always add more if needed. Once excess paint has been applied and dried out, it’s a lot harder to fix. Start in the middle of where you’re touching-up, and work your way out to the edges.
DO Take Your Time
Try and take your time, rushing never works in the long run, and it’ll likely look uneven and sloppy. The best thing you can do? Take it steady. It’s time-consuming for a reason because it needs to look right. Another good tip? Stand back and check. That way, you’ll see how well your new paint blends from different viewpoints and lighting too. You also only need a second coat of paint if the first one’s uneven. Feathering will also create a more subtle transition between the new and old paint.
DON'T Neglect Texture
As we mentioned under matching your paint, the same colour and sheen are crucial to that perfect touch-up. But let’s not
ignore the importance of texture; this is also vital. The touch-up parts need to match. Be careful not to overload your brush so that any texture is lost. It also helps to use the same tool as when you painted before. That'll keep the surface ‘as one’ and hard to tell it’s touched-up. Don’t worry; the more you do, the better at it you’ll get.
DO Clean Up as You Go
Want to know the secret to a successful paint job? Clean as you go. It’ll make clearing up after a doddle. It’ll also avoid any major traumas with paint. Do one, drama. Then you can wash your equipment when you’ve finished the task. In fact, don’t delay cleaning your tools. It’ll be a pain in the arse. Fresh paint will easily come out of brushes but not when it’s dry. Use a towel to soak up any remaining water and then put them away. Brushes can go back in their packet or be wrapped in paper. You’ll also wanna tackle any splatters and drips as soon as you can. Leave paint on your carpet, and it might stain.

DON'T Get Rid of Extra Paint
Don’t get rid of that paint; you might need it again. Touching-up is part and parcel of adulting. Store the paint somewhere cool and dry. Like a basement or garage. And don’t forget to stick a label on the tin for your reference. For best results, use COAT paint within 6 months.
Those are the big dos and don’ts of touching up walls, we hope they help you when you're next time you’re faced with this job. And remember, if you’re feeling a whole new kinda vibe, our shades will keep you on-trend.
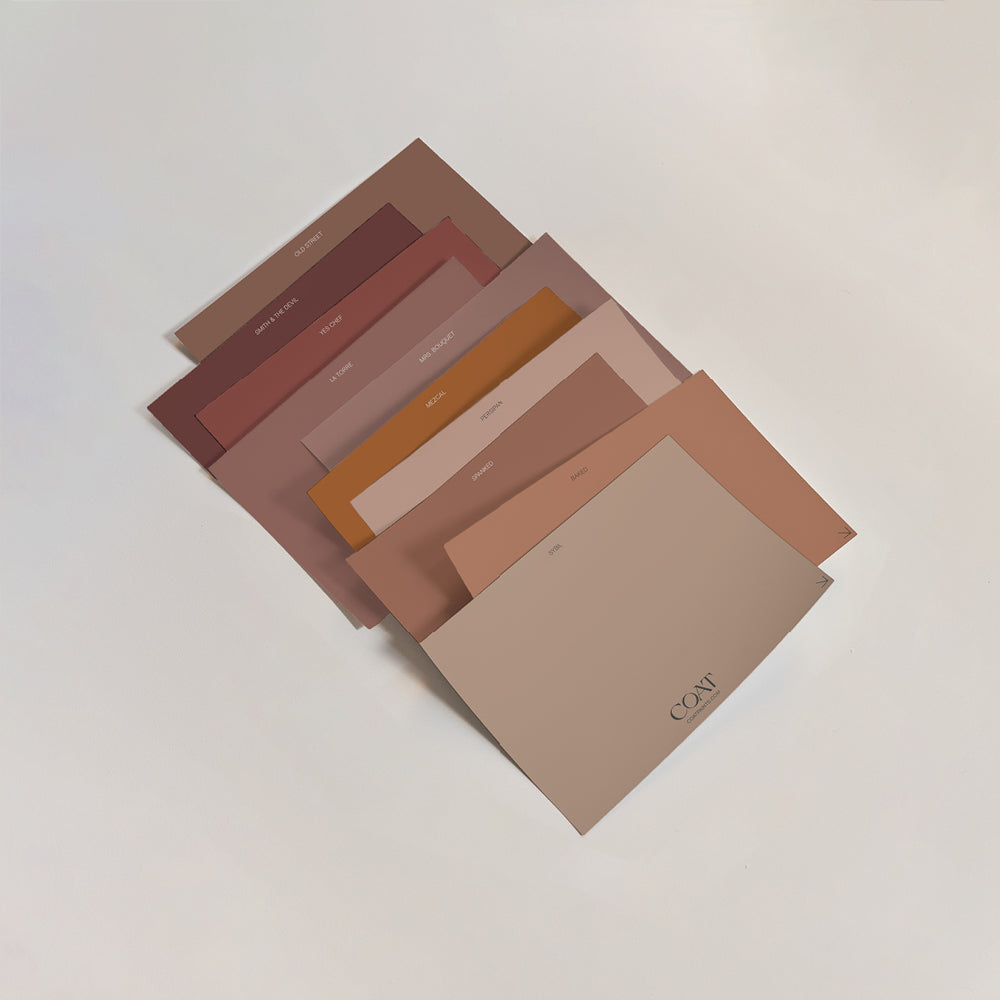
Check out our Colour Palette for 2024.
Publish Date
Author







Leave a comment