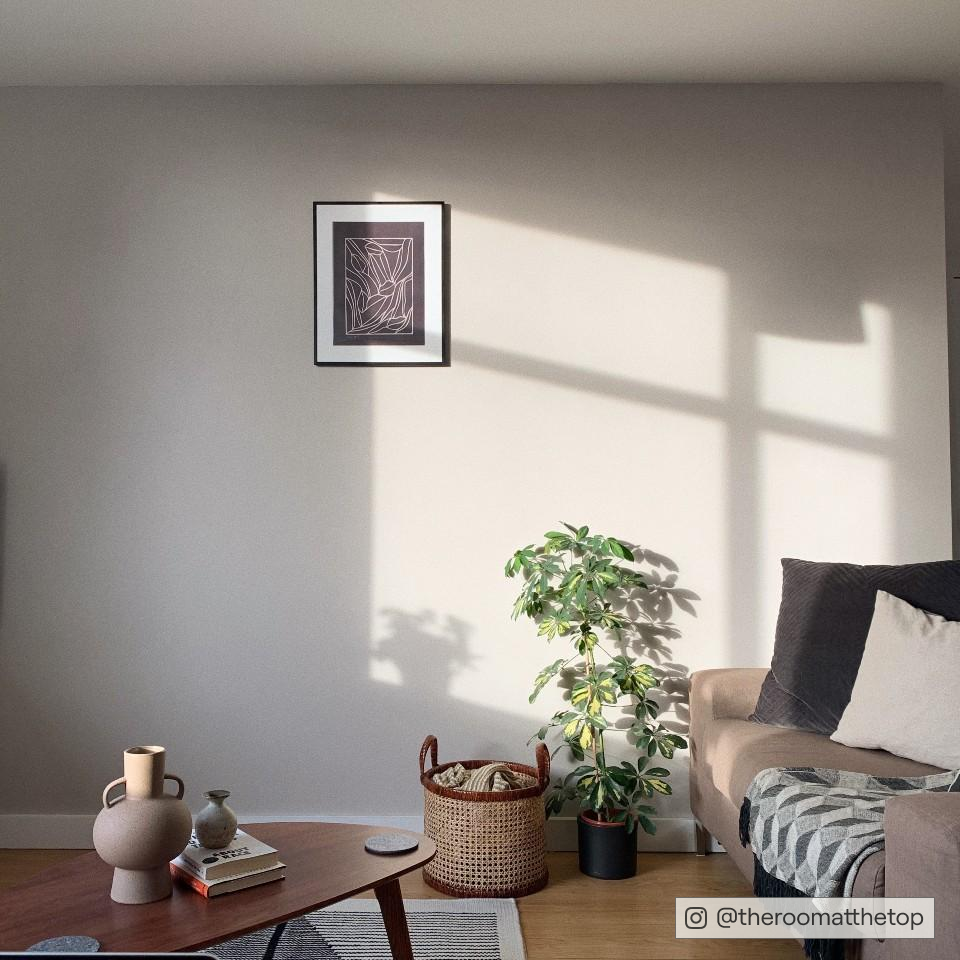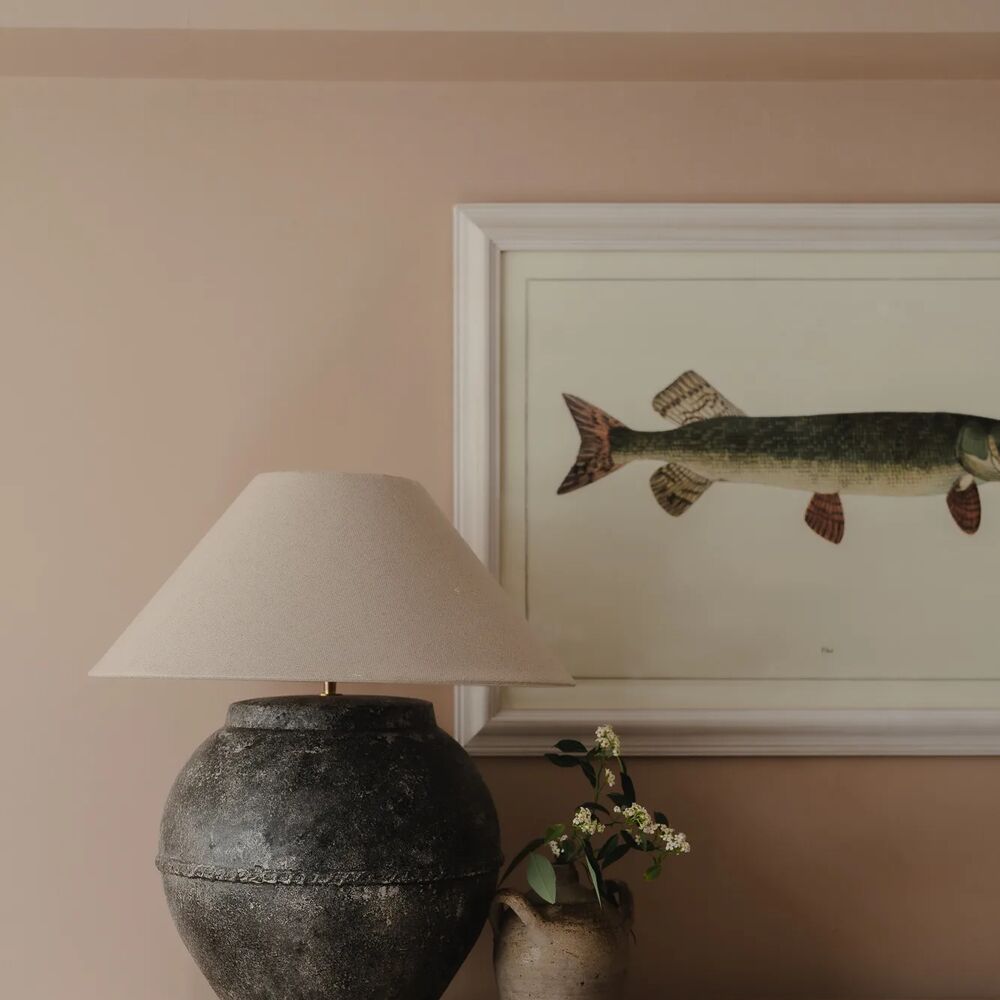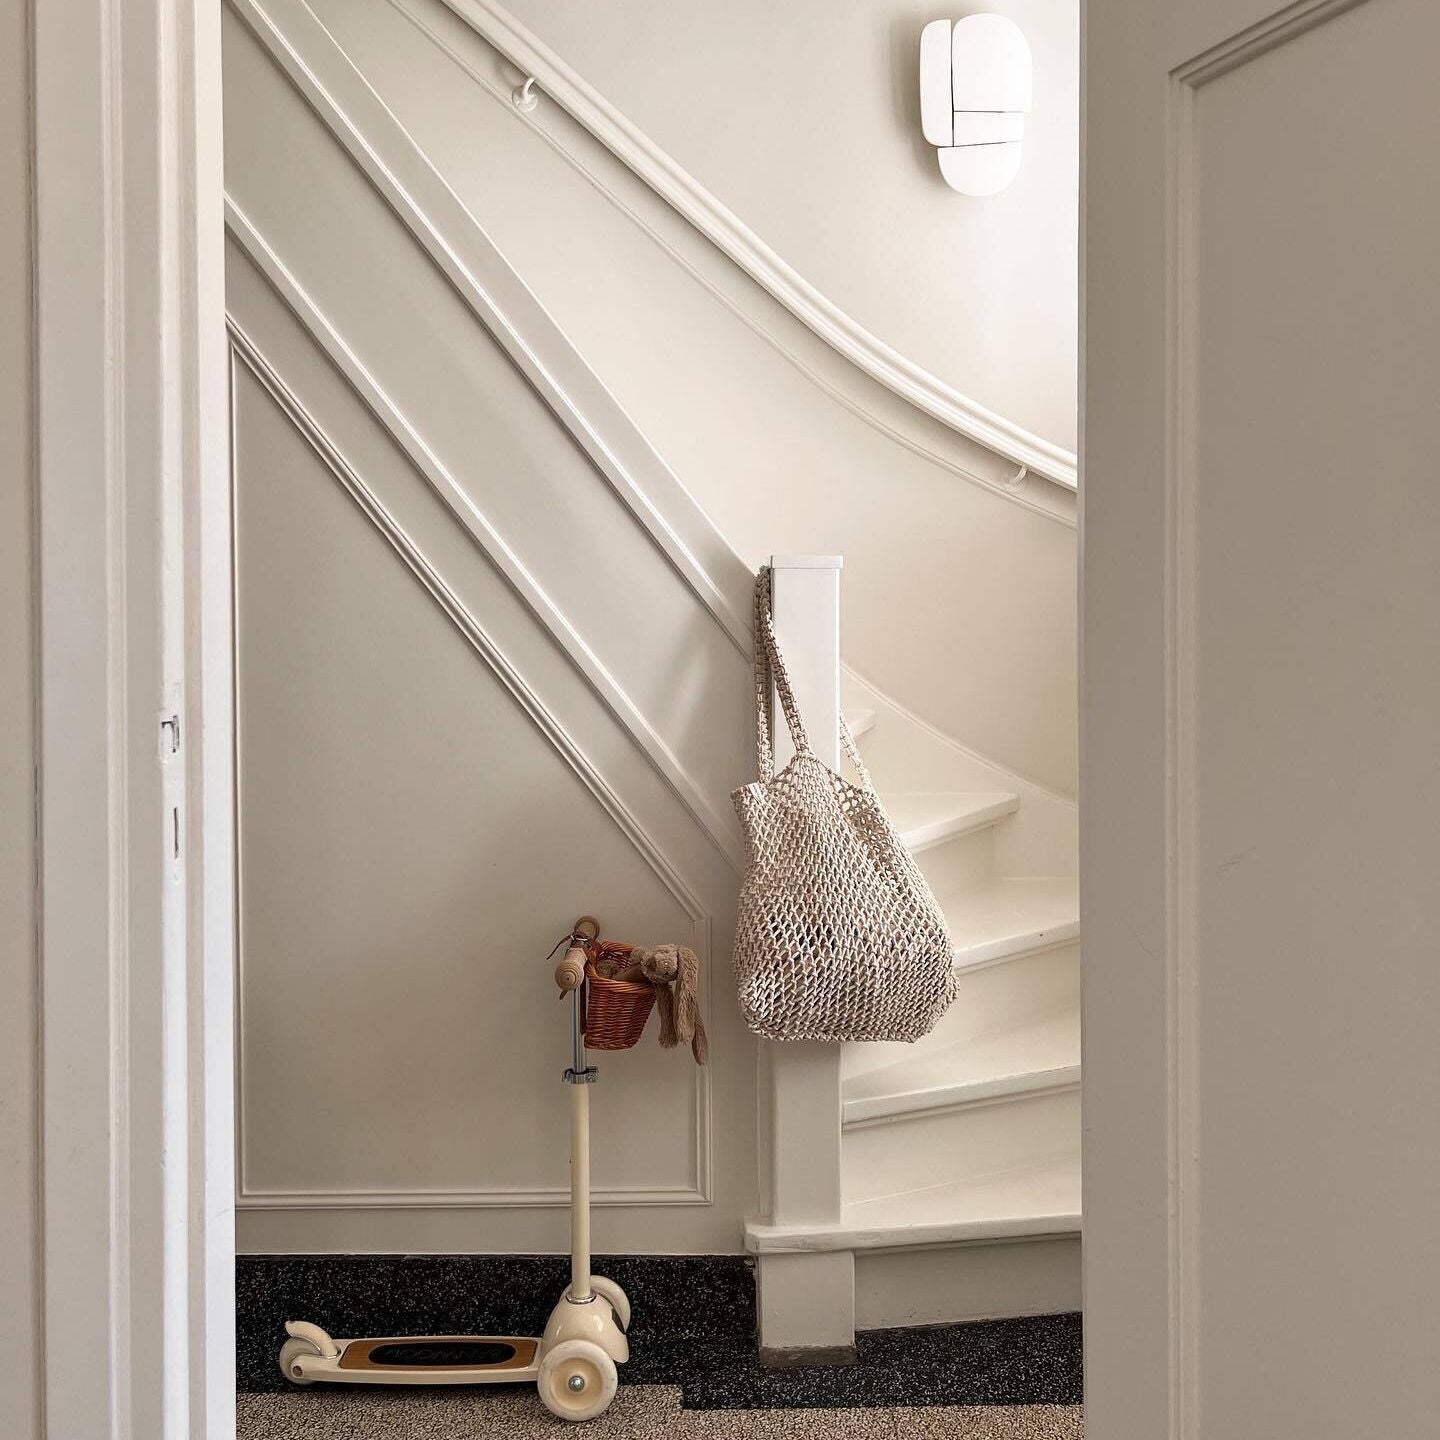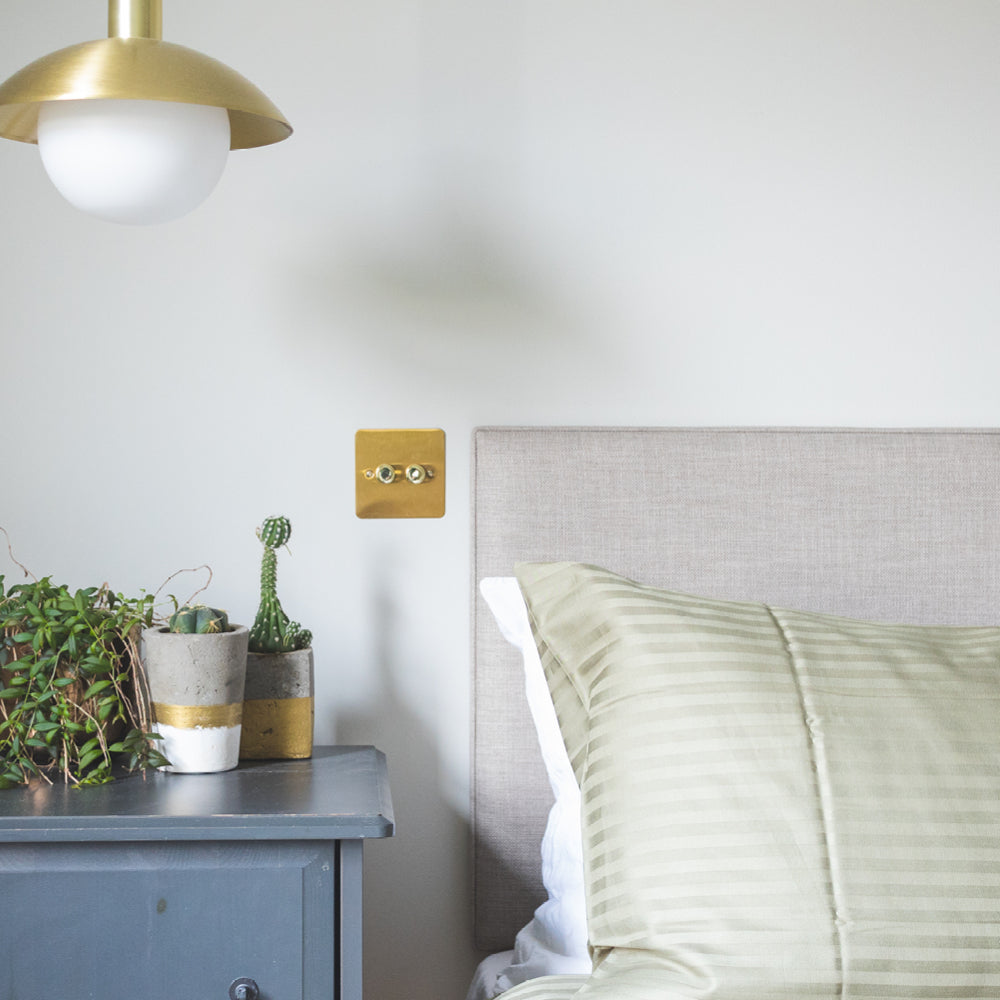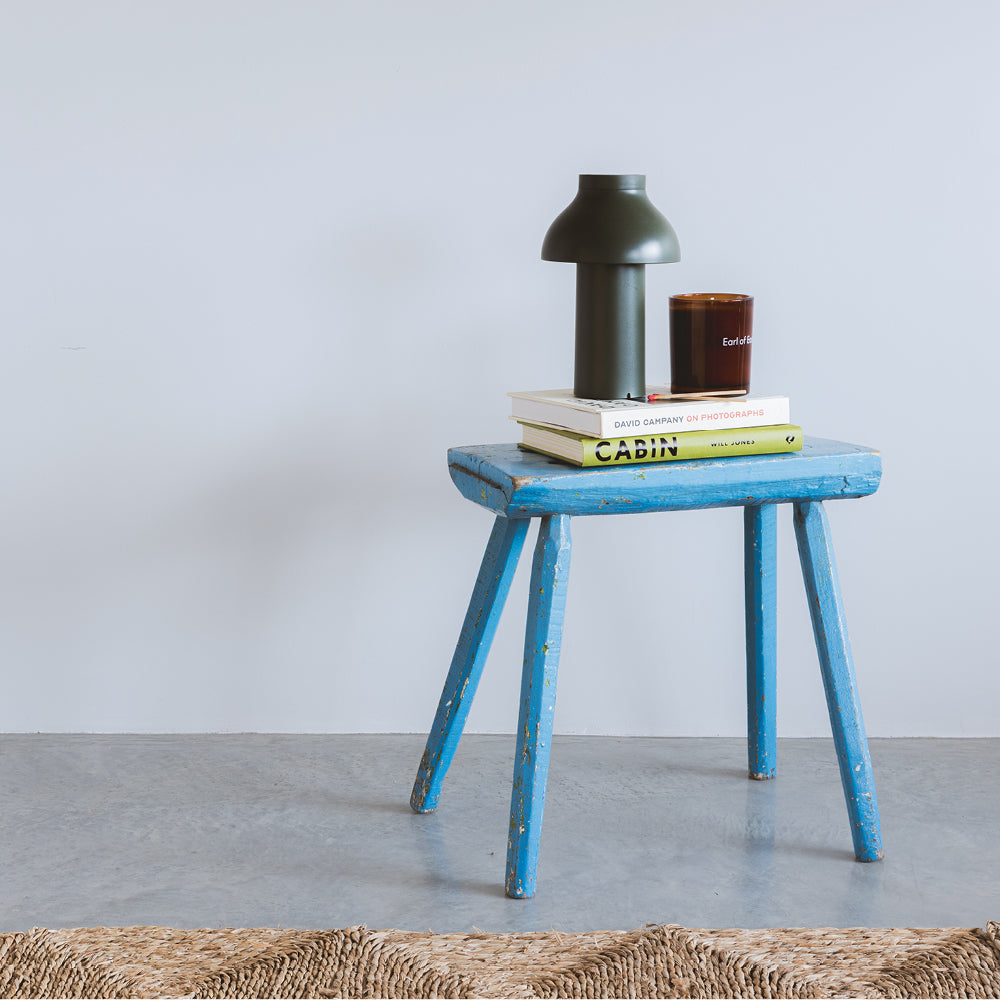
How to Prepare your Walls for Painting
Yes, you’re dying to COAT your walls but you’ve bought the good stuff so let’s do it justice.
An artist isn’t going to start a masterpiece using a ripped canvas. So why should you paint on a surface that’s lumpy, dirty and uneven?
You’re your own Picasso here. Which means fixing up your walls before you start painting. Damp or greasy patches, flaky plaster or rogue scraps of wallpaper will all guarantee a poorly painted wall. Bit boring, but worth it…
Painting a previously painted wall
- If there are gaps in the wall, first clean your walls down.
- Push some quick-dry wall filler into the gap (Polyfilla or similar) until you can smooth it across the surface of the wall.
- Get it as smooth to the wall as you can then, once dry, sandpaper the filler to make it completely smooth, then clean any dust with a damp cloth. You can also lightly sand areas of the wall to remove any lumps and bumps.
- It’s a good idea to clean fingerprints from hallways, grease from kitchen walls etc. Use a sugar soap solution for this. Rinse the walls with warm water and leave to dry. Don’t paint wet walls – it’ll cause blistering.
- For mildew, wipe walls with one part bleach to three parts water. Make sure the room’s well ventilated. Leave for a few minutes and scrub off with a brush. Rinse and leave to dry. Wear gloves and goggles to avoid the ‘fungal spores’ (ugh).

Painting a papered wall
Can wallpaper be painted over? Ideally, don’t do this. Painting wallpaper can make it wet, and that looseness causes it to bubble up. You’re better off stripping it off first. Sorry.
Word of warning - the walls might be a dog’s dinner underneath the paper, but you can’t really tell until it’s off. Sometimes a bit of filler and sanding can do the trick. For worse walls you might need to get a plasterer in or use lining paper (that goes on like wallpaper but is designed to be painted).
If you strip...
If you’re still up for painting your walls, there’s no quick fix; that stuff will need to come off. As stripping wallpaper is a messy, tedious job, a bit of prep should be done. Including whipping out that roll of painter’s tape. Everything is going to get sticky and wet, so don’t skip this step. Unless you want slimy water all over your furniture. Gross.
First things first, the power needs to be off. Or at least in the room where you’ll be stripping the paper. You’ll also need a small scraper or knife to gently push up the paper around switches. Don’t forget to protect their power points with masking tape. Next up, let’s clear the room. If that’s a no-go, move furniture into the middle and cover it up. For this, dust sheets are needed, or even old bedding will do. You’ll then need to remove any photos and art from your walls.
Floors and woodwork should also be protected as well. You don’t want any rogue water running behind your skirtings. Place dust sheets against the wall, and you’ll make the clean-up process straightforward. Press down on the tape so that they’re firmly in place. Allow your drop cloths to drape onto the floor, about 2ft will do, to catch any loose debris and drips. Finish by adding a bunch of rolled-up dry towels to absorb the water. Let’s get to the main event.
How to Strip Wallpaper
Wanna know how to strip wallpaper before painting? We’ve got some wallpaper removal tips for you right here.
- Cut slits in the wallpaper using a stripping tool. Wet the wallpaper with hot soapy water and a sponge. Sounds basic, but be careful when near electrical switches and outlets!
- Only wet the paper a metre or two at a time and leave to soften for 3-4 minutes before starting to strip. Then slip the stripper into a cut in the paper and remove.
- If the wallpaper is proving difficult to remove then make life easier with a steamer or stripping solution.
- Start at the base of the wall when using a steamer. Place it over the wallpaper until damp and then remove the wallpaper using a stripper. Careful to avoid blistering by leaving it on the one spot for too long.
- Use sandpaper to remove any little pieces of wallpaper still stuck to the wall.
Now, how do you paint a wall after the wallpaper has been removed?
All that hard work removing the old wallpaper likely left scarring and pitting on your walls. Before you can paint the wall, you'll need to bring your wall back to smoothness.
Step 1: Have a good sand
Once you know how to remove wallpaper, it’s like riding a bike. Dealing with the aftermath is the hard bit. Thankfully a sanding block will get rid of any ugly rough spots. 120 grit should do it. Lightly sand until your wall feels smooth.
Step 2: Patch in any knocks or scrapes
Because there are no guarantees stripping wallpaper won’t damage your walls, be prepared for some patching up. If you find any holes, scratches or dents, these will need filling. Anything greater, and you’ll need a professional. Simply spread the filler over the marks before leaving to dry. And don’t worry about being neat. A second or third attempt can be done if it’s really needed. This will help prepare the wall for the primer.
Step 3: Apply your primer
Next up, you’re going to prime your walls so that the surface is smooth. But before, don’t forget to sand any areas that needed filling. Once the texture feels good, you can apply the primer. This will seal any stains and ensure the new paint adheres well to the wall.
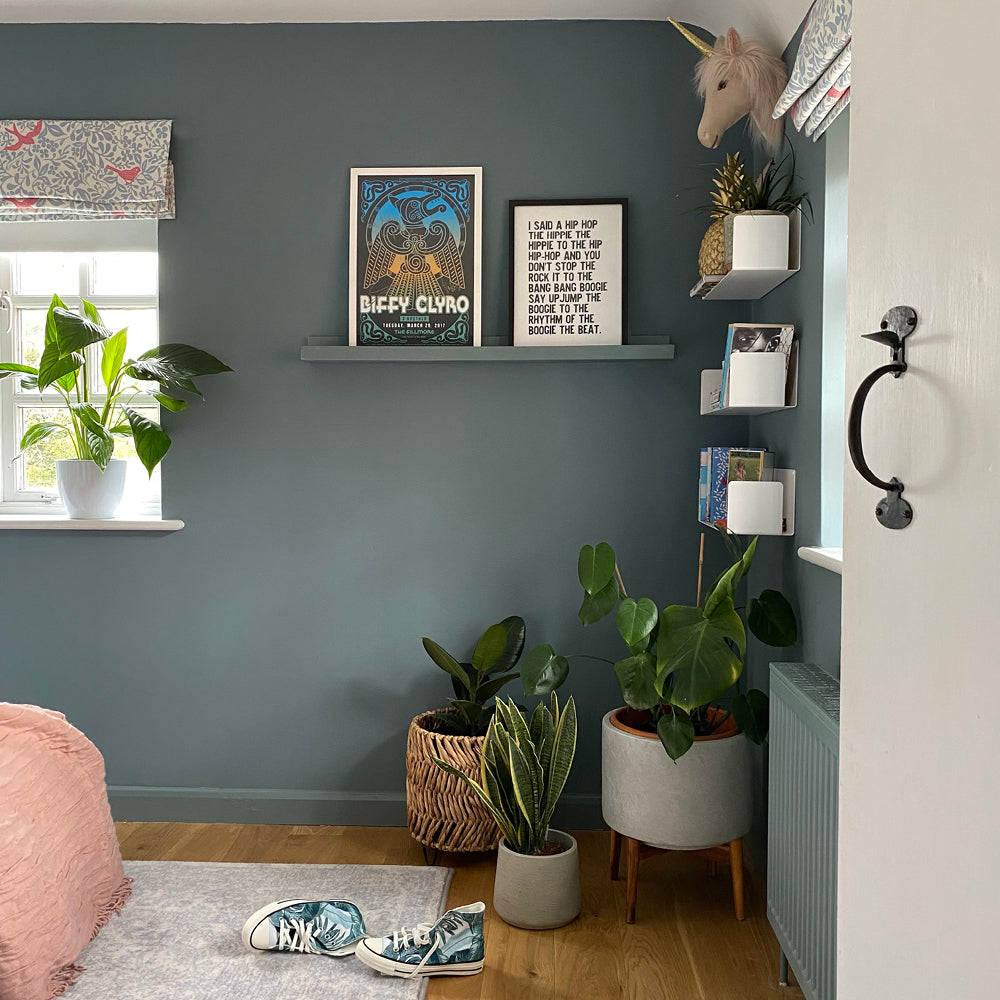
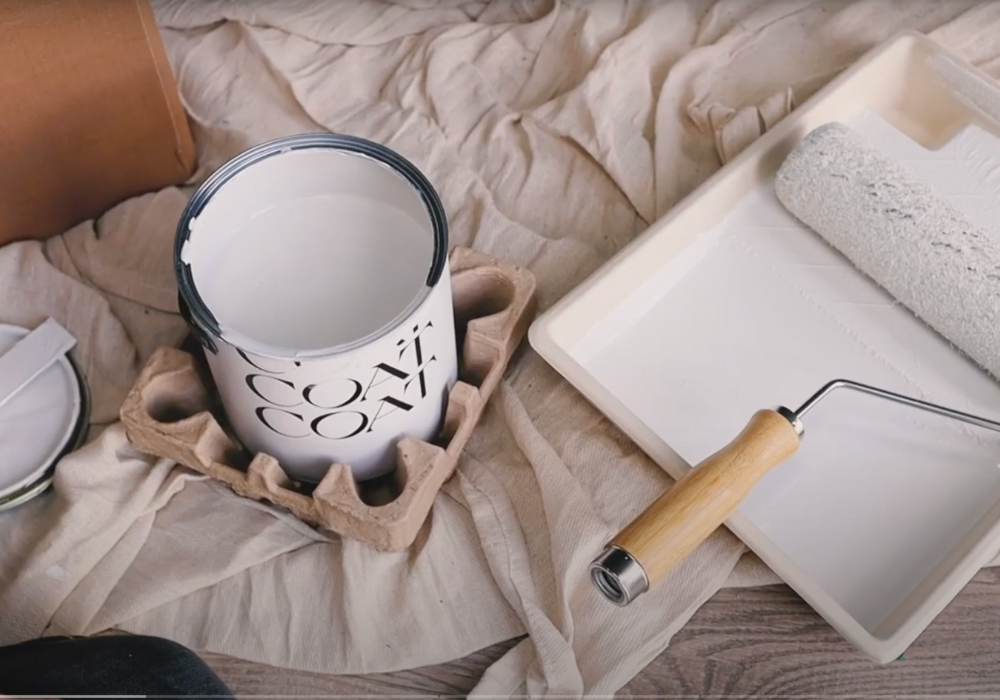
Step 4: Grab your COAT - paint the wall
Last but not least, apply that fresh paint. A roller is your best bet for this bit. Providing thin, uniform coats, rollers are great for primed walls. Don’t forget your brush set for cutting in. If you’re ever asked, can wallpaper be painted over? You’ll know what to say. Why not share the wisdom and show them this post?
Painting a newly-plastered wall
- Wait until the plaster has dried – it’ll be a light pink/grey colour.
- Use an undercoat. Always. Otherwise all the paint will sink into the fresh plaster and you’ll literally see your money being sucked into the wall. You can use a mix of 50/50 plain white emulsion and water first, a couple of times, or you can use COAT paint and add 10% water for one undercoat.
- Lots of people talk about Primer. You don't need it with COAT Paints. All our paints are self-priming, meaning you can go straight onto the surface without needing it. So that answers that question.

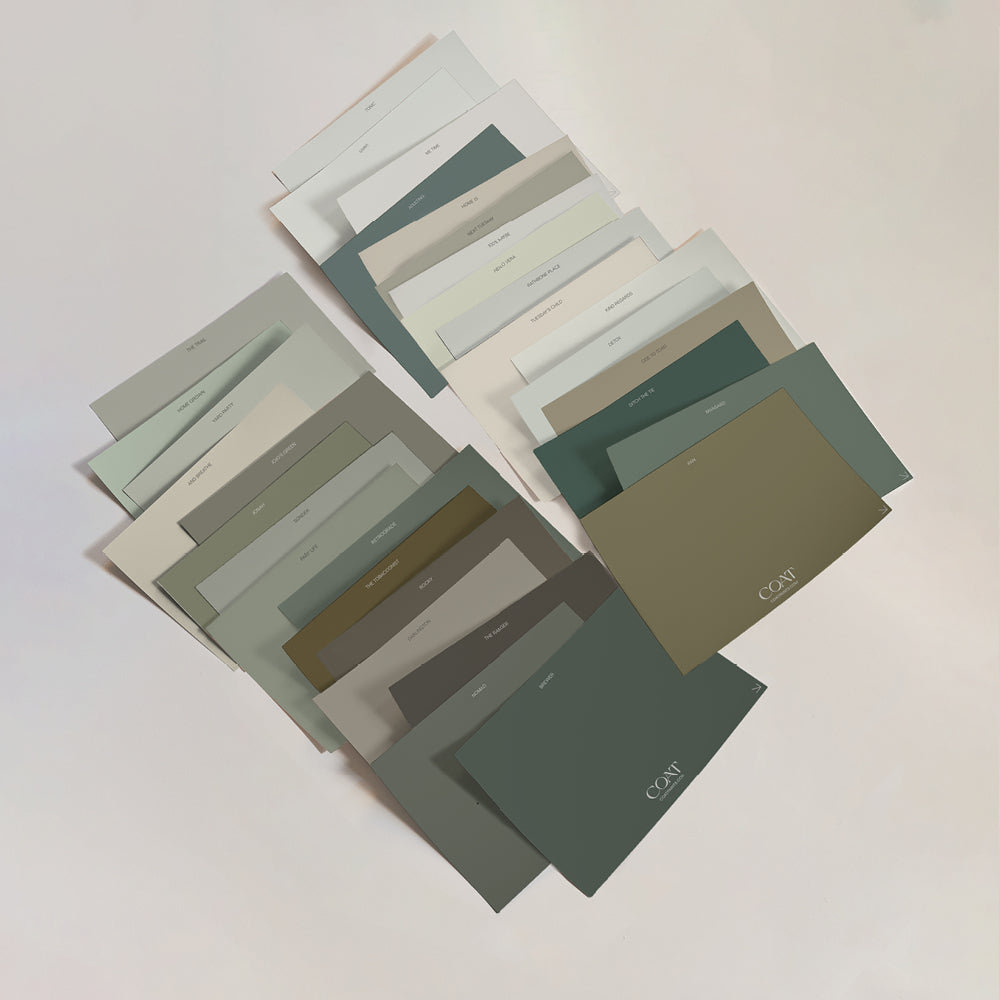
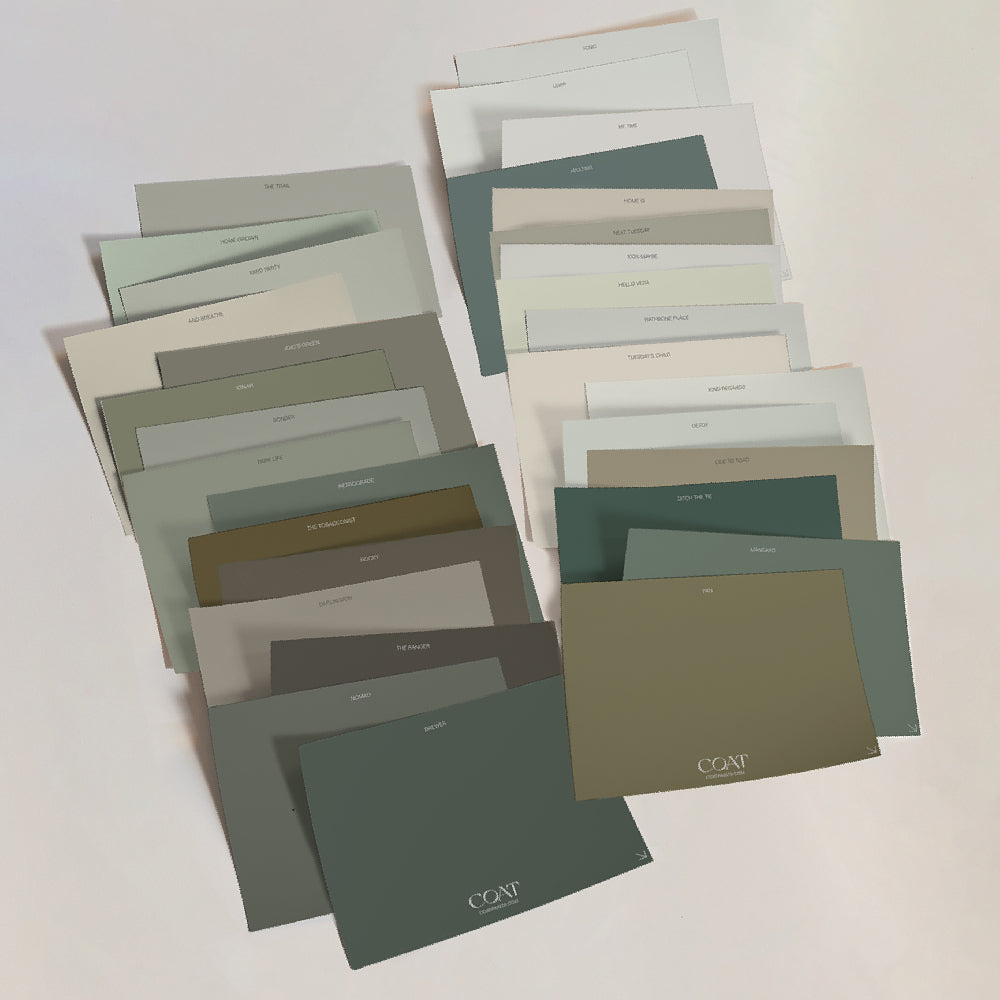
Prepping your walls for painting - top tips:
COAT paint is top-quality, so it’s worth a bit of effort up-front to get the best finish at the end:
- If you’ve got wallpaper, ideally take it off
- Fill any cracks or holes with wall filler, and sand once dry
- Give the walls a light sand all over, to take off any roughness
- Use warm water to wipe over and clean the walls
- Undercoat on new plaster
- Get started. COAT paint is self-priming so no need to buy anything else
We know this seems long, but it's gotta be done. So time to crack on with it!
Publish Date
Author