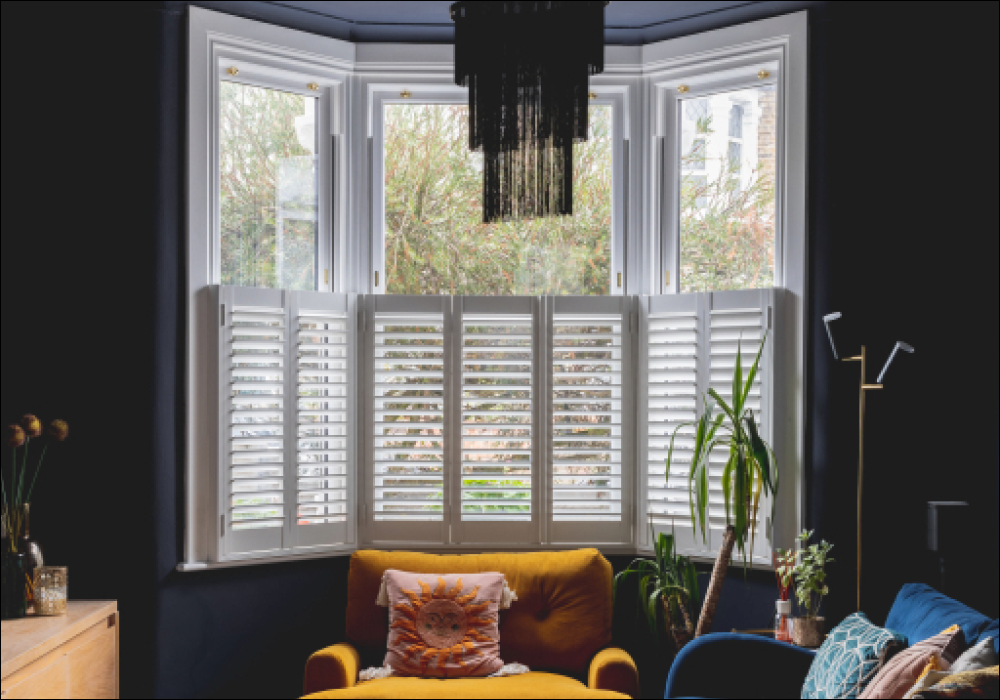
How to Paint Wooden Window Frames
Are your wooden windows covered in chipped or discoloured paint, hidden behind curtains? It’s time for a sparking new refresh.
A clean coat of white paint, or a stylish, statement colour to make a feature of your windows must be next on your DIY list. Not only will they look bang on-trend, but painting wooden framed windows also protects them from moisture, woodworm and dry rot, which is especially important in period properties.
Whatever your reason for updating your wooden windows, these step-by-step instructions will take your frames from flaky to flawless in just eight steps.

@victoriatownhouse37 keeping it simple on the window frames and bold on the walls
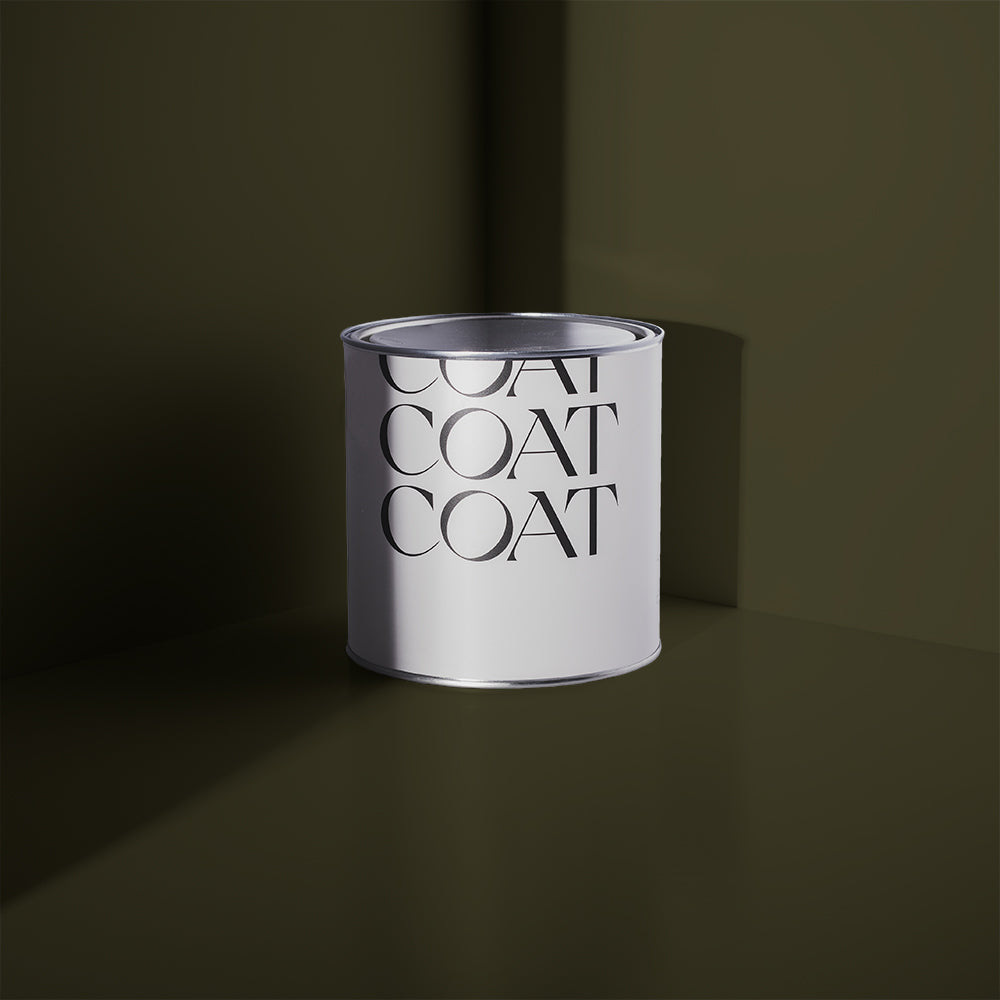
Painting wooden window frames is not a complicated job, but it is quite time consuming. For this reason, it’s not a common DIY task. Choosing the highest quality paint for wooden windows means you won’t need to repaint them for up to 10 years. Look for a brand like COAT, which is smooth, durable and designed for everyday life.
Tackling your window frames is a perfect summer job. You can open the windows wide, let the fresh air in, and get to all the parts of the frame easily.
The best way to paint window frames starts with good preparation. It can be tempting to jump straight into getting your colour on the frames, but this will give you a poor finish and lead to messy mistakes.
**Are your windows uPVC, or metal? This advice is for timber framed windows only. You can paint the other two but those materials are slightly tricker. Keep your eyes peeled for these blogs, coming soon.
Step 1: Get colourful
Start by unleashing your inner designer.
Considering your window frame colour palette is one of the most fun parts of the job, and your options are only as limited as your imagination.
Sticking with the traditional white or cream window frame will give you a light, fresh border, keeping the windows a background feature of your room. A neutral shade especially works if you have a beautiful garden or stunning view; a lowkey colour won’t compete with the outside space. A pale tone will also allow you to go wild with statement curtains, or other soft furnishings.

Don't be afraid to use colour on your frames but always opt for an eggshell finish
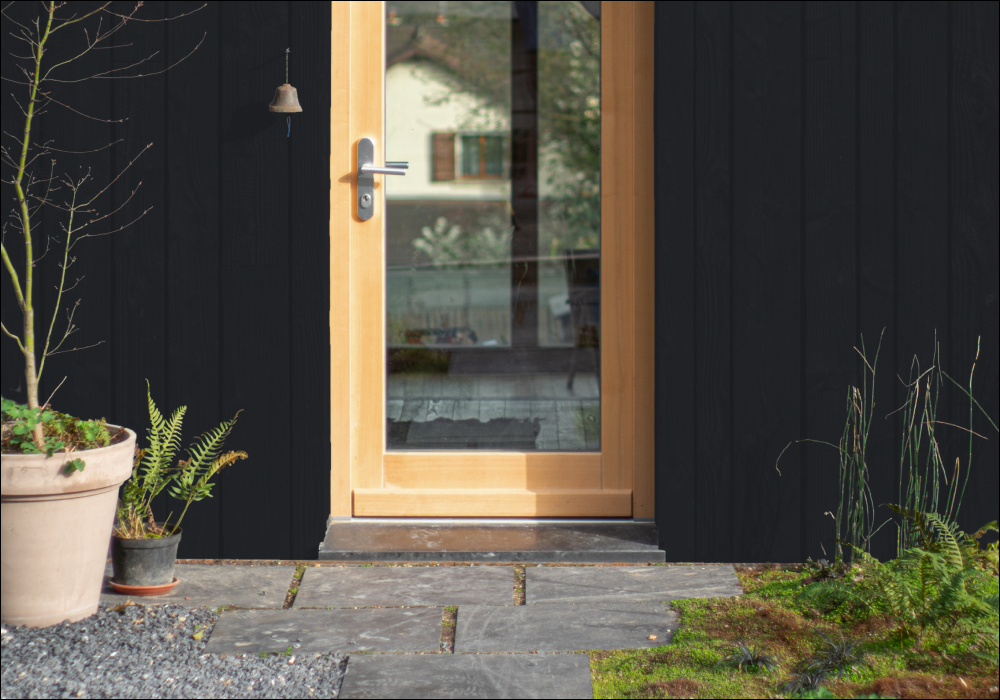
If, however, you’re ready to add some bold, moody or indulgent colours to your home, window frames are a perfect place to do it. Dark grey and black window frames are increasingly popular for a dramatic statement, but still neutral enough to go with lots of wall colours. COAT faves The Coal Drop or The Record Store would do the job here. If you really want to show off your style, you might want to paint the wooden frames a bright, eye- catching colour, like a rich mustard Moritz or a statement teal like our Heal’s x COAT colour - The Four Poster. If your windows overlook a driveway or a yard, making a colourful feature of your window could pull focus from the outside and instead make your room shine.
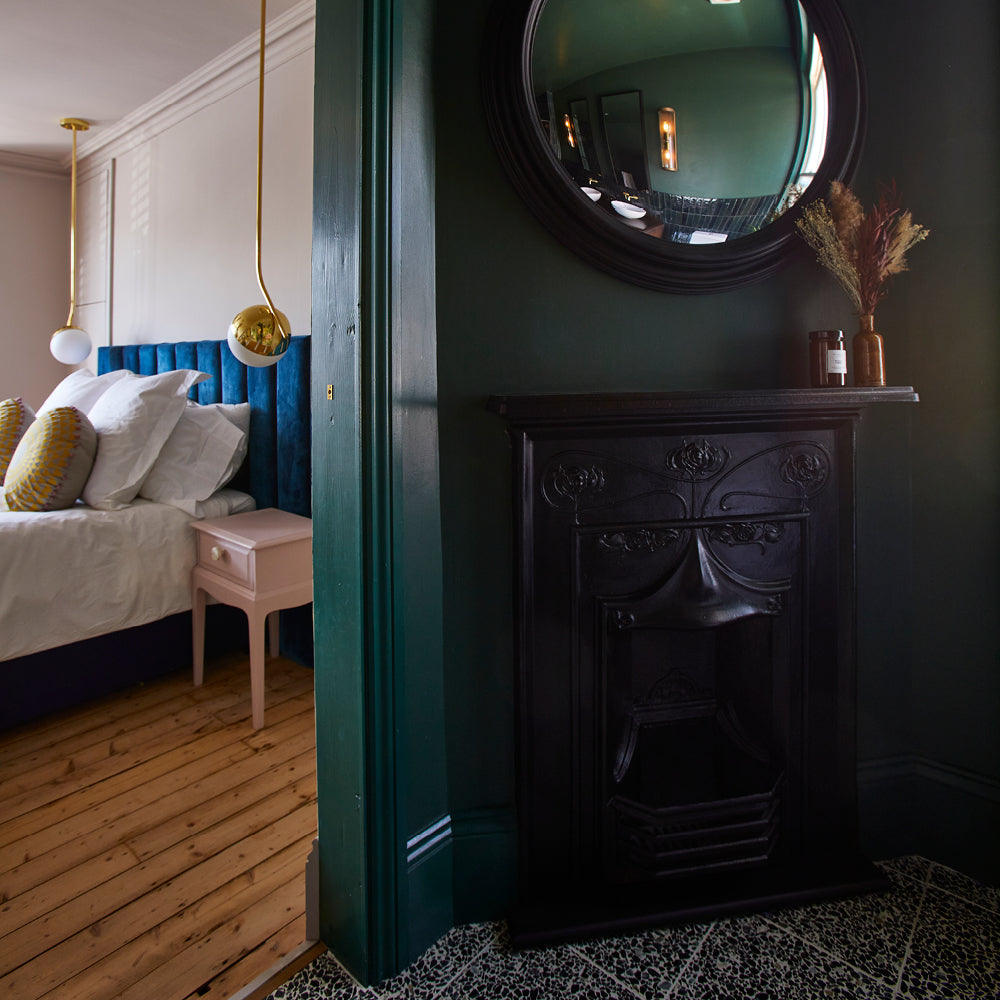
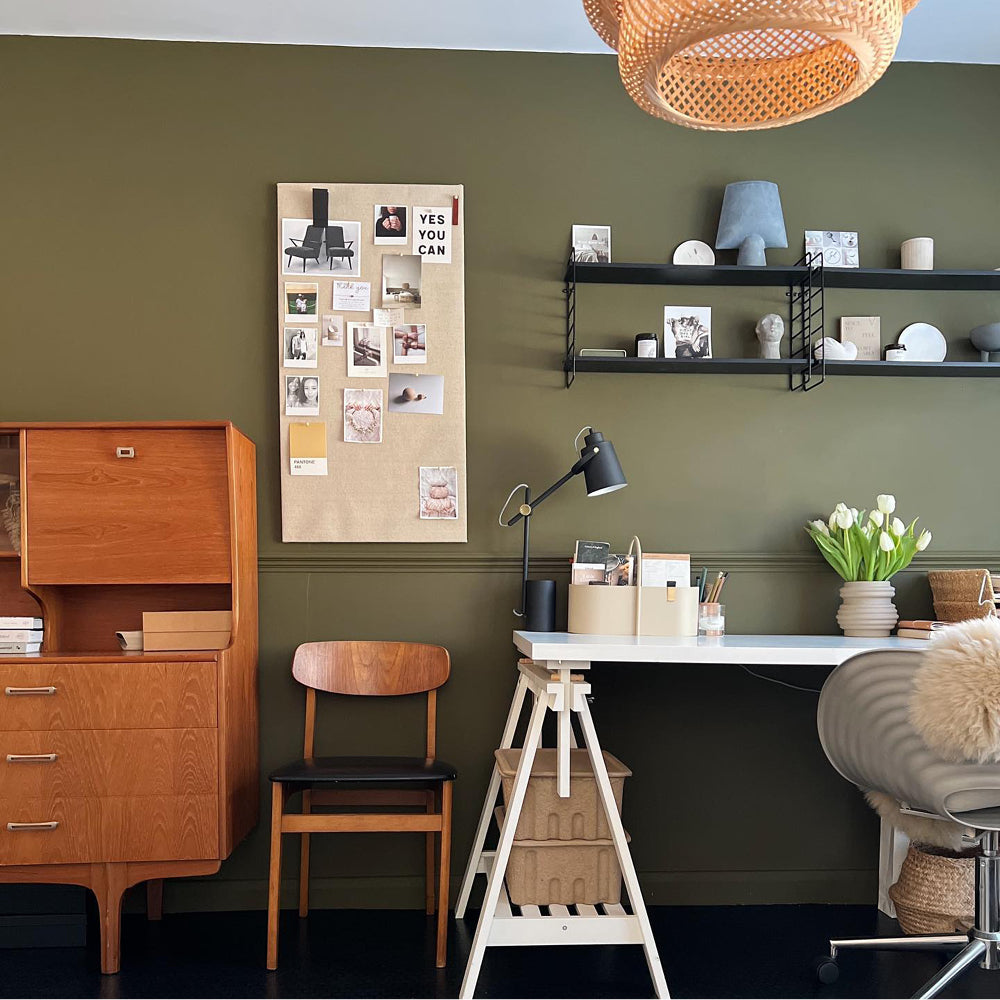
You might want to lean into a timeless colour palette to showcase your period features. Darlington’s forest green, or warm vintage rust from The Old Corset Factory will give your home a refined, tasteful vibe. Have a look at the wooden furniture in your room, and look at the skirting boards, door architrave and picture rail or panelling (if you have any). Do you want to match these existing colours exactly, complement them, or have a striking contrast?
When choosing a wood paint for windows, whichever colour you decide on, make sure you choose an Eggshell finish. Eggshell gives a soft, gentle sheen to the surface which delicately reflects the light, but is hardwearing and wipe clean.
Step 2: Fail to prepare and you…

Make sure you have all the right tools to get the job done.
You’ve chosen your dream paint and now you can create your dream windows. Clear the space in your room, remove curtains and any furniture which could obstruct you. Gather all the tools you’ll need:
- Sandpaper, at least two grades (80 grit first and then 120 next.)
- Sandpaper blocks, ideally two different sizes
- An old toothbrush
- A scraper
- Wood filler and small spatula
- Cleaning materials- cloths, a stiff cleaning brush and degreasing spray
- Vacuum cleaner
- Screwdriver (you might need a drill with a screwdriver attachment)
- Primer suitable for wood (COAT’s own will do the trick)
- COAT’s Eggshell paint in your desired colour
- Decorator’s standard masking tape (the cheaper ones allow paint to bleed underneath)
- Small cutting- in paint brush (two, if you have to prime your frames)
- Small foam roller and tray, and/or small paint brushes
- Dust sheet to protect carpets or flooring
- Mask and goggles for sanding
- Overalls or clothes you can move easily in, and you don’t mind getting paint on
Step 3: Get your hands dirty

Remember to brush or clean your surface before sanding and painting
Brush the windows firmly to dislodge any chipped paint or dust. Use the old toothbrush to get into all the corners. Then, wipe them over with a damp cloth to remove any debris.
Grease or dirt may have built up on your window frames, so use a degreasing spray to get the frames and windowsill really clean. Your paint finish will be affected by any grease marks or dust, and you’ll be able to spot imperfections every time you look at your windows.
Check the window frames to see if there are any gaps or chips and fill them with wood filler. (It’ll need to dry for a couple of hours before you can sand and paint, so you could use this time to prep other windows in the room.)
You might be wondering why you’d clean before sanding. Well, there’s a difference between wood or paint dust and the kind of dirt which has accumulated over the years. Going straight in with sanding means you could spread dirt and dust around, rather than remove it. Starting with a clean surface means every step that comes next is easier.
Step 4: Focus on the details

Make painting your wooden window frames as easy for yourself as possible, and remove the window handles.
Grab your screwdriver and undo the screws. If they’ve been painted over or are rusty, this is where the drill might come in handy. Put the handles and the screws safely to one side so you can reapply them at the end of the job.
When it comes to sanding, you are not aiming to take the painted wood back to natural unpainted wood. You’d be there for hours and you’re going to paint it again anyway.
The aim of this step is getting the surface of the window frame as smooth as possible so you can apply the new paint properly. Look for any dried- on paint drips or thick areas of paint where the previous paint job wasn’t correctly done and sand it all away. If you’ve had to use wood filler in step 3, you can also sand it back now.
You might not be able to see all the imperfections, but you’ll be able to feel them. Run your fingertips over the surface of the wood to see where you need to focus your sanding efforts.
This is where a sanding block will really help you. Wrap your roughest grade sandpaper (80 grit) around the largest block you have and go over all the flat surfaces and windowsill. Now, take a smaller block, about the size of a matchbox and get into all the corners of your windowpane. The hard edges of the sanding block allow you to apply even pressure and get into areas your curved fingertips can’t reach.
Once you’ve removed all the lumps and bumps, repeat the process with a smoother sandpaper. This gets rid of any smaller imperfections and makes the surface even smoother. It also gives the surface a “key” meaning there are tiny little scratches all over the old paint which you can’t see or feel but the new paint will stick to. It’ll give you a more pristine finish.
You’ve probably created quite a lot of dust at this stage, so you’ll see why you need the dust sheet. Use your vacuum cleaner hose and brush attachment and vacuum the window frames and windowsill. Use the toothbrush again to agitate the corners and suck up as much dust up as you can. Dust is the enemy of paint, so the cleaner you get this stage, the easier the painting parts are.
Step 5: Meet your new best friend

Masking tape! Before even thinking about applying primer or paint, you need to mask up your window frame.
It’s tempting to think you have a steady hand and you’ll be able to cut in without masking tape, but this is a sure-fire way to make mistakes. Your arms and hands get tired, especially after all that sanding and cleaning, and expecting yourself to consistently paint in perfectly straight lines is unrealistic.
Use good quality masking tape and tear off a strip no longer than four inches, approximately ten centimetres, and carefully stick the masking tape on the glass. Make sure the edge of the masking tape is right up to the wooden frame. Also place it along the wall where your window joins, and along the edge and underneath of the windowsill.
Take your time here and keep your finish in mind.
Step 5: It’s your time to prime

@robins_mead getting all the prep right before the window frame glow up
You might be able to skip this step if you’re using COAT’s eggshell paint. It depends on the condition of your surface. Yes, COAT paint is self-priming, velvety smooth and is packed full of high-grade titanium which will give a flawless finish, without you having to prime first.
But generally we would recommend you take the time to prime. It’s another step, but if it ensures a flawless finish…….we know you’ll thank us in the end.
Follow the instructions on the primer tin for application but, when it comes to techniques for painting wooden windows, remember the rule: less is more. It’s better to apply a few thin coats of primer or paint than one thick coat. It’ll be easier to control the brush, and you’ll get a better finish.
Primer typically needs one coat and takes at least two hours to fully dry. Use the time to grab yourself a well-earned cup of tea, or carry on prepping your other windows frames.
Step 7: Colour me contemporary

@laffsgaff gave her son's bedroom a refresh by painting this cosy window seat, we love it!
Here’s where you get to see the transformation of your windows.
The primer, if you had to use it, should be dry. Check to see it’s an even colour; any darker parts mean it’s still wet. It’s a good idea to check if you need to reapply your masking tape as well.
Once you’re ready, open your paint tin and give it a good stir. Decant a little into the roller tray. Wherever there are flat surfaces, such as your windowsill, you can use the roller, gently and with even motions to give an even finish.
Use the brushes for any edges approaching the walls or glass and cut in with a neat edge. Aim to put on a very light coat. It will be slightly patchy at first, but as it dries it’ll have a more consistent finish. You’re likely to need a second coat. Remember, a thin coat of paint will dry more quickly and evenly than a thick coat, and the finish will be better.
Be methodical in your application process, start in one corner and make your way round until the whole frame is covered.
This is where using COAT paint makes the difference, especially for painting wooden window frames. The application will be smooth and even, the colour will be consistent, and the ingredients of the paint ensure a strong, resilient finish which lasts.
Top tip – remove the masking tape straight away – don’t wait until the paint is dry!! Peel at that perfect 45 degree angle and let the satisfaction of the clean line wash all over you – might even make you Tiktok famous if you fancy.
Step 8: Picture perfect

@twohundredandtwelvedays painted their window a statement dark in 'Forever & Ever'
Now you’ve got the perfect paint you can reapply your handles with your screwdriver. Tidy away all the tins of paint, paint brushes or tools. Give the area a good clean and wrap up your dust sheet.
Make your window even more elegant with finishing touches. Put your curtains back up, add your favourite plant on the windowsill, or a few of your best loved books. Now it’s a place to be proud of.
As soon as you’re happy with your styling, stand back to admire the flawless transformation of your wooden window frames.
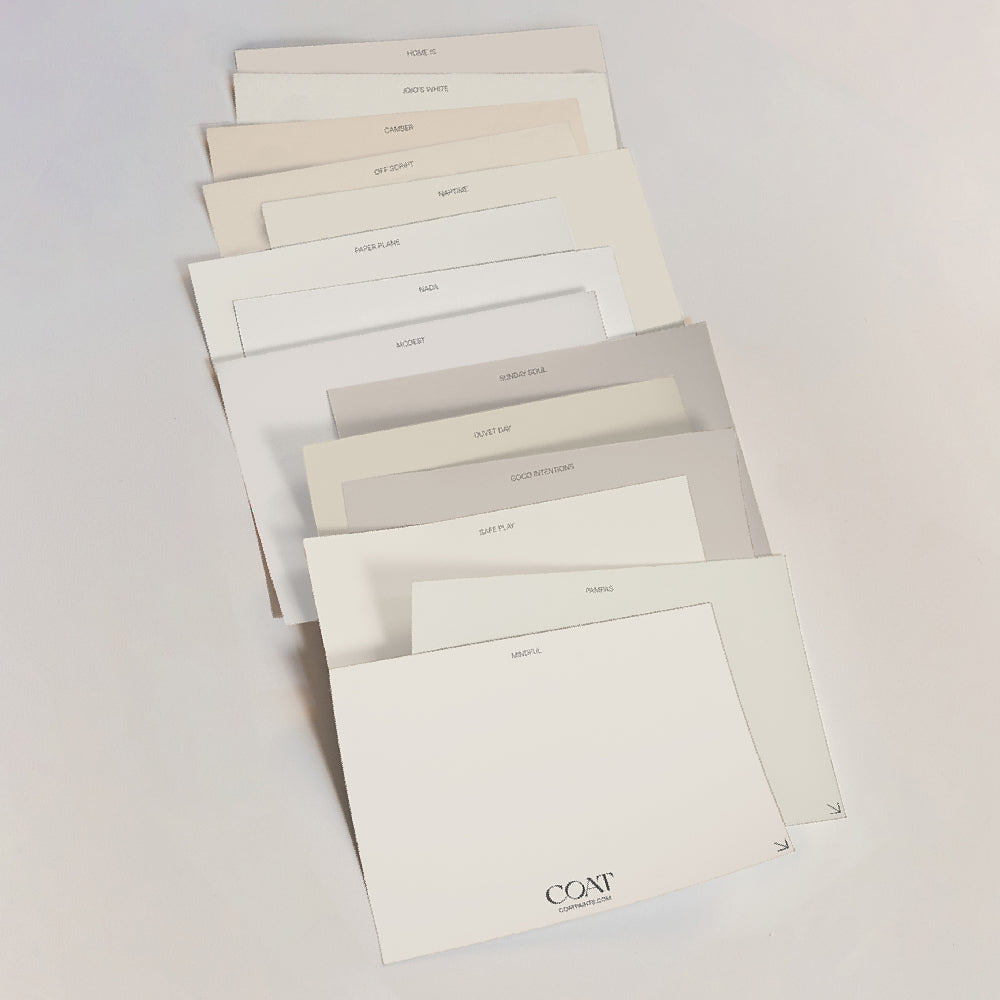
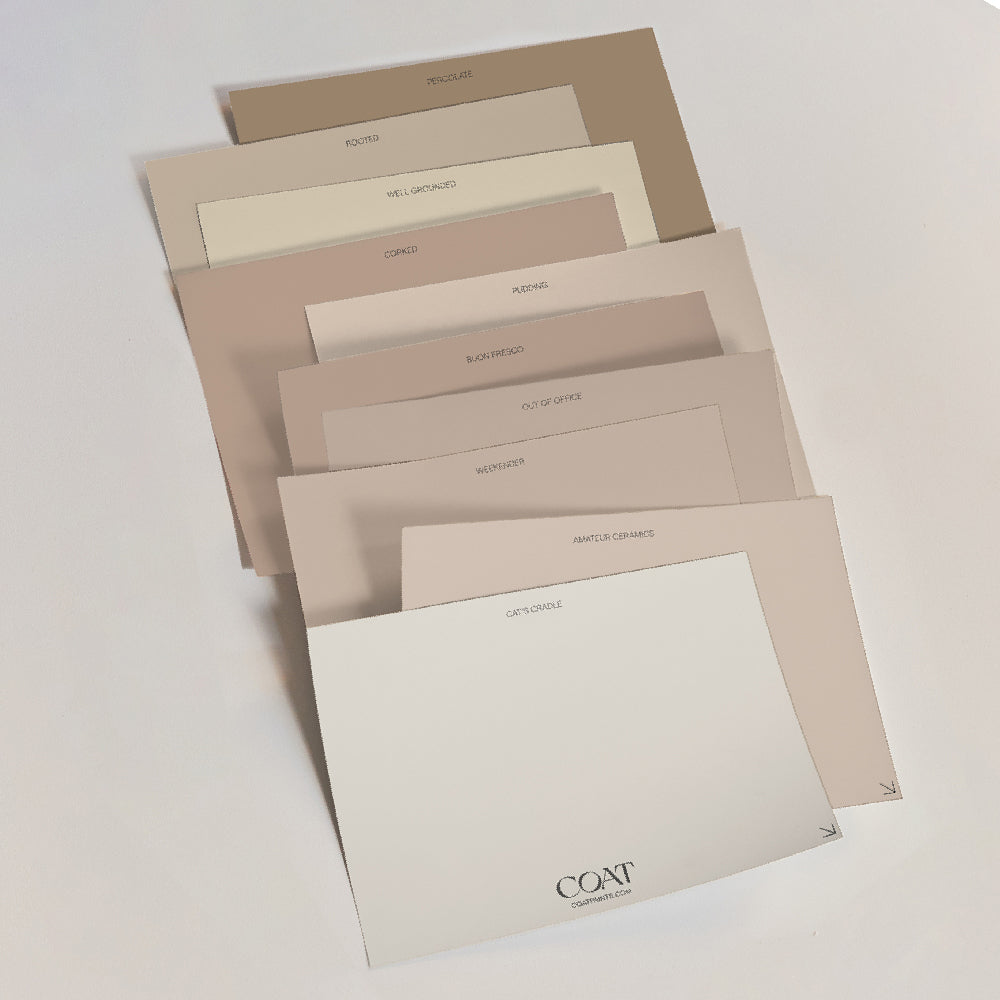
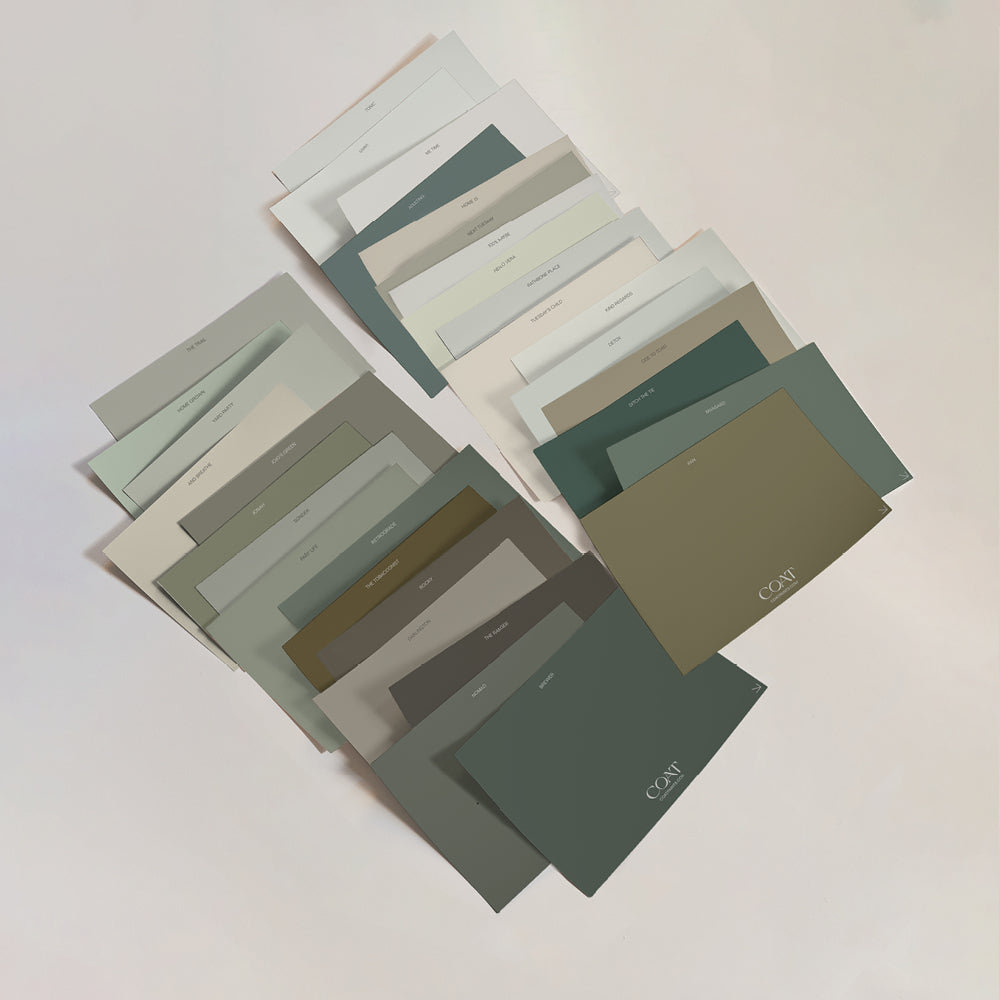
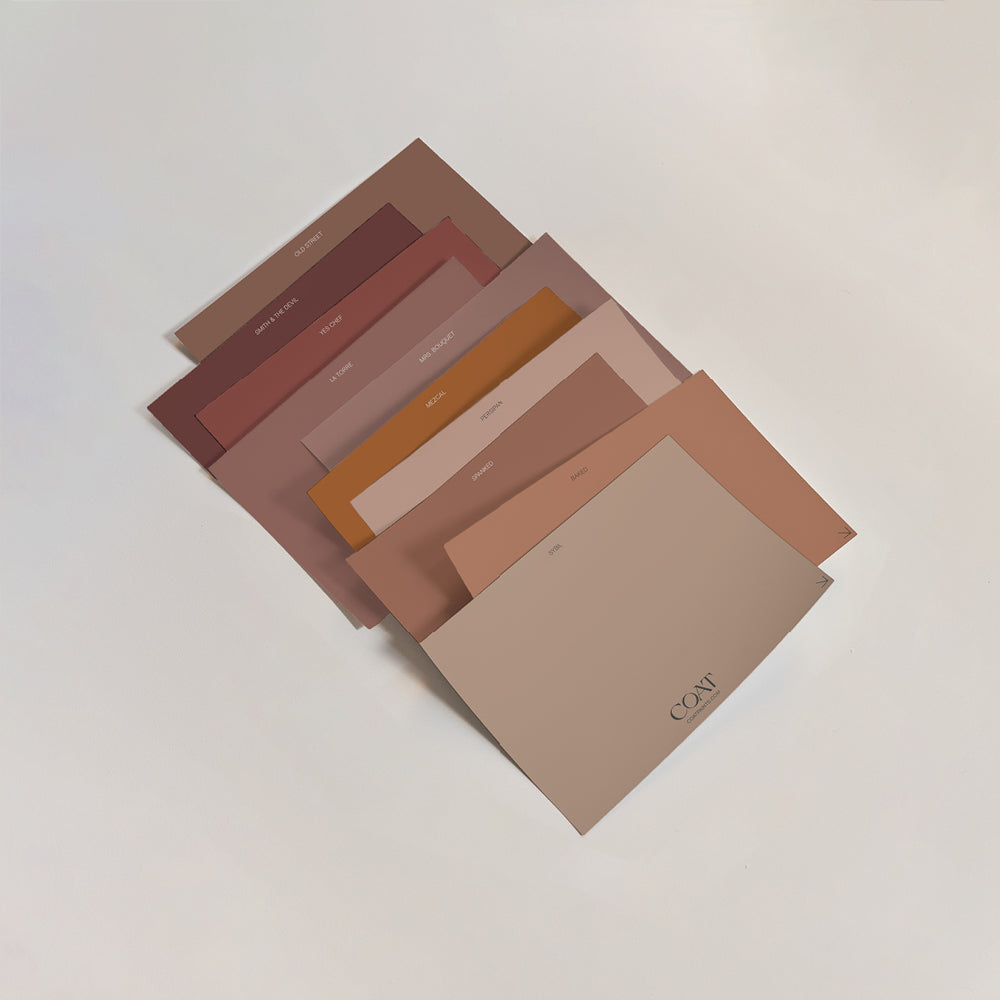
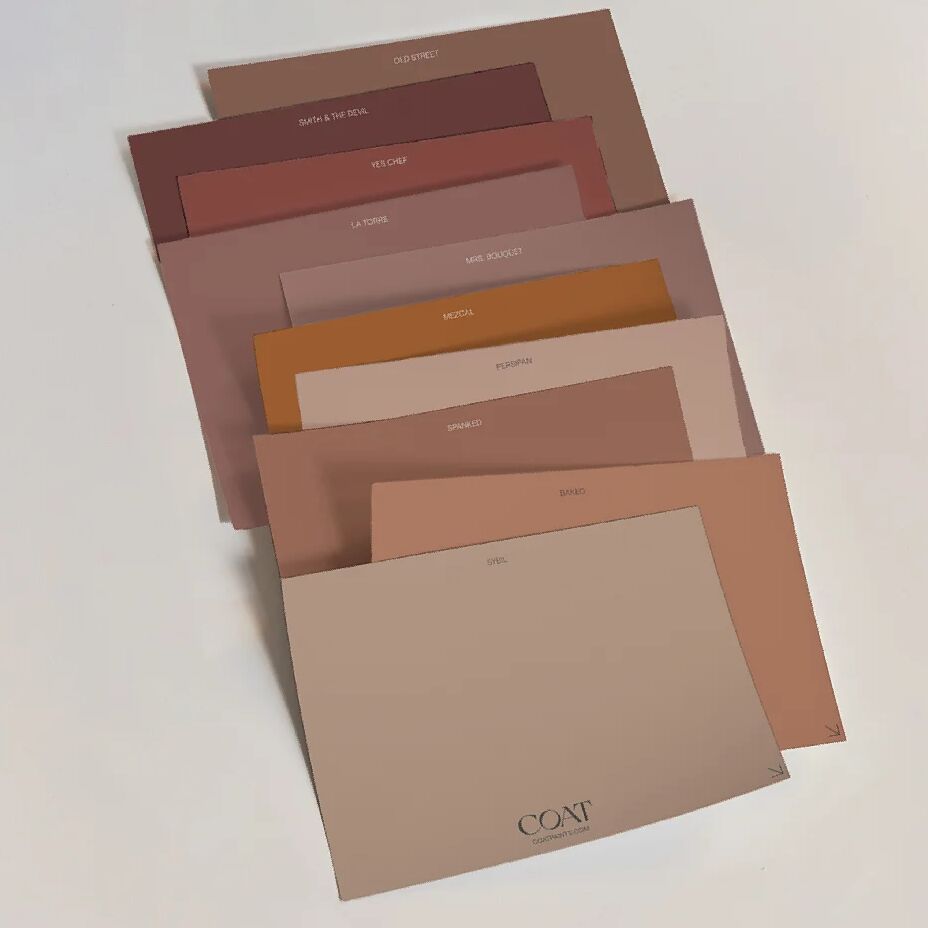
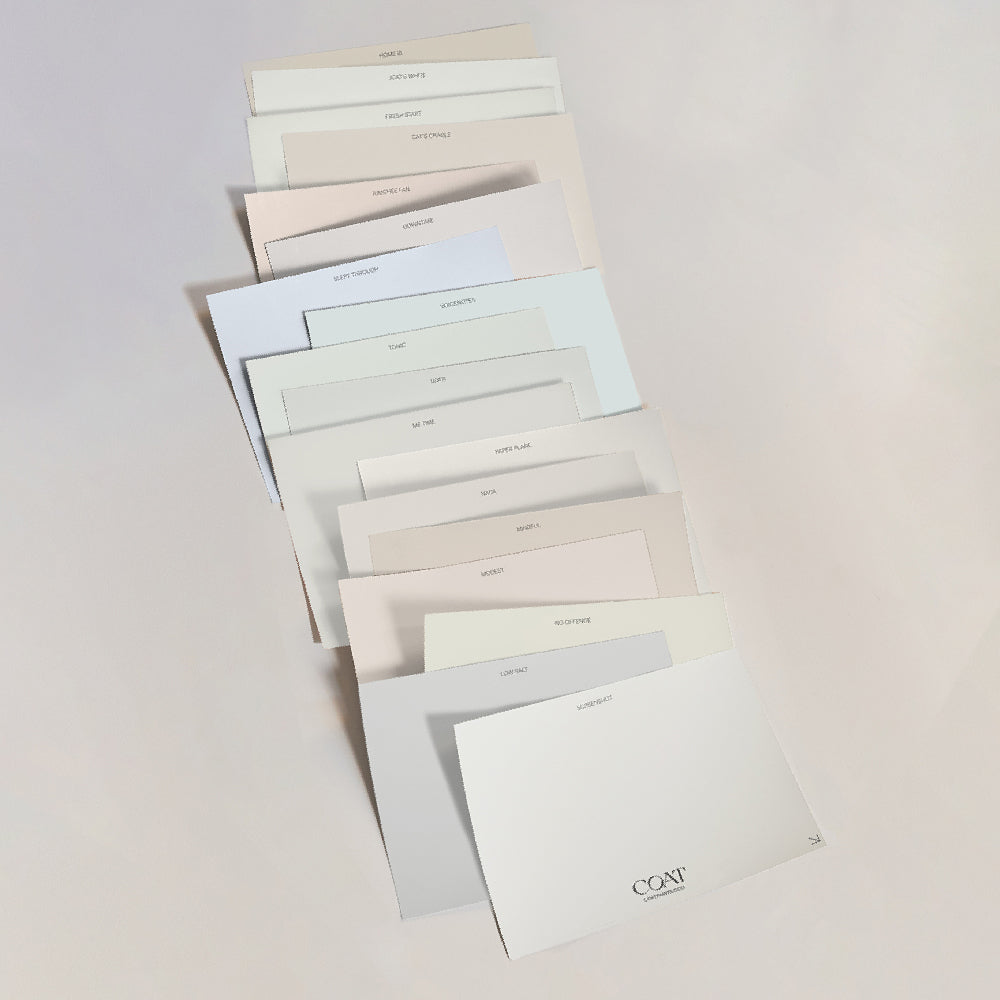
Ready to get going? Grab a swatch and choose your colour.
And don’t forget to share your hard work and tag @coatpaints – our community will thank you for the inspo.
Publish Date
Author















































Leave a comment