How To Paint With A Roller
Your first time using a paint roller may seem daunting. I mean, that’s a lot of space to paint. Or maybe you’ve rolled on a wall before but could see the stroke marks. Well, we’re here to guide you on the best way to paint a room. Follow our steps, and you’ll be painting like a pro. Expect friends and fam to want you to decorate their homes too!
TL;DR? Have a watch instead...
The aim is to roll your walls smoothly. But if you don’t begin with a nice canvas, you won’t end up with a nice finish. So, it all starts with the prep. And having the right tools helps too. See ‘Different Types Of Roller Cover” for the best roller for a smooth finish.
Before painting, block out the project into sections. If you’re painting an entire room, do one wall at a time. Cut in the edges (we’ll go over this under ‘Tips For Painting With A Roller’) and then roll onto the wall. But wait, you still don’t know how to paint with a roller.
There are different methods you can use pending on if you’re using an extension pole or not. Either way, you want to spread the paint smoothly and evenly. And without overloading the roller (two thin coats are better than one thick one). We’ll go into far more detail in our step-by-step guide. Treat this as a taster on what to expect.

Different Types of Roller Cover
When choosing the cover (aka sleeve) for your roller, go for quality over cost. Cheap covers tend not to hold enough paint, which leads to an uneven finish. So, what is the best paint roller cover?
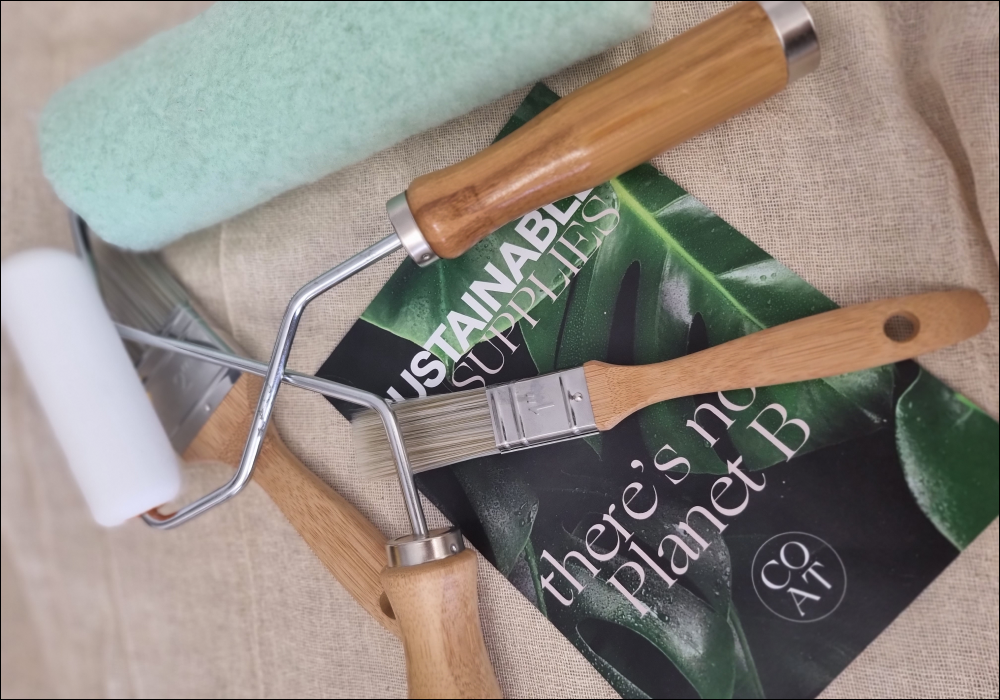
The covers we use (which you can find in our essential supplies kit) are recycled polyester. Not only are they good for the planet, but they’ll give you a professional finish too. We’ve collaborated with Eco Union (the sustainable, professional paint supplies experts) to pair eco-friendly supplies with our eco-friendly paint.
Others swear the best roller for painting walls is wool (or a poly-wool blend). These will give fantastic coverage. However, they tend to shed when you first use them. But there are two ways you can tackle that. Option 1) Wrap the cover in masking tape before peeling off - this will remove any loose fibres. Do this a few times, and then you’re ready to paint. Option 2) Give them a quick wash in some clean water before leaving to dry.
We wouldn’t recommend using a foam roller. Why? You’ll likely only get one use out of it before throwing it away. Boo! And they can sometimes be blotchy if air gets trapped in the foam.
Ok, so that’s the best paint roller cover covered (sorry, had to). But before we explain how to use a paint roller, let’s talk extension poles. Fit one, and your back will thank you. Also, it will save you from constantly going up and down ladders to reach the top.
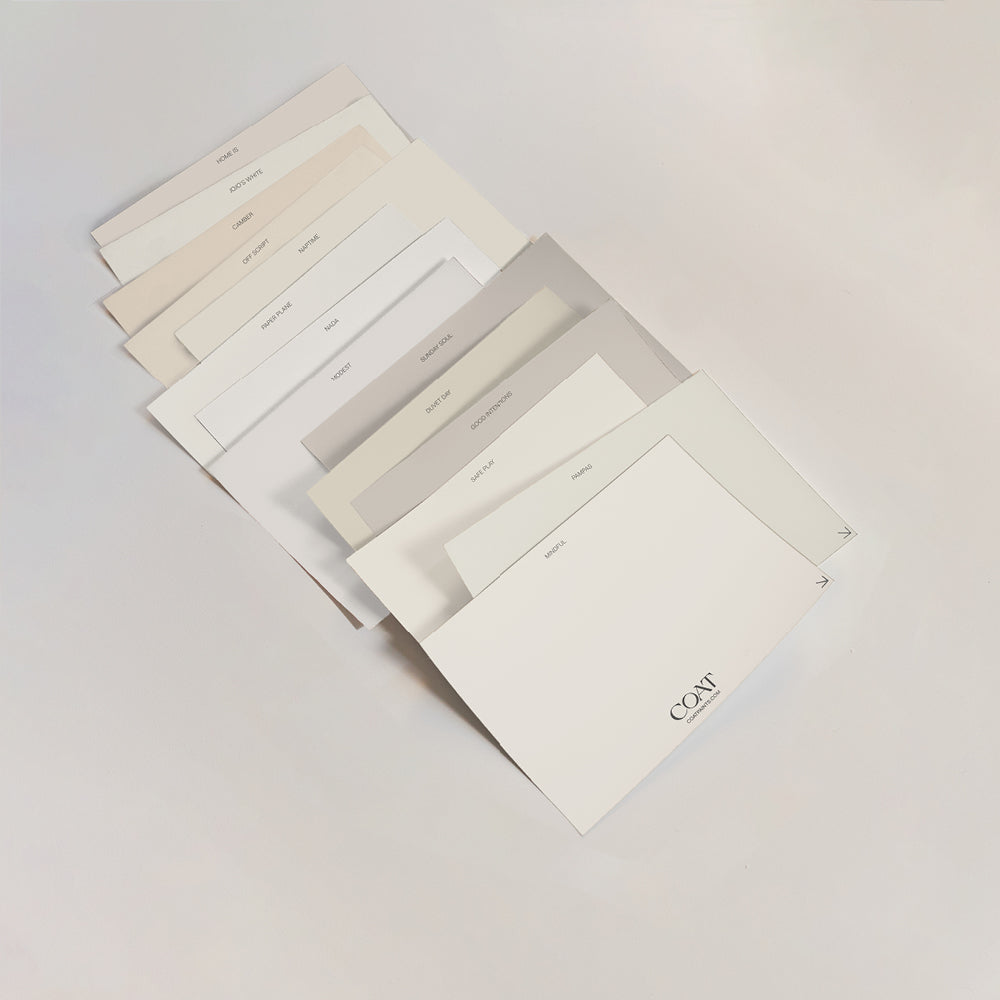
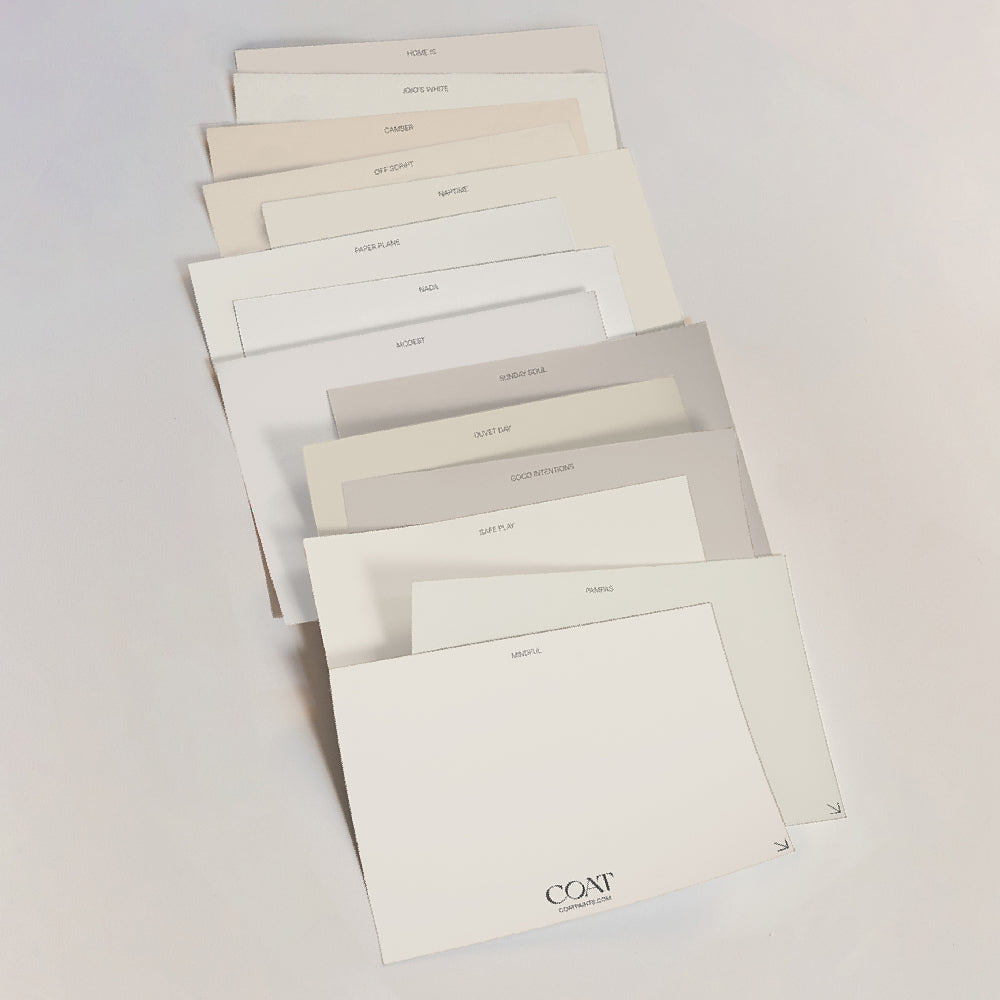
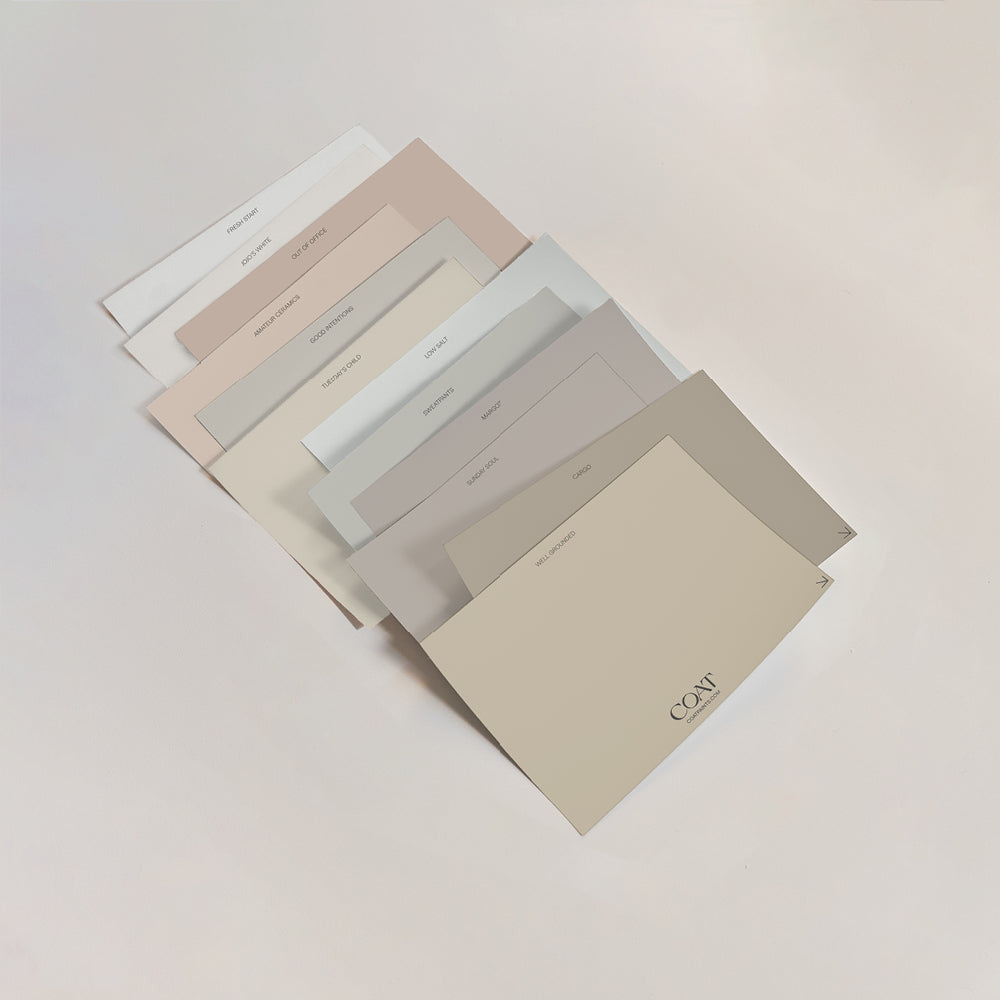
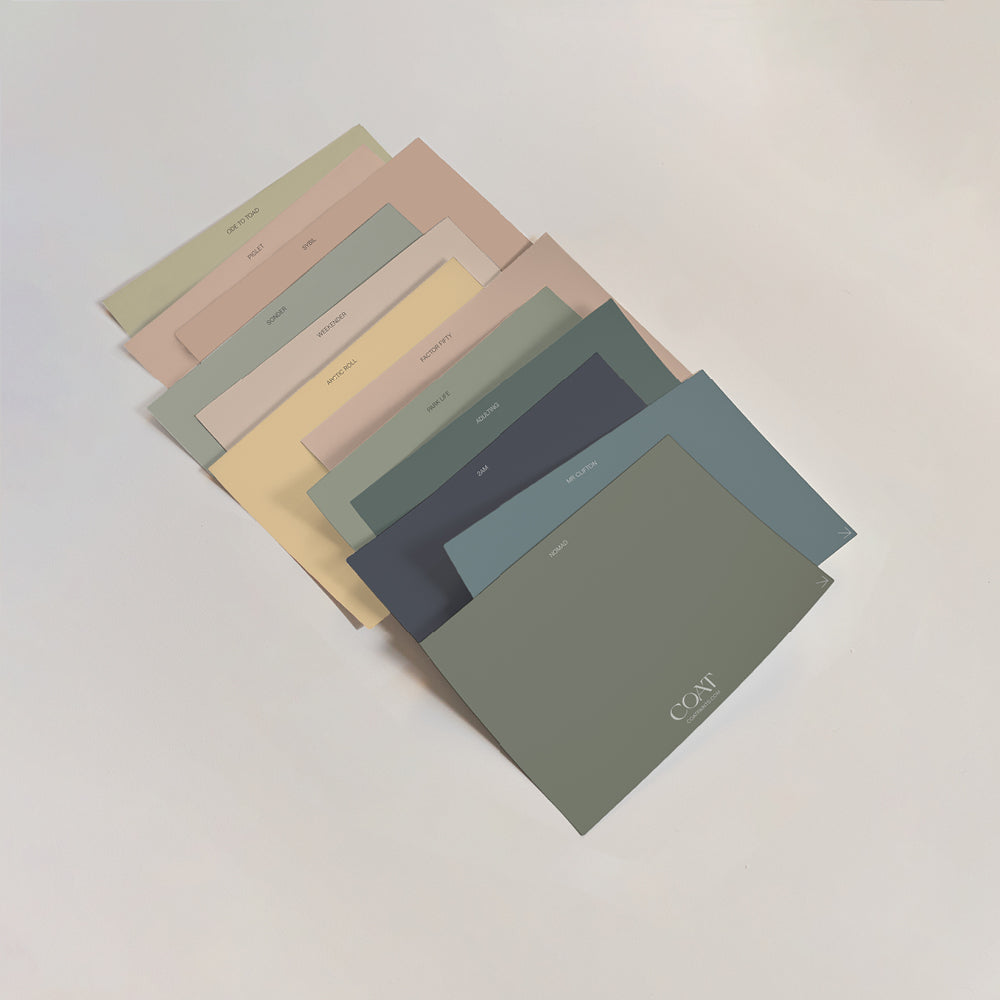
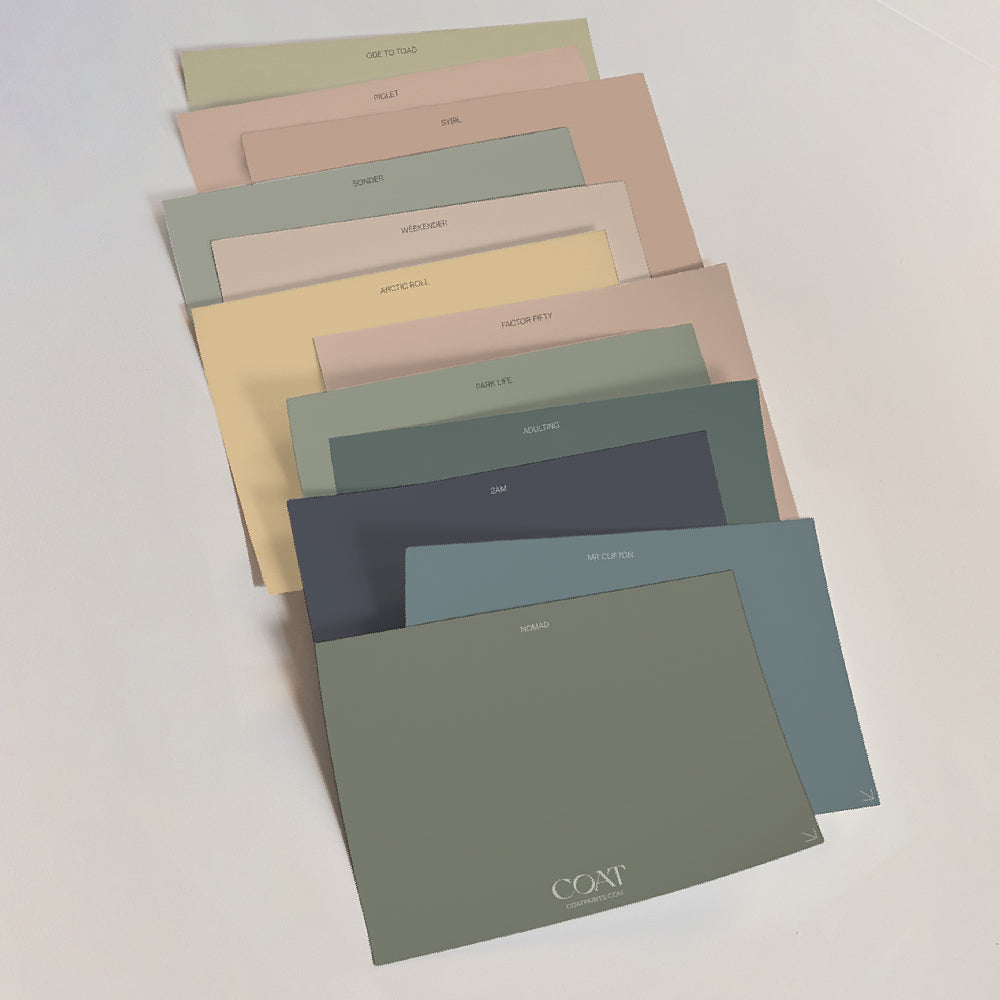
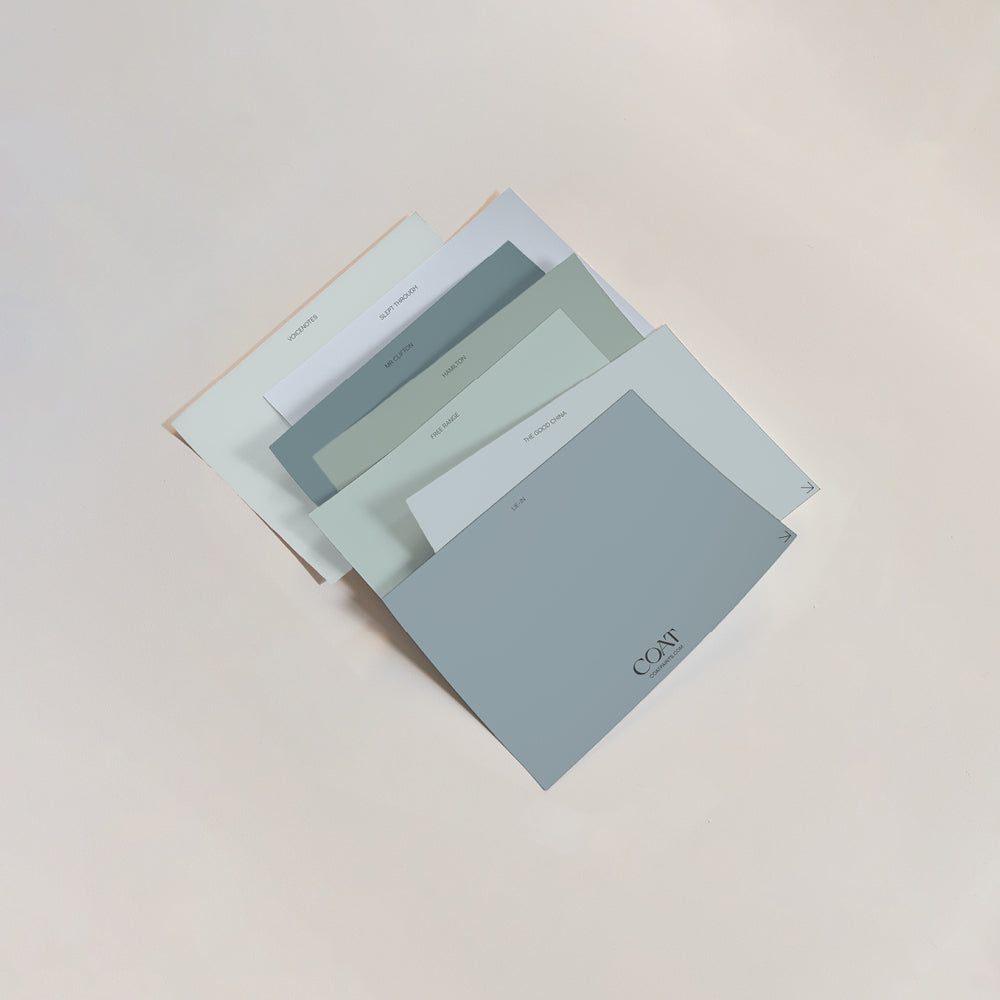
Ready? Get Peel & Stick Colour Swatches to try.
Step-By-Step Guide: The Best Way To Paint A Room With A Roller
Before we get into it, here’s your gentle reminder to prep the wall first. Done? Good.

Add the paint to your tray
Don’t overfill the tray to avoid spillages. Dip the roller into the paint (only lightly as you don’t want the coat to be too thick). Roll backwards and forwards on the ramp of the tray to spread the paint across the whole sleeve.
Roll The Paint On The Wall
How to use a paint roller depends on whether you’re using an extension pole or not. Here we’ll describe using a pole with vertical strokes (see tips section for 'Painting Without A Pole')
- Don’t start at the edge. Allow a gap of roughly half a roller’s length between the roller and cut in line on the adjacent wall. This will avoid excess paint in the corners.
- Place the roller a foot (30cm) away from the bottom. Lay on the paint by lightly rolling up towards the ceiling before rolling back down towards the floor. Use a sweeping stroke at a slight angle rather than a dead-straight line.
- Avoid going all the way to the top/bottom (you can either leave a gap before the cut in line or slightly overlap it).
- Without lifting your roller off the wall, spread the paint in the gap you left next to the adjacent wall. Paint as close to the wall as possible to blend into where you cut in. Continue the same motion of rolling up the wall then back towards the floor.
- Work back across, spreading out to the side (away from the adjacent wall and into the unpainted section). Maintain the up and down strokes. Stop when the roller starts to become dry.
- We’re not after perfection here, so don’t worry about the gaps or if you can see stroke marks. We’ll fix them shortly.
Reload The Paint Roller and Keep Rolling
- Dip the roller in the tray and roll over the ramp to remove any excess paint. Remember, you only want to add a thin coat.
- Leave a gap next to the area you’ve already painted (roughly half a roller length) and start a foot (30cm) from the bottom.
- Roll away from that area into the unpainted section at first to lay off the paint. Follow the same motion as before. Sweep in a slight angle up the wall and back down towards the floor.
- Then spread the paint by working back towards the previously painted area, overlapping it to blend in. Always keep a wet edge, so you overlap when the previous section is still wet.
- Work your way back across the newly painted area and continue rolling into the unpainted section until the sleeve starts to dry.
- Like before, you’re not rolling all the way to the top/bottom.
Ready? Get Peel & Stick Colour Swatches to try.

Back Roll The Area
Now you can fill in the gaps at the top/bottom by back-rolling - this will also fix any stroke marks. Here’s what to do:
- Do not dip the roller in the paint.
- Start where you first painted and work your way out.
- Always apply light pressure when using a paint roller, especially when back-rolling. We’re not trying to squeeze any paint out; we’re blending the wet paint already on the wall.
- Lightly roll a few times at the bottom (blending into the cut in line) before rolling up to the top.
- Lightly roll over the gap at the top, blending into the cut in line, then roll back down to the bottom.
- Roll as close as possible. But be careful not to get any paint on the ceiling when blending in. If you’re not feeling confident, see ‘Smooth The Paint’.
- Lift the roller and move slightly to the side, overlapping your previous stroke. Repeat the process until you’ve rolled over the whole section you have painted.
- Continue painting, reloading and back-rolling until you cover the entire wall in paint.
- After painting the whole wall, back roll over it again to smooth it out while the paint is still wet. Start from where you first painted and end in the most recent area you painted.
- Now leave it to dry. If needed, apply a second coat using the same method.
If this is your first time using a paint roller (or it’s an enormous space), there is a risk the paint will dry quicker than you are painting. It could lead to marks showing in areas where wet and dry paint met. See “What To Do If Your Paint Is Drying Quickly” under the tips section.
Smooth The Paint
Unable to roll close to the ceiling when blending in where you cut in? There is another back-rolling method you can use.
- Do not reload the roller with paint.
- Remove the roller from the extension pole.
- Climb a ladder so you’re at eye level.
- Roll along in a horizontal stroke with the open end of the roller pointing towards the ceiling.
- Back down the ladder to reattach the extension pole.
- Roll vertical strokes from bottom to top, stopping short of the ceiling. Then roll back down again.
- Lift the roller slightly and overlap where you just back-rolled to continue the process across the painted area.
Don’t have skirting boards? Use this method for the bottom too.

Tips For Painting With A Roller
Here are some extra tips on how to paint a wall with a roller evenly:
Create Clean Edges
You’ll want to ‘cut in’ before rolling on any paint - this will create a frame in those hard to reach areas for the roller.
- First, add decorators tape to skirting boards and the ceiling edges. Oh, and don’t forget to put dust sheets down, so you don’t get any paint on the floor.
- Use a brush to carefully paint around all of the wall’s edges. Only do this on the wall you are about to paint, so it doesn’t dry out before you roll over it.
- Use a mini roller to go over the brush marks to smooth them out - the open end of the roller should be pointing towards the edge.
- Later, when rolling in these hard to reach areas, get as close to the edge as possible.
Alternatively, use an edge paint roller to cut in before painting the walls.
Ready? Get Peel & Stick Colour Swatches to try.
What To Do If Your Paint Is Drying Quickly
Whether it’s a hot day, you’ve got a super-long wall to cover, or it’s your first time rolling, the last thing you want is for your paint to dry before you’ve finished painting the whole wall.
So here’s what to do:
- Each time your paint roller starts to run dry, don’t reload and continue painting.
- Instead, back roll the area you’ve just painted, blending into the cut in lines at the top and bottom.
- Remember, only light pressure is needed here. We’re not trying to squeeze out any paint; we’re smoothing and blending what is already on the wall while it’s still wet.
- Continue painting and back-rolling until you cover half the wall in paint.
- After blending in the cut in lines of the last section, back roll the entirety of the area you have painted.
- Now paint the other half of the wall following the same process, ending by back-rolling that half of the wall only.

How To Paint Around A Light Switch Or Plug Socket
Before painting the wall, tape over light switches and sockets to avoid getting paint on them.
- Cut in just before rolling and go over the brush marks with a mini roller.
- Then with your large roller, lay paint on the wall surrounding the switch. When rolling directly above/below it, spread away from it. Leave the usual gaps, e.g. don’t go into or only slightly overlap where you cut in.
- Now back roll around the switch to blend into the cut in line (if it’s easier, use a mini roller). Start above but go horizontally, then below (also horizontally). Now roll vertically on the sides.
- Back roll the rest of the wall.
- Then repeat the back-rolling process around the switch but use vertical strokes (rolling away from it).
Ready? Get Peel & Stick Colour Swatches to try.
How To Paint Around Windows
Use long horizontal strokes to lay paint above and below the window. Then use short vertical strokes to smooth it off. Repeat the vertical strokes, finishing off with long strokes at the sides of the window. Or, if you have an edge paint roller, use it in difficult areas like windows.
Painting Without A Pole
Use the W/M method.
- Start in the top left corner but not right in the edge to avoid trapping excess paint in the corners.
- Using light pressure, paint a large W or M. Don’t lift the roller off the wall until you fill in the W/M, so it’s now a painted square. Make sure you’ve blended into the edges (cut in lines) while doing this.
- Now paint a W/M directly below this and fill in. Blend into the previous section as you do this.
- For tall walls, you may need to repeat this until you’ve created a column from top to bottom.
- Back roll where you have painted to smooth over.
- Now repeat the process until you’ve covered the whole wall. Remember to leave a small gap next to the area you’ve already painted before blending as you fill in.
Planning on rolling the colour out again?
Cover your roller and brush in cling film so it doesn’t dry out between coats.
So, there you go. That’s how to paint with a roller. Have you got your supplies yet? Our eco-friendly kits feature recyclable rollers. And they work fabulously well with our COAT paint. Choose your fave colour and roll with it!
Publish Date
Author