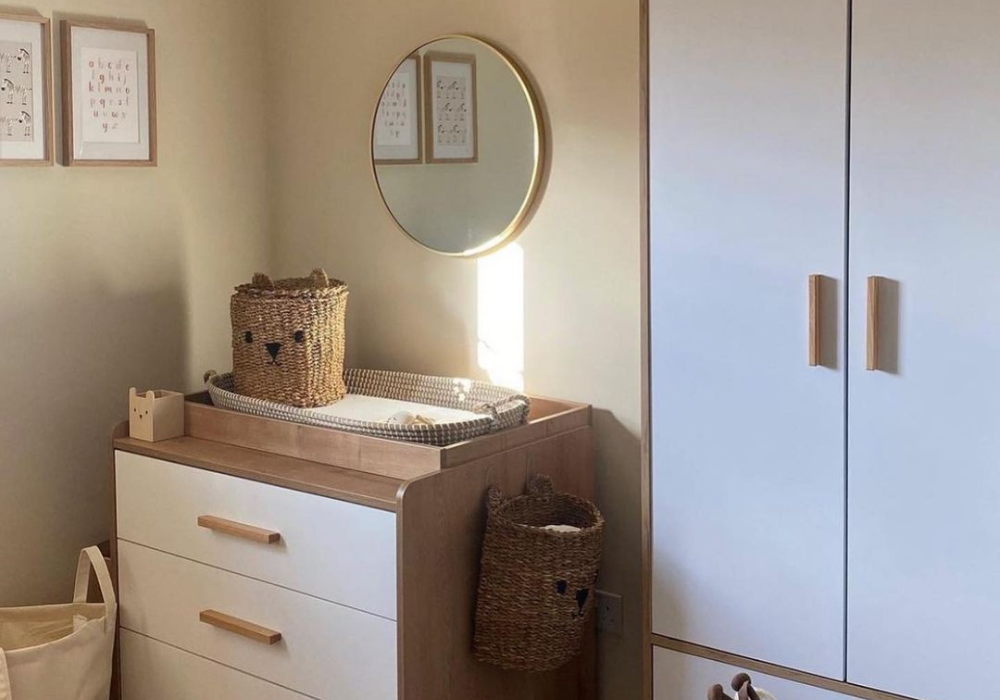
How To Paint Wardrobes
There was a time when almost all of your furniture was built to last generations, and was expected to be repainted or refinished many times over the course of its service life. Painting fitted wardrobes used to be key when redecorating. That’s no longer always the case, and quite a few pieces of modern furniture go their entire existence without a single change of colour.
Now, if you have a cheap and cheerful flat pack wardrobe, it might well not last long enough to be worth painting. Refinishing particleboard is as difficult as it is pointless. But if you do have a painted wardrobe that is showing its years or a varnished pine wardrobe that is looking a bit bedraggled, painting it could give it decades of new life.
So, let’s talk about the best way to paint wardrobes.

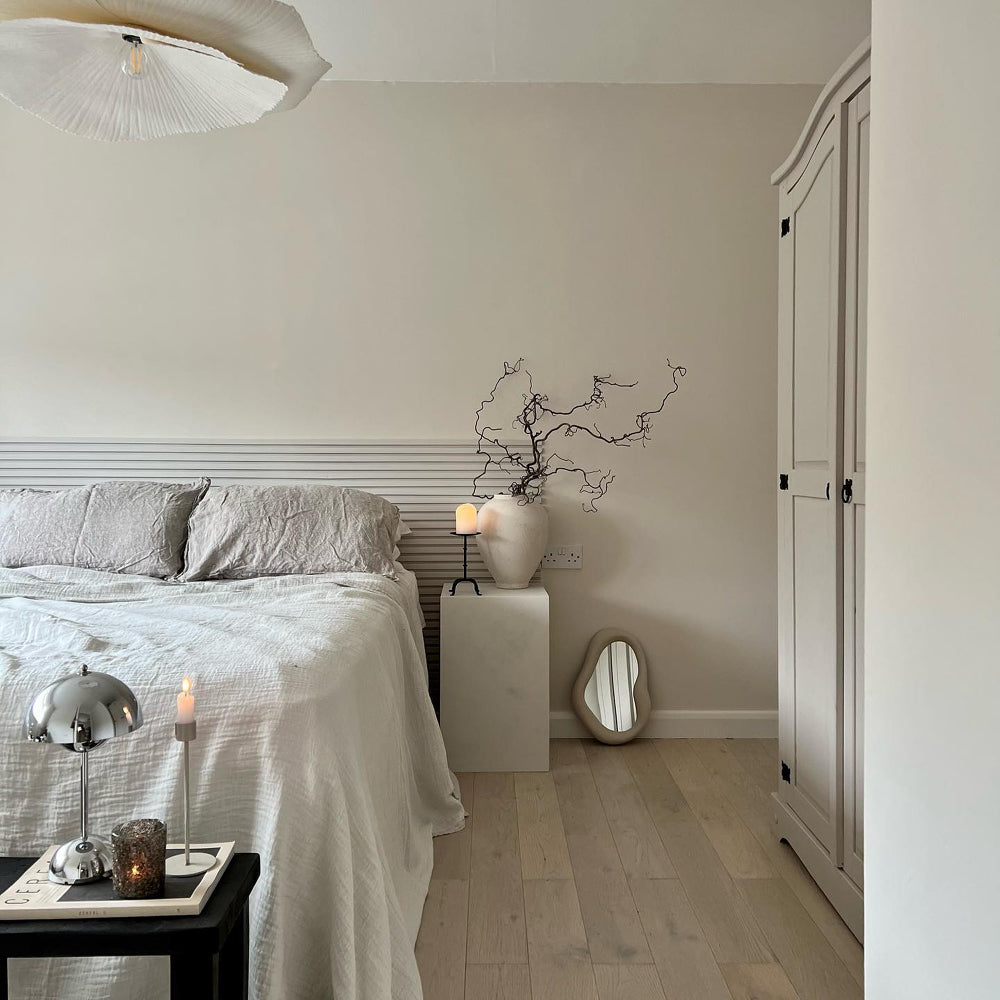
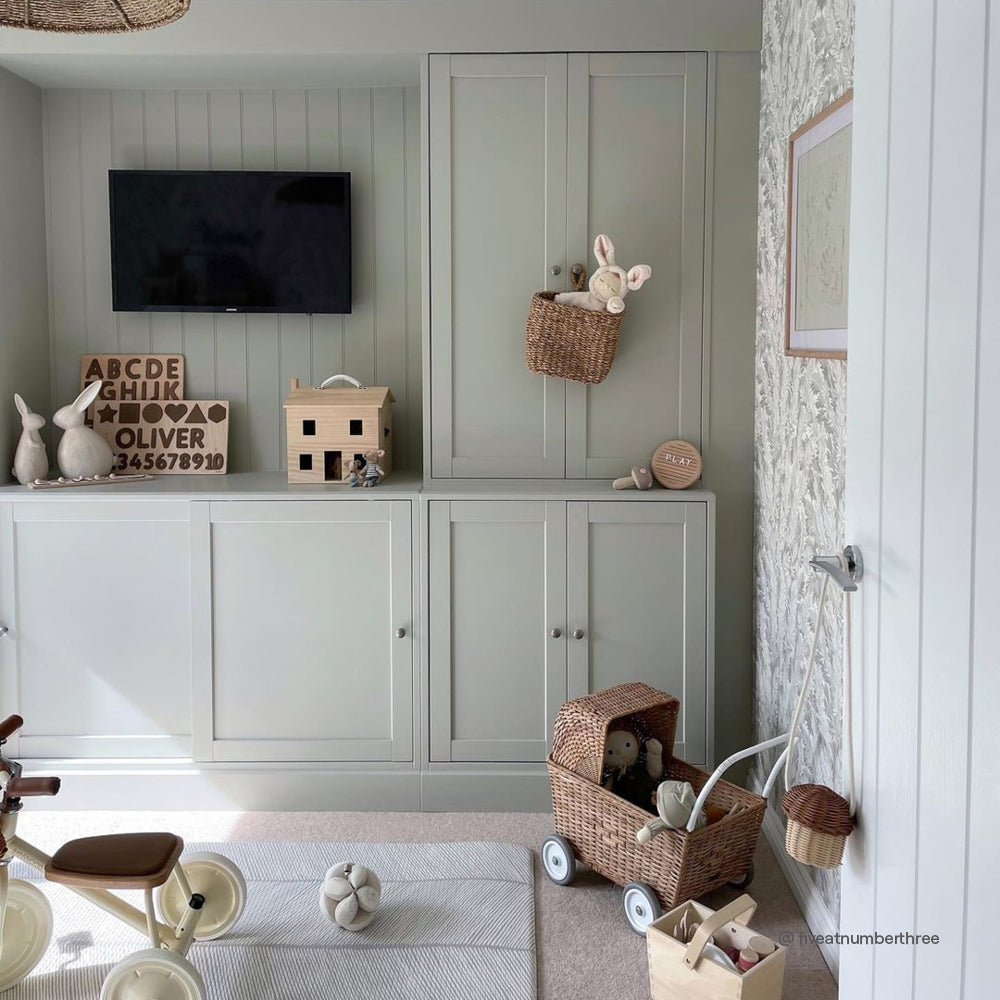
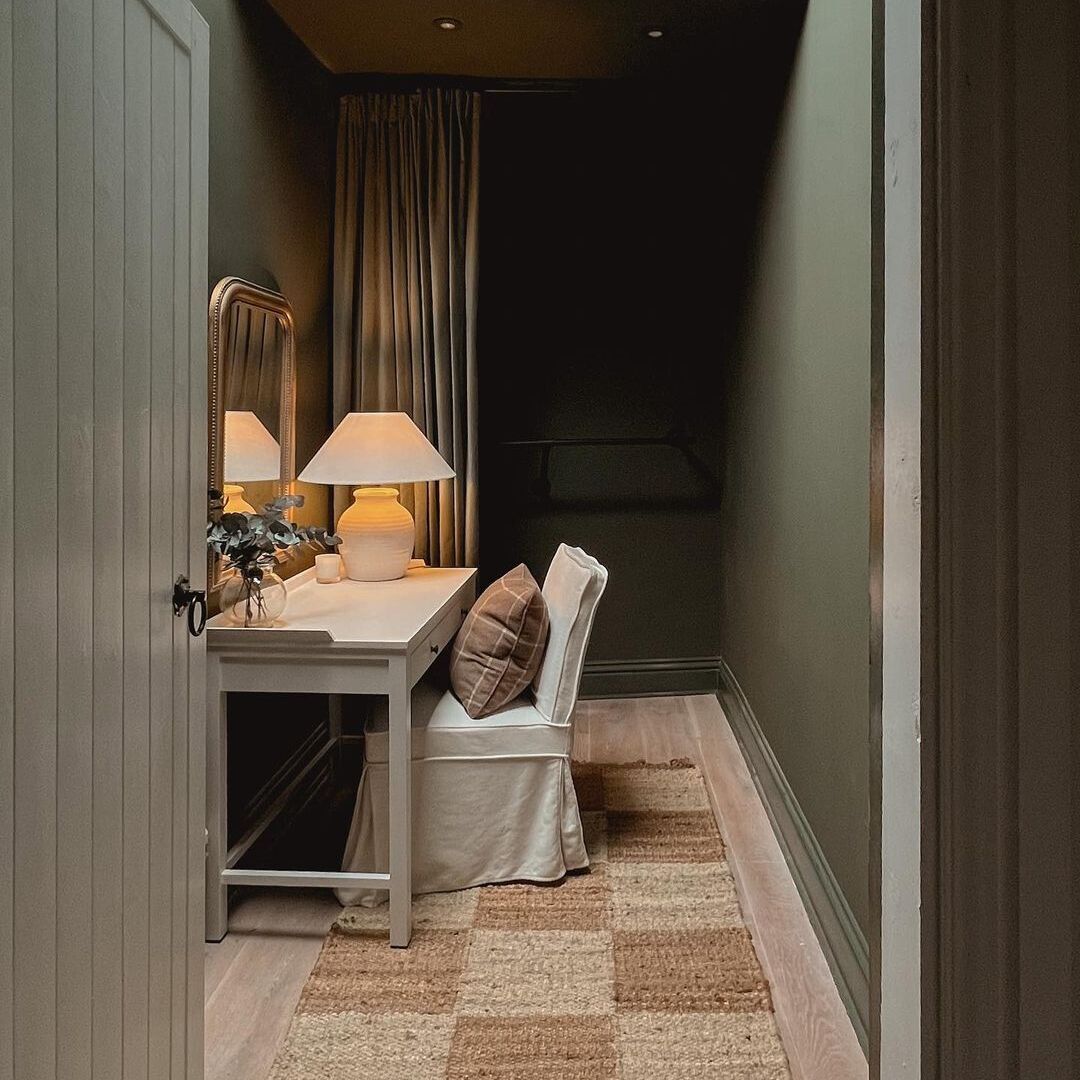
@the_disco_house using '2AM' in eggshell for a chic IKEA wardrobe transformation, who would have thought it?
What You Need To Paint Your Wardrobes
Before you can really get started, you should make sure you have all the tools and supplies you need. Don’t worry, the list is quite short:
- A suitable primer and paint for wardrobe doors
- Sandpaper, and possibly a sanding block
- PPE, including safety goggles and a dust mask
- A vacuum with a good filter
- Sugar soap and a damp cloth
- A place to lay out the doors horizontally
- A set of screwdrivers (for removing the doors)
Now that you’ve gathered your materials, set aside a solid day to accomplish your project to a professional level. You may be disappointed in the results if you rush yourself.
Prepare Your Workspace
Now, painting bedroom wardrobes or any large piece of furniture doesn’t have to be particularly messy, but painting is still painting. You’ll want to prepare the area you’ll be working in to minimise mess and potential problems.
Don’t worry, though. This part won’t take you all day.
If you are working on a discrete piece of furniture, lift it up one side at a time and slide a tarp under it. There will be drips, and you don’t want to put your carpet or floor at risk. If you are working on a fitted wardrobe, that won’t be possible. Just tuck the tarp or a drop cloth in as close as you can to the bottom, and consider masking your floor.

@west_london_carpentry showing us how it's done using 'Record Store' on the outside of this wardrobe.
Remove the drawers, doors, shelves, rail and any other removable piece or attachment in the wardrobe. Trying to work around them will be a nightmare. While you’re at it, take off all the hardware – that is, the handles, hinges and other metal bits.
You might as well steal a march on one of the latter steps by placing the drawers on the edge of a worktable now, with the front of the drawer overhanging the edge of the table by at least an inch. That will make them much easier to paint later.
Clean Your Wardrobe
Don’t skip this part! Painting old wardrobe doors to a professional level of quality can be very easy and trouble free, or it can be a nightmare which looks awful. Dirt doesn’t even have to be visible to affect the way new paint goes on, and any oily or waxy residue can prevent the paint from adhering at all. Worse, hidden pockets of grit and dust in the cracks and crevices will sneak out and ruin your nice, clean new pain. It’s your choice, but we suggest you just accept that you’ll need to clean the thing.
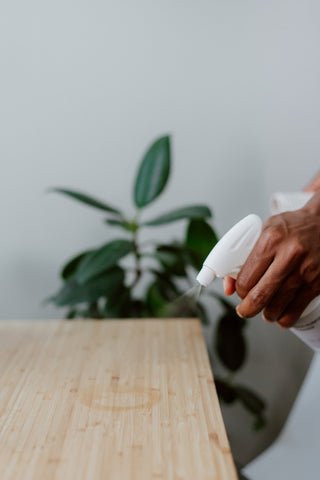
If the piece is already painted, use the cloth, the warm water, the bucket and the sugar soap on it.
If you are painting old wardrobe doors with a varnished finish, use a cleaner containing trisodium phosphate (It may simply be called ‘TSP’ on the label. If you do use a TSP-based cleaning product, wear rubber gloves to protect your skin.
Now, it is vital that you let the wardrobe dry completely before you tackle the next step. In a hot, dry summer, this will be no problem at all. If local conditions are cold and/or humid, drying could take a full day or even more.
Smooth The Surfaces
There are plenty of good reasons to sand a wooden surface before you paint it. If the surface has been damaged or weathered, a good sanding can remove many shallow scratches and cracks entirely. It can also level the entire surface out to match any worn-down areas. Sanding a surface creates exactly the kind of micro-abrasions new paint bonds to best, and it can remove the surface layer of sealant or finish to allow the new paint to penetrate deeper into the wood.
Mainly, though, the reason to sand first is that you will almost always like the results better if you do. If this sounds boring, take heart! We’ll have more exciting wardrobe painting ideas later, and they need a smooth, even surface to work.
Put on that breather mask and the goggles now. Start with a sandpaper rated at anything from 220- to 120-grit. This is classified as medium or fine grain, and that’s really all you need. Anything courser or more aggressive will be more likely to damage the wood than to repair it.
If you do have deep cracks or gouges, do not try to sand them down. Just fill them with Polyfilla or any other gap-filler, allow to dry, and sand as normal until you get a smooth, easily paintable surface.
Apply The Primer
Priming wardrobe doors before painting is an absolute must, and We’ll tell you why. Using a high-quality primer like our Multi-Purpose Primer will do several good things for you. It will help protect the wood of the door against the damp, it will give you an even smoother surface upon which to paint (you didn’t skip sanding, did you?), and it will ensure that your new colour goes on evenly even if there are different colours or gap-filled areas on your door.
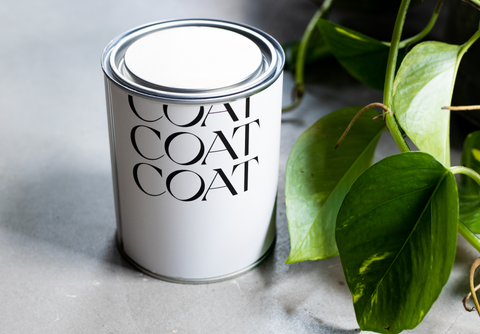
Use a fresh brush and a high-quality primer rated for the type of surface you are painting. Apply a single, thin and even coat across the entire upper and front surface of the door. If you intend to paint the backs of the doors as well, allow the primer to dry (according to the instructions on the tin, but expect to leave it for at least 2 hours), then flip the doors and do it all again.
Once both sides are dry, check that the primer coat is smooth and even. If it is not (and especially if there are drips or bubbles), sand it down with a very fine-grit sandpaper. Don’t forget to wear your PPE while sanding.
Paint, Sand, Repeat
Now, assuming you have a good supply of the best paint for wardrobe doors *wink wink, – you’re ready to get started.
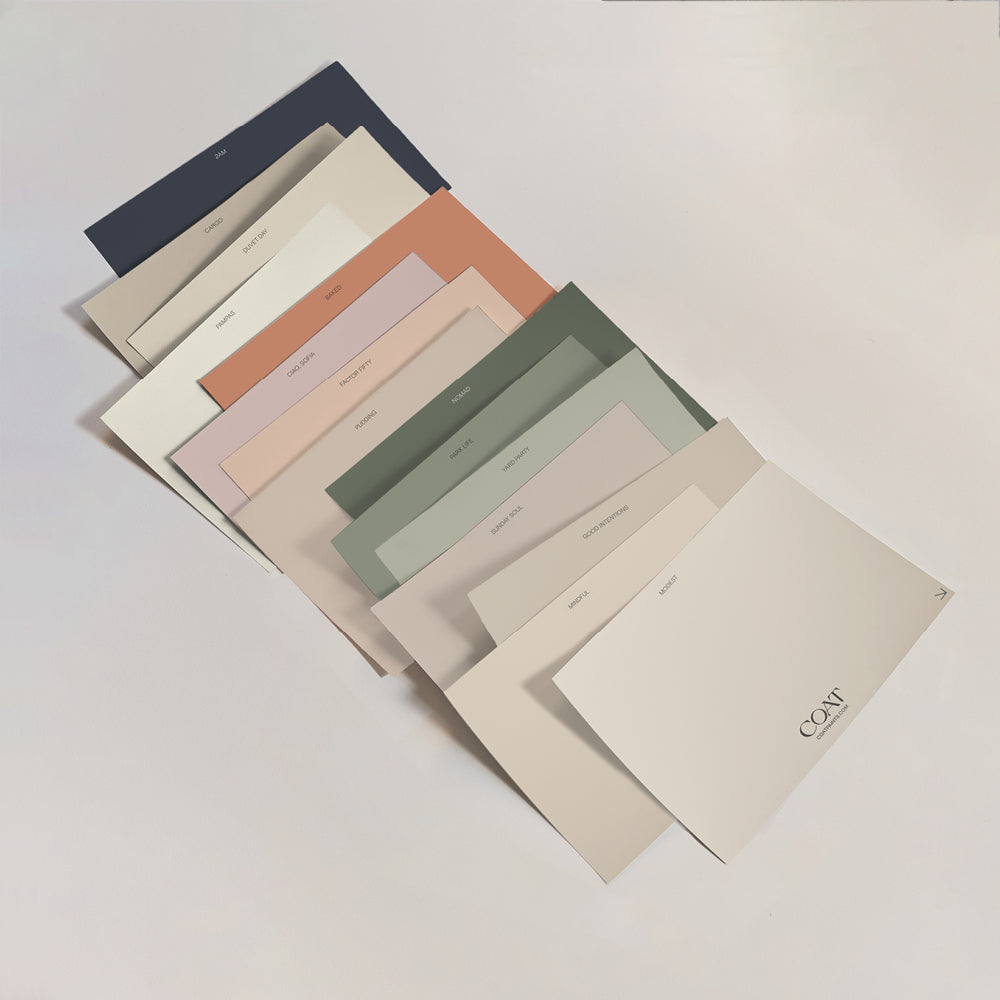
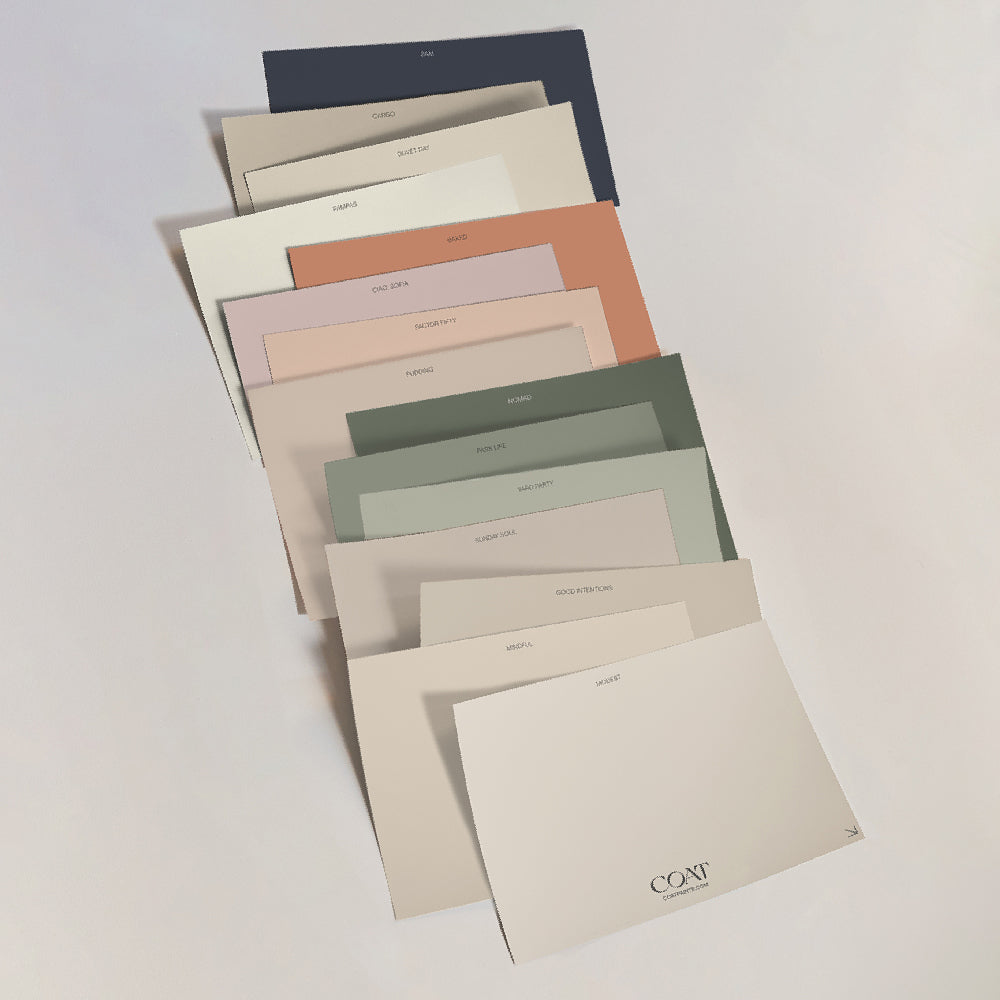
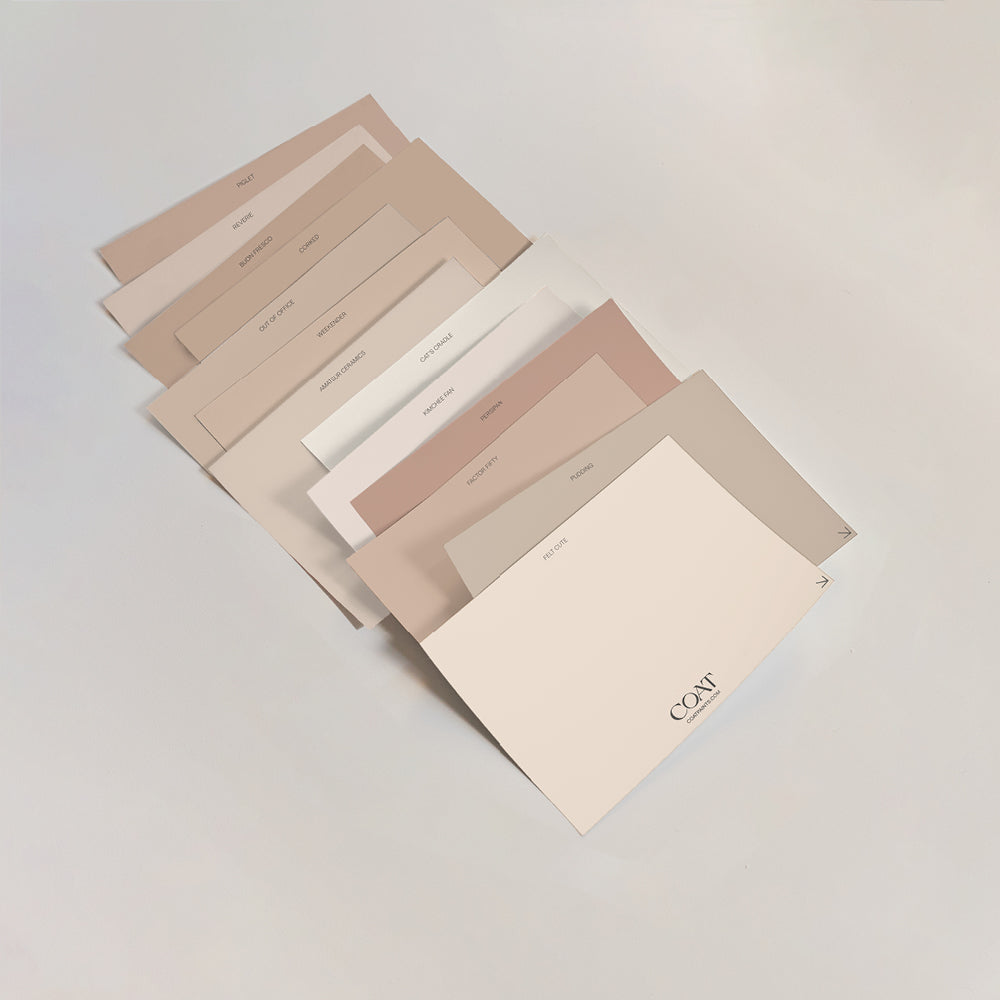
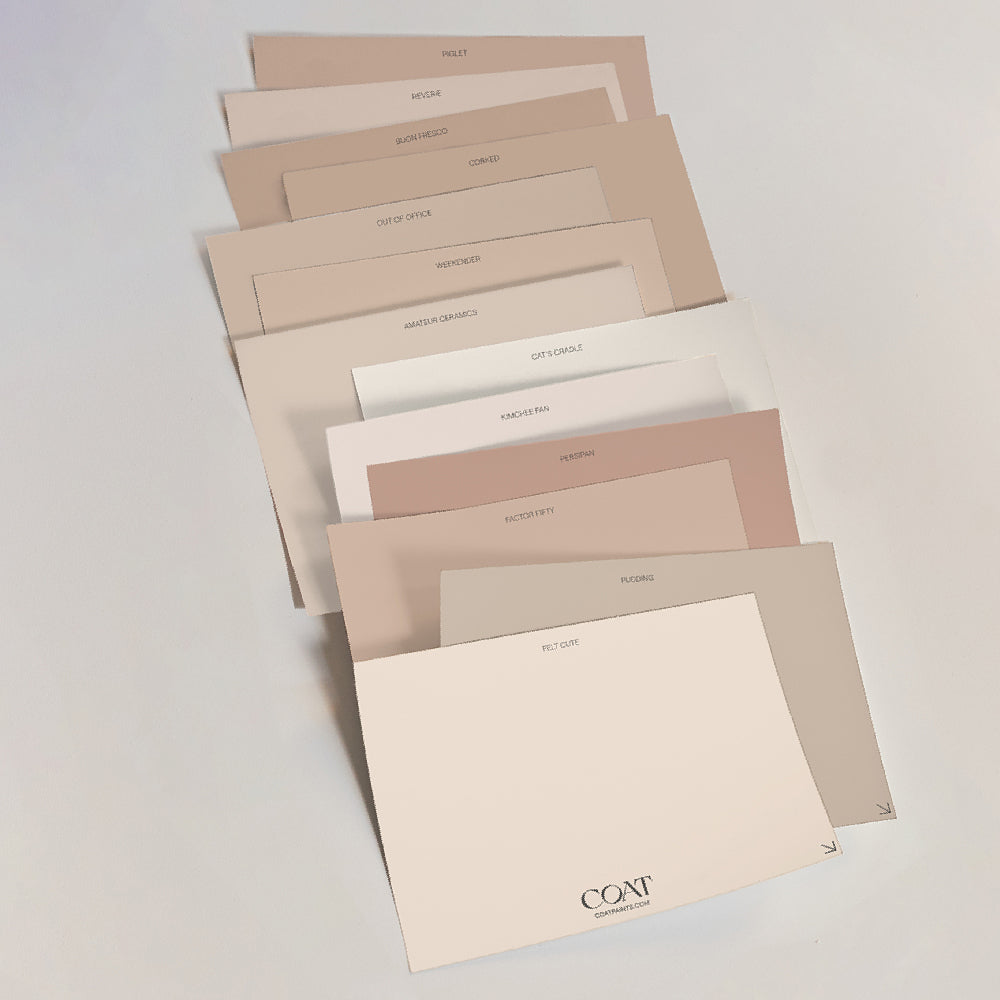
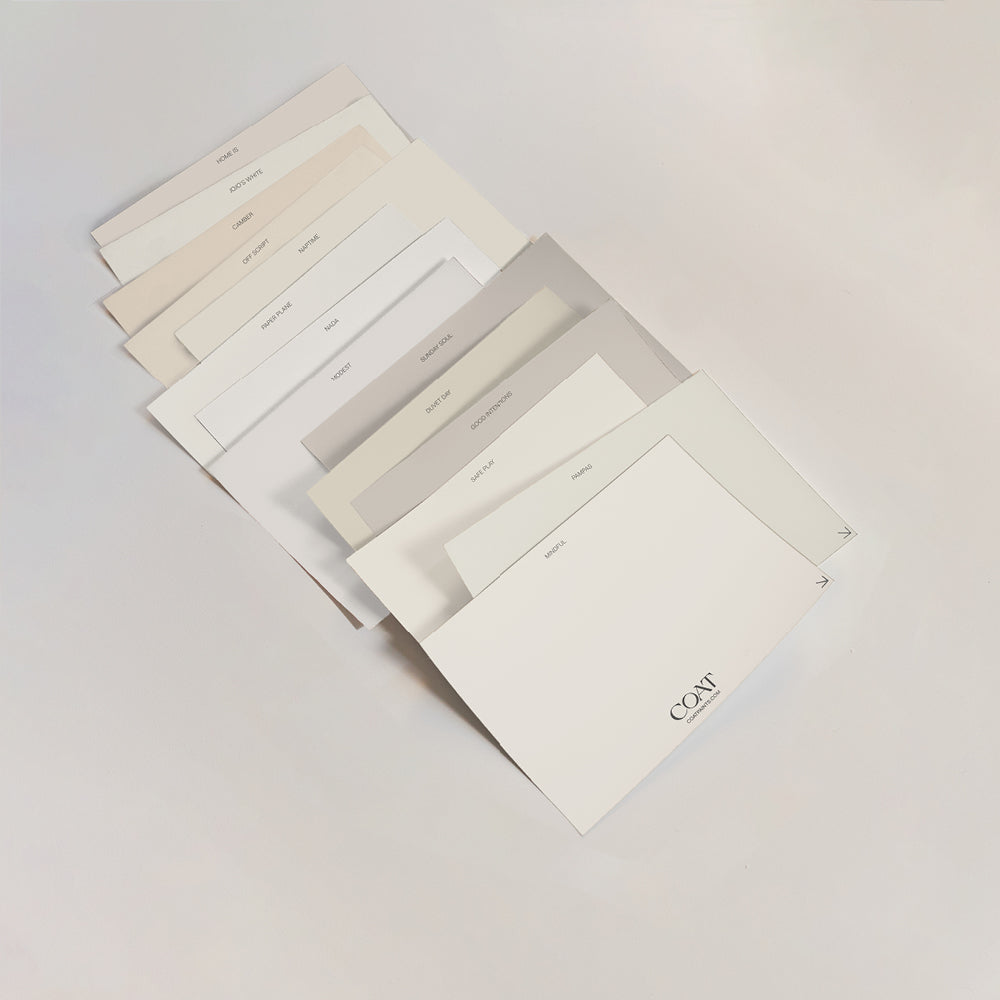
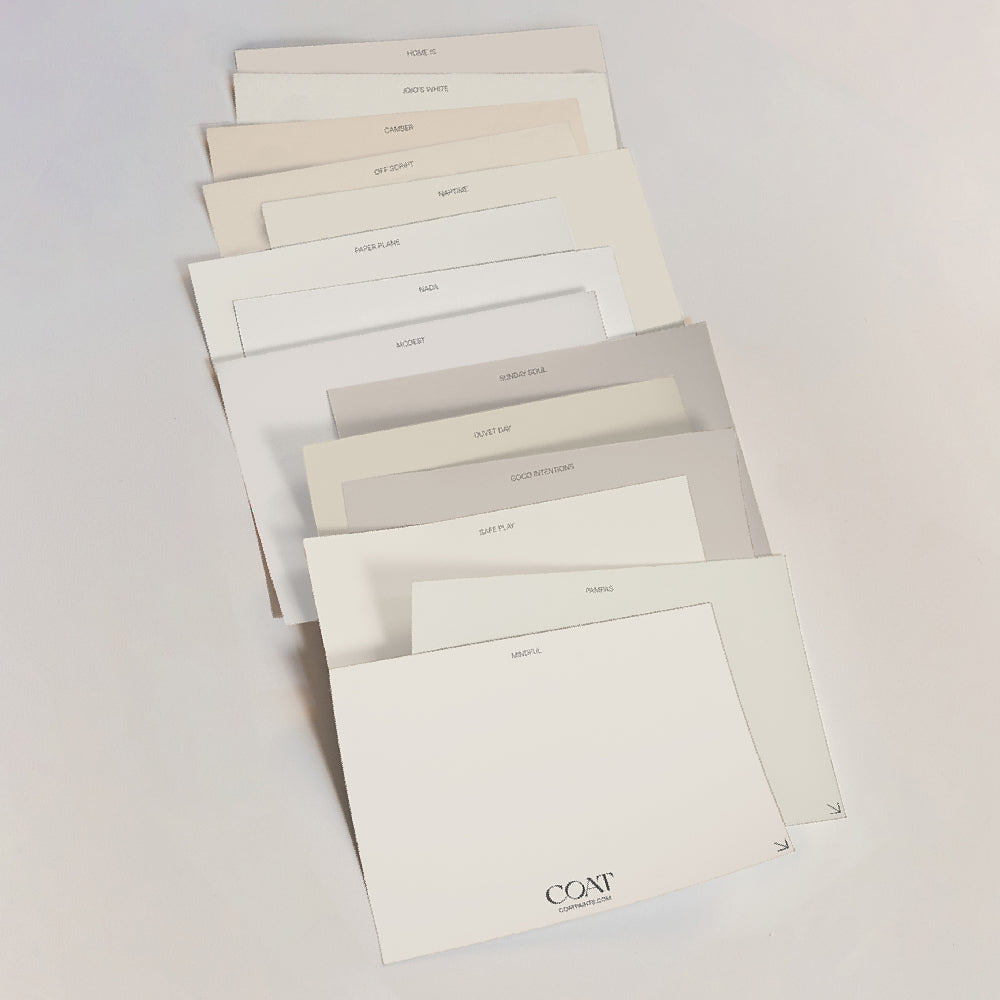
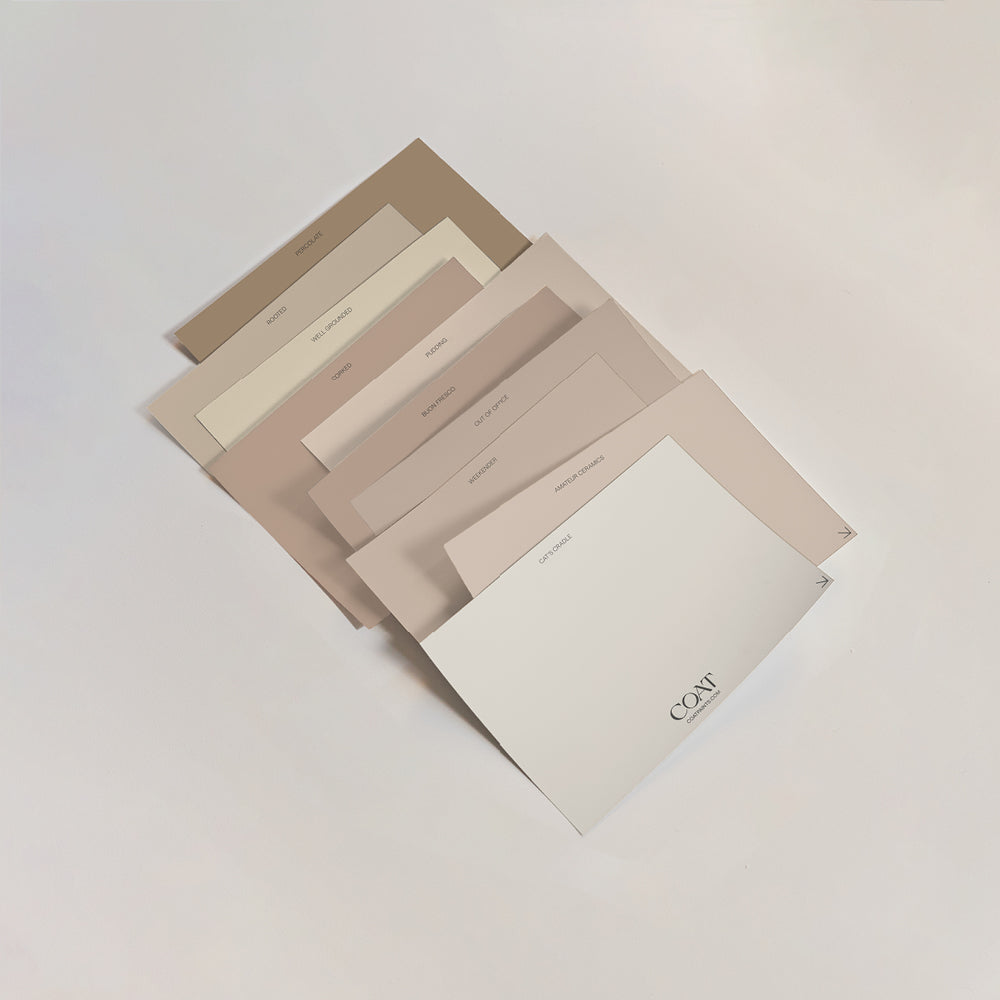
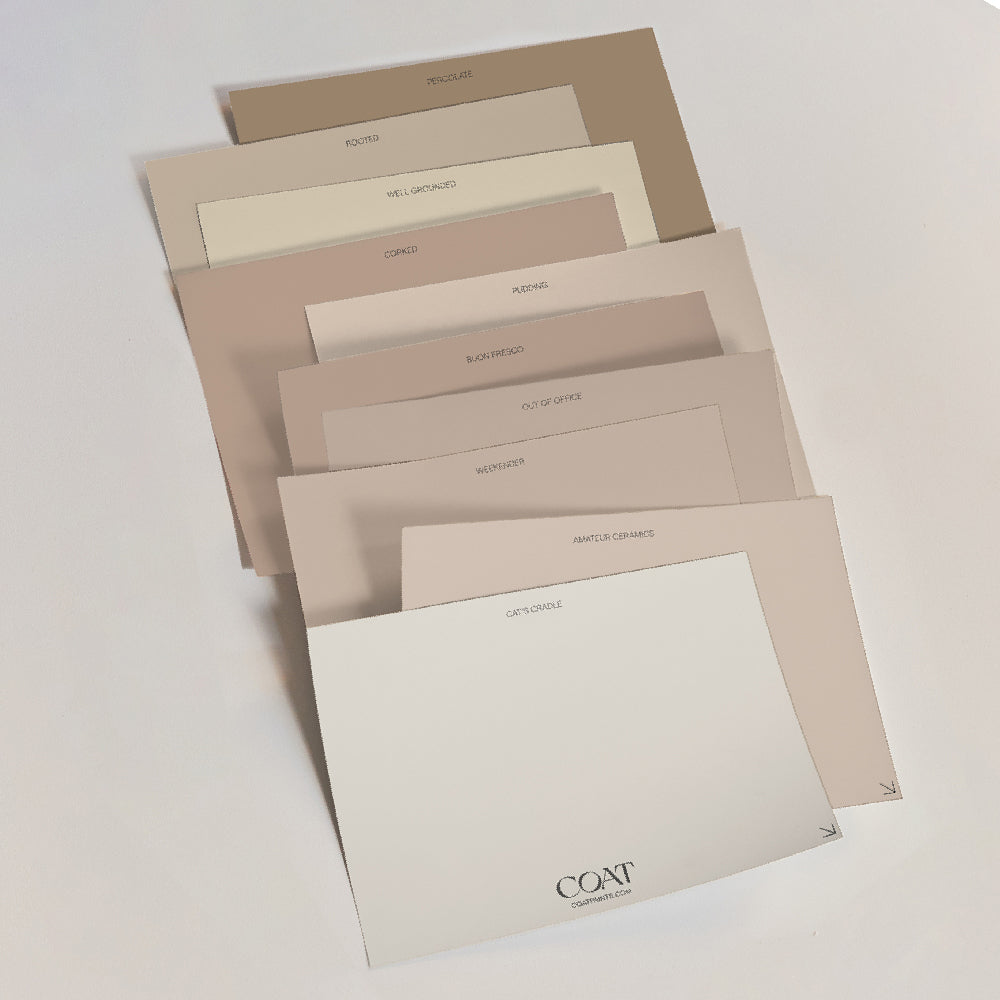
Check out our Eggshell Paint which is perfect for wood and metal surfaces, order your samples to test out our colours for yourself.
Begin by applying a smooth, thin and even coat of paint to the entire surface you are painting in one go. There will rarely be much call for paint rollers when painting furniture, so a stout brush should be all you need.
Just like when we primed, do one surface of the doors at a time, wait for them to dry, then flip and do it again. You will probably want to paint the wardrobe walls in-place, so make sure to use a thin coat on the vertical surfaces to avoid drips.
Remove any irregularities with fine-grit sandpaper, wipe away all the dust with your cloth, and apply coat number 2 the same way.

Ta-dah! There you have it, a perfectly painted wardrobe. How beautiful are these two tones @west_london_carpentry used?
Aftercare
Now that you have a brand-shiny-new painted wardrobe (shh…nobody will have to know), you’ll want to keep it looking nice for as long as possible and our Eggshell Paint means that you can do just that. It's high-grade quality and has a matt-ish finish, made with high quality ingredients to combat knocks, scuffs and scrapes for years to come so you won’t need to worry about unwanted marks.
If you want to rehabilitate your brushes after painting, we suggest washing them with a specialty brush cleaner, or with good old-fashioned white spirits. If you do so before the paint dries your brushes into bricks, you can use them again and again.
Like what you’ve read and caught the DIY bug? We’ve got way more for you, head to our blog on ‘How To Paint Radiators’ and you can do your whole room at the same time.
Publish Date
Author







Leave a comment