How To Paint Radiators
When you paint a room, the odds are there’ll be a radiator to paint too. Maybe a couple. Whilst it’s not super difficult, there are a few things to think about when painting radiators. The age and type of radiator, whether it’s been painted before, the position of it and not least the colour scheme!
We’ll take you through how to paint a radiator using COAT radiator paint, with expert guidance from DIY specialists Steph & James of @walkingparquet.
Why paint your radiators?
Aesthetically, radiators aren’t always pretty. OK so the ones we’ve used in this post are possibly the sexiest rads you’ll ever see (we couldn’t help it) - but it’s not always the case.
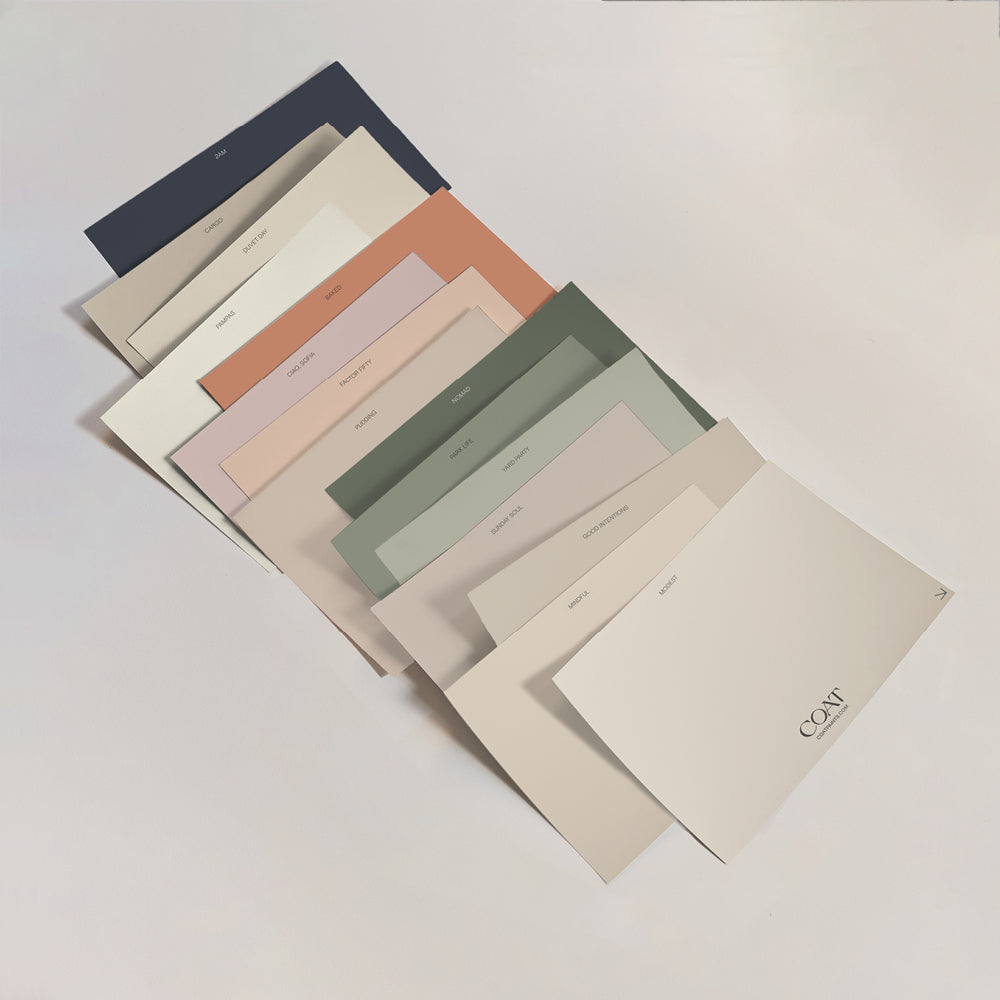
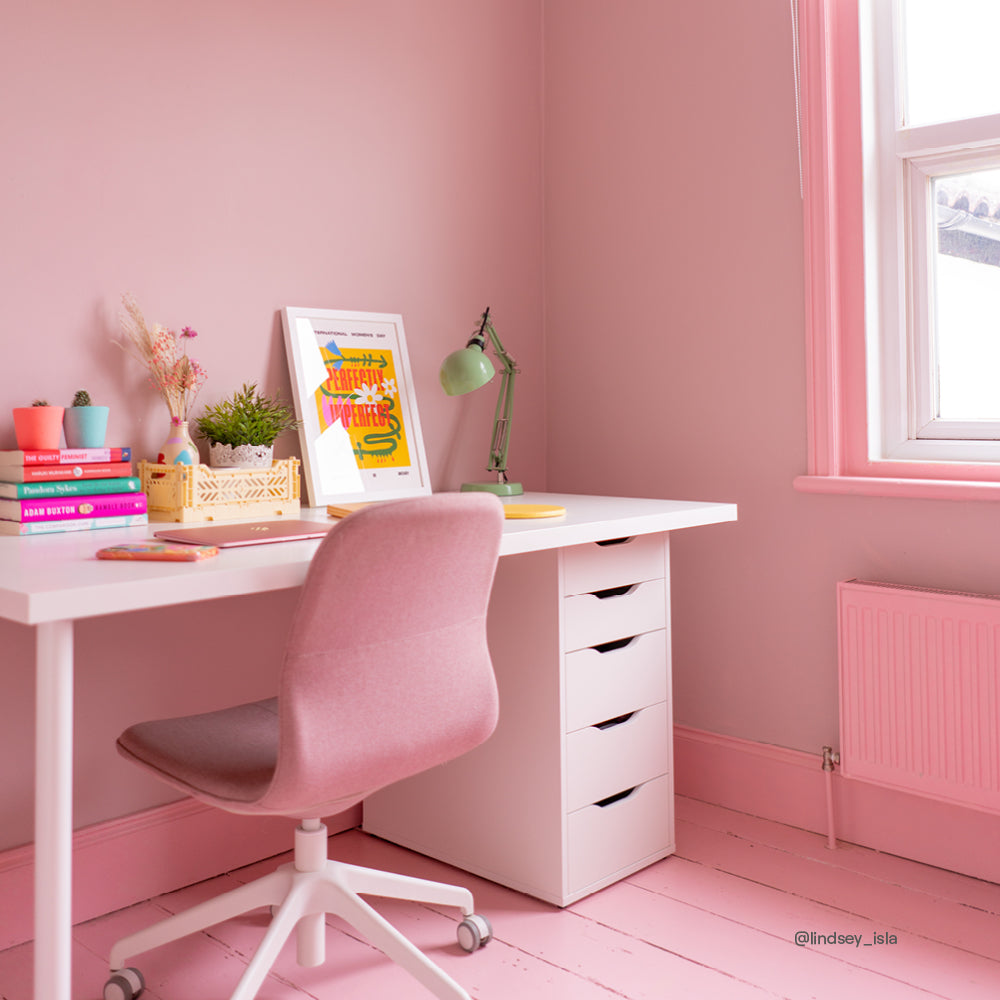
Painting your radiators a complimentary or contrast colour is the perfect way to either hide or accentuate them. Your classic white radiator will pop-out on almost any wall colour, but painting it the same colour as the wall can help it blend in if that’s what you want. Alternatively going for a strong dark colour like David Rose or 2AM can make a feature of the radiator if it’s a pretty one. All COAT colours are available in Metal Radiator Paint as well as Flat Matt Wall Paint, so do your thing.
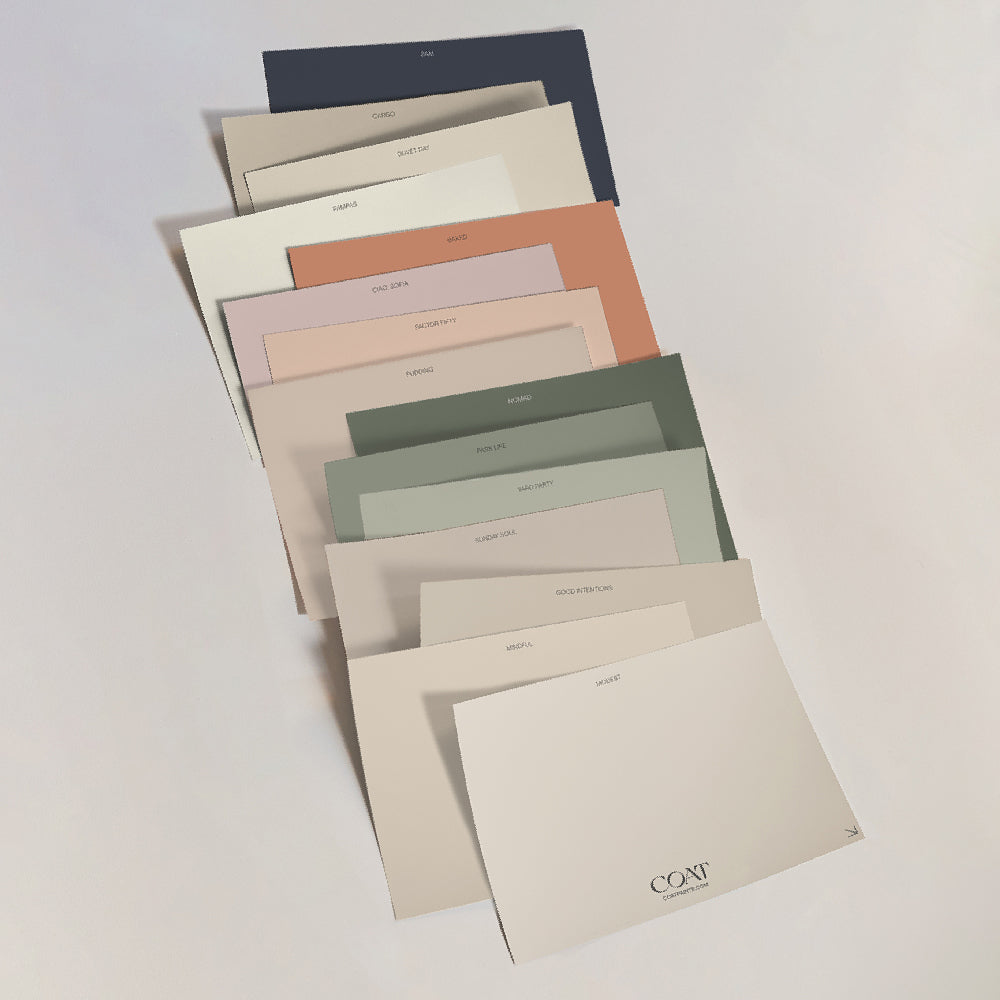
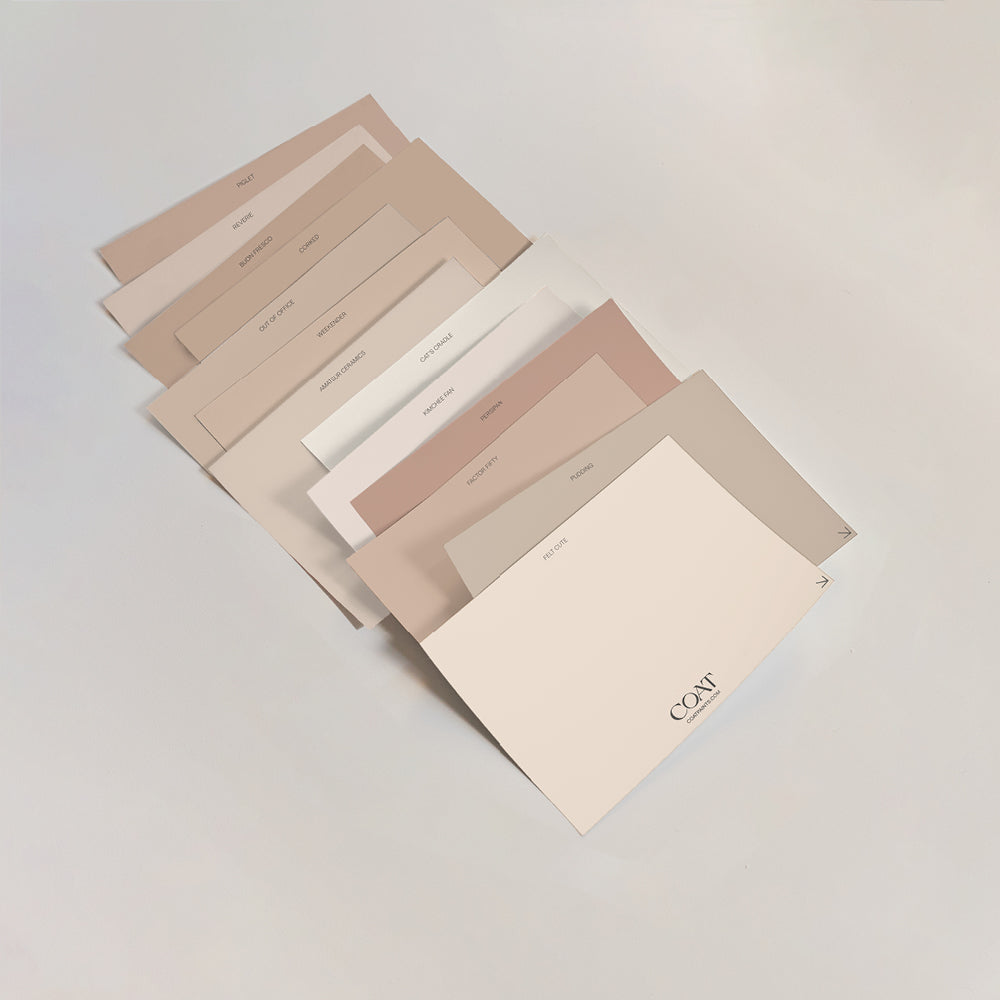
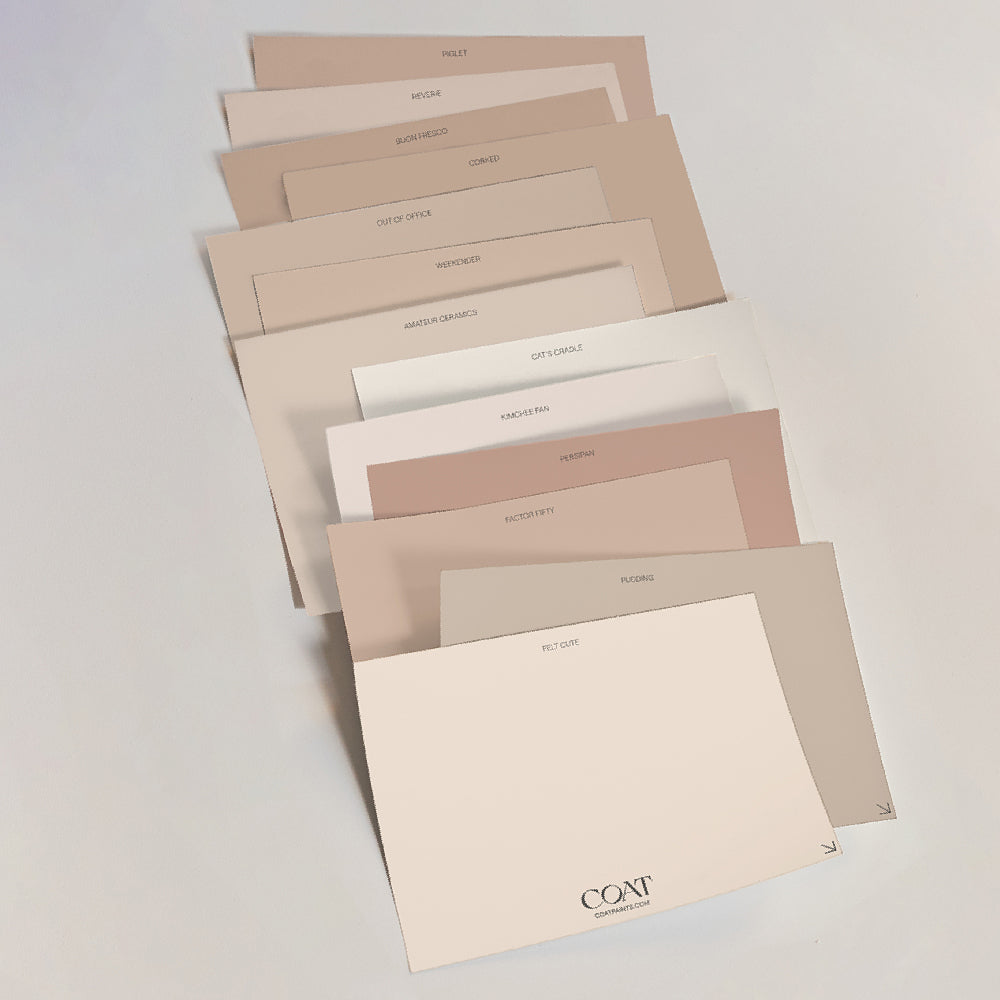
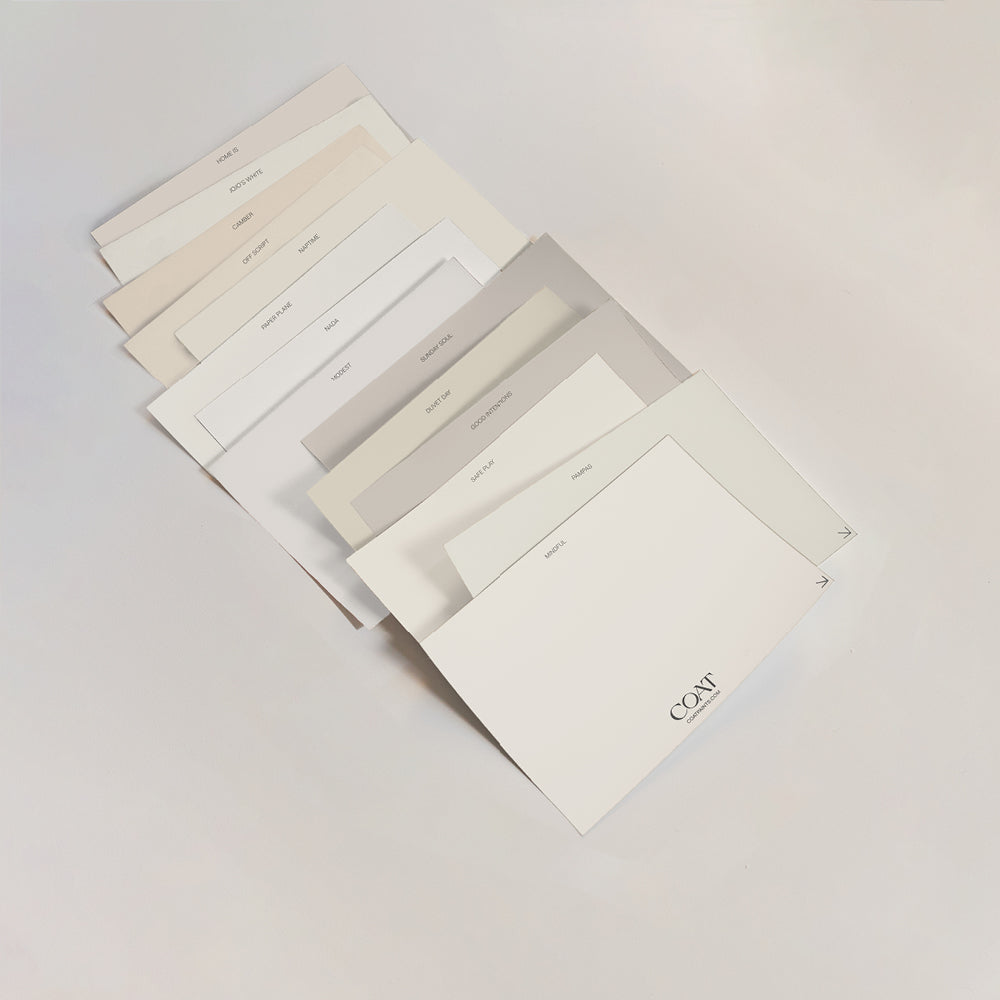
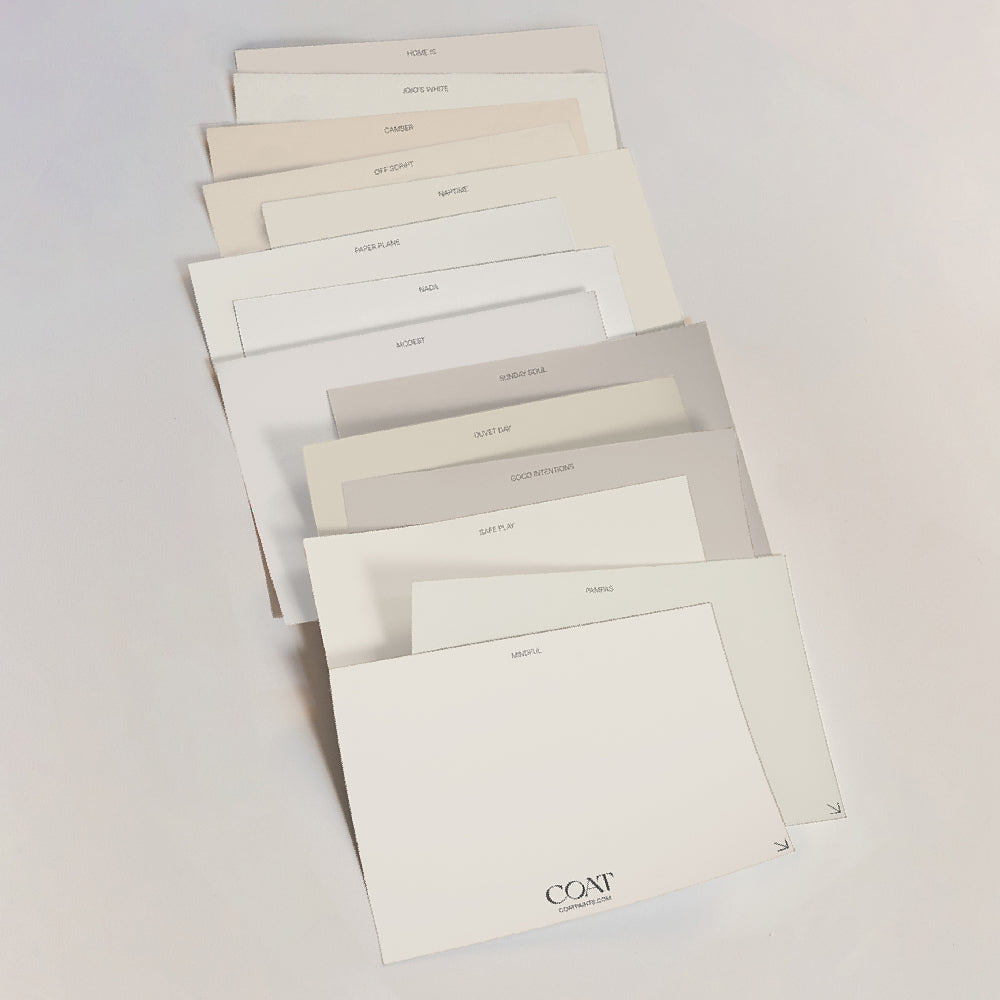
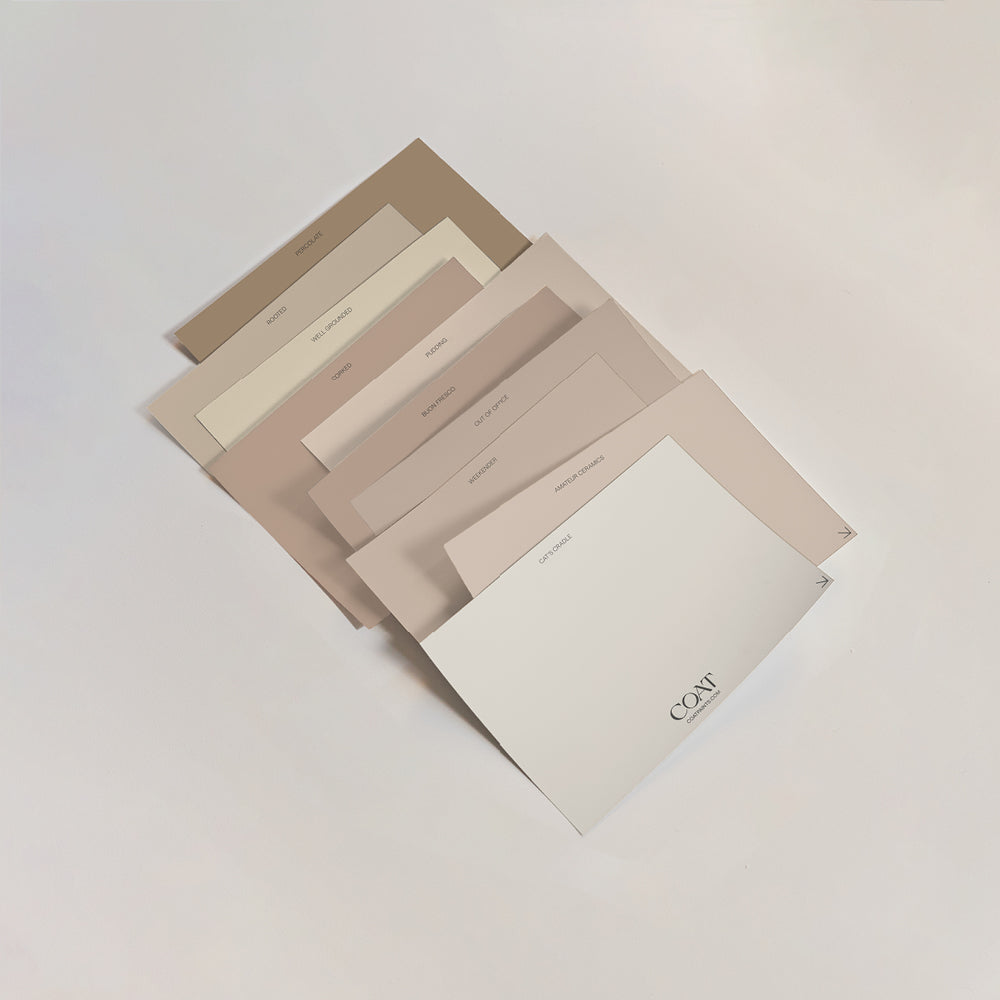
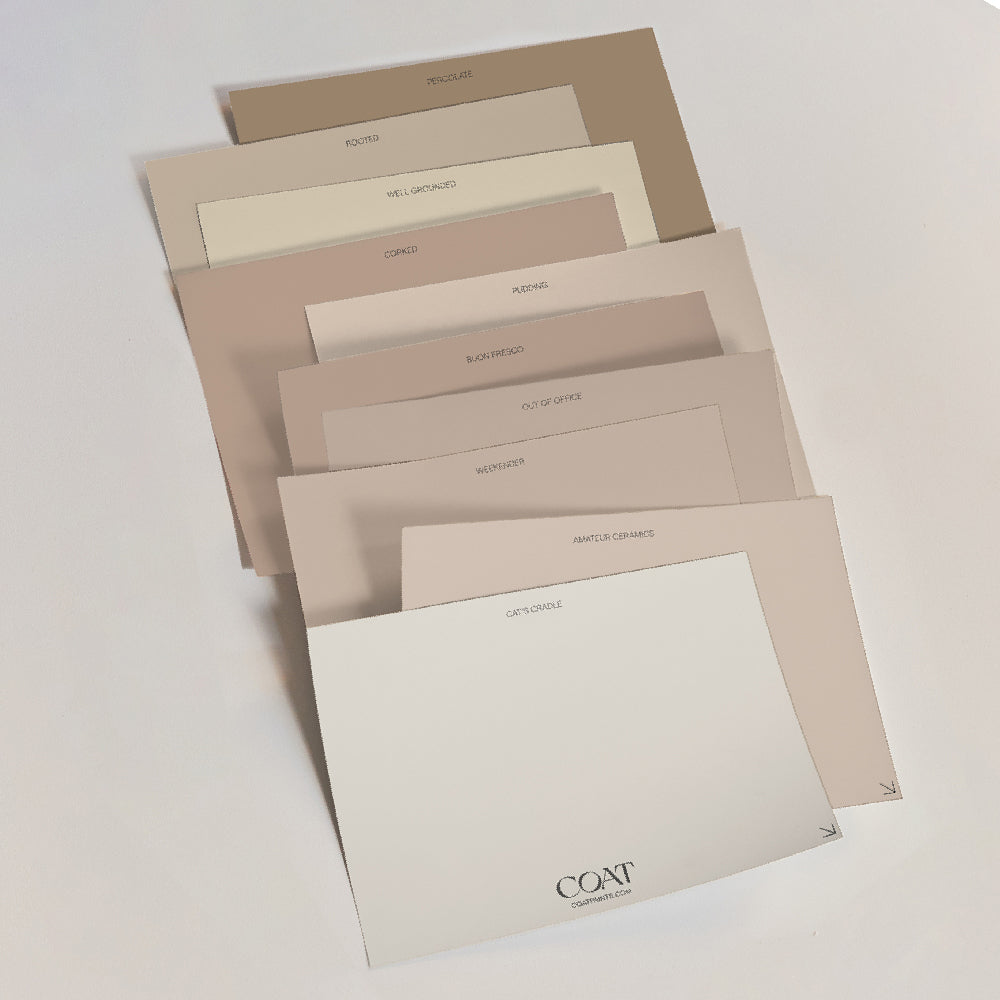
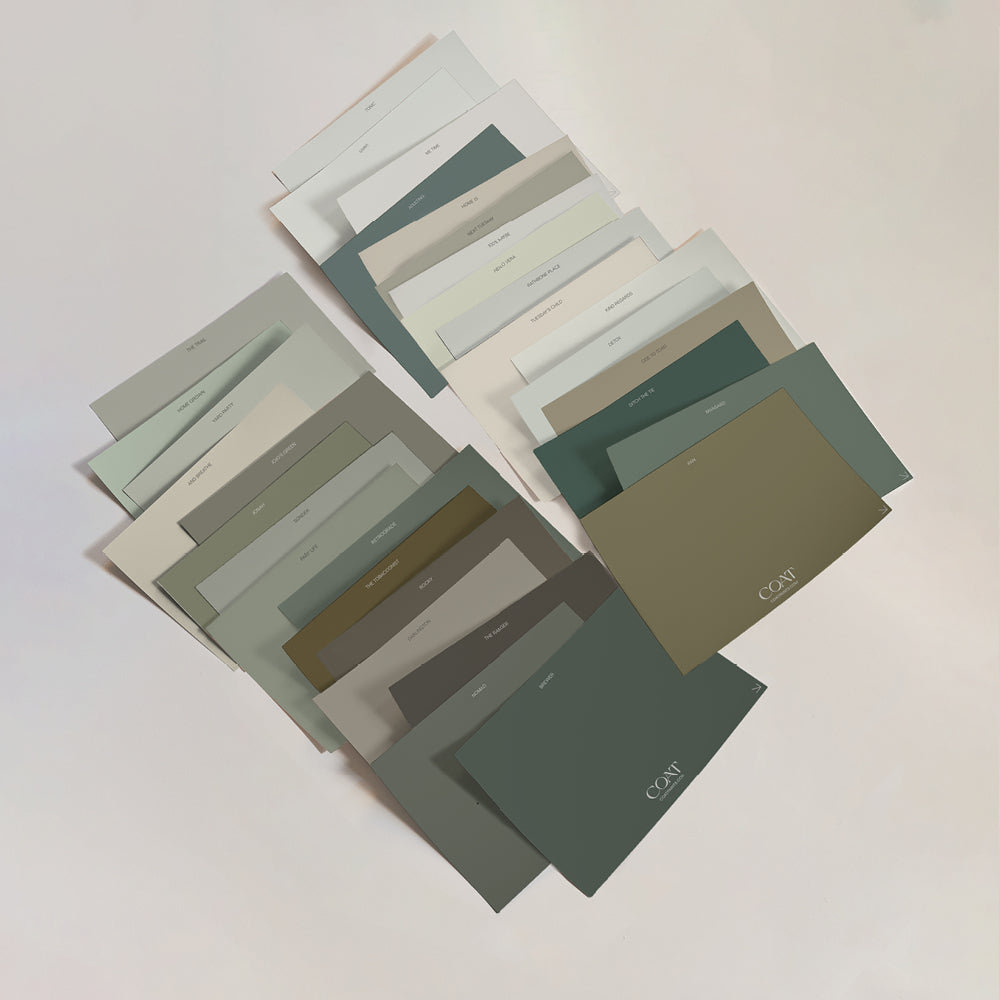
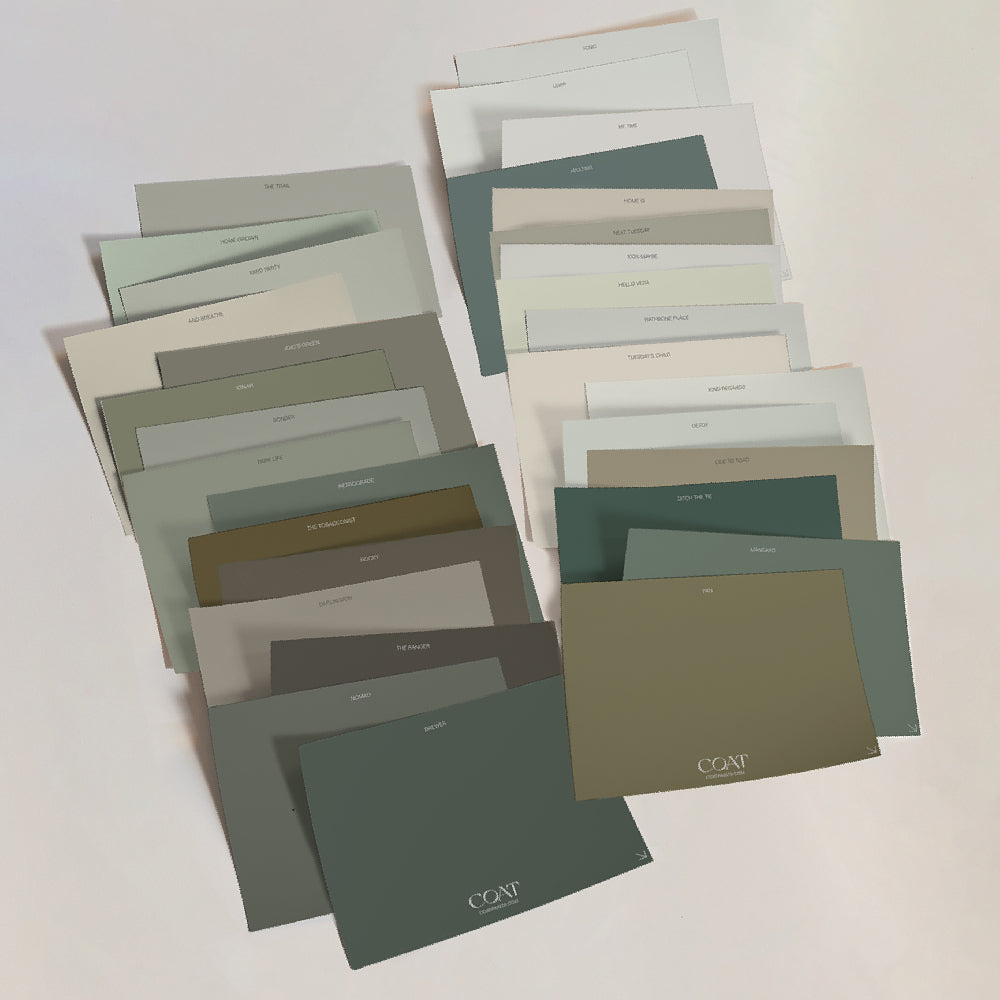
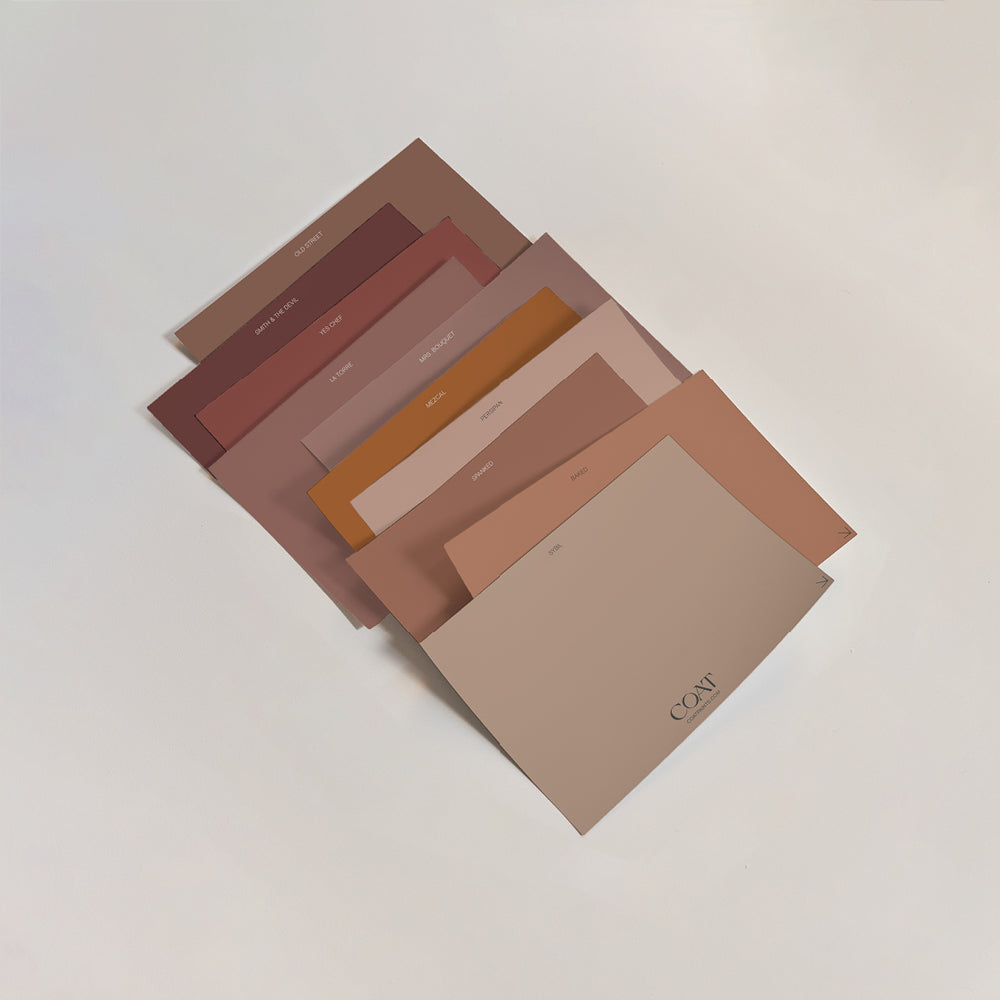
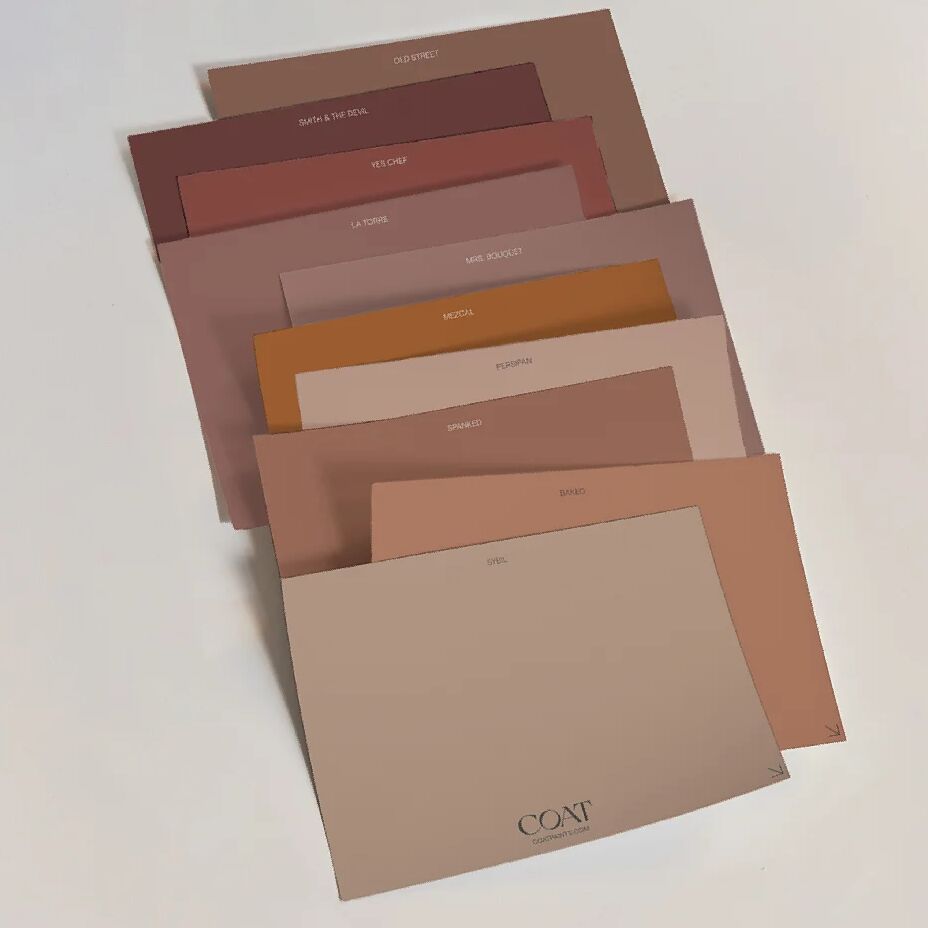
Try Peel & Stick Colour Swatches made using real paint 👏

@walkinparquet before they worked their DIY magic
What do I need to paint a radiator?
You’ll need some supplies to make it super easy. You’ll get these from most hardware stores, and your Radiator Paint from COAT obvs:
- Protection for the floor - dust sheets or ideally a tarp of some sort
- Dirty clothes - if they aren’t at the start, they will be at the end
- Sandpaper - 180 grit is a fine grade, probably the best for sanding radiators
- Radiator primer - only if your radiators are brand new (unpainted/primed), or there’s a high-gloss paint underneath
- Radiator Paint - COAT metal radiator paint is expertly formulated for the job. 1L of Radiator Paint will do two radiators for a couple of coats.
- Paint brushes - good quality eco-brushes like COAT Supplies are the ticket
Important: we’re going to assume you’re not a plumber, so you’ll be painting your radiators in situ. If you do want to take them off the wall it’s best to ask a pro for help.
Want to have all the gear and all the ideas? Shop our range of tools and painting supplies 🤩
Painting A Radiator Step-by-Step
Here goes. We think it’s about 2 hours work, plus some drying time where you can grab a brew. We’ve broken everything down and made it super easy here:
Step 1 - Turn off the radiator
Sounds pretty obvious, but if the radiator is even a little warm the paint might not stick properly. You could end up with a drippy finish.As usual when painting, make sure you crack a window too. COAT metal radiator paint is water-based and low-voc (that’s toxin to you and me…) but it still makes sense to ventilate the space.
Step 2 - Take the ends and tops off your radiator
You simply slide up the end panels! Did you know you could do this? Neither did we until recently!

Step 3 - Sand the radiator
This is an important step to ensure your new COAT paint sticks perfectly and the finish is super smooth. If it’s a brand spanking new radiator you can miss this part.
Using your 180 grit sandpaper, rub top-to-bottom and make sure you get into any grooves. You’ll get a fair bit of dust from this part so you might want a face mask, or a vacuum handy. Use a damp cloth when you’re done, to remove any dust and debris from the radiator.

Step 4 - Clean the radiator
A mild soap and warm water should do the trick, but you can use specialist sugar soap too if you like. The goal is to get a squeaky clean radiator so that the paint properly sticks and you get a beautiful smooth finish.

All COAT paint is water-based and low-toxin
Step 5 - Prime your radiator
If your radiator is brand new (raw, unfinished), was previously painted in an old-school gloss paint, or has some rust - you should prime it before applying your COAT metal radiator paint. Use a specialist interior metal primer, like Zinsser.
Apply it just like regular paint, using a brush to cover the whole area and making sure you get into any grooves. Watch out for drips that could ruin your final finish.
You can get metal primer in spray form. If you’re using that, just avoid spraying too heavily and definitely make sure you’ve got the windows open!
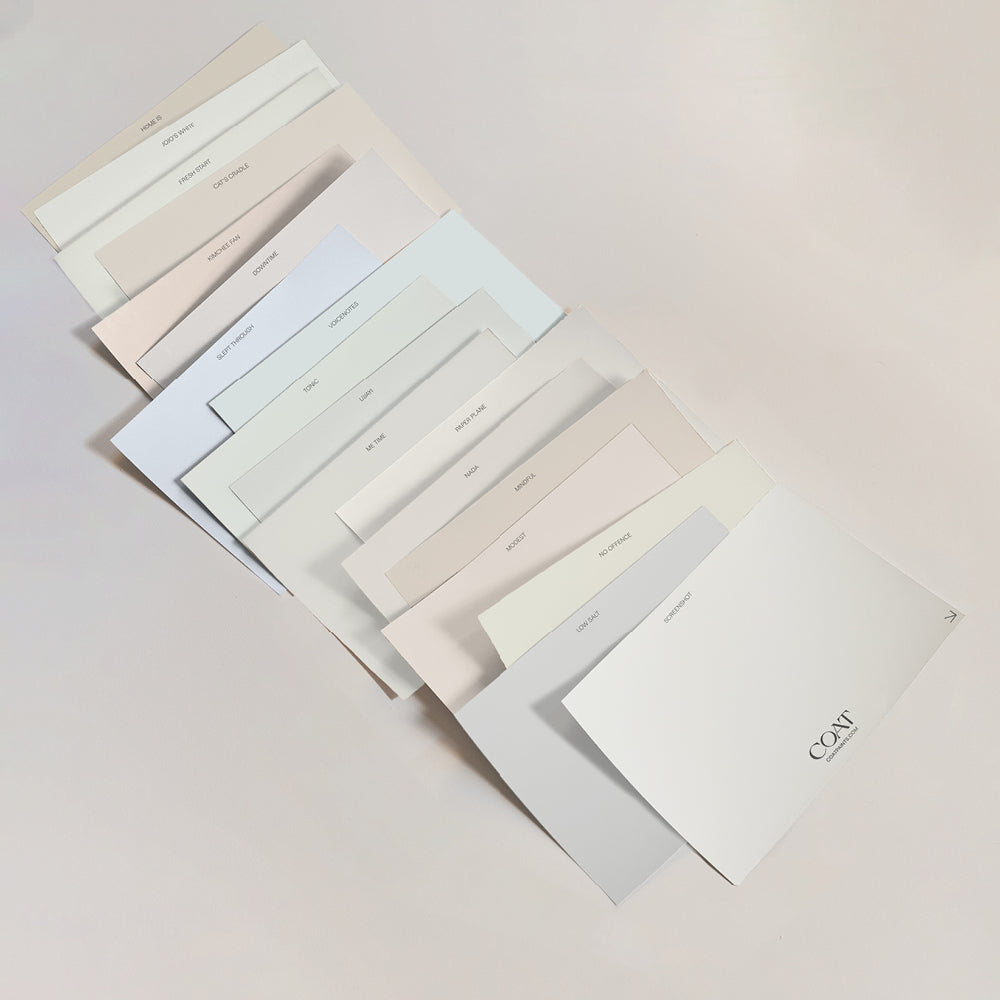
Try Peel & Stick Colour Swatches.
Some radiators come ready-primed, so best to check
Step 6 - Add your COAT paint
Not sure about what colour to go for? Chat with our Colour Consultant and get that vibe nailed 🙌
This is the fun bit - it’s time to apply your silky-smooth COAT topcoat. Use a quality paintbrush and apply in smooth strokes from top to bottom. Brushing the same way as the grooves makes for a smoother finish.
Don’t overload your brush with paint, or you might end up with drips especially around the bottom. Try to slightly overlap each section as you work side-to-side, and don’t forget the top and bottom lip too. Leave 2-4 hours between coats - you’ll need to apply two.

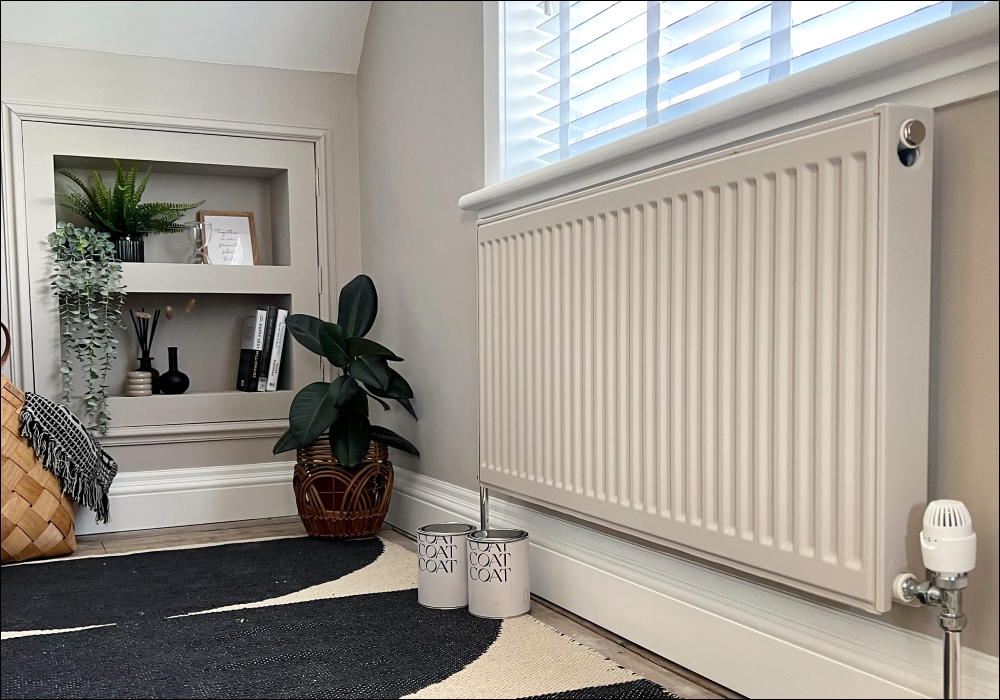
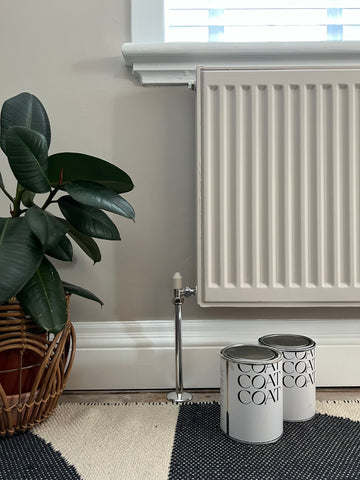
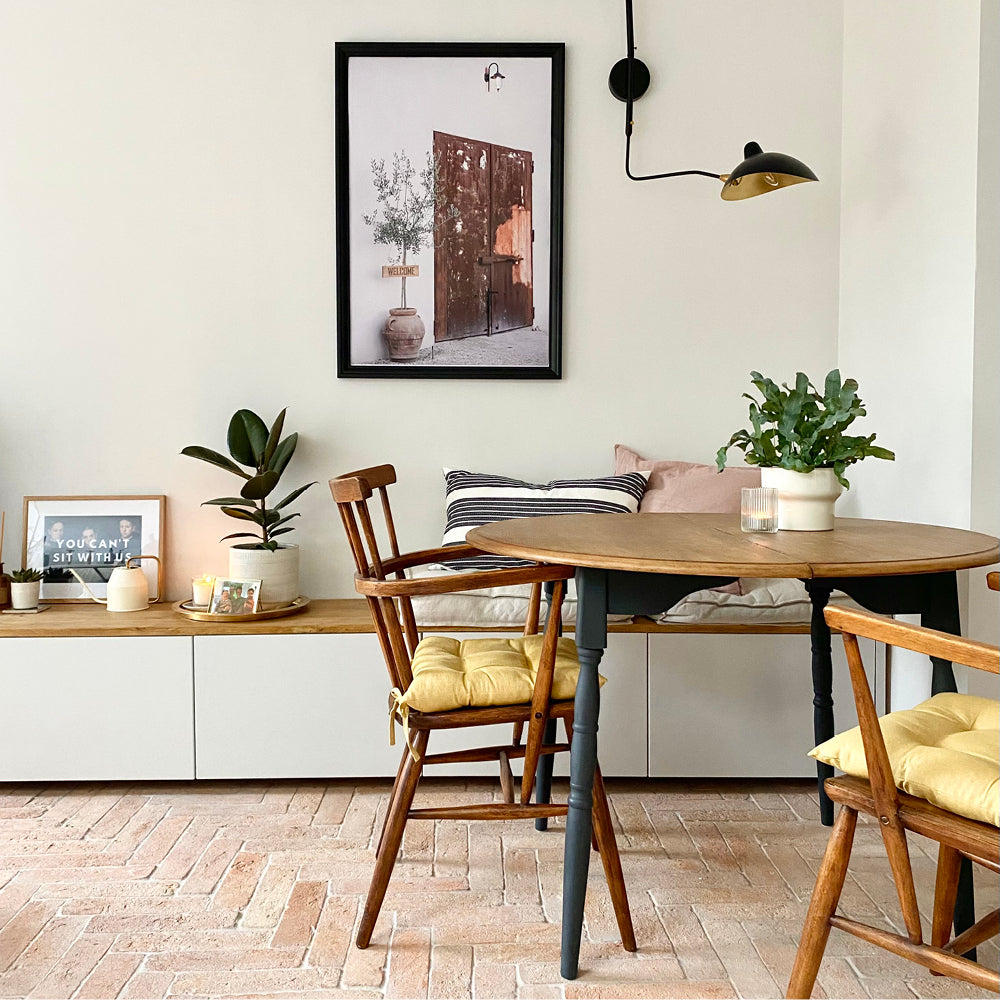
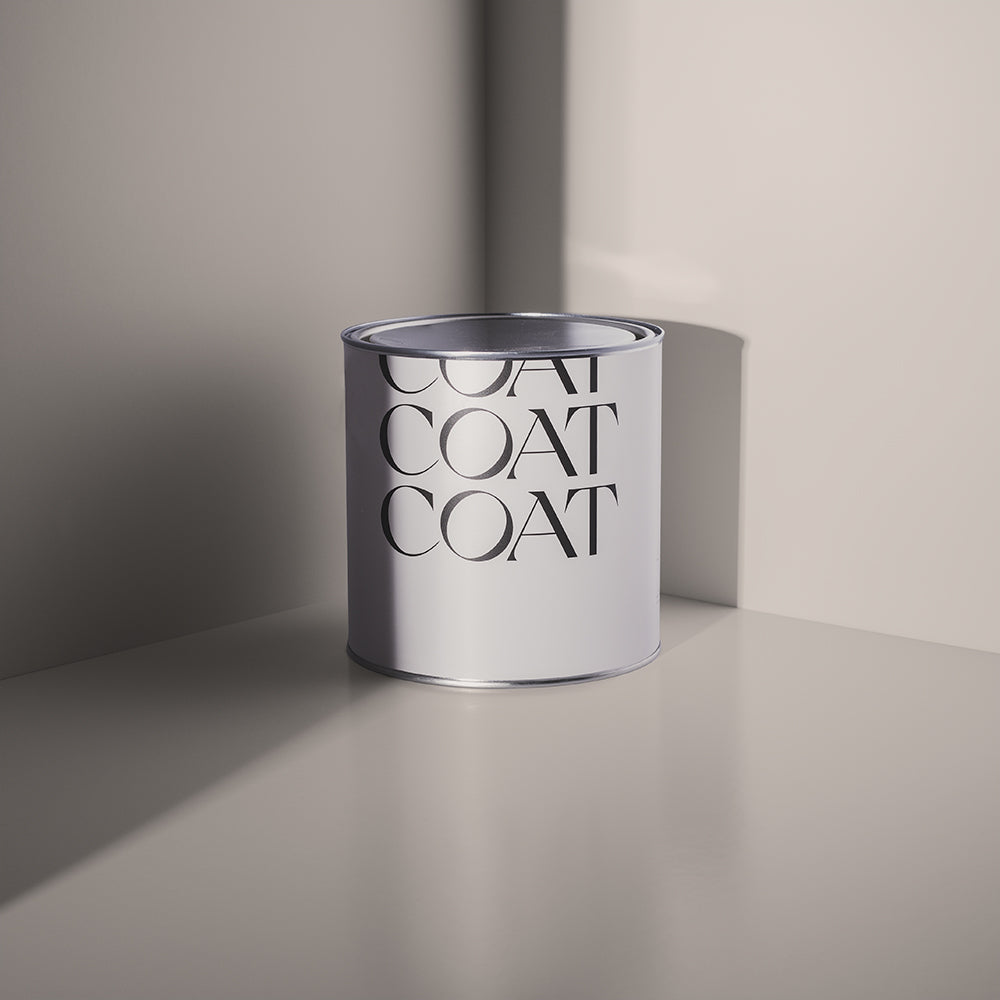
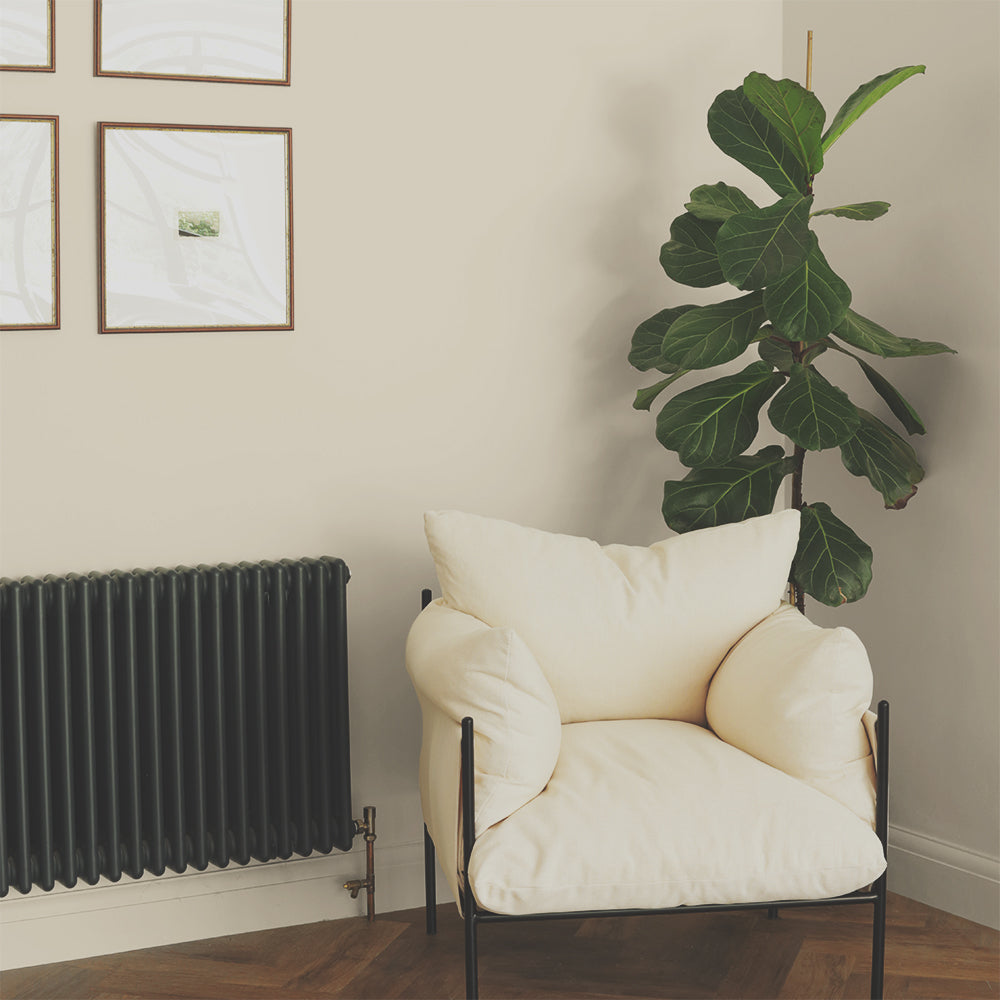
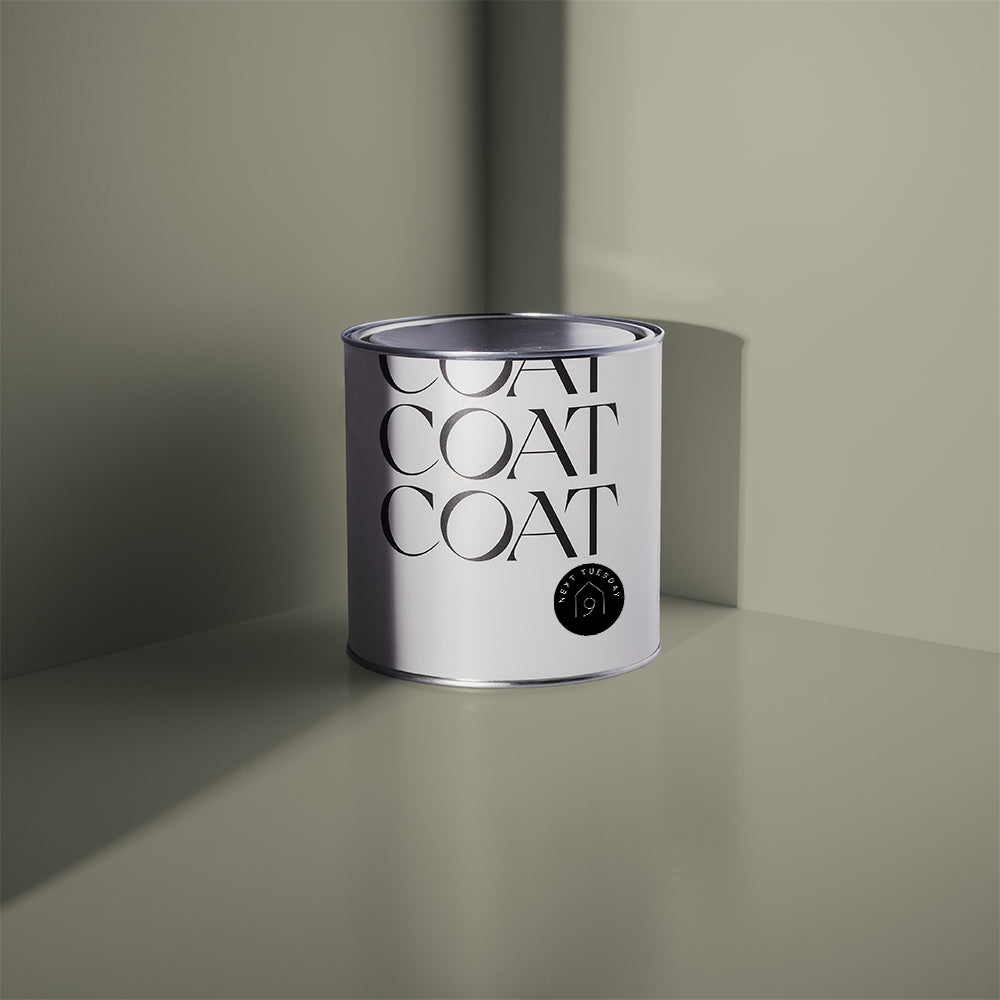
@walkinparquet used 'Sunday Soul' to match the walls in the room.
Reassemble and you’re done! Let the radiator dry for at least 4 hours before turning on the heating. If you can leave it 24 hours, that’s even better. Don’t be worried if it smells a little bit when you first heat the radiator - that will disappear as the paint dries fully.

Remember to wait for the paint to dry before reassembling.
Can I use a paint sprayer for Radiators?
Airless paint sprayers can be a great way to get a flawless paint finish pretty quickly. All COAT paints work with Airless sprayers - check out our guide here.
Airless paint sprayers can be used on walls and ceilings, woodwork and yes - even radiators. Paint sprayers apply in a light mist, so you get a thinner more uniform covering versus brush or roller application.

Choose your colour, and get a uniform finish with an Airless sprayer. @danlovattdesigns making it look easy!
If you want to use a paint sprayer on a radiator, it might be best to remove it from the wall and isolate it. Otherwise you’ll end up with paint on the surrounding walls.
What paint is best for radiators?
Pretty please choose a specialist metal radiator paint like COAT paint. These paints are especially formulated to work with metal, from the way they adhere (stick) to the final finish which is smooth as silk.

Water-based is best, for humans and the planet
If you’re painting the radiator white, then you really need a specialist paint. Normal emulsion paint will yellow very quickly on a radiator thanks to the head. COAT white radiator paint won’t do that, so your work will stay fresh looking for much longer. Radiator paints are also much more resistant to heating and cooling than regular flat matt paint, and will also stand up to the knocks and scrapes of daily life a whole lot better.
Try Peel & Stick Colour Swatches.
Water-based radiator paints like COAT’s metal radiator paint are more environmentally conscious choice than traditional oil-based gloss paints, and they perform just as well. Why risk weeks of nasty smelling toxins in the house? Choose a low-VOC low-Odour water-based paint like COAT.
Can I paint the radiator pipes?
If you want to paint the pipes that connect your radiator to the wall (and the central heating system) that’s totally fine:
- Make sure the radiator pipes are fully cooled, just like the radiator.
- Use decorators tape to protect the wall and any areas you don’t want to paint.
- Give the radiator pipes a clean down with soapy water or sugar soap to remove debris
- Lightly sand the radiator pipes using your 180 grit sandpaper and remove the dust with a damp cloth
- If they’re raw metal pipes (copper, or unpainted steel) or they’ve got a gloss paint underneath you’ll need to apply a specialist metal primer
- Once the primer is dry, apply your COAT metal radiator paint topcoat, with a decent paint brush using smooth strokes and avoiding the wall and floor!
- Leave 2-4 hours between coats (you’ll need two) and ideally a day or so before turning the heating system back on

@danlovattdesign used a spray gun to paint his radiators, follow the step-by-step guide above.
Can I repaint a painted radiator?
We get asked this one a lot, and the answer is Yes! What paint is underneath? If the radiator is an old one and yellowing a bit, there could be an oil-based gloss paint lurking underneath. If that’s the case, you’ll need to apply a coat of radiator primer before your topcoat of paint. Super easy to do, and it just helps the new paint stick properly - so don’t let it put you off.
So, what next?
In a nutshell, painting radiators is easy. So long as your prep properly - clean, sand, prime - applying your COAT Radiator Paint couldn't be easier.
All that's left is to choose some swatches and find your colour! Head to @walkinparquet's Instagram page for more DIY tips and tricks.
Publish Date
Author




Leave a comment