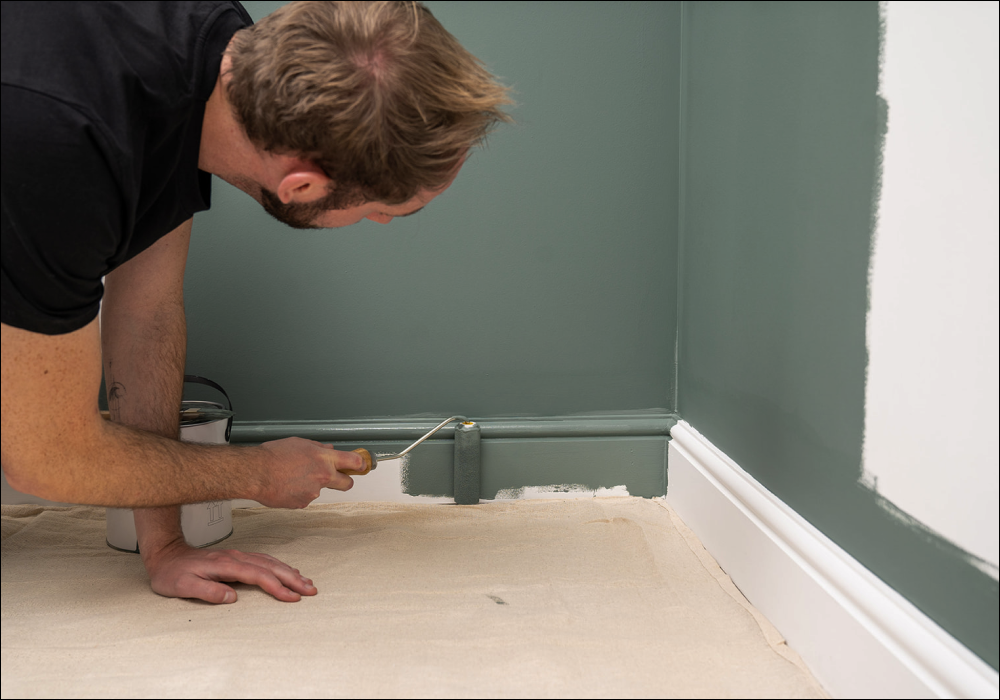
How to Paint Skirting Boards
As topics go, this is quite a dry one. Off to a good start, eh? But almost every room will have skirting boards, and probably wooden trim around doors and windows too, so we get asked about them an awful lot. Hw should you approach painting skirting boards? Which paint is best? And what should you paint first? Let’s have a brisk look at how best to tackle them.
Should I Paint Skirting Boards Before Walls
If you want to paint a room like a pro, the ceiling comes first. Top to bottom is always the best technique. This way, you’ll avoid splashes and drips on newly painted skirtings, and that is how you get a super slick look. So after you’ve painted the ceilings, follow on with the walls and always leave the skirting boards until last. A little tape will also help you get a neat line around the edge of the woodwork. You don’t want to wreck those newly painted walls either.
Once your painting is done, leave the tape where it is. This will ensure your carpet stays splatter-free. If you don’t plan on painting again, clean your roller and brush. You’ll want to keep them in good nick for as long as you can. If you’ve been using COAT’s water-based paint, soap and water will do. But with a roller, you’ll just need to scrape off any excess first. Check out this post from last year where we tell you how to wash rollers and trays. Because there ain’t nothing more satisfying than a clean set of tools.

Which paint is best for skirting boards?
In short, skirting hides untidy joins and protects the bottom of walls from wear and tear like shoe marks. Although it doesn’t get as much credit as other fixtures and fittings, it’s still a crucial feature. Name a room that doesn’t have skirting? To keep your home looking good, skirting needs to be tough, easy to clean and well protected too. It should also be capable of taking a bit of flack without the need for upkeep. But what paint to use on skirting boards?
At COAT, we’re done with gloss skirting board paint. It’s so 2010. What you want is a flatter finish that looks modern. Our Interior Eggshell Paint effortlessly stands up to scuffs whilst looking amazing and matt. This is contemporary decor without the sacrifice. Unlike emulsion that marks, this water-based paint has been designed for both metal and wood. Use this paint for skirting board and much more, and you won’t regret it. Two coats will get the finish you need.
How should I paint skirting boards?
1. Grab your fave shade and tools
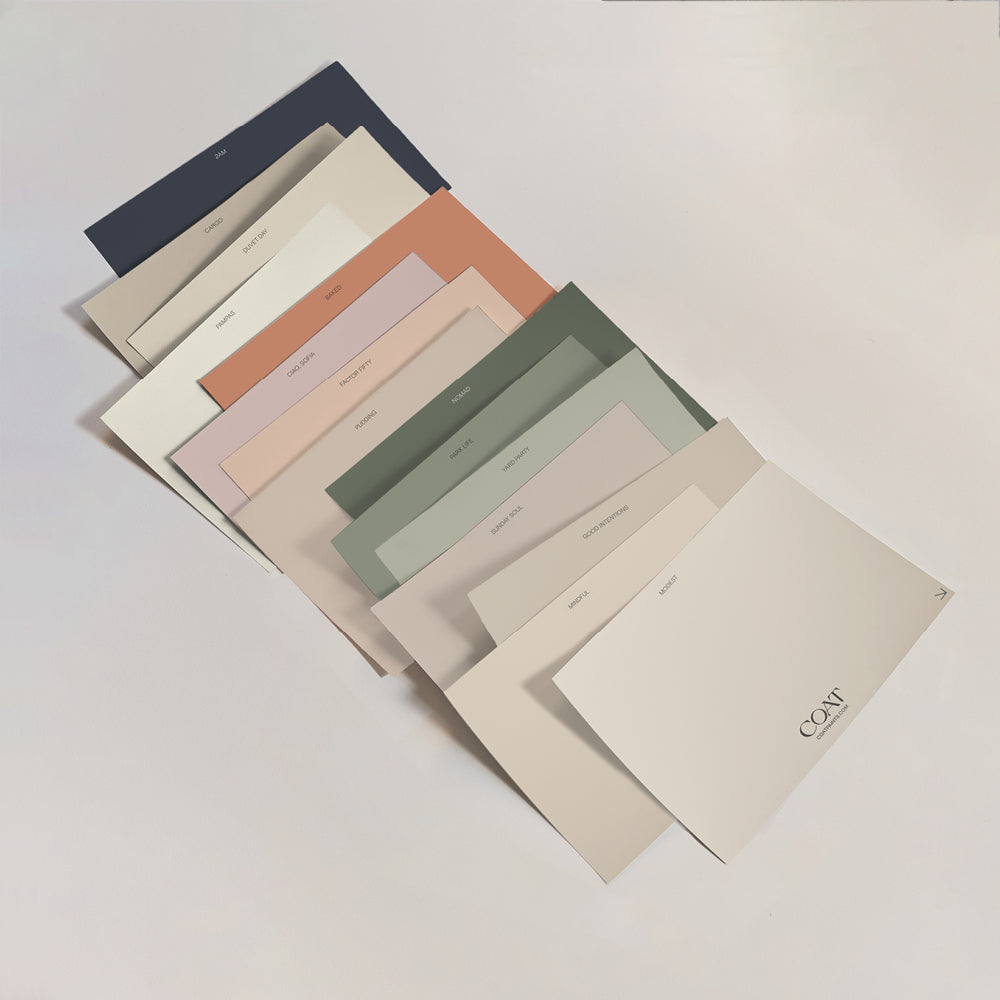
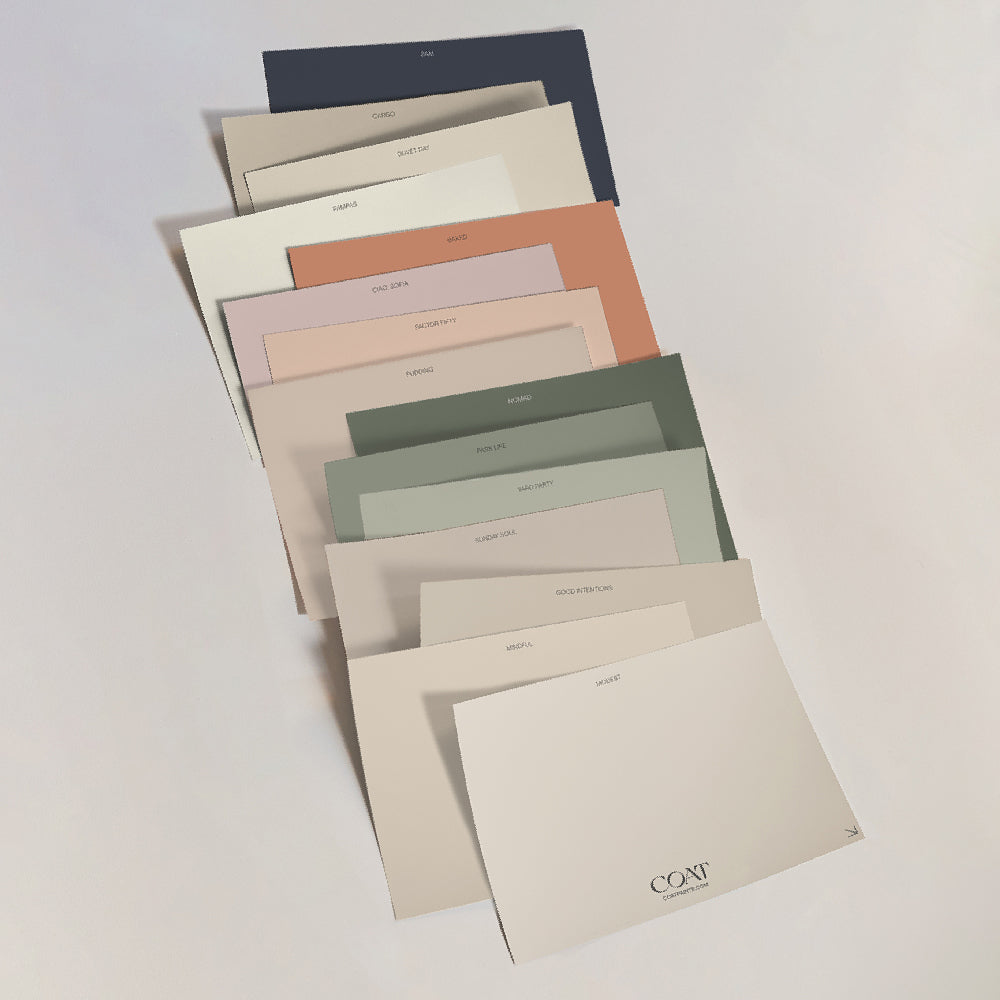
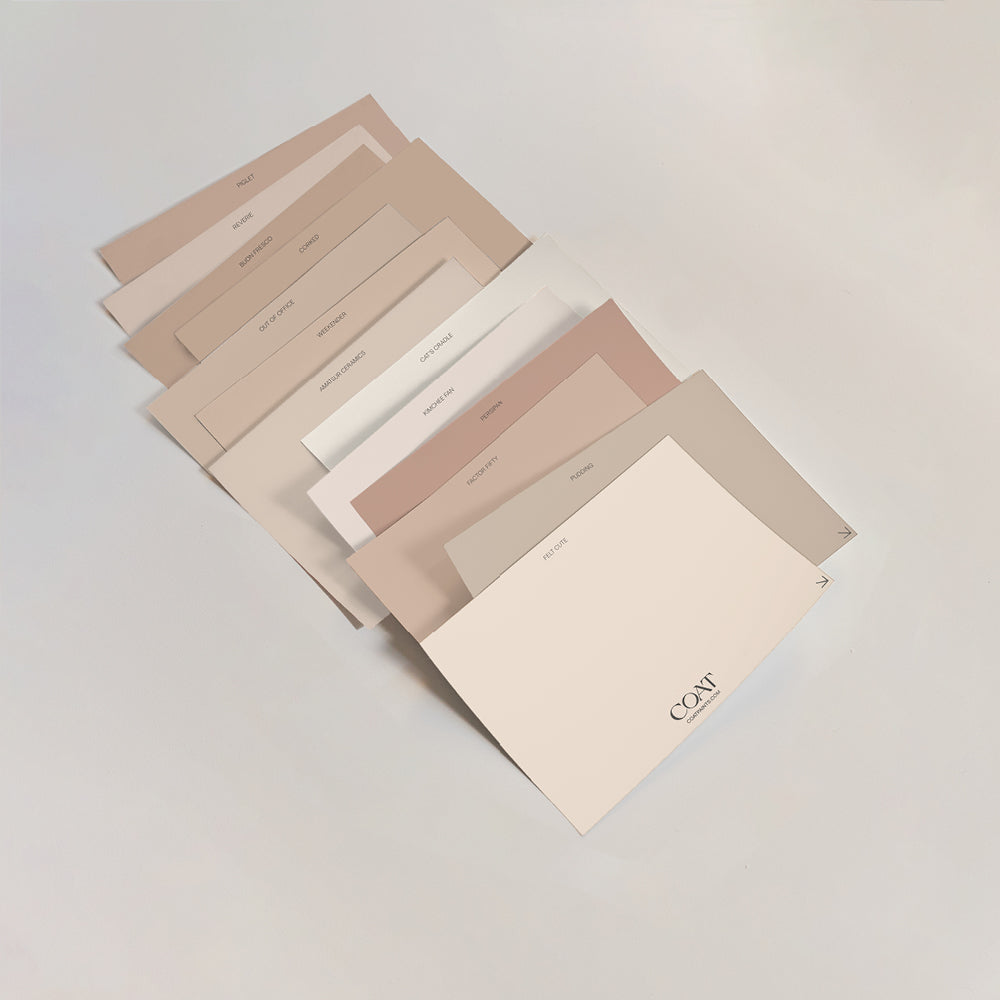
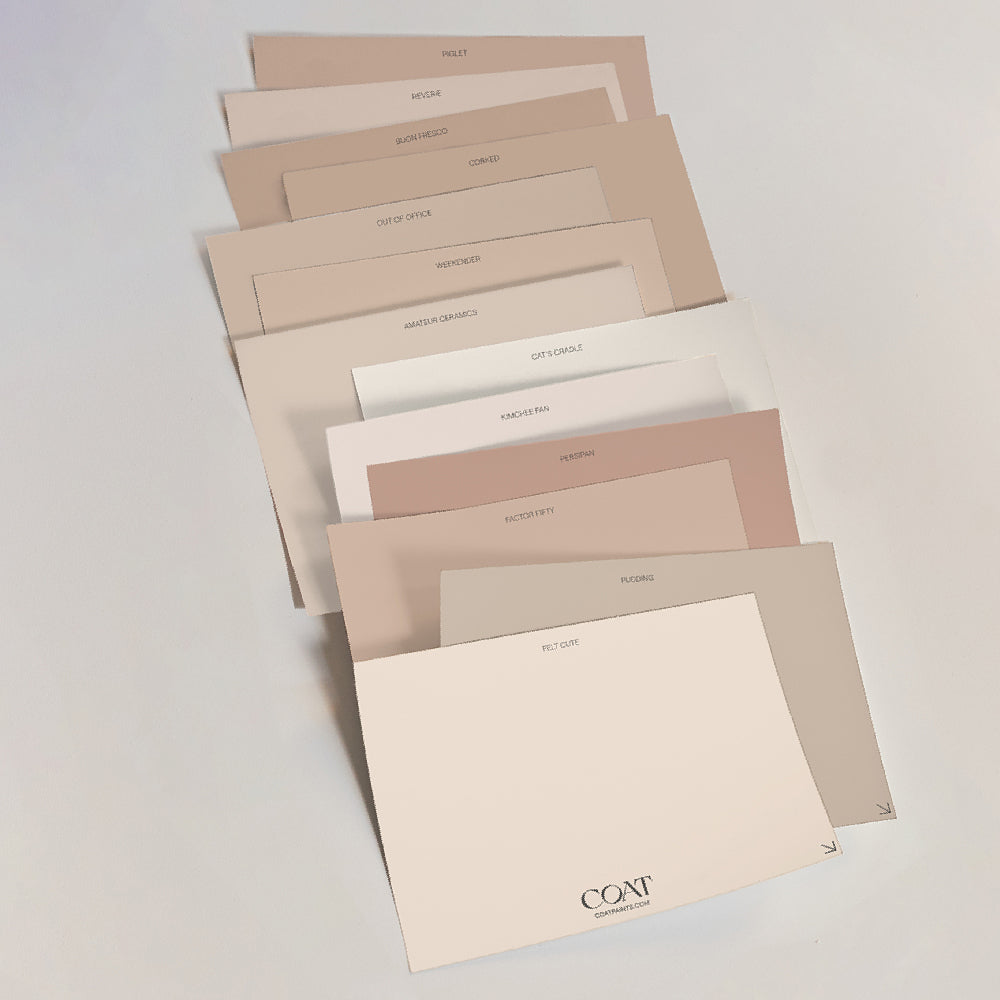
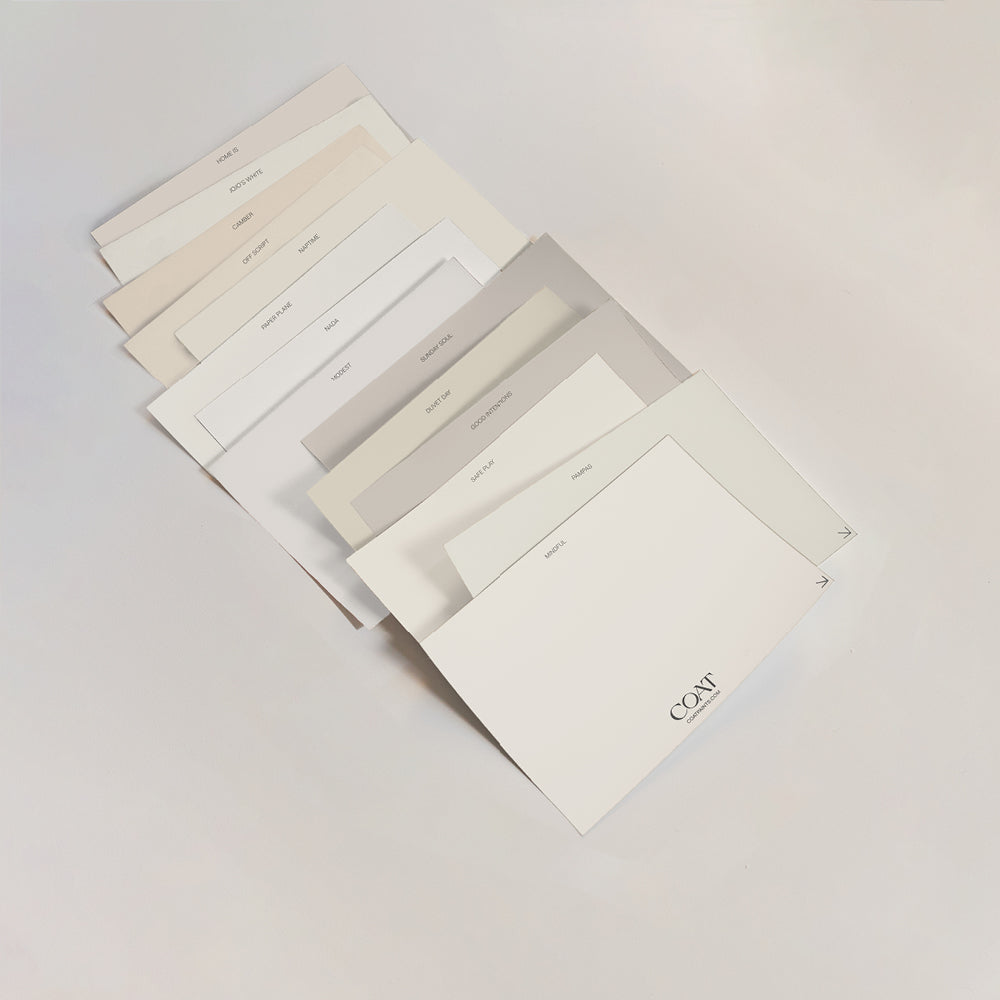
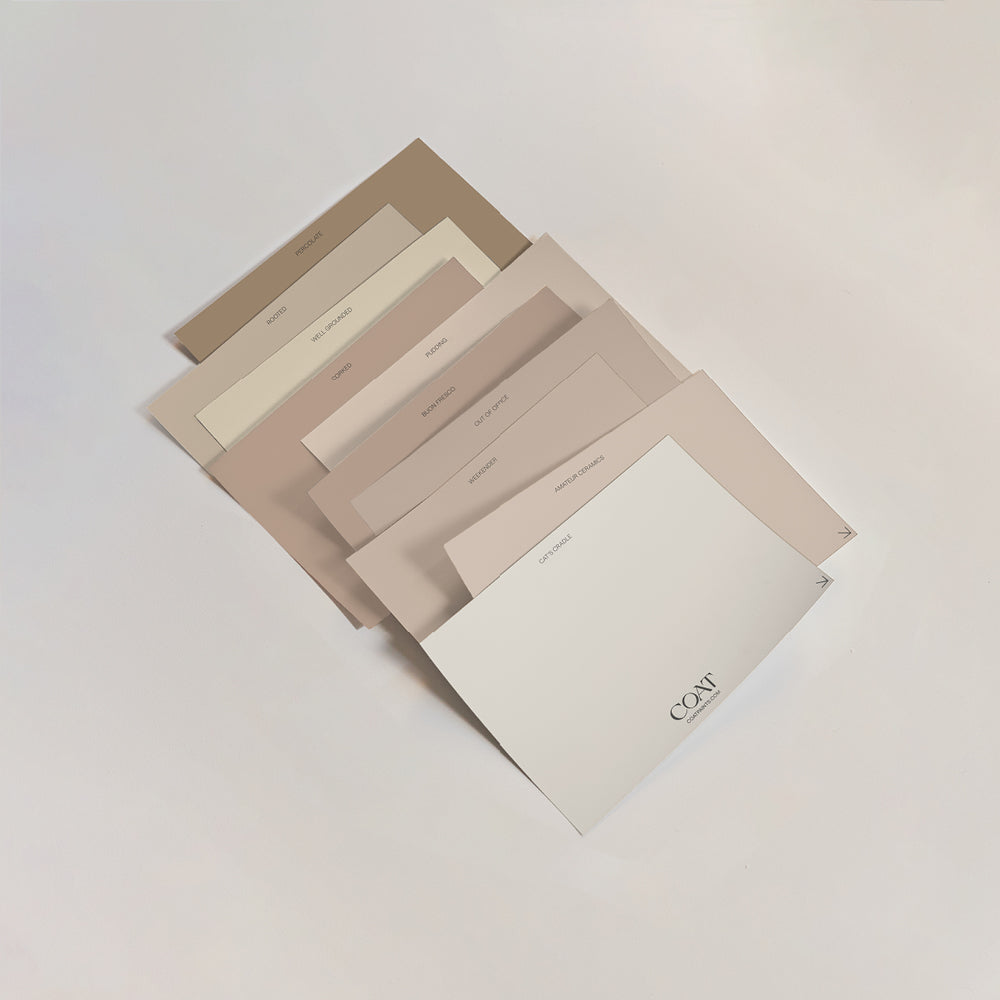
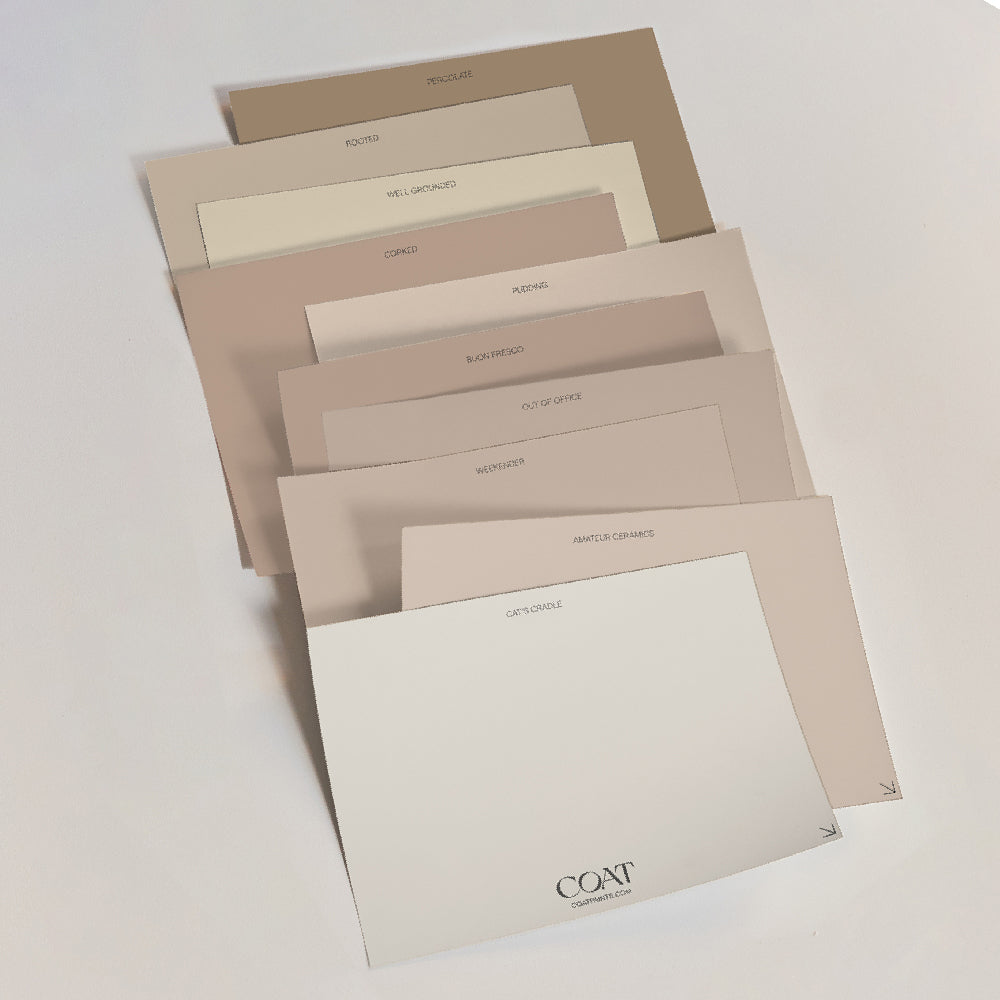
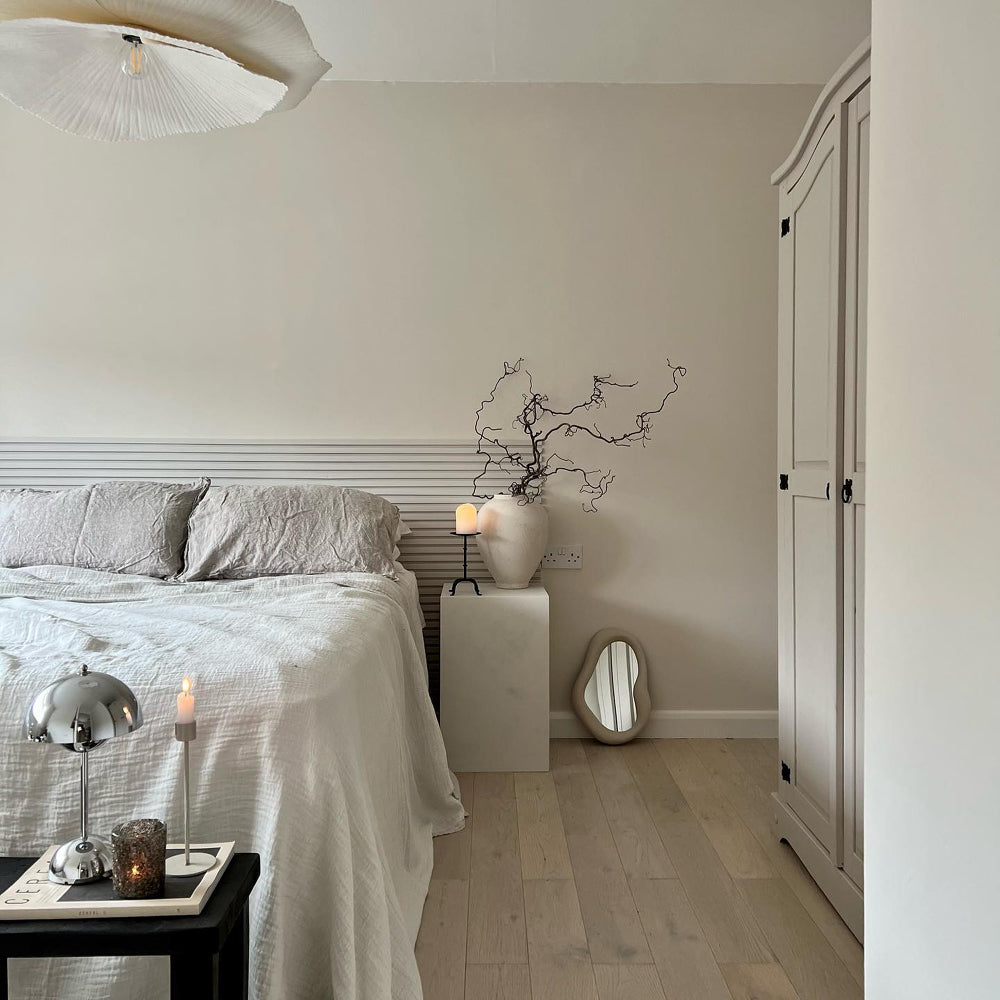
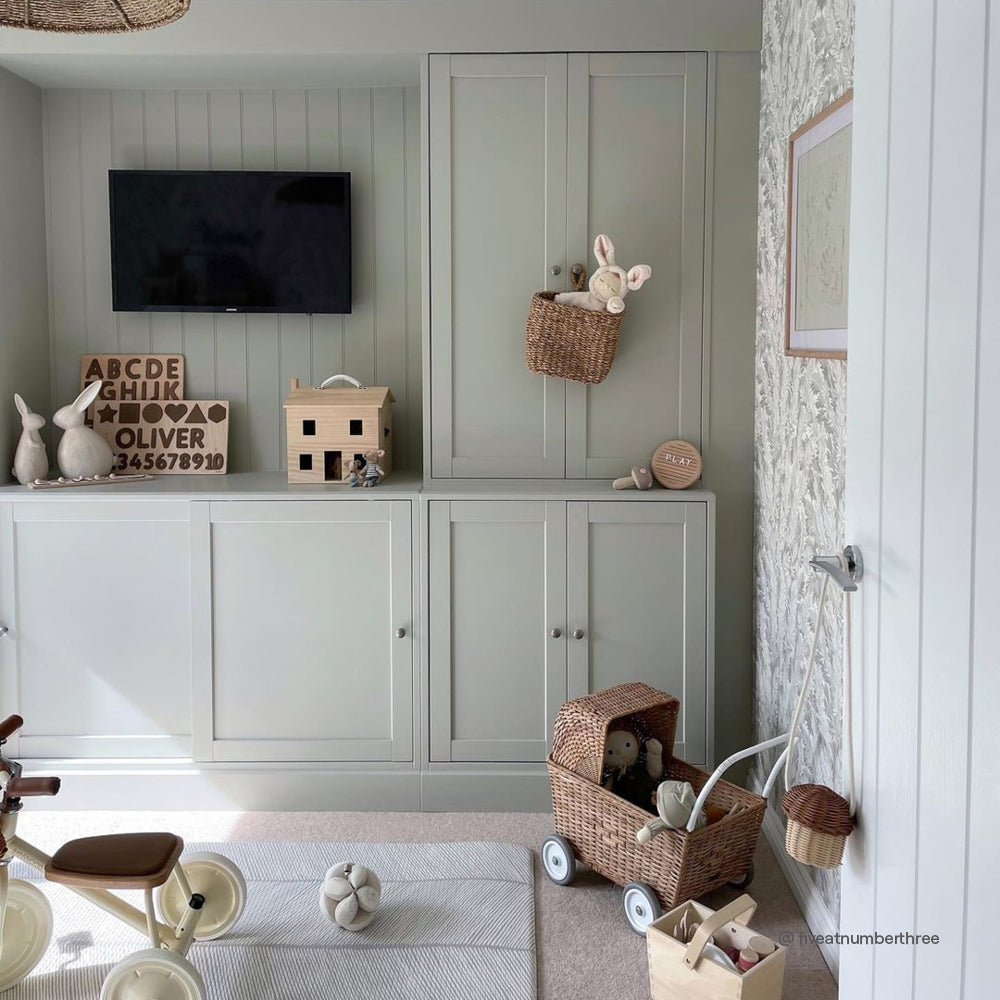
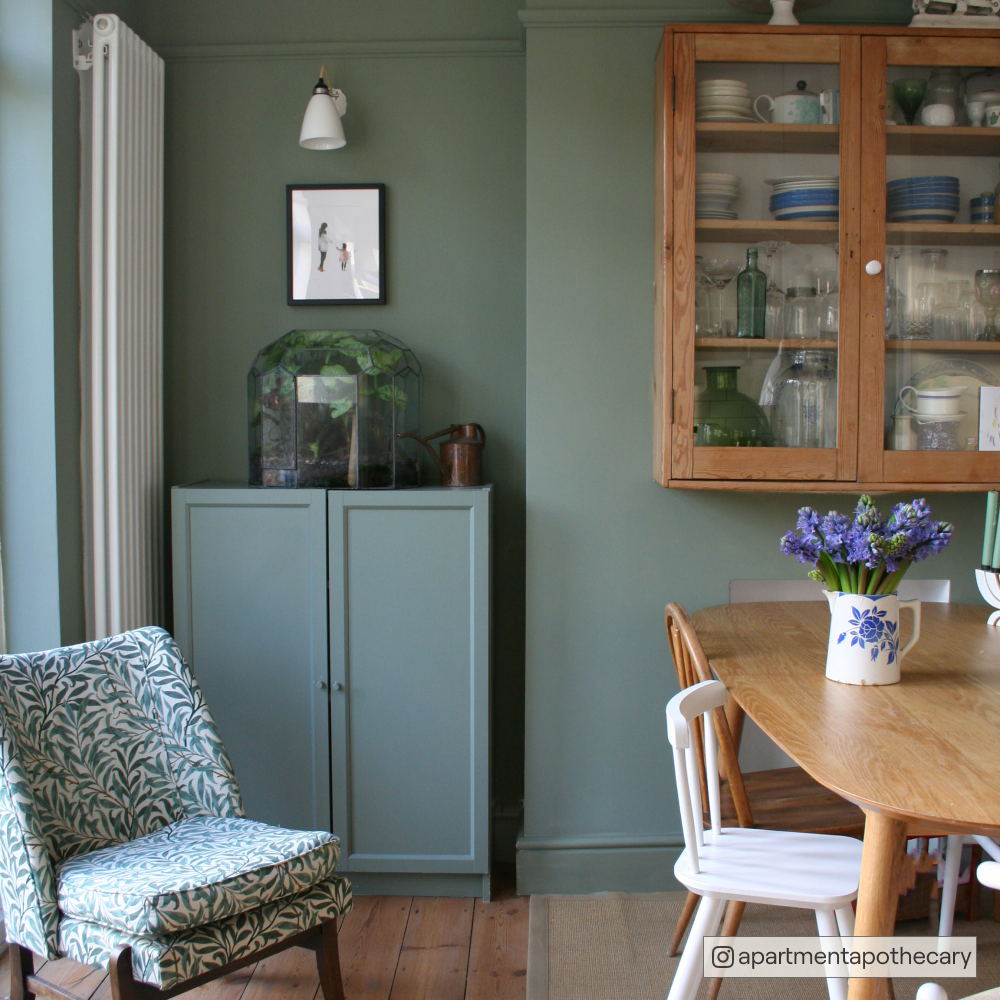
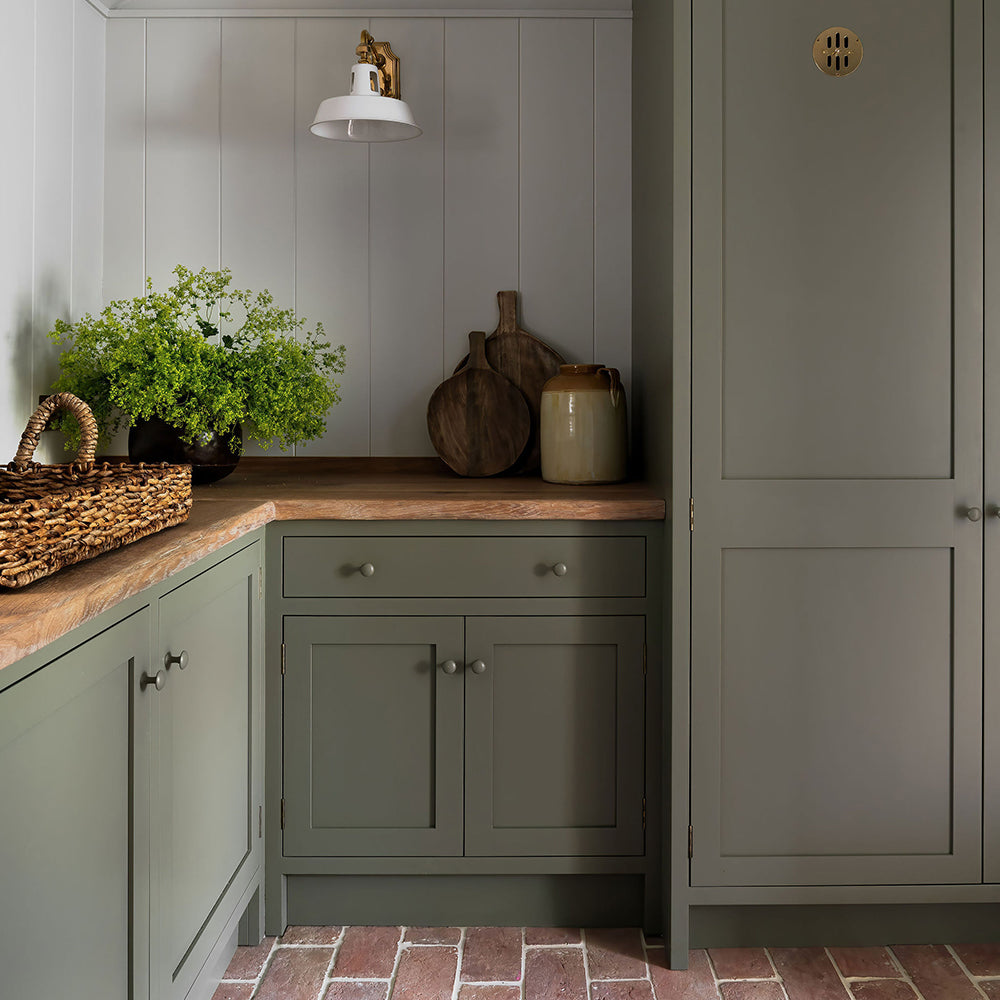
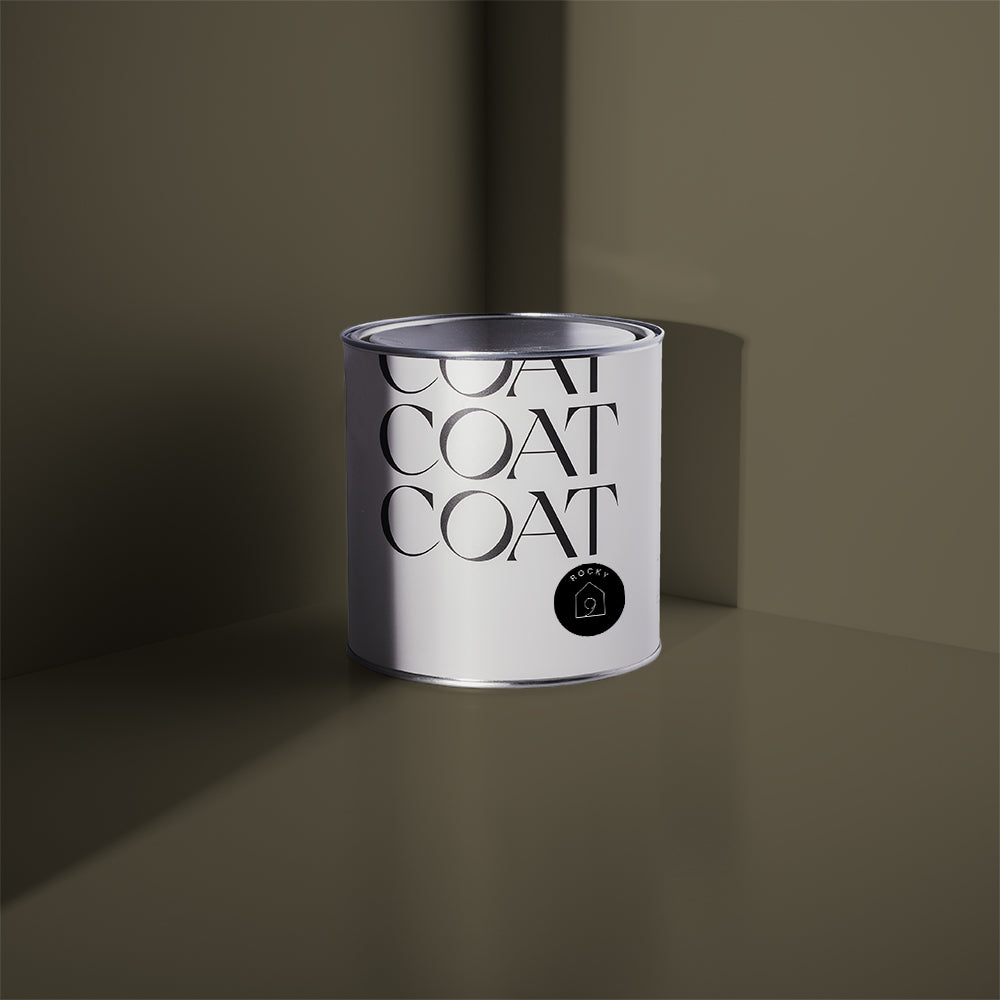
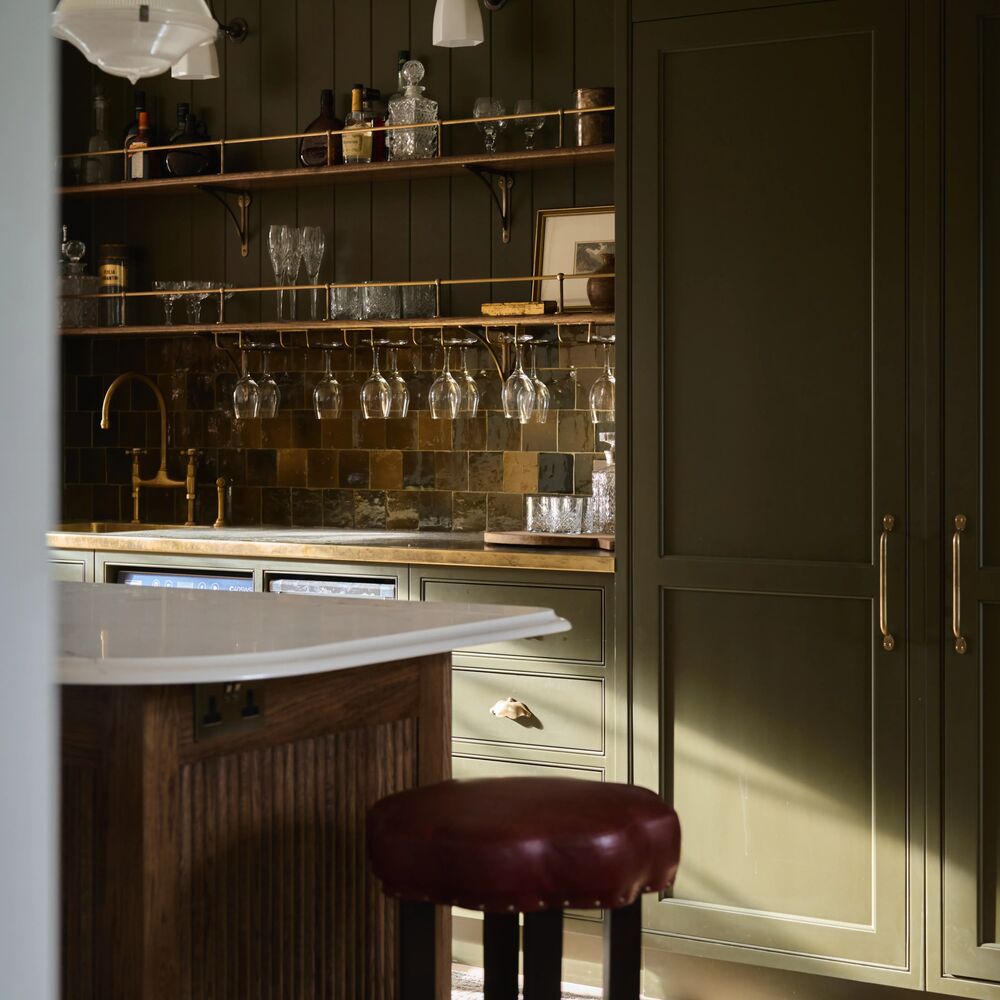
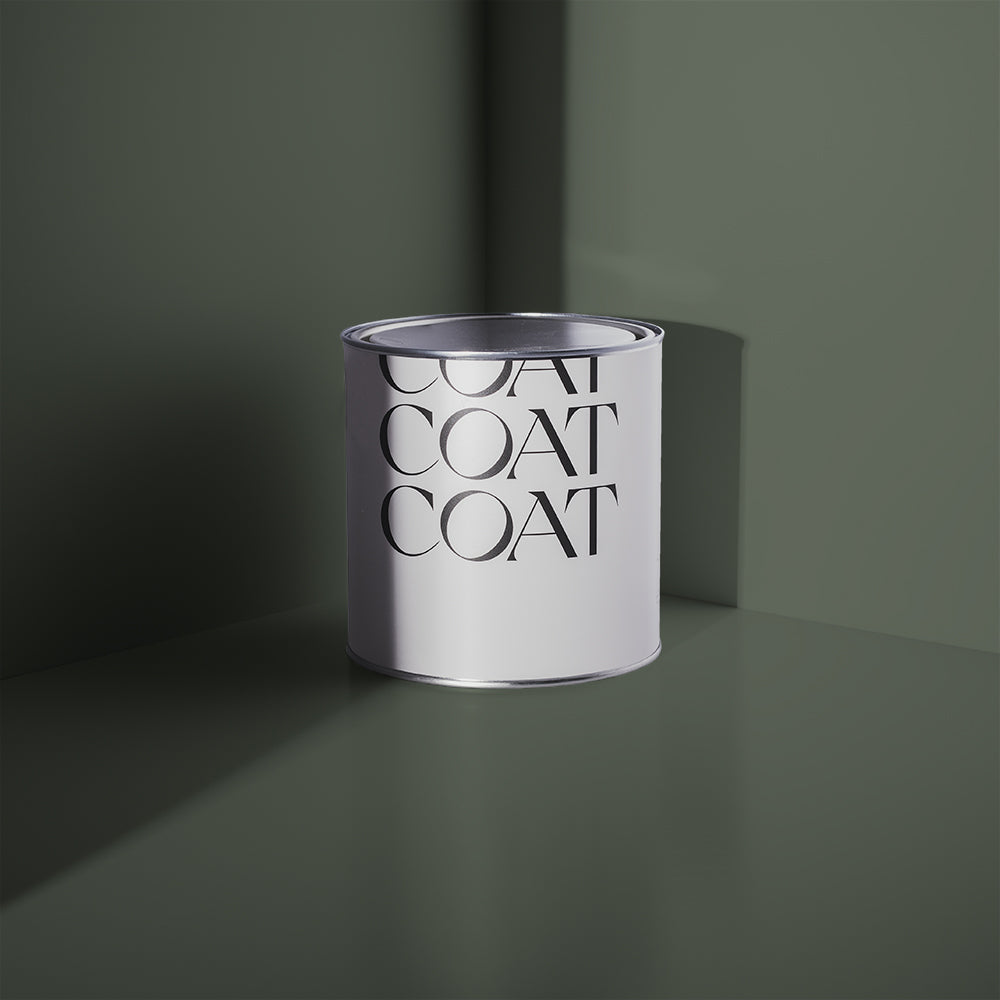
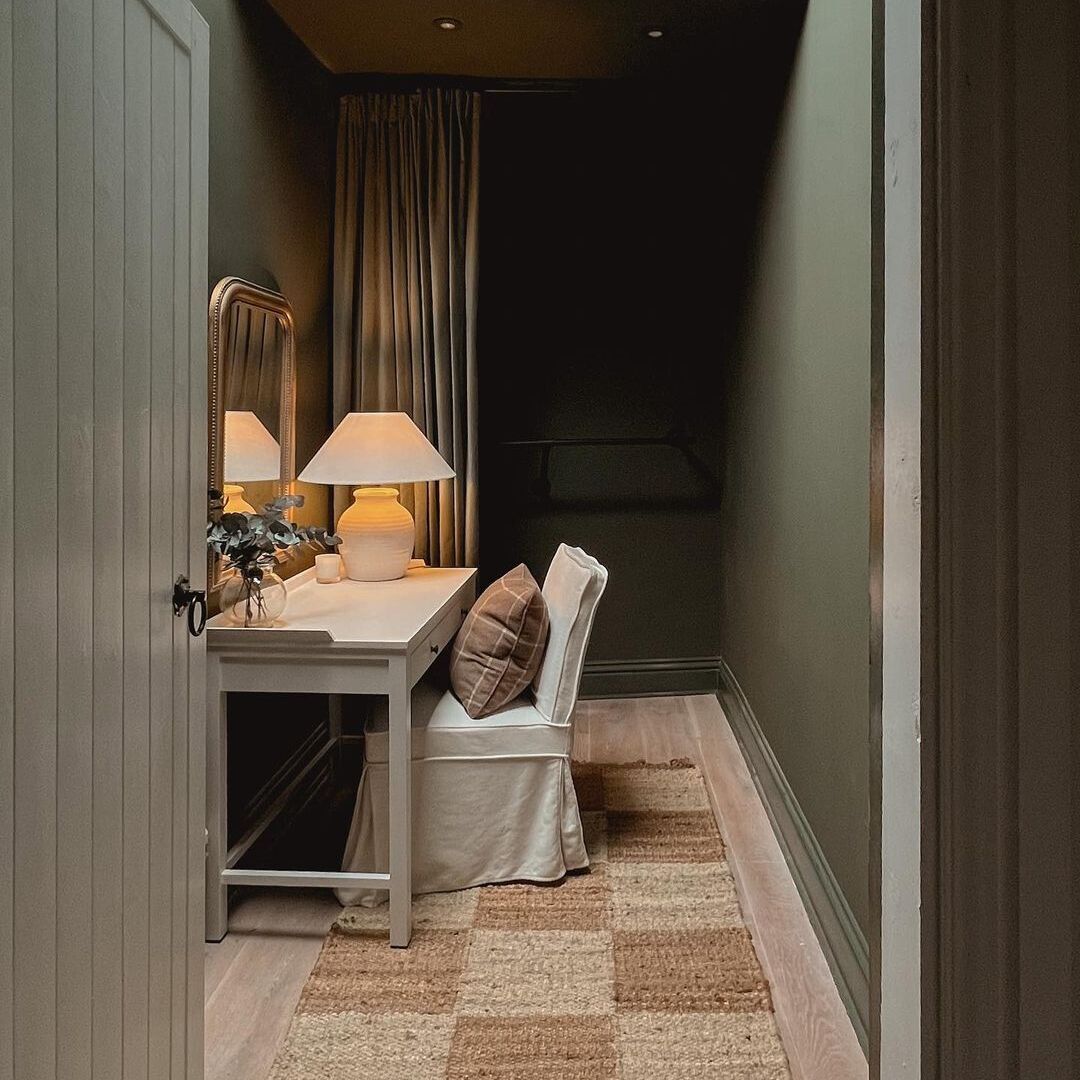
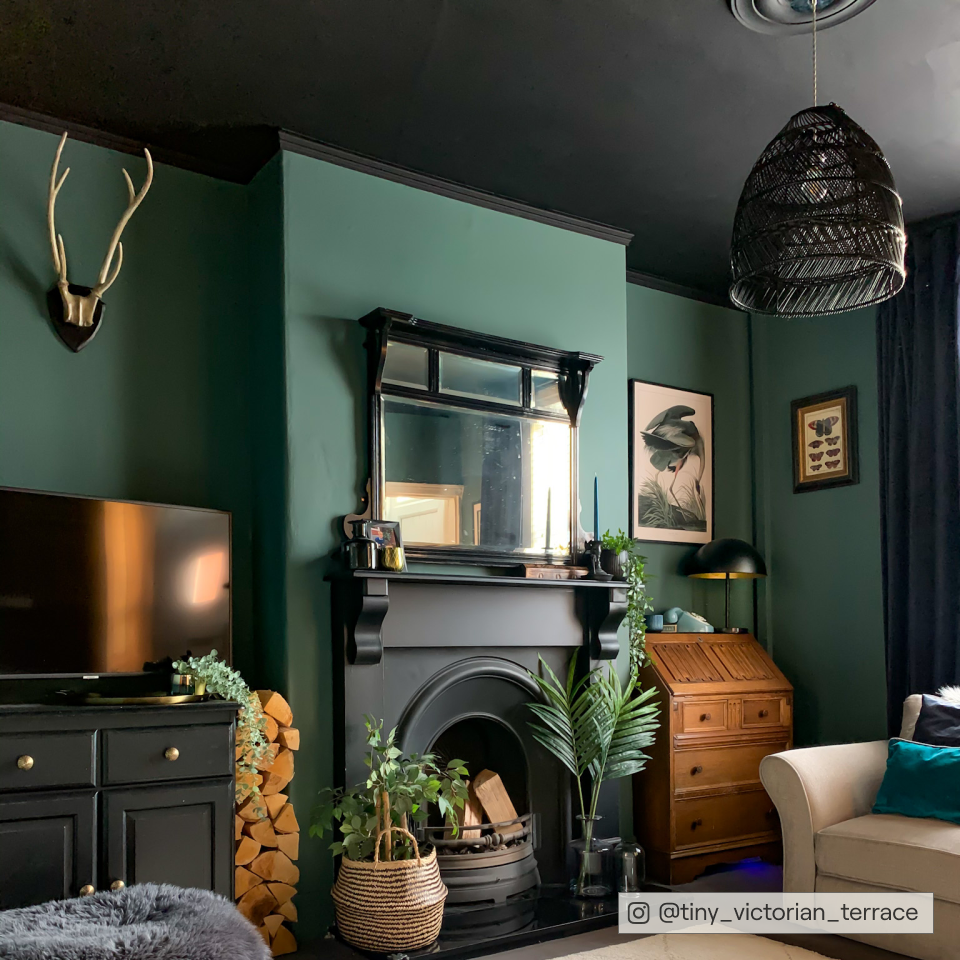
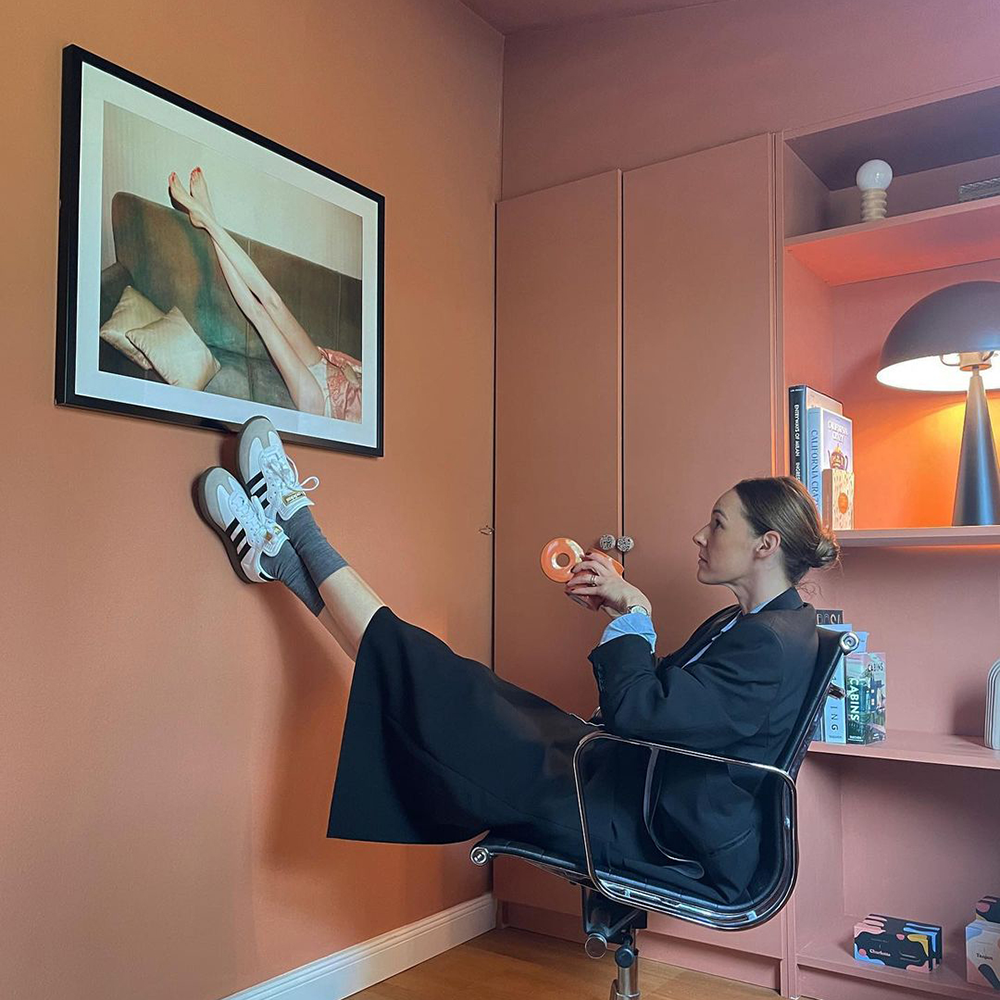
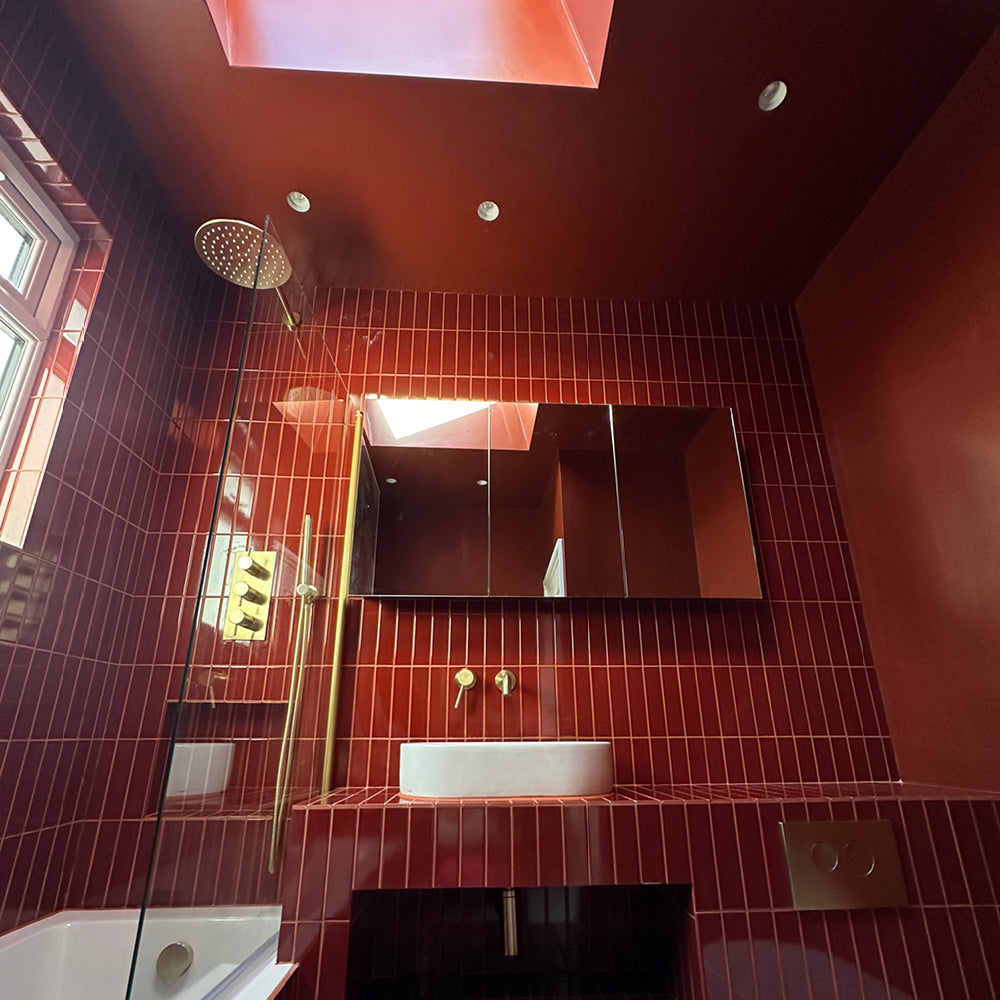
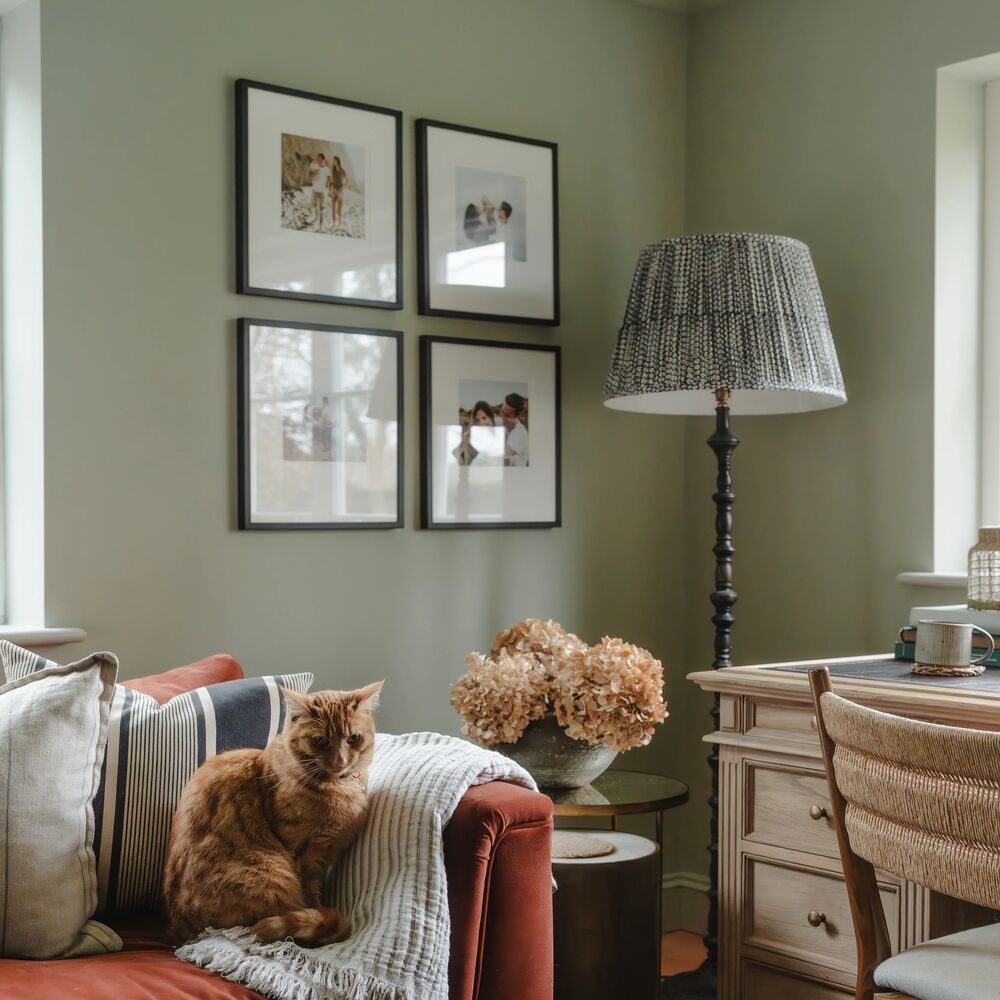
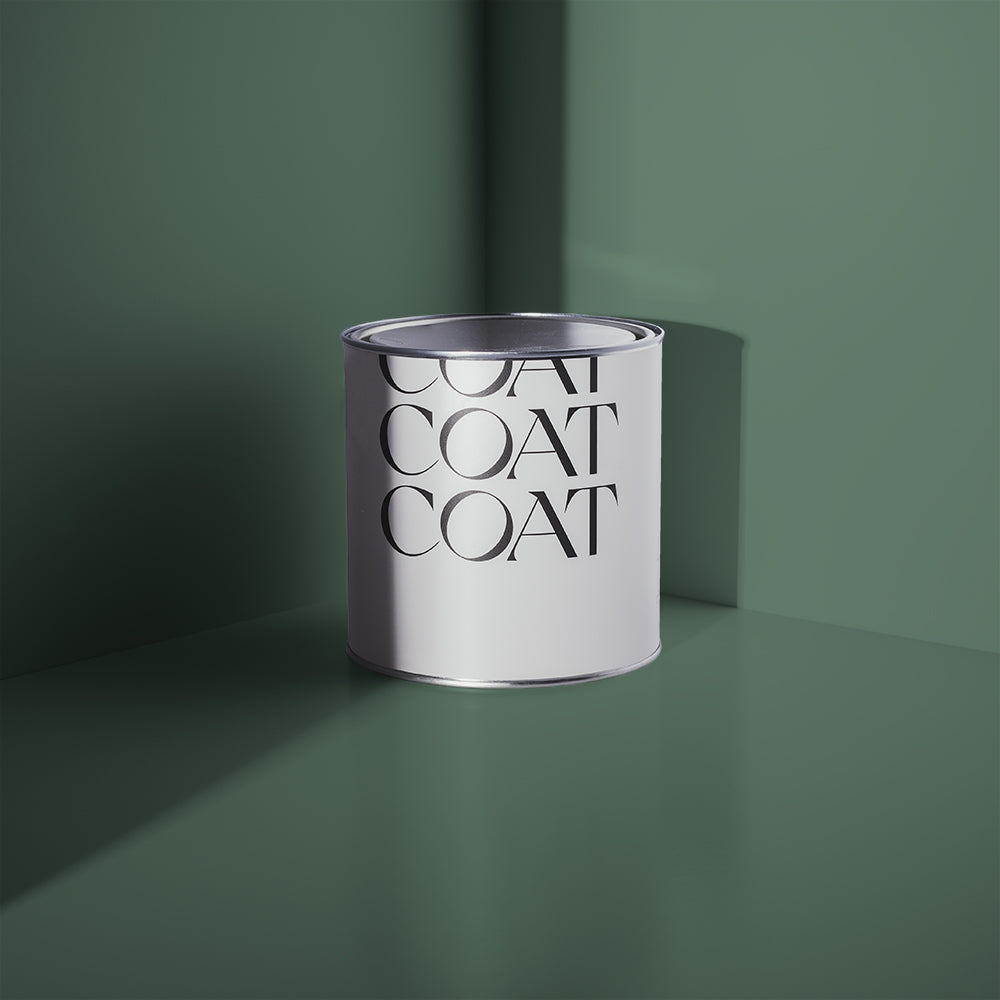
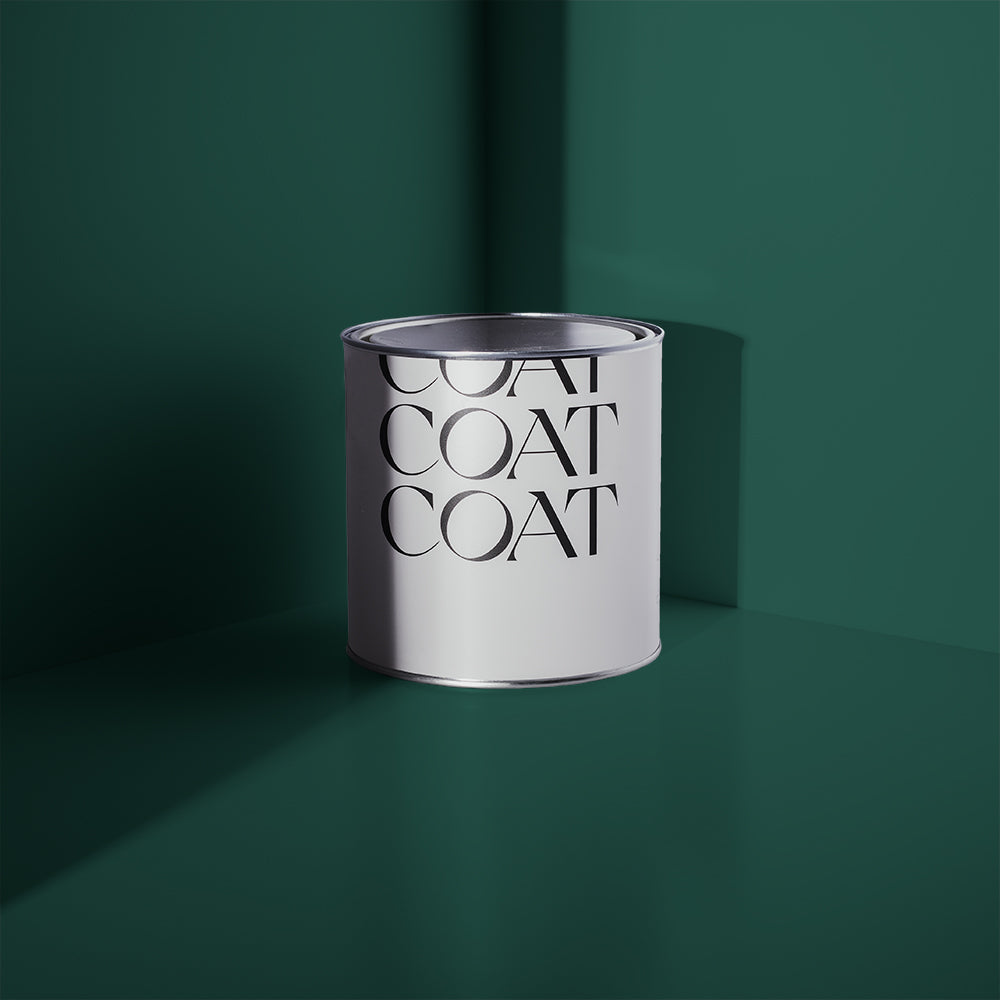
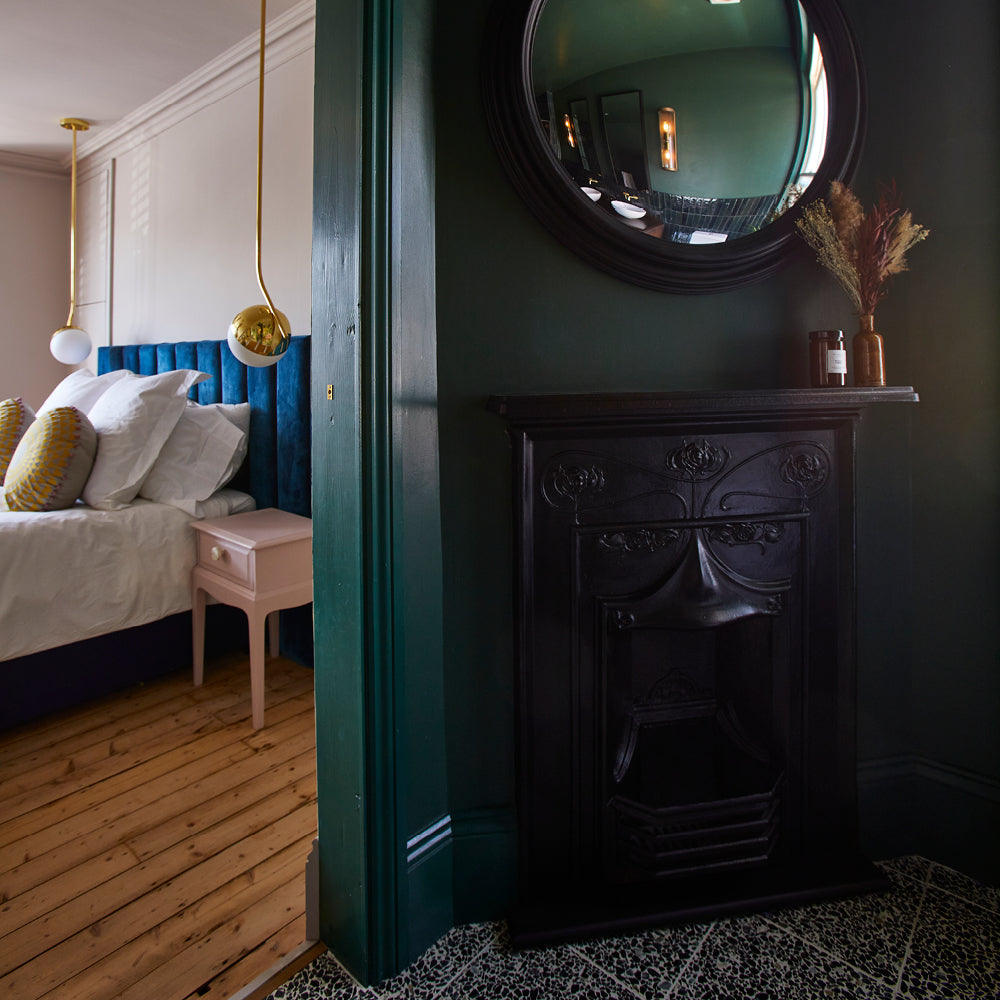
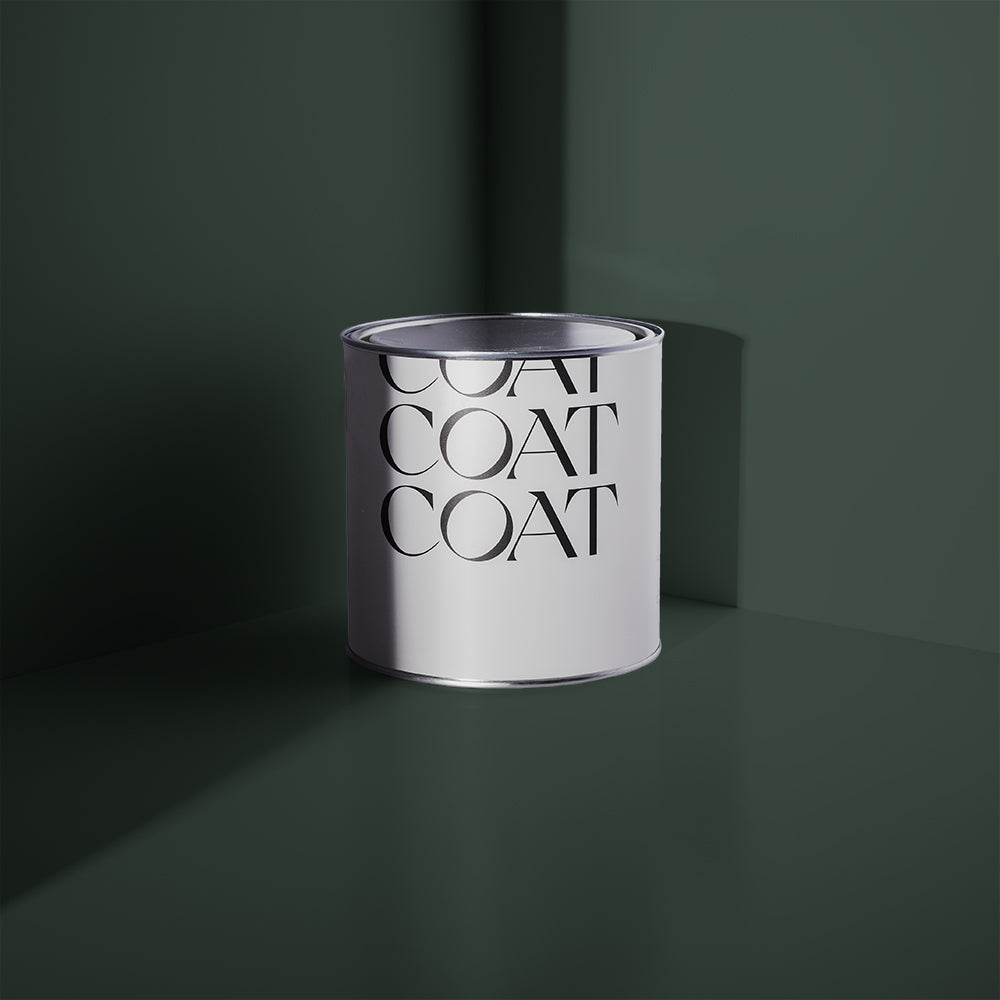
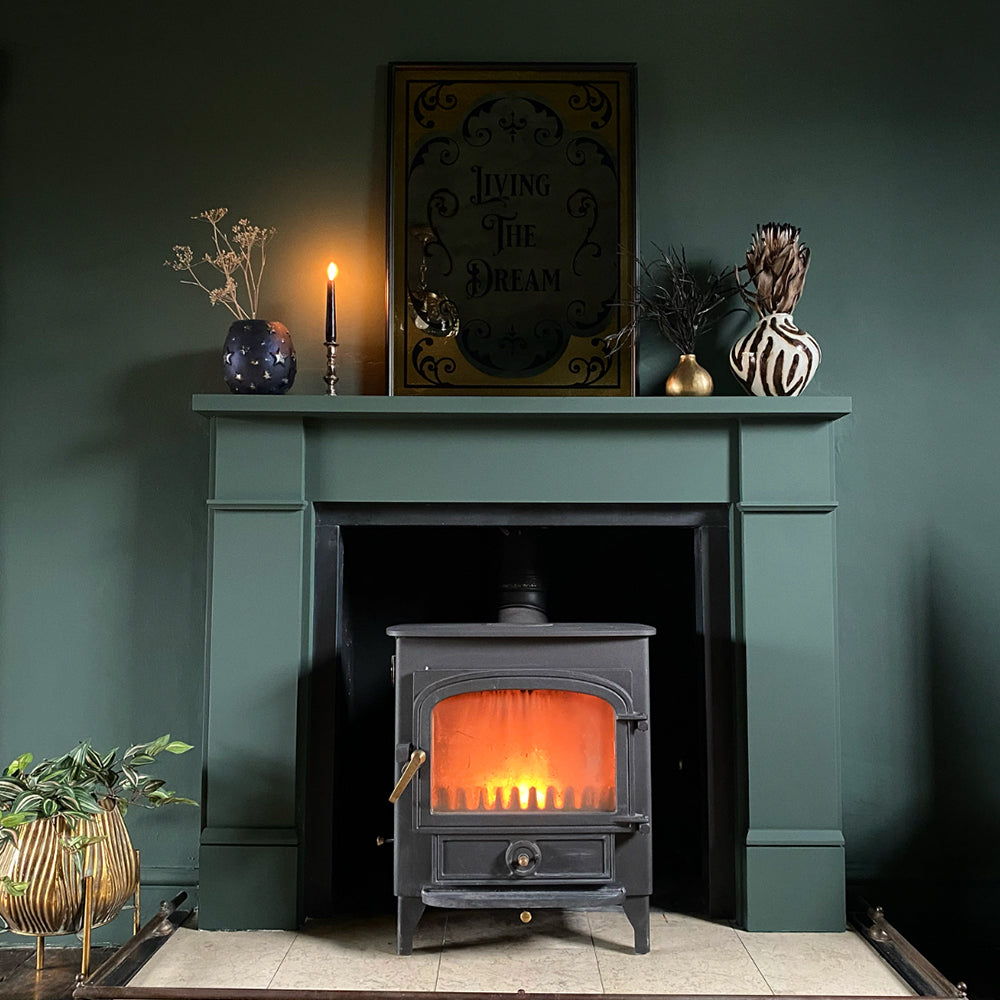
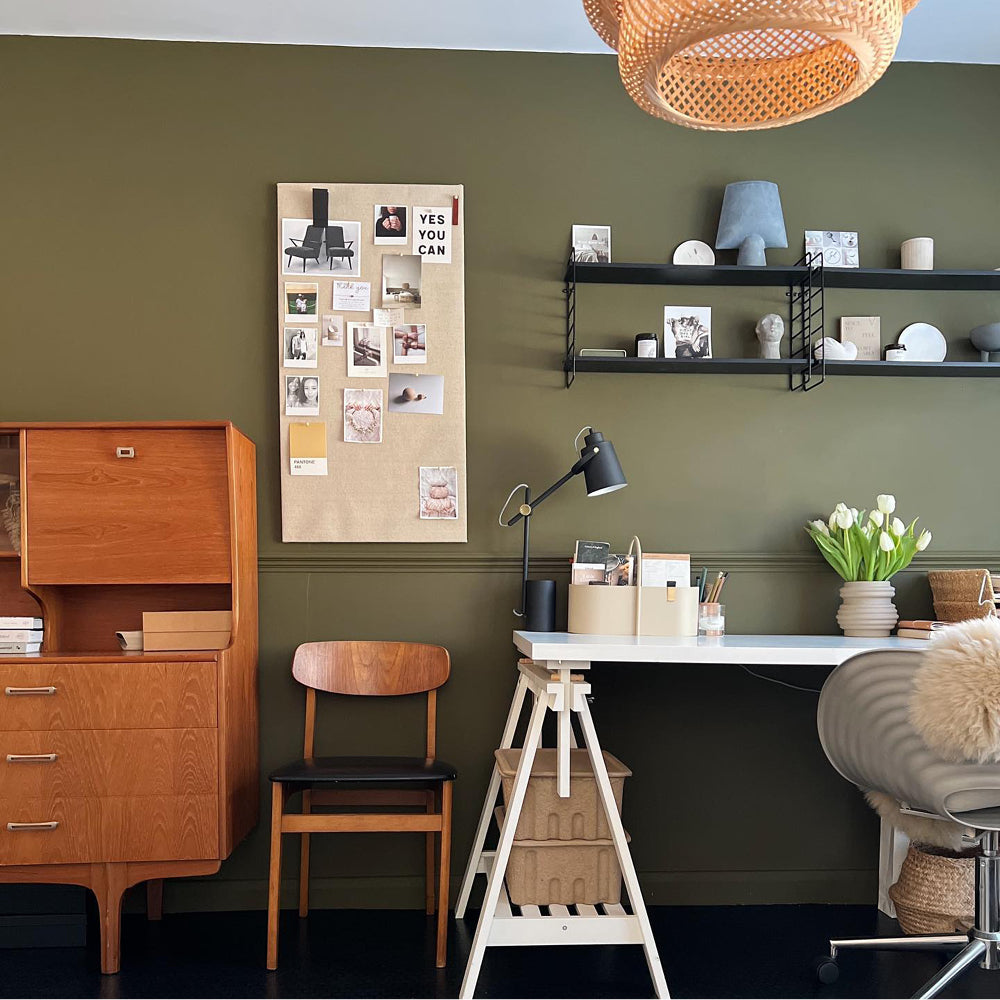
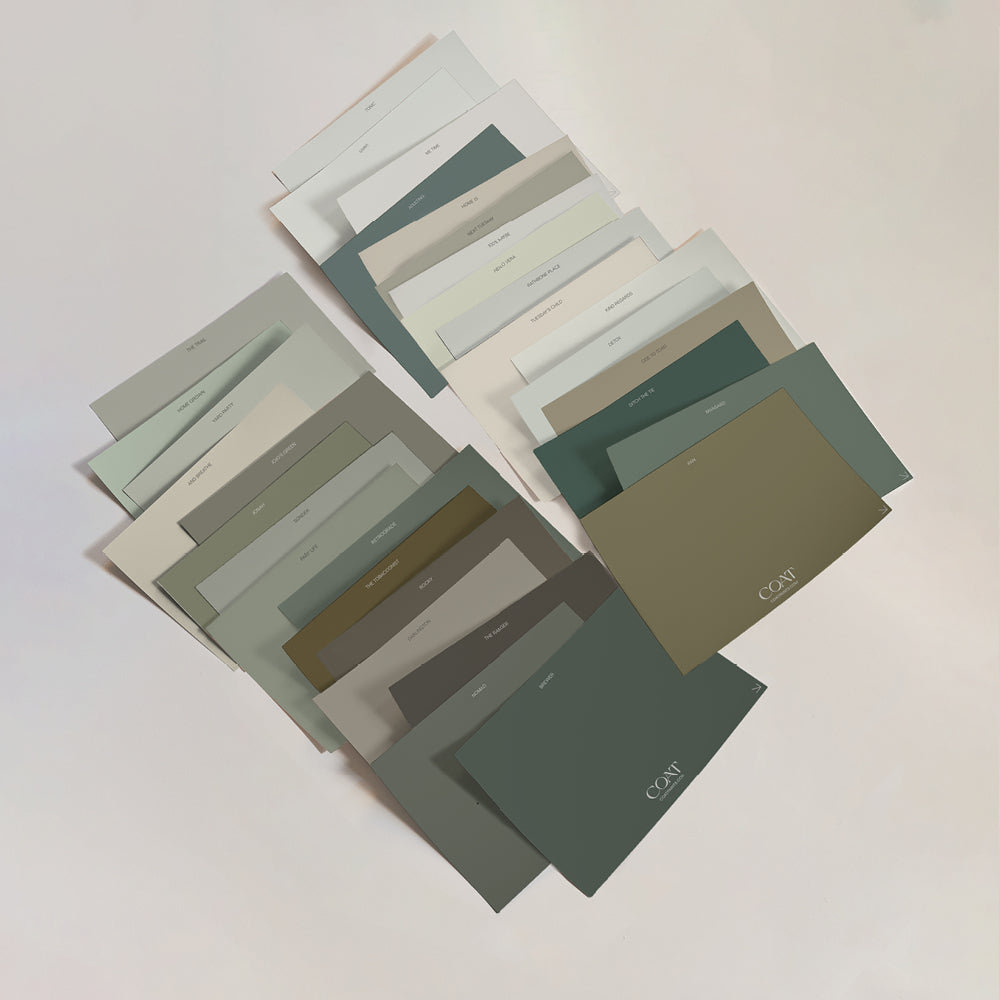
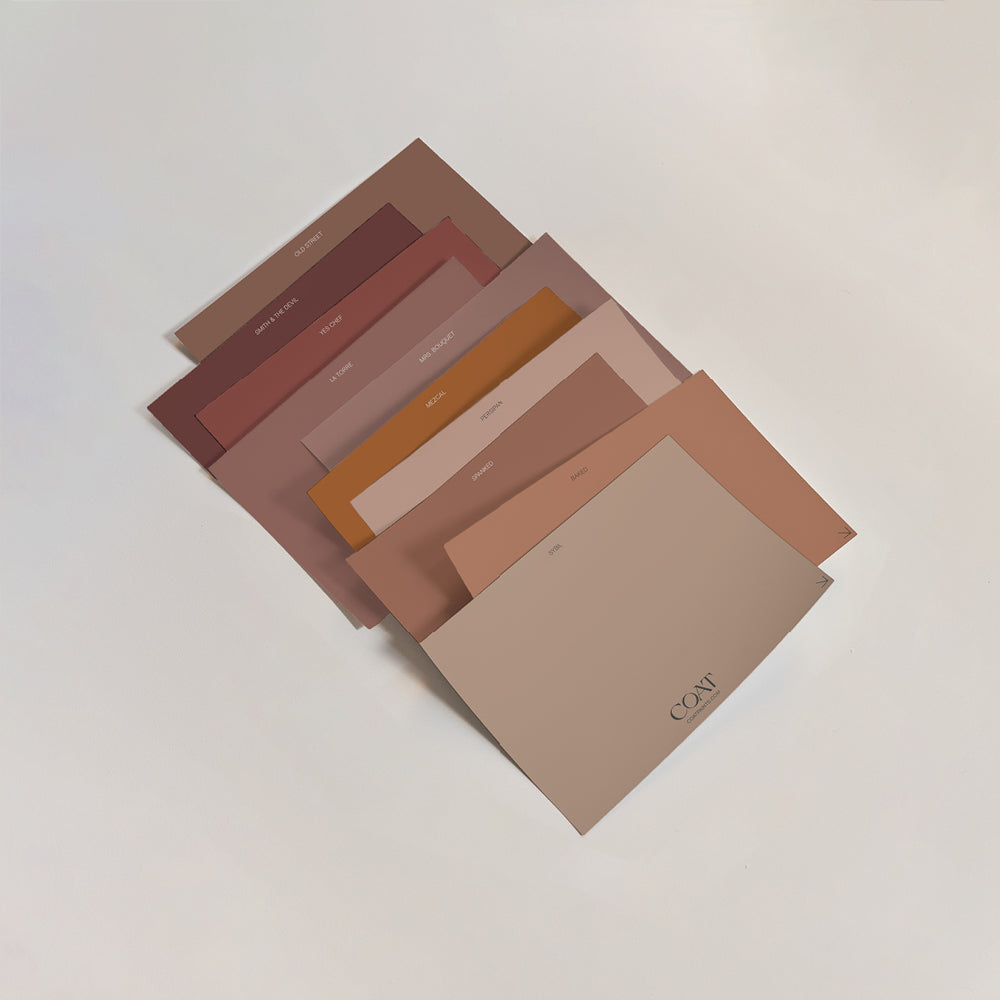
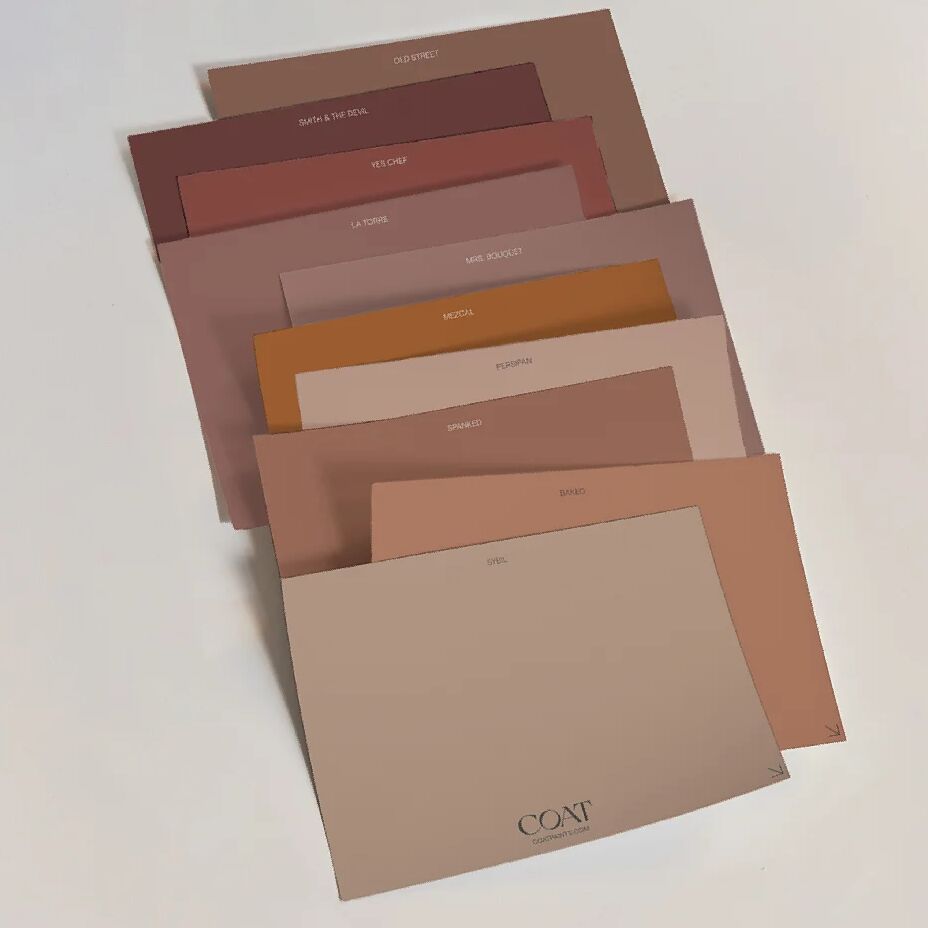
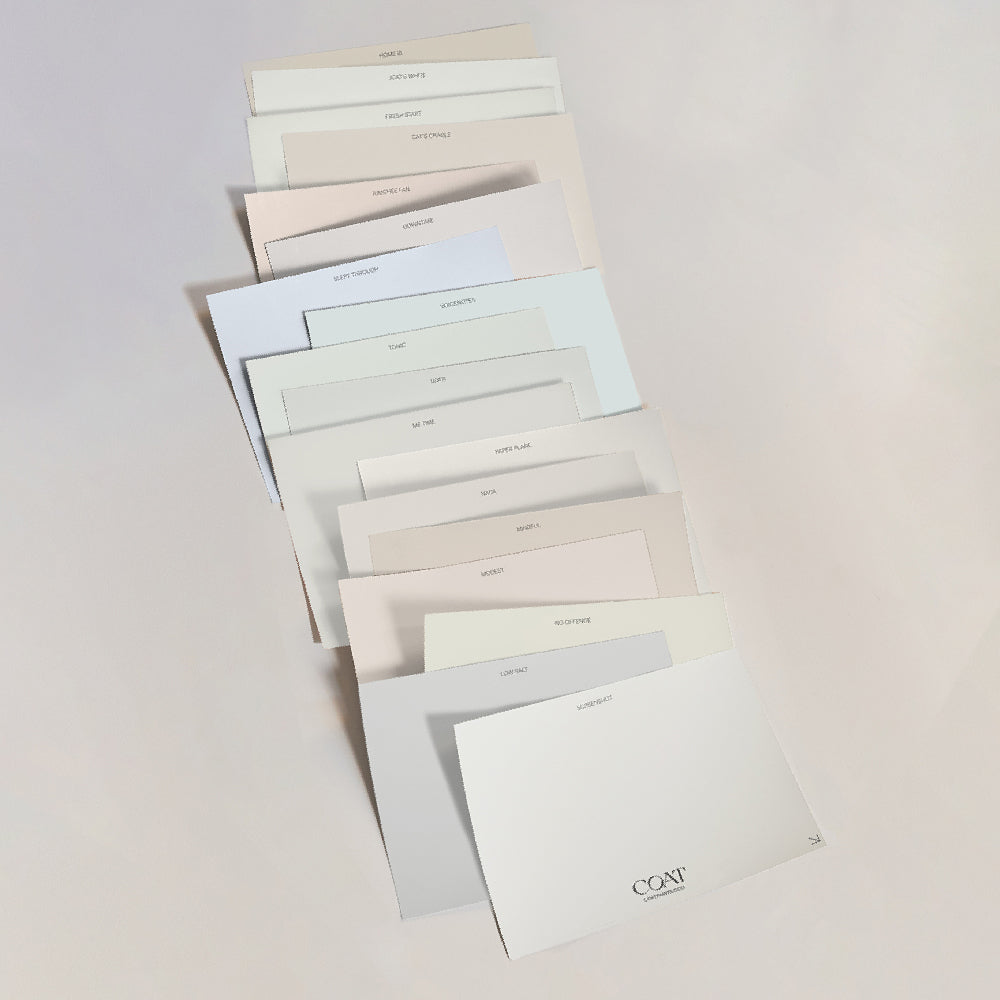
When it comes to the shade of your skirtings, it’s entirely your choice. Many people opt for a clean finish in a neutral off-white. If the idea of this bores you to tears, why not take a cue from the rest of your decor? Walls and skirting in the same shade will create a comforting wrap-around scheme. Or there’s the option to add a splash of colour if you’re feeling daring enough. The proportions of skirting means bold, brights very easily work. Darker shades will also add depth, especially when contrasted with walls. Check out our Dark Green Swatch Pack for a bit of inspo.
Here’s what you’ll need to paint your skirting boards:
Protection for the floor - dust sheets or old bedding will do
Soap and water - or sugar soap if you have it in
A sponge or a handful of cloths - your woodwork will need a good clean
Masking tape - if you want nice, clean lines this one is awesome
Sandpaper - use a fine grade of sandpaper (120 grit is fine)
Wood knotting solution - to stop any seeping resin ruining your new paint job
Two 2” paintbrushes - one angled, one straight - this kit will set you up for life
Primer - our undercoat can be used for walls as well as skirting boards
COAT’s Eggshell - in your fancy new shade
2. Protect your floors (especially carpet)
Terrified of getting paint on your carpet? You’re not alone. Some landlords can be pretty scary. You can’t blame them; however, they don’t half put up with some crap. Some tenants don’t give AF and refuse to pay rent. So, how do you paint skirting boards with carpets already in place? There’s a couple of ways. And it depends on how much you trust yourself with a brush. We’ll cover both of them here. Here’s two of the most common methods to avoid a DIY project gone wrong.
To avoid spills and marks on your carpet's fibres, your best bet is to pull it up at the edges and fold it back. It’s not the easiest task, but it’s the safest option. Just watch you don’t spike yourself on those grips. The other, less invasive way is to mask the carpet. Vacuuming first so that there’s no dust or debris in the way. Then using a wide set tape, apply along the edge. A dust sheet taped to the bottom of the skirting board will also work.
3. Time for sanding
Some will skip this step, but it’s so important to do. That’s unless you actually want your skirting boards to look crap. Really though? It will also make such a big difference to how well the paint wears, and it only needs a light sand. It’s no biggie, we promise. First, rub down any existing paint and then using your paper, sand along the grain of your wood. You’ll then need to fill any cracks or holes before sanding again. Usually, this is in a horizontal direction.
4. Wipe down and clean your skirting
Once you’ve had a good sand, get rid of the dust. It will literally be everywhere, so we suggest grabbing the vac. Paying particular attention to the gap between the skirting and floor, remove every spec of dust you can see. You’ll then need to have a wipe down. A basic soap and water solution will remove anything else. Bear in mind some shapes of skirting will need more attention than others. When you’re happy your surface is clean, wring out your wet cloth and dry your skirting with a towel.
5. Mask up the edges
With so much crawling about and crouching involved, painting skirtings can be a bit of a juggling act. So make it an easier job, and tape them up well. You’ll get a crisper line if you do. Simply grab your painter’s tape and apply it at the base of the wall. This technique won’t require you to have a steady hand either. We’d also suggest using a low-tack tape that doesn’t leave marks. Our painter’s tape is a true legend when it comes to skirting.
6. Apply your undercoat
Like sanding, some skip this step, but we wouldn’t advise it either. A primer is absolutely crucial to a flawless result. This step will also seal the wood and prevent sap seeping through. It’ll also make sure you get the best durability and even finish. Taking a small angled paintbrush, apply the primer. Make sure you paint in precise strokes and follow the grain of the wood. Allow this to thoroughly dry before you apply the next COAT. Two are always better than one.
7. Paint the skirting boards
With the primer now dry, have a light sand and use a microfibre cloth to wipe away the dust. Then using your other angled paintbrush, paint the skirting, again following the wood grain for a neater finish. Another top tip: if you’re right-handed, paint the skirting boards from the right. Do the reverse if you’re left. This won’t affect the finish at all, but it will make it easy for you. Allow to dry and add another coat if needed.
8. Leave them to dry
Although it might take a few hours, masking tape should be left in place until the paint has dried out. Remove the tape too soon, and you’ll wish you hadn’t. Skirting will be too wet, and it won’t remain smooth. By leaving the tape in place until your paint has dried out, you’ll ensure crisp, clean lines when it finally comes off.
9. Remove your masking tape
Once you’re happy your skirtings are dry, the tape can come off. And the carpet can be folded back. Hold the tape at a 45-degree angle, and peel slowly. If it’s proving difficult, you can use a Stanley knife to gently score the edge of the tape.
10. Clean up - ta-da you’re done
Next, check the soles of your shoes for splatters of paint. This will help you avoid spreading it around your home. You can then pile your sheets in the wash and pack up your tools. Did somebody say ice-cold beer?
Well done on your latest challenge. Skirtings aren’t the easiest things, but it’s so rewarding when the jobs ticked off.
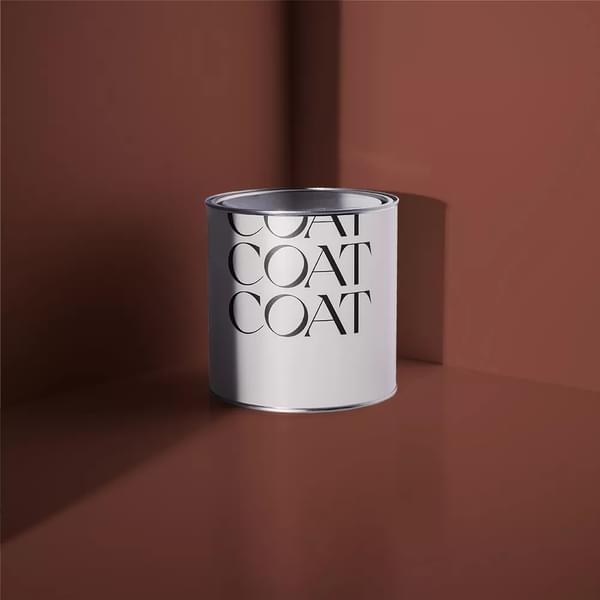
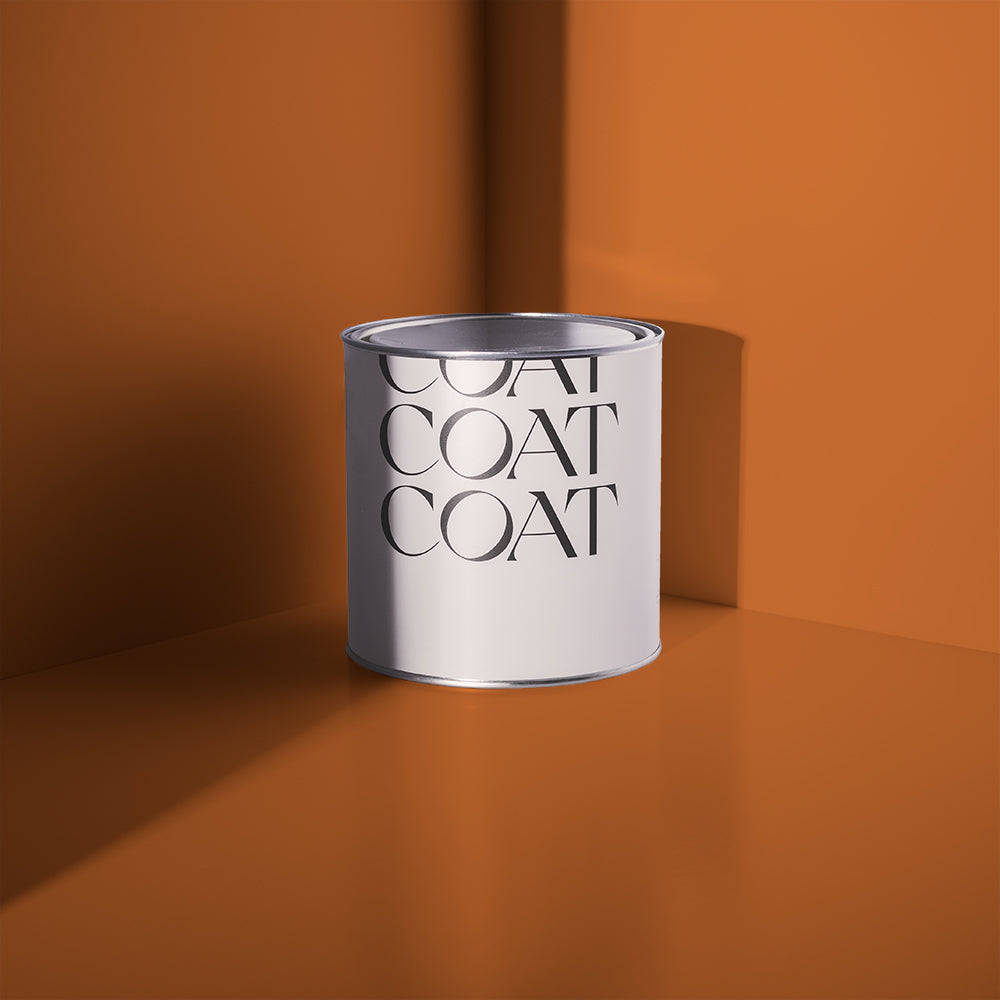
Have a favourite COAT shade? Treat your skirtings. Simply grab it in our Eggshell version.

Publish Date
Author














Leave a comment