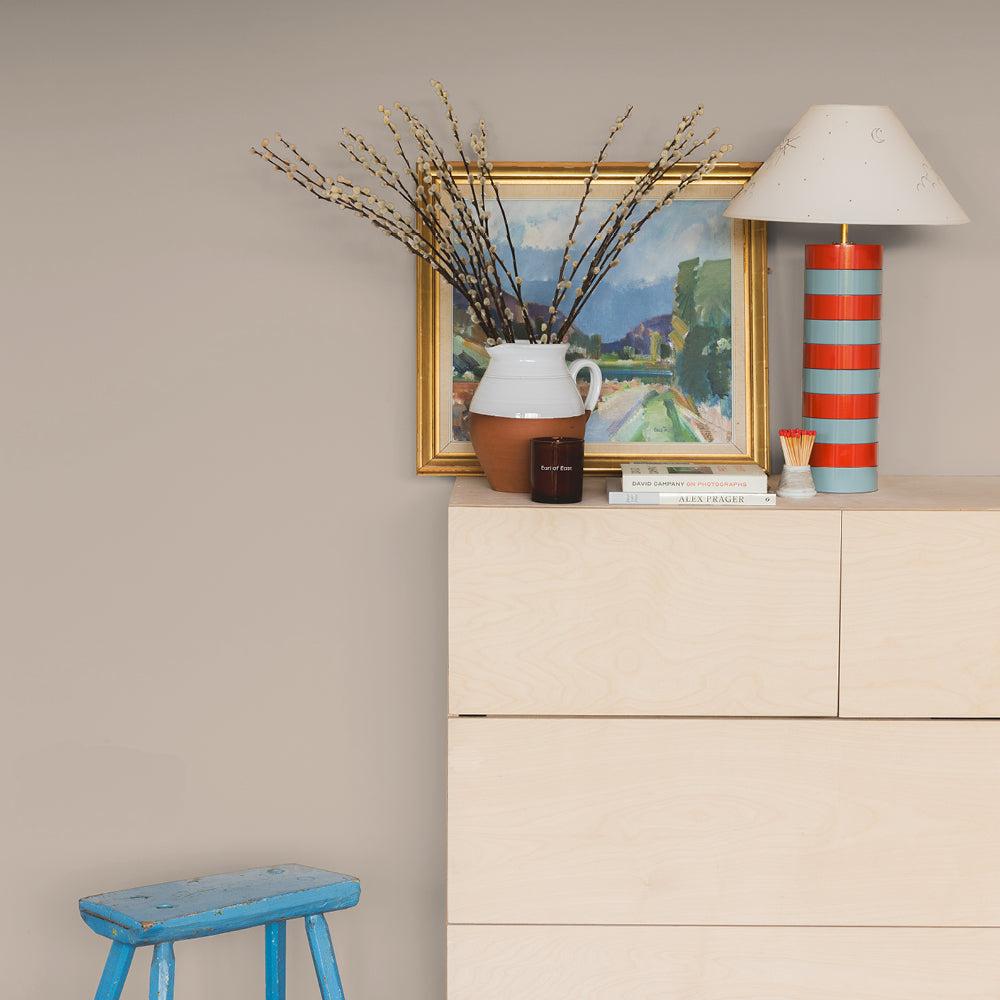
How To Paint Over Wallpaper
So, you want to roll a new colour over your walls, but they’re currently covered in wallpaper. What to do? Well, as you’ve probably worked out from the title, painting over wallpaper can be done, but should it be done?
It’s not a simple answer, I’m afraid. There are various things to consider. But we’ll go over whether or not painting wallpaper is the right option for you shortly. And if it is, we’ll tell you how to paint over wallpaper. We’re helpful like that.
Wallpaper is one of those things that go in and out of fashion. Some patterns date quickly; others can stand the test of time. Either way, there comes a time when you want to update it. And if you’re looking for a quick fix, painting over wallpaper is tempting. However, if this is a temporary quick fix, you could be making things harder for yourself.
And on that note, it’s probably best we get to the pros and cons of painting on wallpaper.

Can You Paint Over Wallpaper?
In an ideal world, you don’t want to be painting wallpaper. I mean, if you asked a painter decorator, they’ll likely say to remove it and any adhesive on the wall first. Painting over a smooth surface is always the preferred option. However, that’s not always the best option if you need to save on costs.
When you remove wallpaper, there is a chance you can damage the wall beneath. If using a steamer and you hold it too long over a section of the paper, you might blow the plaster. Or it might be old and naturally come apart in places as you tear off the wallpaper. Pending on how bad it is, you might have to replaster the wall. So, if you have an old house, sometimes painting on wallpaper is the best course of action.
Also, if faced with layer upon layer of wallpaper, it could take you ages to get rid of it. In that case, it would be quicker to paint over it.
When You Shouldn’t Paint Over Wallpaper…
If the wallpaper is peeling in multiple places or there is mould, definitely remove it first. And you’ll need to fix the cause of mould before painting. If you paint over it, it might still show through, and all you are doing is masking over a problem that will be costlier to solve.
Avoid painting over fabric-based vinyl too. However, it should be easy to remove. Wallpaper that is harder to peel off is better to paint over than wallpaper that comes off easily. What a stroke of luck! Do a small test to see how easily it lifts off, and that will help you decide whether painting over wallpaper is the right move.
As for textured paper, unless you sand it down to a smooth surface, the raised pattern will show through. And that will likely take just as long to do as removing it. However, if you like the pattern but want it in a different colour (or enjoy sanding), then paint away.
One last thing, if you are planning on redecorating again soon, it will be harder to remove painted wallpaper. So, if this is a temporary solution while you save up for a refurb, we recommend you put up with looking at the wallpaper for a bit longer.
We’re gonna assume that as you’re still reading, you’re going to paint. Ok, so before we tell you how to paint over wallpaper, we need to go over how to prepare wallpaper for painting, starting with all the stuff you’ll need!

What Will You Need To Paint Over Wallpaper
Safety first:
- Goggles
- Gloves
- Dust mask
Materials and tools:
- Dust sheets
- Sugar soap / soapy water
- Damp cloth / sponge
- Wallpaper adhesive
- Caulk (clear)
- Putty knife
- Multi-purpose filler
- Fine sandpaper (150 to 180)
- Decorators tape
- Oil-based primer
- Paint
- Paint brush
- Roller + tray
Need painting supplies? Check out our fully recyclable decorators kit. And as for the colour for your walls, our flat matt paint is perfect for the job!

Step-By-Step Guide: How To Paint Over Wallpaper
As with any paint job, you can’t skip the prep work. Follow our guide, and all will go well.
But before you prepare the wallpaper for painting, move your furniture out of the room. You’re going to need the space. Not possible? Whatever has to stay, move it into the middle of the room and cover it with dust sheets. Oh, you might want to cover your floors too!
Right, let’s start with everyone’s least favourite yet super important task.
Step 1: Clean The Walls
Can you paint over wallpaper without cleaning it first? No. We know it’s not fun (unless you’re Monica from Friends) but cleaning the walls first is a must. If you don’t do it, your primer isn’t going to stick well, and therefore your paint won’t either. Also, if you leave any stains or grease patches, these will show through the paint. And nobody wants to see that.
Use a slightly damp cloth or sponge to wipe away any dust or dirt from the walls. If the wallpaper is grimy, use sugar soap to clean them thoroughly. Don’t have any sugar soap? Soapy water using washing up liquid is fine.
Be careful not to get too much water on the wallpaper. There’s a risk that it might get underneath it and loosen it or bubble. Only apply pressure on stubborn greasy areas to avoid this happening.
Allow plenty of time for your walls to dry - this is your cue to go do something else for a bit.
Step 2: Repair Any Damages To The Walls
For a flawless finish when painting wallpaper, you need to start with a smooth surface. Check for areas you need to repair. Fix anywhere the wallpaper is peeling by using wallpaper adhesive to stick those areas back down. Double-check the seams and smooth these out too.
Alternatively, lift any loose areas with a putty knife and cut those bits off. Then use a multi-purpose filler to level over the gap. Once the filler is dry, use fine sandpaper (150 to 180) to create a smooth surface. You’ll need to wipe away the dust with a slightly damp cloth and allow the wall to dry before moving on to the next step. If there are holes in the wallpaper, use the filler to fix those areas following these instructions.
To prevent peeling after painting wallpaper, use clear caulk. Seal the edges at the top and bottom by applying a thin line where the wallpaper and ceiling/floor meet.
If you’re unable to remove textured wallpaper, and you absolutely hate the pattern, then you can sand it. Use fine-grade sandpaper (150 to 180) to remove the raised pattern and create a smooth surface. Use a slightly damp cloth to clean away the dust and allow the wall to dry completely.
Step 3: Tape Up
Guessing you only want to paint the wallpaper. So now’s the time to tape up any adjacent surfaces.
Apply decorators tape to skirting boards, sockets and switches, door and window frames, and coving. Or if you don’t have coving, tape along the ceiling edge. And if you don’t have skirting boards, try taping the dust sheet to the floor (a good tip, in general, to stop paint from getting underneath it).
You want clean, straight lines, so don’t rush this. When fixing the tape, overlap each section. That way if you do get paint on it and it goes under the seam, it will go on another bit of tape rather than the surface you’re trying to protect.
Firmly press the tape down to avoid it peeling off while you’re painting. It will also prevent any paint from bleeding underneath it. One way to guarantee your tape sticks is to clean the surface first. Otherwise, it’s just sticking to a layer of dust. Wipe with a damp cloth and allow to dry fully before taping up.
Step 4: Prime The Walls
If your topcoat is water-based paint (all COAT paint is), you’ll want to add an oil-based primer first. Why? The wallpaper might absorb a water-based paint/primer and lift the adhesive underneath, resulting in bubbles. An oil-based primer will sit on the wallpaper rather than soak through it.
By adding a primer, you’ll be giving your topcoat a solid base to sit on. For patterns or bold or dark colours, we recommend using a stain block primer. It will prevent them from showing through the paint. Also, it will save you from battling against it with multiple coats of your chosen colour. Again, be sure to check it’s an oil-based primer.
Oil-based paints have more VOCs, so they carry a far stronger odour than water-based paints. Make sure you’re working in a well-ventilated room.
The method for painting a wall is the same as painting on wallpaper. Use a paintbrush to cut in around the edges of the wall you’re about to prime. After cutting in, roll the primer over it. Make sure the wall is dry before lightly sanding (use 150 to 180 grit). Wipe the dust away with a damp cloth. And then leave it to dry again. Repeat the process for all the walls. Once you finish the last one, it’s probably time for a tea break!

Step 5: Start Painting
We briefly covered how to paint over wallpaper in the priming section, but if rolling is new to you, here’s how to paint with a roller in a nutshell:
- Use a paint brush (or mini roller if you have one) to cut in along the edges of the wall you are about to paint.
- Roll the colour over your wall - start at least half a roller’s length away from the edge and a foot (30cm) from the bottom of the wall.
- Paint in sections (always keeping a wet edge) and blend into the cut in line.
- Back roll over the wall while the paint is still wet to fix stroke marks and create a smooth finish.
- Repeat the process for the next wall and so on.
- Allow the paint to dry.
And that’s it unless you need to do another coat. Likely if you’re painting over wallpaper with a strong pattern or bold colour, or you’re changing from a dark colour to a lighter one. Once the paint is dry, lightly sand the wall. Wipe the dust away with a damp cloth and allow the wall to dry. Then repeat the rolling process - by the way, you don’t need to cut in again first before the second coat.
Follow our advice and take the time to prep the wallpaper for painting. Rushing that stage will only produce a bad result. As we mentioned near the start, it’s much harder removing wallpaper that has been painted over.
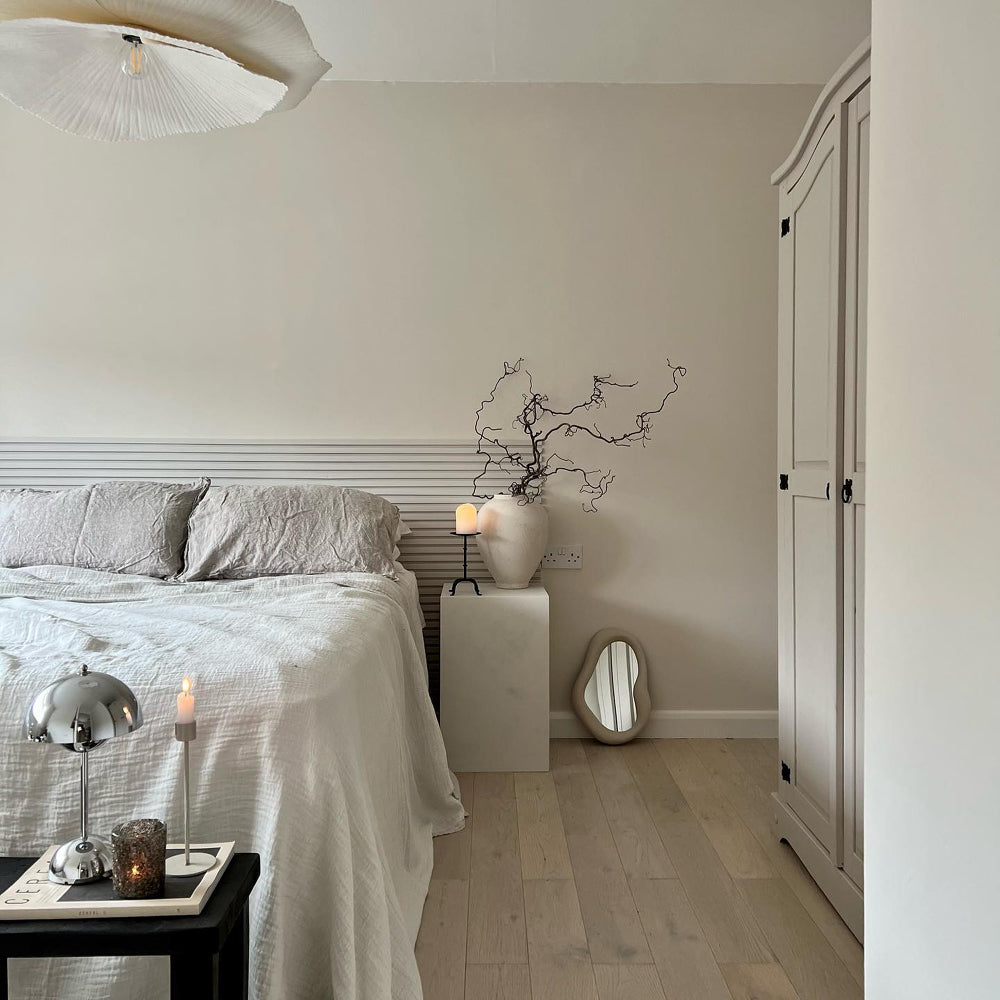
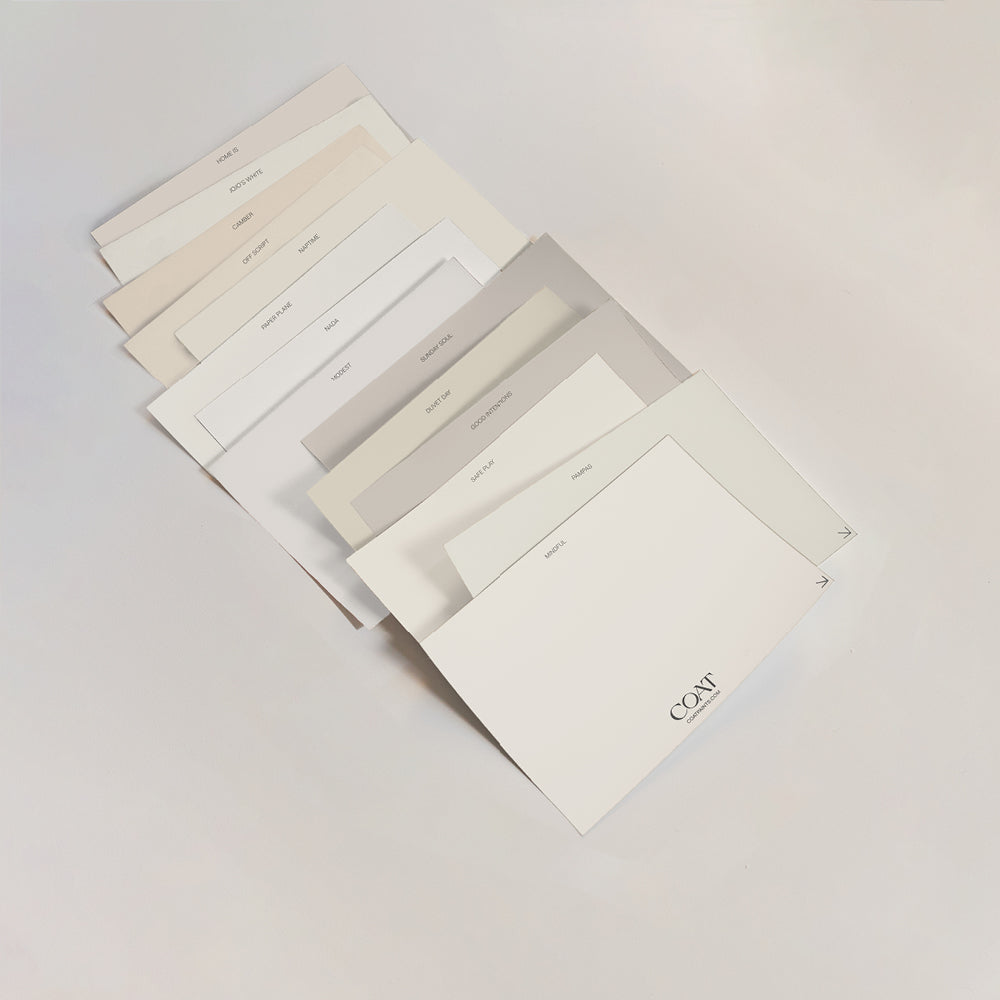
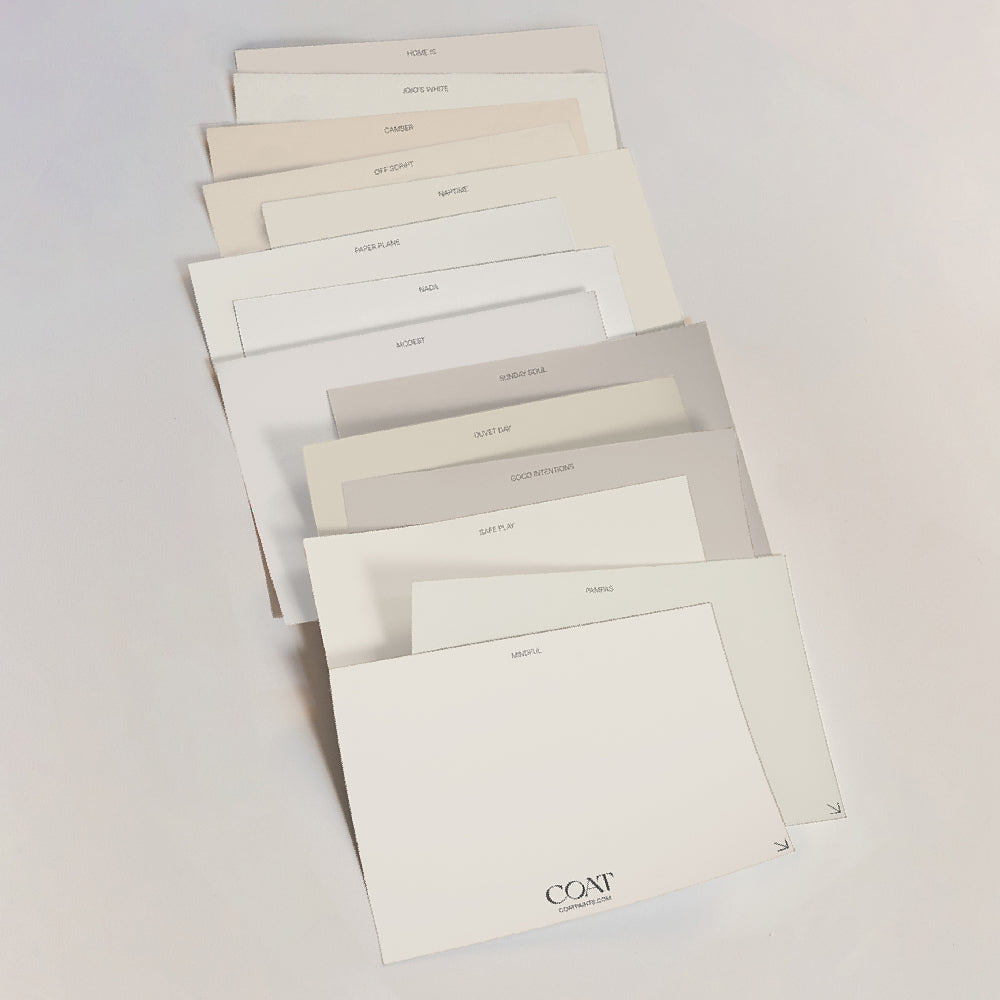
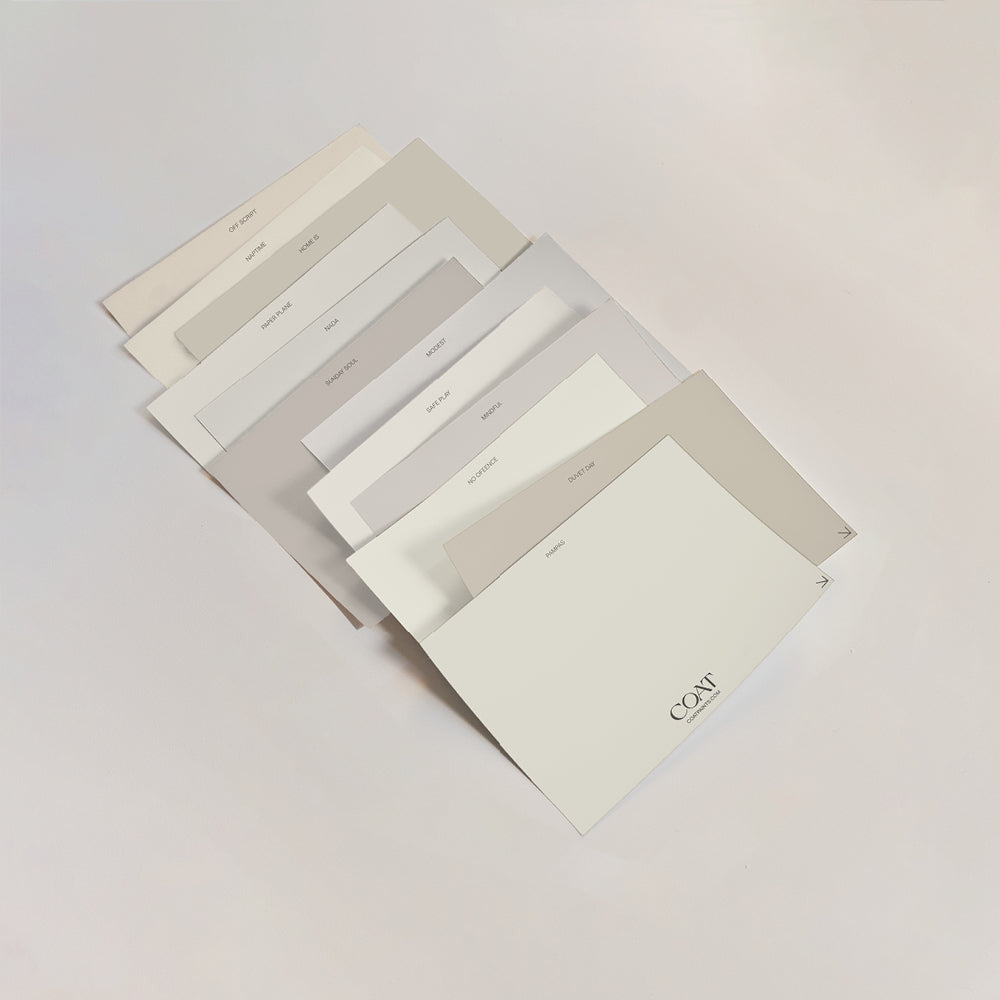
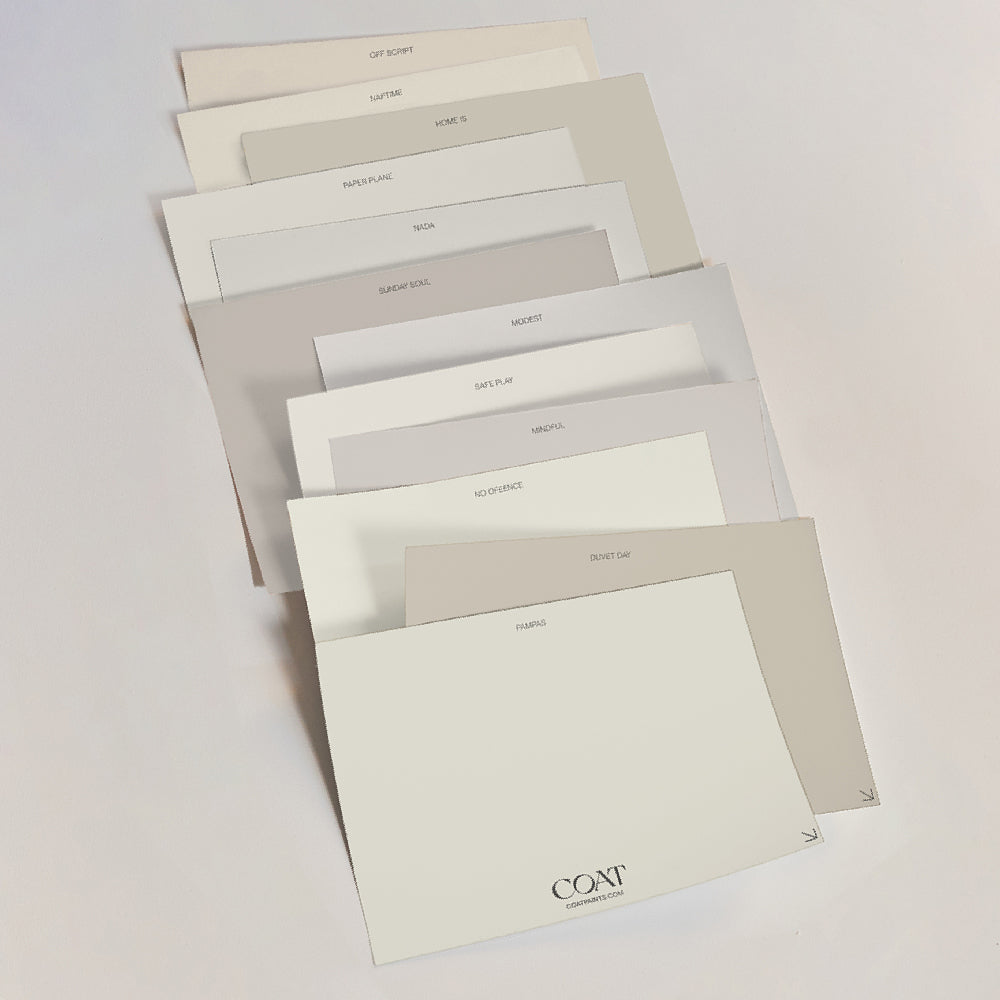
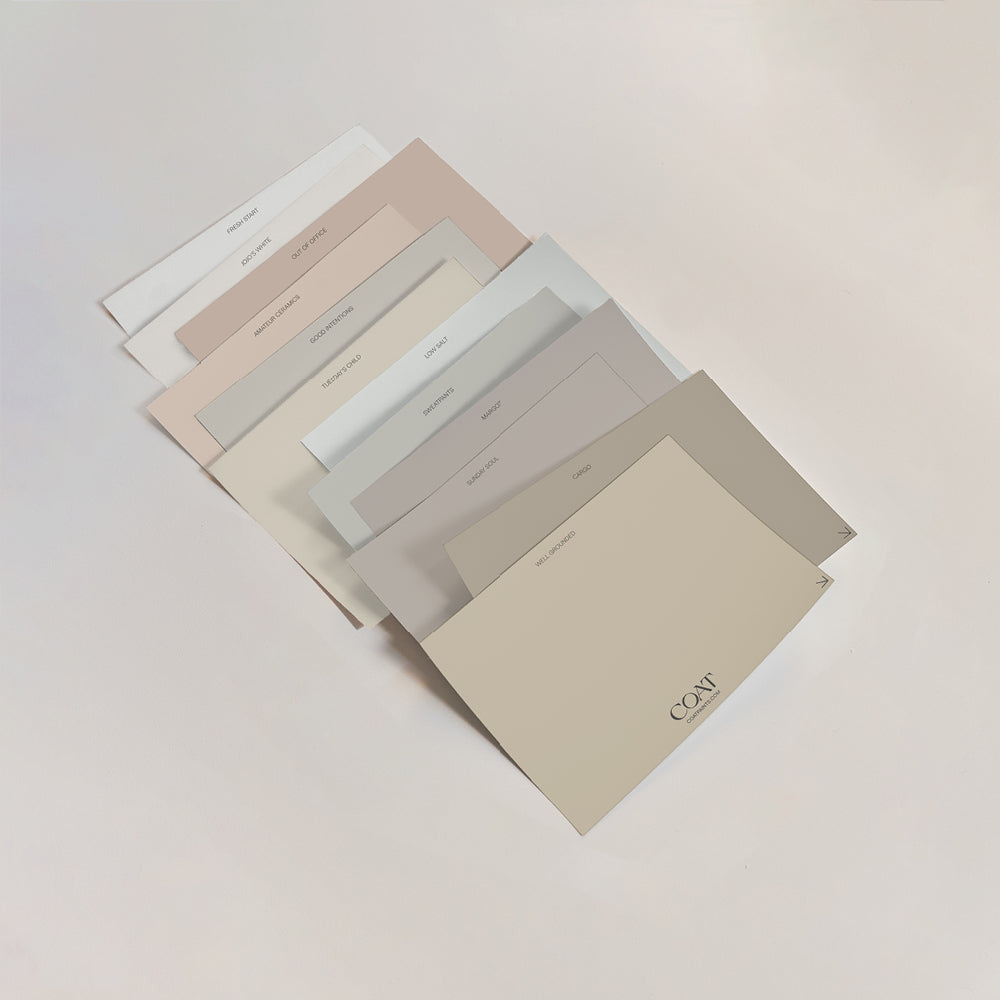
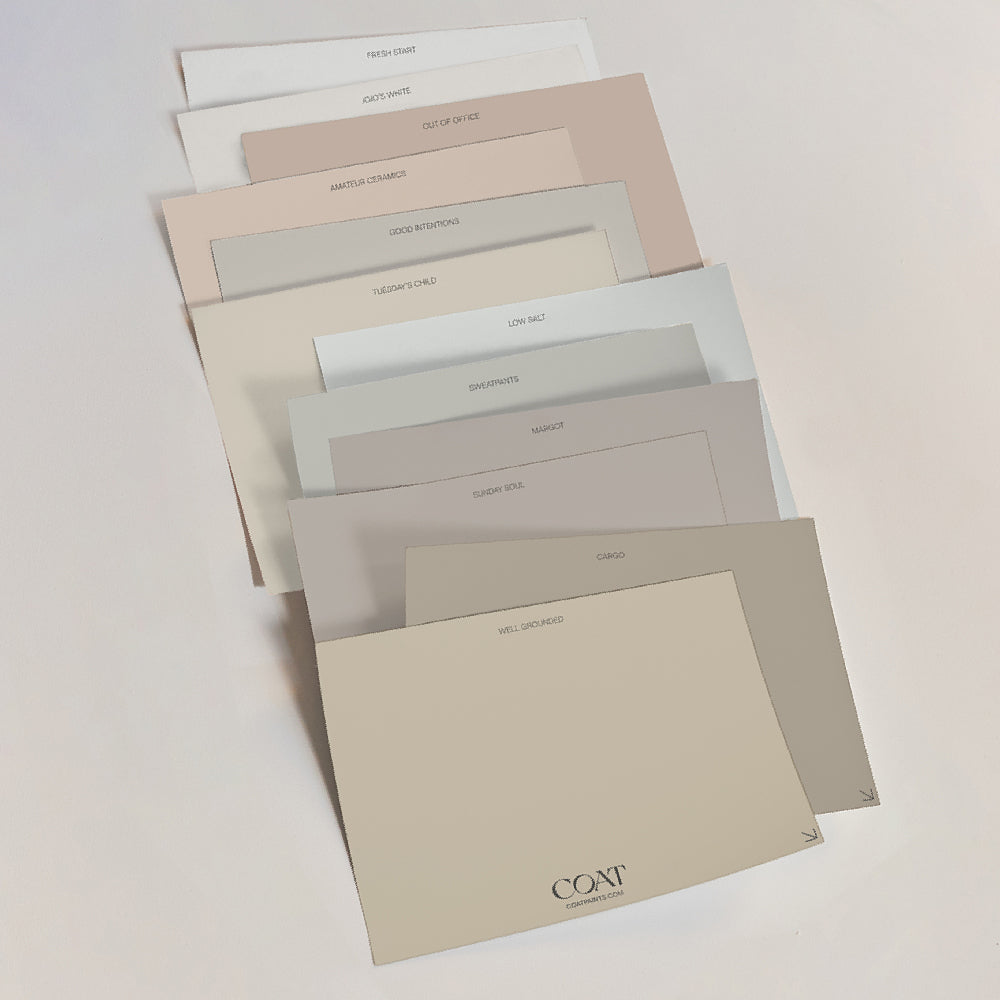
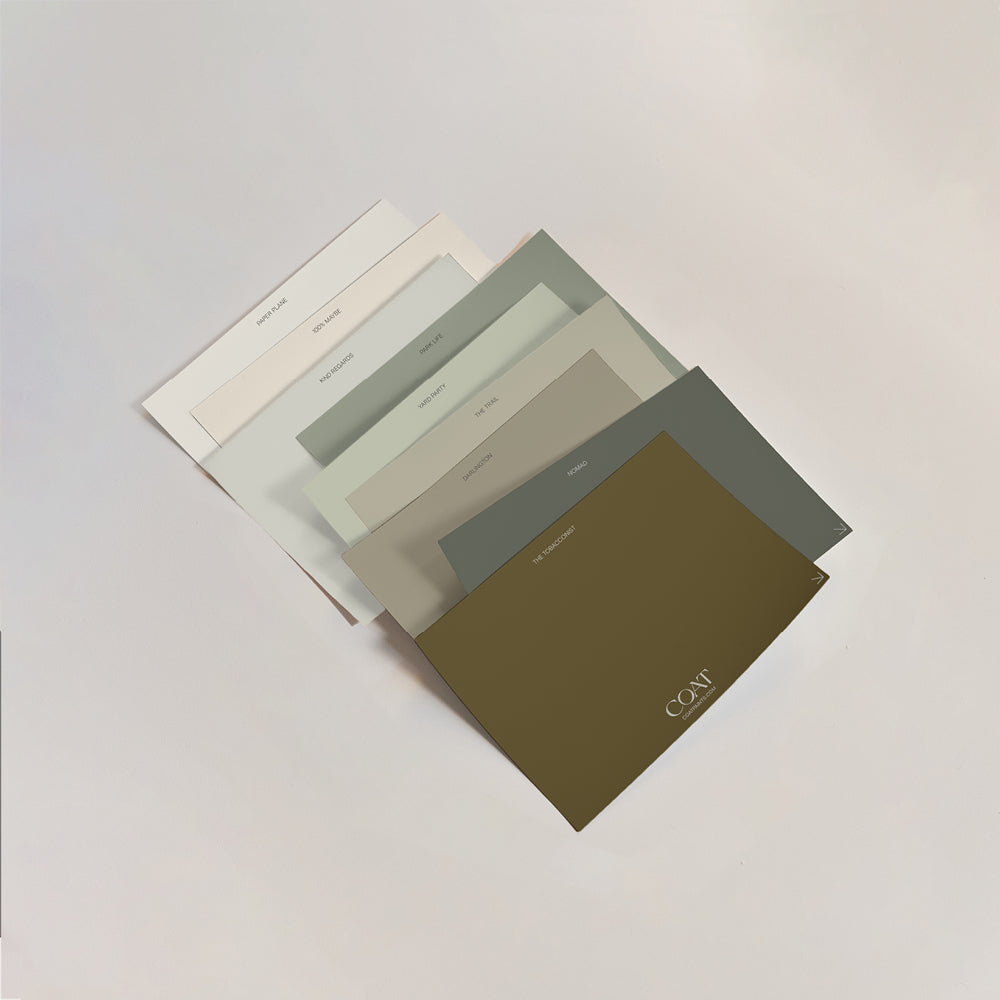
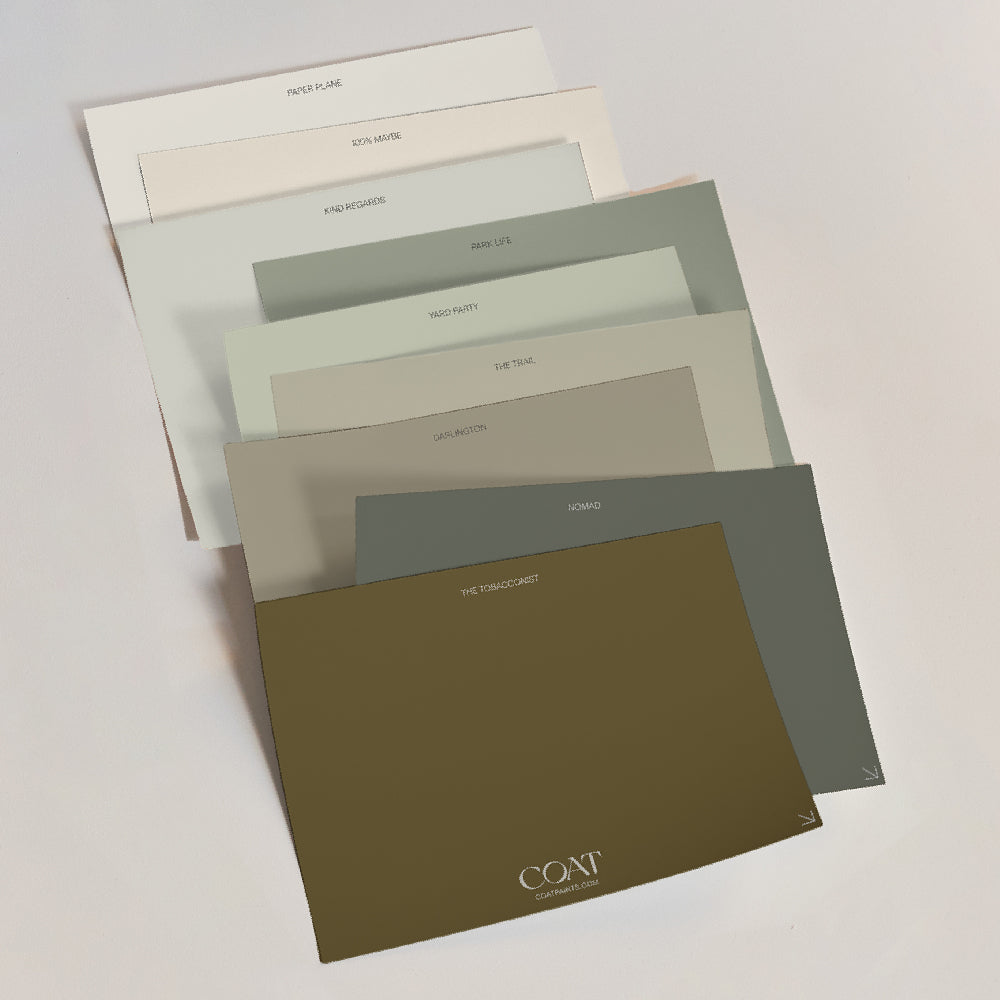
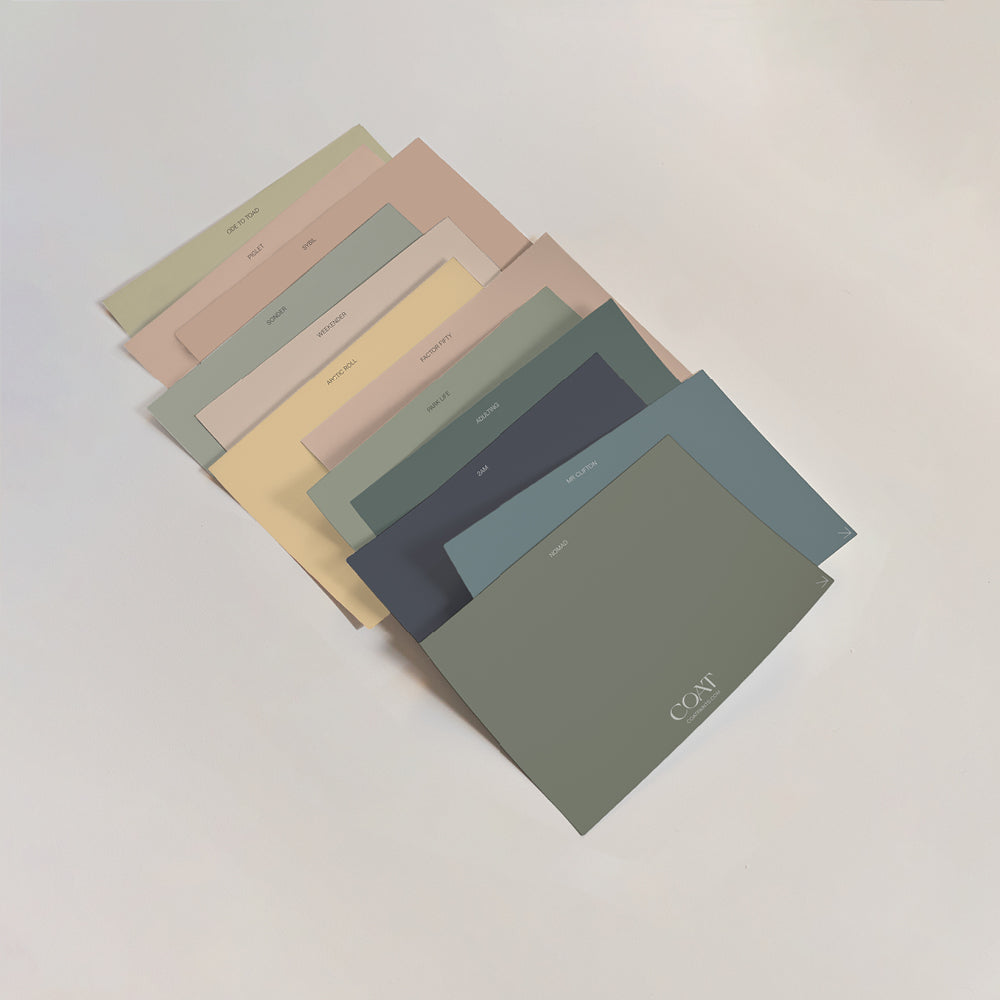
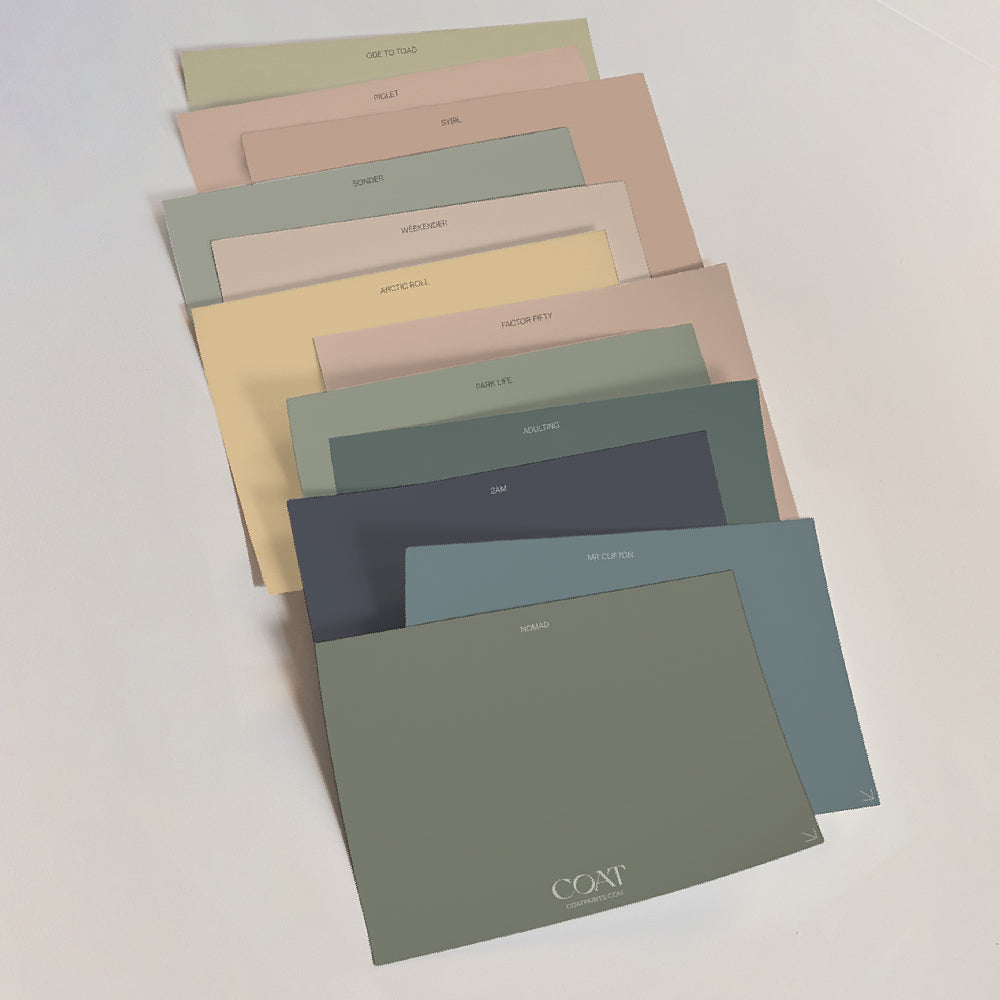
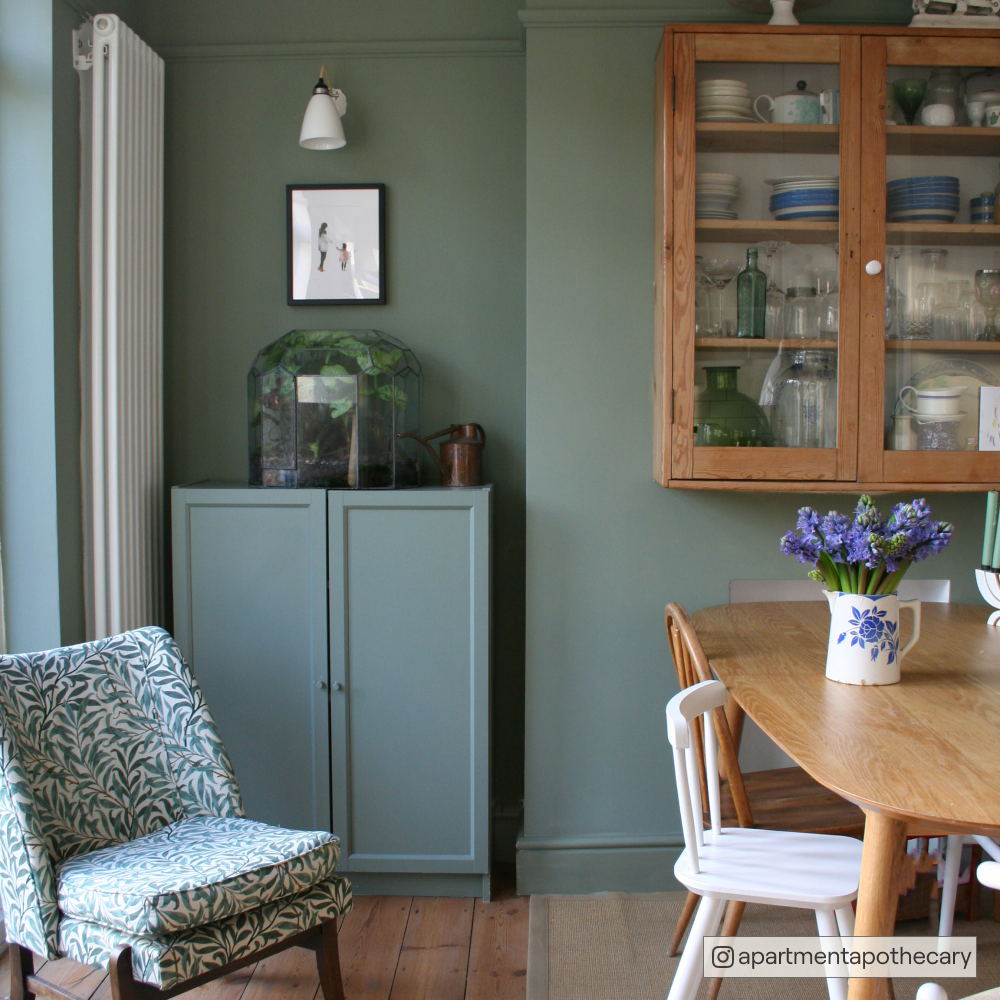
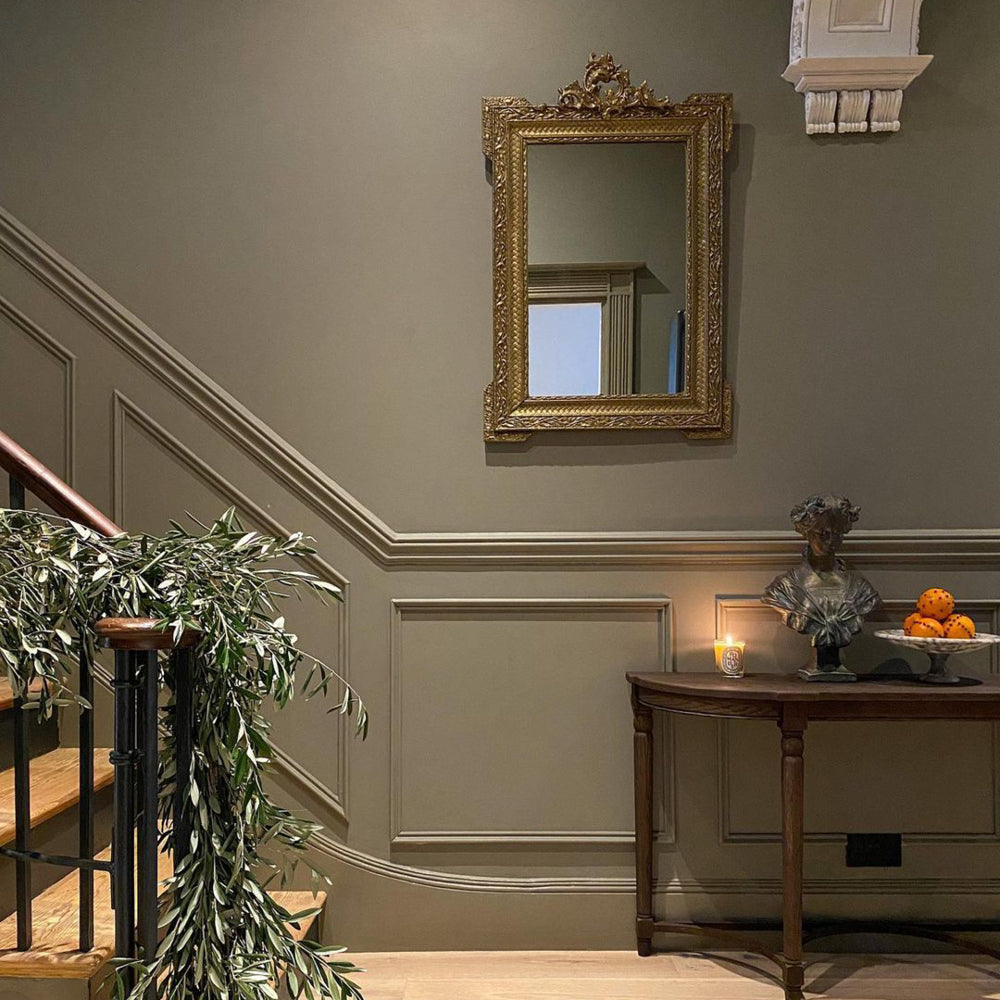
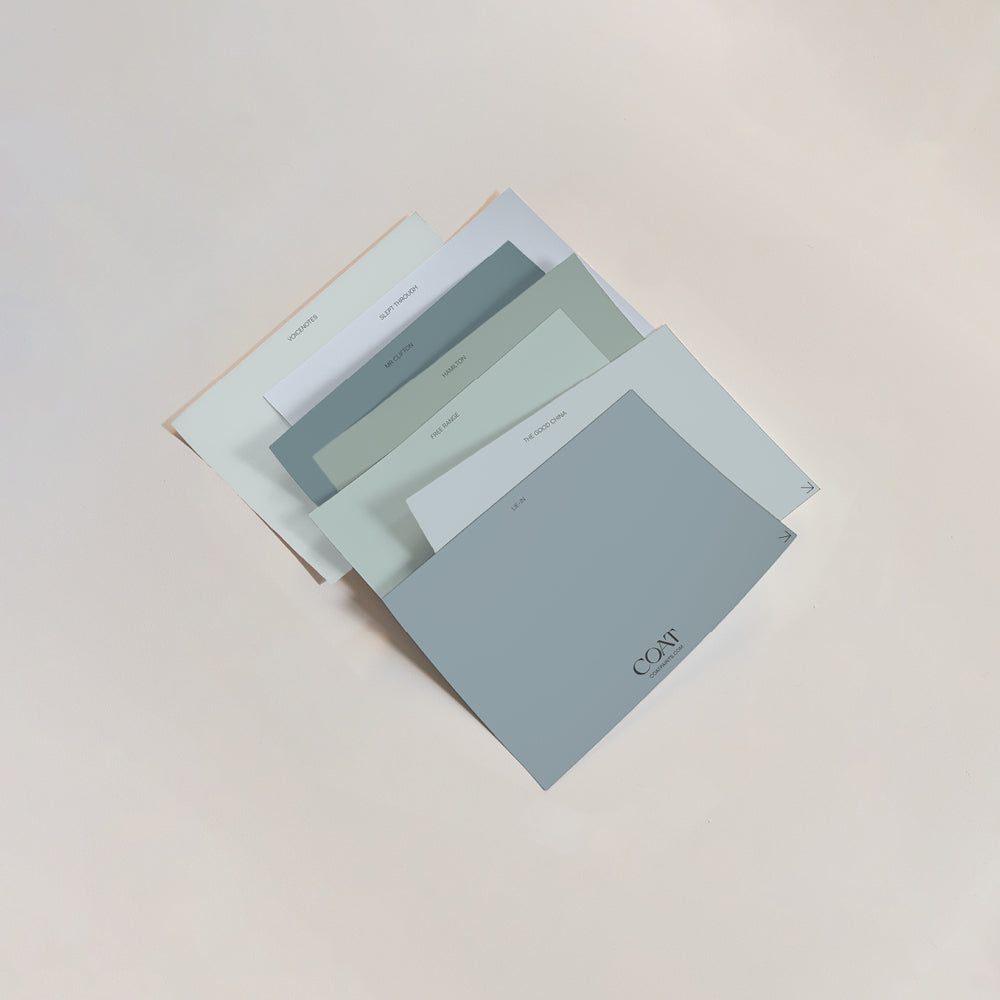
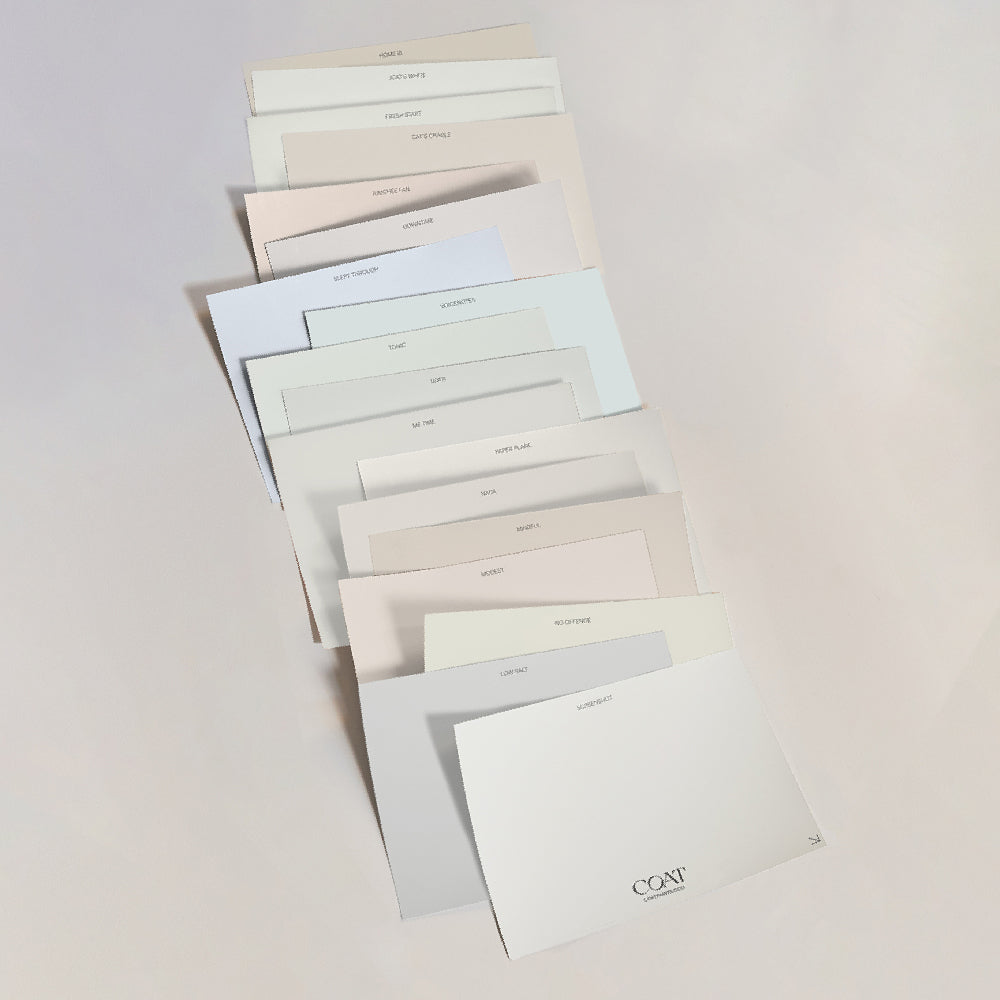
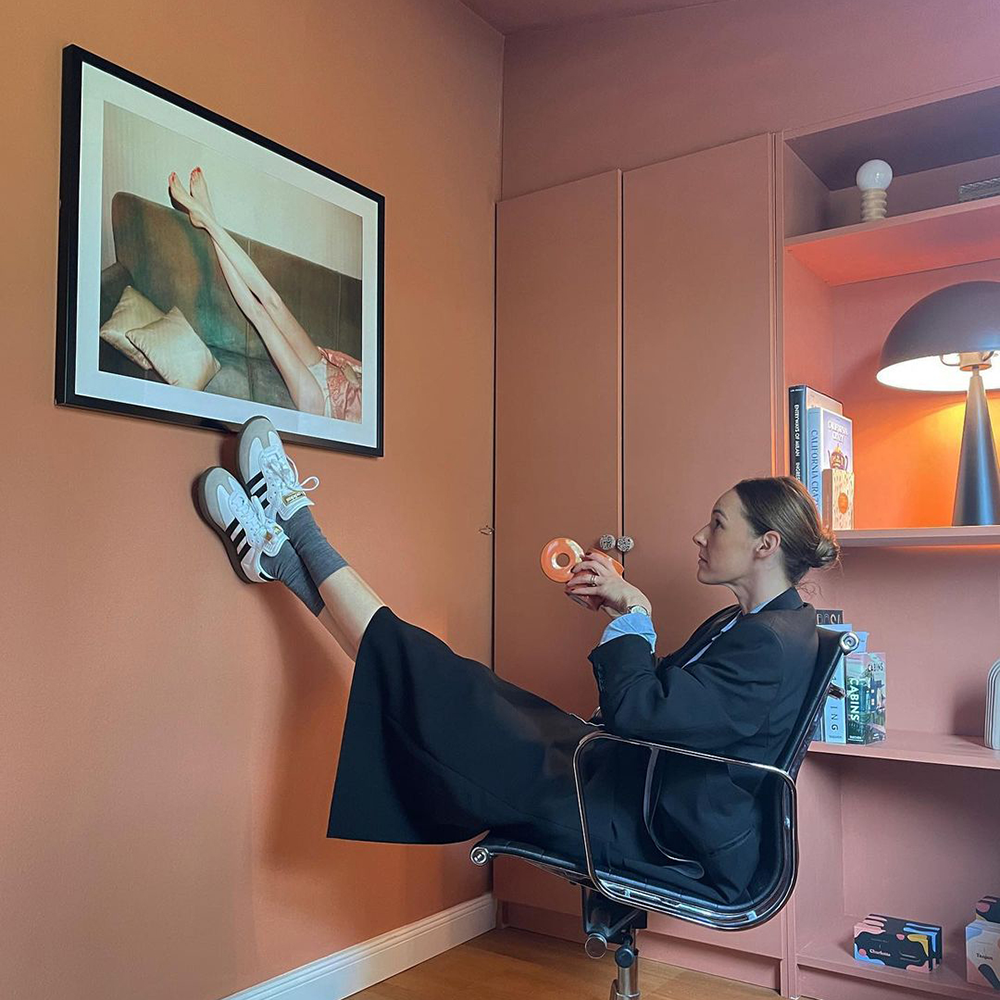
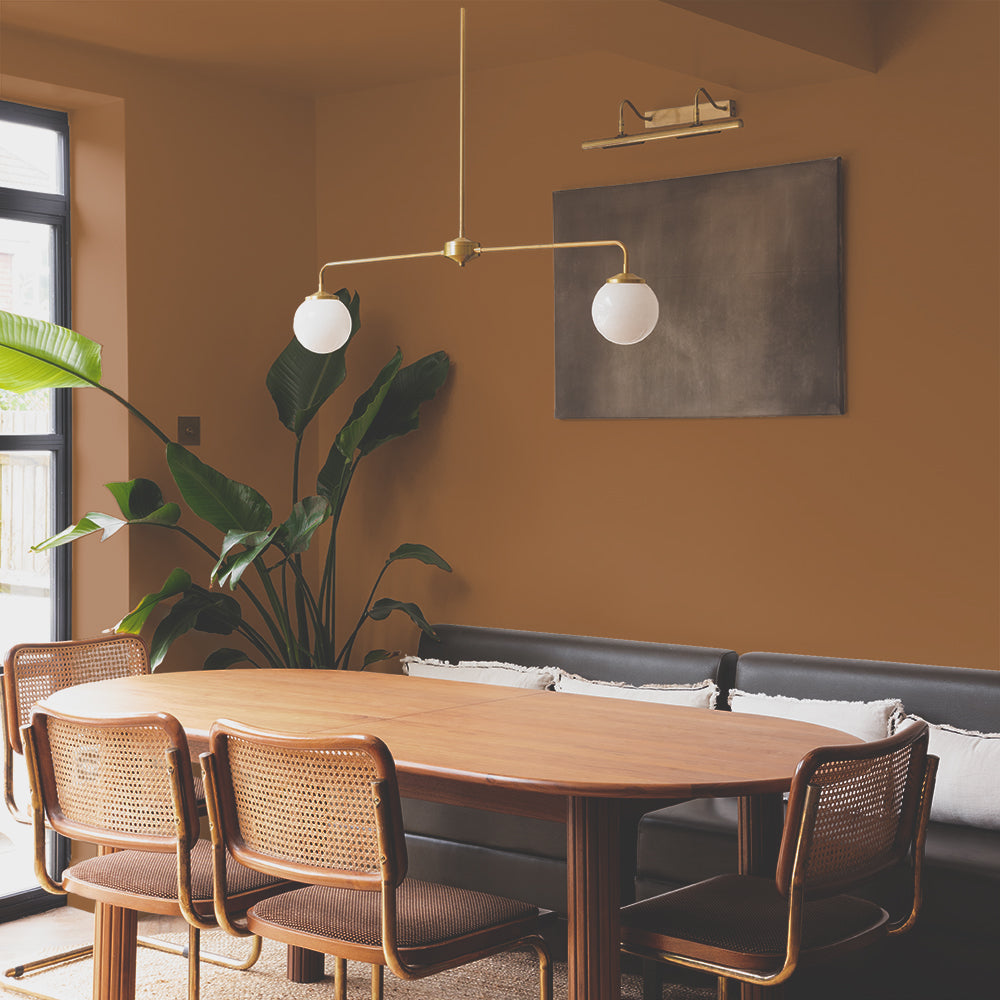
So, now you know how to paint over wallpaper, it’s time to pick a colour you’ll love. Check out COAT’s flat matt paint and use our peel and stick swatches to see how the colour looks under different lighting.

Publish Date
Author