How To Paint A Staircase
In many modern homes, the first room a visitor sees is the hallway. This is the room that makes or breaks a visitor’s first impression of your home, so keeping it looking spic-and-span is key. A quick tidy up, a vacuum and the right lighting can do amazing things for even the most unimpressive hallway, but nothing beats a fresh coat of high-quality paint 😉.
If your home is like most of ours, one of the most noticeable features of the front hallway is the staircase and banisters. The thing is, painting stairs and decorative banisters can be (as my sainted mother would have put it) ‘a real pig’.
But they don’t have to be. Whilst we don’t recommend painting exposed floors or stairs because they are high traffic areas and will need repainting over time, the trick is to use carpets or runners on top of painted stairs so that you can make a statement and one that will last. We’ve put together a short and succinct 4-step guide to painting a staircase. It includes advice on what paint to use on stairs, how to paint a banister, spindles and just about everything else you need to know.

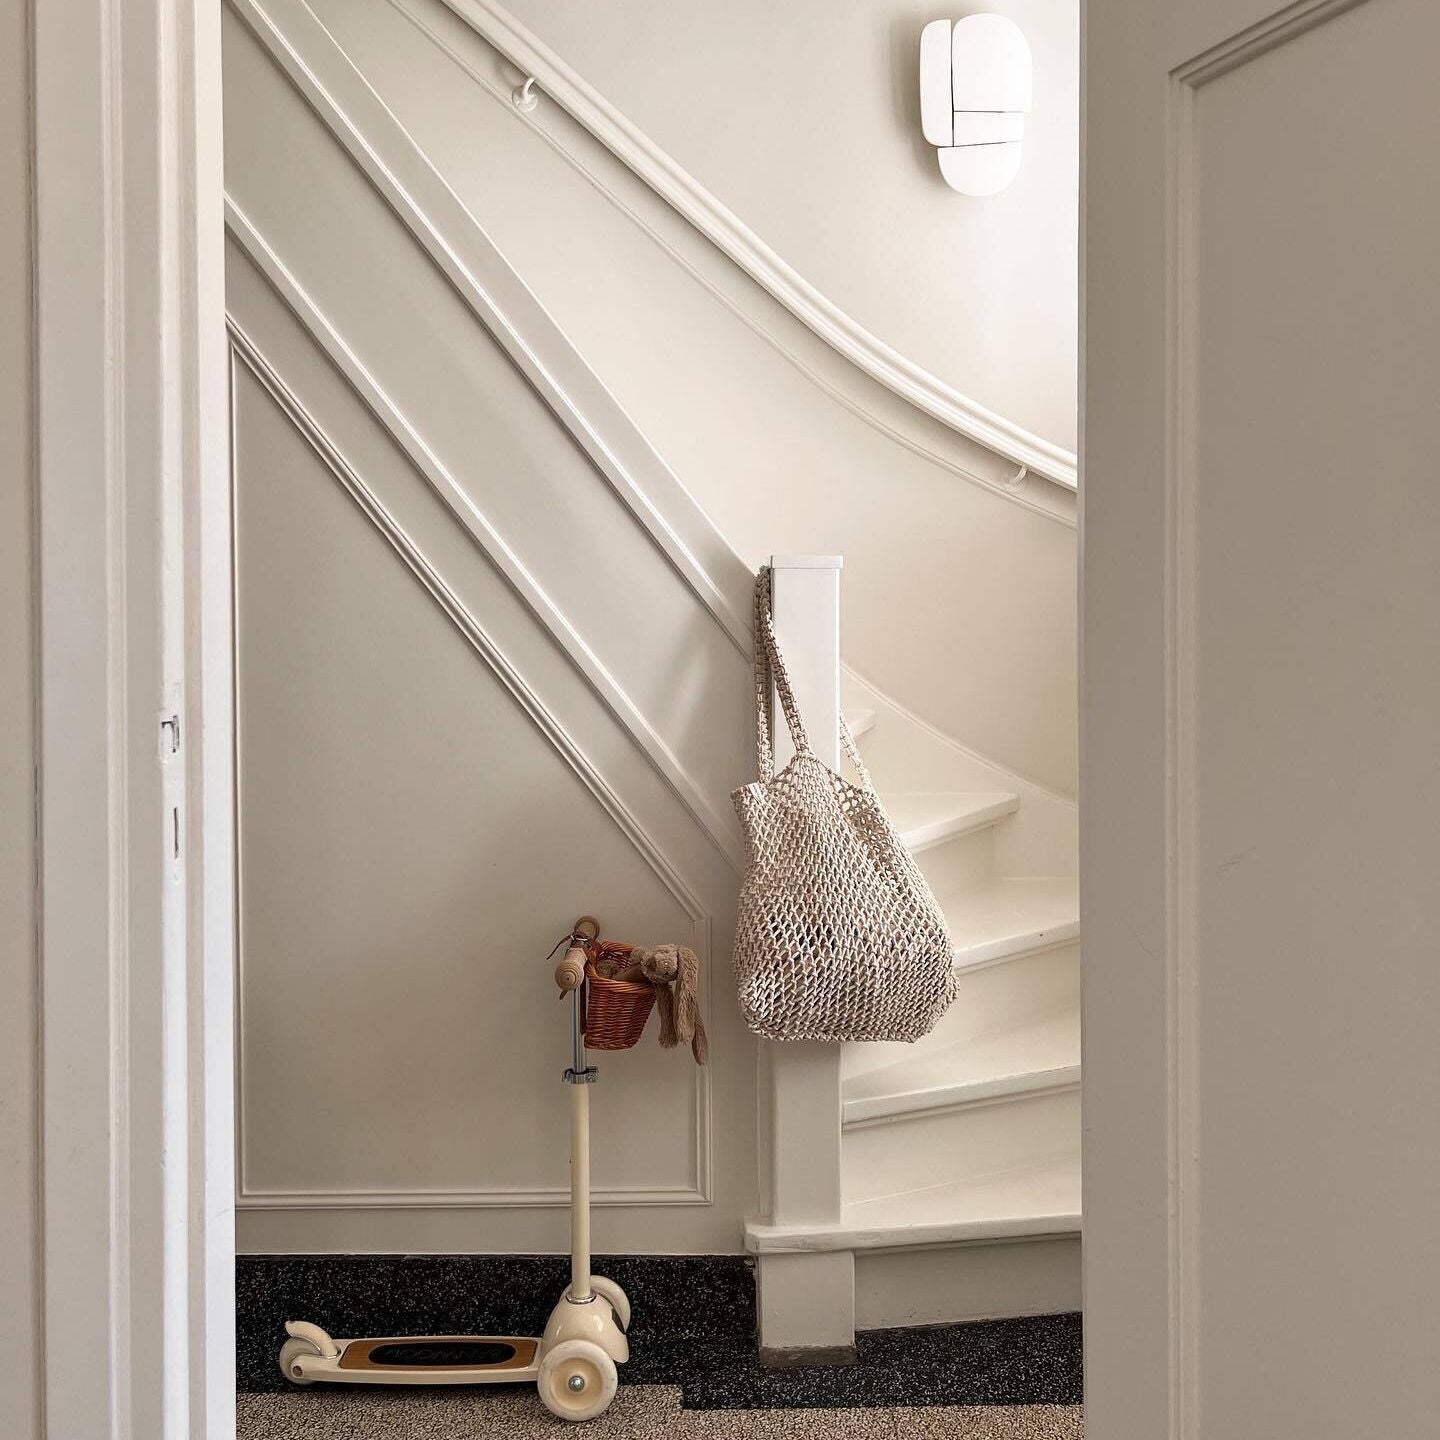
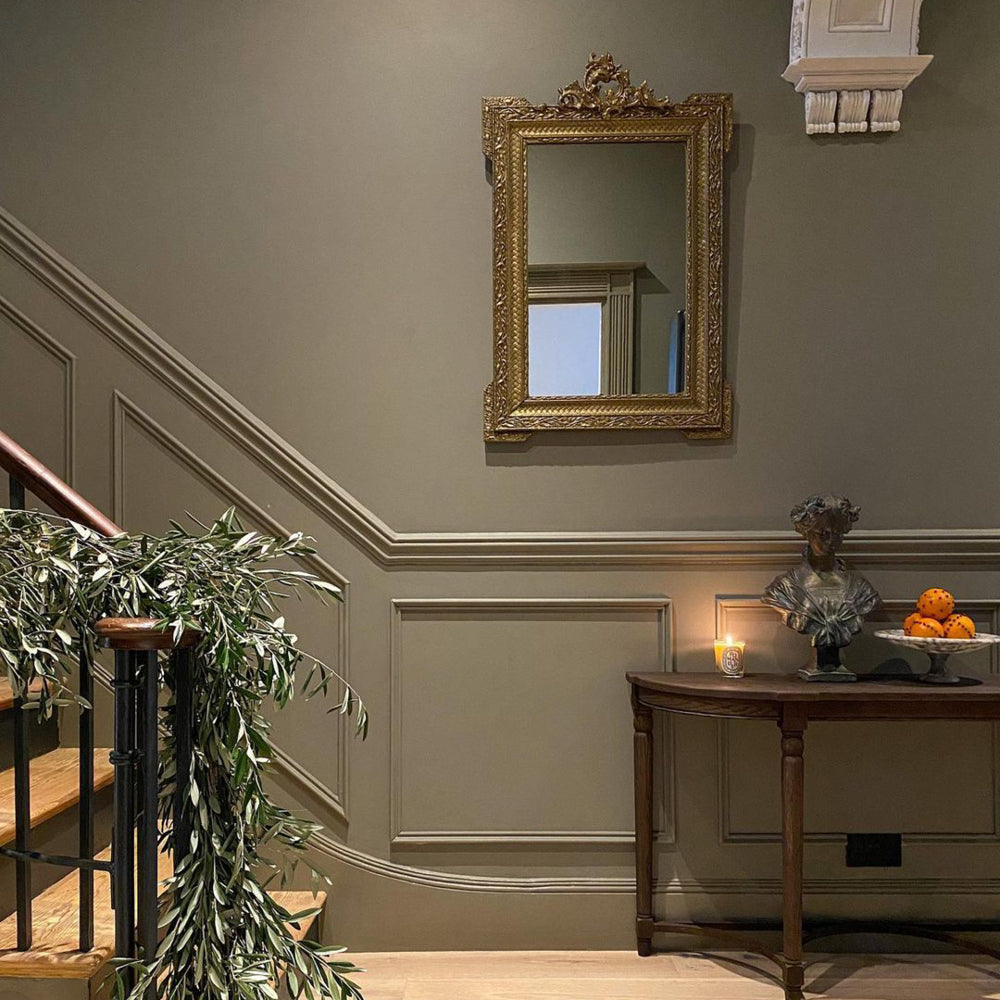
@brickdustbaby opted to 'Nomad' & 'The Record Store' on their staircase.
What Will You Need To Paint A Staircase?
The following is a list of the key supplies you’ll need when painting a staircase:
- Goggles or some other kind of eye protection. If you wear glasses, goggles are doubly important!
- Gloves. These can be canvas, rubber, or anything else you don’t mind covering in paint.
- A respirator or filter mask. Some paints give off heavy fumes, and you don’t need to be breathing that in for the hour or 2 it will take to actually get the paint down.
- Long-sleeve clothing. The paint will inevitably get on your arms. Best if it doesn’t go directly on your skin. Check out our long sleeve COAT tee.
- A sponge and a bucket of warm water. You will have to clean the stairs before you paint, and you will almost certainly end up wiping away some paint which ended up in an unhelpful place.
- 150-grit to 180-grit sandpaper. This will be necessary to prepare the surface for painting.
- Masking or painter’s tape. This helps keep the paint where you want it, and is vital if you’re using more than one colour.
- A multi-surface primer. Although COAT paints are self-priming, some surfaces may still need a bit of TLC so when in doubt, prime.
- Brushes and/or a paint roller. You won’t be putting it on with your fingers.
- Eggshell paint of your choice. Something lovely from COAT, perhaps.
Step-By-Step Guide: How To Paint A Staircase
Now you’re almost ready to start! Just have a quick read of COAT’s step-by-step guide to painting a staircase first. We’ll suggest appropriate products as we go.
Step 1: Prepare The Steps

@augustus.coop taking the stair prep seriously, removing the old carpet before painting.
If your stairs are carpeted, you’ll have to pull up the carpet before you begin. It can be tempting to consider simply masking the carpet and ‘painting around it’. That won’t work. If you want to keep that carpet, you’ll change your mind after getting paint all over it anyway. If you plan on replacing the carpet soon anyway, do it now. The new carpet might not cover exactly the same areas, and you’ll be able to see little patches of the old paint. It’s not a good look.
Once the carpet (if any) is up, you should examine the exposed stairs for problems or damage. This is the perfect time to make repairs. Nail down anything that’s loose or creaky, fill dents, gaps and gouges with wood filler, replace anything that looks rotten or is falling apart and sand any rough patches smooth.
The good news is that using a good quality eggshell paint from a trusted manufacturer (cough) lets you skip the most tedious part of preparing the surface for painting – you won’t have to strip, scrape or sand off all the old paint, varnish or other finish. We just saved you half a day, minimum!
After the wood surface is prepared for painting, it’s time to clean up. Give everything in the area the once-over with a vacuum cleaner – that little crevice attachment at the end of the hose will finally come in handy – and wash with the warm water and sponge, as well as your choice of cleaning solution. Very dilute washing up liquid will do in a pinch.
Step 2: Choose The Right Paint Finish

As already mentioned, we don’t recommend painting your stairs or floors if you don’t have carpet or a runner to cover or protect high traffic areas but our eggshell paint is the best staircase paint, particularly for exposed wood, banisters, panelling and spindles. COAT’s matt-ish eggshell finish is smooth and super durable and shrugs off scuffs and scrapes for years to come.
With a wide range of colours to choose from, many people decide to mix colours on a painted staircase to add depth and visual appeal. That could mean painting your stairs in a dark, rich colour and your bannisters in a neutral tone, mix and matching can really make an entrance.
Step 3: Start Painting

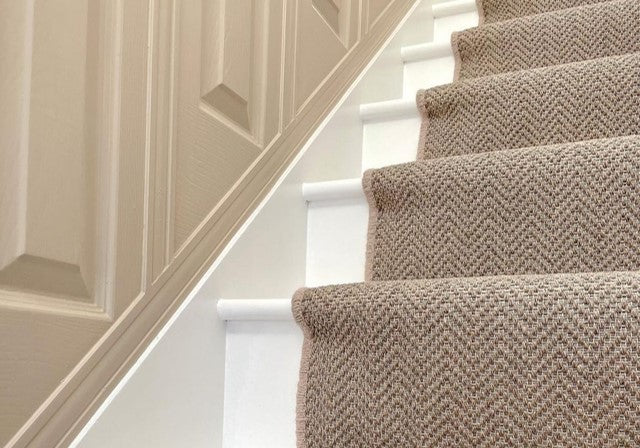
@augustus.coop's keeping it classy with a white painted staircase, neutral coloured panelling and a beautiful earthy-toned runner.
Begin with the primer. Most of this can mainly be applied with a roller, but you will almost certainly need a brush to get the angles between the stairs and the wall edge, let alone around the banister pales. If you aren’t painting the banister or the walls immediately after, be sure to mask them carefully with painter’s tape. Leave the primer coat to dry and it generally can’t hurt to leave a few windows open for ventilation, weather permitting.
Next, you’ll follow pretty much the same procedure with the top coat. A smaller foam roller is usually preferred for floor paint and stair-sized surfaces. Again, you’ll need a brush to get into the corners where the stairs meet the risers, at the edge of the wall against the skirting board and at the banister pales.
This is the coat where detail really counts, so take your time. Several thin, even coats will look much, much better than a single thick coat. They will be dramatically less prone to running and dripping, for one. You’ll also find that several thin coats are likely to dry faster than one thick one. We usually recommend two COAT’s but don’t be afraid to do three. And repeat…paint your banisters and spindles using the same techniques with a brush so you can get into all of those difficult spots.
Note - we recommend painting your whole staircase rather than just the sides. It may be tempting to leave out the centre section if you’re going to have a runner carpet covering it anyways. But trust us, if you’re going to replace the carpet later down the line, it’s going to be much quicker to do the painting now than to come back to it in a few years’ time when you have a different size carpet.
You may even want to add wall panelling to your staircase, check out our blog on how to panel a wall here.
Step 4: Take Off The Tape and Clean

And just like that...you've got an enviable staircase!
Taking the painter’s tape off is a great feeling. Lift the tape up (when the paint is still wet) and put it in a bin liner where it can’t damage your new paint – or anything else in the hallway. When you’re absolutely sure everything is dry, give the stairs and surrounding areas one last sweep or vacuum.
Lastly, lay your runner carpet on your freshly painted stairs. Now you’ve got a stairway you can be proud of, and which takes pride-of-place in your hallway, the gateway to your home.
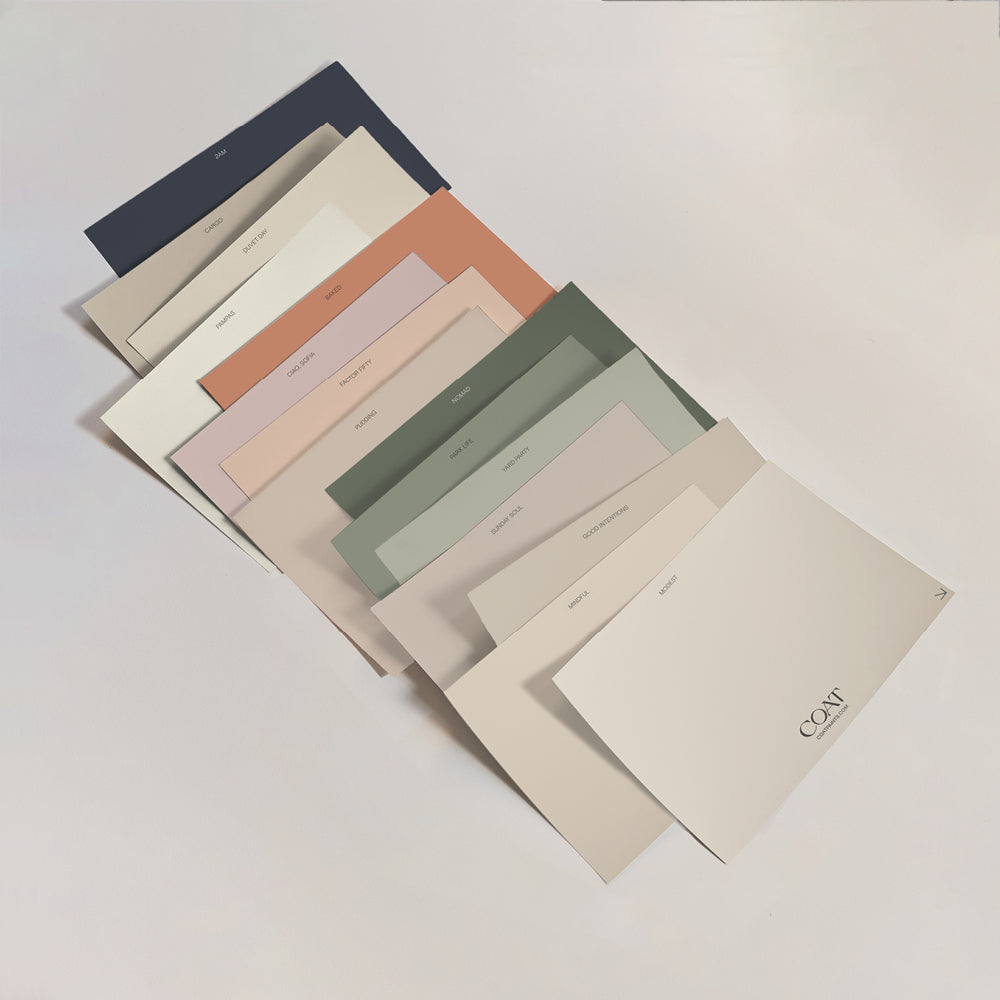
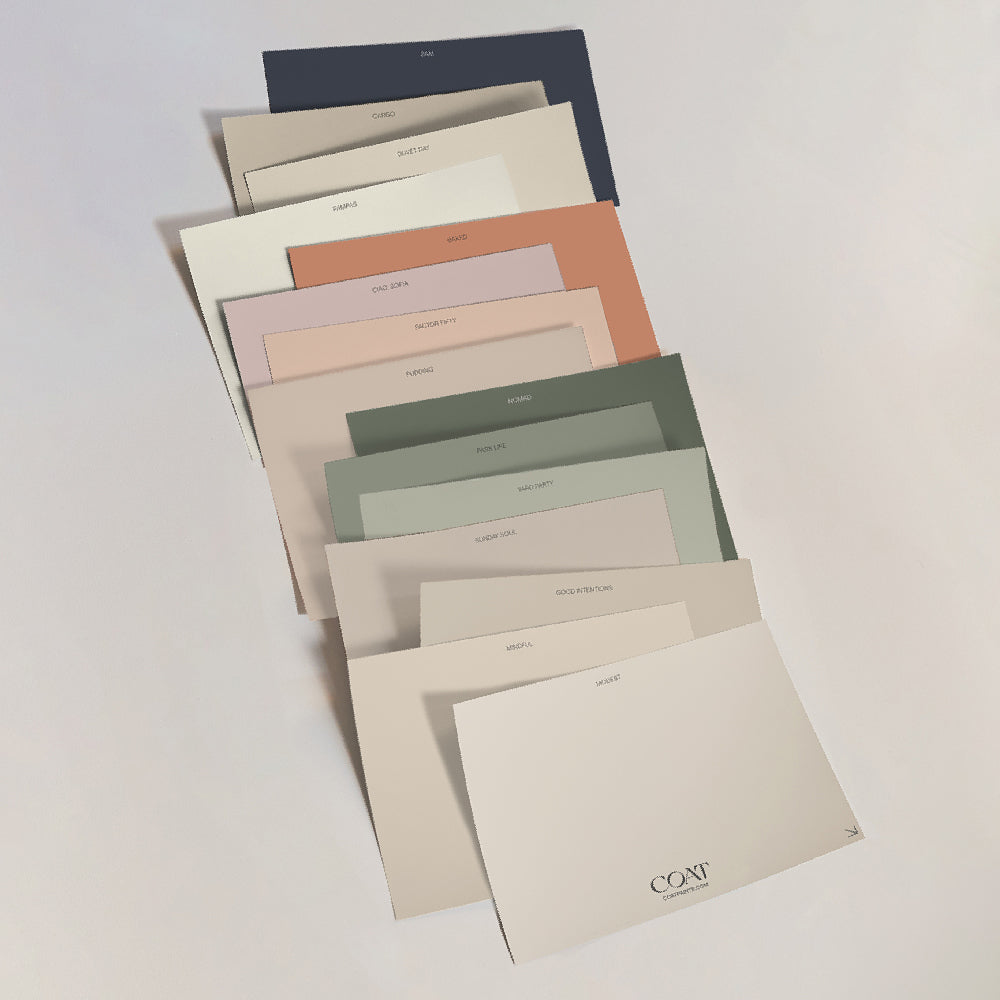
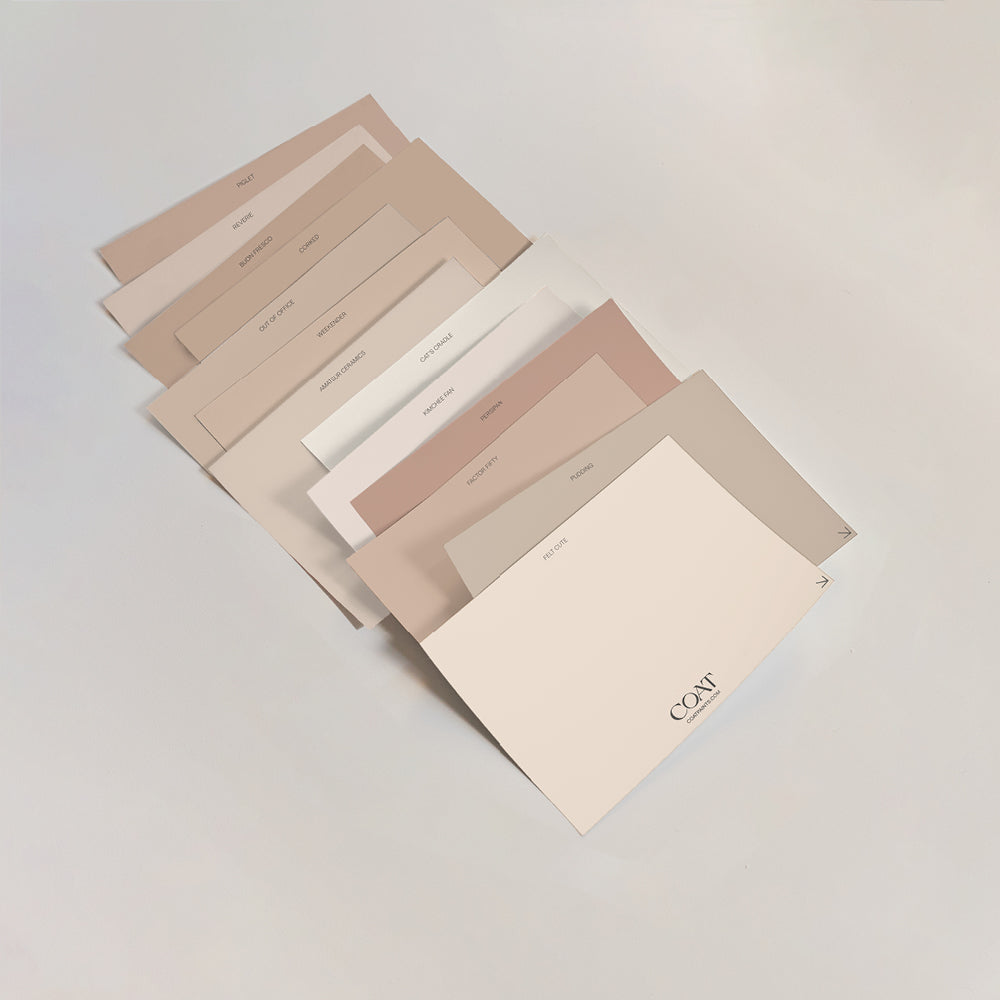
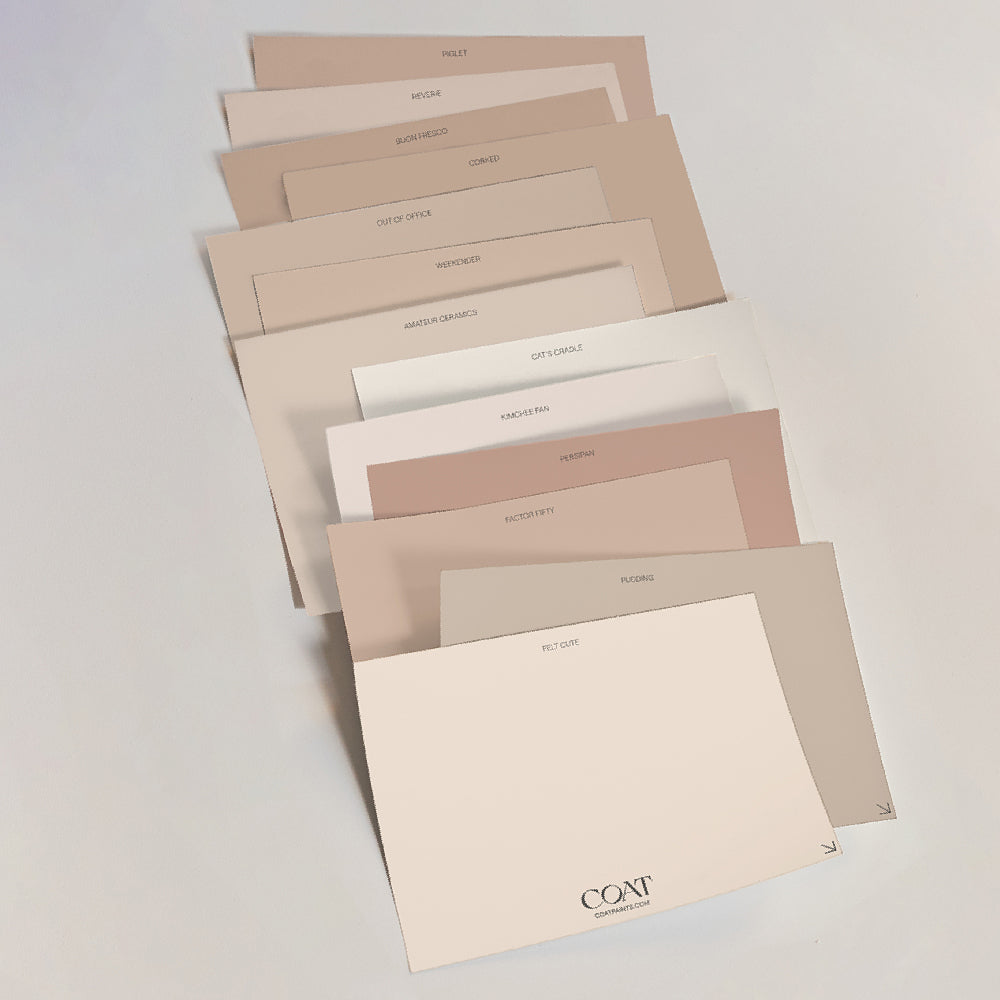
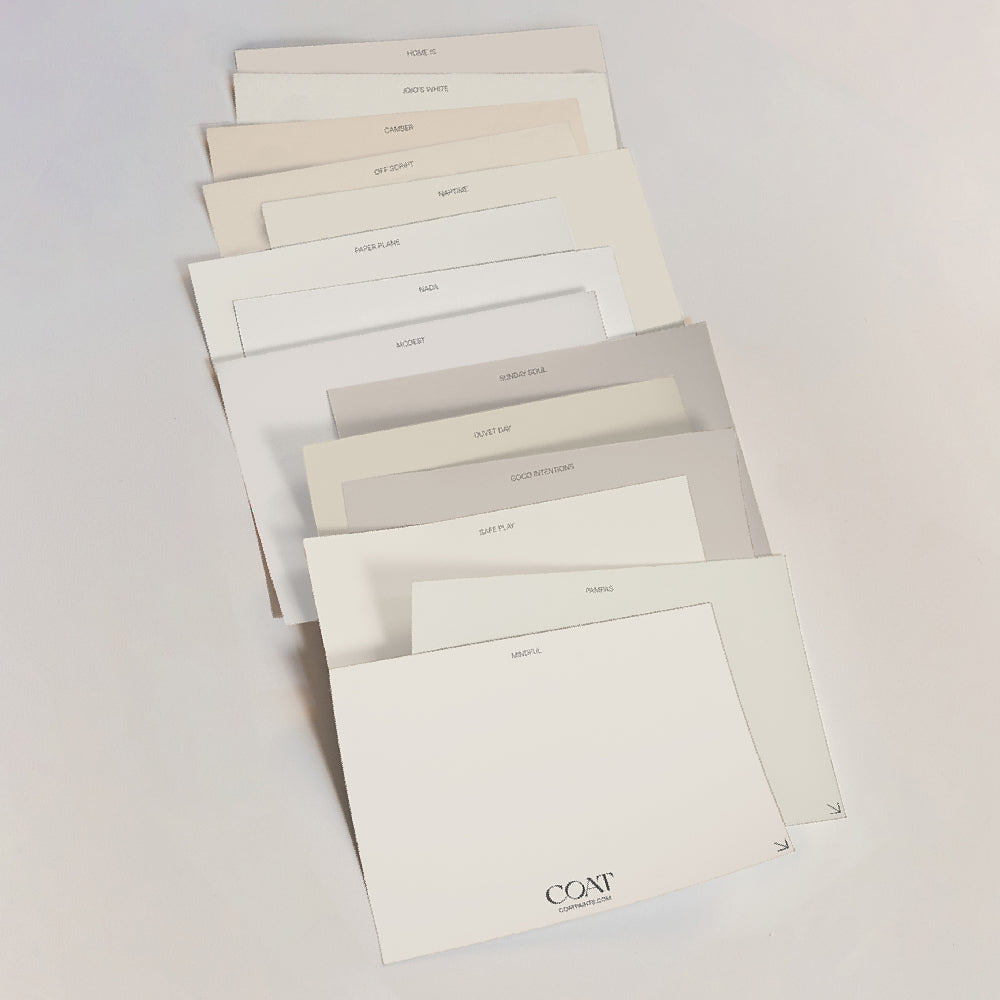
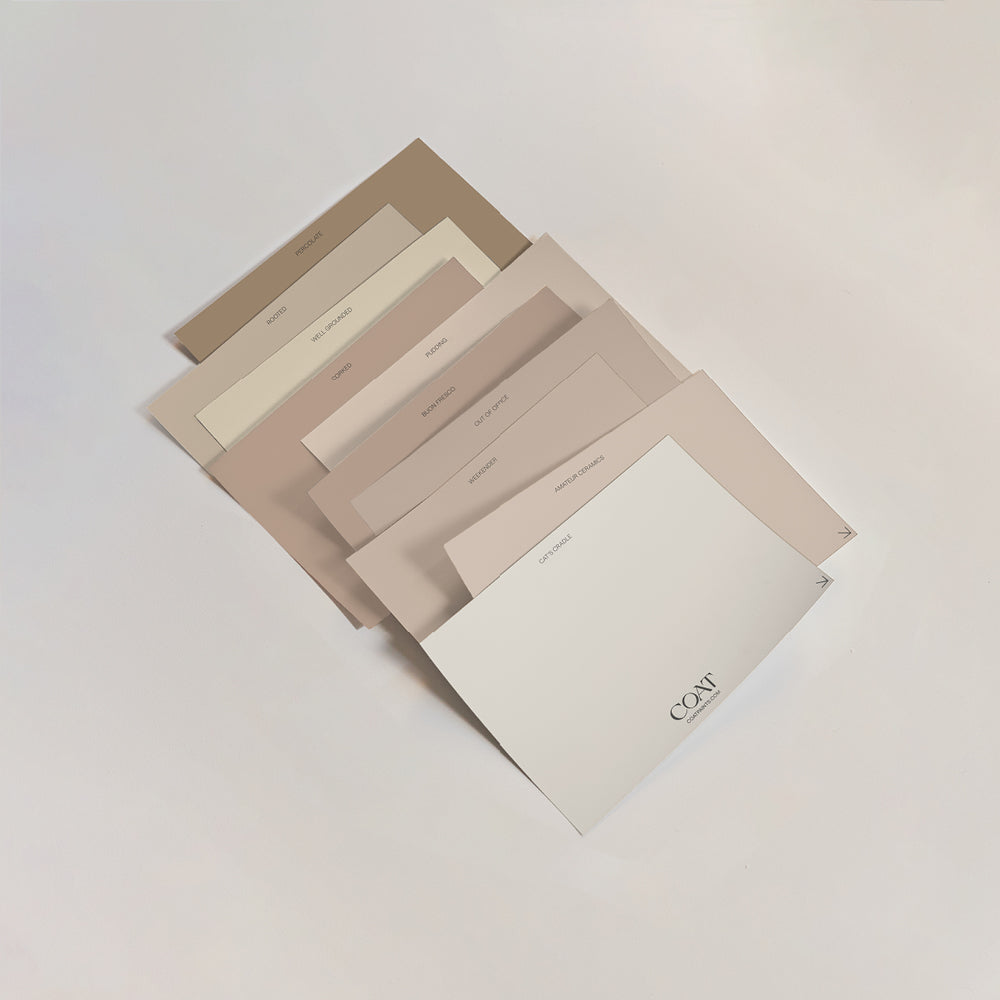
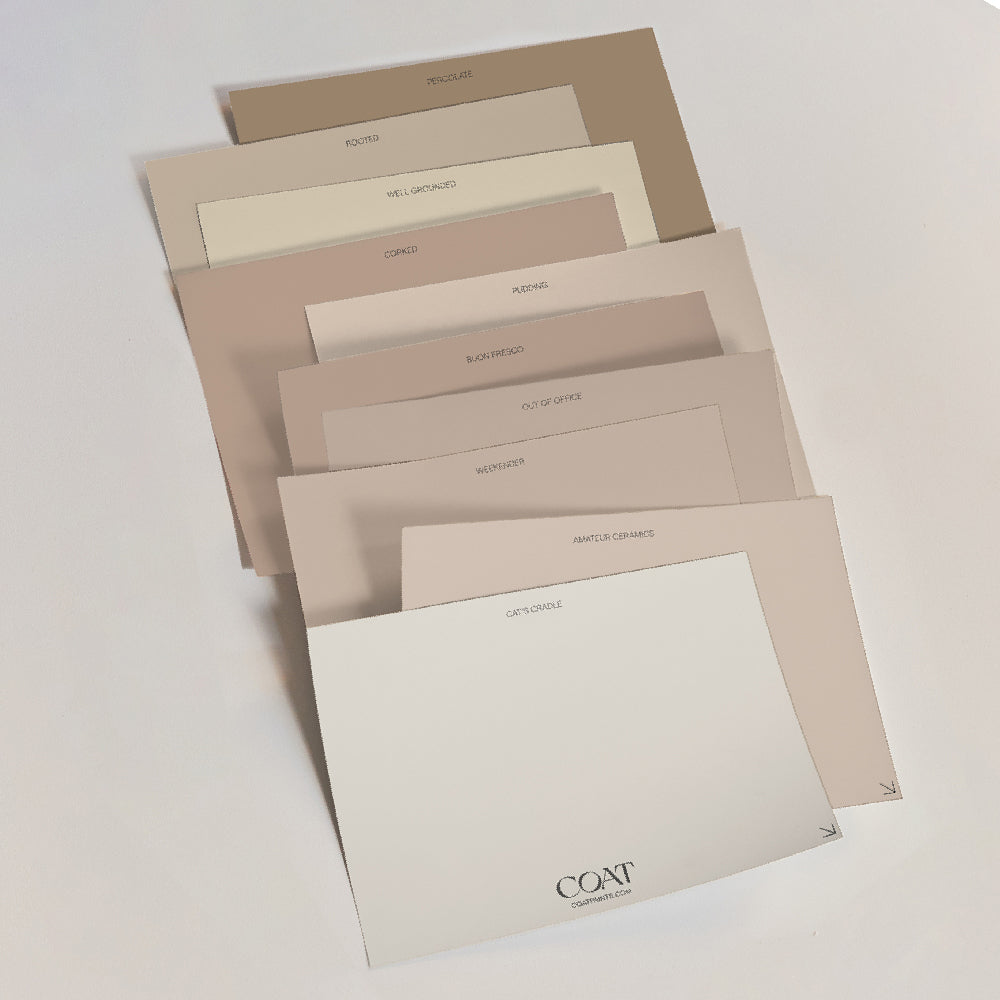
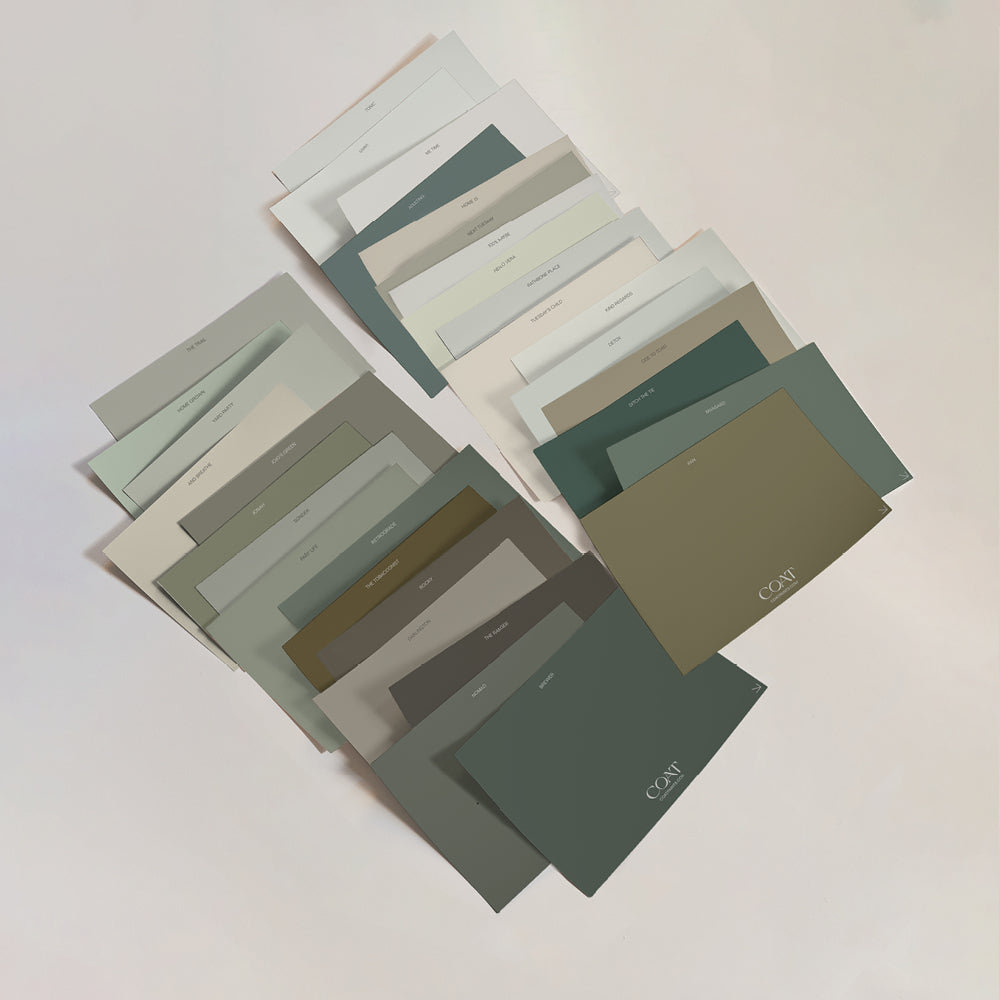
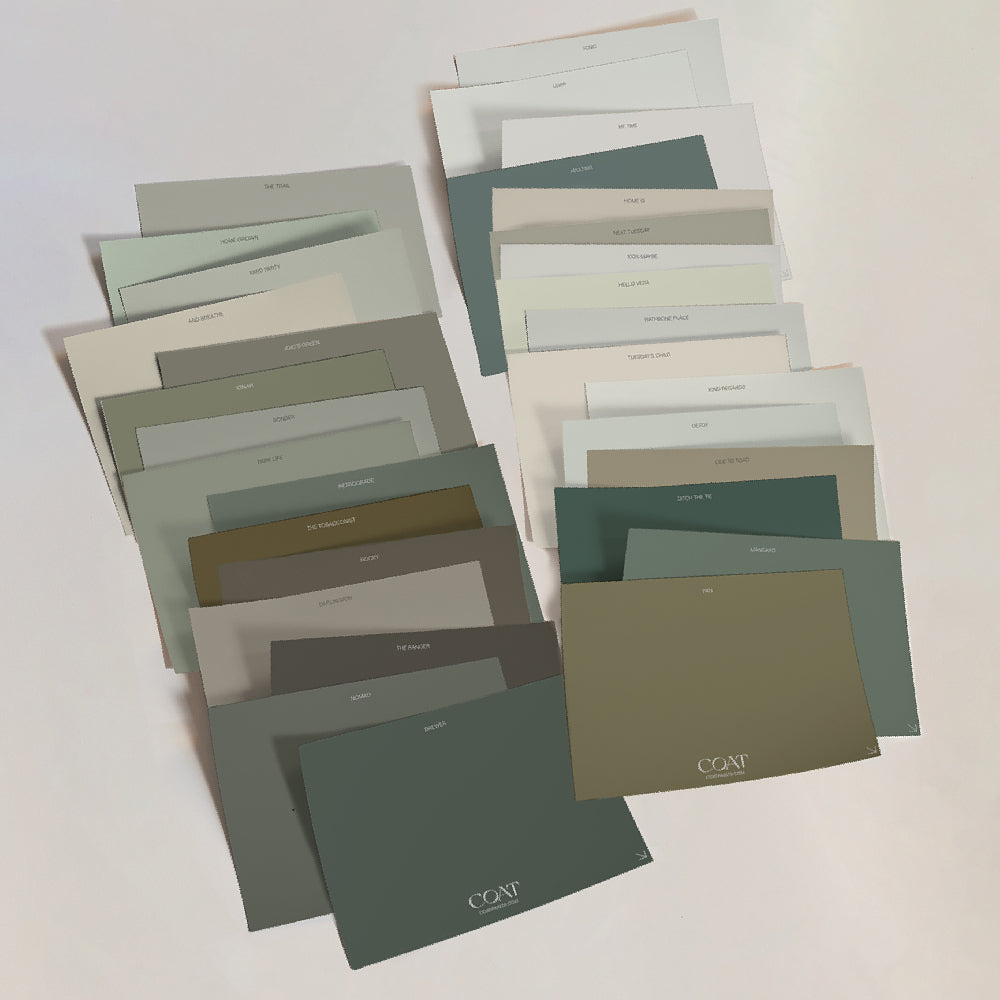
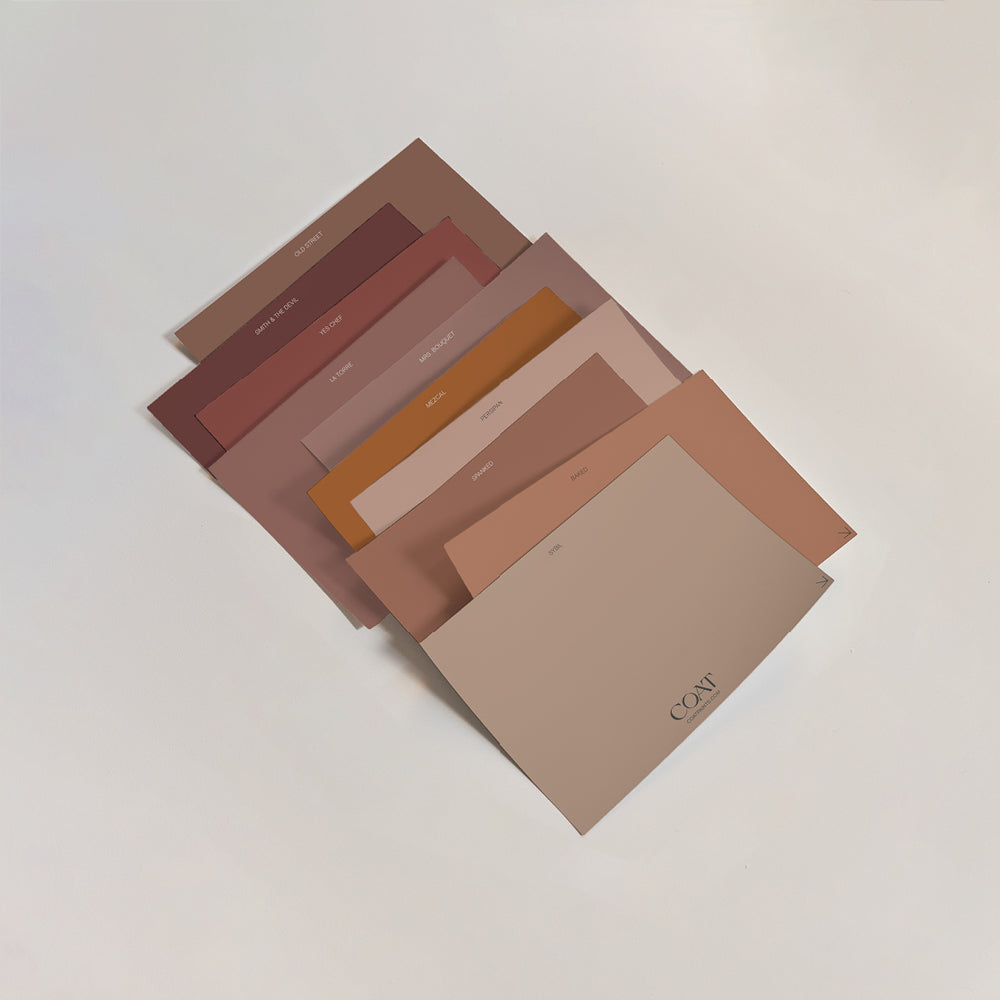
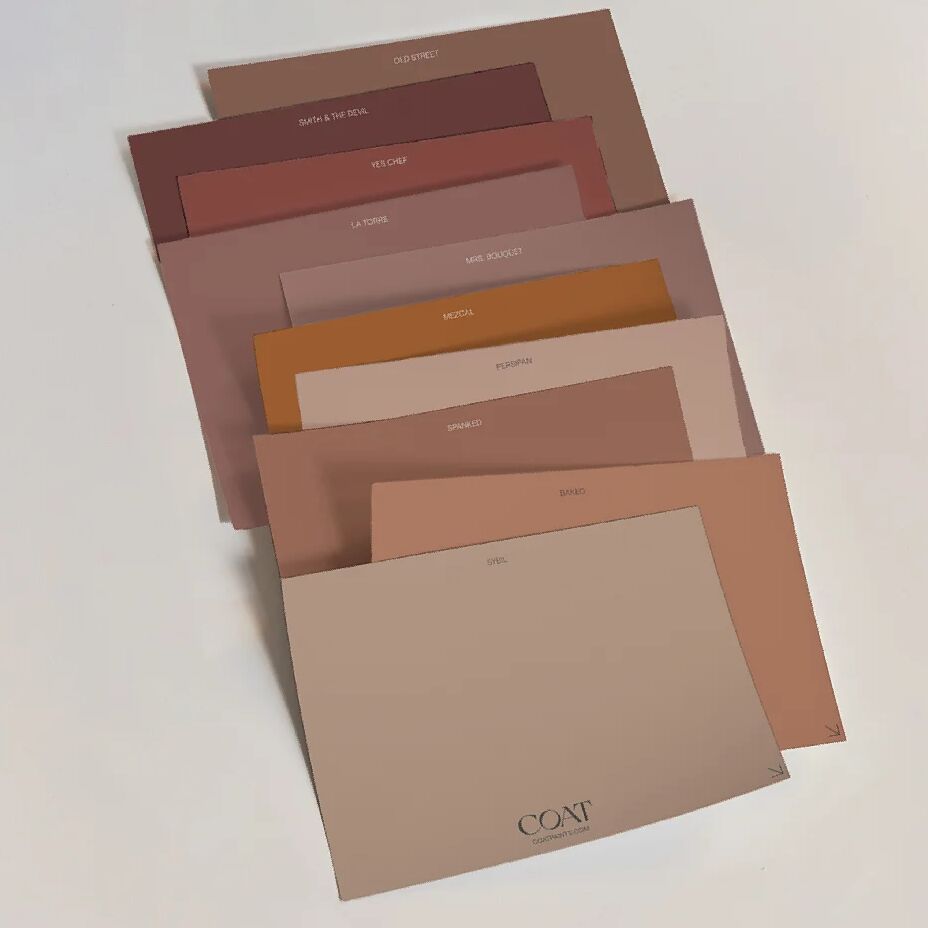
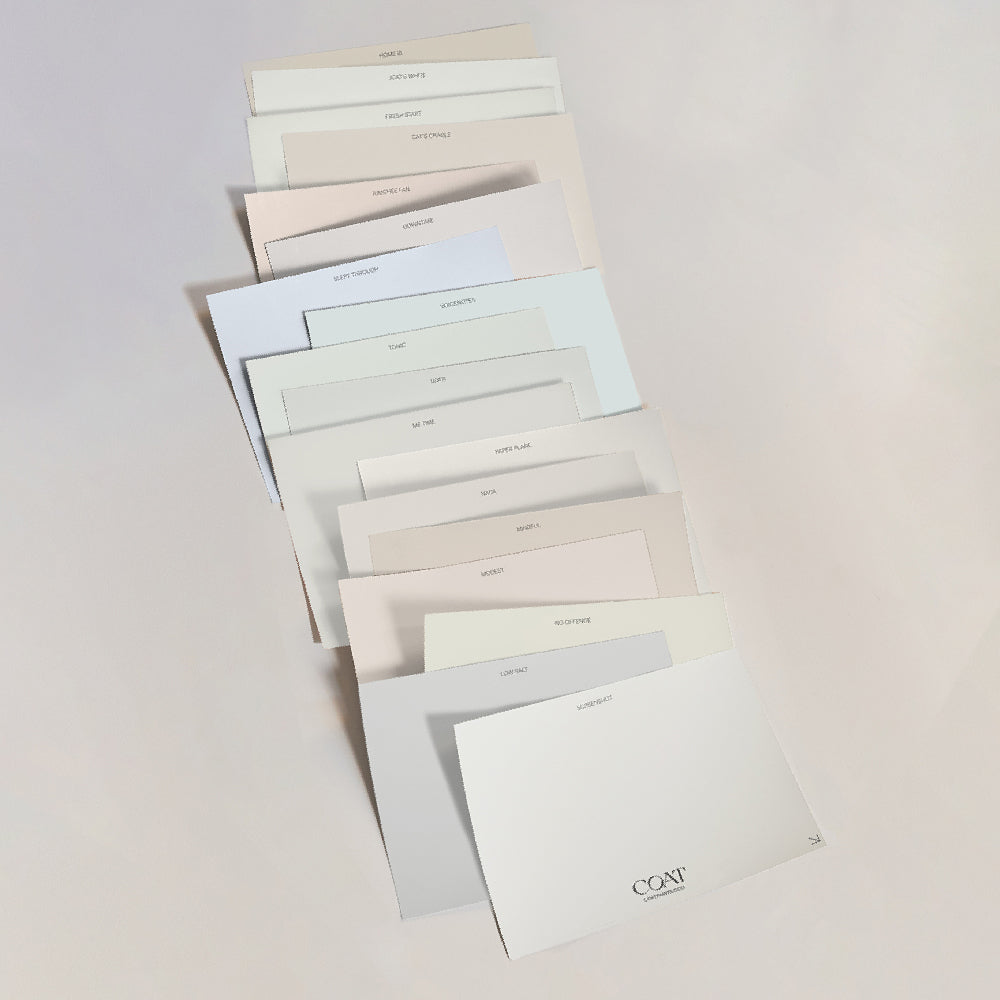
Ready to start painting? Order your swatches to try out our colours in your home.
Publish Date
Author











Leave a comment