How To Fix Mistakes When Painting
We all make mistakes. We’re only human. Especially when it comes to painting. Whether you’ve rushed your paint choice or forgotten to lock out those pets, hiccups do happen but they can be reversed. If you’re an experienced DIYer or you’re new to the game, we’ve put together this list to help with any painting nightmare. So when things go tits up, you’ll know it’s not the end of the world. Here’s how to fix a bad paint job.

Roller Marks And Brush Streaks
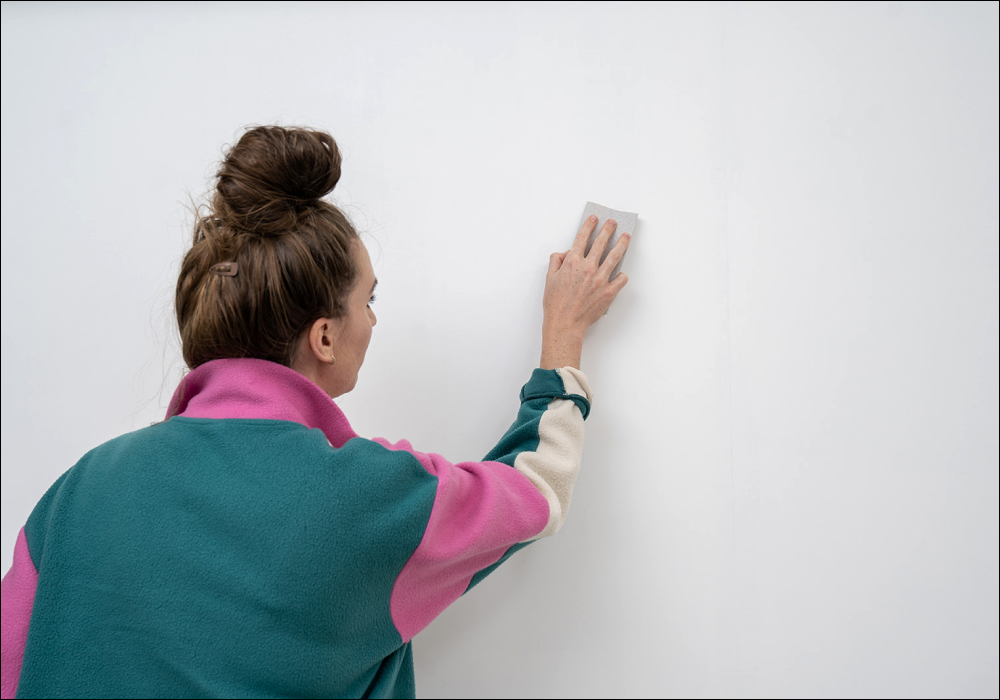
Brush and roller marks on the wall are not uncommon to see. Especially if this is your first time. They usually happen when you press on too hard or go over paint that’s not dry. It can also happen if your brush or roller doesn’t maintain a wet edge. Luckily, things like this can be put right. So don’t you worry. Here’s how to fix paint streaks on walls. Lightly sand down the wall before cleaning the spot. Then prime and paint using moderate pressure.
Paint Splatters
Wanna know how to fix paint drips? We’ll spill the tea here. Another common blunder is splattering paint. This usually happens if you’re rushing the job or if your tools are all wrong. i.e. using a brush that’s far too big for your task. The best way to avoid splatters and drips is to take it steady. And use a smaller brush if you can. If you do end up with dried droplets of paint, these can be sanded back down. You’ll just need to touch up the area with a fresh COAT.
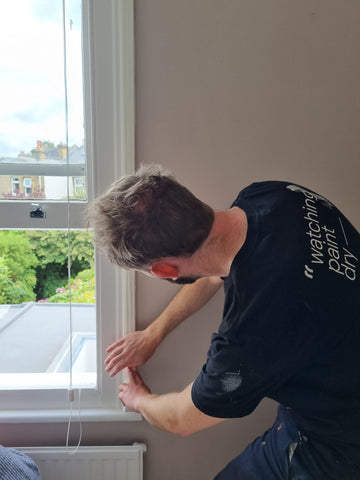
Paint On Windows
There’s nothing more crap than getting paint on windows. Especially when your walls are flawless. Your best bet? Avoid it upfront and prep your space properly first. A good tape will prevent getting paint patches on frames, but if it happens, this is pretty easy to fix. A razor blade will scrape dry paint straight off. Then you can give it a wipe. Never wipe wet paint, however, as it may spread and get worse.
Uneven Edges
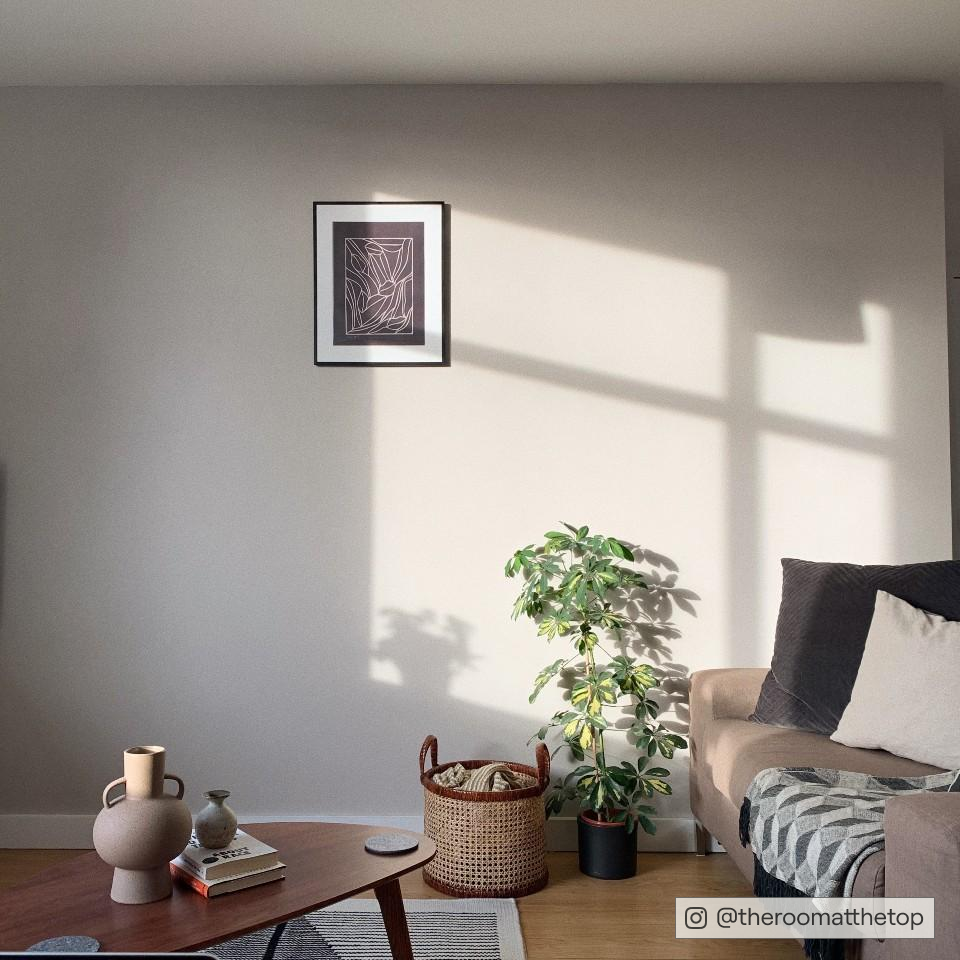
Chilling out in the lounge? If you’re like us, you’ll spot faults from the couch. Uneven edges usually happen when painter’s tape isn’t used, or you paint too close to the edge of a surface. Messy lines are the worst. Avoid this by working in small sections and use a great tape to get a nice, even finish. If the damage is already done, simply go back over the edge. An angled paintbrush will get a nice crisp, clean line.
Paint Chips
Wanna know how to fix paint chips on walls? We’ll show you how. Avoid them in the first place. Chipped paint can happen for a number of reasons such as skipping the prep, painting over dirty walls and excessive moisture. Although it looks pretty bad, it can be put right. Simply remove the peeling areas, then start over. You’ll also need to make sure your paint is fit for the job. No two tins are the same. Check out our post to determine the right type of paint you will need.
To fix up chipped paint, scrape it all off before adding a lightweight filler to smooth the surface out. Once the filler is dry, sand the wall and wipe clean before applying the appropriate primer and your COAT of paint.
Paint On The Carpet
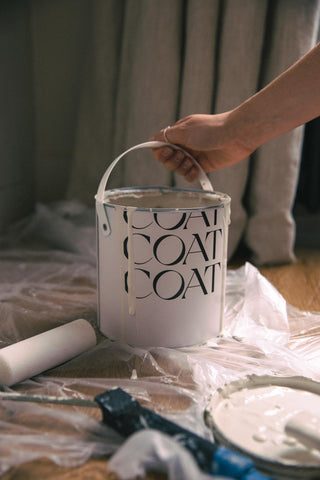
There’s no use crying over spilt paint. Well, unless you’re feeling super emosh. Relax. This is one of the most common mistakes you can make. The key to eradicating this mess is to move quickly. Otherwise, you’ll find your carpet harder to clean. Although it’s not the easiest task, with the right tools, cleaning paint off your carpet is totally doable. Start by scraping up as much paint as you can. If you’re lucky, the paint will come off with a bit of soap and water. If not, try a little white vinegar, and work it into the stain. Or, if that fails, admit defeat and contact a pro. Just like chipped paint, prevention is better than cure. Always use dust sheets to protect carpets in the first place.
Uneven Paint Patches
Another common mistake is uneven paint. So frustrating after all that hard work. The key to avoiding any issues at all?
Give yourself time. Rushing often leads to faux pas. When it comes to re-painting a patched wall, you will need to let the paint dry. Then, follow on with another coat. This time, be more precise with your brush, and you’ll get a better finish. Repeat until you get the desired result.
Paint On Trims
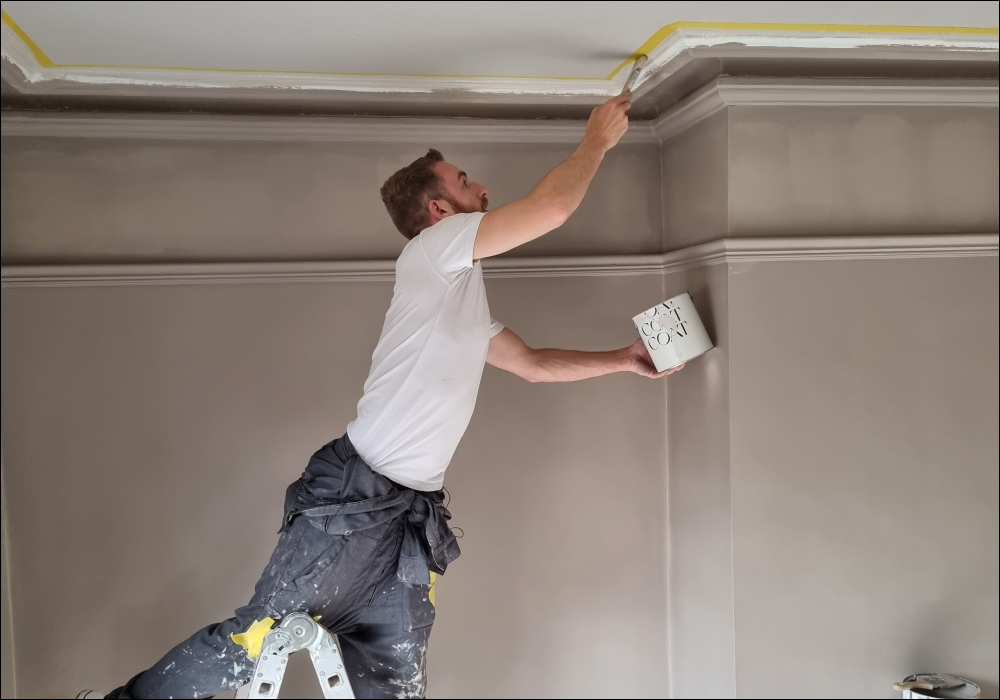
Noticed paint spots on your trims? No need to freak out. This is why skirting is always painted last. With decorating, it’s always important to start at the top (the ceiling) and work your way down. This way, if paint drips on your skirting, it doesn’t matter. If you didn’t intend to paint them at all, wipe the paint with a cloth. That’s if the paint is still wet. If not, lightly sand the dry paint, then clean up the dust. Your trims can then be touched up with the relevant shade.
Dried Paint Drips
When it comes to woodwork, paint drips are a pain, especially if they’ve dried before you’ve even noticed. Usually, a result of excess paint from overloading the brush, gravity causes the paint to run and dry in visible drips. The good news is that these are easily fixed. Especially if you catch them while wet. But if a drip has turned solid, you’ll need a little help. The best thing to do is give them a sand before applying new paint. Keeping your brush moving will also avoid them full stop.
Visible Wall Patches
Wanna know how to fix painting mistakes on walls? Prep them properly. That way, they won’t happen in the first place. Skipping the prep can result in uneven, cracked walls as the paint doesn’t want to properly adhere. Wall patches may even show through, which doesn’t look great at all. To get a nice, flawless finish, be sure to patch up the wall using a filler before sanding the surface. A primer will also fill, smooth and bond for added precision. Just make sure to paint two coats so that the finish is even.
Popping Bubbles
If your new paint is starting to blister or bubble, it’s pretty gutting to see. Especially if you spent a boatload of time and patience getting it ‘just right’. Usually, bubbles can form when a wall hasn’t been primed, or there’s pockets of air in the paint. It helps to mix it first with a stirrer and apply in even strokes. Bubbles can also often disappear once the paint has dried out, so don’t do anything drastic until it’s necessary. If they look like they’re sticking around, you can give them a sand before priming and re-painting the wall.
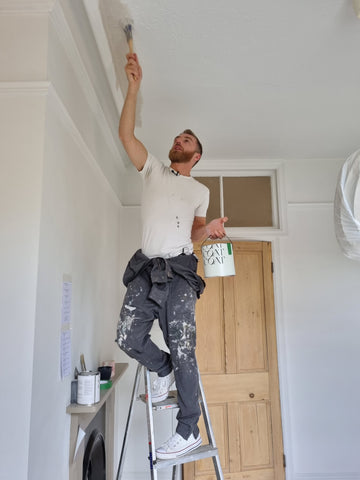
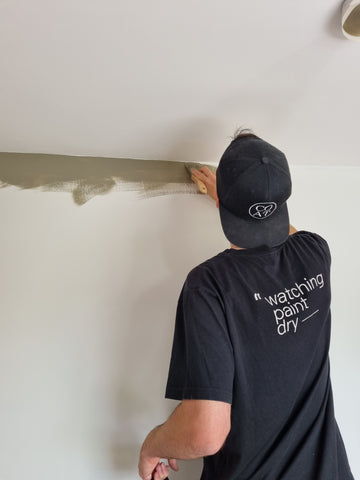
Ceiling Spots
Touching up ceiling paint is often needed. Particularly if yours is a vastly different colour to your walls. Thankfully, ceiling spots are easy to sort, especially if the paint has dried out. Simply grab your brush and touch it up. If the paint is still wet, grab your paintbrush and spray a little Windowlene on the end. Then gently wipe the paint off, but don’t use too much. It might take the ceiling paint off as well.
Wrinkled Paint
Wrinkled paint? This is usually caused by too much pressure or a really hot room. Fix wrinkles by sanding them down, then applying primer and paint. Retinol won’t fix this huns.
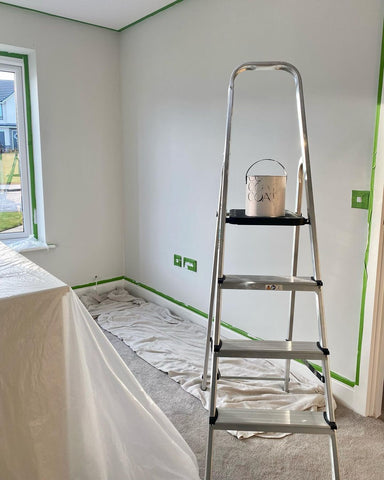
Paint Tape mistakes
A multi-purpose tool, painter’s tape plays a big part in home DIY. Here’s how to make the most of your tape and avoid making mistakes - more on this below.
1) It’s always best to remove the tape an hour or so after finishing up. Don't leave it too long, or the paint may chip whilst you're taking it off.
2) Likewise, don’t remove it too early, or the paint might bleed.
3) For chipped or runny lines, sand, clean and re-touch with a small angled paintbrush.
4) A razor blade is a dab hand at scoring the edge of the tape where it meets the paint.
Lint in the Paint
Is there lint or dust in your paint? FFS. You’ll need to sand the area until it’s gone. Then have a quick wipe of the wall and use a new roller to paint. Alternatively, you can wash your roller and use painter’s tape to remove any debris.
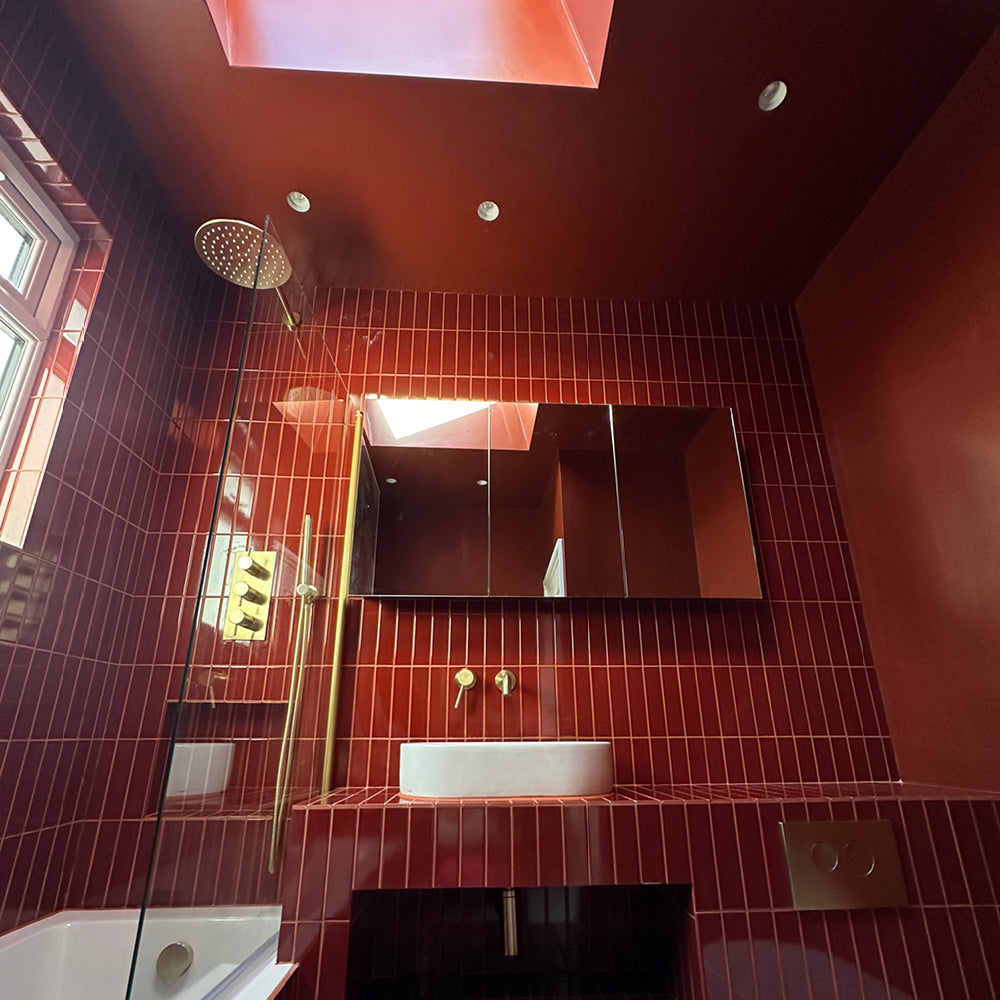
Wrong Sheen
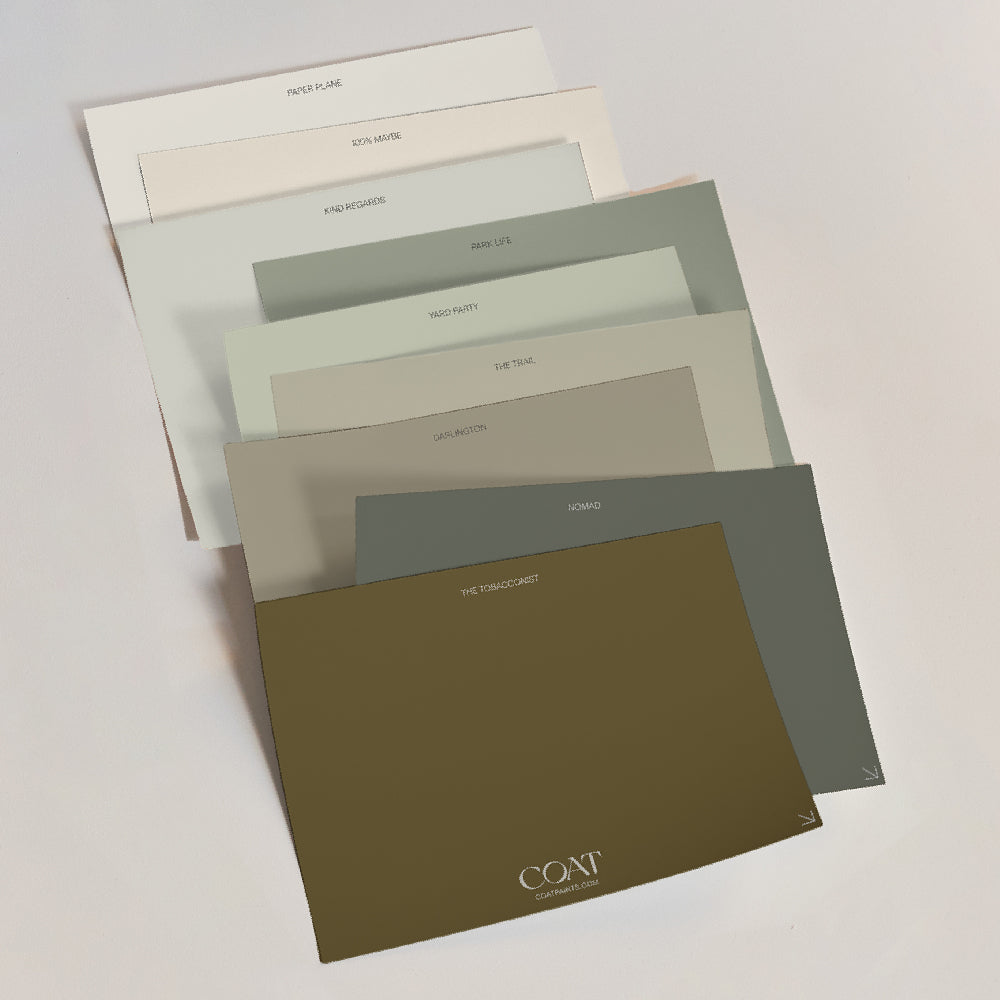
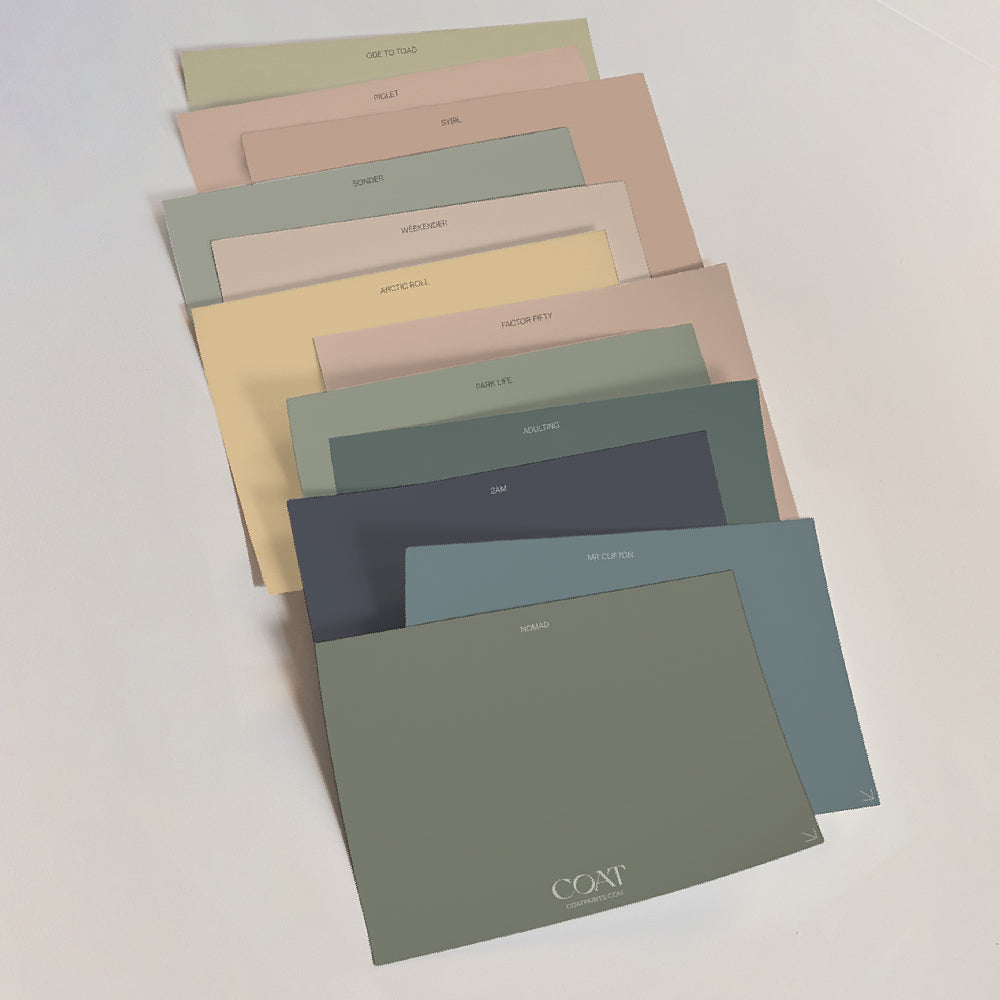
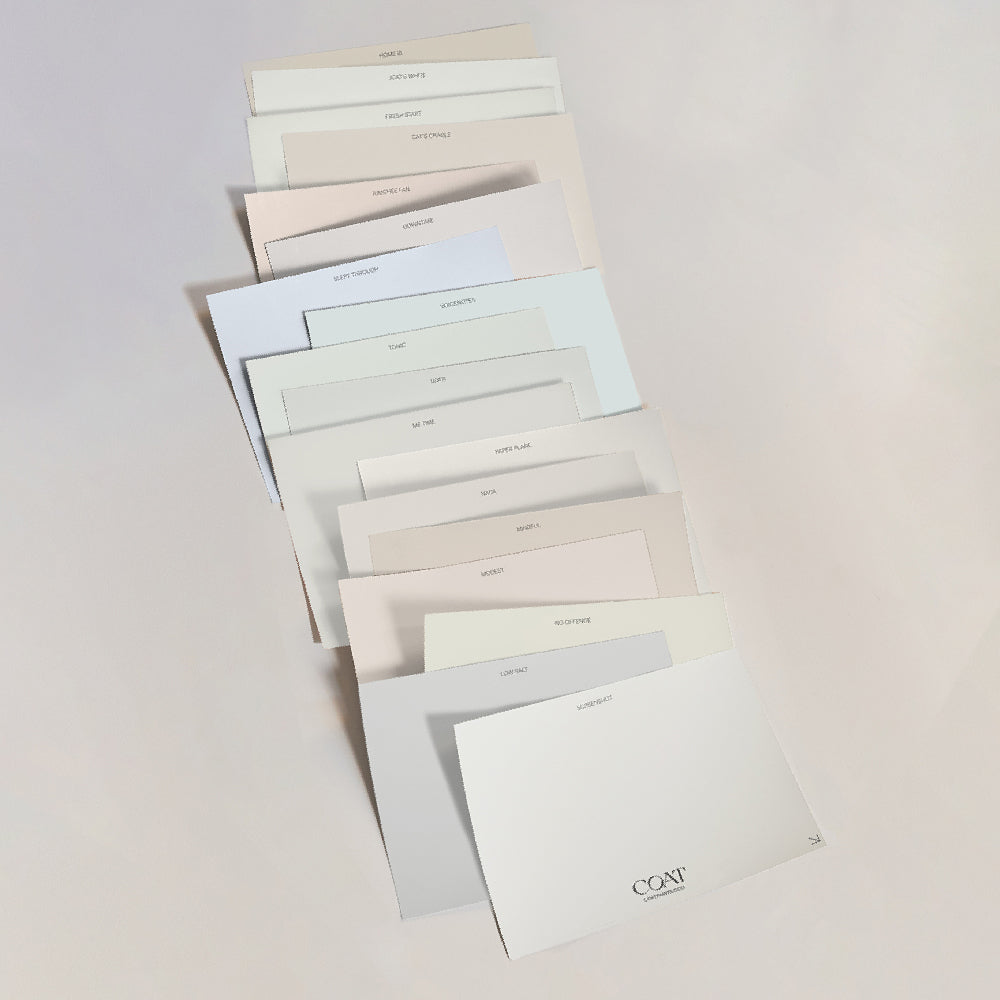
It doesn’t matter how great a painter you are; if you’ve picked the wrong sheen, your project isn’t going to end well. For example, bathrooms need a paint that’s highly resistant to moisture and steam; flat paint just isn’t enough. And no amount of ignoring it will help either. Avoid this mistake by having another read of this post; What type of paint do I need? One tin simply doesn’t suit all. With COAT, it’s easy to get the right shade for your home and in the right sheen. If you need a hand, give us a holla; we’ll be happy to help.
Ready to paint without the mistakes? Choose your favourite COAT shade here.
Publish Date
Author