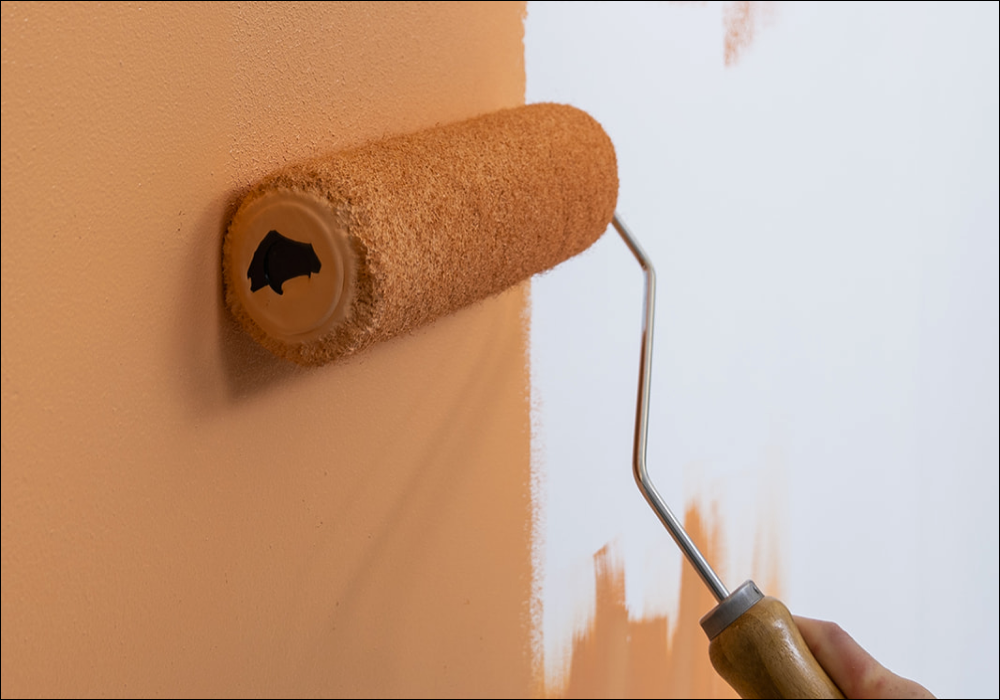
Do I Need to Use Primer?
What’s so great about primer? Sounds like another job TBH.
Whether you need a primer comes down to two things, the type of paint you’re using and the thing you’re painting. Read on for the lowdown.
What is primer?
In a nutshell, primer helps your top coat stick and gives you the finish you’re expecting when you have difficult surfaces.
Primer for interior walls is usually a specific type of water-based paint. For new plaster it generally contains good old PVA glue to help seal the wall. An alternative is just to water down the paint you’re using to add a light primer coat (mist coat). Especially crucial on new plaster - it drinks the stuff.
Primer for bare wood trim and skirting boards does much the same, filling the wood pores and covering the knots to prepare the wood for the top coat.
Do I have to use a primer before painting?
You might be pleased to know that priming your surface isn’t always an essential step but it’s worth being in the know just in case. Afterall, you want the best possible finish. There are a few factors you need to take into consideration before we skip this step altogether; Clean walls? Using a similar colour? Self priming paints? It’s thrilling stuff we know! So let’s dive in.
If Your Walls Are Clean?
Priming might be avoidable if your walls are perfectly clean and in good condition. They’re not? No problem. A quick and easy way to clean walls before painting is to create a thin mixture of tri-sodium phosphate (less formally known as sugar soap) and water and give the walls a good wipe down using a soft cloth. Sounds like a bit of a faff? Just attach a clean brush attachment to the end of your vacuum and clean away debris such as cobwebs and dust.
If You’re Painting From One Colour To A Similar Colour
Fancy a freshen up of your old walls? If the previous and new colours are the same, or even similar then you might not need to prime at all. However, if you’re going for a bolder change, it’s a good idea to readjust the base colour so your new choice is as accurate and brilliant as hoped.
Using Self Priming Paints
What is self-priming paint? Well it does exactly what it says on the tin. It’s essentially a thicker form of paint which builds up higher and therefore creates a thicker coat. It is advised by the paint pros to use a separate primer and paint but if your walls are in good condition, this is a great shortcut.
It’s worth noting that it’s not a miracle cure. The layer of thicker paint build makes for a weaker first coat which takes considerably longer to dry. They’re typically more expensive too so it might not be the money or time saver you initially hoped for.
When do I need primer?
Most DIYers won’t. If you have a normal wall or woodwork that’s been painted before just make sure it’s clean, flake free and your woodwork is sanded… then you’re good to go. COAT paint is self-priming so adheres really well without the need for a primer, the benefit of buying a decent paint.
If you’ve got a newly plastered wall, bare wood/metal, or REALLY bad staining then you may need a primer. At the very least you’ll need a mist coat as we mention above for new plaster. For new bare metal or pretty serious stains we would recommend you get a specialist water based primer (just Google it). So really, for the most part you’ll be fine without one.
But if you want to jump into the detail of your situation - here we go.
If the surface is pourous?
It’s quite likely that you’re going to need a primer before you get started on your colour of choice. In areas where newly installed drywall (plasterboard) is after a lick of paint, you’ll need to put a primer as a base because the bare facing paper on drywall and the dried joint compound covering the seams just loves to soak up the good stuff. (Paint, that is.) Bare wood and masonry (such as wall retaining wall blocks and bricks), and definitely fresh plaster will need also need a primer.
Skim-coated drywall? We've got you.
Although rarely used, a skim coat is essentially a thin swipe of drywall compound which is washed over bare drywall. It’s the highest grade possible and considered a level 5 finish. But like it’s counterpart, it’s a highly porous surface and will require at least one coat of primer before you get started on your painting.
Mixing it up from Glossy to Matt?
Typically, a glossy base doesn’t hold on to paint very well but it’s nothing a light scuffing with sandpaper and a coat of primer won’t sort. If you decide to skip the scuffing stage, your primer will still act as a protective layer for your subsequent coats to stick to but we recommend roughening up your surface for the best and long lasting finish.
Switching it up from dark to light?
Laying down layers upon layers of your new light coloured paint is a timely and costly process. To avoid the endless slog of painting, grab a white primer and do a couple of layers to provide the perfect base for your new shade.
What about going from a light colour to dark? To let you in on an industry secret, most retailers have the ability to add a tint to your primer. This brings the colour of the primer closer to that of the final wall finish colour. Reducing the number of primer coats you’ll need. Win win.
Upcycling a surface that’s stained?
A spotted or stained surface isn’t ideal but it’s a quick fix with a couple coats of primer to ensure you’re going to get the best possible finish. Depending on the condition, consider using thicker primers to get that perfect base for your new shade.
If in doubt, give us a shout - we’re here to help and make sure you get a great COAT finish.
Publish Date
Author






Leave a comment