How To Use Masking Tape When Decorating
Few people are brave (or foolish) enough to dive into a painting project without a few rolls of masking tape. Masking tape is, as you probably assumed, for ‘masking’, covering a painted surface so that any paint applied on the unmasked area doesn’t spill over into the masked area. When painting a surface like a wall, you would mask the skirting board (cover it with tape) to keep the paint only on the wall.
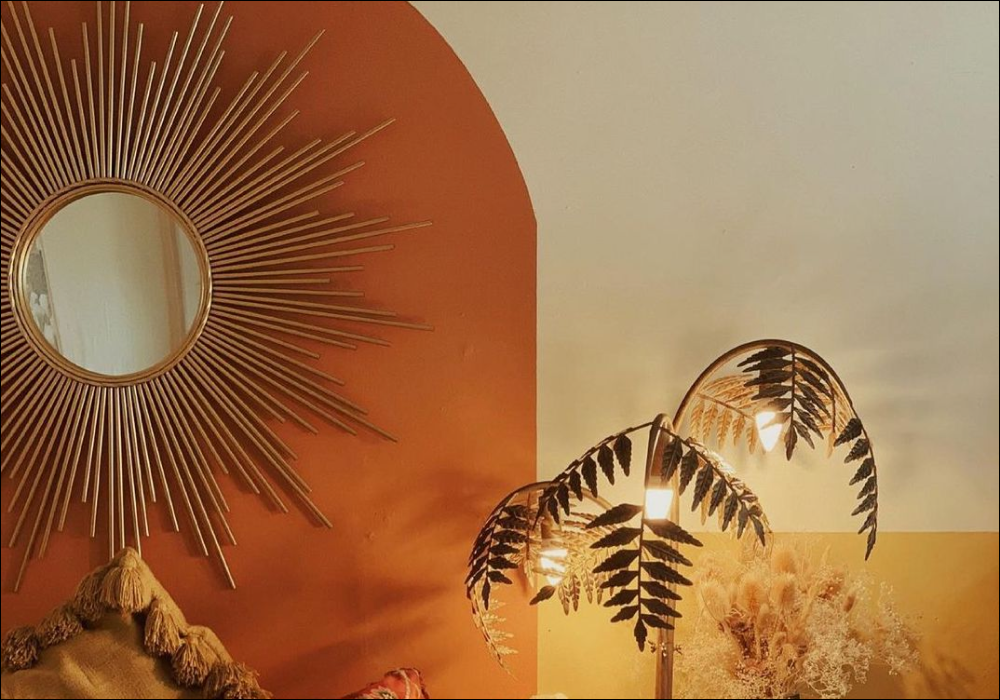
But masking tape can also help you do some amazing, professional looking painting effects, such as masking tape wall patterns. If you can’t decide on a single colour to paint a wall, or if you want to make a feature wall without spending the moon, a trusty piece of masking tape can come to the rescue. Use the tape to define clear borders for your first paint colour, and remove the tape and allow the paint to dry completely. Then repeat, covering the crisp border of the new paint, and filling in what remains with a bold new colour. You can use this simple system to make stripes, borders, and even curved shapes and create a feature wall which is literally unique.

@missbethany.b showing us how it's done, using masking tape to achieve those crisp straight lines.
If you like the masking tape paint ideas you’ll find below, you may want to get crafty and try DIY panelling in your home, here are some tips.
Get Prepped
The best results come from thorough preparation, not last-minute improvisation – even when it comes to painting with masking tape. For example, have you thought much about what kind of masking tape you’ll be using? Not the brand – that thinking hat can be important – but rather what properties you need the painter’s tape to have.
There are many different masking and painter’s tape products on the market today, and each one excels in one area (even if that area is only having a low price). There is no one best masking tape for painting everything.
One tape might be best for masking carpets, another might be better suited to masking window glass. A third might excel and masking wooden skirting boards, but adhere poorly to other surfaces.
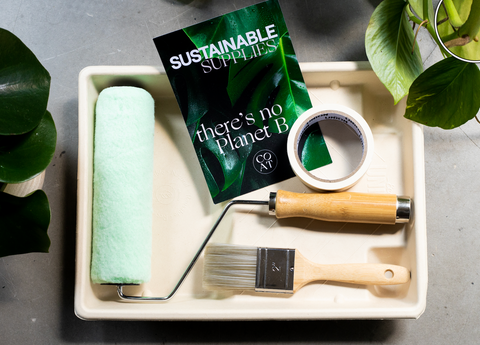
Read up on your masking tape choices, and get a small variety which will do all the jobs you need of them. This will get you much better results than buying 3 rolls of a single ‘jack of all trades’ tape. After all, a jack of all trades is a master of none. Saying this, if the choice is overwhelming, we’ve got you covered with our multi-purpose Eco Decorators Tape.
Being prepared is a process, remember. The following sections of this article will help you spot problems and prepare for them before they become proper emergencies.

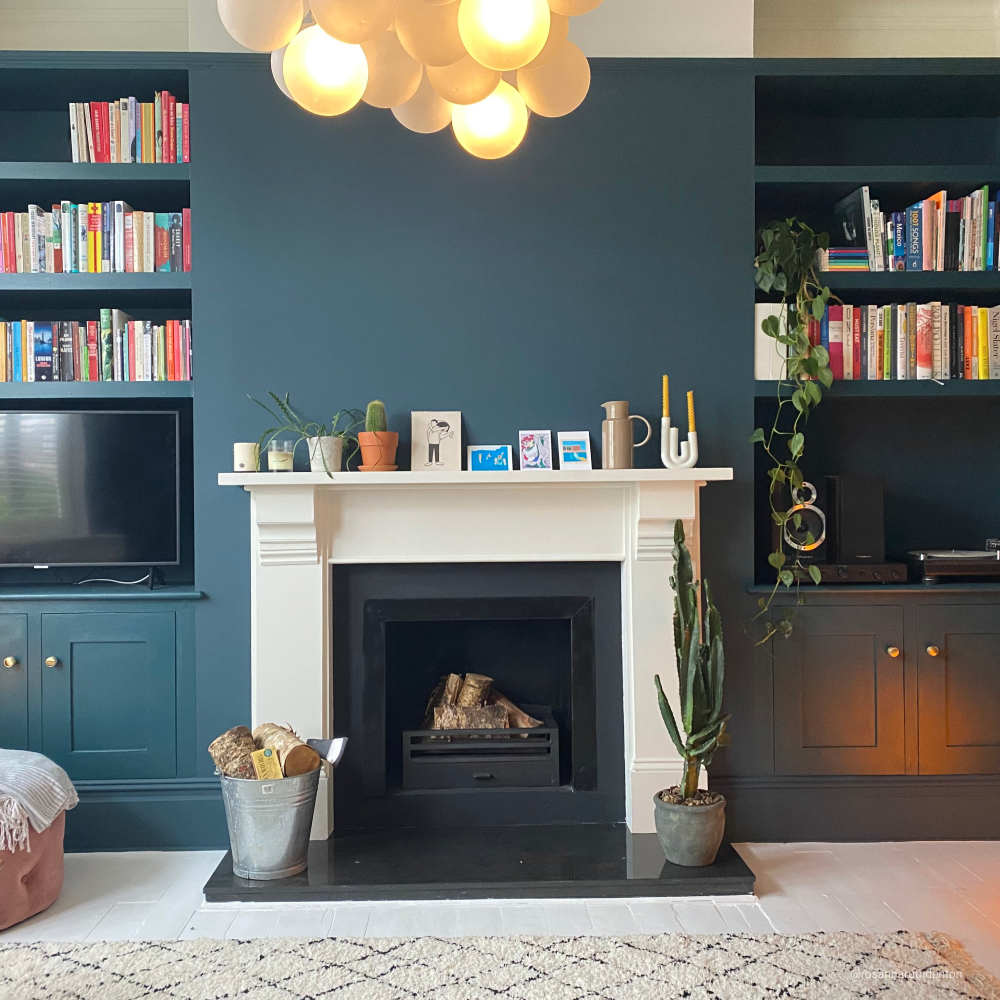
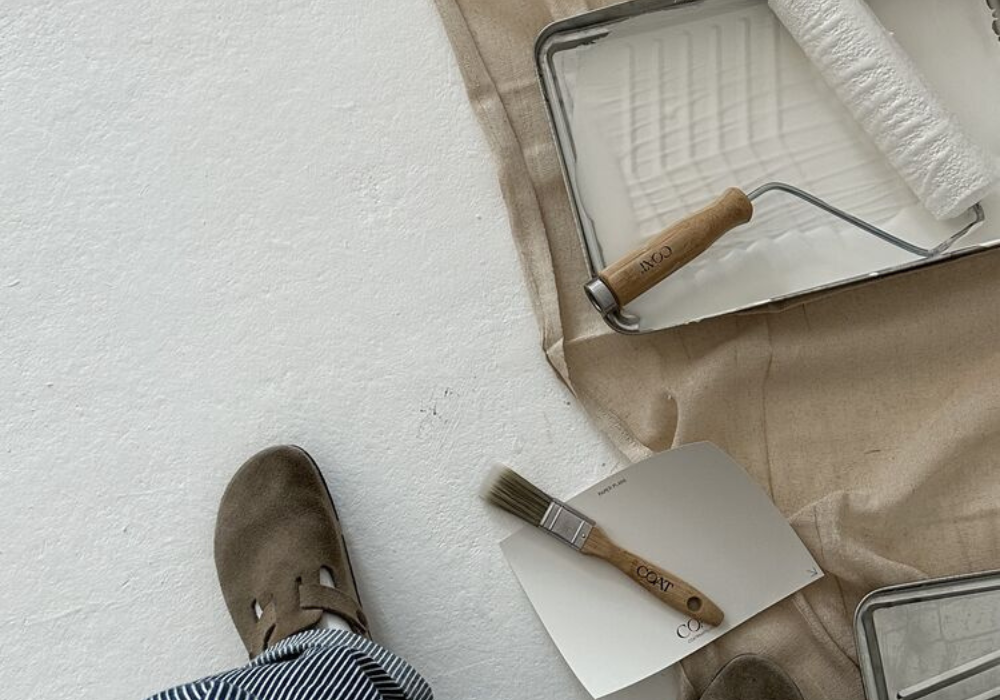
Make sure you plan ahead and prep your space before painting like @our_rosebury_home.
Interior Or Exterior?
It might go without saying, but exterior masking tapes are designed for use outside, or in areas of your home which are open to the elements. They tend to tolerate UV and moisture better, but still should not be applied in the actual rain.
Interior masking tapes are, of course, intended for use when painting inside.
Types Of Substrate
Your ‘substrate’ is simply the surface you are painting on at the moment. The material the substrate is made of affects how the paint and tape behave, so you should pay attention to the labels on both. It could be important if the substrate is textured or smooth, strong or delicate, etc.
Shapes

@missbethany.b is a pro when it come to shapes and decorating
The first practical concern many readers will spot is “how do I apply masking tape in a curve?” Well, with most masking tapes, you don’t. Some painter’s tapes, however, are specifically designed to be applied in gentle curves and others can be bought pre-cut in particular shapes. Plan ahead, know what kind of shapes you’ll need to mask, and buy the right tape for the project at hand.
Strength
Stronger is always better, right? No. If you buy a masking tape with a very strong adhesive and use it to mask a powder-coated steel radiator, everything will be fine. If you use the same tape to mask a delicate wallpaper with foil elements, it’ll rip the paper part when you remove it. Think about the strength of the substrate, not just the texture.
Time Of Usage
Another thing to remember is that masking tape’s adhesion gets stronger over time. If you pull it off the same day, it glides off like a feather from an angel’s wing. If you get distracted and leave the tape up for a year (don’t judge me), you could be trying to cut it off the wall with a knife. Make a note of how long the tape can stay up to give you the performance you need.
Durability
Normally, the durability of painter’s tape is not a concern. However, if you are going to be working with plaster or filling gaps at the same time, you’ll need something that can withstand a swipe of a towel and won’t fall apart when it gets wet.
Also, take care with how the tape is stored.. The adhesive of some painter’s tapes can begin to break down if it gets too hot, too cold, or too moist. That will affect its performance in unpredictable ways.
Geometric
If you’re going to be really creative about it and start making masking tape wall art, consider getting some specialised decorator’s masking tape.
Before you begin, mask off the skirting boards and light fittings… even if you don’t plan on getting paint anywhere near them. Trust me.
Always start with a single colour wall. Painting it white before you begin can save a lot of time and frustration.
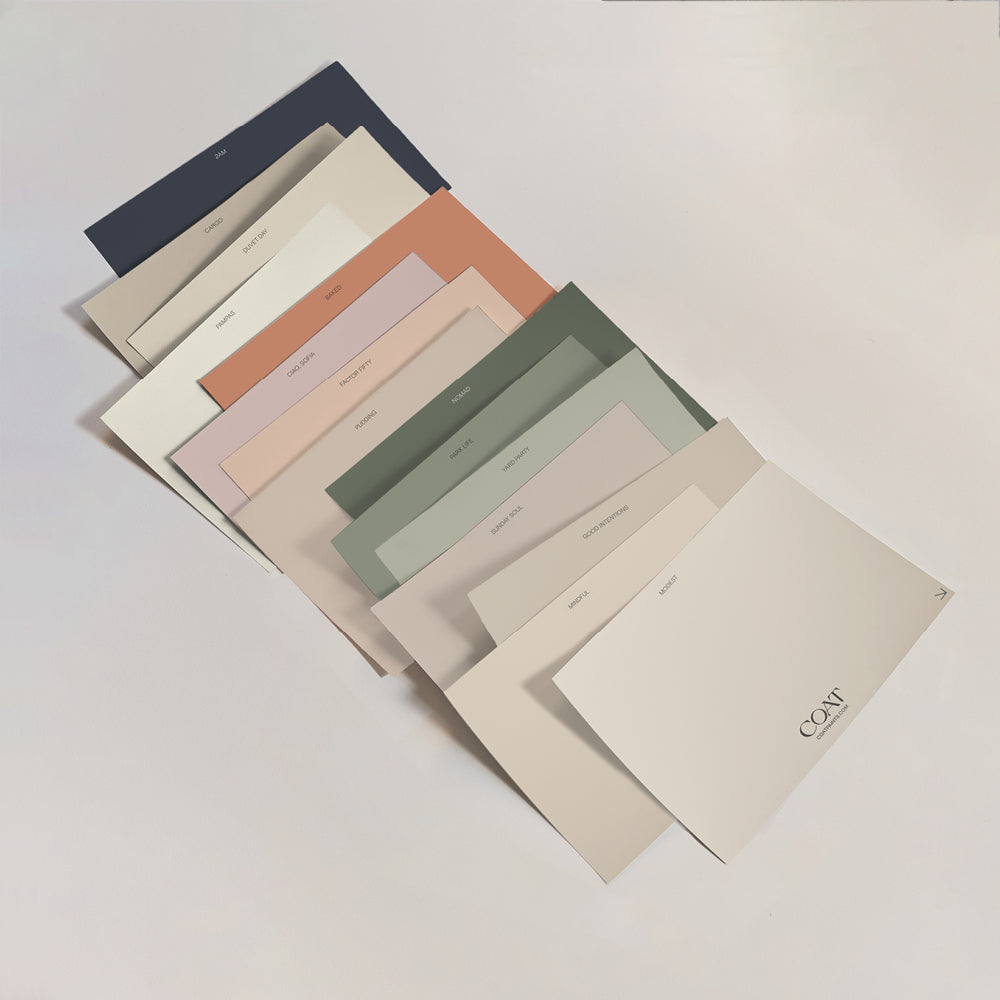
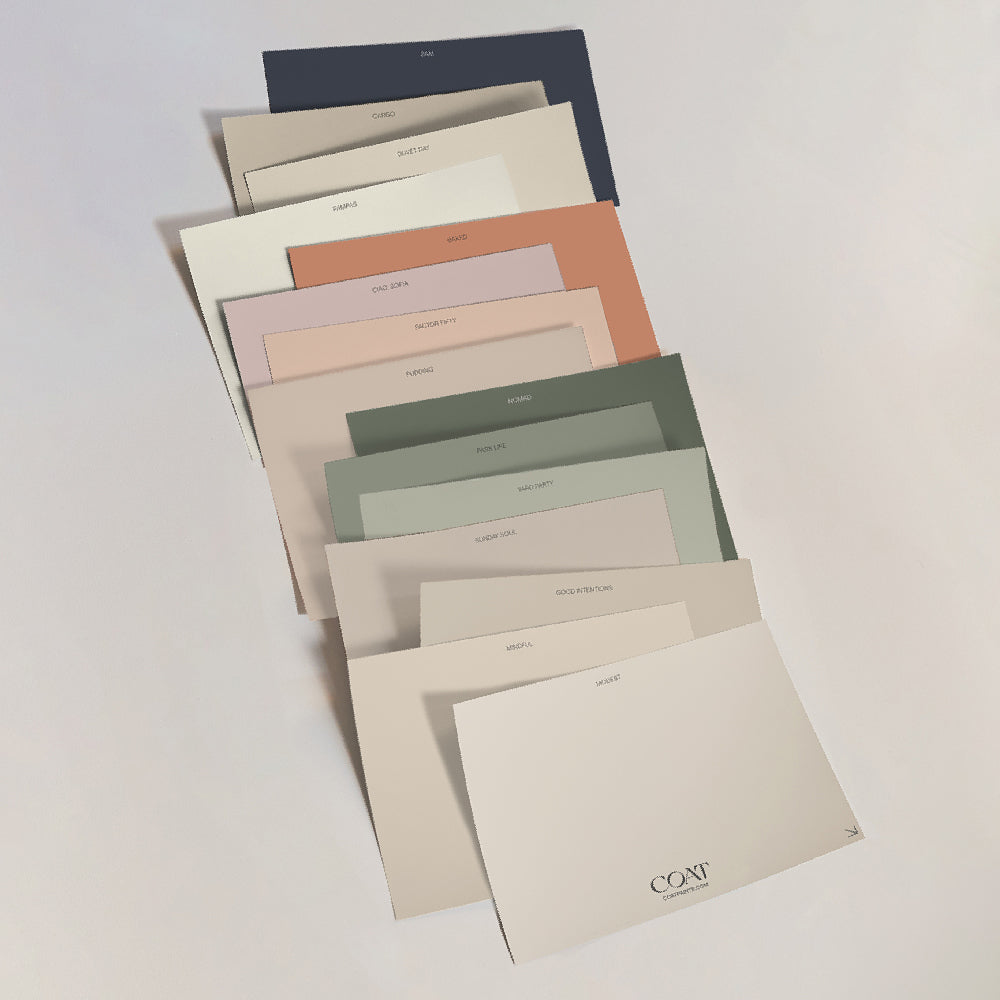
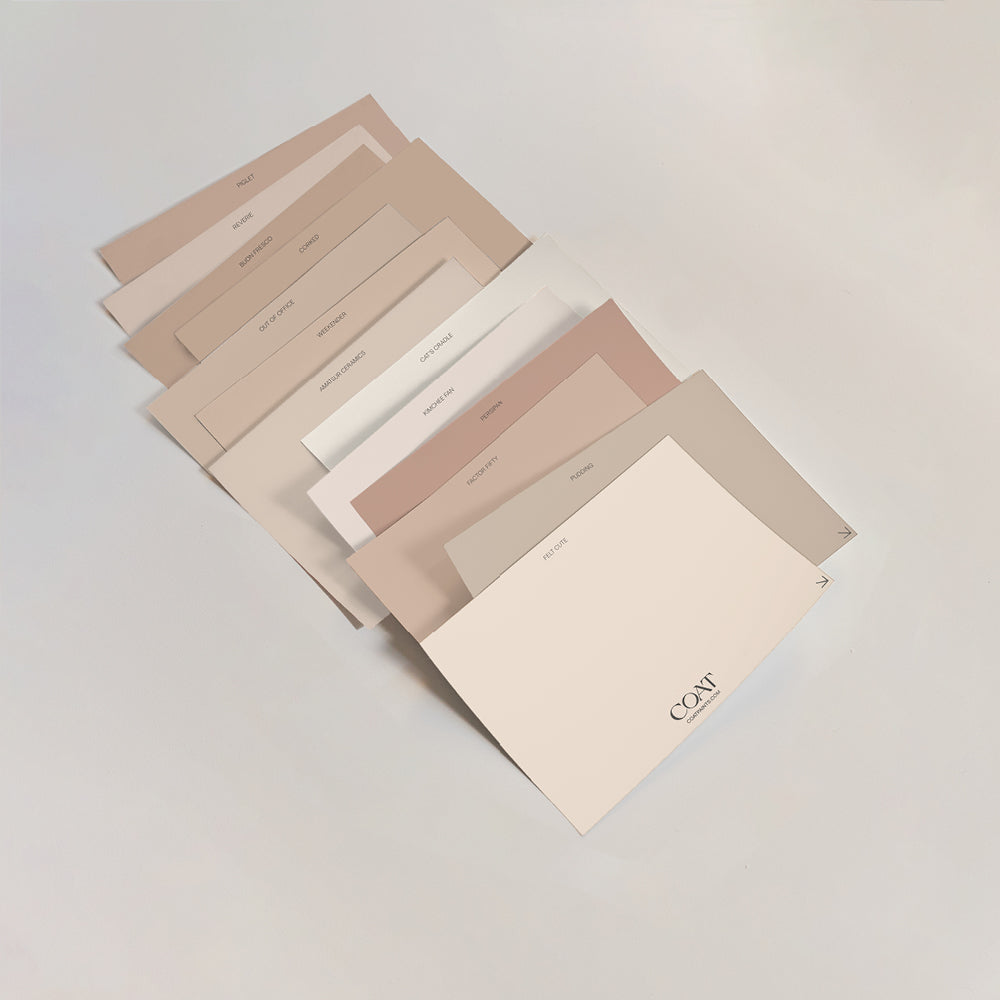
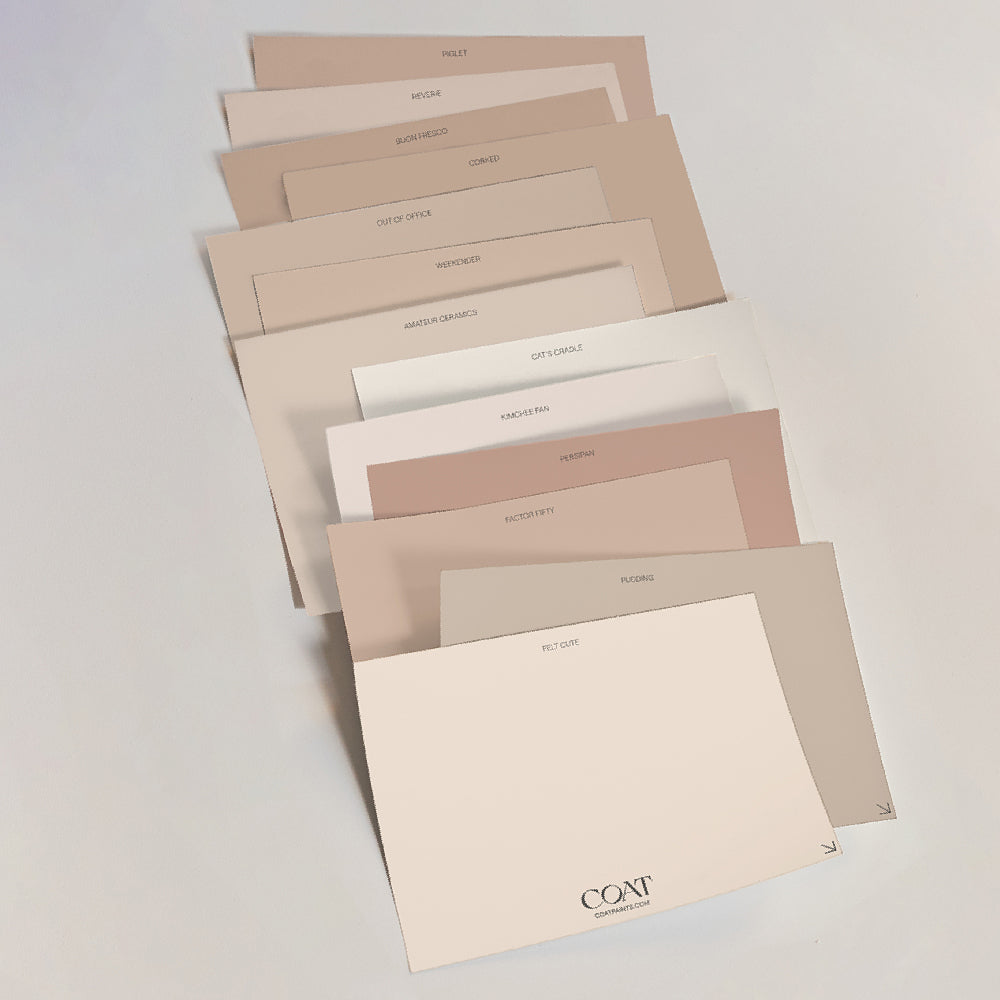
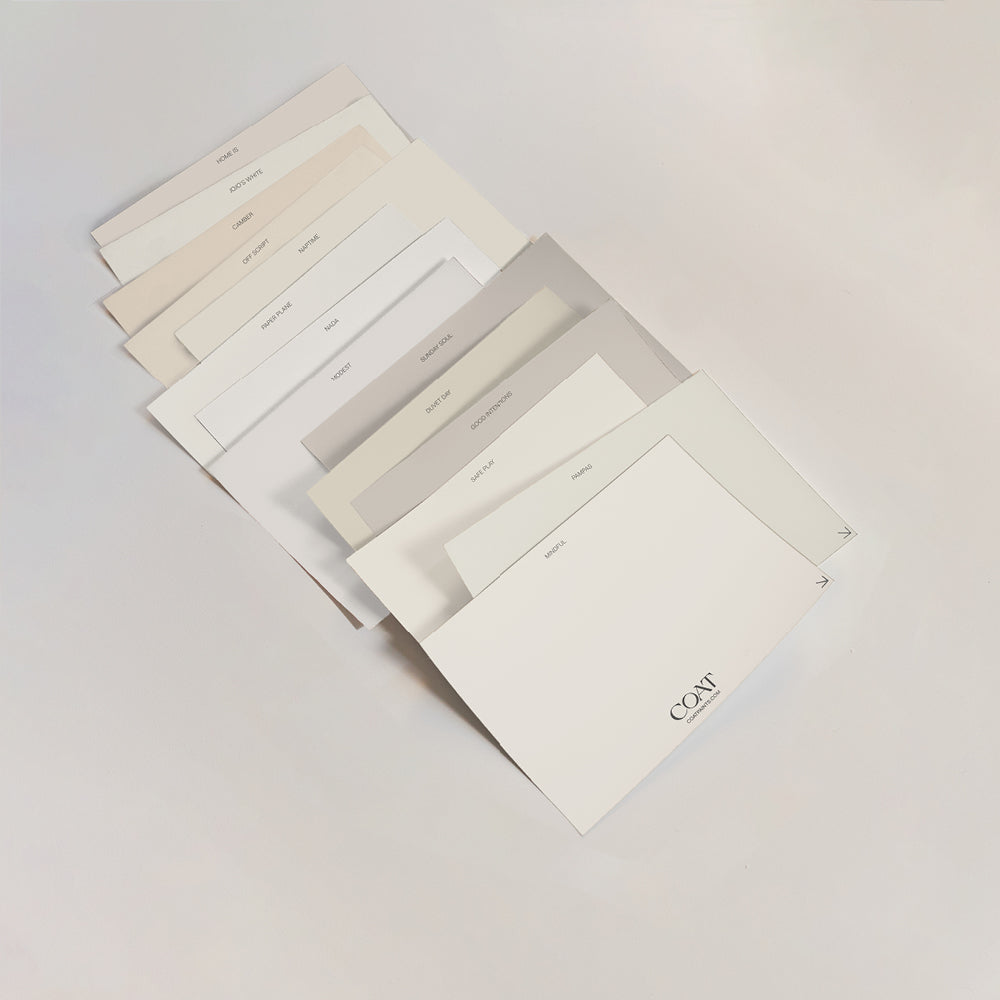
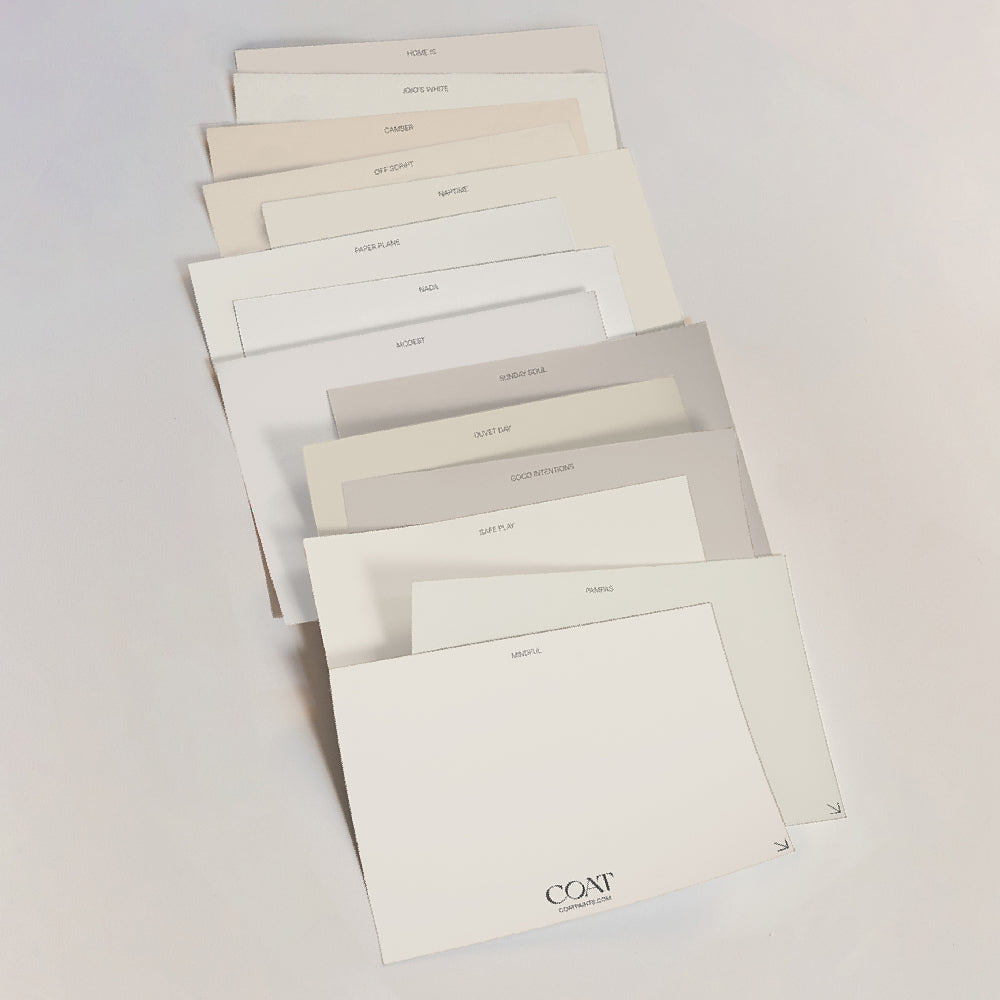
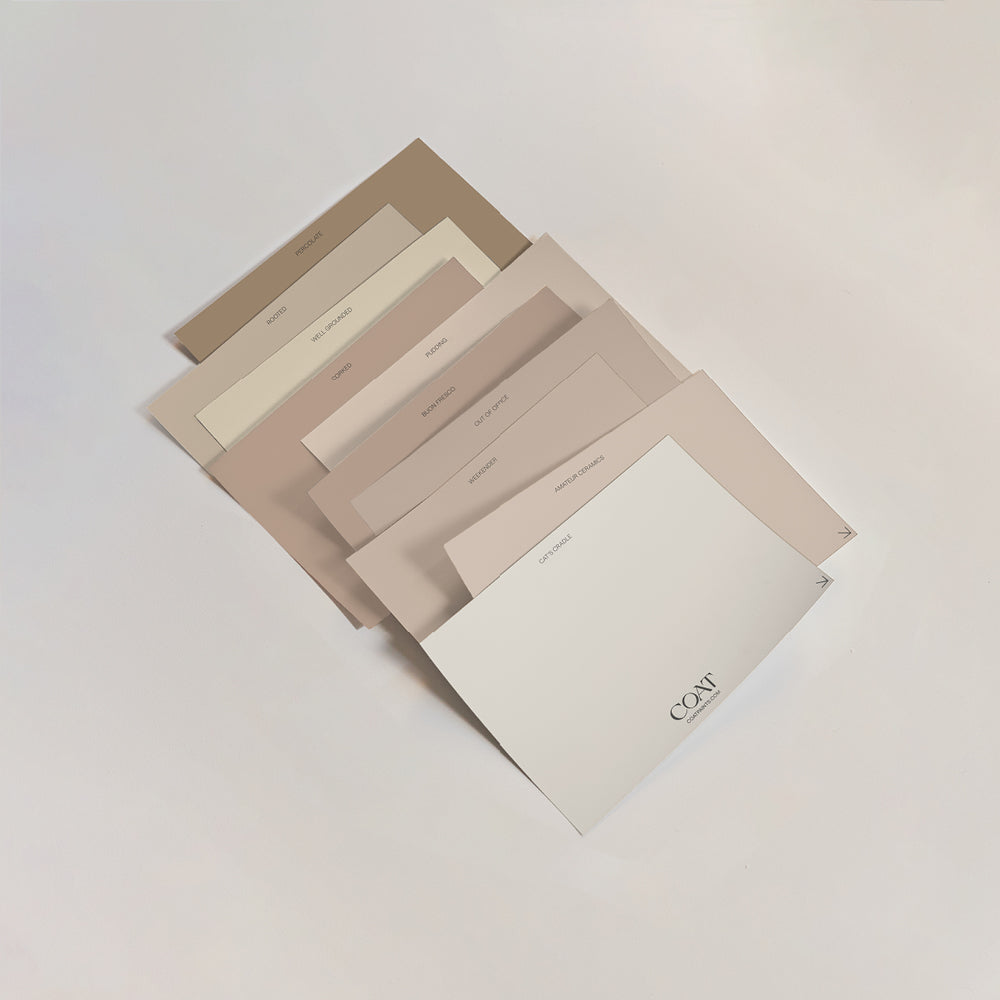
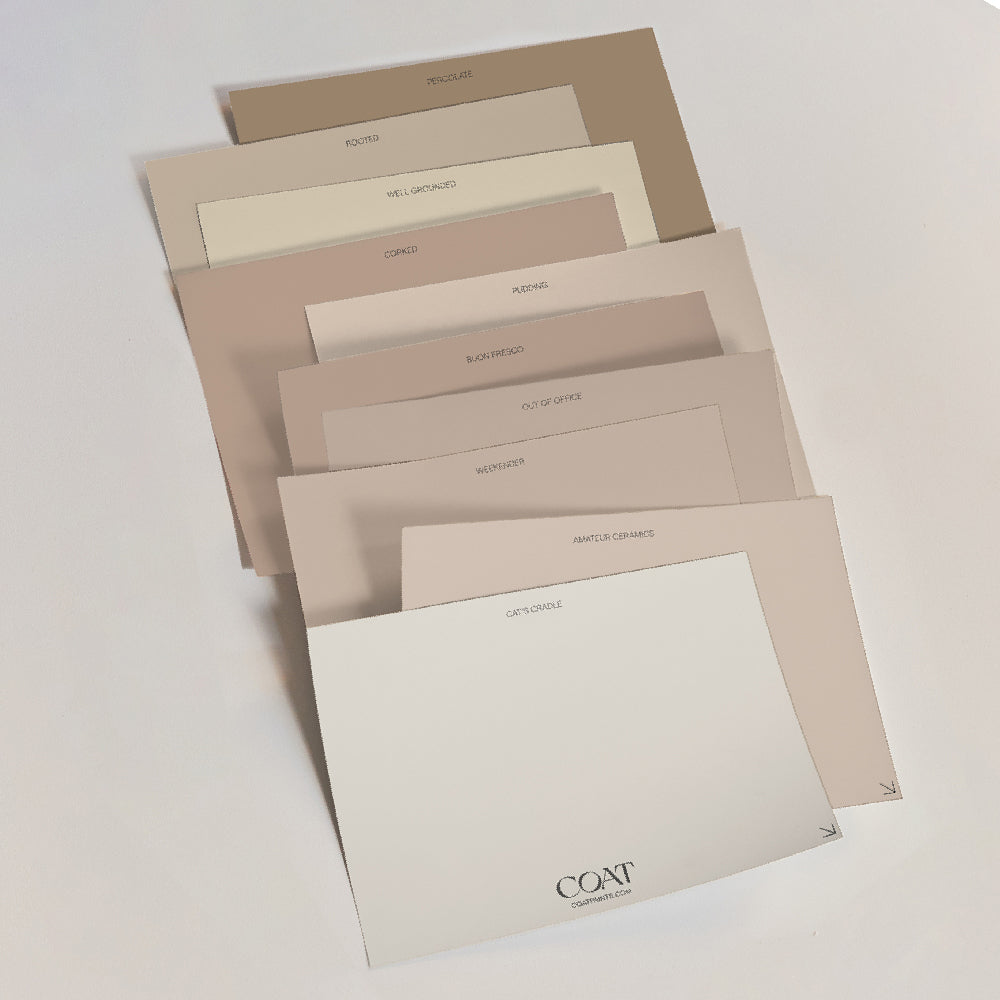
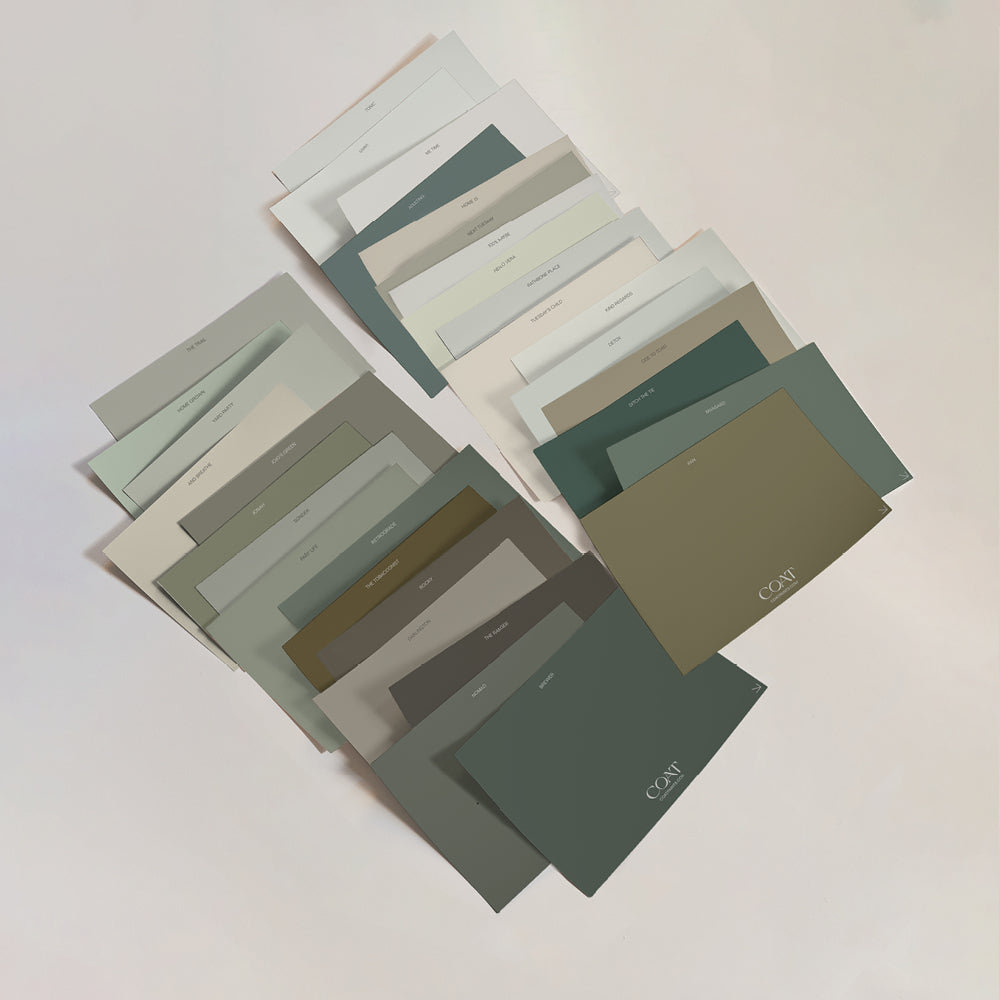
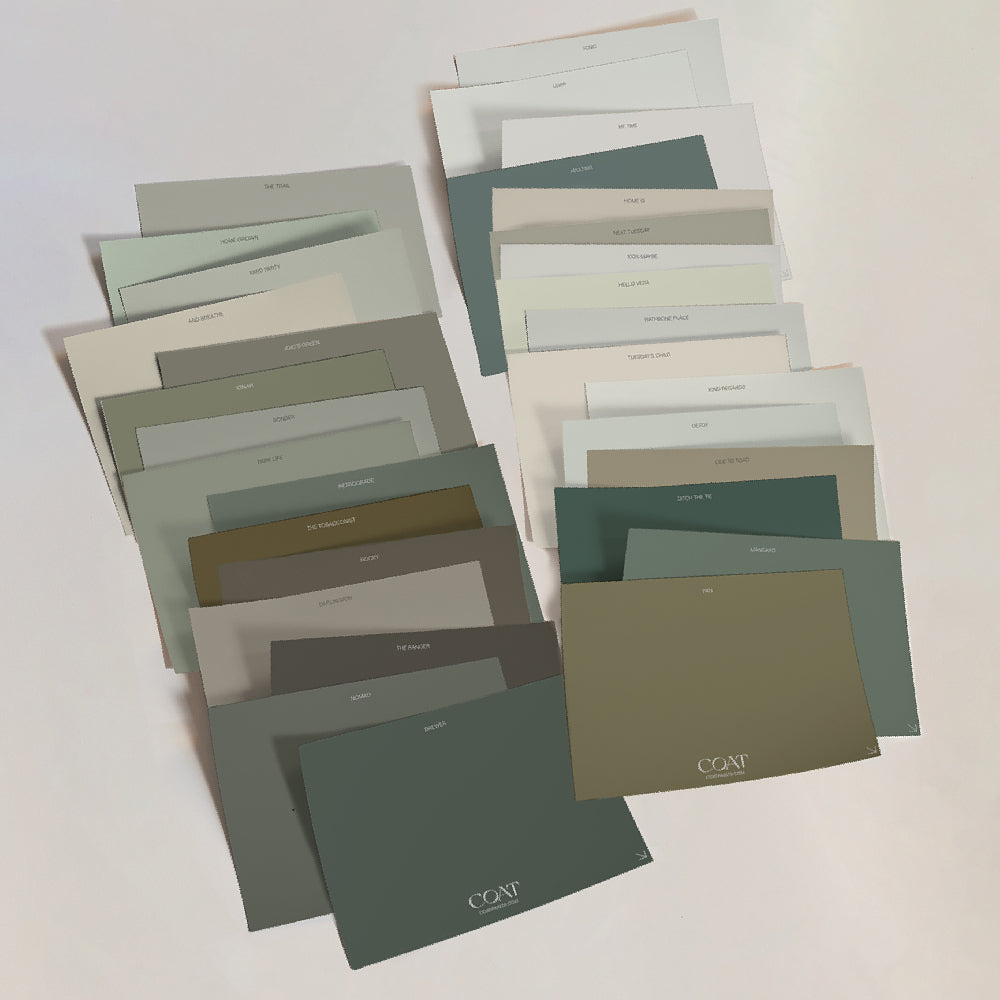
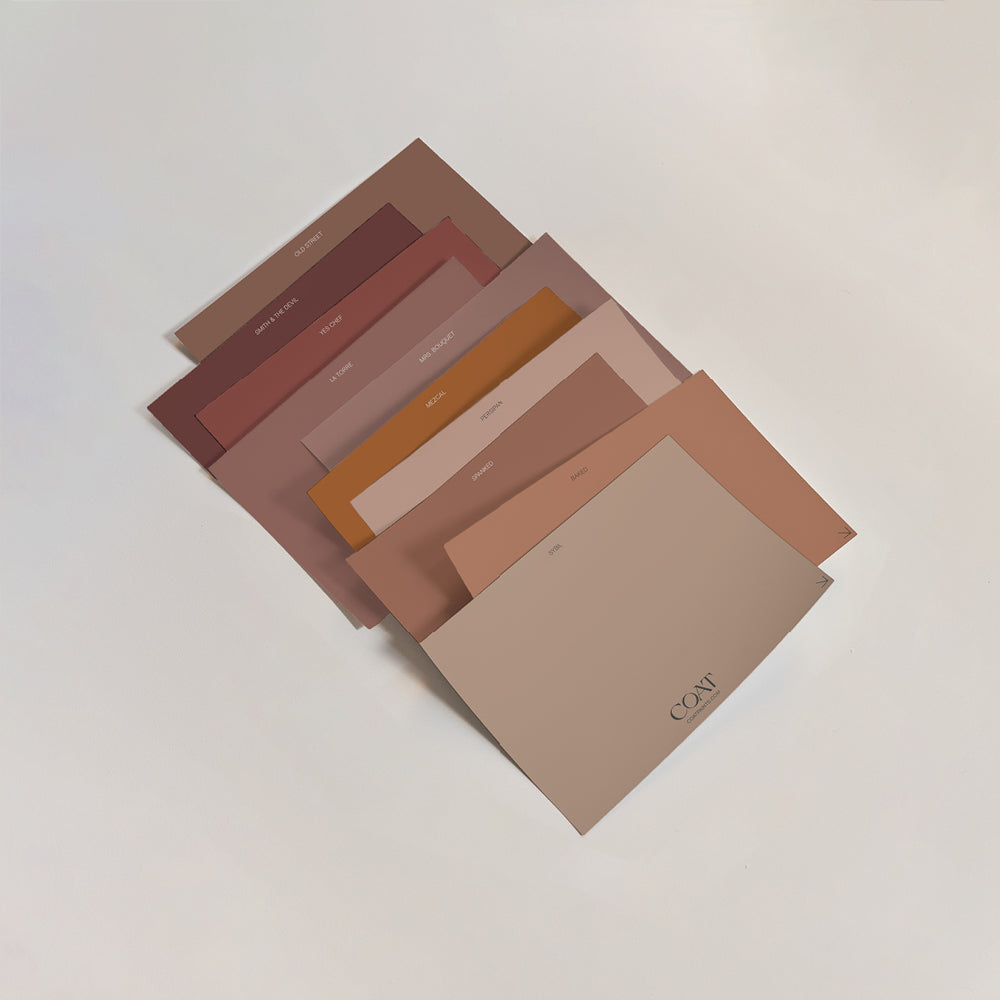
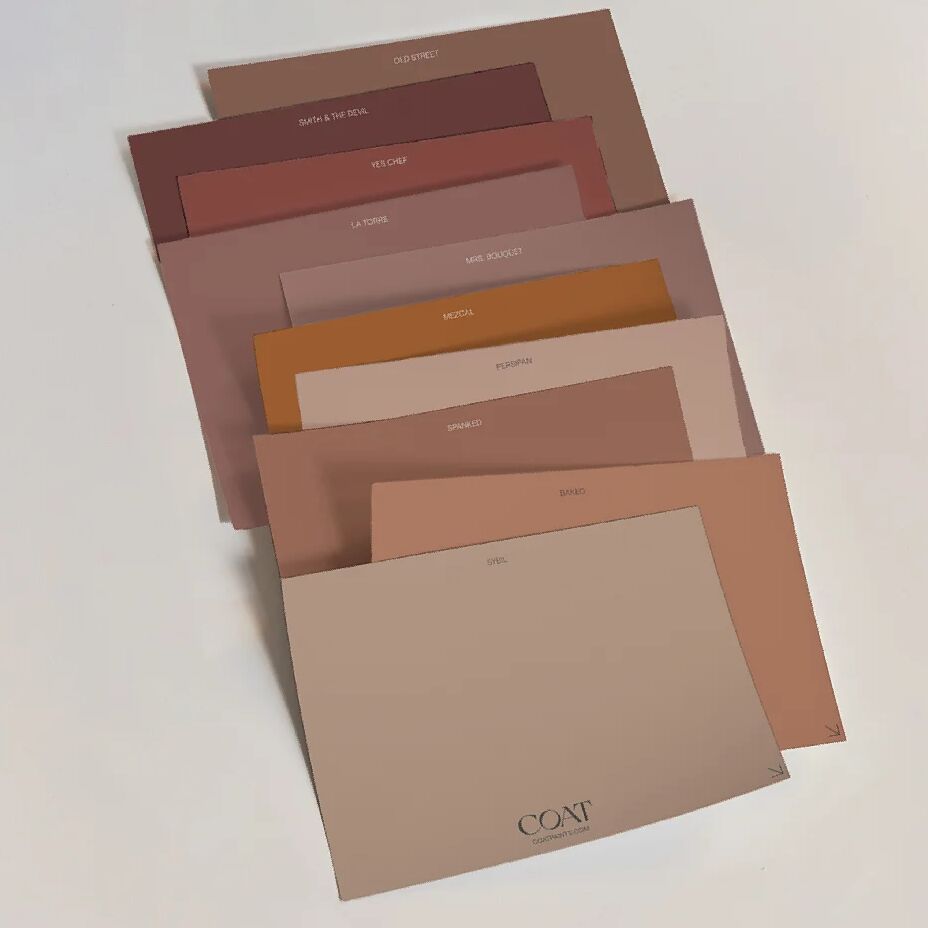
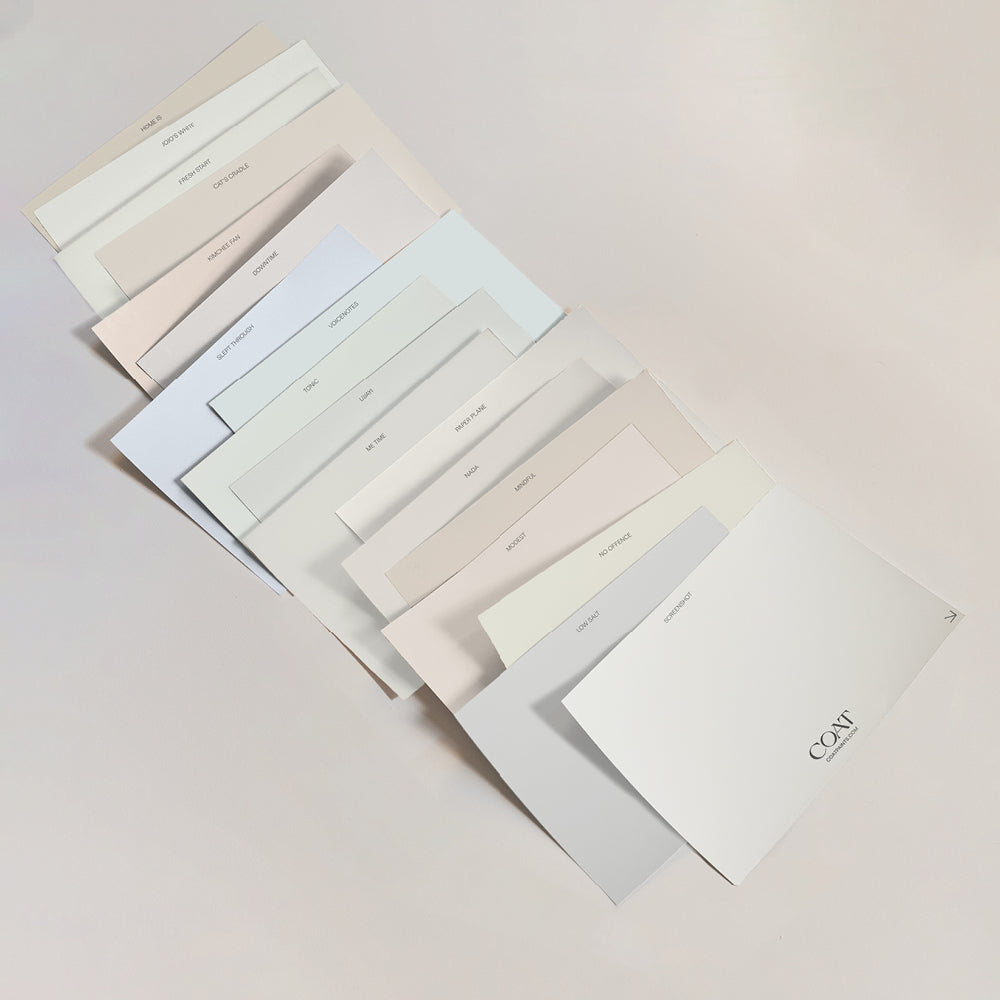
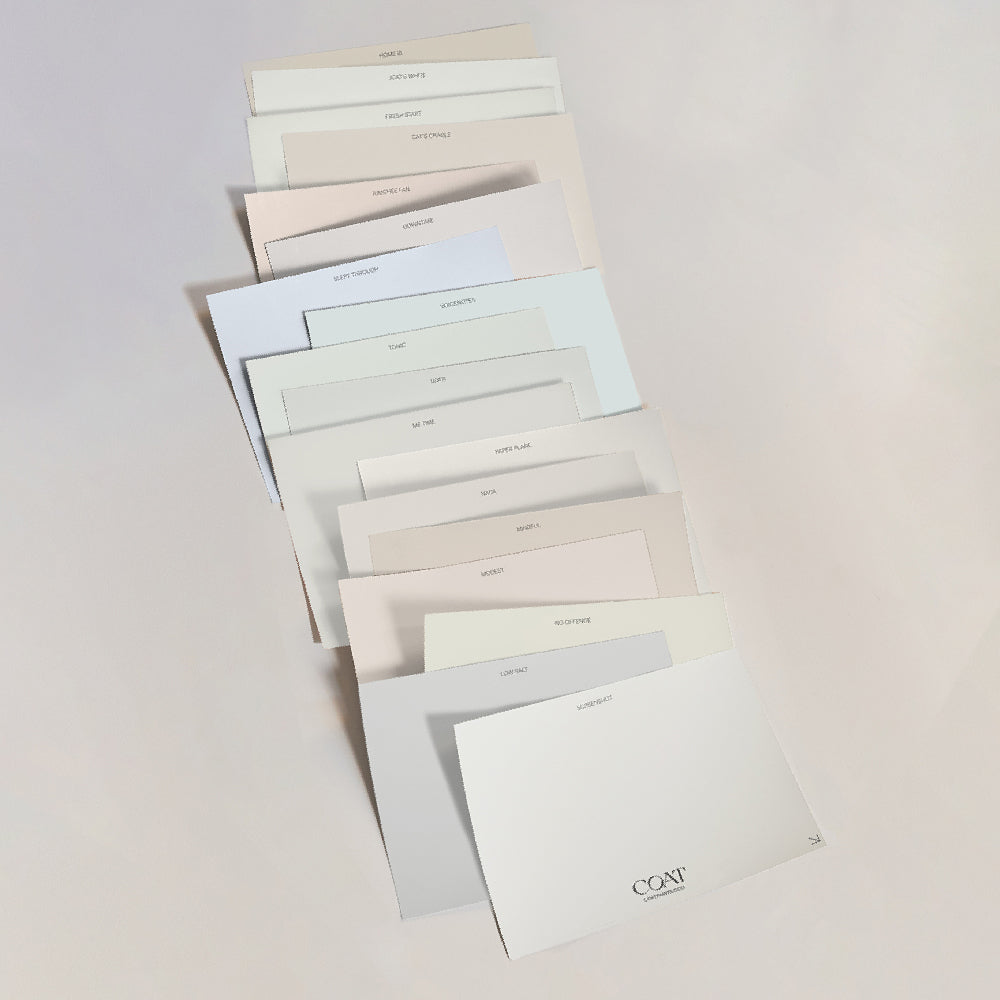
Feeling inspired? Grab your ‘Peel & Stick' Swatches and try out our colours at home!
Then, use strips of masking tape to make geometric patterns, or cut sections of wider tape to make curves. You can improvise a pattern, plan it out in advance, or just follow directions you find online. No one will ever know.
Pull the tape tight when applying, to ensure straight lines where you need them. When working for a curve, be much gentler and apply only small sections at a time.
If you are painting large sections of colour, use a brush to get the edges of your pattern, to avoid going over the tape entirely. Then you can use a roller to fill in the ‘middle bits’ quickly. Once that coat dries, apply new tape to the opposite edge and do the same with a different colour.
When both have thoroughly dried, give them a second coat, applying fresh tape each time.
Vertical Stripes
You can go online for all kinds of masking tape decoration ideas, but it might be best to start with something simple. One of the easiest masking tape wall patterns to try is vertical stripes.
It is usually best to give the wall a base coat of white – or any other colour – to make sure all of your stripes dry to the same shade. As always, mask your skirting boards, crown mouldings and sockets. Covering the carpet with a drop cloth isn’t unwise either.
Create your pattern by masking off all the sections you don’t want to paint your first colour.

@dolasjournal used a roller and masking tape to achieve her neat lines.
Two colours may be the easiest pattern, but don’t limit yourself! Just plan ahead to make sure the stripes end up in the pattern you want. If you plan three repeating colours, make sure your first and second sections are exactly 1/3 of the width of the whole, and the final section will take care of itself.
Once the first colour is dry, apply new tape to protect it and any areas you don’t want to be your second colour. Paint and repeat as many times as needed. You may need to do it all again with a second coat, so allow yourself plenty of time!
Zig Zags
Again, always start with a single colour wall. Painting it white is usually a safe first step. Also, mask or cover anything you don’t want paint on, as we described above.
Mask out your pattern as we’ve described previously. This time, though, you’ll be using much shorter straight lines, and therefore shorter pieces of painter’s tape. The good news is that you’ll find smaller pieces much easier to apply. The bad news is that it will take much longer.

@yilmazhome2016 got creative with her zig zag masking tape
Pro tip – getting the zig-zag pattern exactly right is crucial to achieving a professional look. Consider measuring out a grid, and marking key parts of your pattern on the wall in very light pencil.
Again, you’ll get the best results if you paint the masked borders with a brush, and only bring in the rollers for the middle of the stripes.
Wait for everything to dry, then repeat with the next colour, as many times as you need to get the pattern you imagined. As always, leave yourself enough time to do it all again with a second coat. This will give you the best results, and even allow you to correct any errors or drips you might not have caught the first time around.
We hope this guide to making masking tape wall patterns has been helpful. If so, we have several more articles like this one to help you make the most of your home improvement efforts.
No matter what colours you end up using on your walls, COAT has paints that can achieve the effects you are looking for, so check out our swatches.
Publish Date
Author





Leave a comment