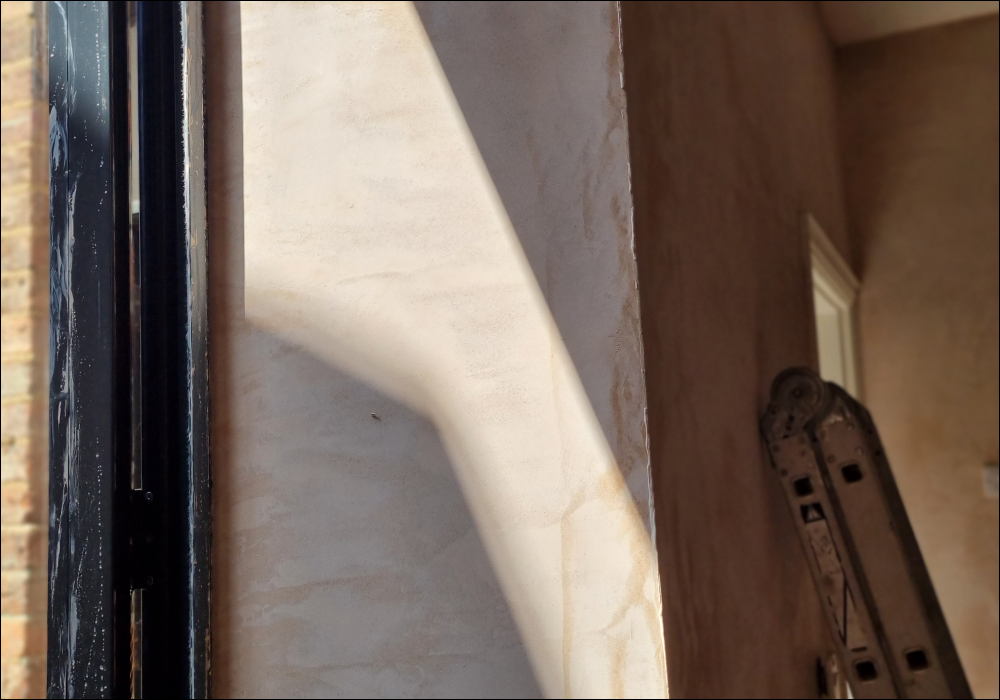
How To Plaster A Wall
Not that we’re trying to rob a professional of plastering work, but if you’re a proper DIY enthusiast or maybe a little pocket shy - have you considered doing your own wall plastering? If you’re thinking about giving it a go, we’ll guide you on everything you need to know about how to plaster walls.

Is it difficult to plaster a wall?
We’re not going to lie; it’s not the easiest job. Only consider plastering yourself if you’re confident at DIY and have the time and patience to give it the attention it needs. As the plaster and hawk board will be heavy, you need both a strong and steady hand too. 💪 Not to put you off, but you need to be realistic about your abilities first. Some of us are professional plasterers, and some of us have Deliveroo Premium. It's just how it is. In any case you can still learn how to prepare a wall for plastering (scroll down) which is pretty simple and can save costs too.
What do I need to plaster a wall?
Rightio, there are various things you’re going to need. Safety first:
- Safety goggles
- Dust mask
- Gloves
Ok, so how about the materials you need to plaster:
- Sugar soap
- Scrim tape
- PVA glue
- Water
- Plaster
And you’ll be needing some trusty tools, of course:
- Paint scraper (if you need to remove wallpaper)
- Dust sheets
- Sponge
- Roller
- Bucket
- Power mixer (also called a paddle mixer)
- Bucket trowel
- Spot board + stand
- Plasterer’s hawk (also called a hawk board)
- Plastering trowel
- Spray bottle
- Paint brush (good-quality!)
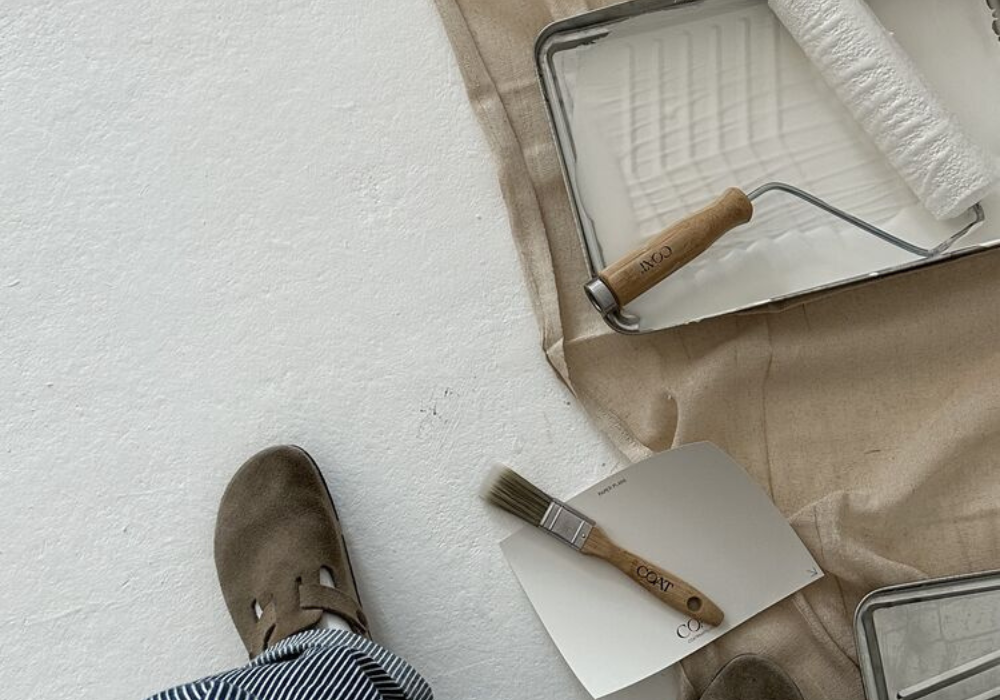
If you've given up at this point, why not pick out some COAT paint colours and call a plasterer?
But if you're soldiering on... remember that if you’re reusing or borrowing any of these tools make sure they are clean first. Also, make sure you feel comfortable handling them for long periods of time, as wall plastering is tiring work!

How to prepare a wall for plastering
Ok, you’ll need to do some prep work before you can start mixing or applying your plaster. No skimping with the following. If you don’t prepare your wall properly, you may find your plaster falls off before the end of the job. Literal nightmare. So, here goes...
Now that you know how to prepare a wall for plastering, it’s probably a good time to explain how to mix plaster.
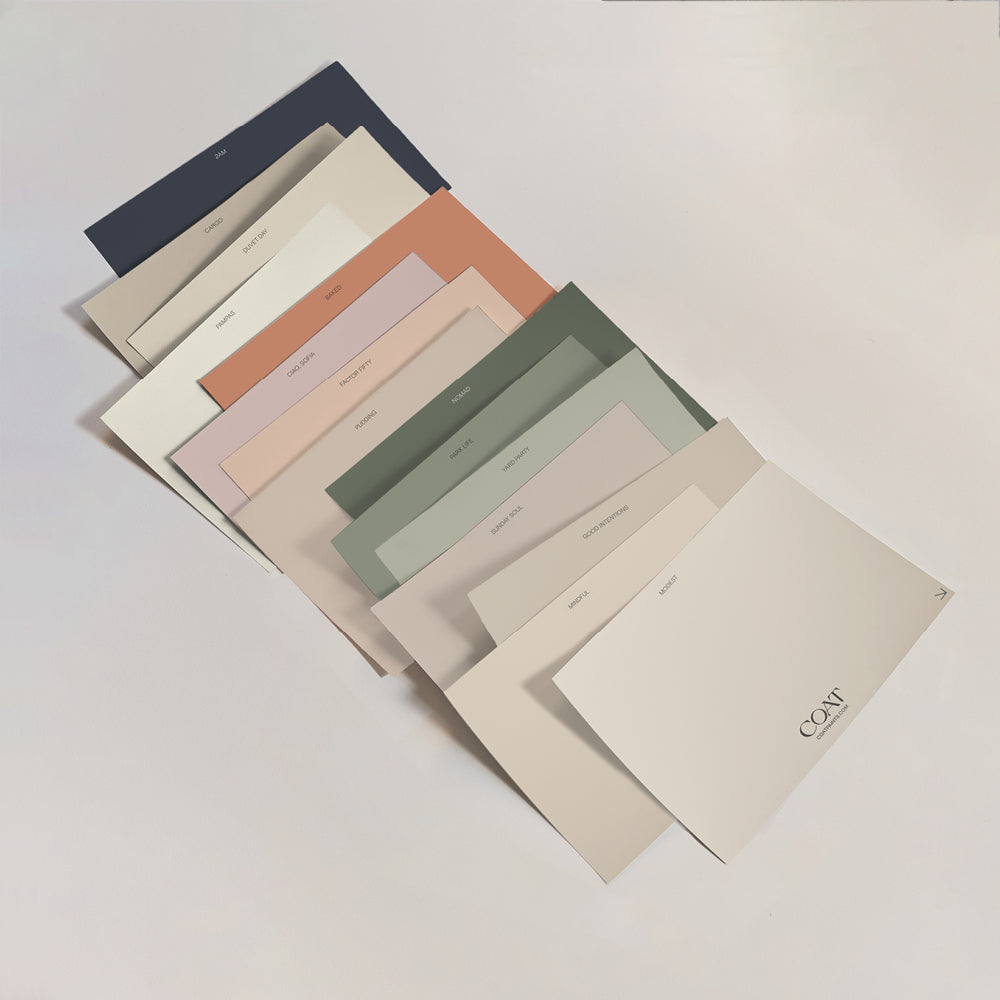
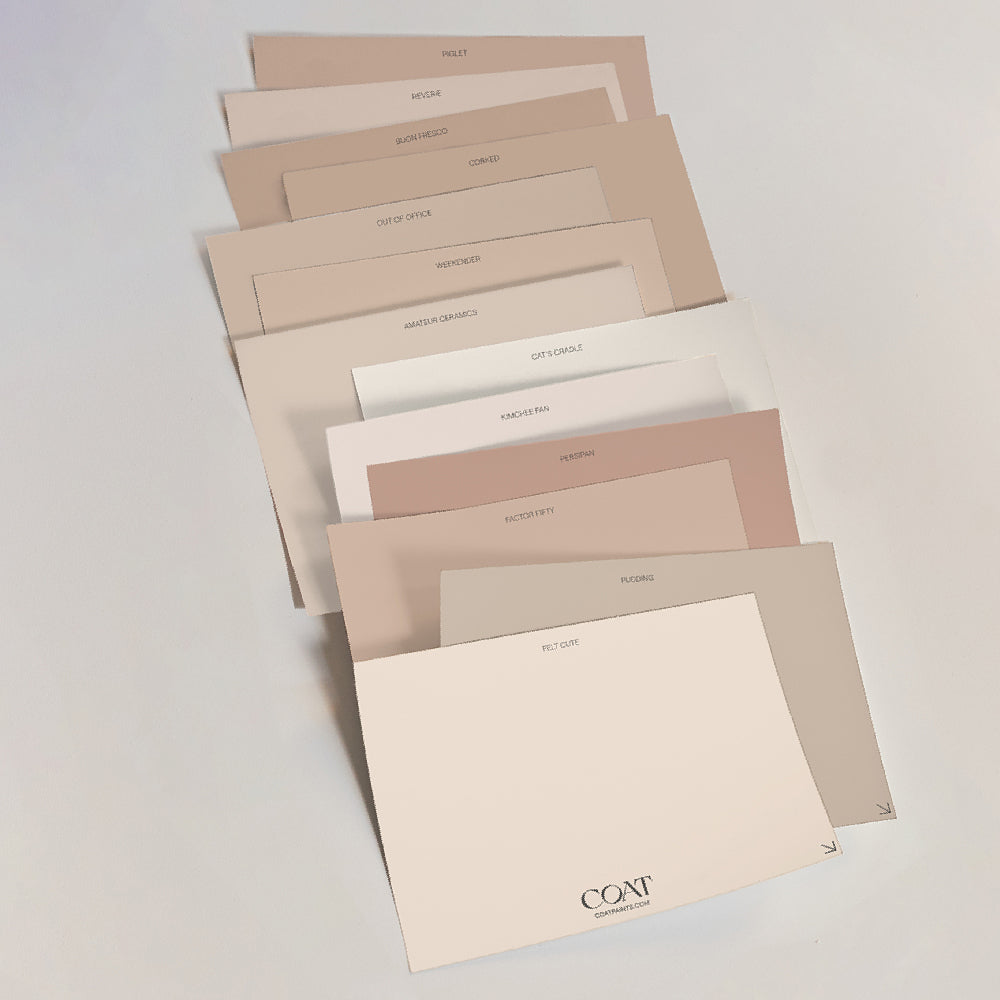
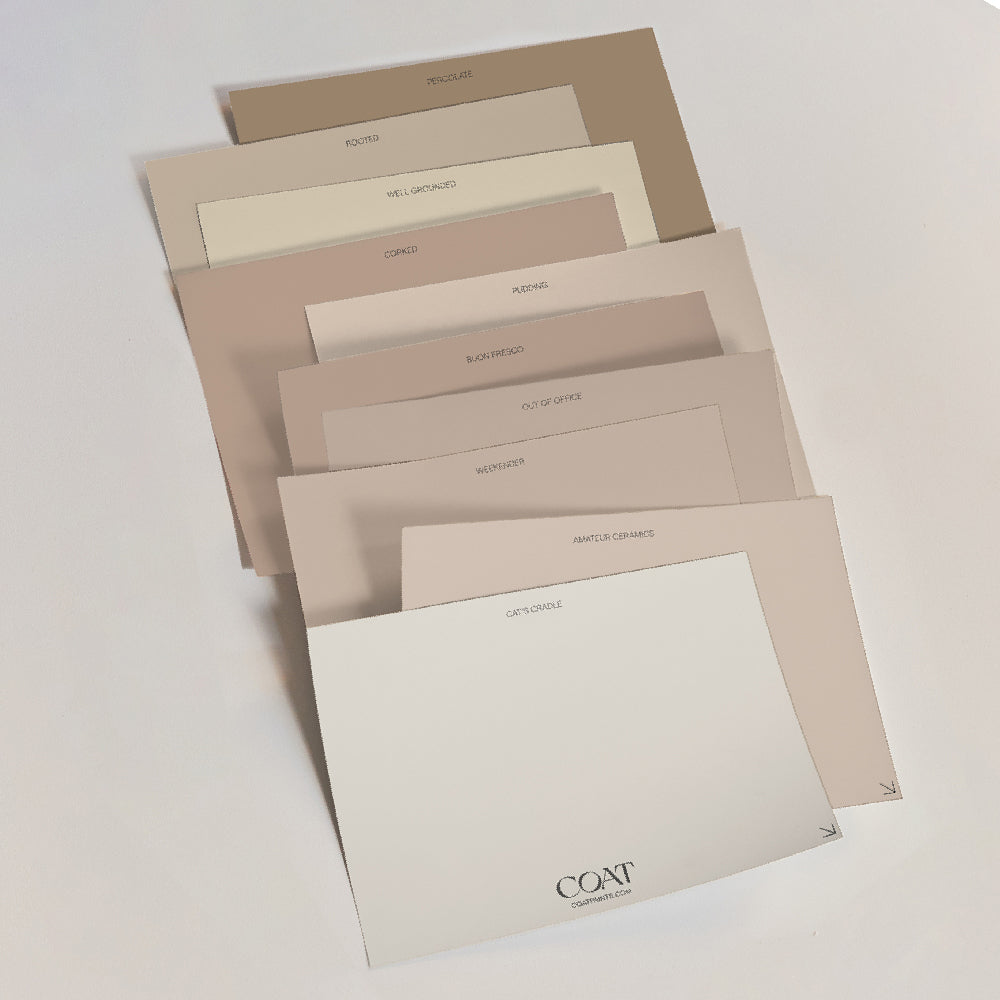
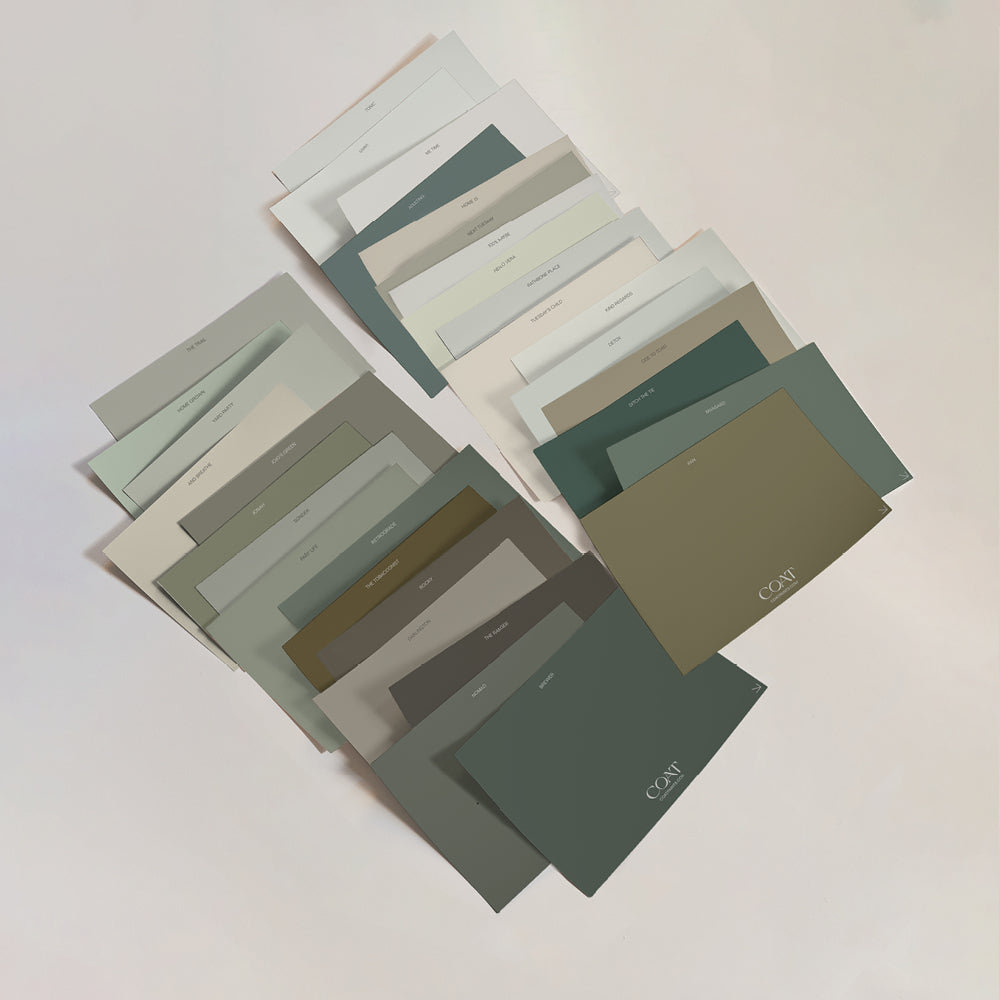
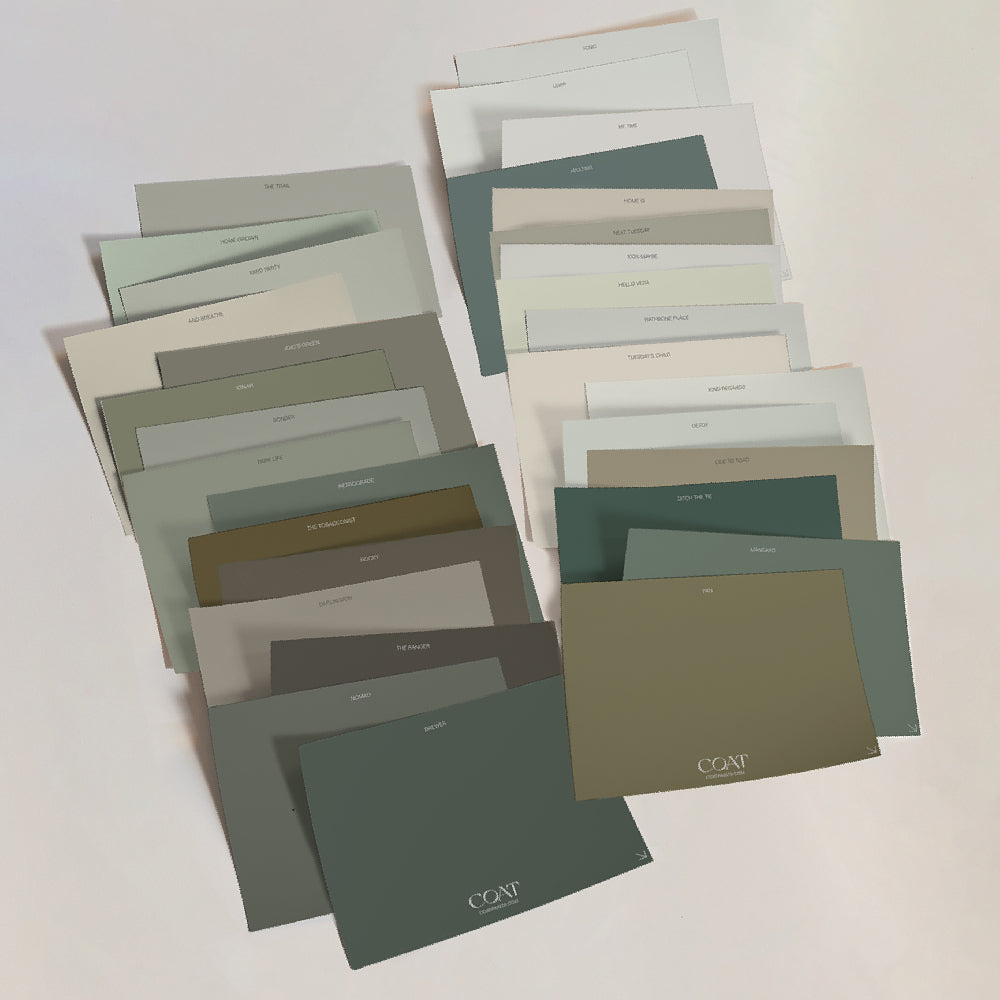
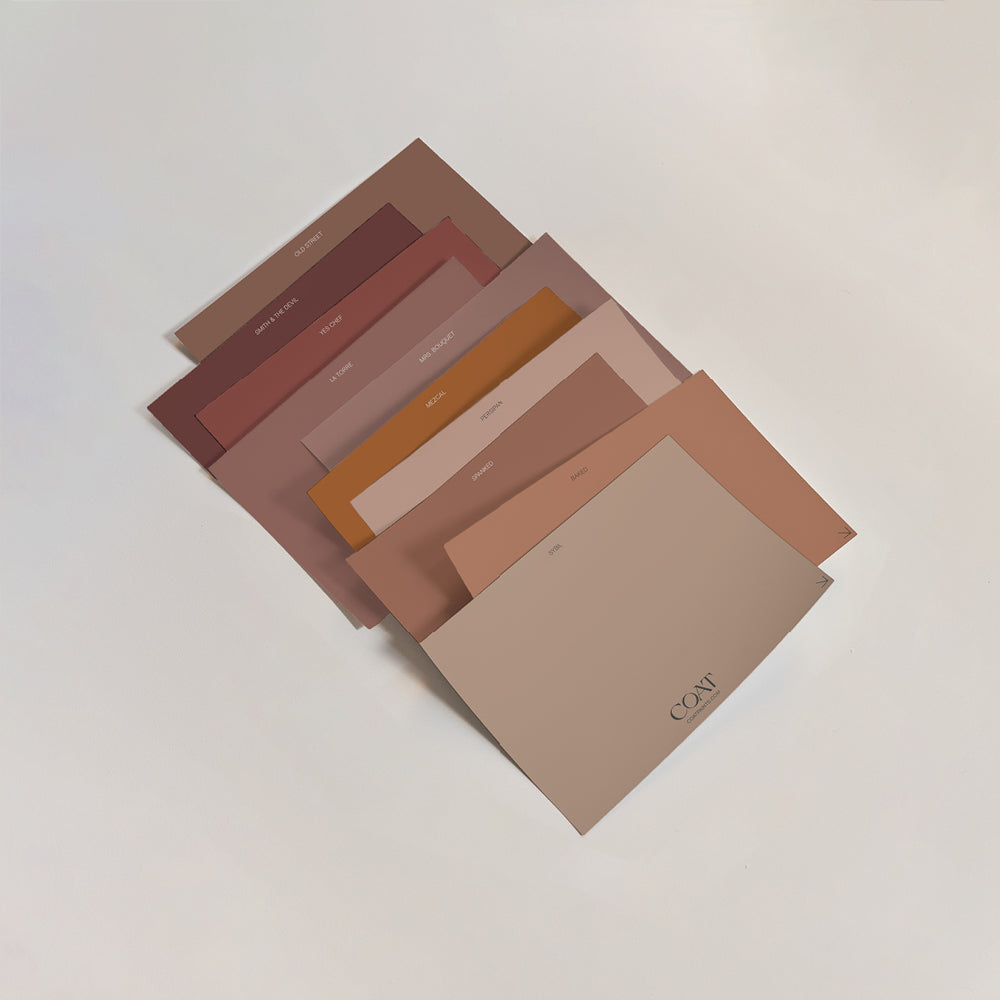
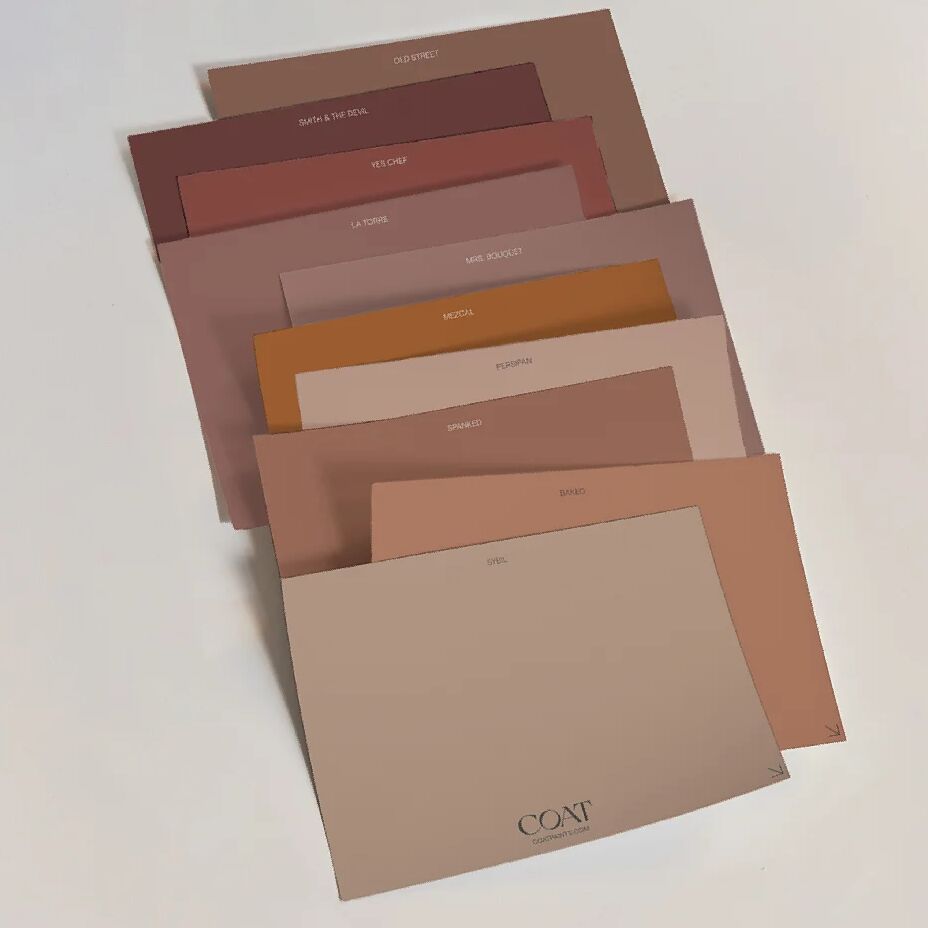
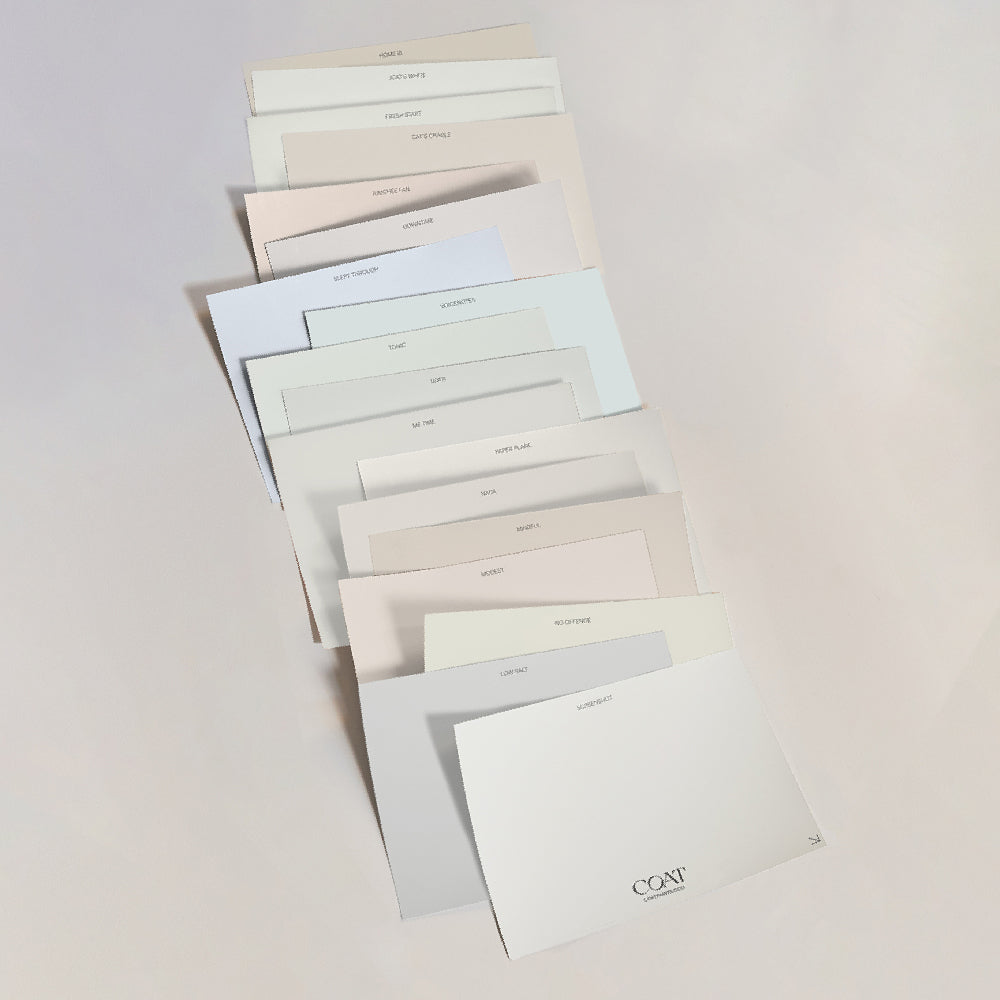
Get Peel & Stick Colour Swatches to inspire your new walls.

How do I mix the plaster?
Luckily there will be some instructions on the product for you to follow. But if you need a heads up on what to expect or a bit of a walkthrough - here goes:
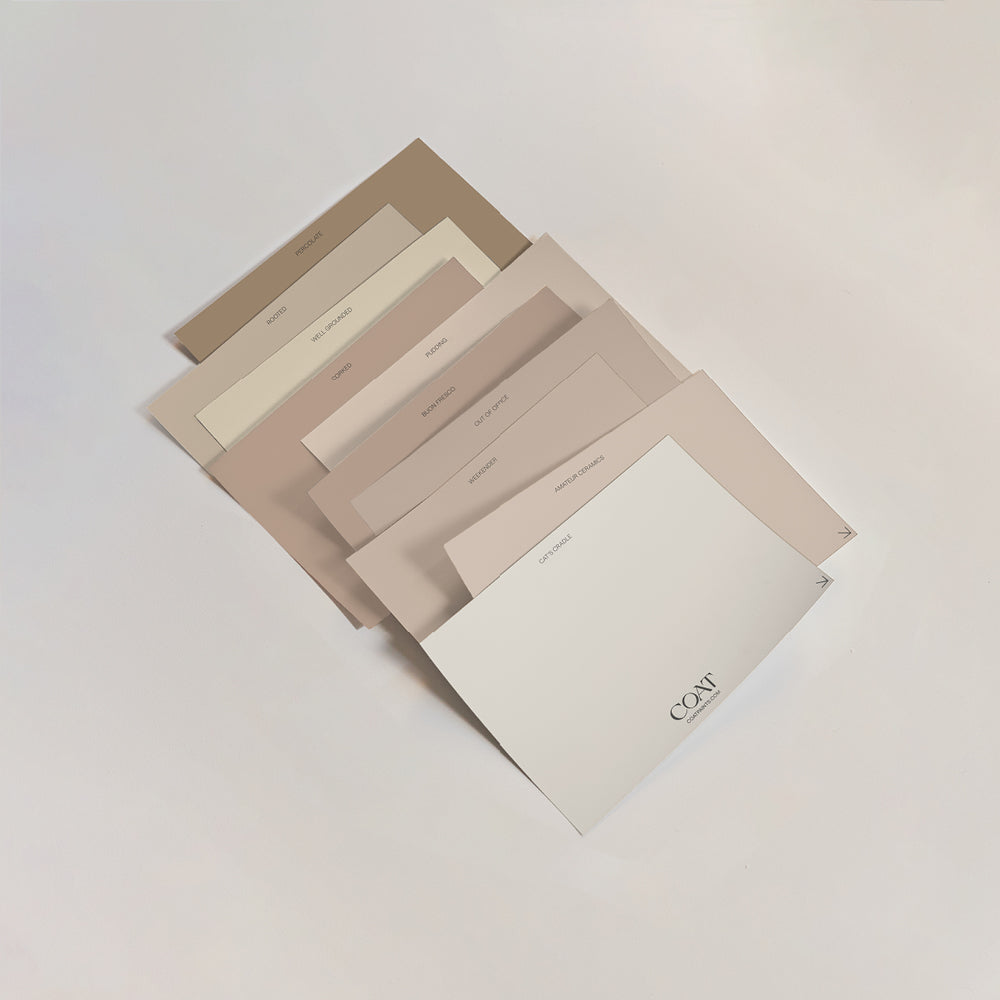
Now it’s finally time to learn how to plaster a wall! Unless you don't want to, and you just fancy choosing nice colours? - Get Peel & Stick Colour Swatches.

How do I apply the plaster?
This is the fun part! But it’s going to be hard work.
- Pour the plaster onto your spot board.
- Use your bucket trowel to cut a section of the plaster and move it onto your plasterer's hawk
- With your plastering trowel, scoop a small amount of the plaster off the hawk.
- Apply the plaster to the wall by spreading it firmly - adding plenty of pressure - in an upwards stroke with the trowel at a slight angle away from the wall.
- Continue the process until you have evenly covered the whole of the wall
Tips for plastering a wall
- Flatten the trowel after each stroke - this will smooth the plaster.
- Start in the bottom left-hand corner of the wall and work upwards and outwards.
- Only use a small amount of plaster for each stroke.
- Use short sweeps to add the plaster to the wall, then longer ones to smooth it out.
- SAFETY: if plastering near electrics, remember to turn the electricity off before you begin. Also, make sure they are taped up to prevent any damage.
After covering the wall, allow the plaster to dry for 20 minutes before going over it with your trowel (this is so you can smooth out any bumps). If needed, add some water to your spray bottle and lightly spray onto the plaster to help the trowel spread across.
Smooth out any edges or corners using a good-quality paint brush - don’t forget to wet it first. As soon as you’ve done all of this, you can add a second coat of plaster (make sure the first coat is still slightly wet). The plaster will need to be thinner for the second coat - see the instructions on your plaster on how much extra water to add.
Use the same steps as above for the second coat. As mentioned, it needs to be thinner, so you’re aiming for a thickness of around 2 to 2.5mm. Once done, let it dry slightly. Then you can move on to the finishing stage. How do you know when that is? The plaster should be slightly damp still but not enough that it moves when you touch it.
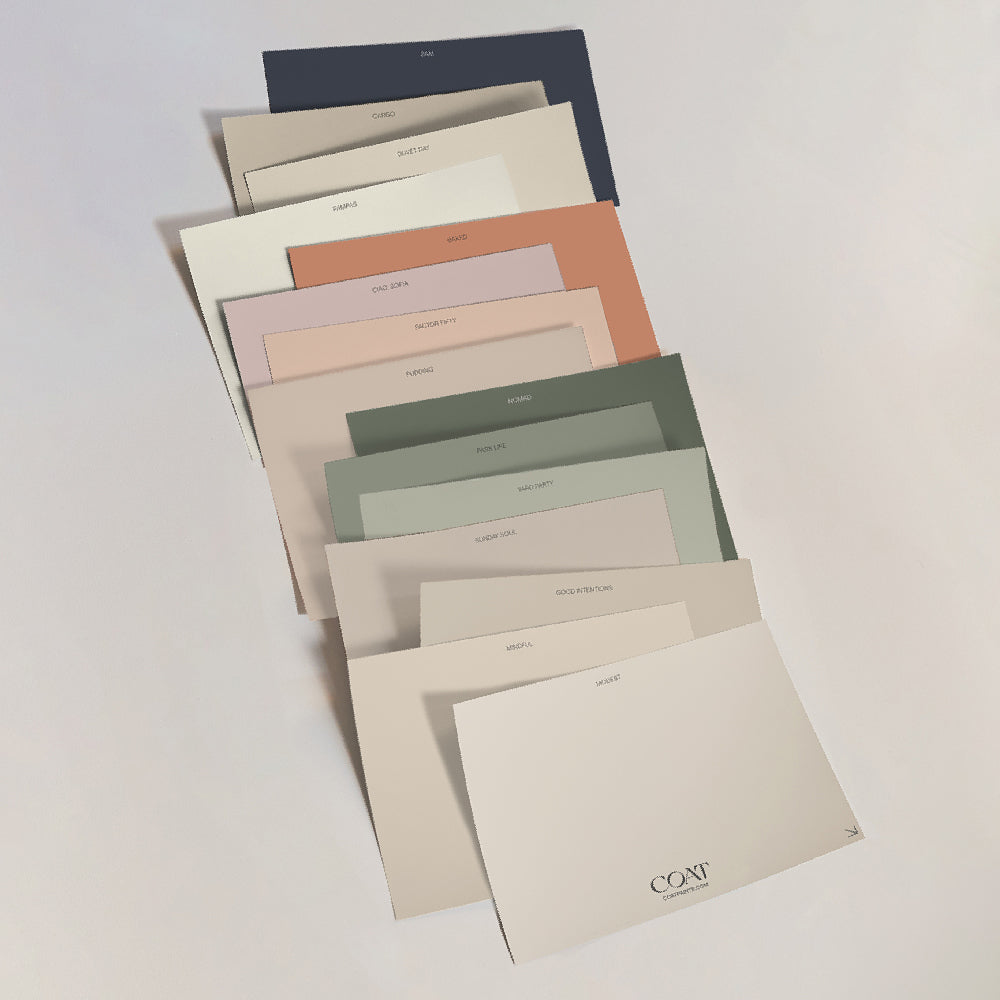
Get Peel & Stick Colour Swatches to kick off your paint project.

How to finish off the plaster
You’re almost there! Only a few more steps to go before you can collapse in a heap on the floor. That’s a figure of speech. We don’t recommend you do that. Instead, get yourself a cuppa and brace yourself for the clean-up. But we’re getting ahead of ourselves.
To polish off your hard work, you need to:
- Lightly dampen an area of the plaster with your spray bottle.
- Use a clean plasterer's trowel to smooth the plaster - you only need to apply light pressure. Angle the blade slightly and smooth over with inward strokes.
- Continue the process across the entire wall, dampening first before smoothing out.
- Use a wet paint brush to smooth over corners and edges.
And that’s it! You can now leave your plaster to dry. It can take anything from a couple of days to a couple of weeks to dry. How do you know when it’s dry? Well, when it’s wet, plaster is a brownish colour. But when it’s dry, it’s a pale pink. If you still see patches of darker colour, the plaster is still drying out. You’ll know it’s ready when the entire wall is pink. It’s a waiting game, so you have plenty of time to look up how to paint new plaster before getting your brush and roller out.
If you do decide to do your own plastering… good luck. You’ll get a real sense of satisfaction when you see a smooth wall ready for some paint, knowing that you did that. Go you! 🙌
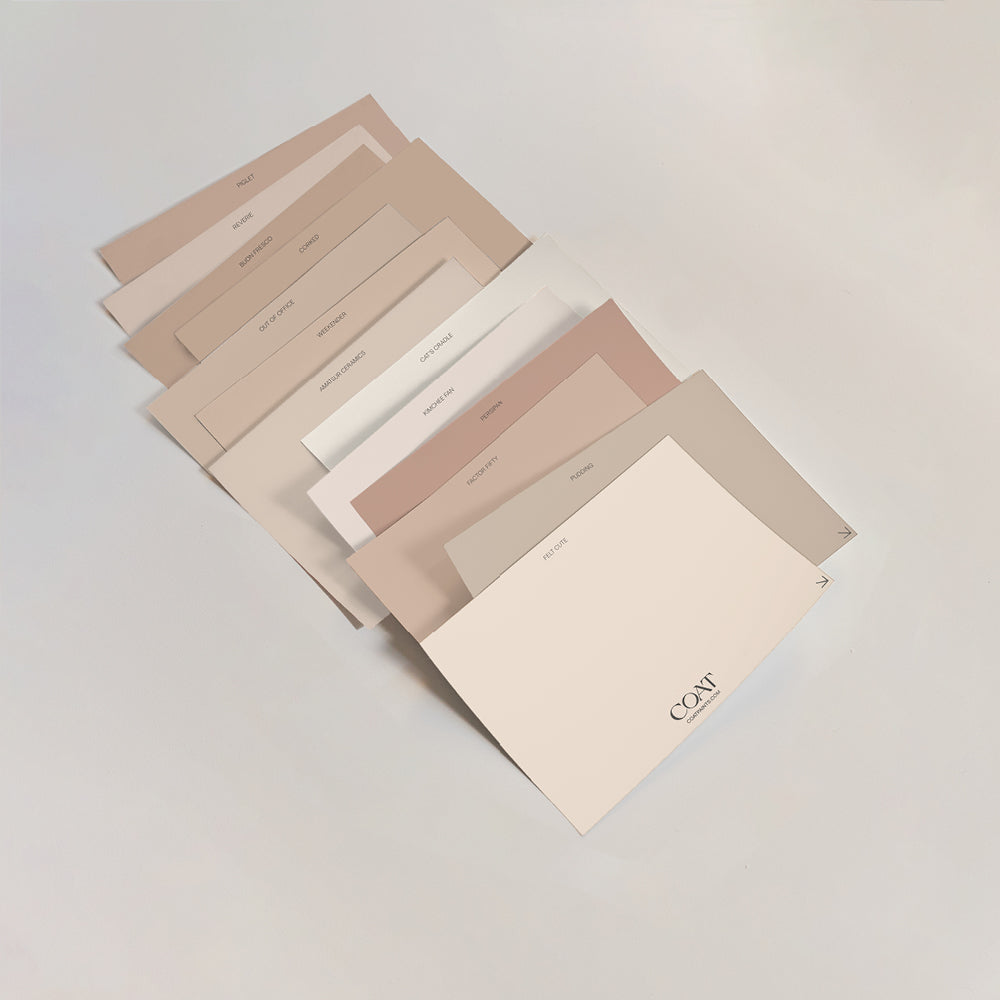
In the mean time, why not get inspired with some colour? Try COAT Peel & Stick Swatches at home.
Publish Date
Author









Leave a comment