How To Paint Outdoor Window Sills
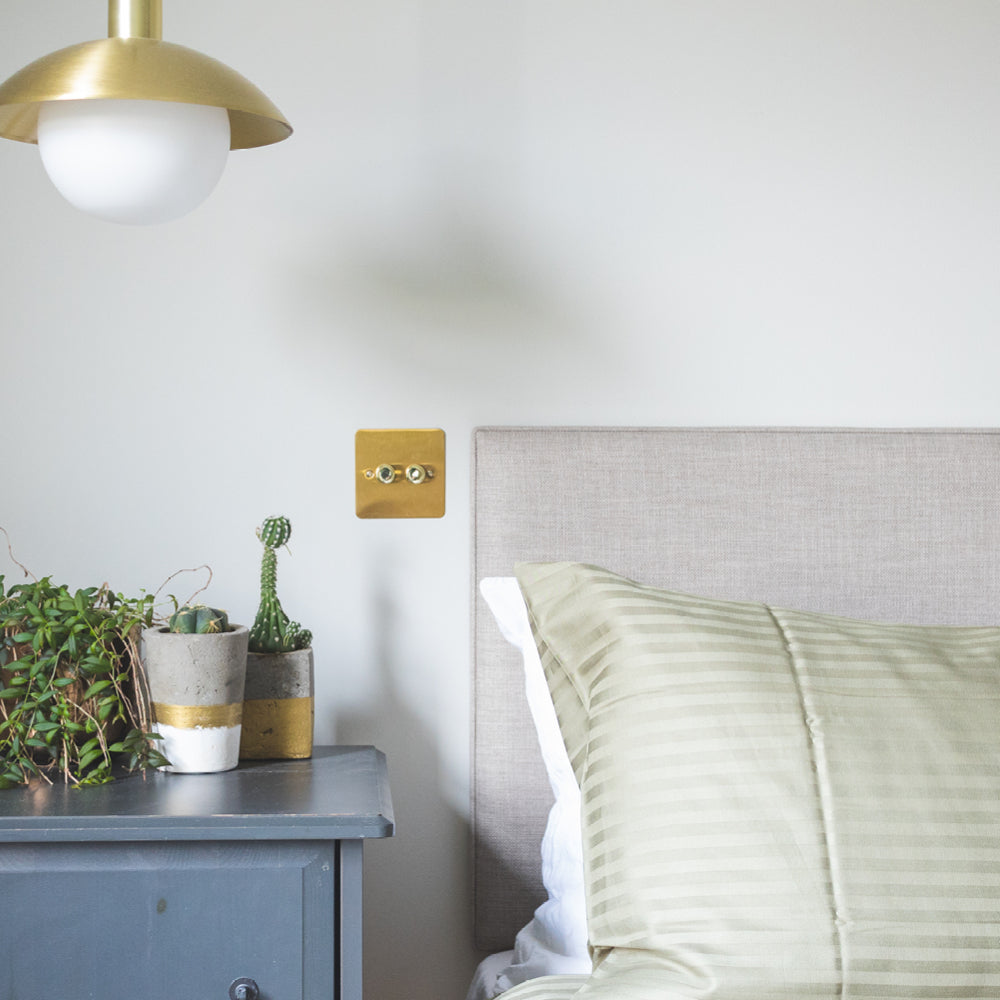
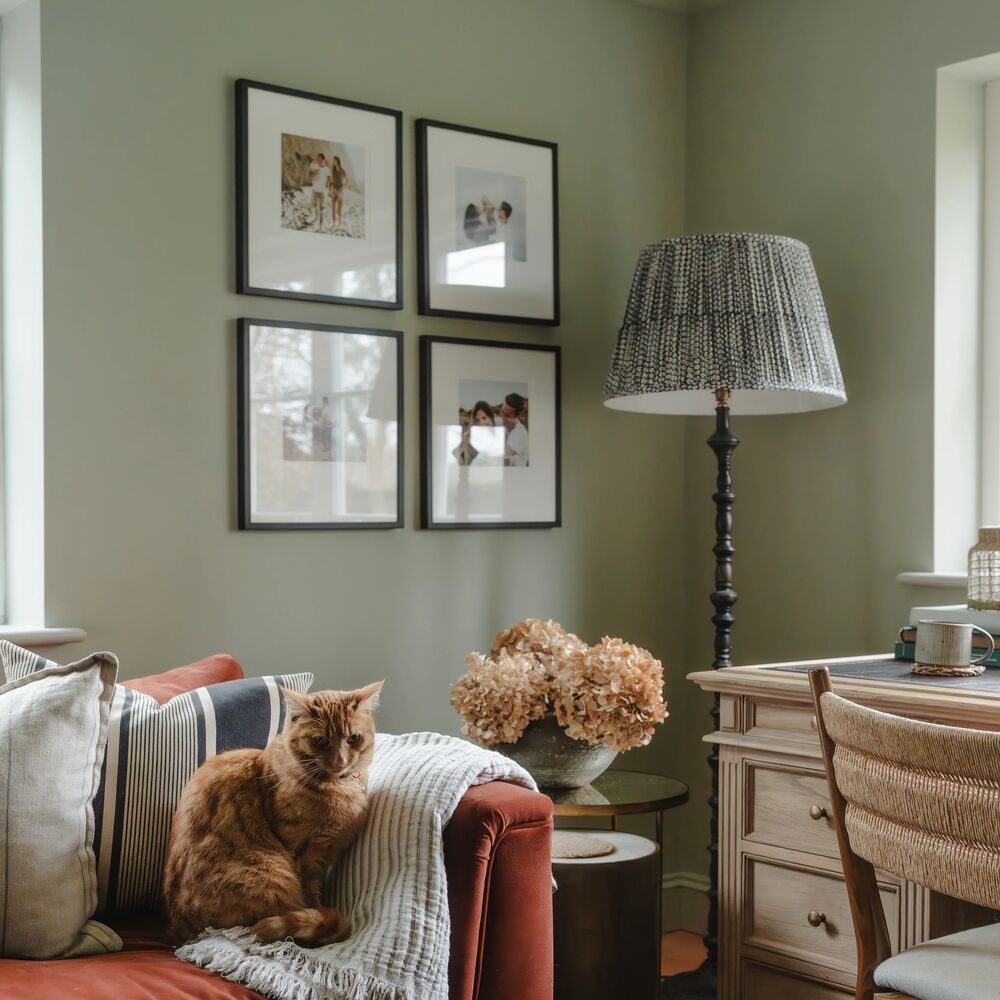
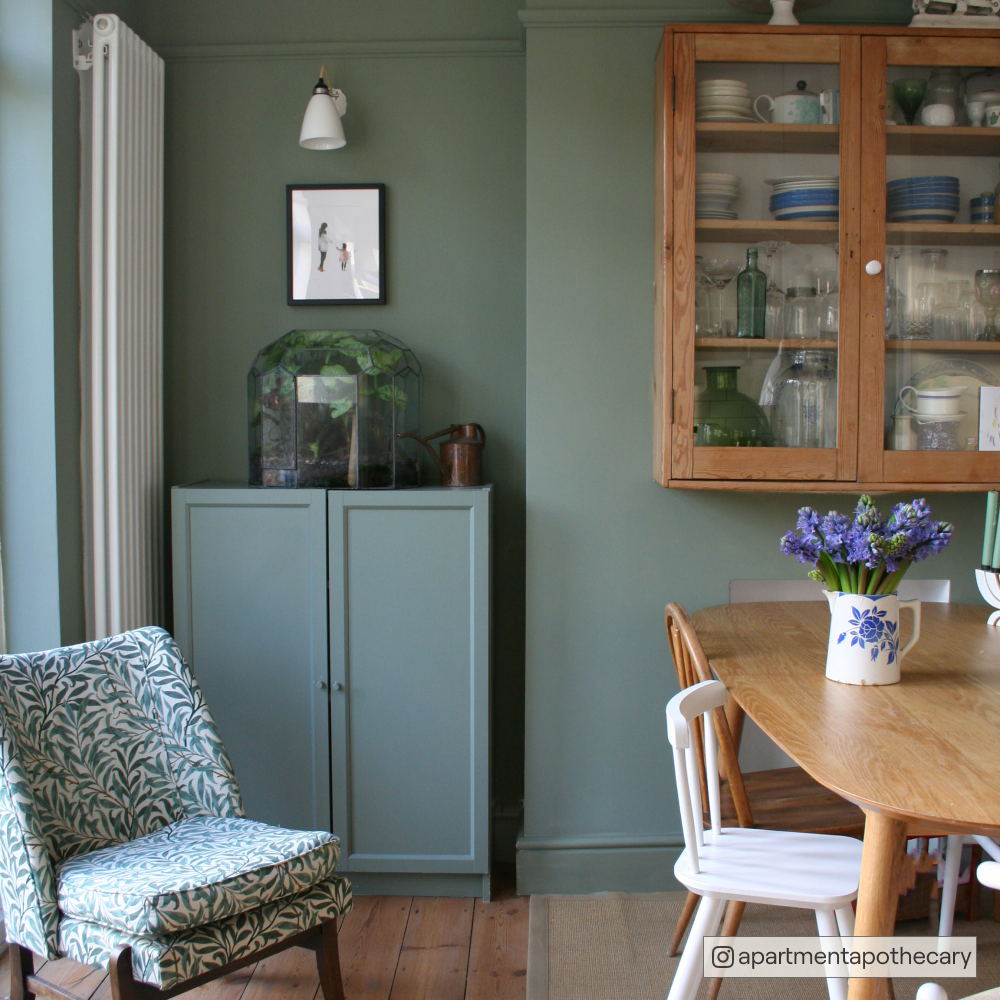
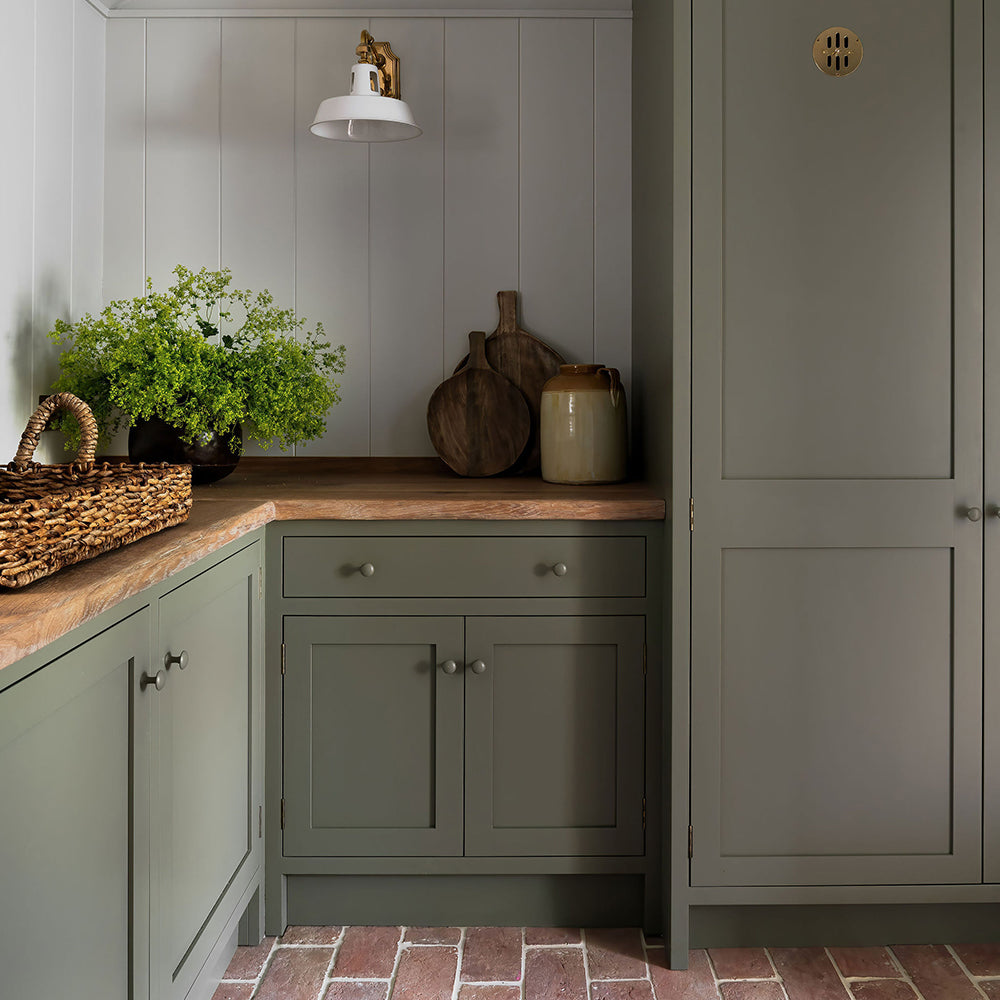
It’s amazing what a fresh COAT of paint can do when it comes to maintaining your home. Old paint has a way of making something look crap and unloved, and that goes for the outside of your property too. Thankfully, painting exterior window sills is a quick way to makeover a home, no matter how old or the type they may be. It’s sounding good already, right?
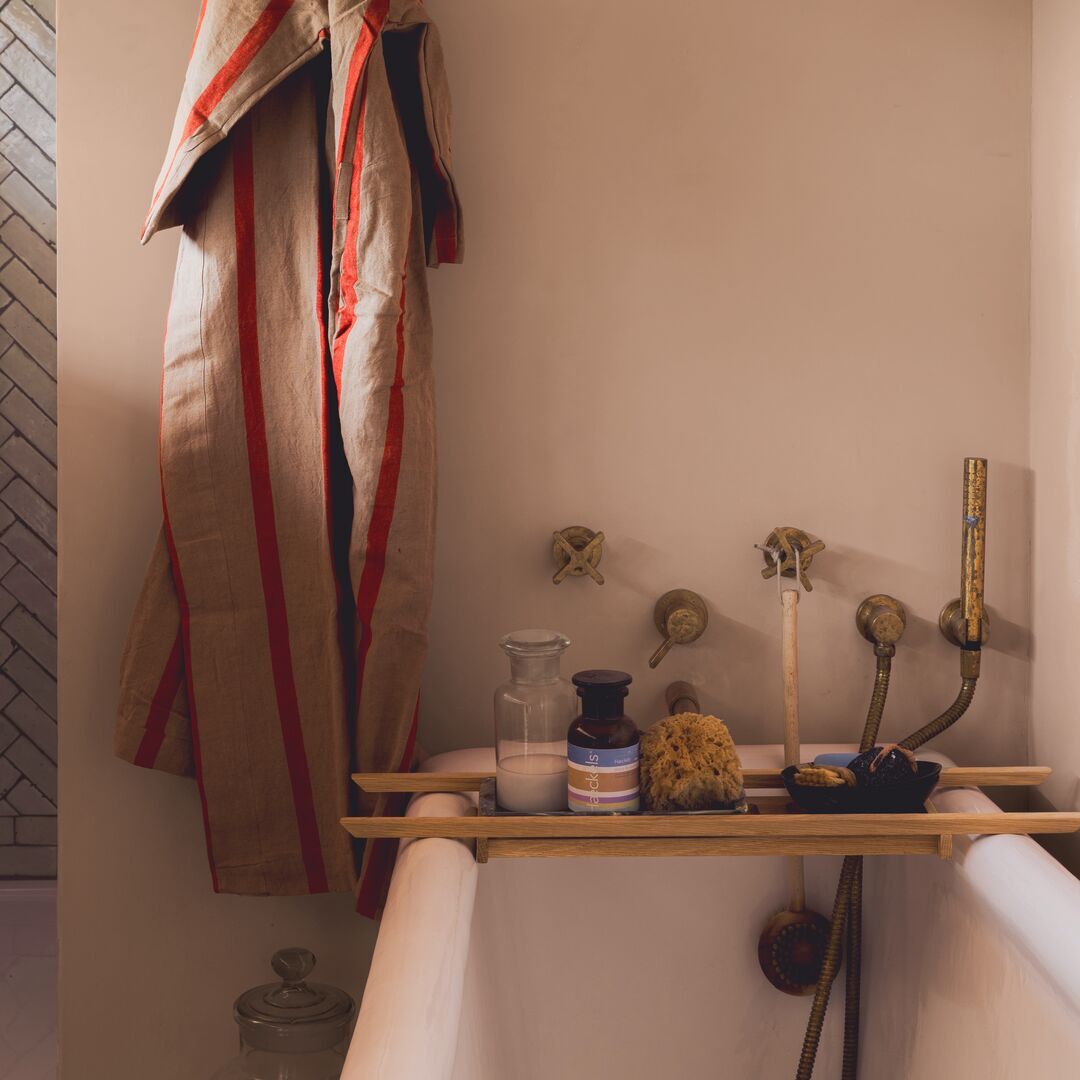
We’re going to focus on the sills themselves because they play a big role. Protecting masonry from rainwater and preventing leaks. In fact, window sills are constantly exposed to all kinds of things, which means the paint can wear very quickly, and so on, and so forth - you get it. Giving them a COAT with the right kind of external window sill paint will refresh your home and get it looking hot once more. This is all without breaking the bank, which is great news if you’ve just recently moved into a new house - congrats btw!
If you hate the colour the previous owners chose, or your window ledge paint is flaking, these bad boys are gonna need a hand. Check out this step-by-step guide for painting external sills, no matter whether yours are UPVC, concrete or stone.

Gather Your Tools
Like most paint jobs, the key to success is to prep before you do anything else. A prepped sill will mean the paint can stick better and you’ll get a nice finish - here’s a list of all the tools you’ll need:
- Drop cloths or old bedsheets
- Environmentally-friendly mould cleaner (if your window sills have lichen, algae or moss)
- Sponge
- Sandpaper, scraper or a wire-bristle brush
- Cloth or brush
- Ladder (if your upstairs windows have exterior sills)
- Eco decorators tape
- Small angled paintbrush - why not try our premium paintbrush set?
- Decorating tee - (because it’s cold outside and this is cute)
- COAT Multi-surface Primer
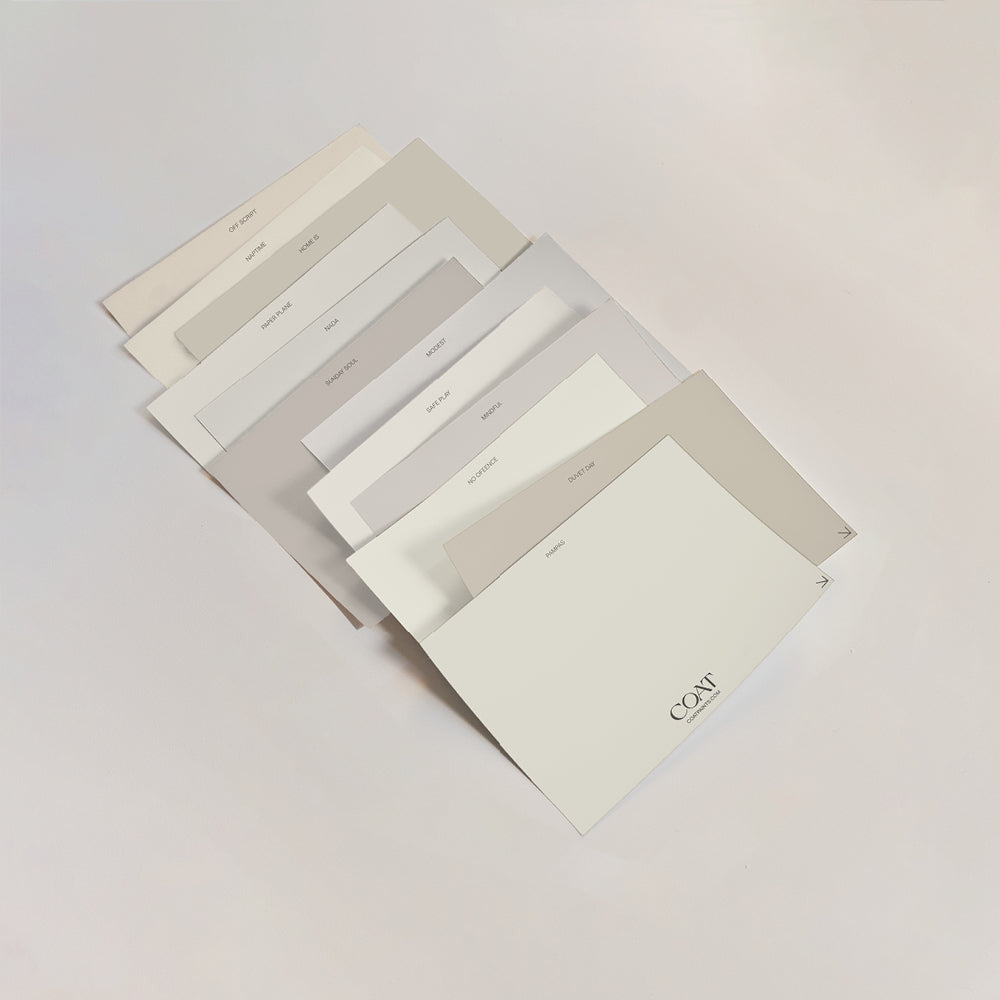
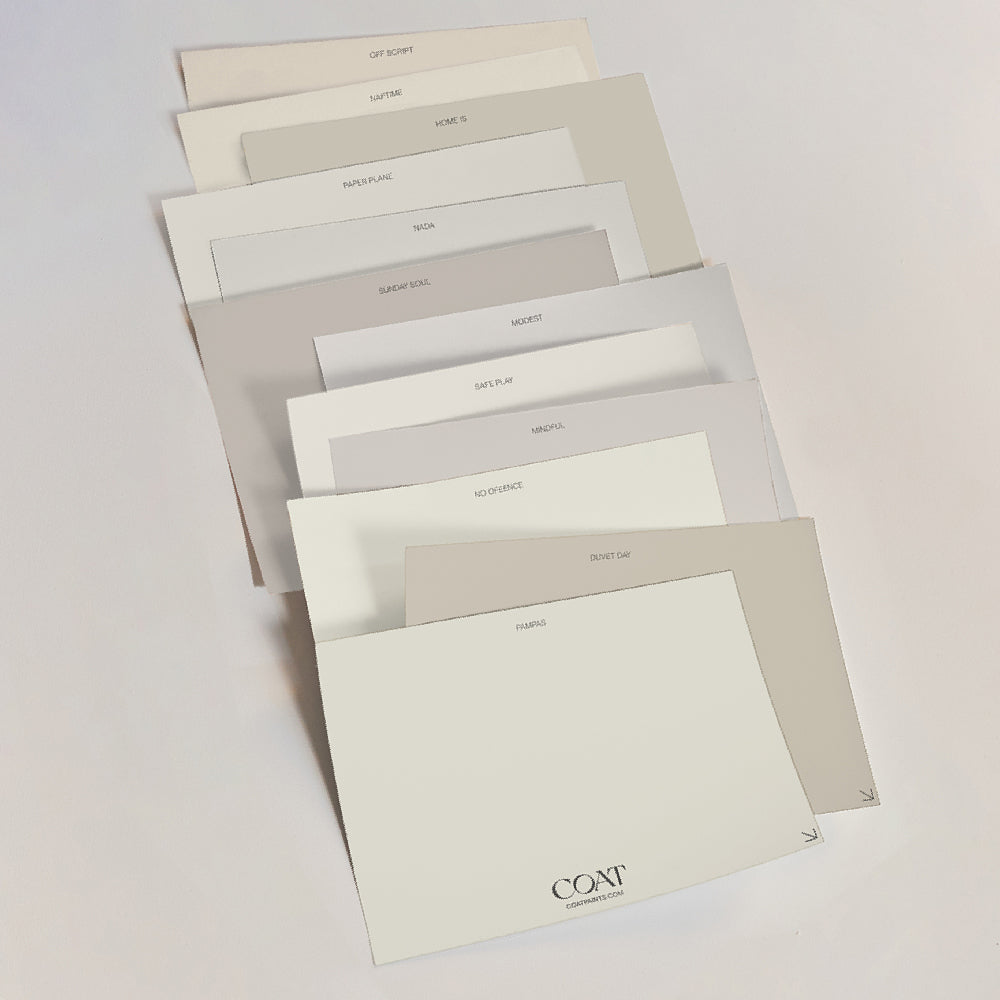
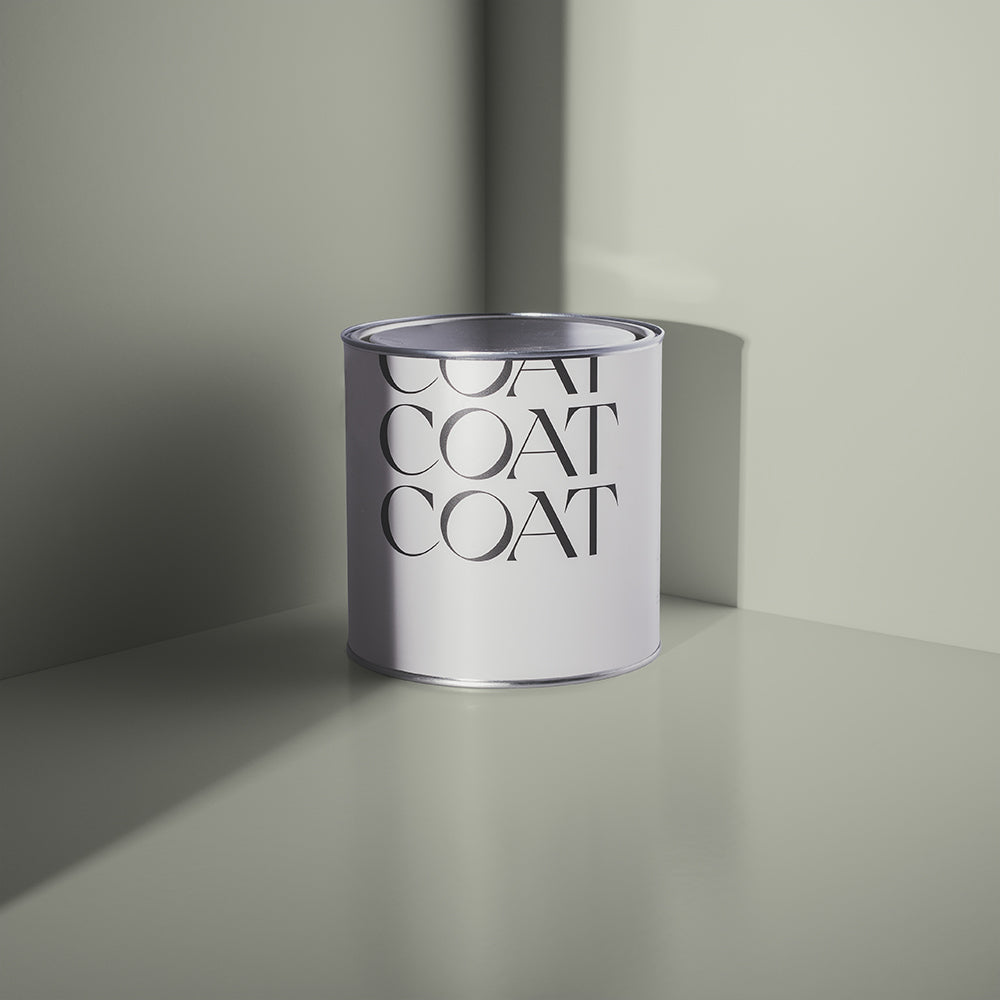
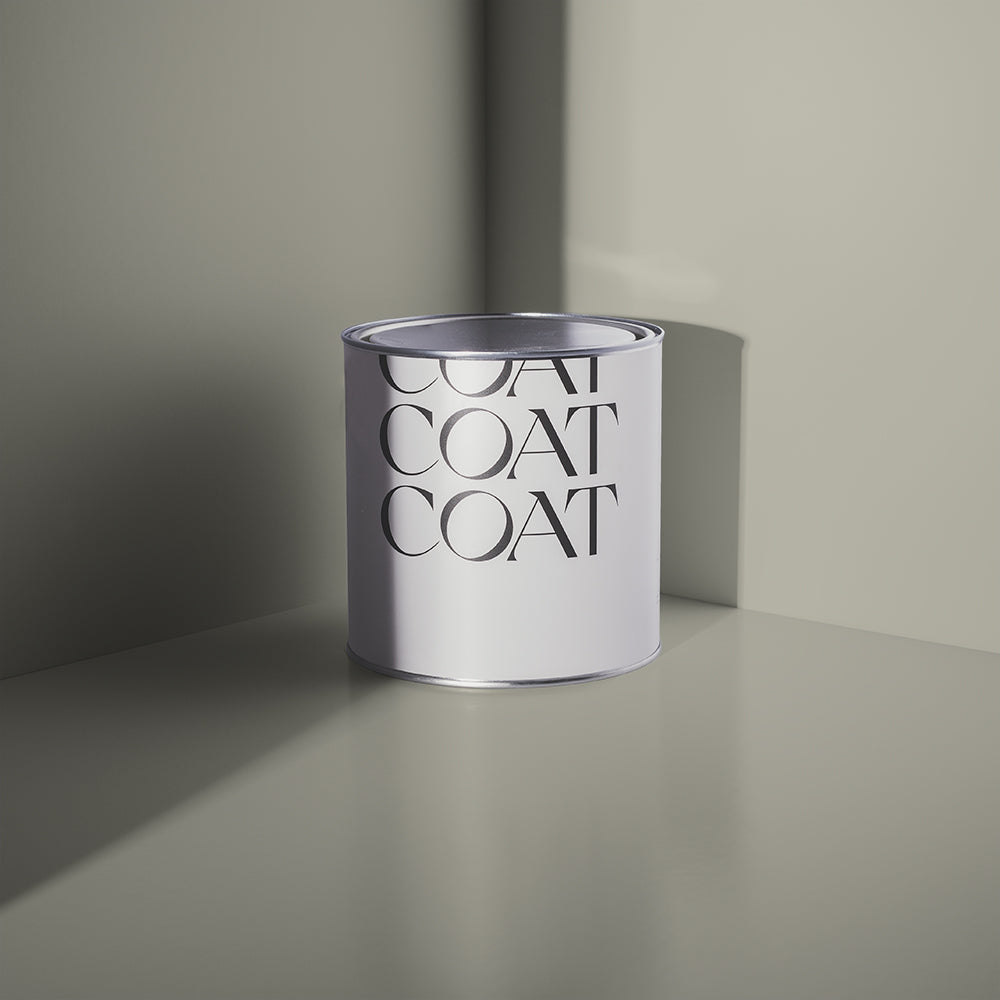
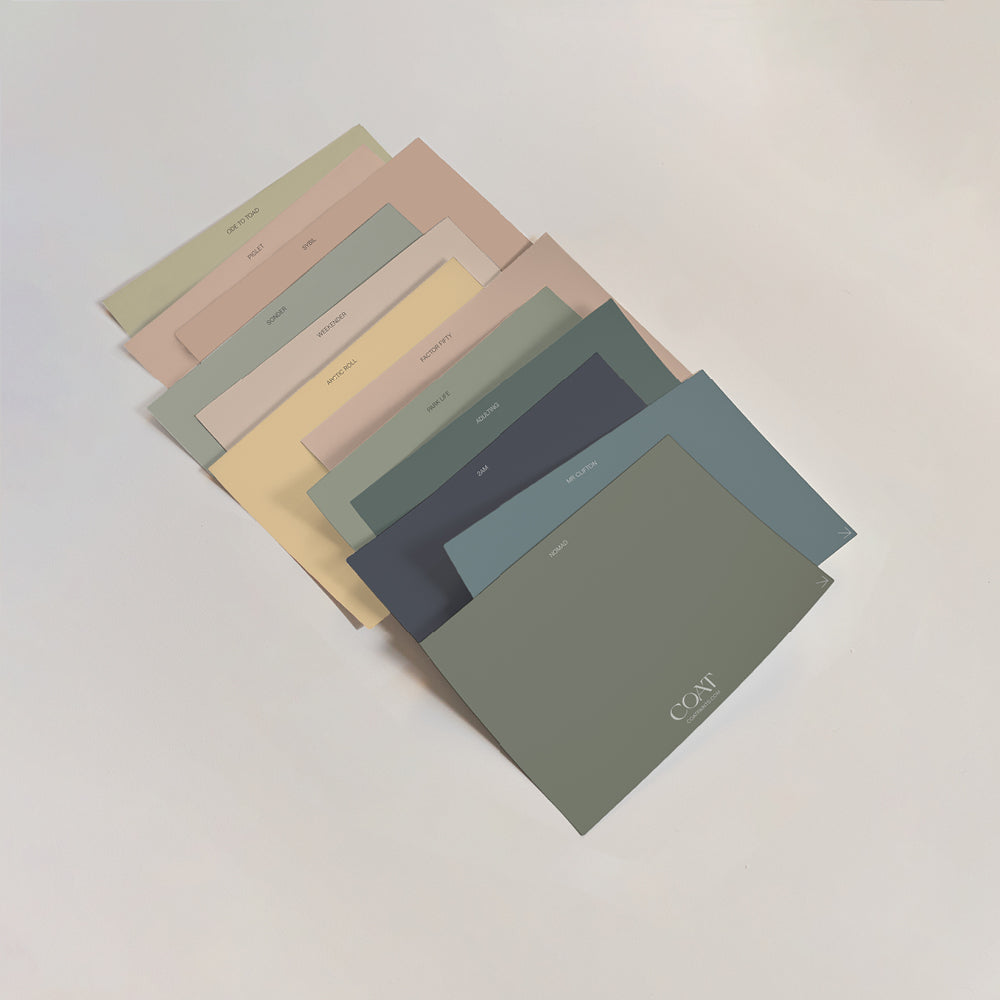
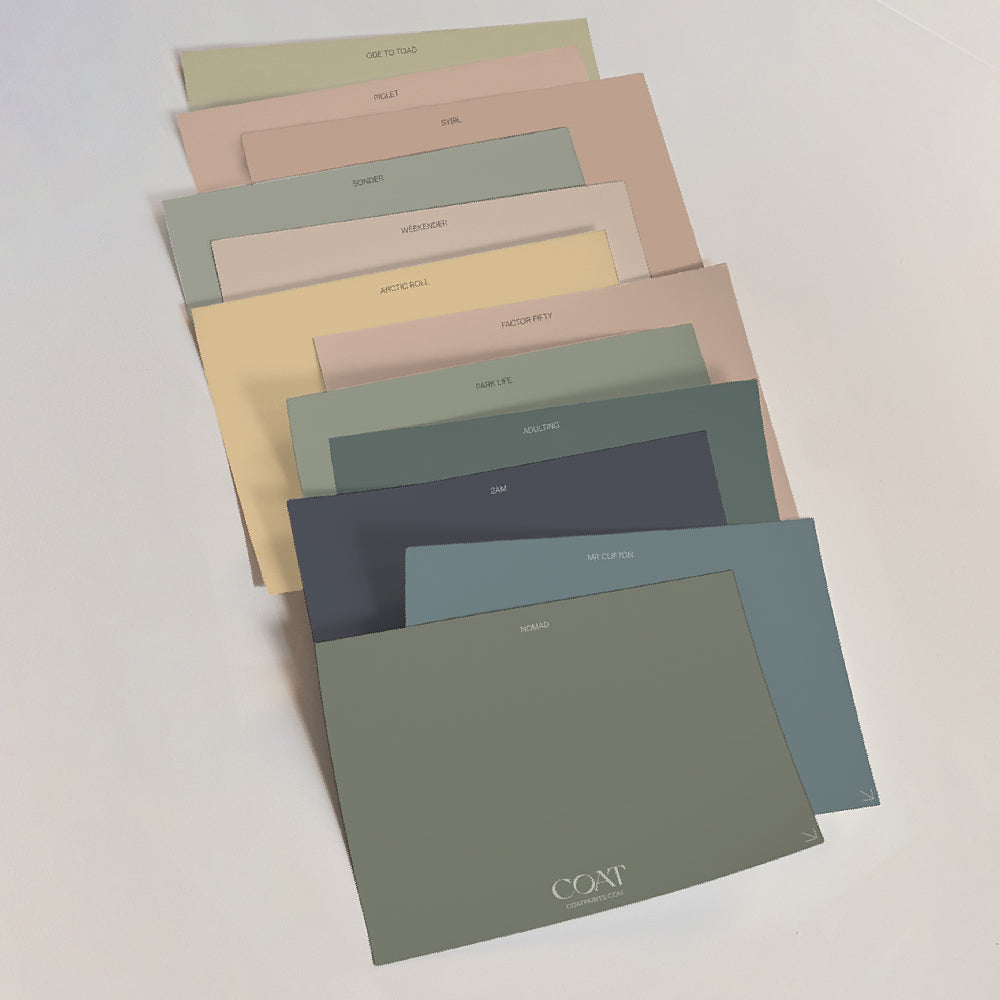
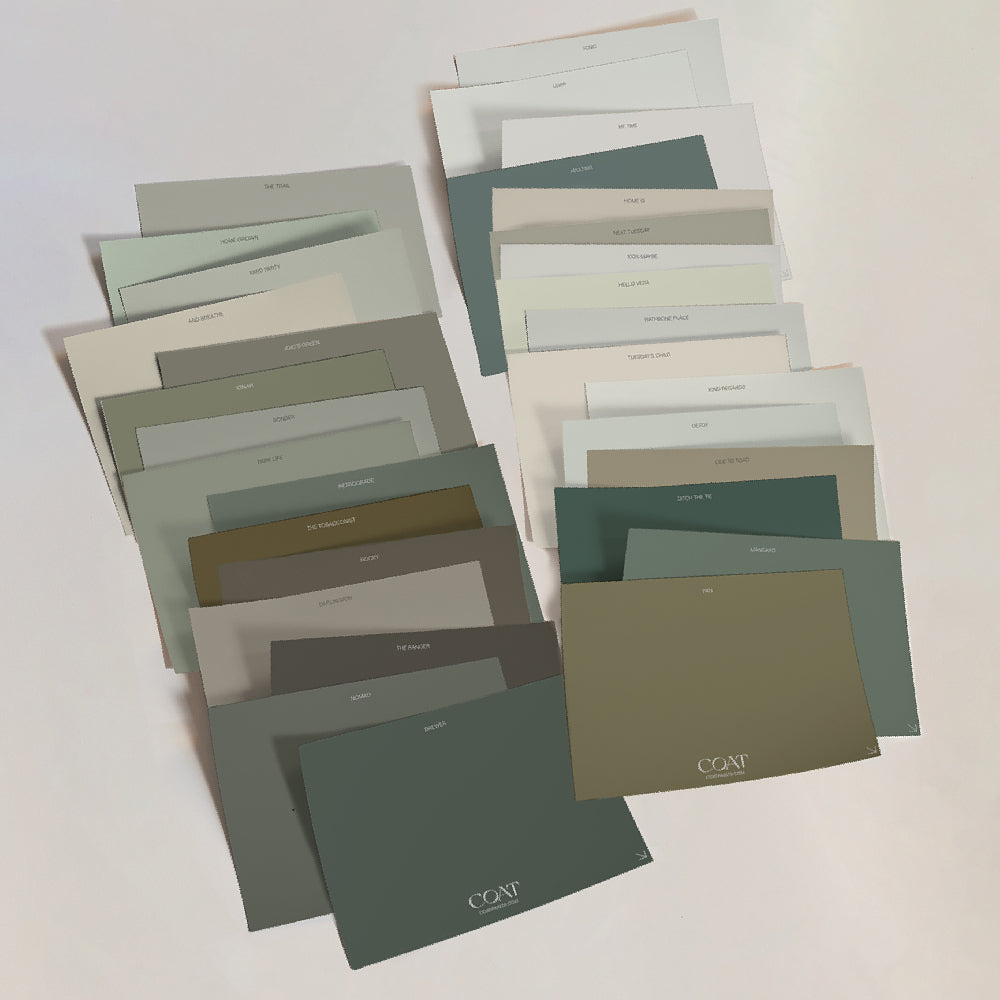
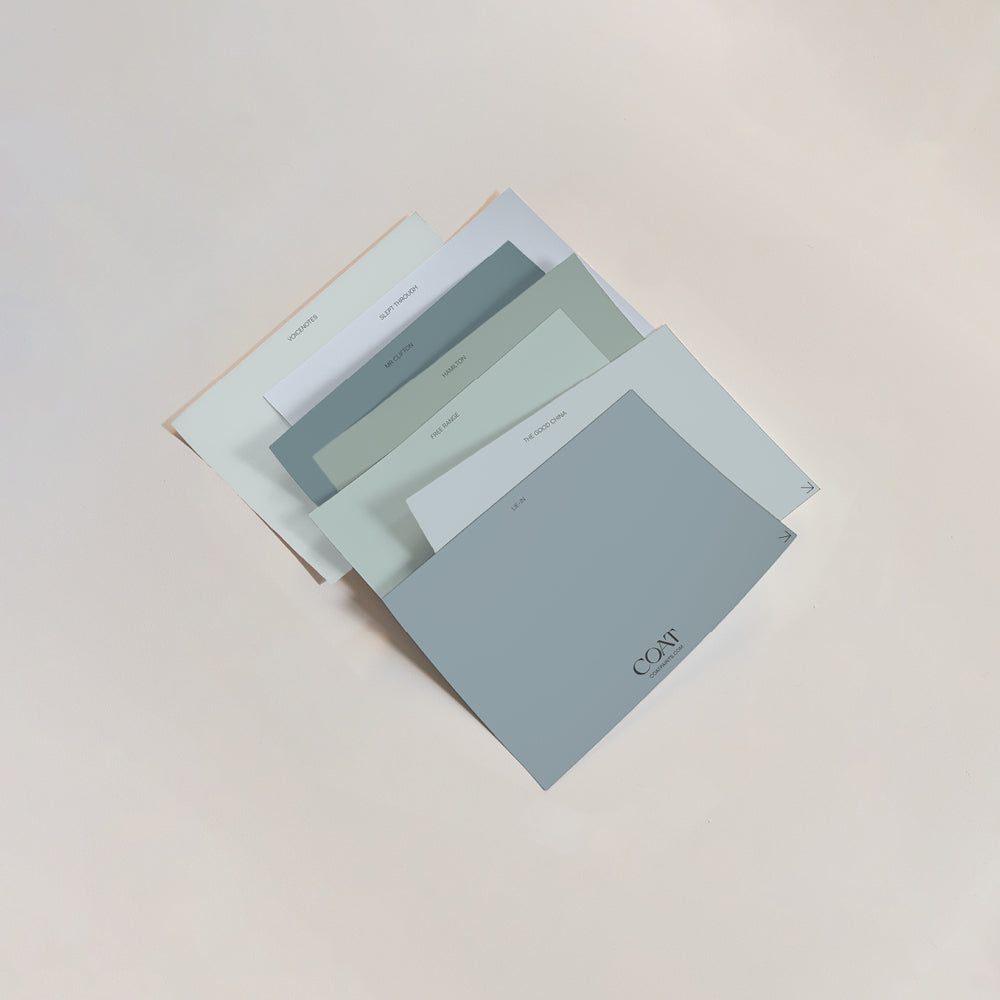
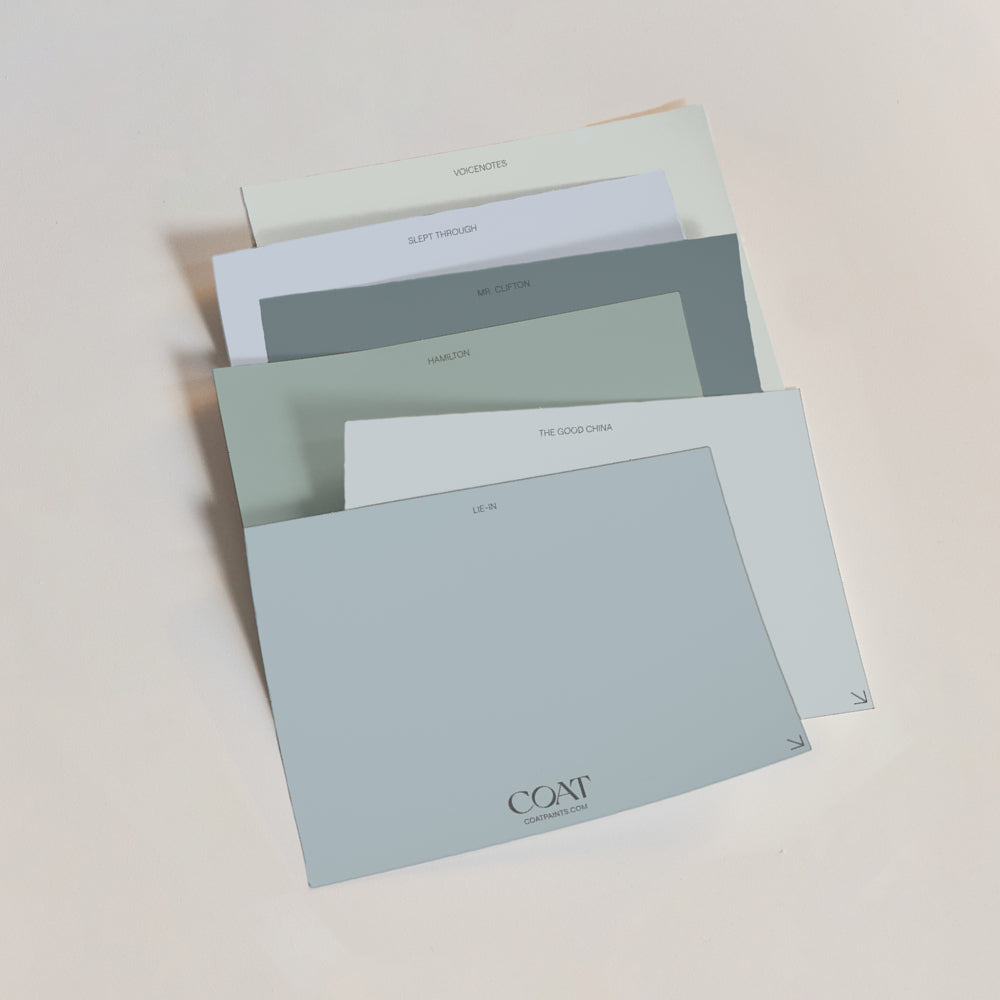
- COAT Window Sill Paint in a hot new shade of your choice!
Lay Down Dust Sheets And Apply Masking Tape
As painting isn’t one the cleanest of jobs, dust sheets are key for catching any splatters and drips. Lay them under each window sill that you do before you start to paint it, and you’ll find clearing up is pretty easy to smash. You’ll also need to tape some old sheets to the wall to protect the brickwork and mask around the edges of the ledge to prevent staining. Remember, decorator's tape can also make or break paint, so choose wisely, and go for one that can promise crisp, clean lines as well as protection. Our eco painter’s tape is a total must-have to keep things tidy and your project plain sailing. We’re also proud to say it’s one hundred per cent UK made and recyclable, too - we don’t do things by half at COAT.

Remove Dirt And Flaking Paint
No matter what surface you paint, an essential part of the prep is to make sure external windows sills are nice and smooth. This way, the paint will properly bond, and you’ll get an even finish that’ll last you for many years to come. If your window sills are UPVC, sandpaper will do to gently buff the surface ready for the new paint. If your home is a Victorian terrace, however, then you’re likely dealing with stone in which you’ll need something a little tougher to remove that flaky old paint. This is where a wire-bristle brush comes in, but if it doesn’t easily budge, you might have to look at using a paint stripper. Finish up by brushing or wiping the surface to remove any dust.
Remove Hardened Caulking
Ever heard of the term caulk? You’ll notice it’s spelt much differently from the fizz kind. Caulking is used to fill things such as window frames and sills for that nice finishing touch, and it also stops warm air escaping from your home. On older buildings, it’s normal to find brittle caulking that fills the seams between the window trim boards. Before painting, this will need peeling out, but if your windows are new, you won’t have this problem at all.

Wipe down The Trim
While we know as a do-it-yourselfer, cleaning is the most boring and laborious job - the main event is definitely the most exciting bit.
The badass final look of your sills, however, is only as good as the prep. Be sure to take the time to do it right, and it will ensure the surface accepts the new paint. After removing old paint and caulking, the window sill trim needs a clean to get rid of any dust or dirt. In fact, anything that can impact the finish of the primer and paint should always be tackled upfront - like we said, who wants to do this job twice over?
Fill In Gaps And Remove Stains
If your window sills have become a victim of cracks or small holes, don’t worry this can be sorted with the right filler. For concrete, you’ll need an epoxy resin, and for UPVC, caulk to get those window ledges nice and even again. Follow the instructions and leave the filler to set before moving on to the next step. This is where we tackle creepy-ass mould around your window and ledge - something that is inevitable for a surface outdoors. Mould and mildew love a good sill to sit on, but as they can cause paint to peel off, use a fungicidal wash to turf these beasties out. There’s also many eco versions on the market that will prevent them re-growing that are suitable for most surfaces too.

Prime
A primer will provide a stable surface for the paint to stick to - if your window sill is porous, such as concrete or stone, the paint can actually sink right in. Priming is also a really neat hack for covering stains that just won’t come off. With them gone, your COAT will be free to work its magic. Additionally, as primers are typically cheaper than paint, it makes an economical choice to use this for the base coats.
Our Multi-Use Primer will help you prep like a boss whilst remaining conscious of the planet too. It also works on difficult materials like stone, so it’s great for ledges. Using a 1” angled paintbrush, apply the primer to get into any ridges or nooks. Make sure it is completely dry between coats/painting - voila, it’s time to open that paint.
Apply The First Coat Of Paint
Once you’re ready to go, crack out that masonry paint and give the tin a good stir. You’ll also need your angled paintbrush, which is a handy paint tool for cutting in along corners and in and around the trim. This can save you hours of touching up later once the paint has dried out - as good as they are, rollers just can’t to every last inch. By applying a thin COAT of paint with back-and-forth strokes, it’ll dry quicker, and you’ll achieve a more consistent finish.
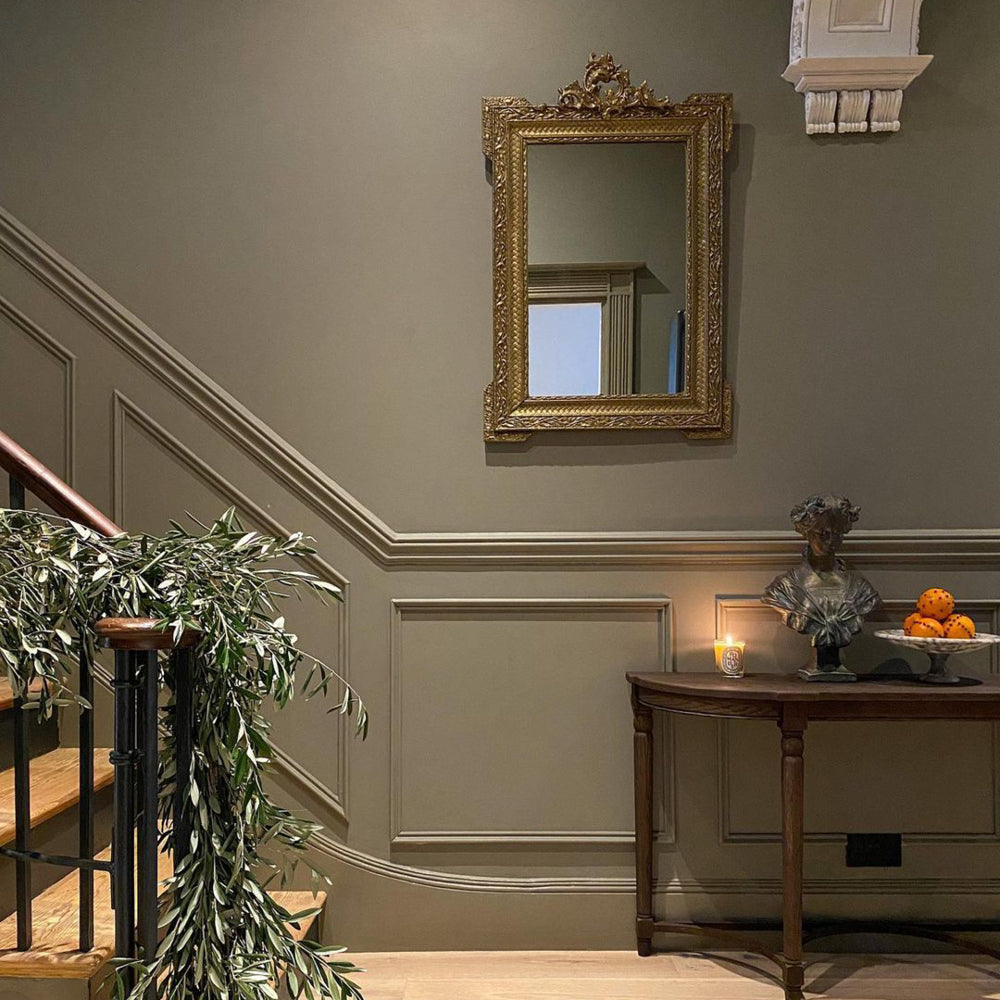
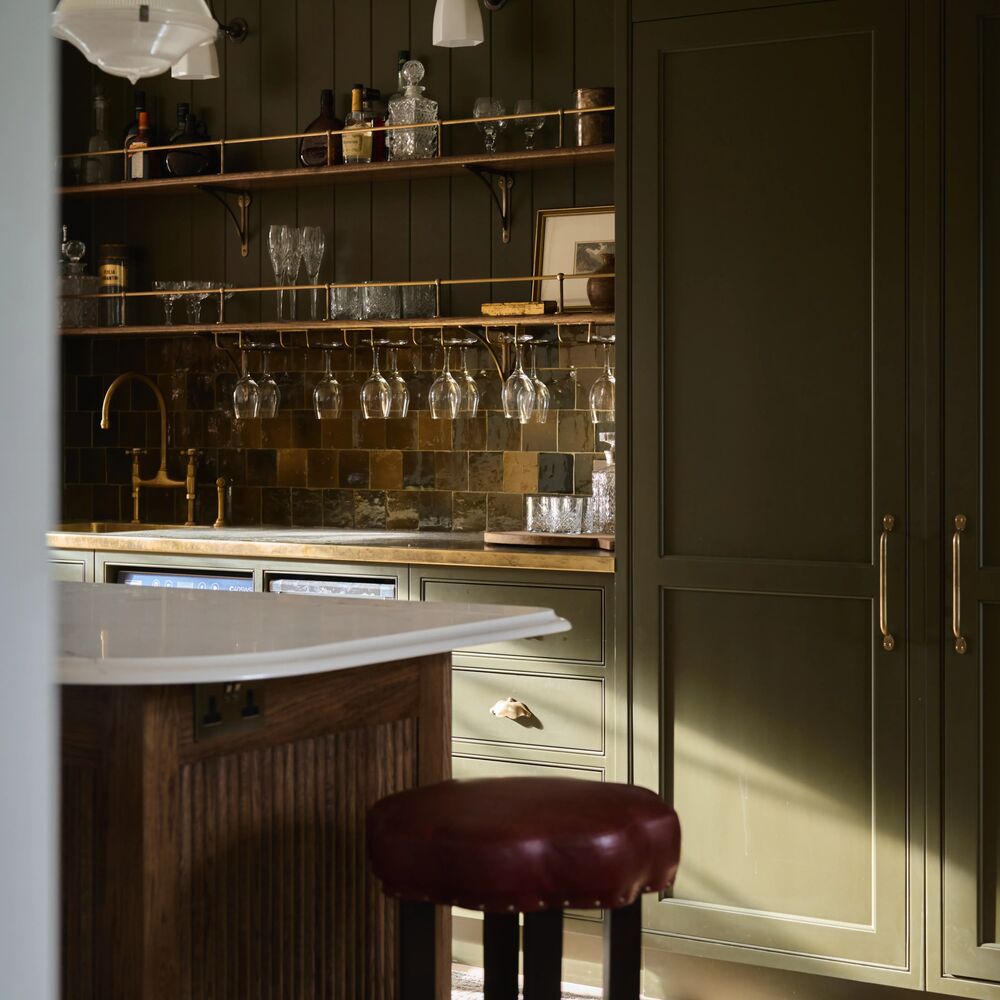
The best paint for exterior window sills is one that's fit for outdoors, crack-resistant and waterproof. It should also protect window ledges from wear, pollution and weather, and it, therefore, has to perform even better than standard interior paint. This is where our high-grade exterior paint really comes into its own, especially for giving UPVC or concrete window sills a quick glow-up. Along with adding colour, our exterior masonry paint will ensure a strong, resilient finish that lasts. So unless you want to change up the shade, you won’t need to re-paint it again, not for a long time anyway.

Apply The Second Coat Of Paint
Although it may be tempting to just do the one coat, two is much better to get the colour and finish just right. Don’t worry; the second is always much quicker than the first, so you won’t be here long, and it’ll make all the difference between gross and gorg. If any rogue paint splashes onto the glass, make sure to wipe it quickly - wet paint is much easier to clean than once it’s dry. Once your second COAT has dried out, very carefully remove the tape and give your workspace a good clean.
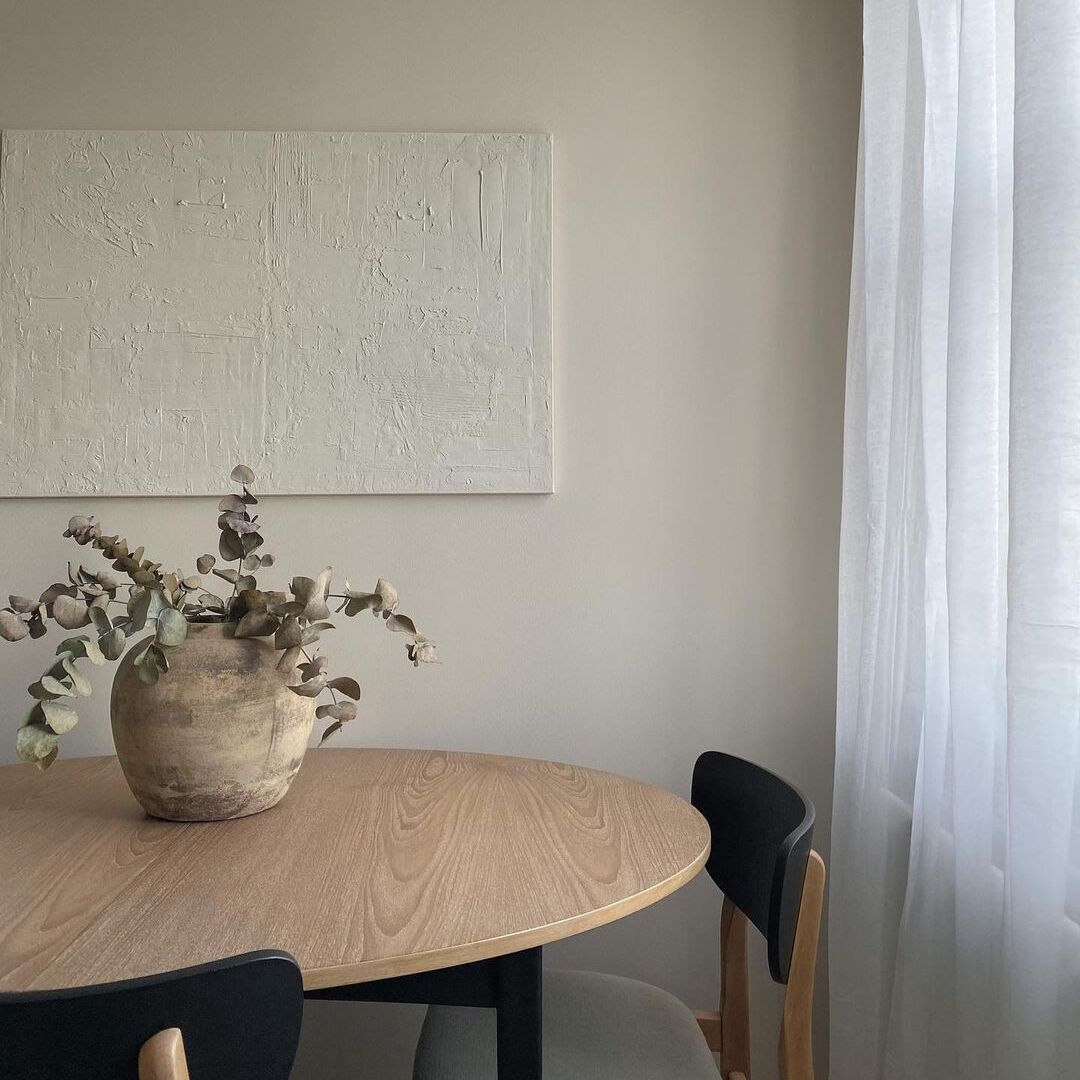
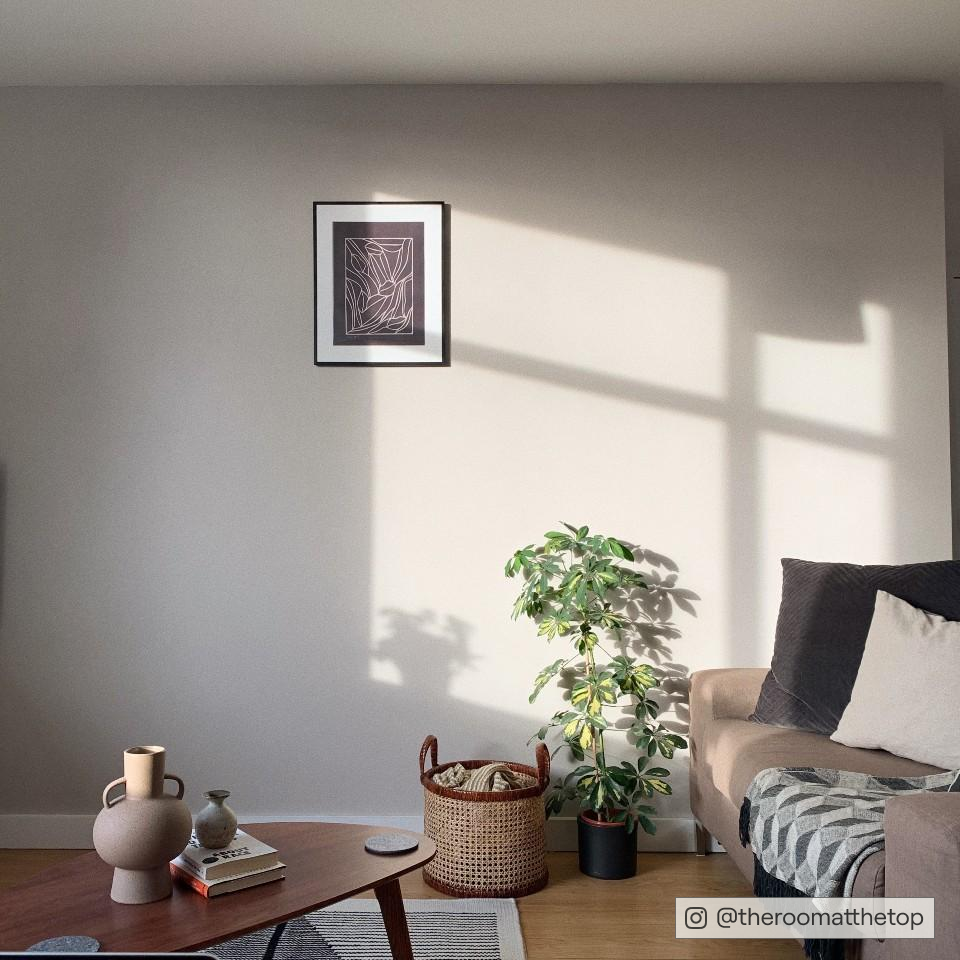
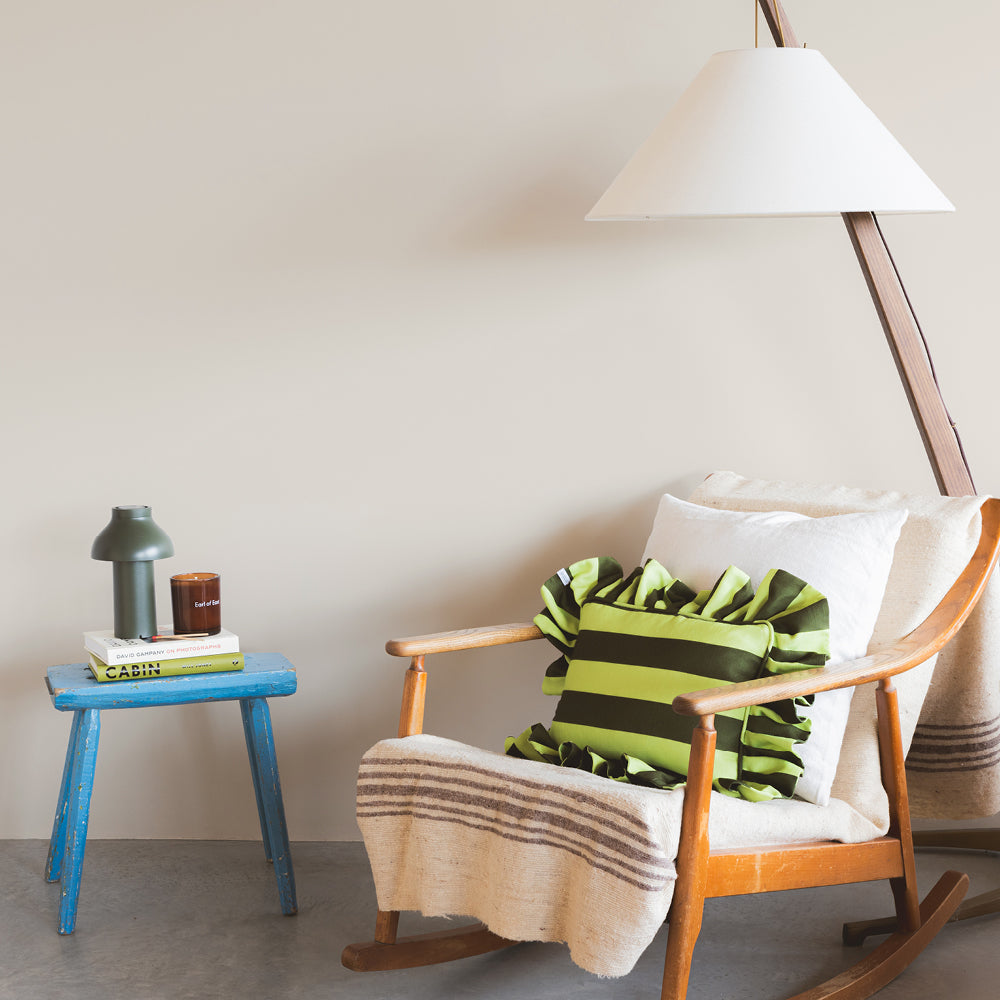
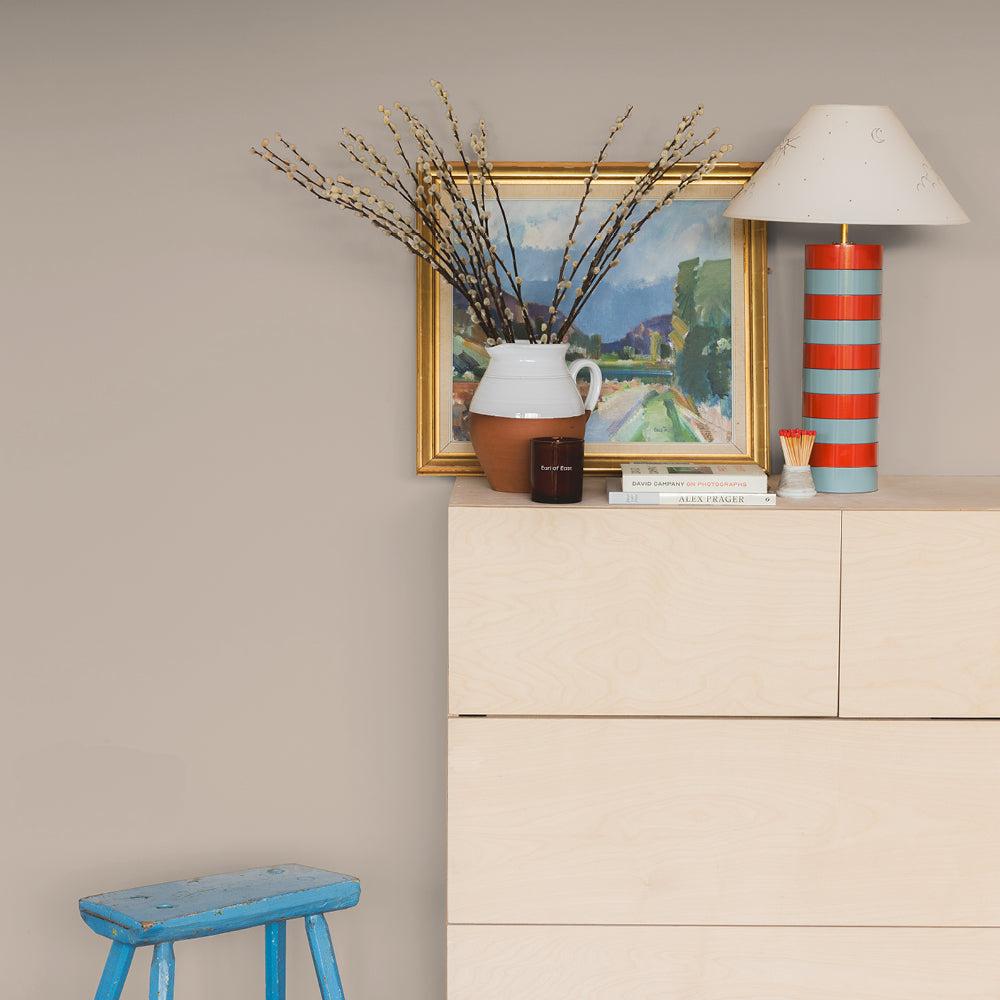
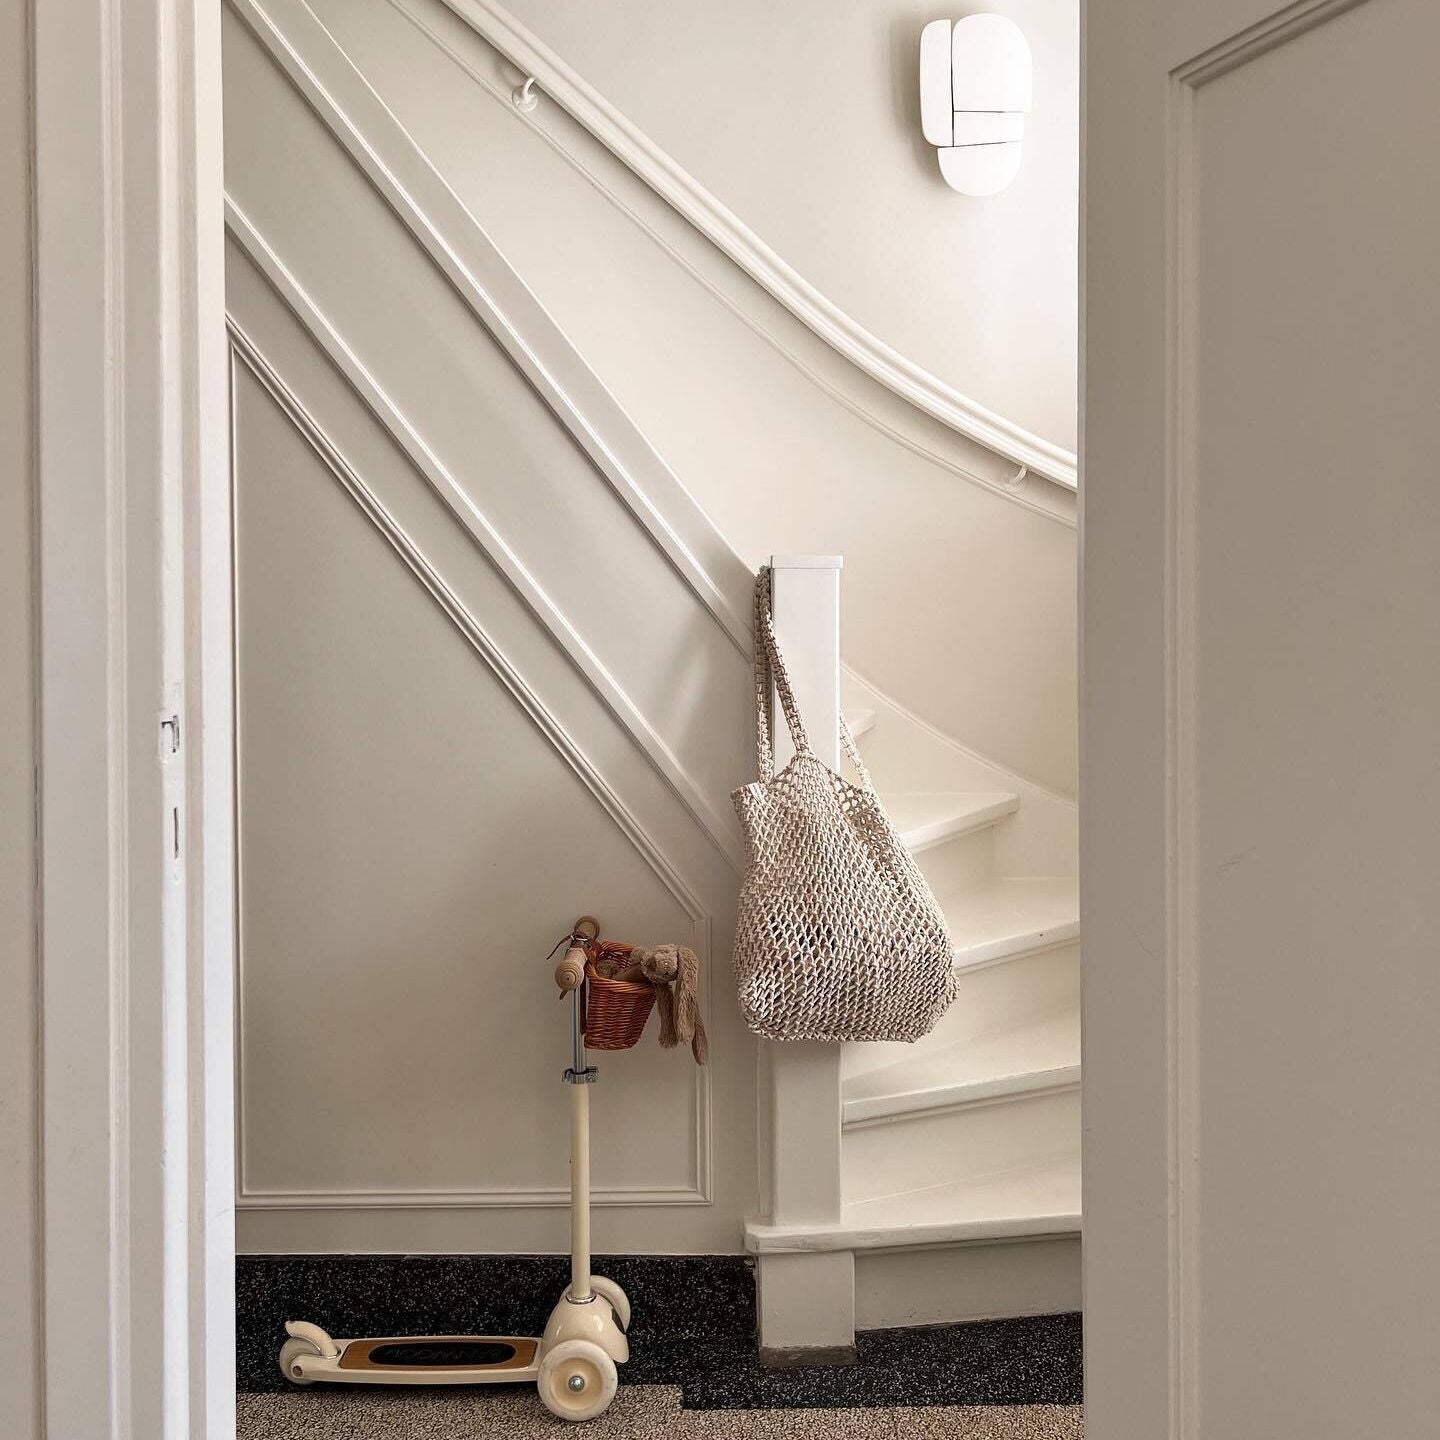
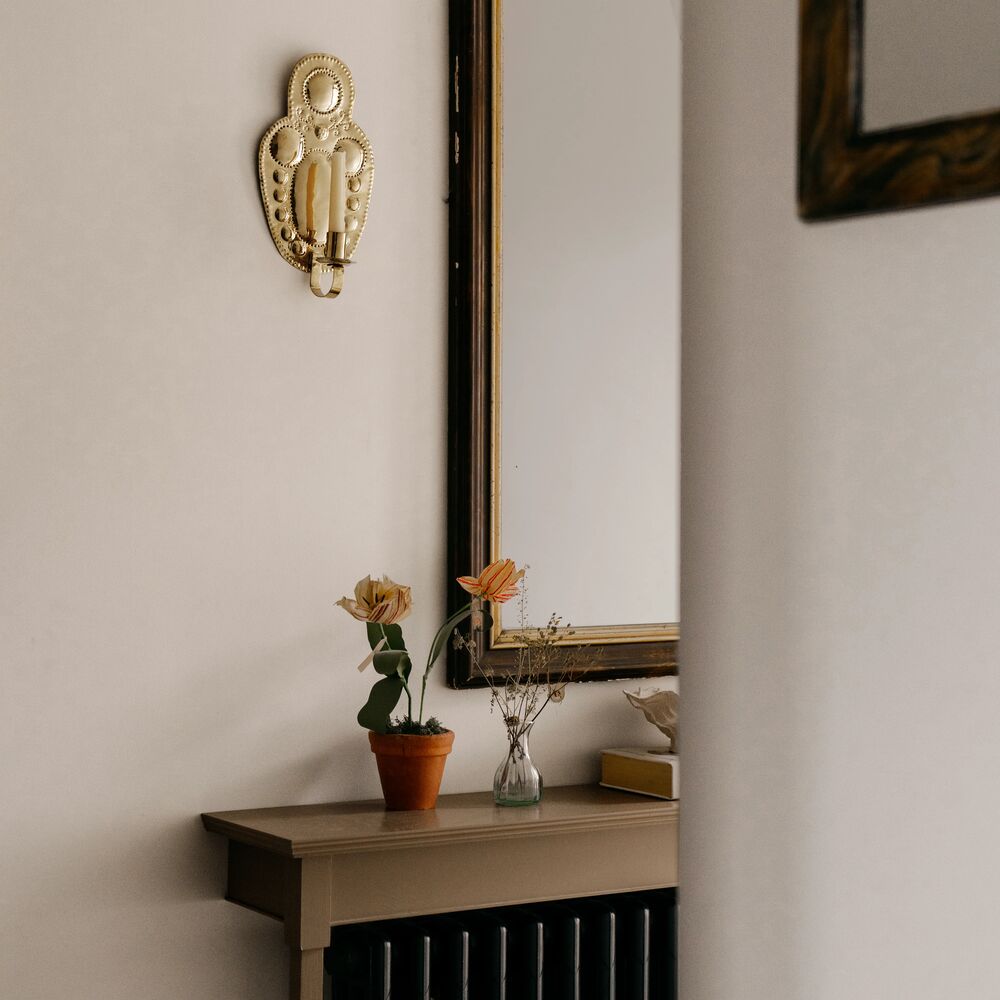
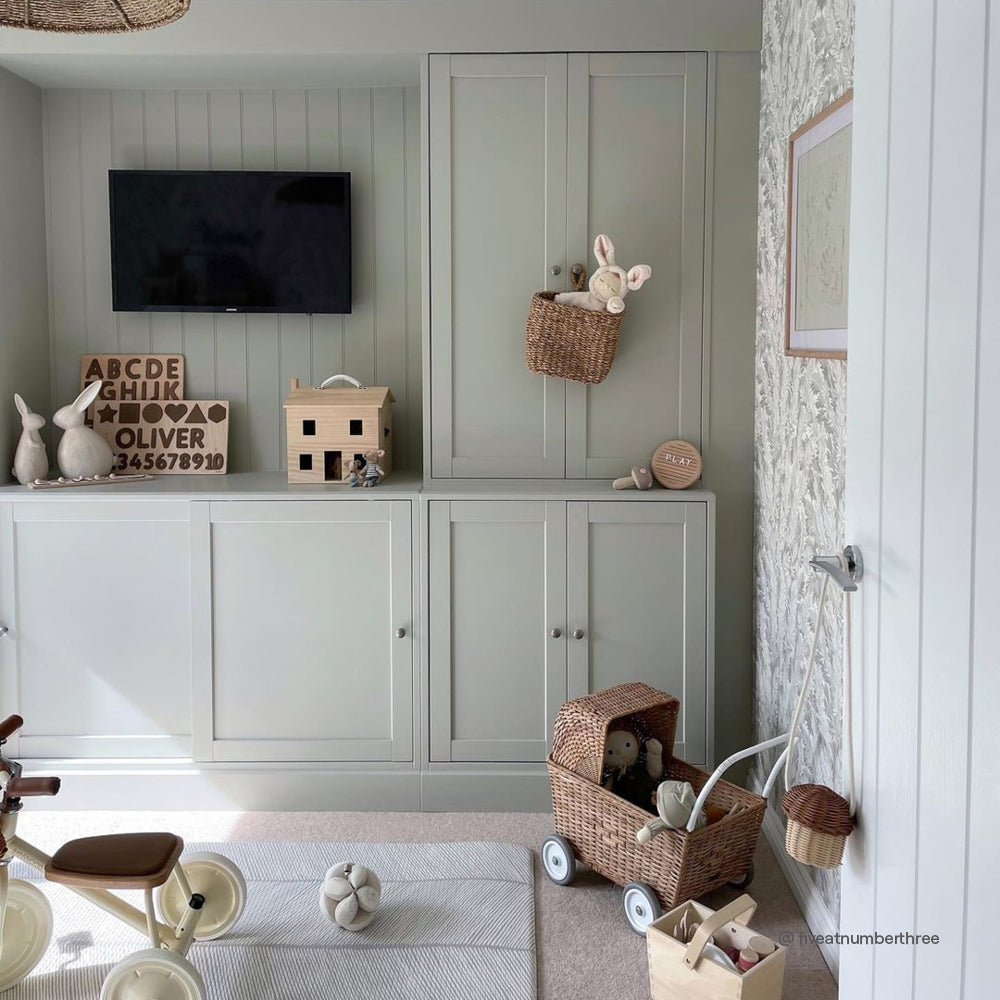
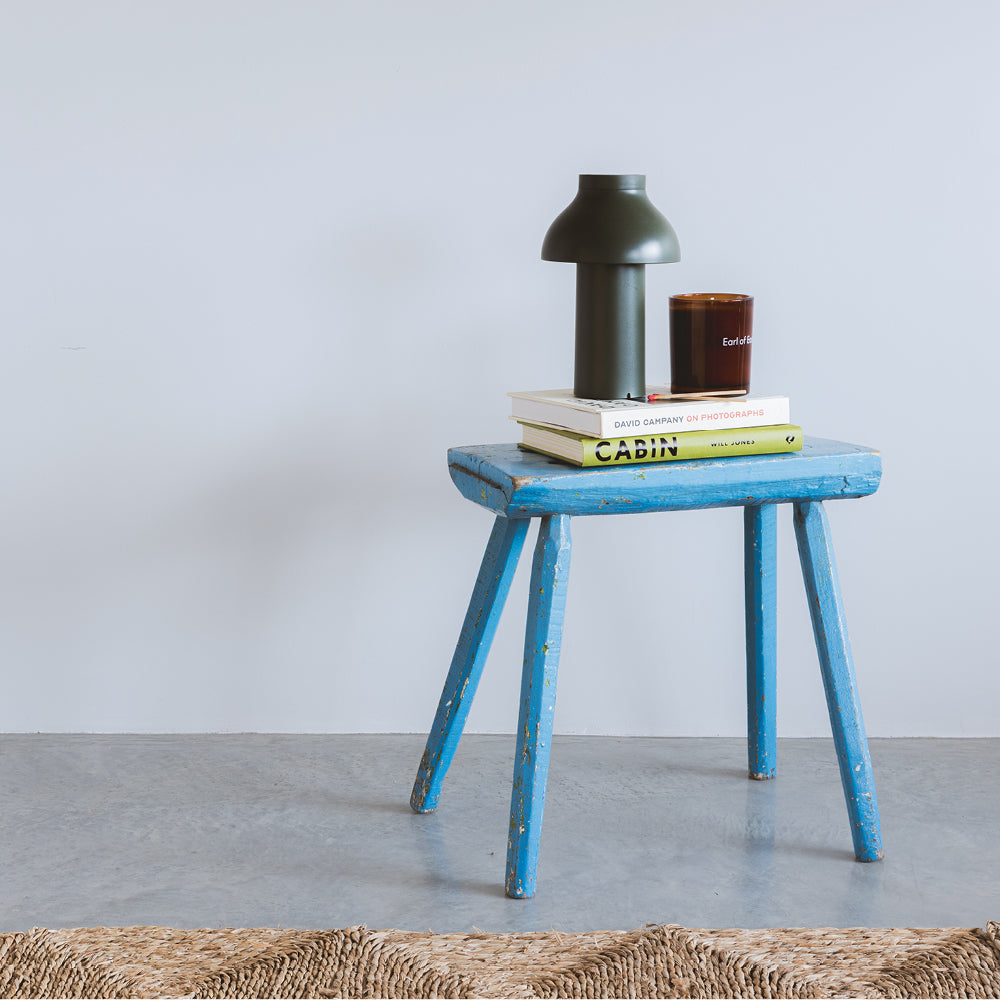
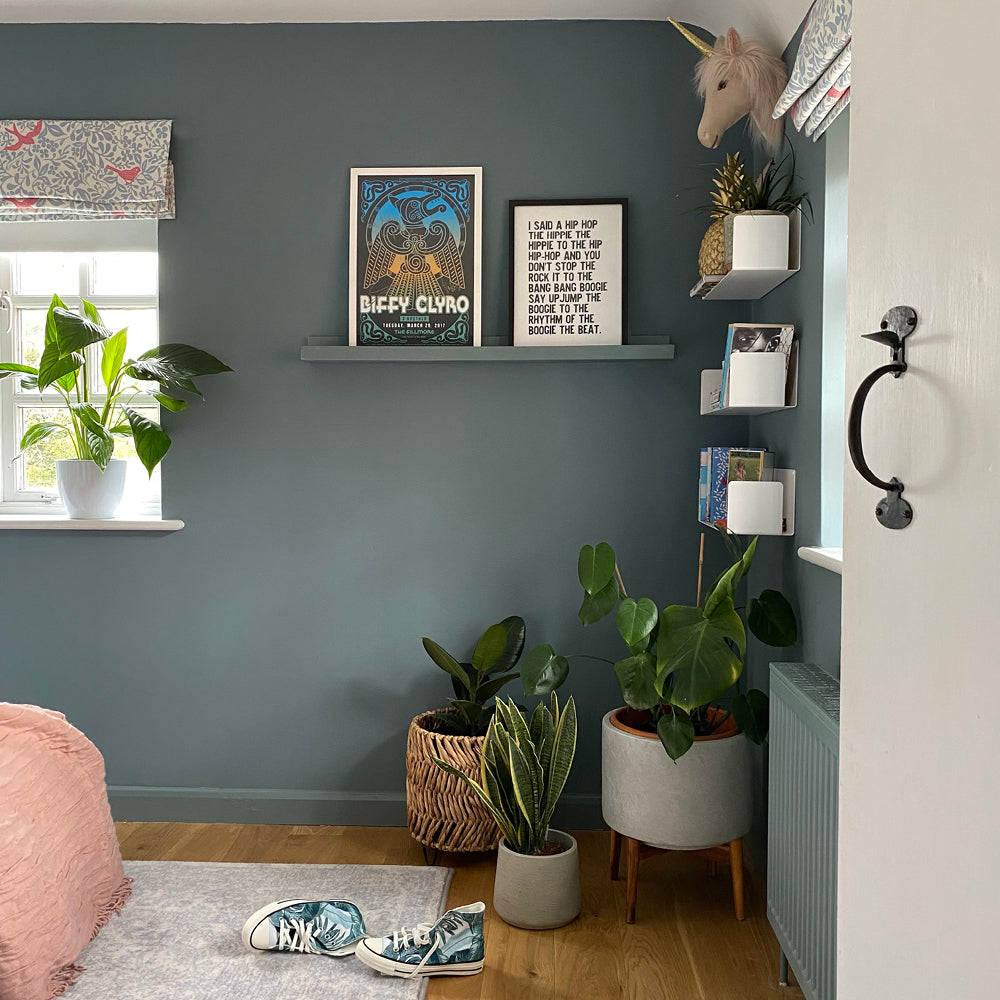
Once your sills are looking back to their best, you can up the cuteness with a window box full of seasonal blooms. Just imagine the look you’d like to achieve and choose your plants to match that - will it be shade-loving ivy or some pretty flowers?
As soon as you’re happy with your styling, stand back and admire - this is all down to your hard work. Don’t forget to share it with us - we love a glow-up. Tag @coatpaints and include the colour that you used!
Publish Date
Author