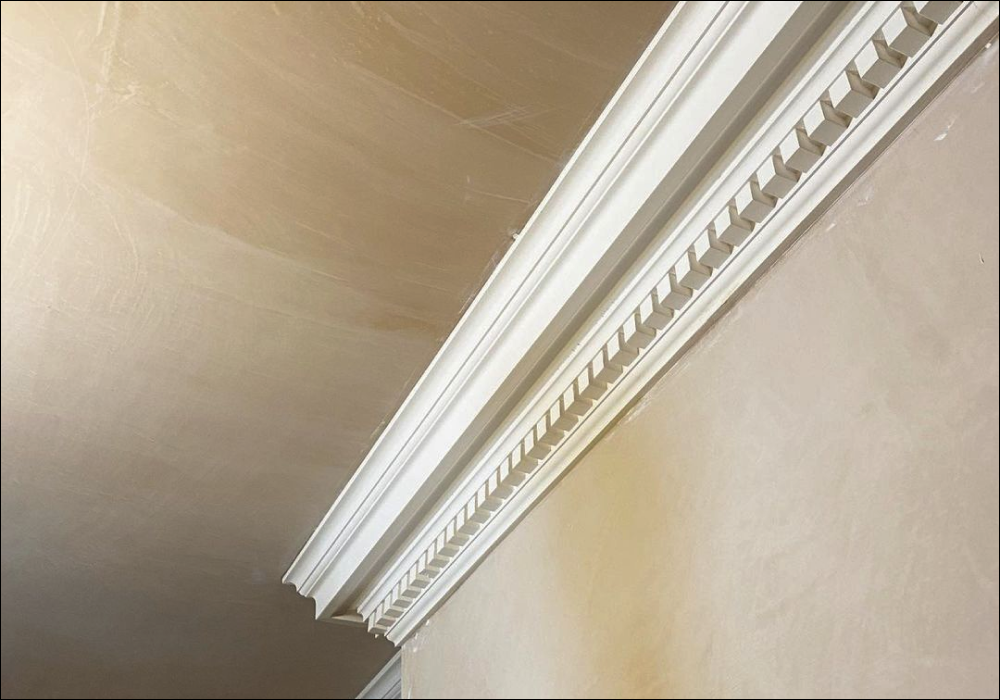
How To Paint On New Plaster
You lucky thing, brand new walls, freshly plastered and ready for painting. We are often asked how to paint a freshly plastered wall, and it’s fair to say there are a few simple steps that you need to follow to ensure you end up with an exceptional finish.
What Will You Need To Paint On New Plaster?
Honestly, not much more than you'd need for any other paint project.
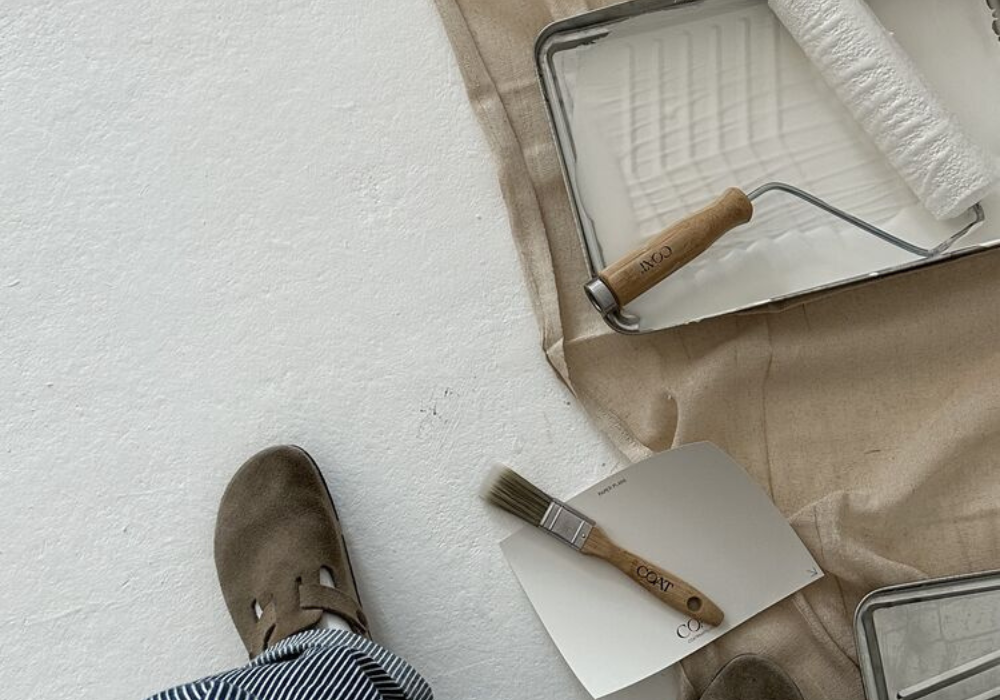
Grab all the usuals - brushes, rollers, tape etc. Why not get it all in one with the COAT Essentials Supplies Kit?
In addition, you will also need
- A bucket or spare paint tin
- Water
This is to create your mist coat - more on that coming up.
Step-By-Step Guide: How To Paint On New Plaster
Ready to go? Follow our simple steps and soon enough your walls won't just be new, they'll be colourful too.
Step 1: Make Sure The Plaster Is Dry
We know, you want to get painting! But the longer you leave your plaster the better, to avoid any moisture pushing through your freshly painted wall. If you’re keeping the room fairly warm and well ventilated, a week should usually do the trick. You’ll be able to see the colour of the plaster change as it dries.
Don’t be tempted to crack on if there are still damp patches. You really need the uniform colour and finish across all plastered walls. Also, as tempting as it may be, don’t crank up the central heating or drop in extra rads in the hope of speeding up the process. Rapid drying can cause plaster to crack.
Let nature do it’s thing and you’ll be in for a professional finish.
Step 2: Mix A Mist Coat
A mist coat is essentially a watered down base coat. The objective of a mist coat is to soak in to the open pores on the surface of the plaster, bonding with the plaster to create the ideal platform to pop your final coats of paint on to.
You can either add 10% water to COAT paint and apply this, or use any water based matt emulsion really. Follow the instructions on the tin to dilute, the plaster needs this additional water in order to soak in and stabilise properly. If you don’t add the extra water, the paint will draw water out and you’ll end up with cracking in the paint surface.
Step 3: Apply The Mist Coat and Let It Dry
You can apply the mist coat as you would any normal paint.
Tape up, and take your time.
Check out our top tips on how to use each of your tools, and get going with your techniques.
Step 4: Apply The Top Coats
You're back in familiar territory again now. Time to get painting as you would regardless of a mist coat.
Start by cutting in around all your edges, and follow closely with your rollering.
It's likely you'll still need to do two coats of the undiliuted colour, so make sure the first coat is completely dry before applying the second.
Check out our top tips for painting a full room here:
Top Tips For Painting On New Plaster
If you've followed our step-by-step we know you'll be a pro in no time. But if you've still got some questions, keep reading!
Do I need to sand new plaster before painting?
If you’ve hired a professional plasterer, probably not. It should be super smooth with a uniform finish. If you’ve plastered yourself, or if you can see a few spots and bumps (which could be a splash of PVA or plaster), you can lightly sand these back to avoid them showing up once you’ve painted. Overly sanding the surface will create additional shine, not ideal for adhesion when you start to apply the paint.
Should I coat my new plaster with PVA to seal it?
Noooooooo. Keep your PVA well away. If you take the above steps to apply a mist coat, then there is no need to apply PVA to the surface of fresh plaster. If you paint PVA (or diluted PVA) on to fresh plaster you are sealing the pores and creating a weak layer which is a different chemistry to the paint you’re about to apply on top. The mist coat works because it has the same properties as the top coats of paint. If you apply PVA and then crack on with a mist coat and the top coats, you’re likely to get cracking and peeling as the fresh paint layer isn’t binding properly to the PVA/plaster. See exhibit A.

So, should I paint my new plaster now?
Yep, after your mist coat has dried and you’re confident you have a nice base without any patches or issues, then you’re ready to paint! If you’re using COAT paint, apply two coats for maximum depth and durability. You should end up with a beautifully smooth wall and general smugness.
What should I do if I get areas of cracking or peeling paint on my fresh plaster?
First thing to check is whether this is an isolated issue, i.e. one small patch, or right around the room. If it’s an isolated issue it will probably be due to either a small damp patch or some sort of contaminant on the wall which is causing the paint top coat to react. Take a look at a flake that’s peeled off. Can you see right back to the plaster? If the mist coat is stuck to the back of your top coat colour then this will give you a clue that there is an issue with the adhesion. The best thing to do is sand this area back to the plaster, then usually it’s just a case of following the steps above again after ensuring the plaster is totally dry.
If the whole room is cracking or peeling then you have a bigger issue. To take the paint out of the equation, you can paint a little bit of the product you have left over in an inconspicuous area on another wall in your house. If, after two coats, this patch is fine, then you can rule out a paint issue.

You’ll now need to look at whether the plaster was potentially still damp and therefore not ready for the paint, or whether you’ve applied the mist coat incorrectly (not diluted) or PVA has been added. For these circumstances it’s likely you’ll have to unfortunately sand back to the plaster to ensure the surface is solid again. If you just keep painting, it will keep flaking. Proper preparation and the correct mist coat is key to ensure you don’t have to endure this aggro.
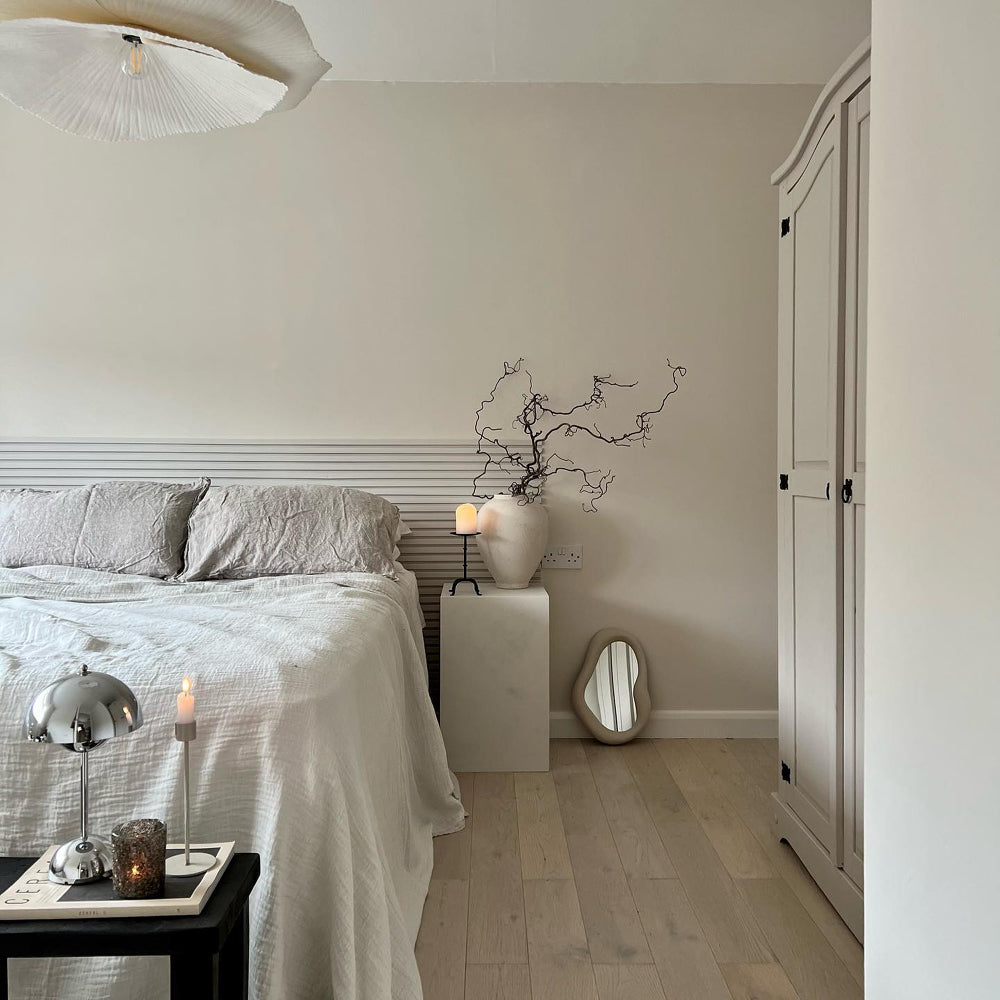
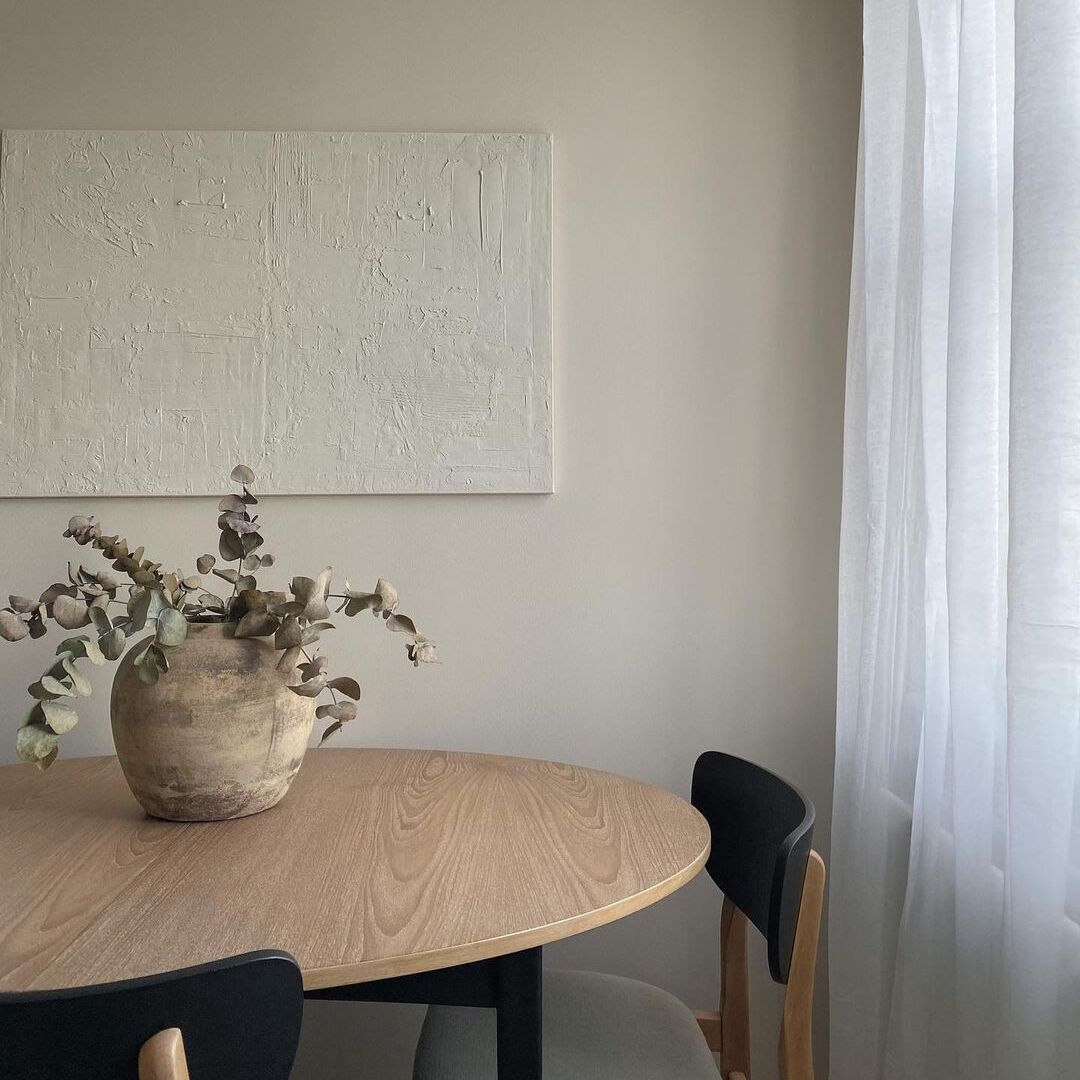
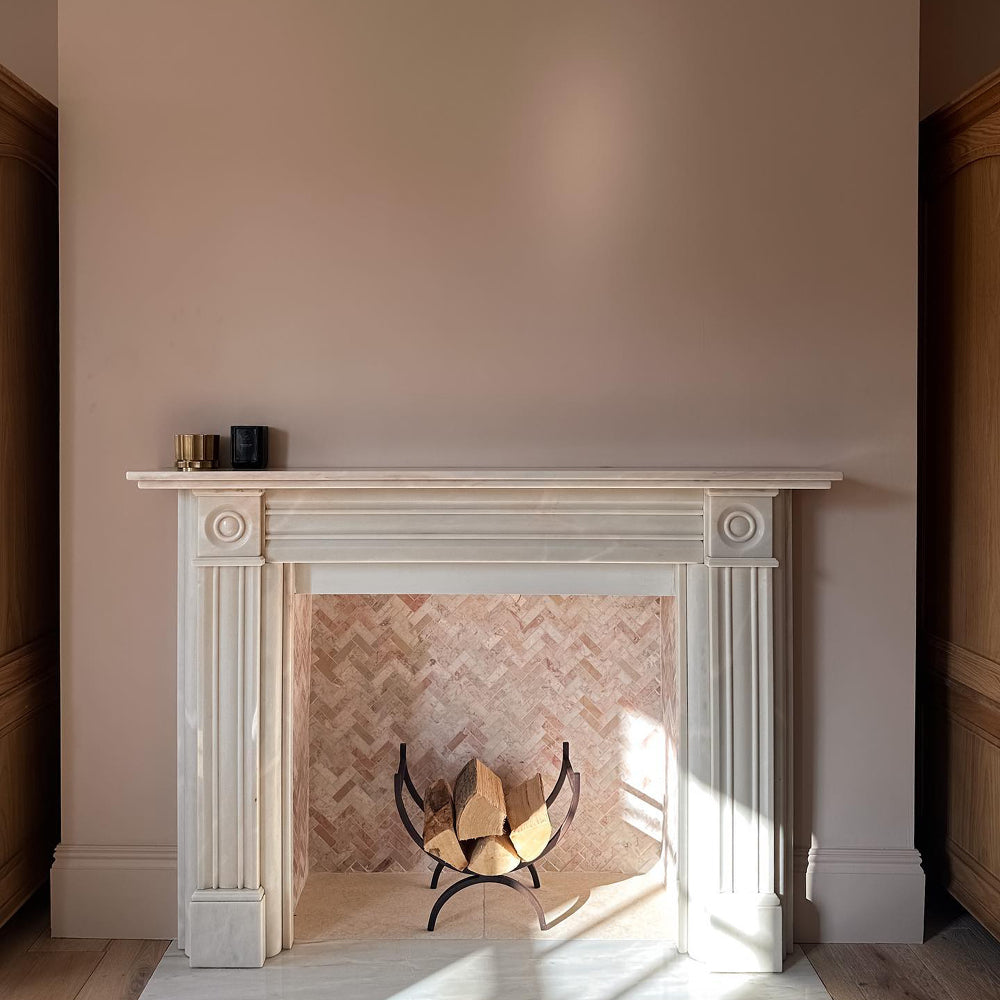
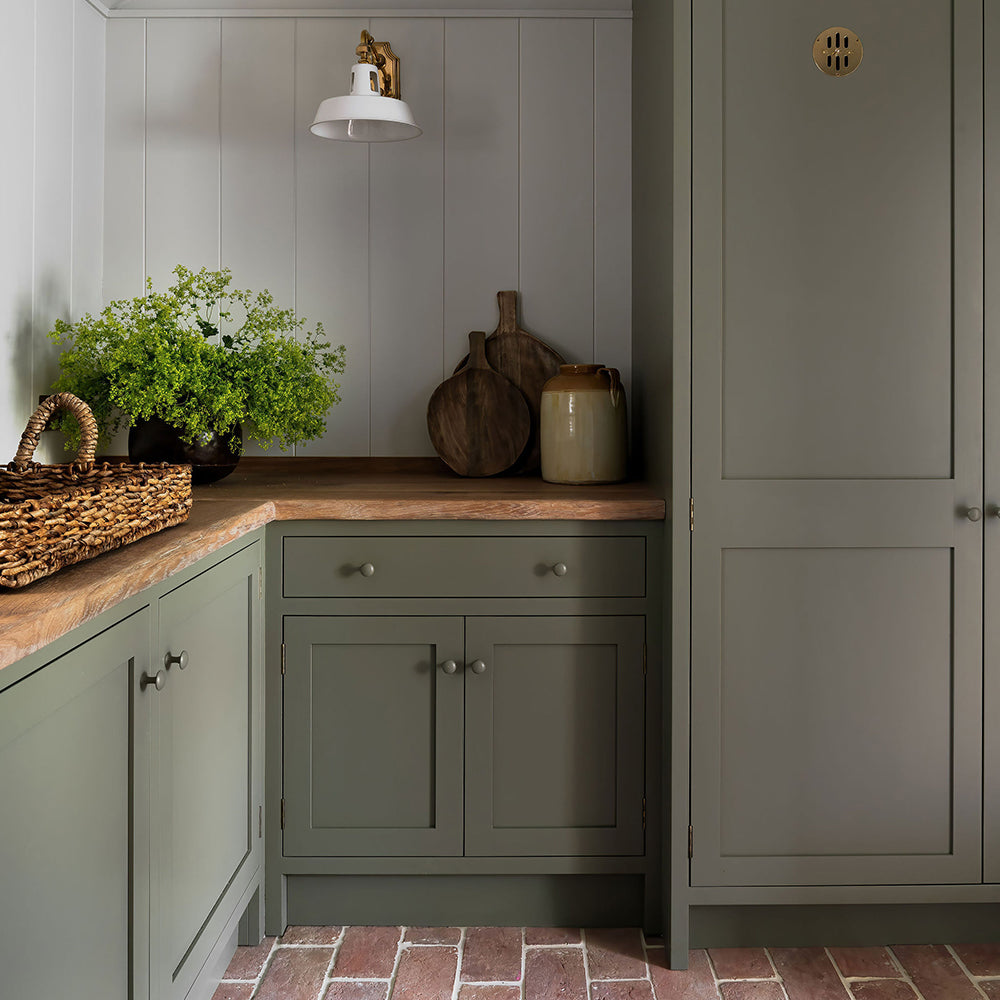
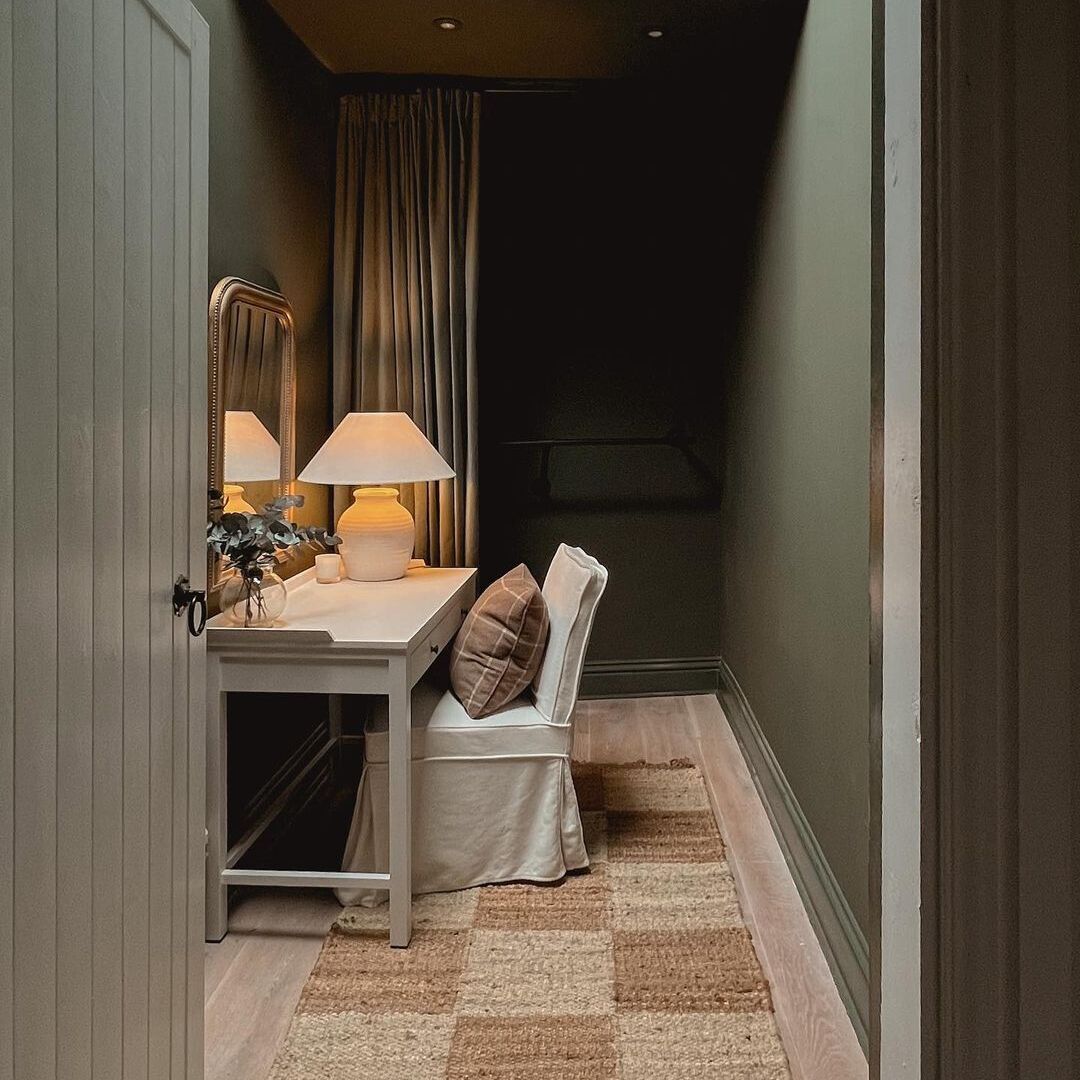
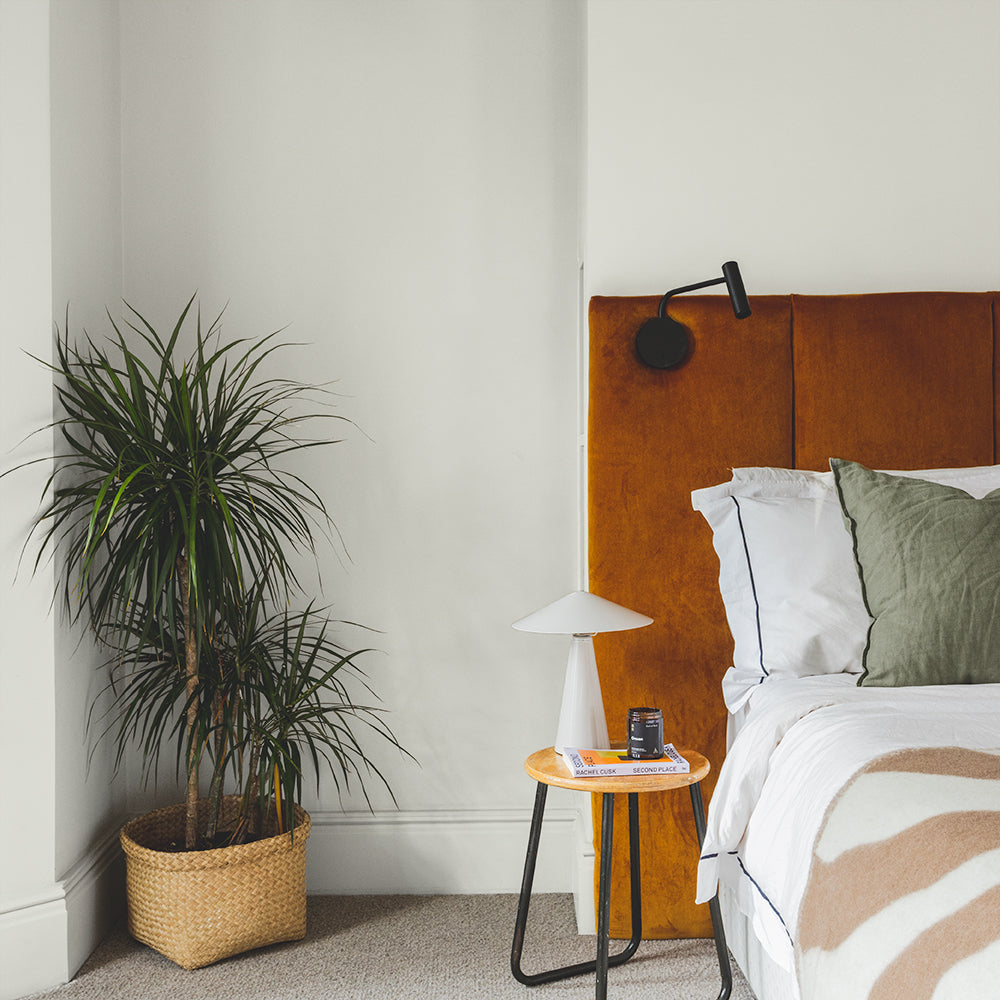
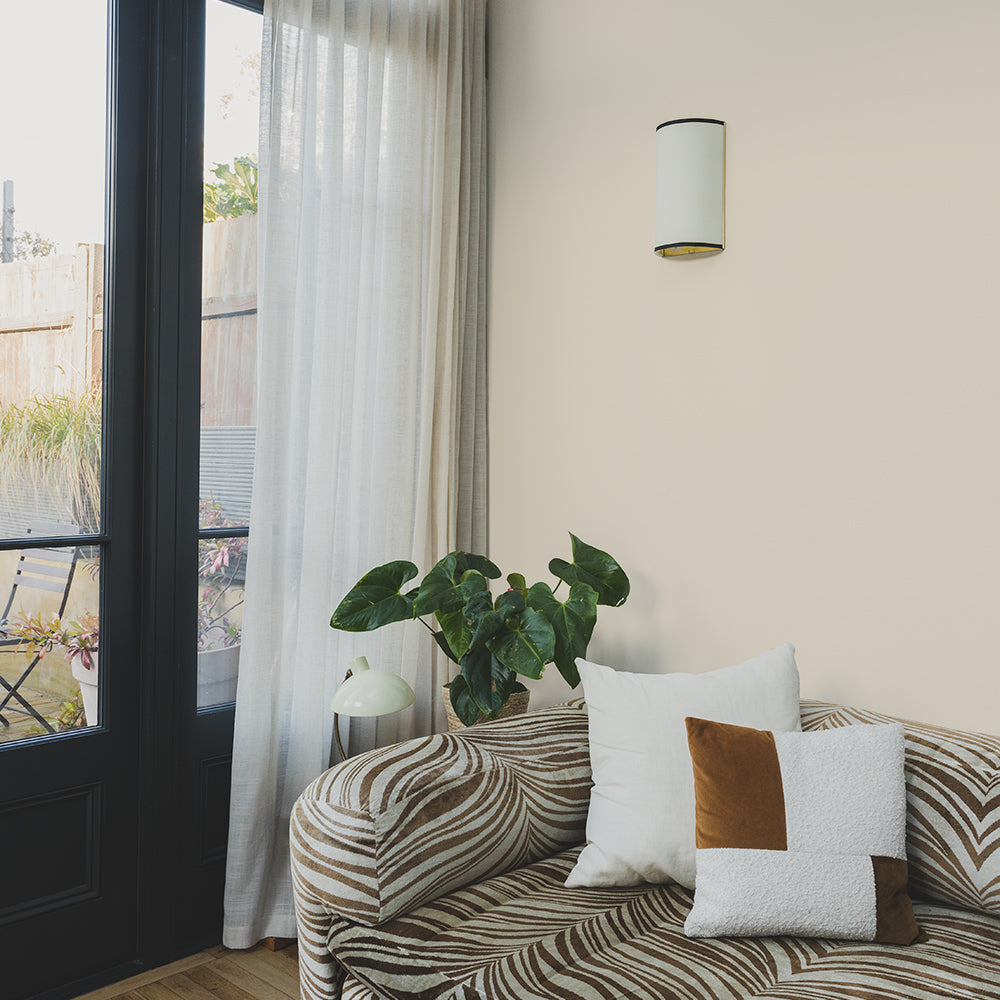
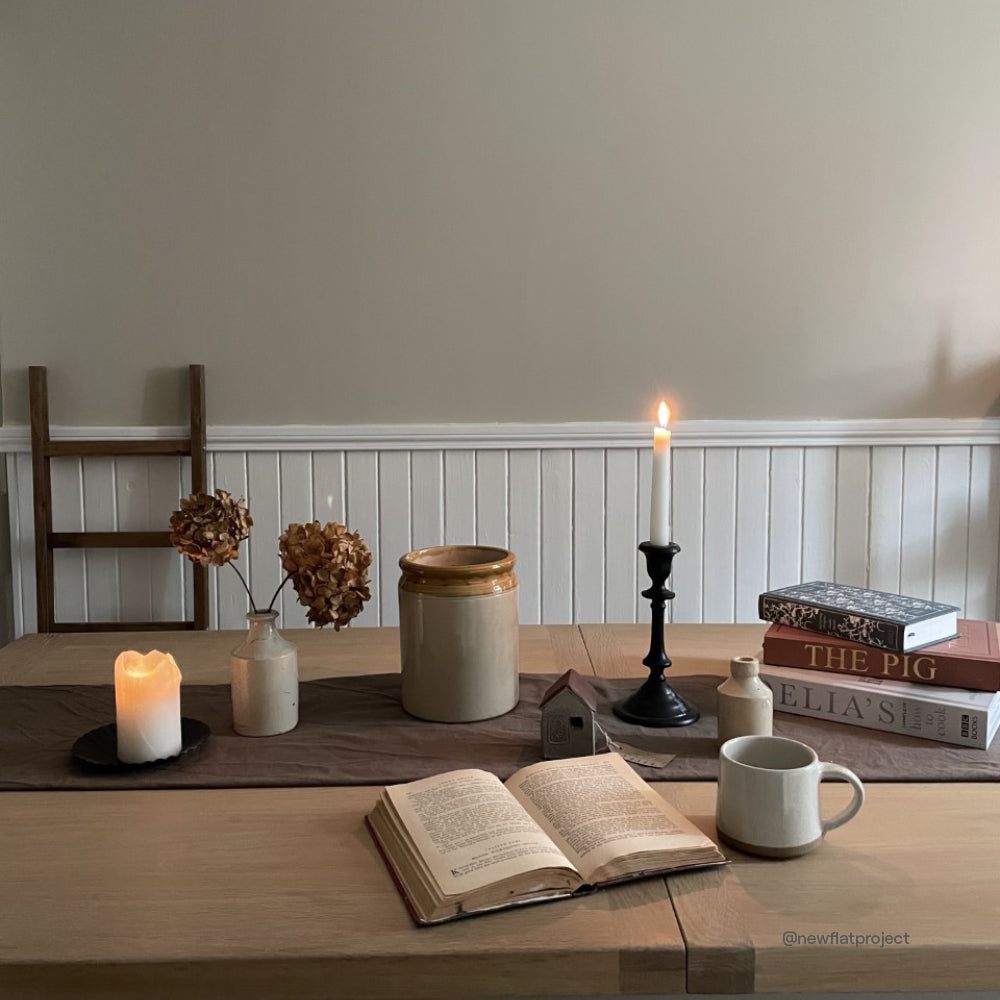
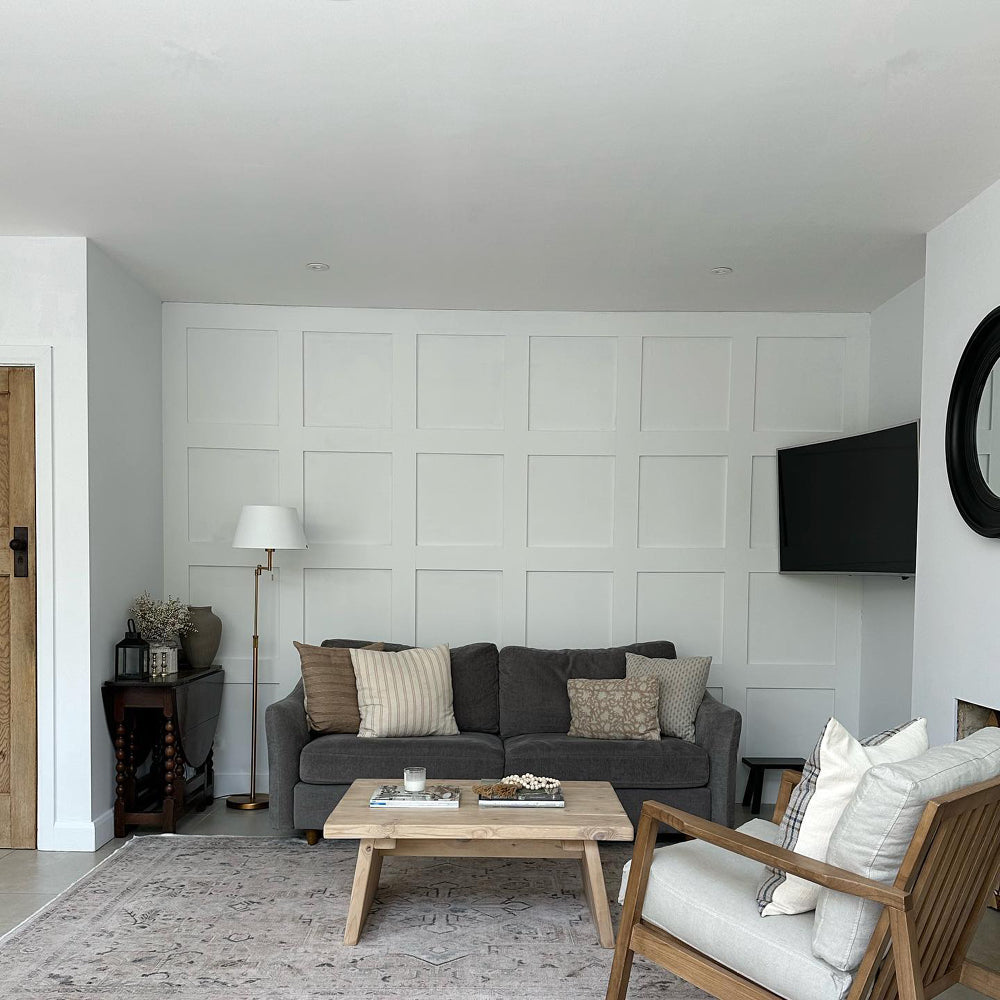
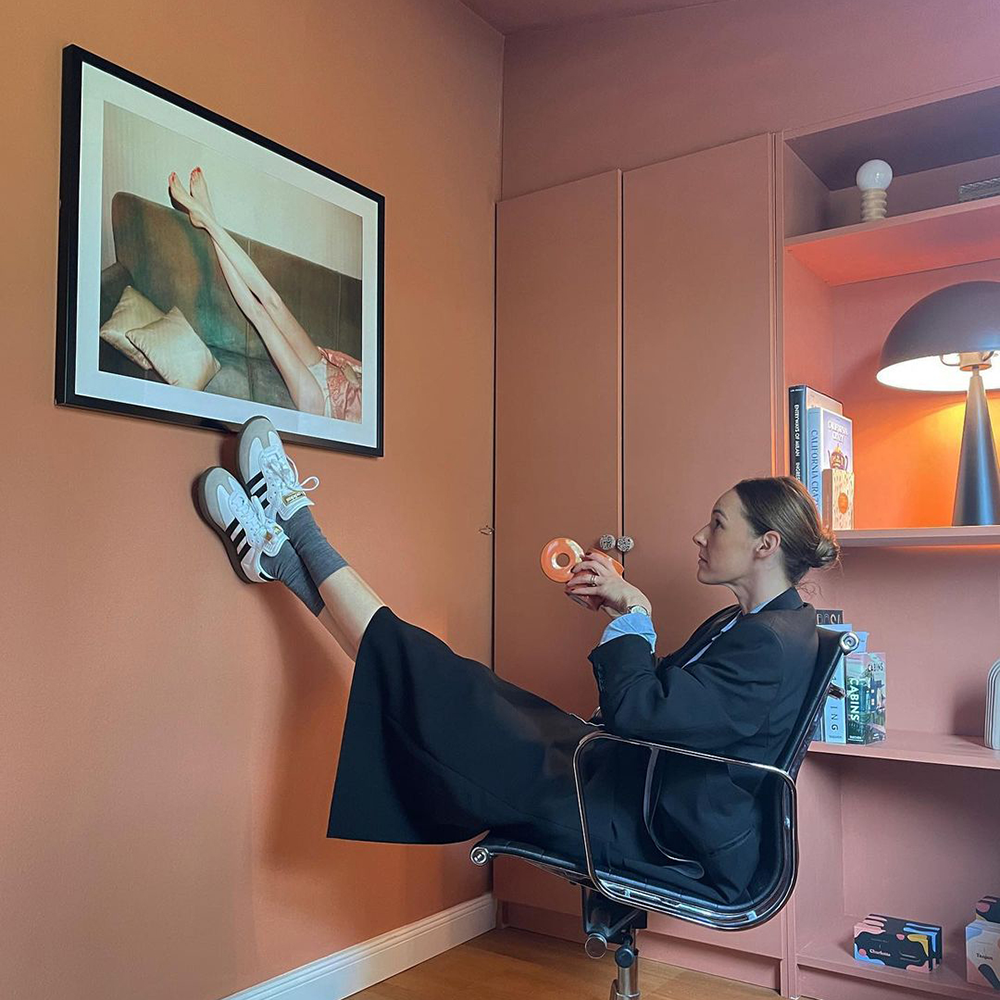
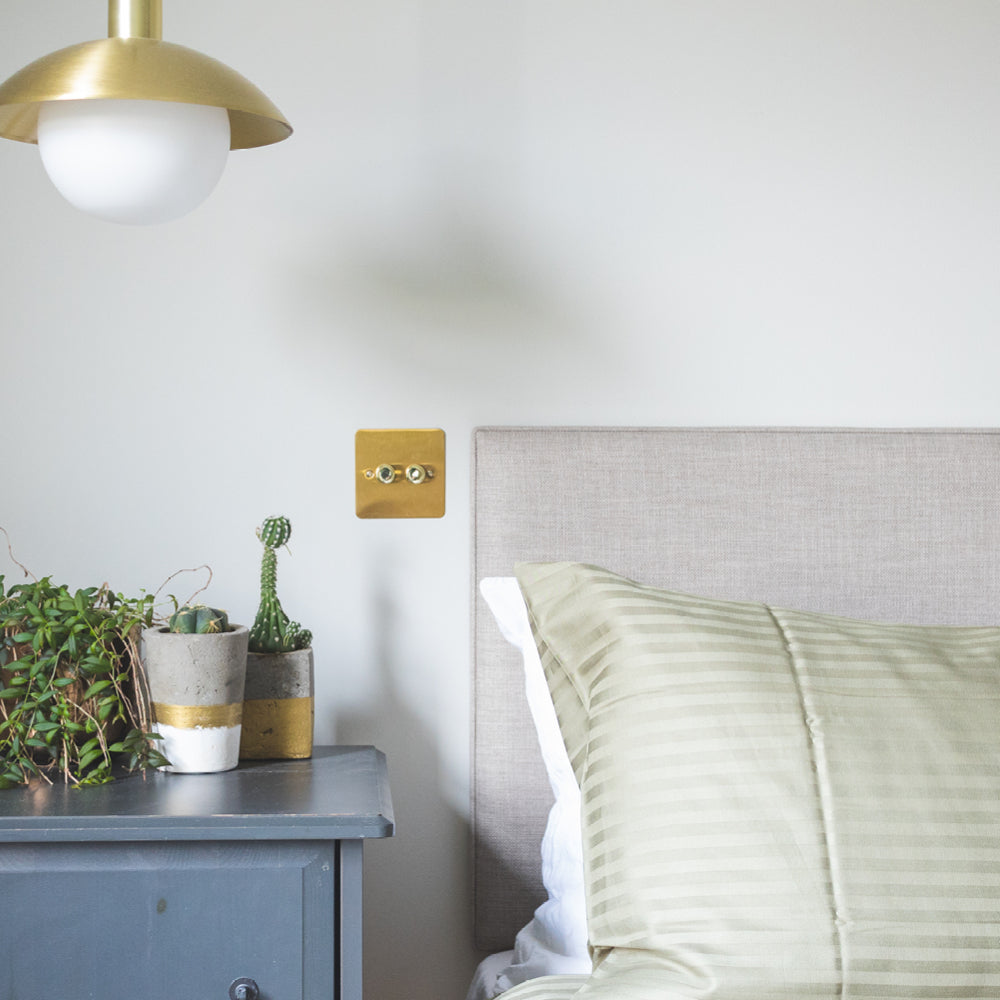
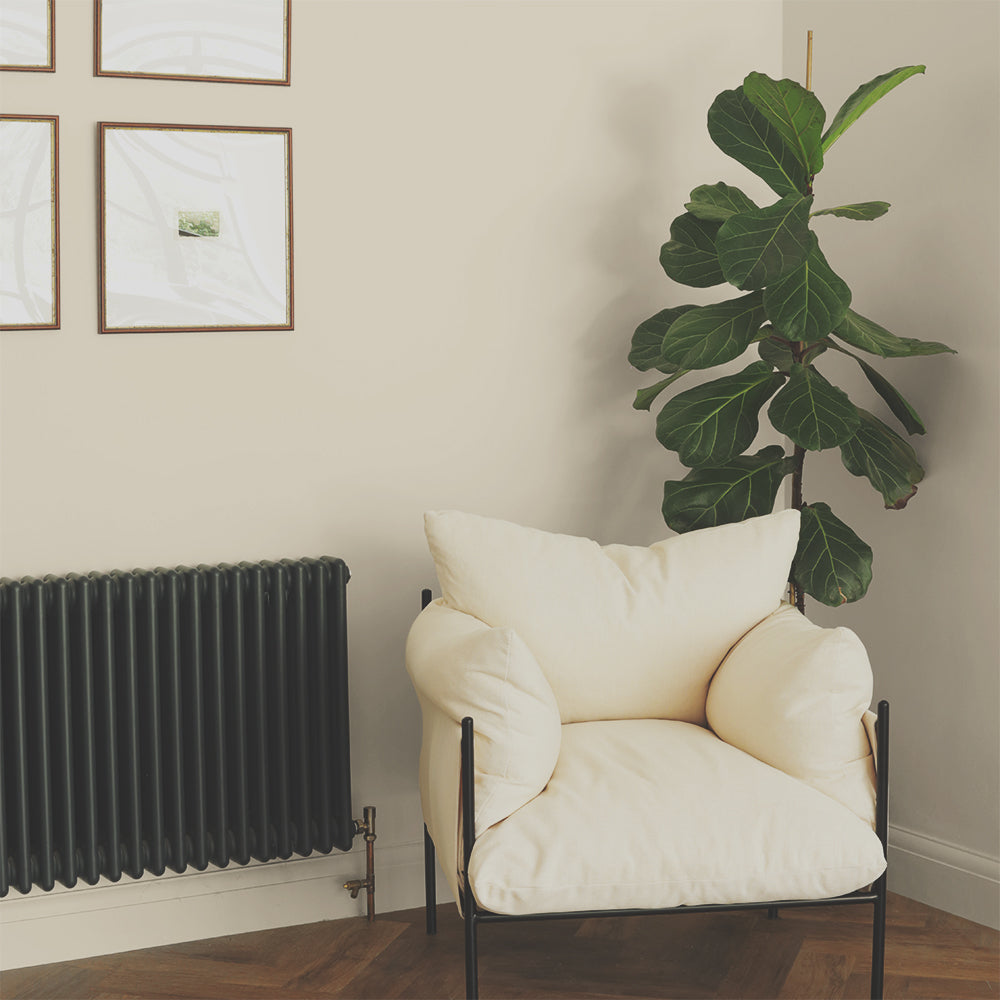
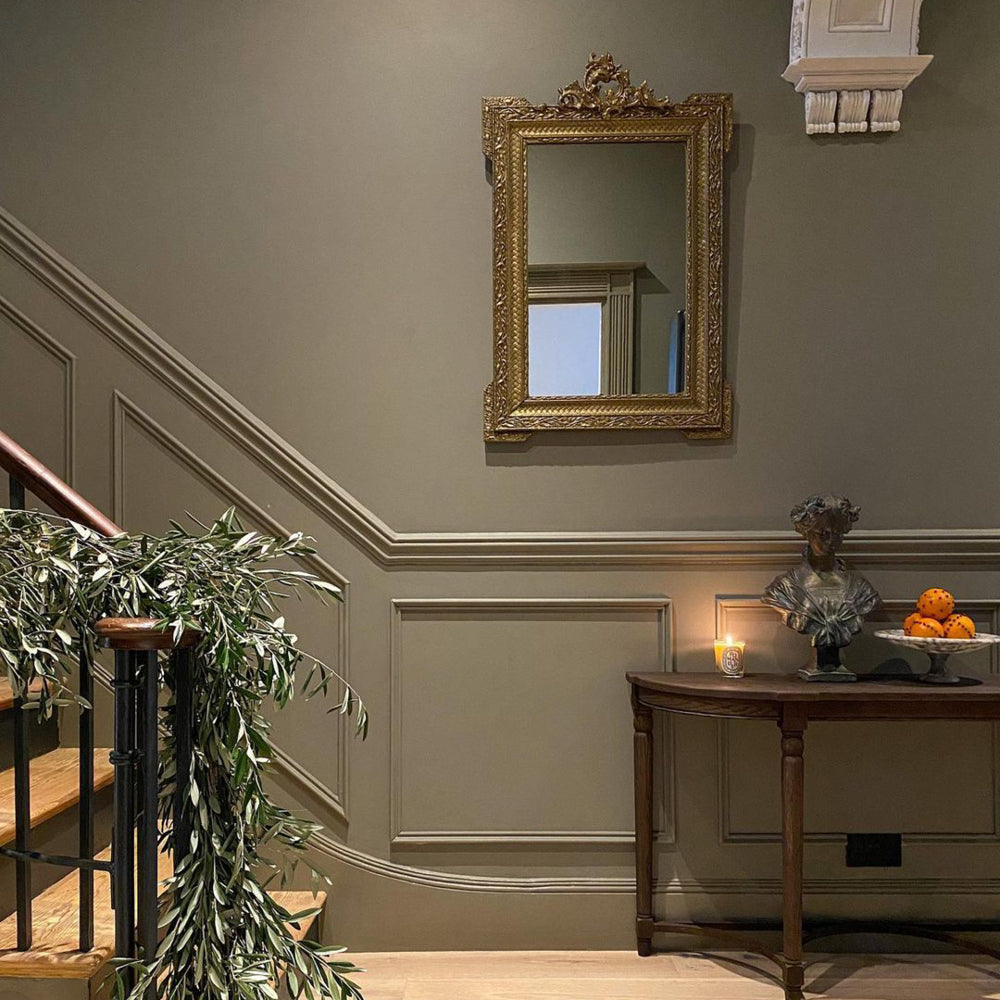
Featured Image Creds: the_bournville_identity
FAQs
Can I speed up the drying process of new plaster by increasing room temperature or using other heating methods?
You might be eager to start painting those fresh walls, but patience is key. While it's tempting to crank up the heat or add extra radiators to speed up the drying process, resist the urge. Rapid drying can actually cause the plaster to crack. So, let nature do its thing and give your plaster plenty of time to dry properly. Trust us, it'll pay off in the long run for that pro finish you're after.
Are there any alternatives to using water-based matt emulsion for creating a mist coat on new plaster?
Wondering if there's another option besides water-based matt emulsion for your mist coat? Well, you could try diluting COAT paint with 10% water, or even use a similar water-based matt emulsion from another brand. Just make sure to follow the instructions on the tin for dilution ratios. Remember, the key is to give your plaster that extra hydration it needs to bond properly with the paint.
What should I do if I notice cracking or peeling paint on my freshly painted plaster walls after following the recommended steps?
First, assess whether it's just a small isolated issue or if it's happening all over the room. If it's just a small patch, it could be due to a damp spot or some contaminant on the wall. Check if the mist coat is still stuck to the plaster behind the top coat—if not, that's a clue there's an adhesion issue. In that case, sanding back to the plaster and reapplying the mist coat should do the trick. But if the whole room is affected, it's time to investigate further. Test a bit of leftover paint in an inconspicuous area to rule out a paint issue. If that's not the culprit, you may need to consider whether the plaster wasn't fully dry or if the mist coat wasn't applied correctly. In those situations, sanding back to the plaster may be necessary to ensure a solid surface for repainting. Proper prep work and the right mist coat are crucial to avoid this hassle.
Publish Date
Author












Leave a comment