How To Paint External UPVC Windows And Doors
If you have UPVC windows and doors and you’re fed up with the colour, did you know they can be painted in literally any shade? Painting UPVC windows and doors can really spruce up your pad, especially if they were chosen by the original owner. A popular choice that became commonplace in the ’90s for many households, UPVC has outstanding durability and weather resistance. That’s not to say, however, it won’t discolour or wear, although it’ll last you for years - you just need a backup when it starts to look crap. Replacement is also an expensive route and a bigger upheaval when a COAT of paint will work a miracle in a shorter timeframe.
Got a wooden door, not UPVC? You’re in the wrong place. Head over to the other side for tips on how to paint a wooden door.
UPVC for sure? Up for a bit of cheeky painting? We’ll walk you through how to prime, paint and enjoy. Keep reading for our step-by-step guide, including the paint you will need to avoid any peeling, cracking or flaking.
Gather Your Tools
The best paint for UPVC windows and doors is our Exterior Eggshell and combined with a primer, it will create a hard-wearing finish. This glow-up will also fix any scratches or cracks. Here’s a list of all the tools you’ll need:
- Safe working platform (if working at height)
- An old cloth (and/or a sponge, depending on the surface condition)
- Hot soapy water
- A degreaser (if needed)
- Light to medium sanding block
- Painter’s tape (let’s keep things tidy with this premium tape)
- Multi-use surface primer
- Paintbrush (try our brushes for life, they’re made from bamboo)
- Paint roller
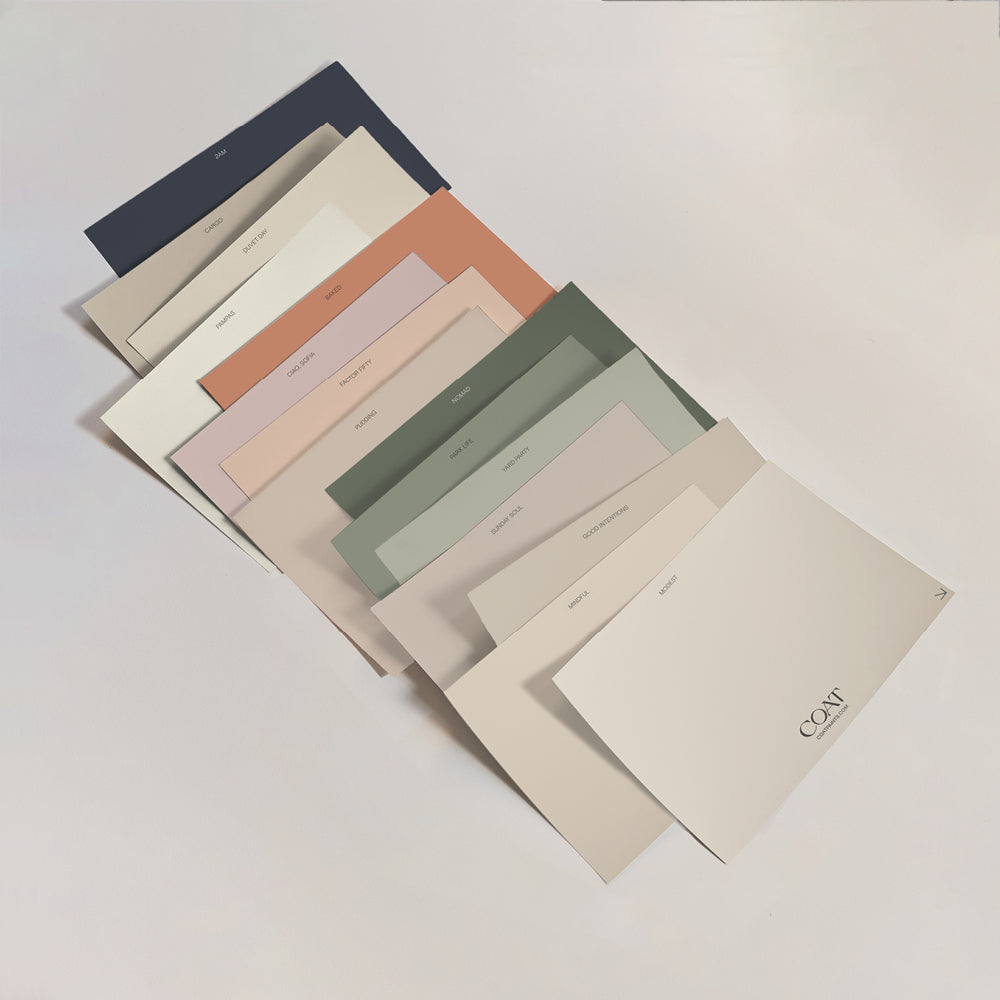
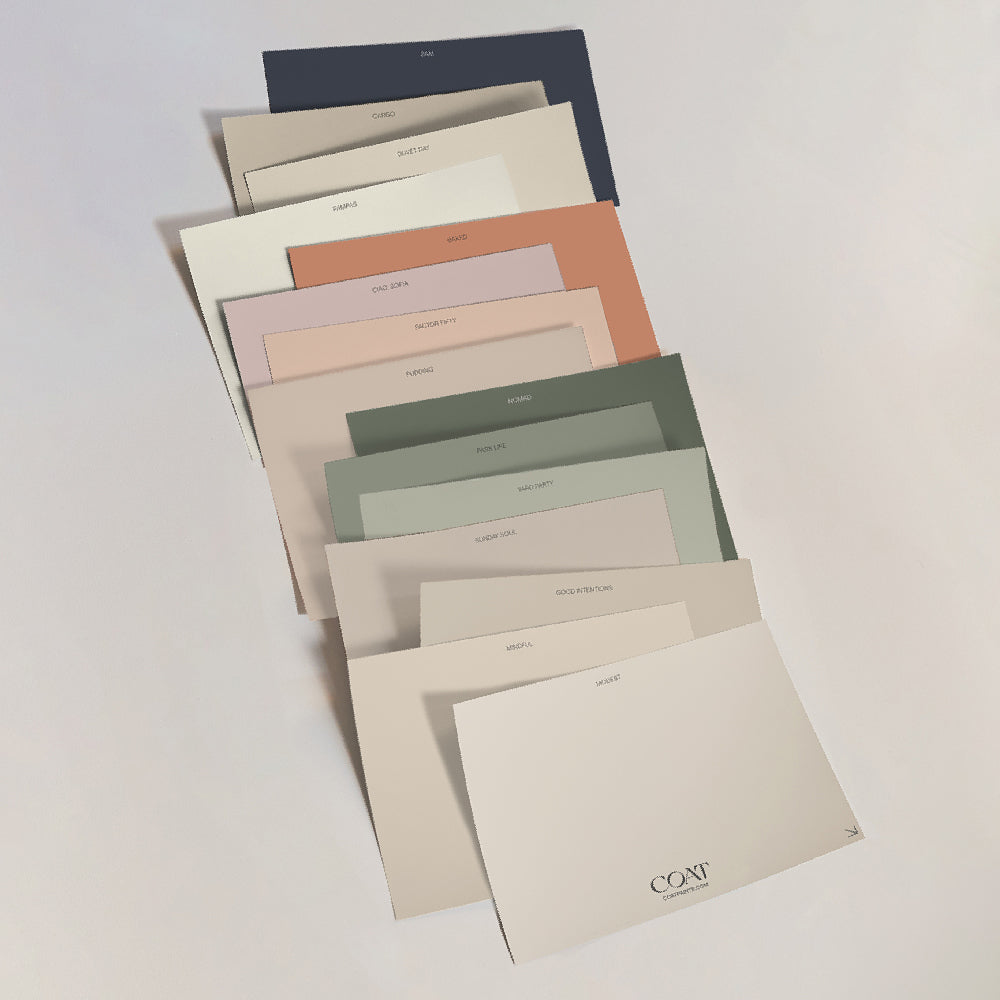
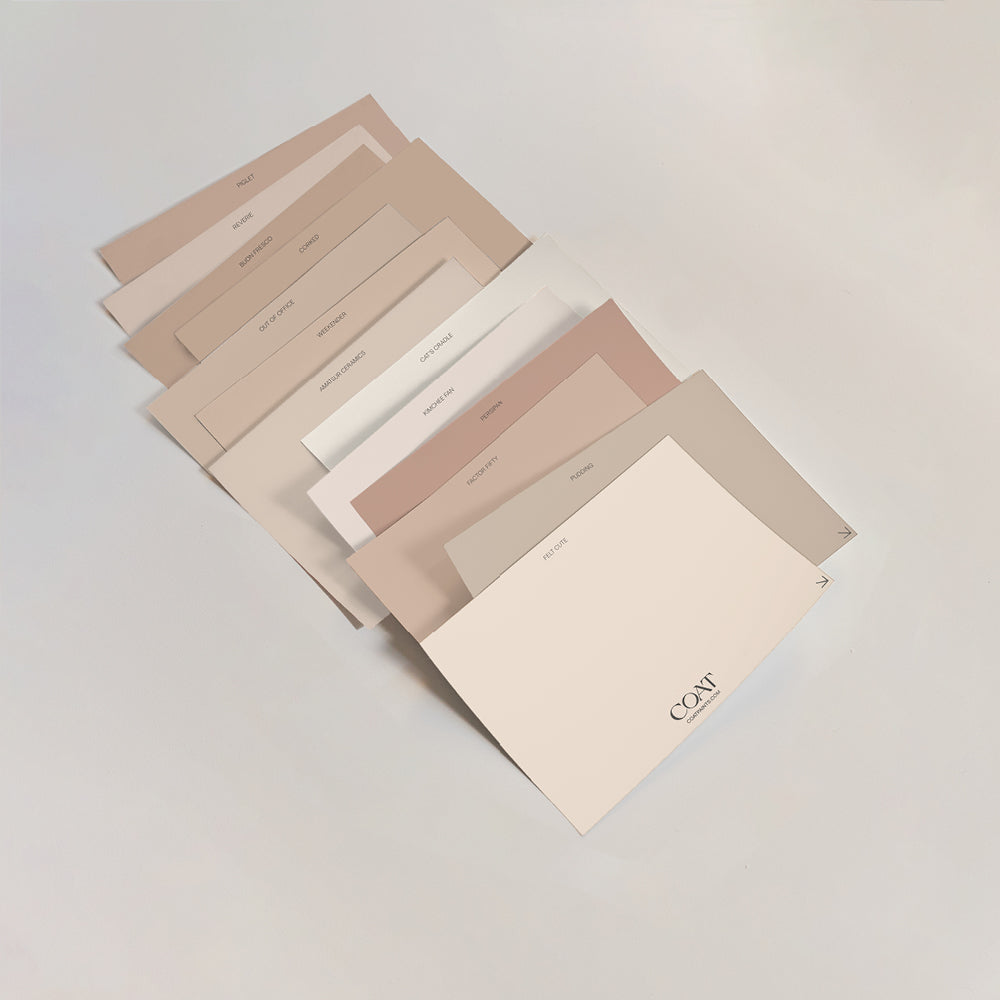
- A high-grade paint for the great outdoors (in your favourite COAT shade)
Clean
OK, cards on the table, this part’s not fun, but if anything’s worth doing, it’s worth doing properly, right? So to prepare things like UPVC door frames, they need a good clean, just like you would when painting any other surface. Although knowing how to clean UPVC window frames isn’t hard, it is very key to take off dirt and debris for a squeaky clean start. If you’re also painting a door, we’d suggest removing the hardware (i.e. letterbox and handles), so you can give every last bit a good wipe down.
All you need is a cloth and hot soapy water unless the surface needs something tougher like a degreaser. Then, running your hand along the surface, check that it’s clean, and if it isn’t, it might need another going over. Finish by wiping with a clean, soft cloth before leaving to dry.
Sand & Add Tape
Using a light to medium sanding block, gently rub the surface; this will buff the UPVC without scratching it and create a key for the primer to stick to. Once sanded, wipe any residues with a cloth and make time for masking; if you’re painting windows, there’s a hell of a lot to get through. Mask off any surfaces you want to protect and also the glass at the point where it meets the UPVC. Old newspapers are also great for protecting glazing, but if there’s a little splash of paint on the glass, it can be removed with your nail once dry.
Prime
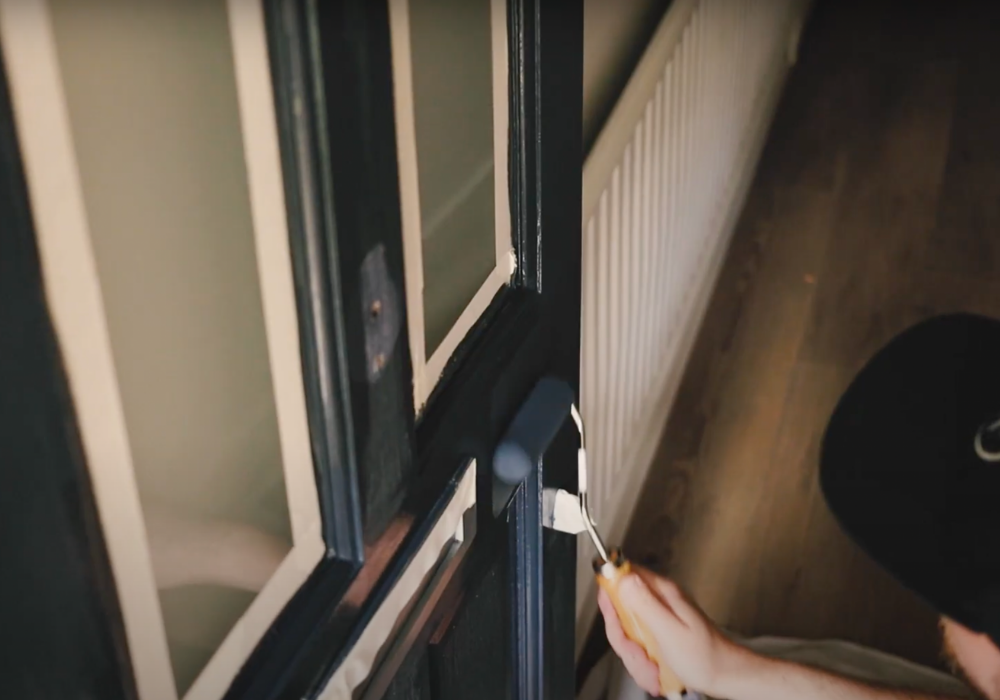
Unlike wooden doors and frames, UPVC is smooth, and it has a non-porous surface. Paint needs something it can really stick to, and for this reason, we add a primer to ensure a more durable and long-lasting finish. For window frames, you’re best using a brush - starting at the top, working your way down, applying the primer in long even strokes. For doors, where you’ve got bigger, flat surfaces, grab a foam roller. It should only need one coat and one to two hours to dry before your COAT exterior paint can be applied.
Apply First COAT Of Paint
Once you’ve taped, sanded and primed, let’s do that first COAT. How it’s done will depend on the surface you’ve got. Here we explain how to apply paint for UPVC doors and windows to give them a new lease of life!
Window frames:
For UPVC windows, apply two coats - this will provide maximum durability, especially under the sun. You’ll also need a brush for the edges and a mini foam roller to get a really nice finish on the flat surface.
Panel doors:
Start with a paintbrush or foam roller to paint over the panels before using your brush to paint the raised mouldings. Then, starting at the top of the door, paint vertically between the two panels before tackling the sections across. Last but not least, paint the edges of the door and the remaining vertical sections too.
Glazed doors:
Using a paintbrush, paint the mouldings surrounding the glass, and use a foam roller to paint horizontally starting from the top. Then paint the vertical sections on the outside of the door and finish by painting the edges.
Flush doors
Flush doors have no mouldings or windows, so start by splitting the door into eight sections to make it manageable. Then begin painting in the top left section, left to right, and back again until it’s painted. Next, blend this with up and down strokes, repeating throughout the rest of the door before moving on to paint the edges.
Apply Second COAT Of Paint
Now that we’ve finished up with a nice thin, even coat of our exterior eggshell, your second coat can go on. Don’t worry if the paint is looking really patchy; this is what the second coat’s for, especially when you’re moving from light to dark. Following the same method as above, a foam roller will ensure a really nice smooth finish but if you’re using a brush, keep it light on door mouldings and watch for drips. After two to three hours of drying, you should be left with a smooth, even finish; that’s enough to make the curtain twitchers of your street green with envy.
Add The Fixtures Back Onto The Door
Now that your painting is done, if you tackled a door, it’s time to put the hardware back on. This includes the letterbox, door handle and any funky door knocker for a reveal that’ll make anyone who turns up well jel.
Depending on time, you could even paint the other side of your windows and doors (in a different type of paint, by the way). That way, if your external finish is dark, you could opt for a lighter colour indoors; anything goes with our range of COAT paints.

On that note, be sure you’re using the right finish for the right job. Our Exterior Eggshell is for the outside. Formulated for outdoor use only, it’s made to survive extreme conditions, whereas our interior version resists staining and is breathable. But don’t worry, because if you want to do the inside of your doors and frames in the same colour - that's totally possible because our shades come in all finishes. For inside, just grab the colour in our Interior Eggshell, which is deeply coloured and smooth plus the process is completely the same!
Publish Date
Author









Leave a comment