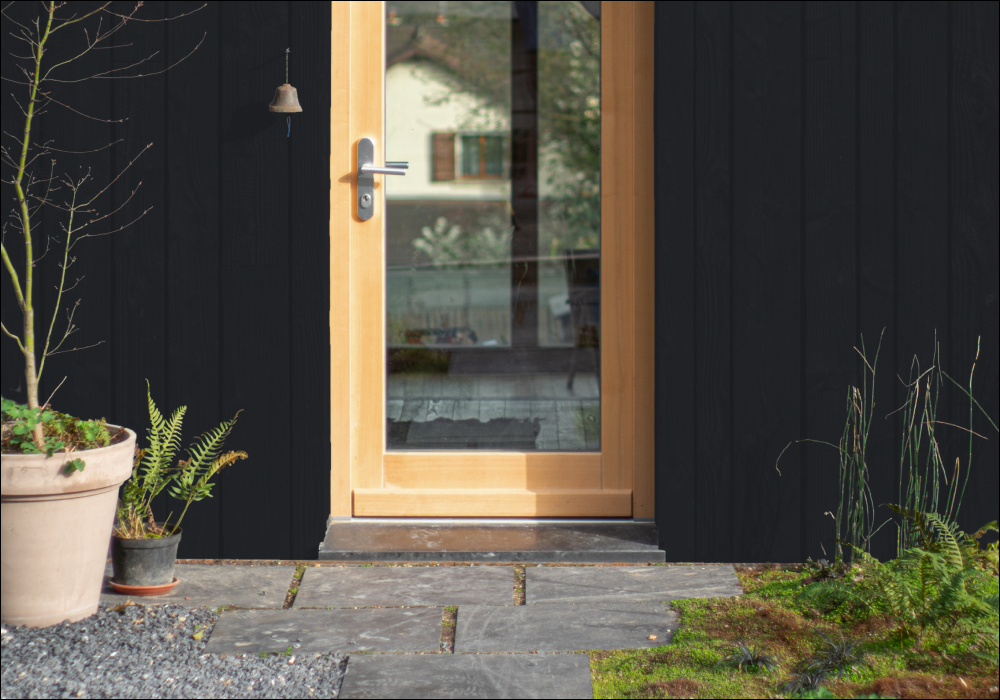
How To Paint A Front Door
Want your home to make a great first impression before anyone sets foot inside? Well, one easy way to do this is to give your front door a facelift. With a colourful coat of exterior door paint, the front of your house will be Instaworthy in no time! And we mean no time. This job will only take you a day.
But before you begin, you’ll need to have the right tools and materials. And choose the colour of your exterior paint. That’s why we’re here - to give you a nudge in the right direction. From what type of paint to use on front doors to popular colours and how much paint you’ll need for the job, we’ve got plenty of painting front door tips to get you through.
What Will You Need To Paint Your Front Door?
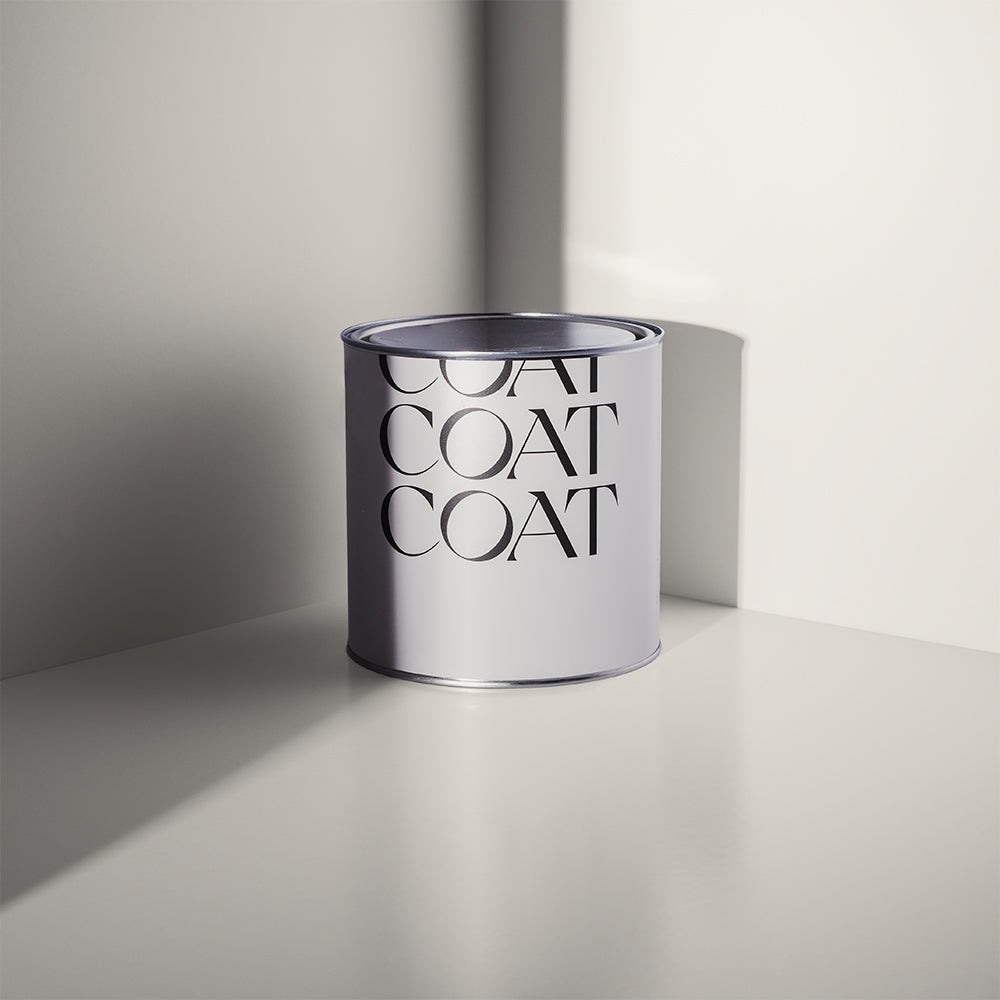
Like with all DIY jobs, the right tools, materials and prep will prevent costly mistakes. But you also don’t want to buy more than you need. How much paint to paint a front door will naturally depend on its size and how many coats you add. For an average-sized door (with no glass panels), one litre will allow for two coats.
Wanna know the best way to paint front doors? Make sure you have all of the following to hand…

Safety equipment (super important!):
- Goggles
- Dust mask
- Gloves
Materials (also important):
- Masking tape
- Soapy water (or sugar soap)
- Paint stripper
- Wood filler (if needed)
- Exterior primer or stain blocker (if needed)
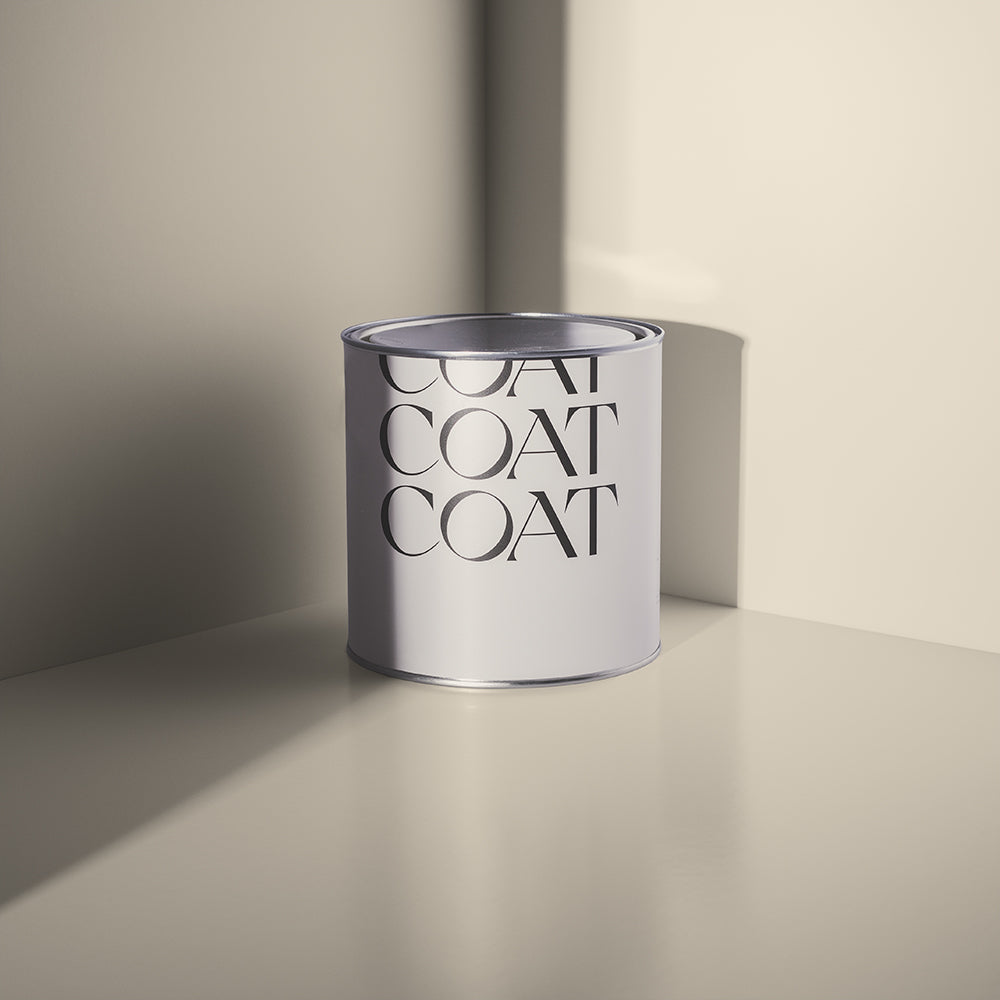
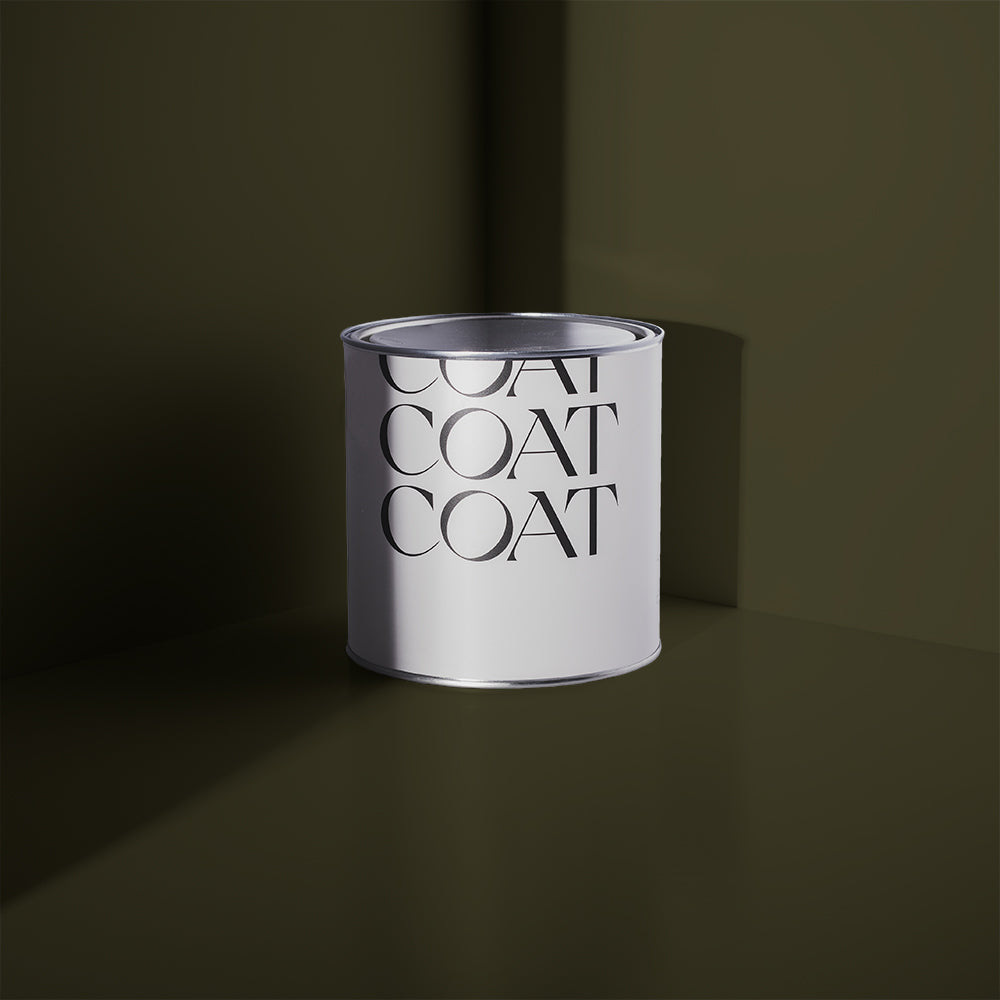
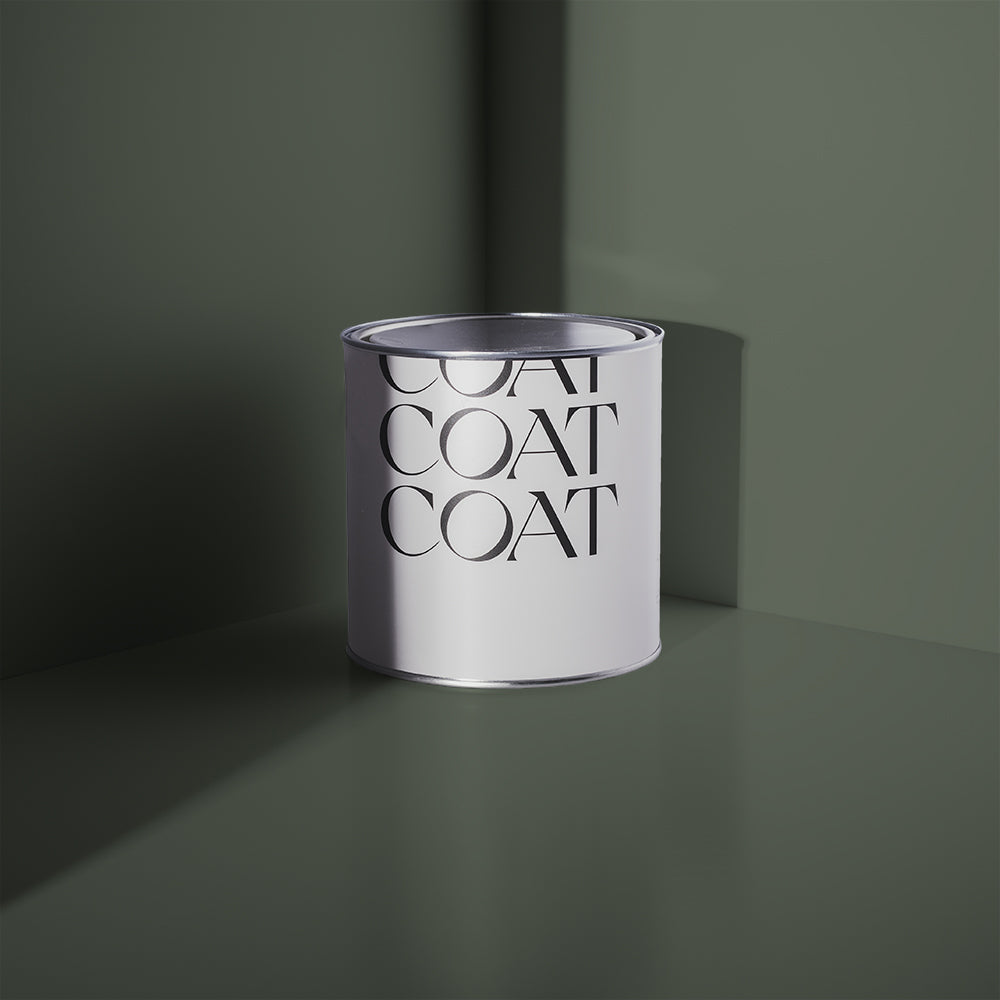
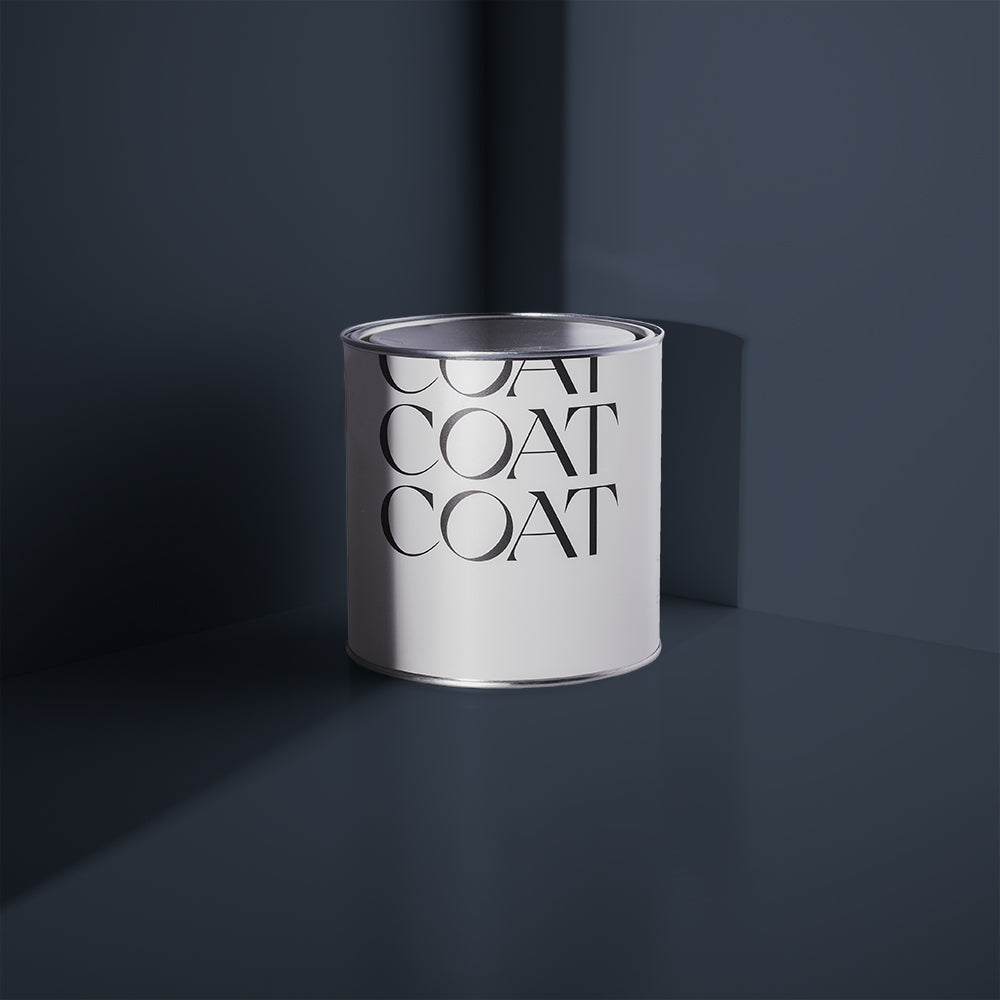
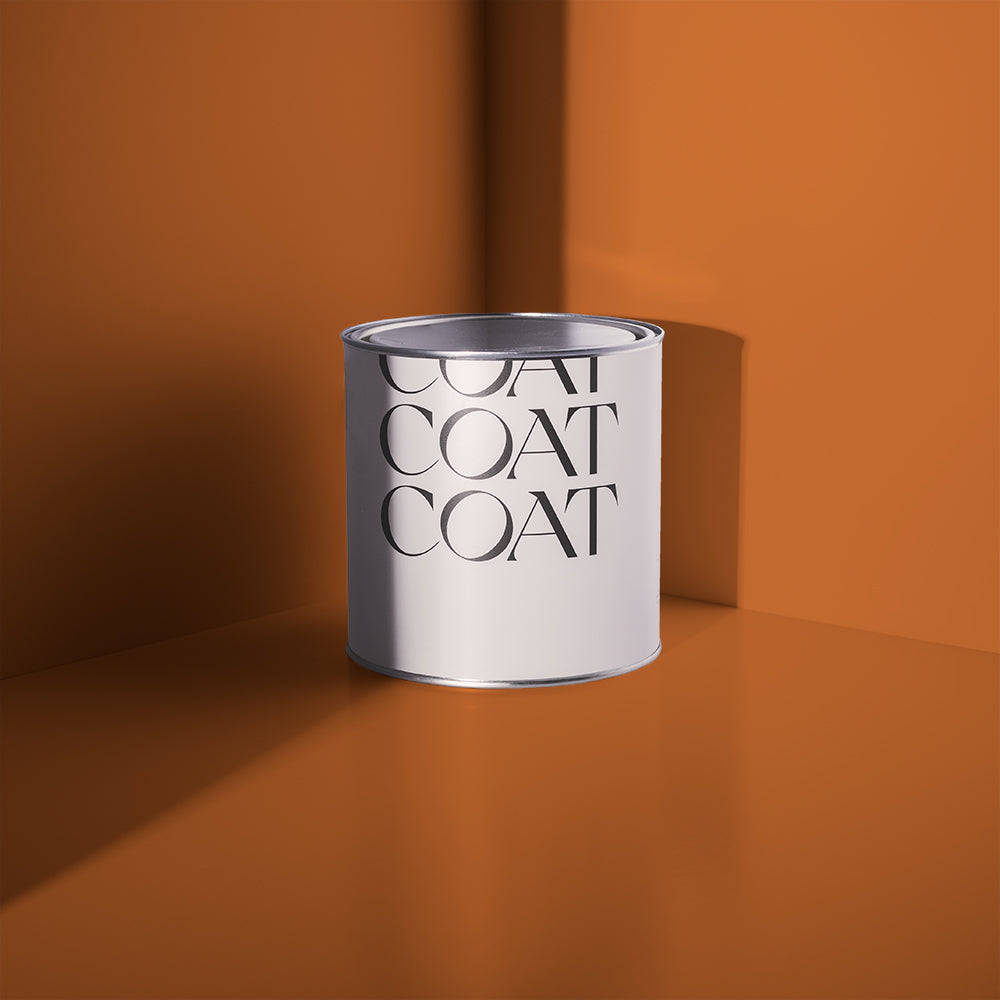
- Exterior paint (one litre)
Tip: Use primer designed for the paint type you’re using, e.g. water-based.
Tools (you won’t get much done without these):
- Sponge/cloth
- Scraper
- Shave hook
- Medium grade sandpaper (80 to 120)
- Fine grade sandpaper (150 to 180)
- Paint brush
- Roller + tray
Want to be kinder to the planet? You’ll find some items from the list in our essential supplies kit. Each kit is high grade, sustainably made and recyclable.

What Type of Paint Do You Use On Your Front Door?
When it's cold and raining, you’ll put on a jacket to protect yourself outside. So, the best paint for front doors should give it the same protection from the elements. Exterior door paint is weatherproof, tough, and long-lasting. Exactly what you want.
But how do you know whether to go water-based or oil-based? Water-based paints retain colour well, are quick-drying and have a low odour (VOC). Oil-based paints are more durable. But that’s three pros vs one.
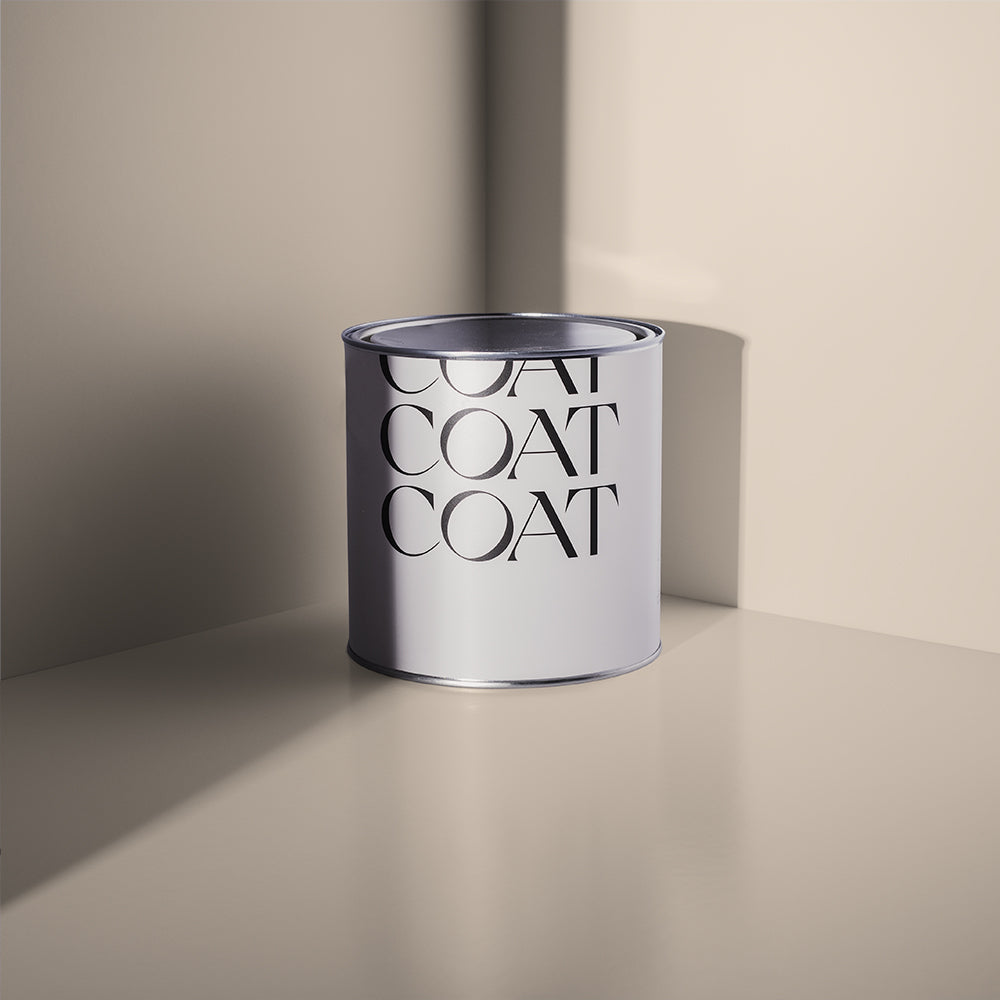
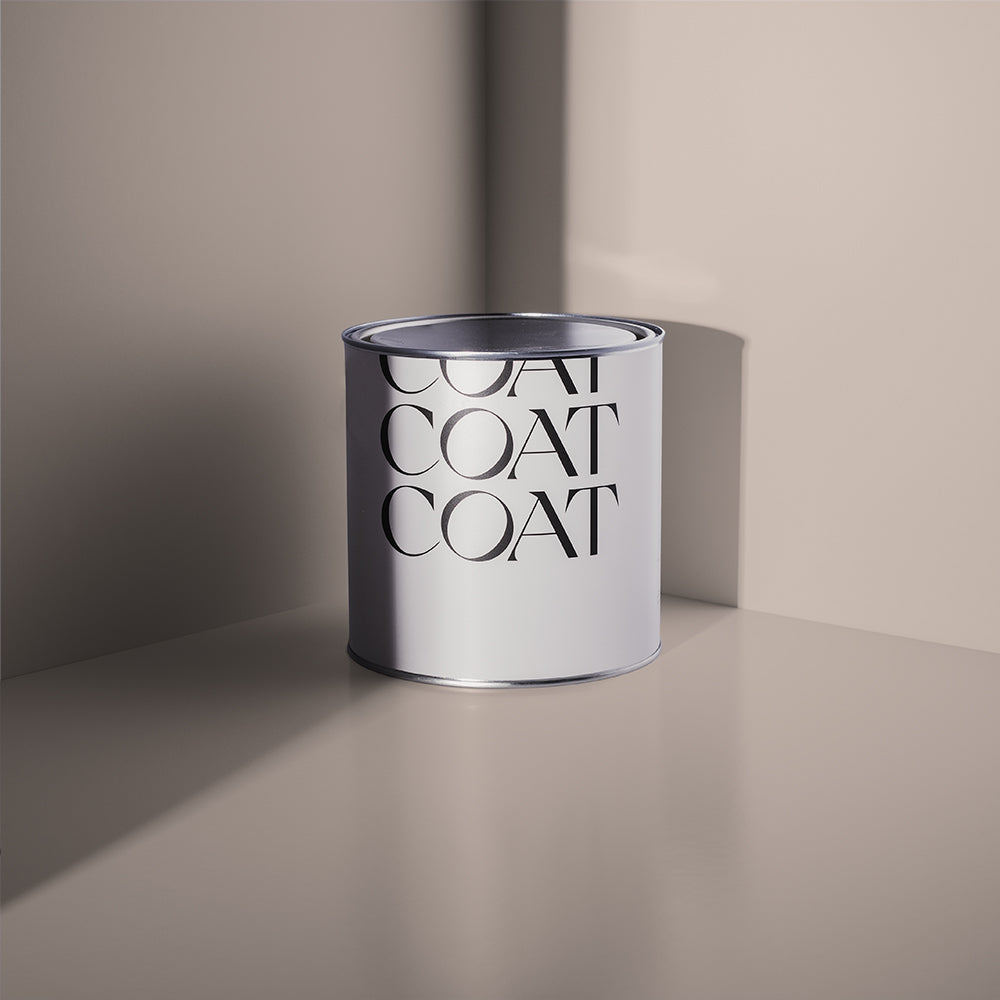
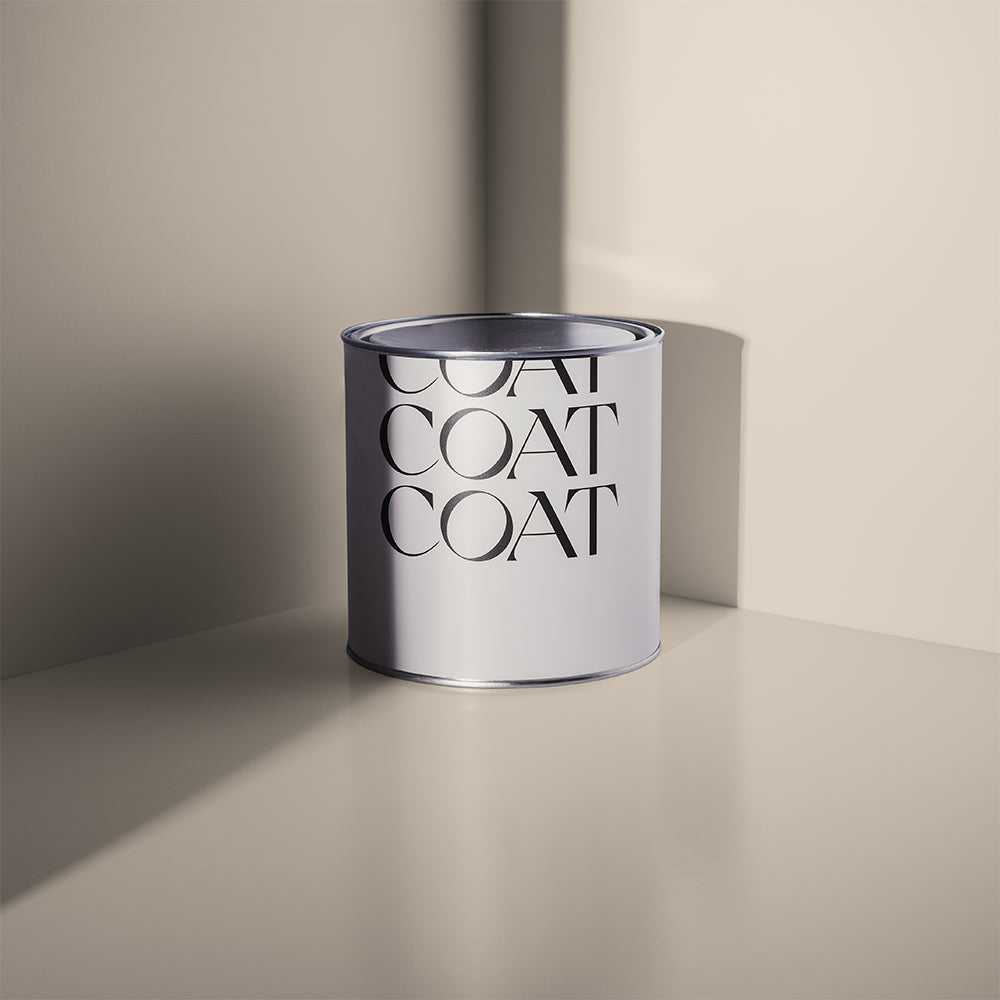
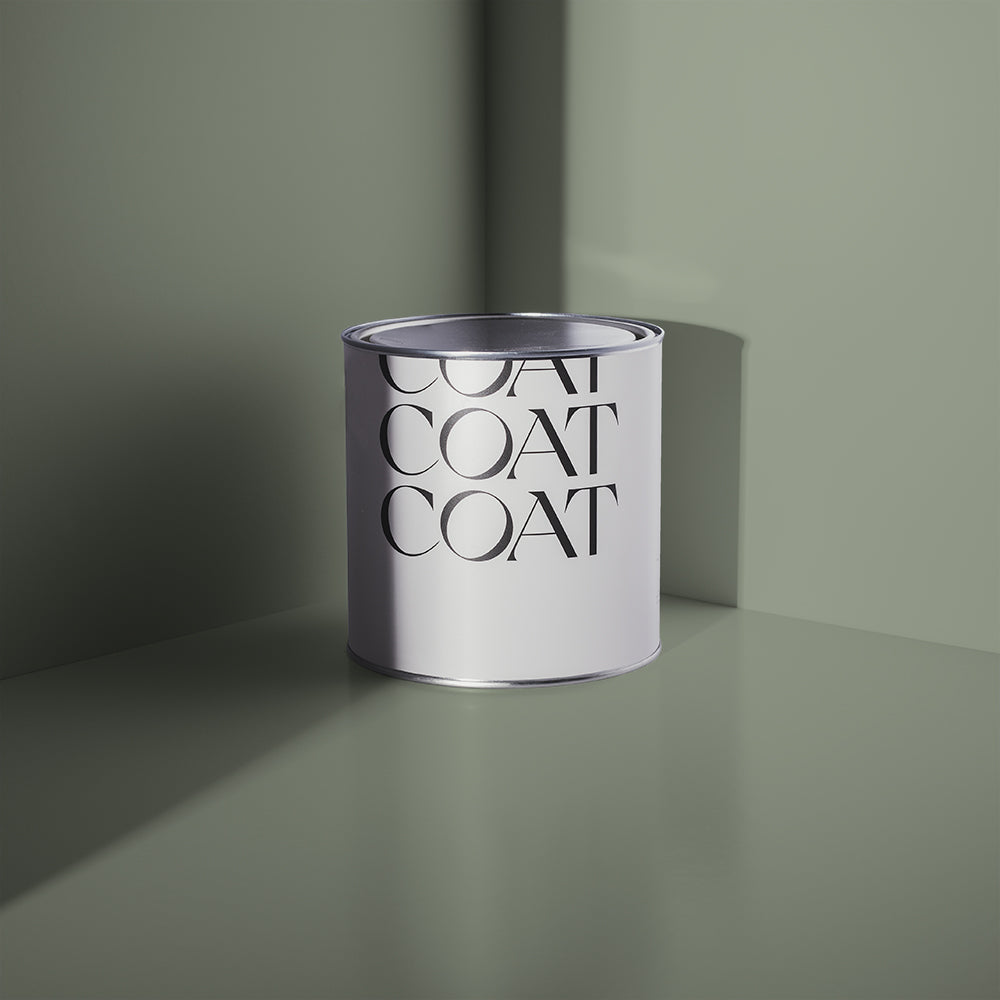
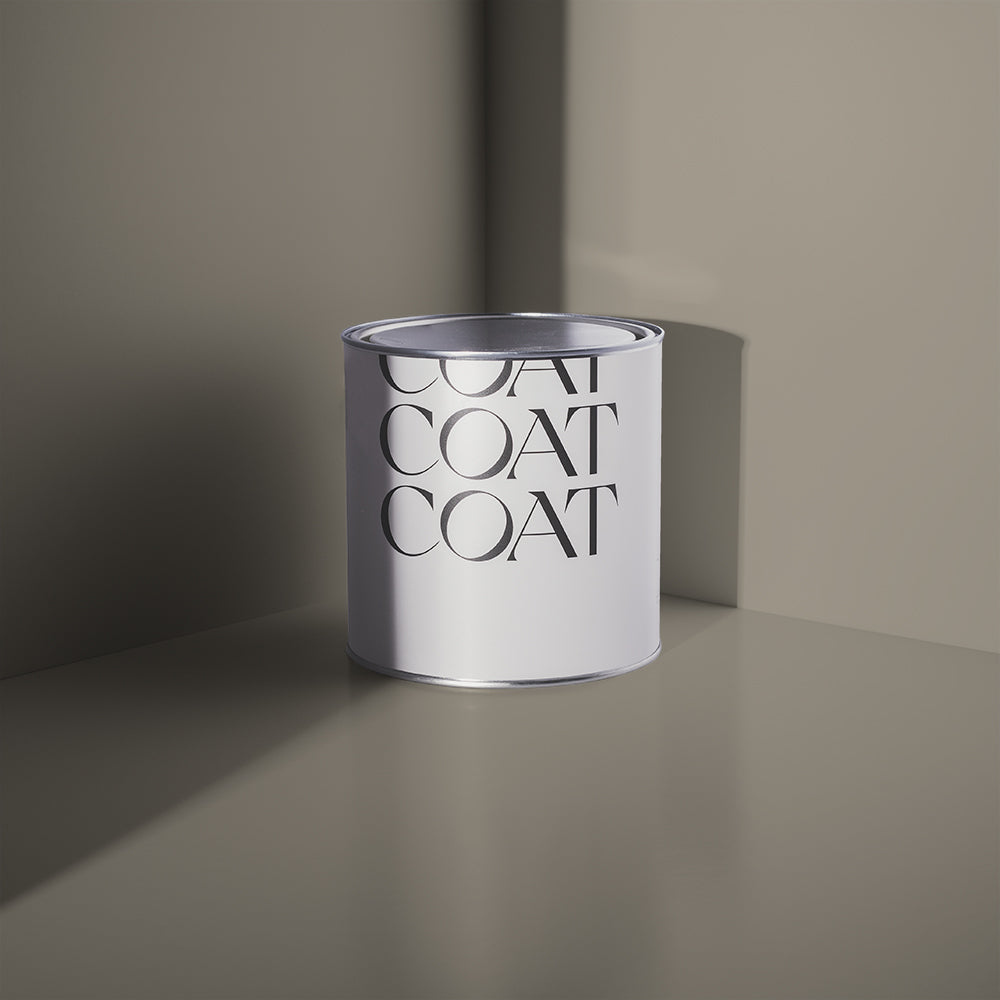
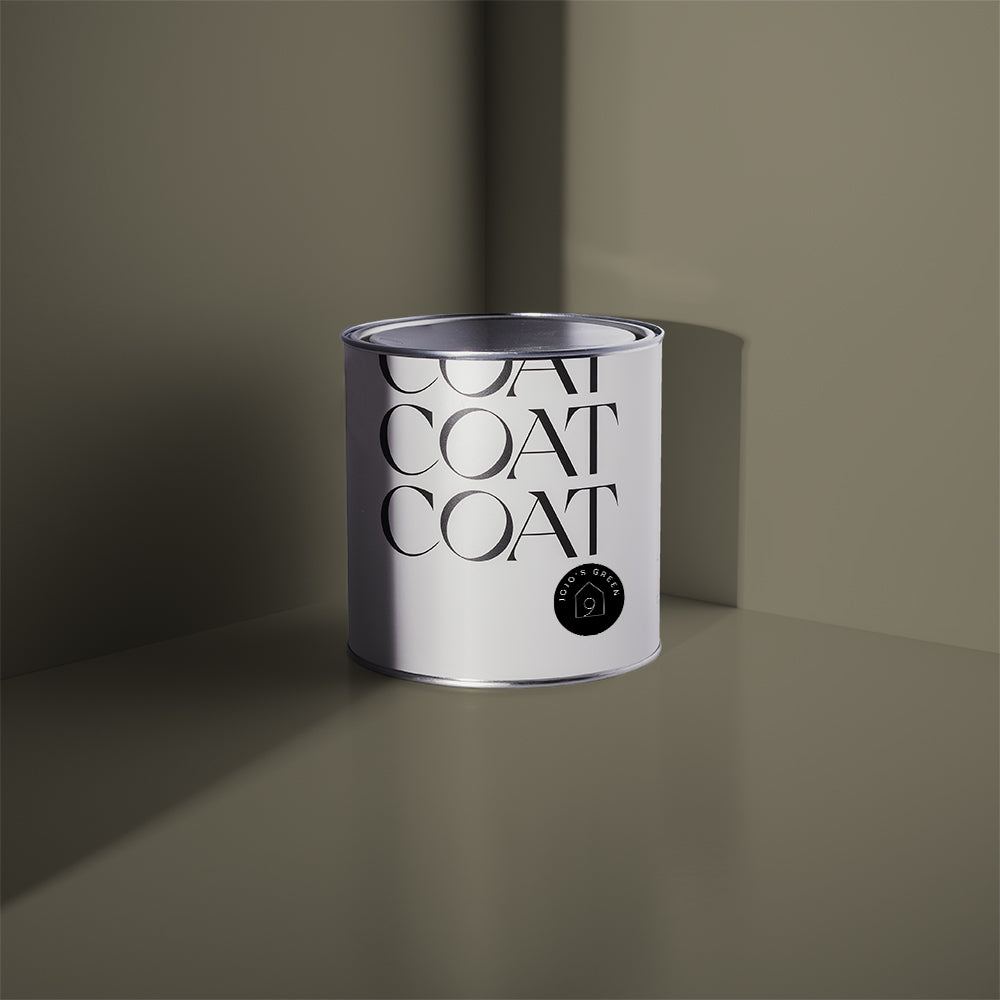
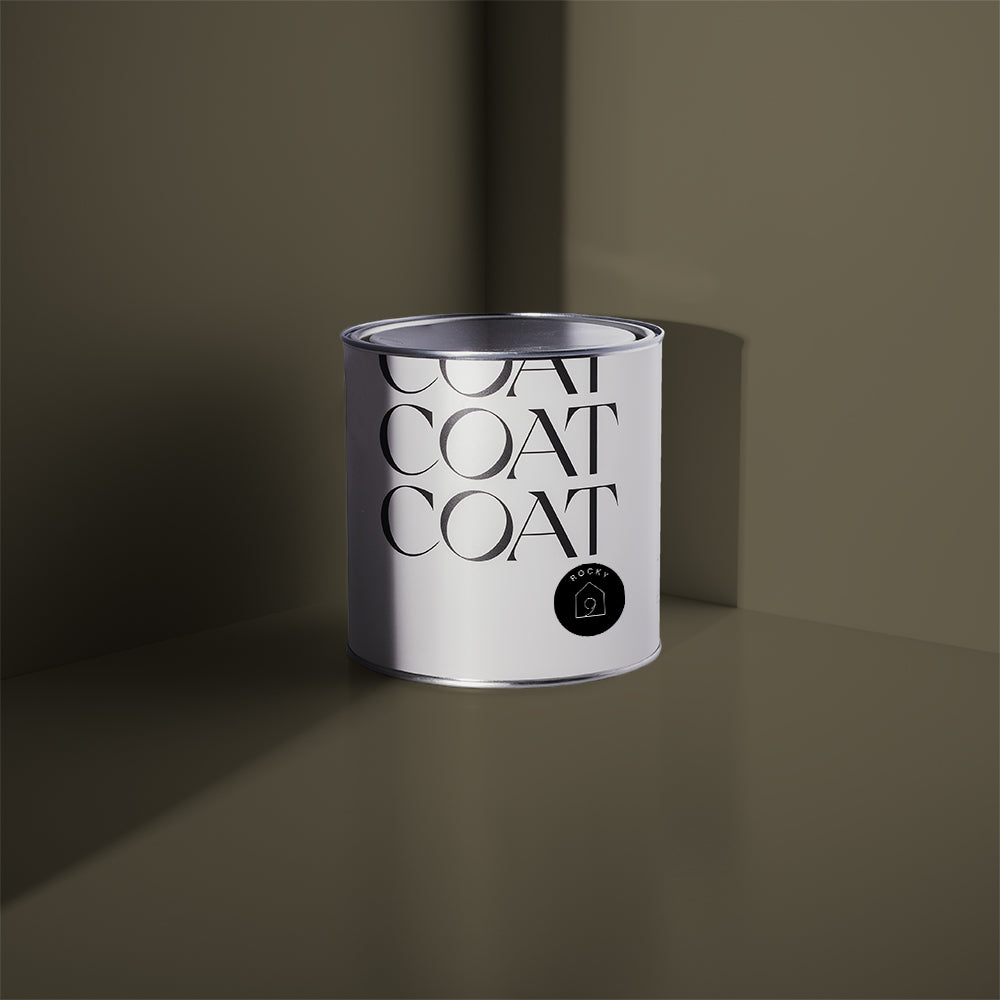
Our COAT exterior eggshell paint is water-based and ideal for doors (no matter their material). Whether you’re painting over wood, composite or UPVC, as long as you prep and prime first, you’ll love the result. And so will your phone when you keep snapping pics! So, we’ve covered the best paint for exterior doors, but what about that all-important primer?
We know prepping and priming isn’t the most fun of our painting front door tips. But if you skip this stage, the paint might not stick. For wooden doors, cleaning and sanding will be enough. That's unless you're going over oil-based with water-based paint or changing from a darker to lighter colour door. If the wood is oily/resinous, there’s a chance it will bleed through. In that case, use a stain blocker.
For UPVC and composite doors, definitely use a primer. You’ll want to make sure it matches the type of paint you’re using (e.g. primer designed for use with water-based paint). We’ll go over prepping and priming in more detail later in our step-by-step guide on how to paint a front door.
By the way, if you’re planning on painting the inside of your door, do not use exterior paint. It is not for indoor use. You’ll need to use interior paint instead.
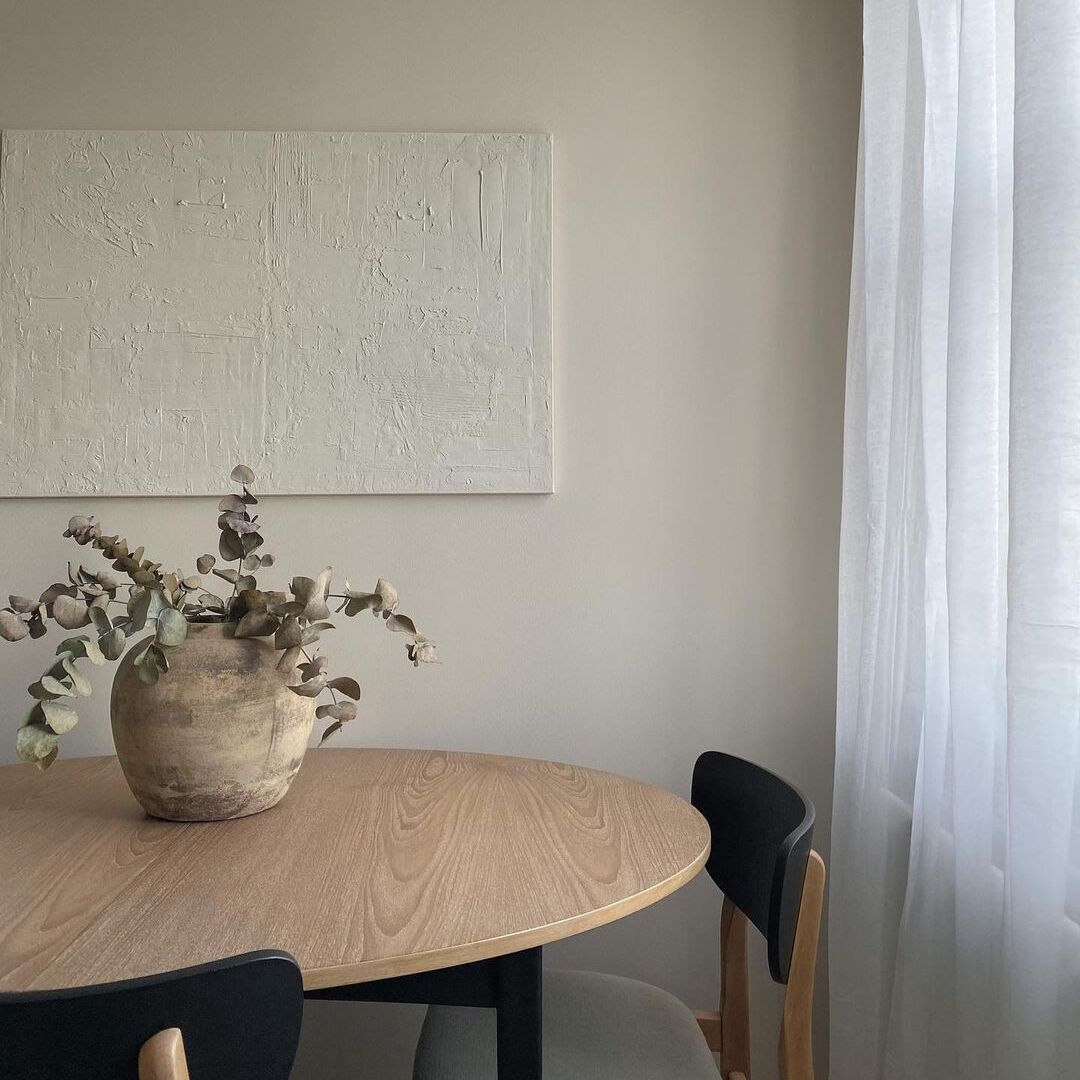
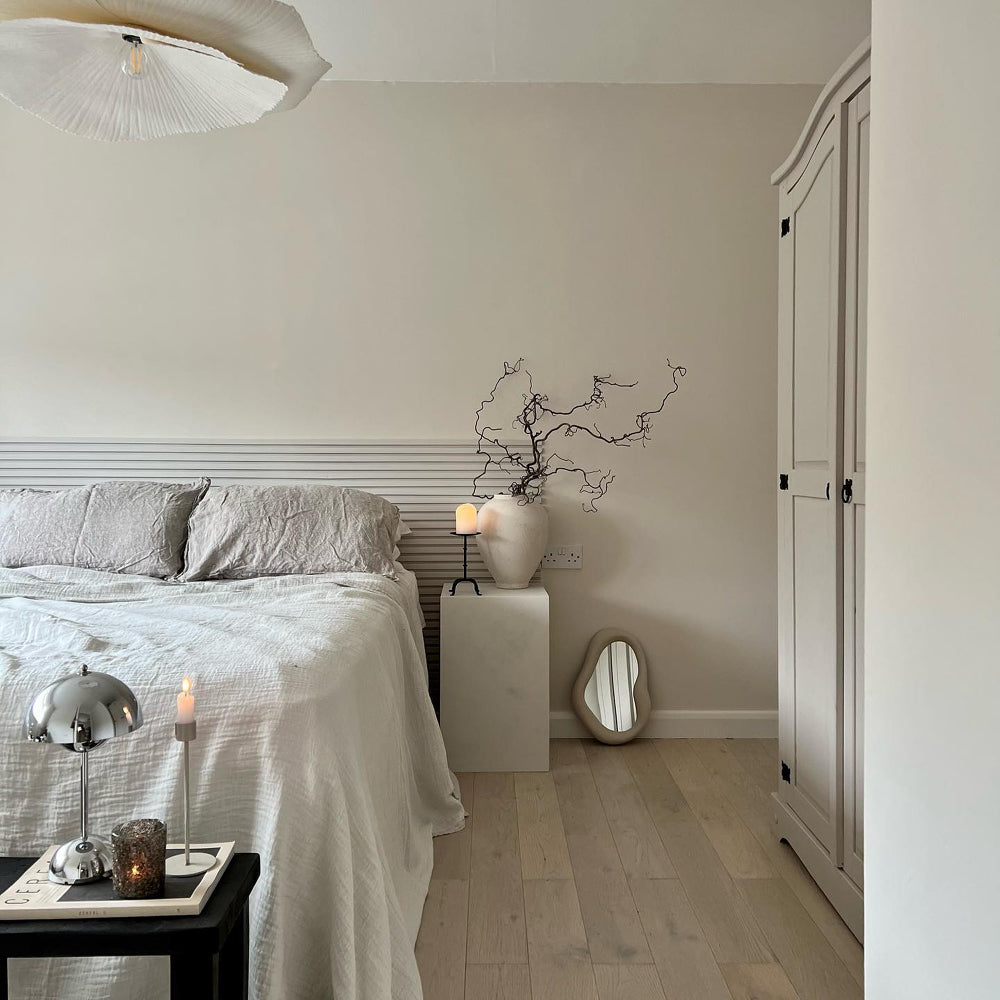
How To Choose What Colour To Paint Your Front Door

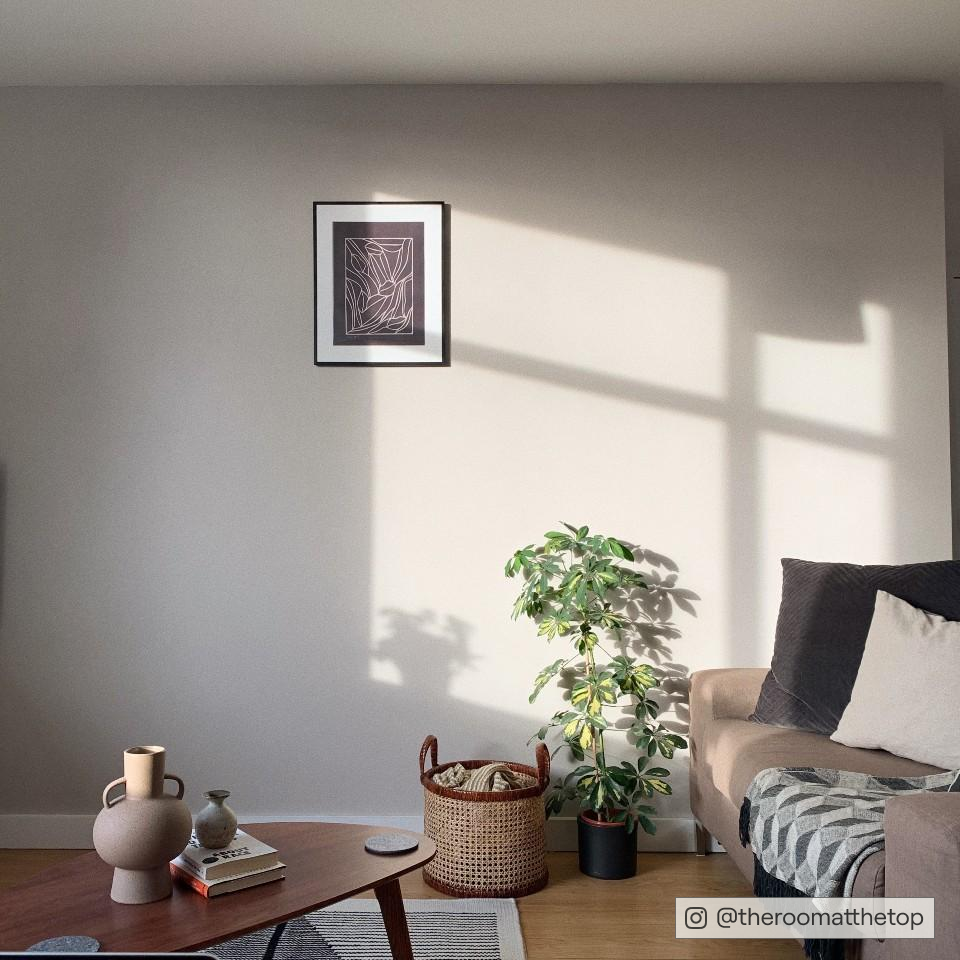
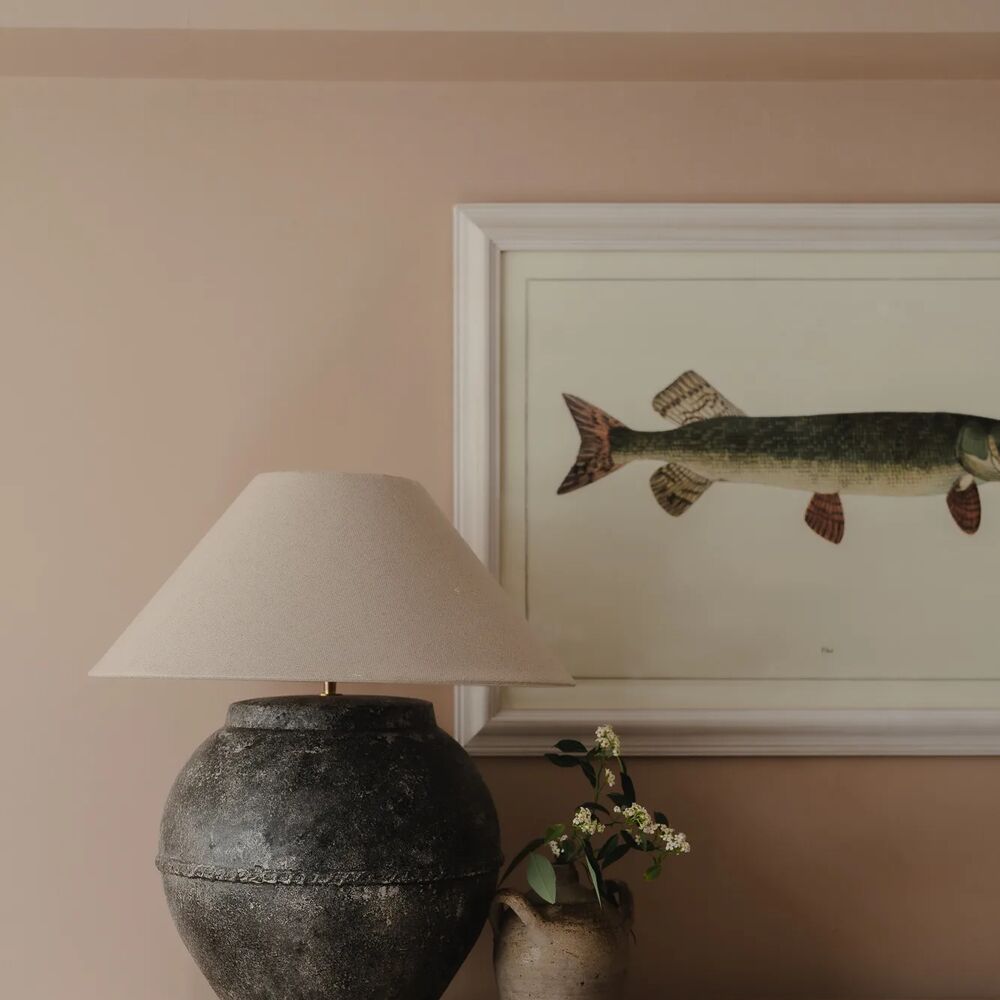
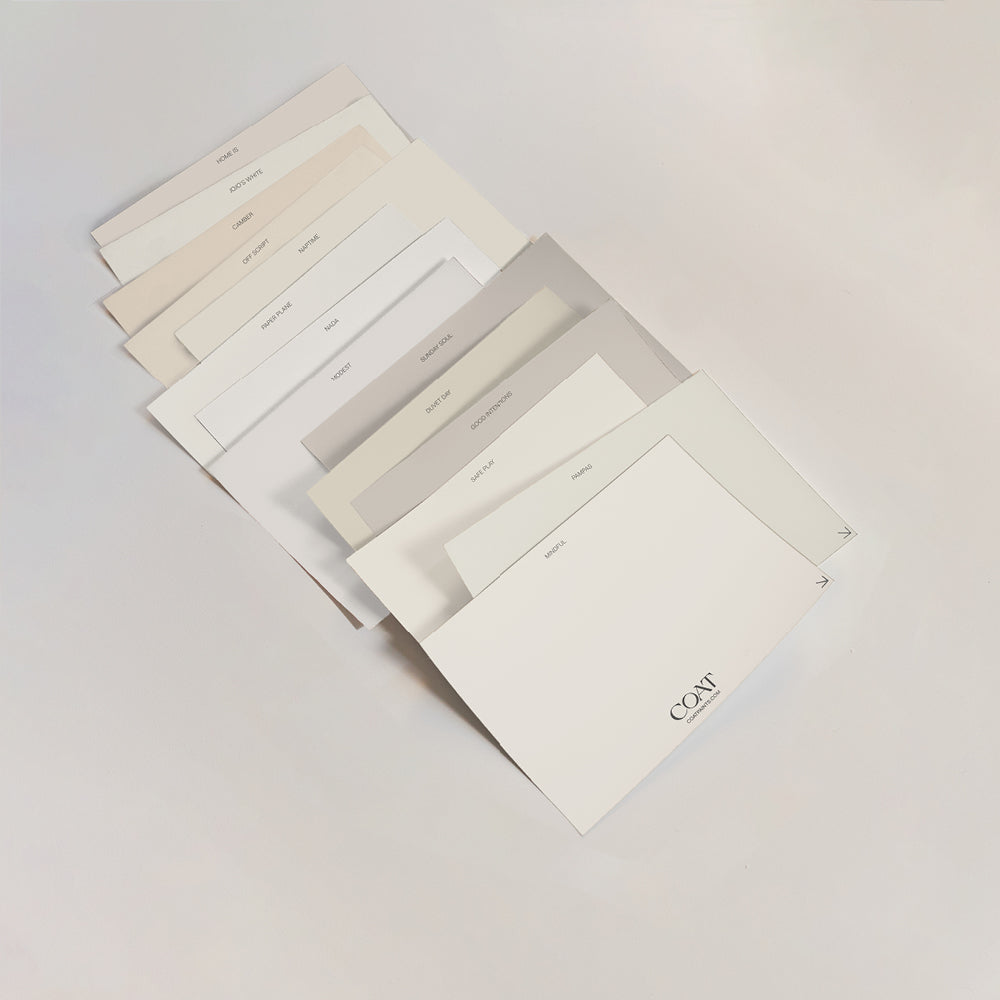
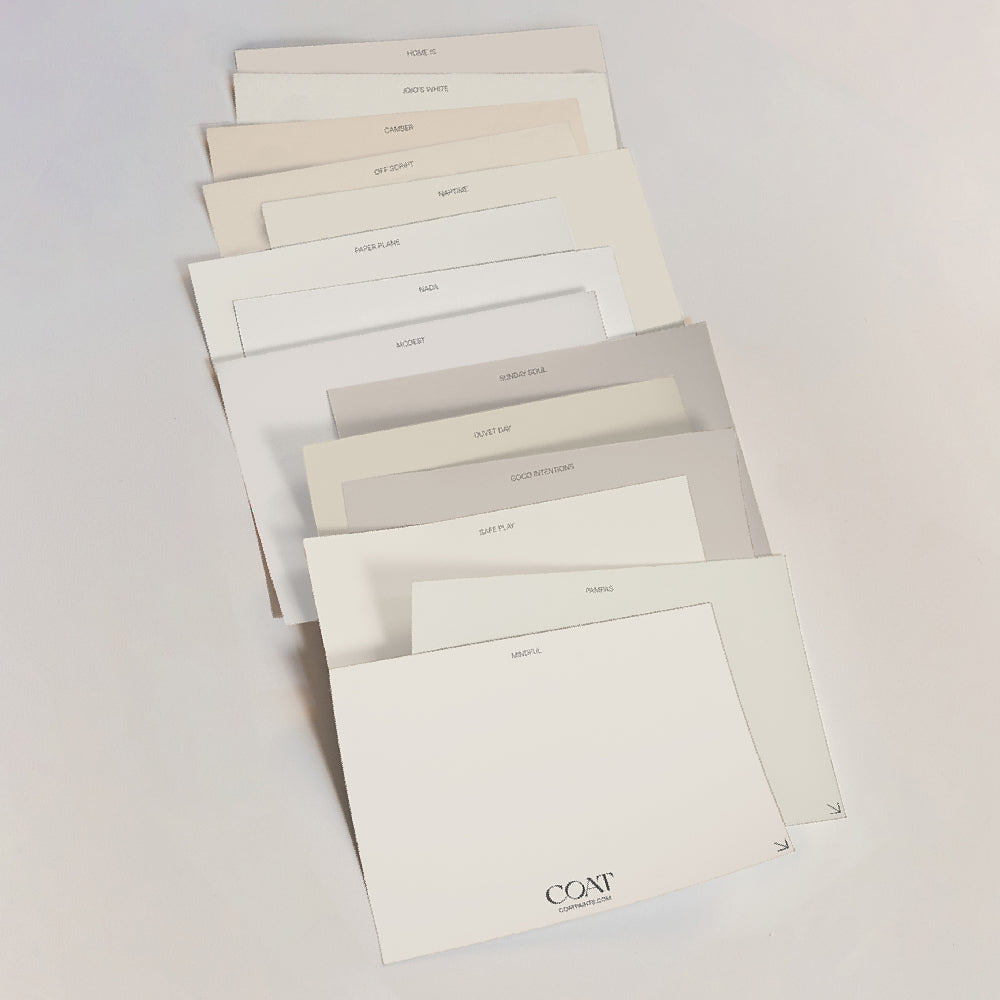
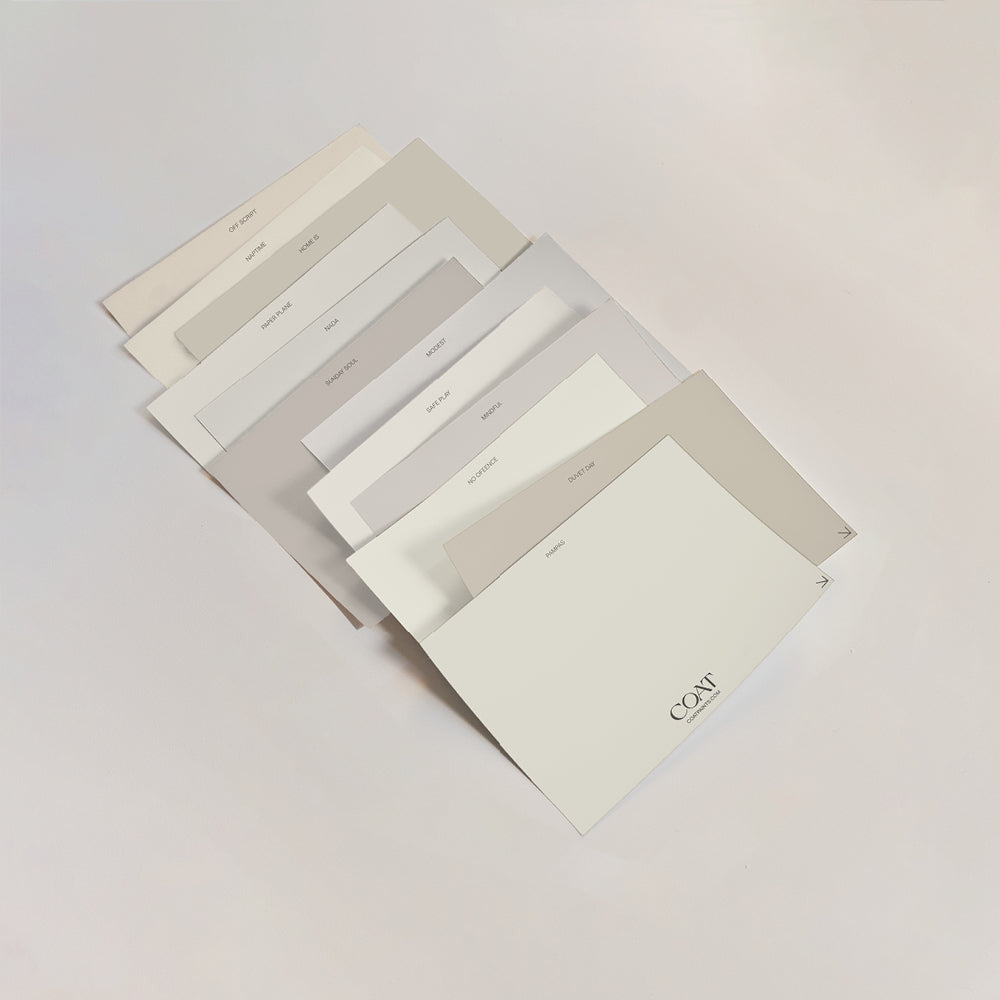
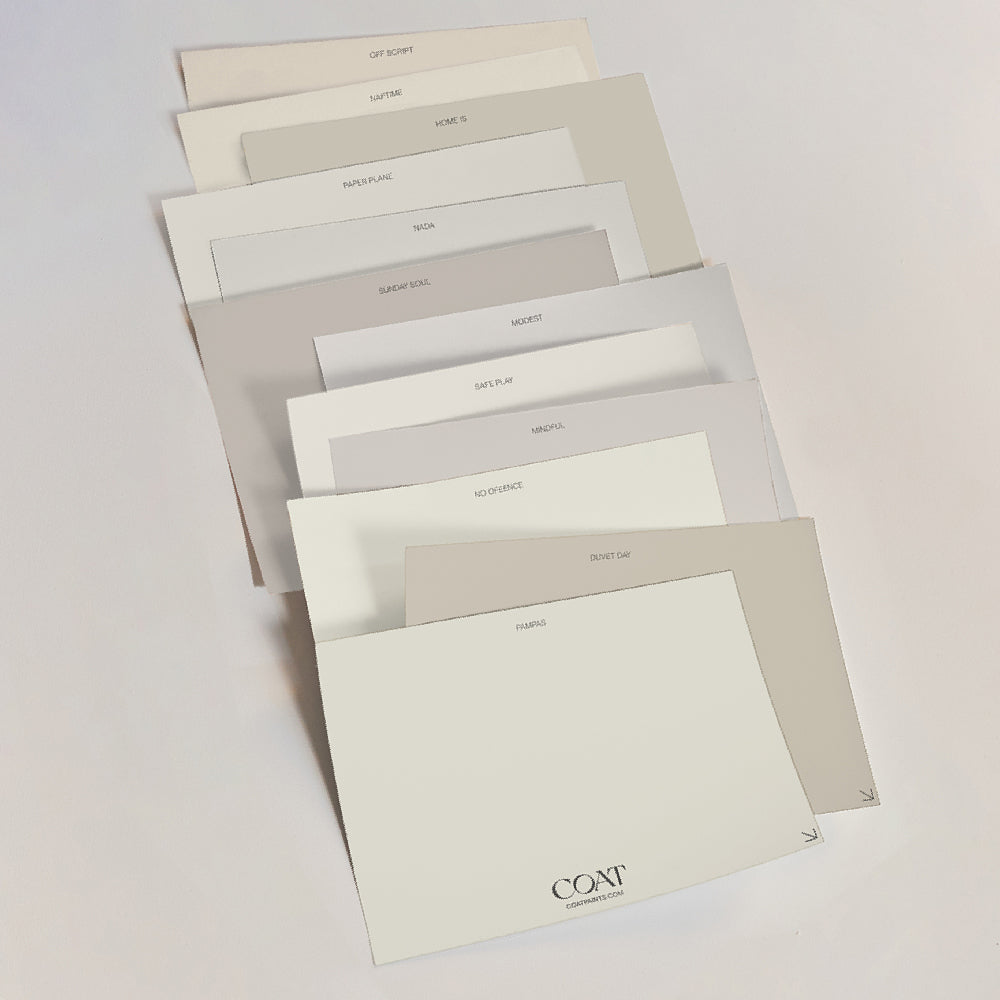
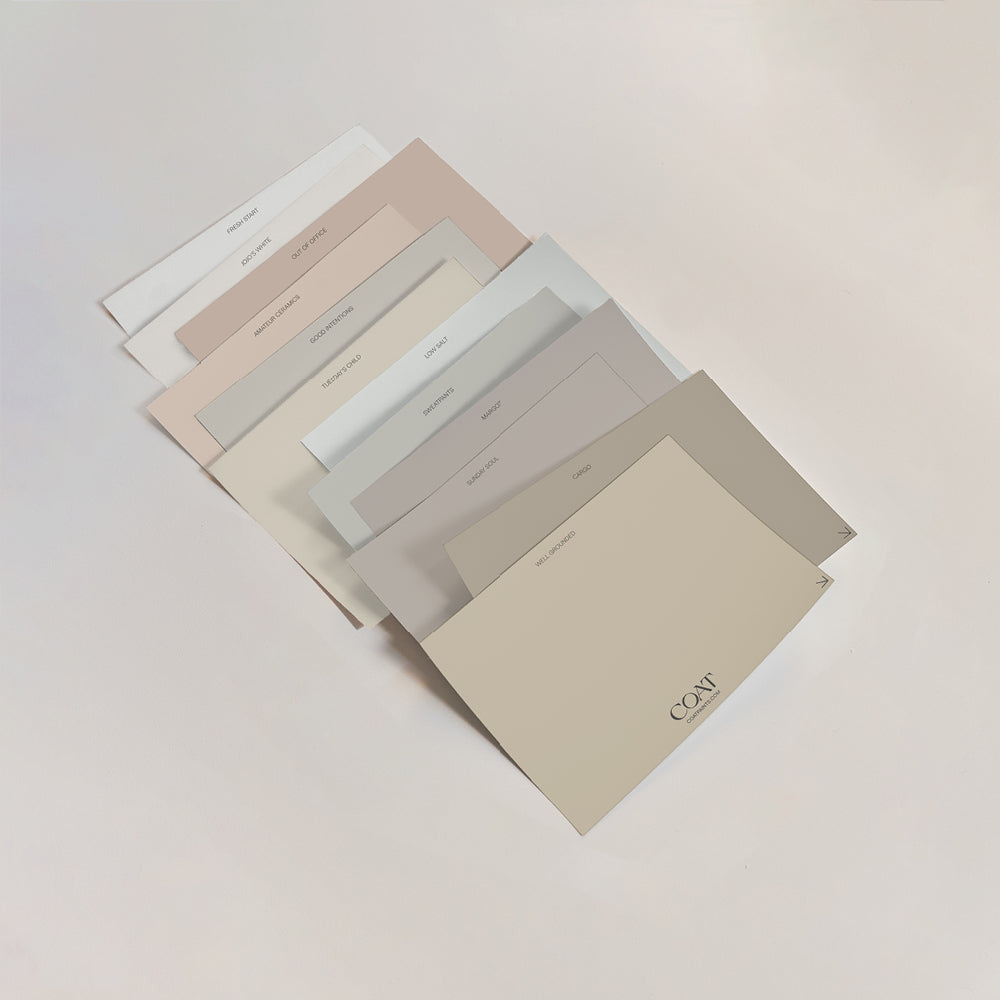
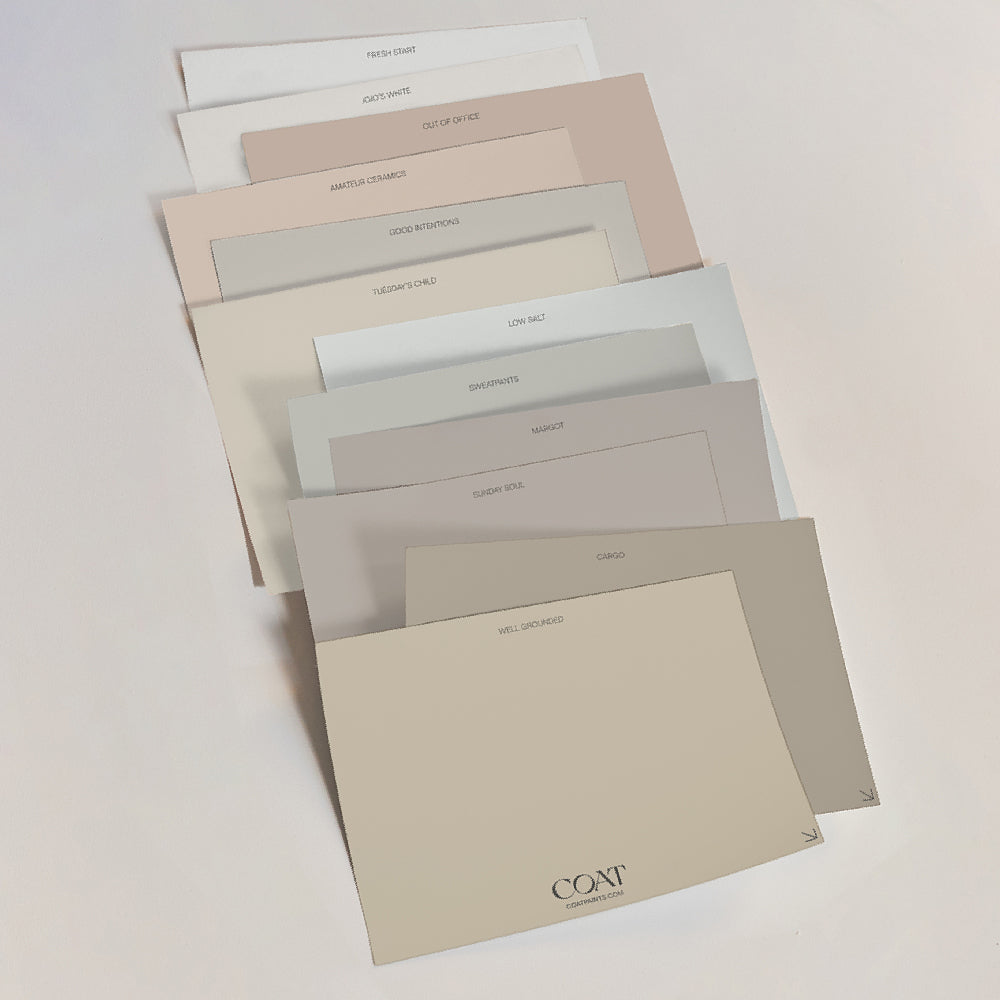
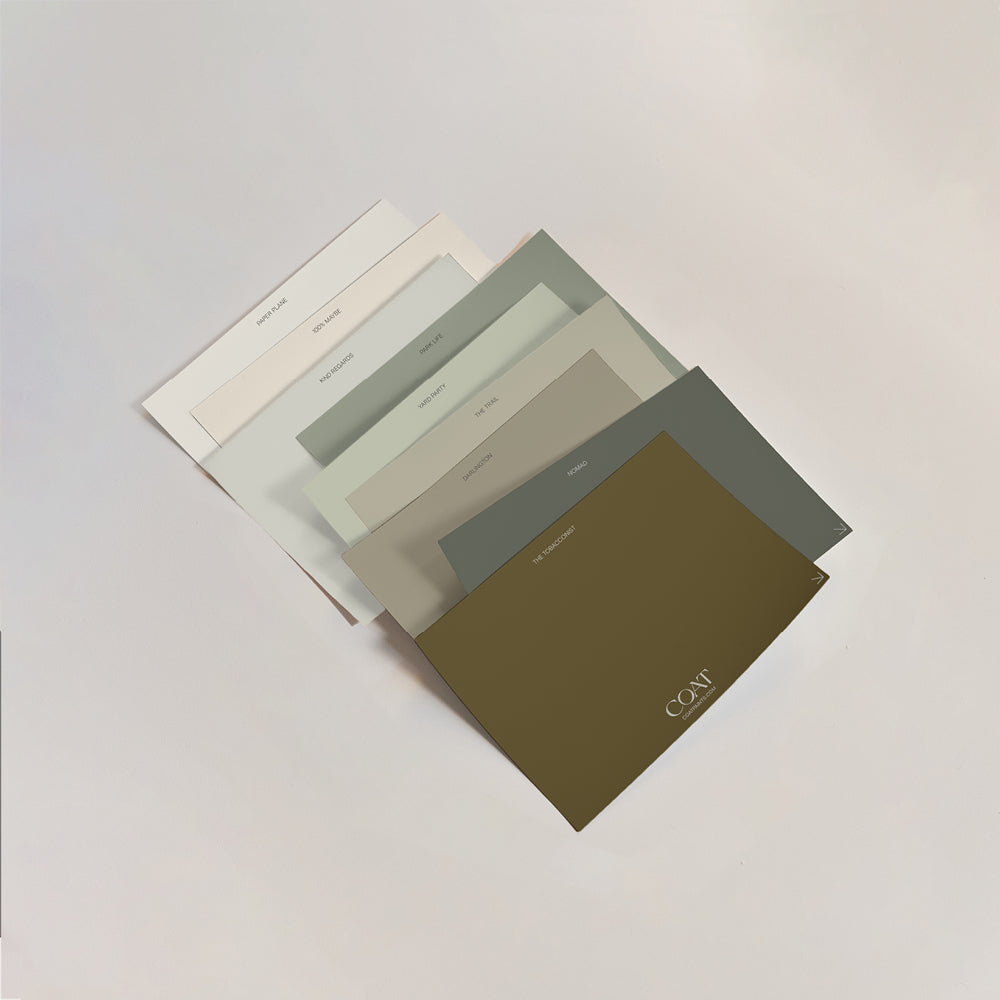
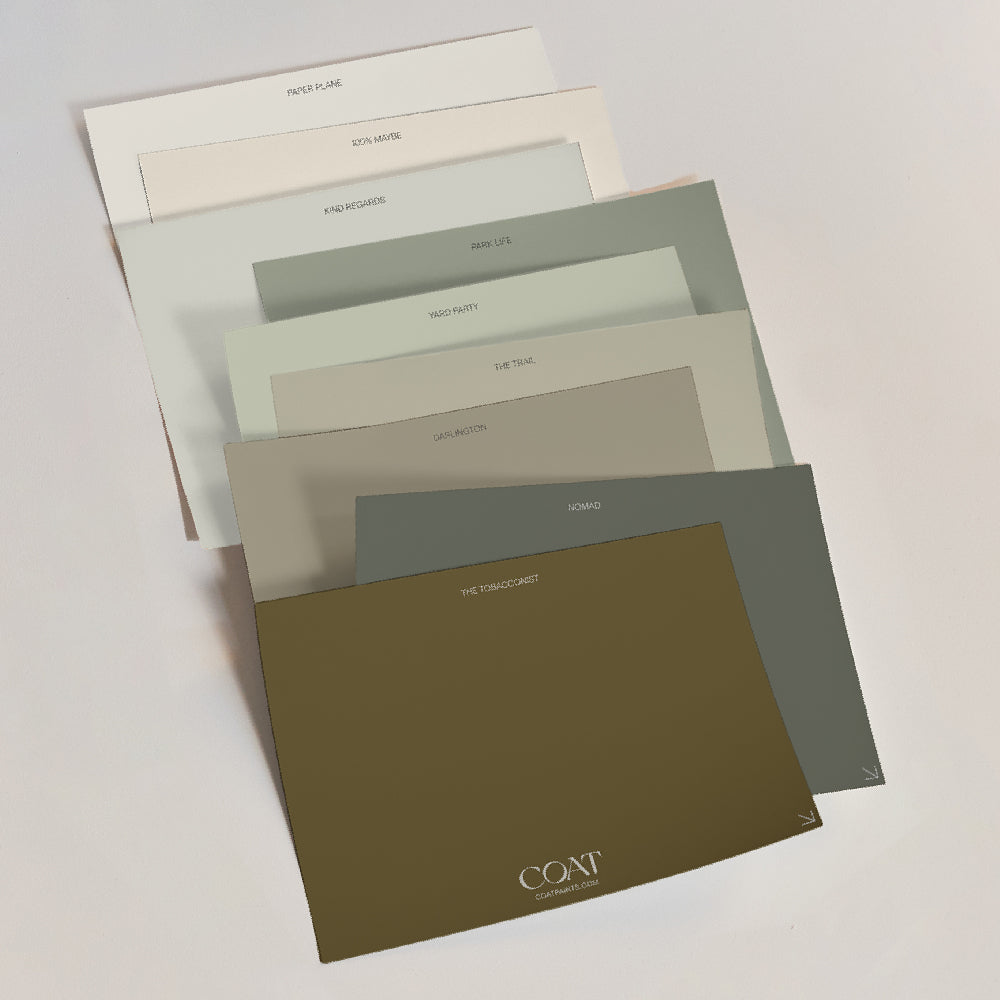
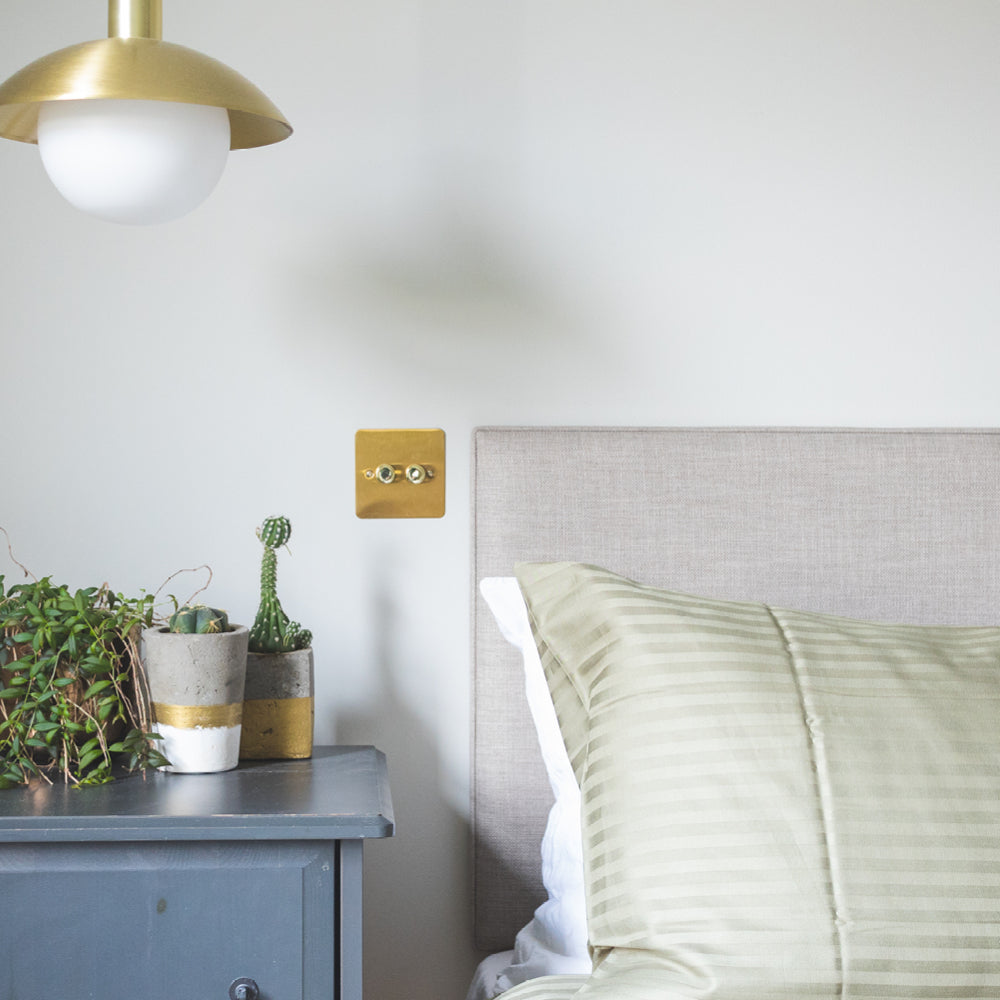
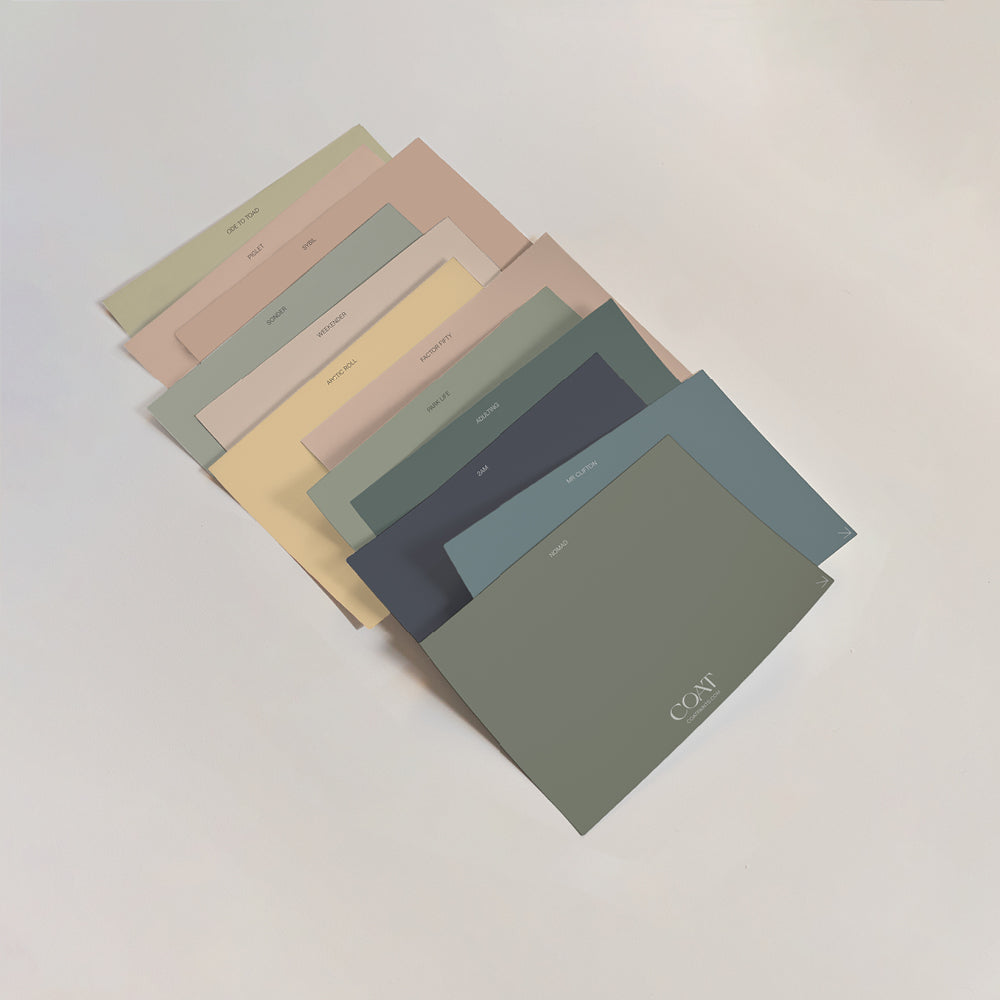
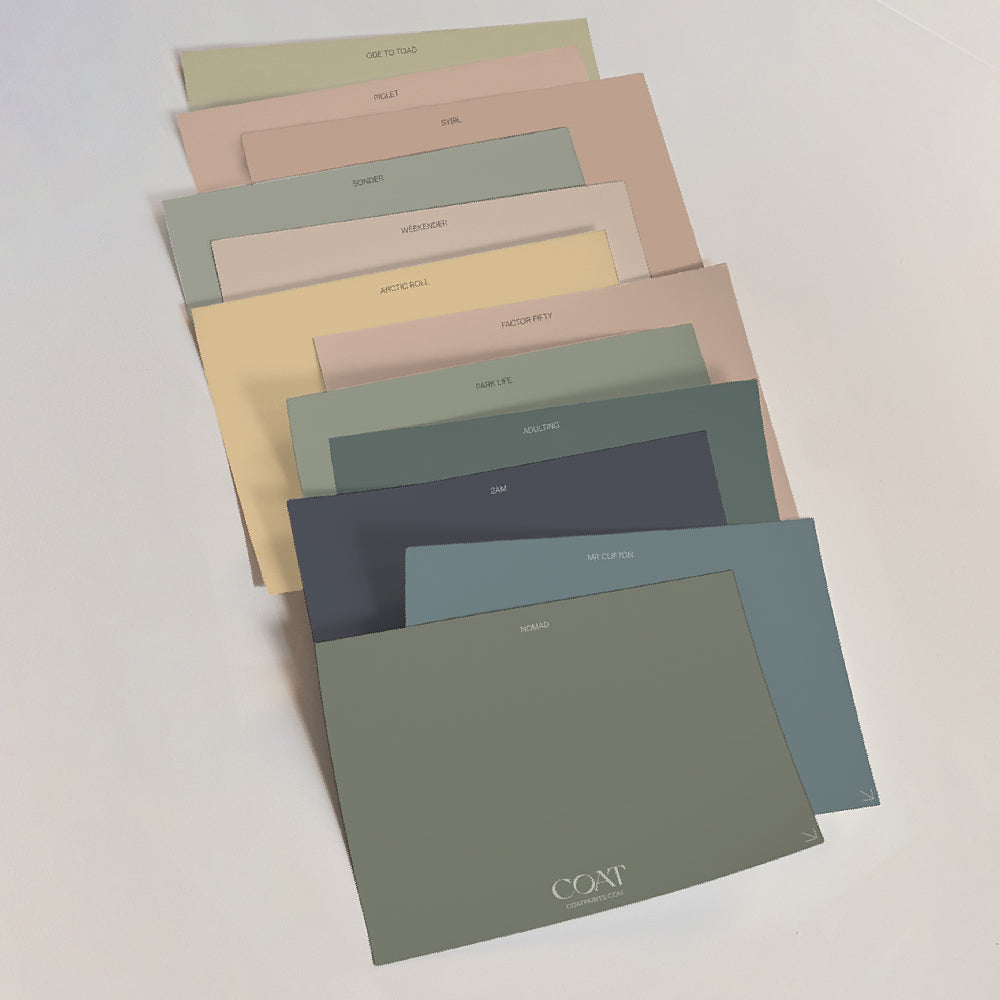
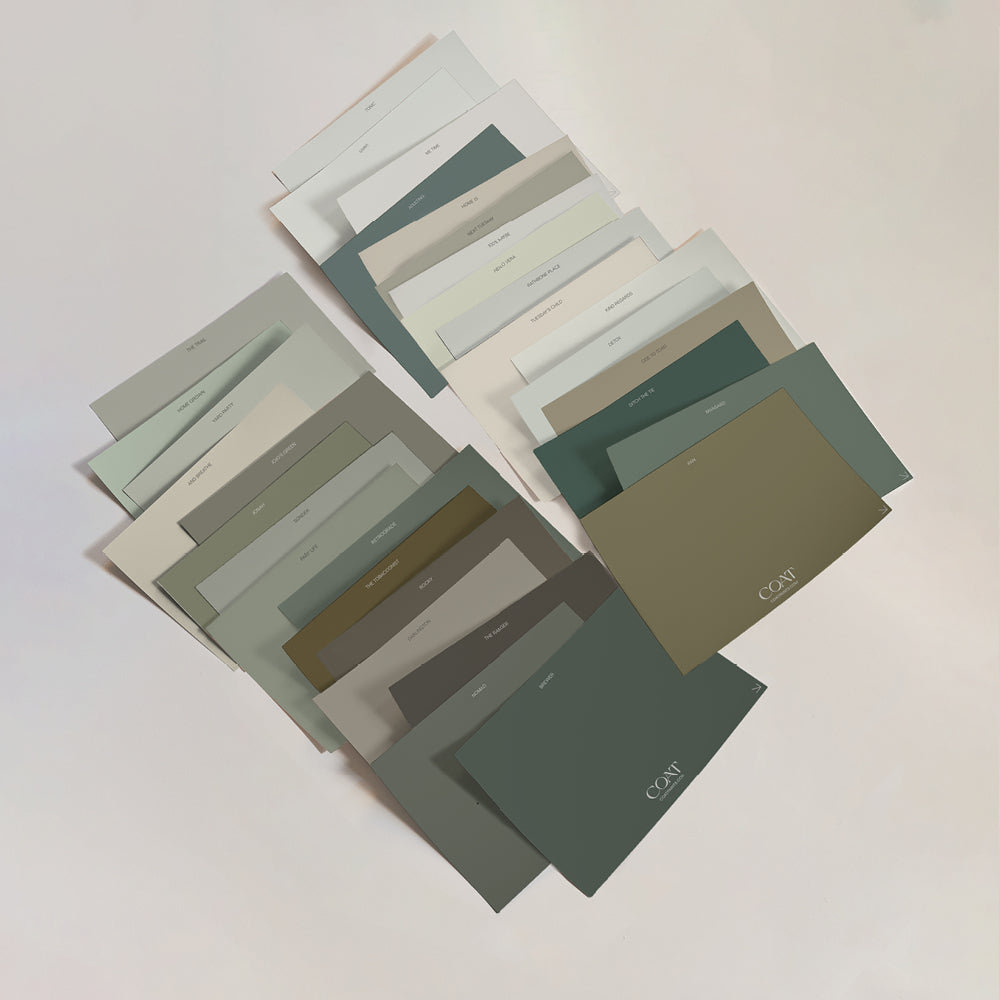
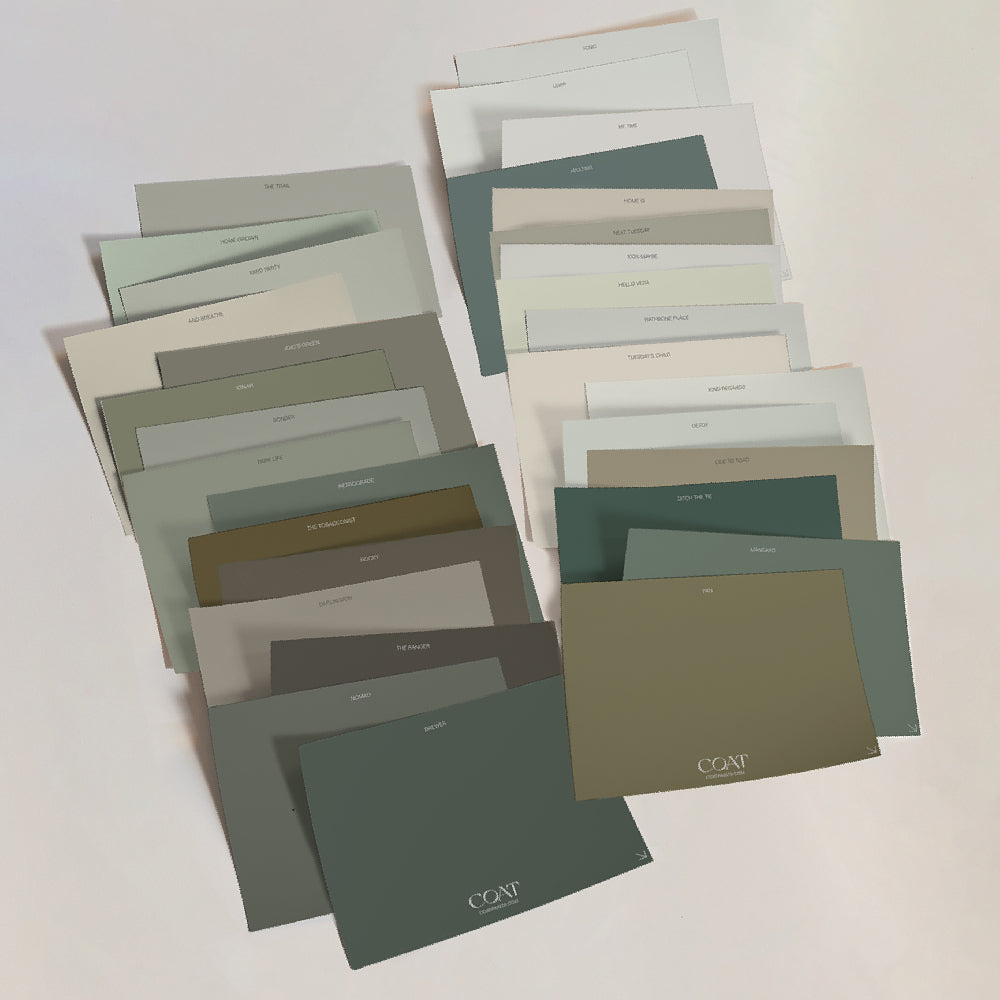
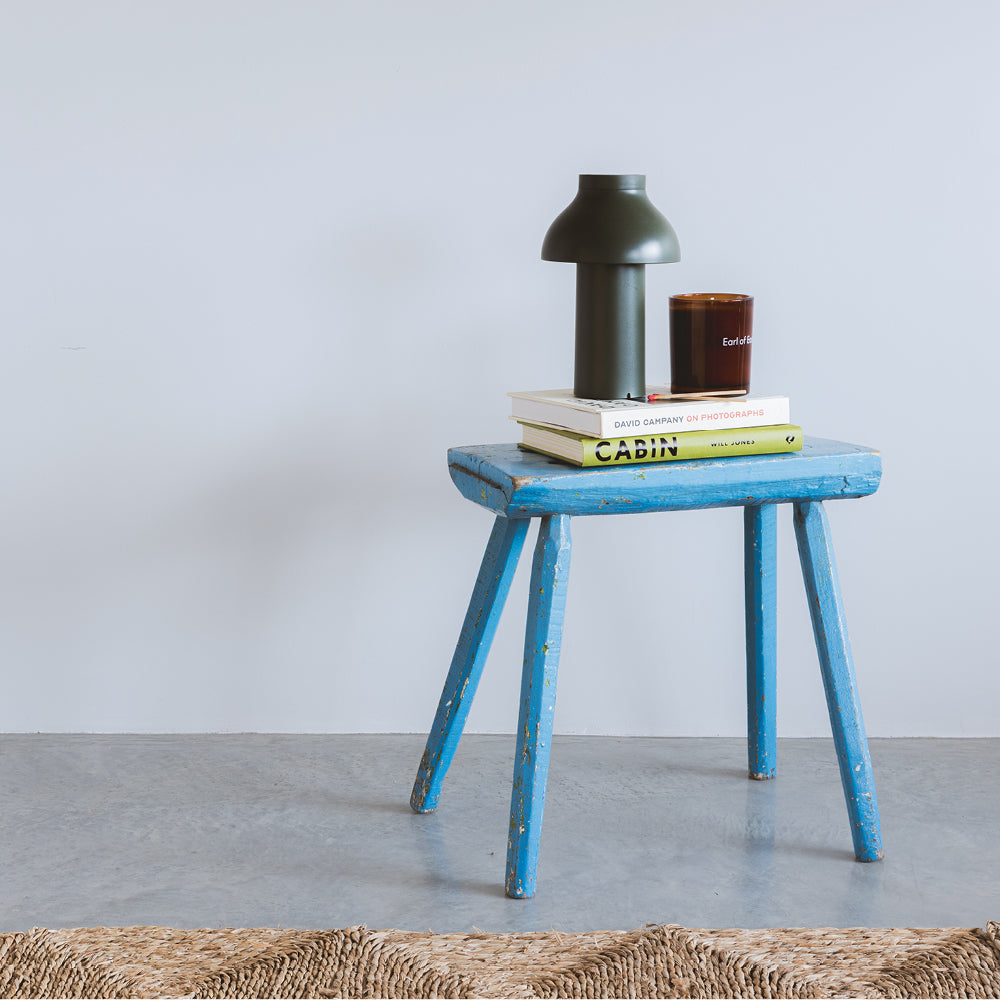
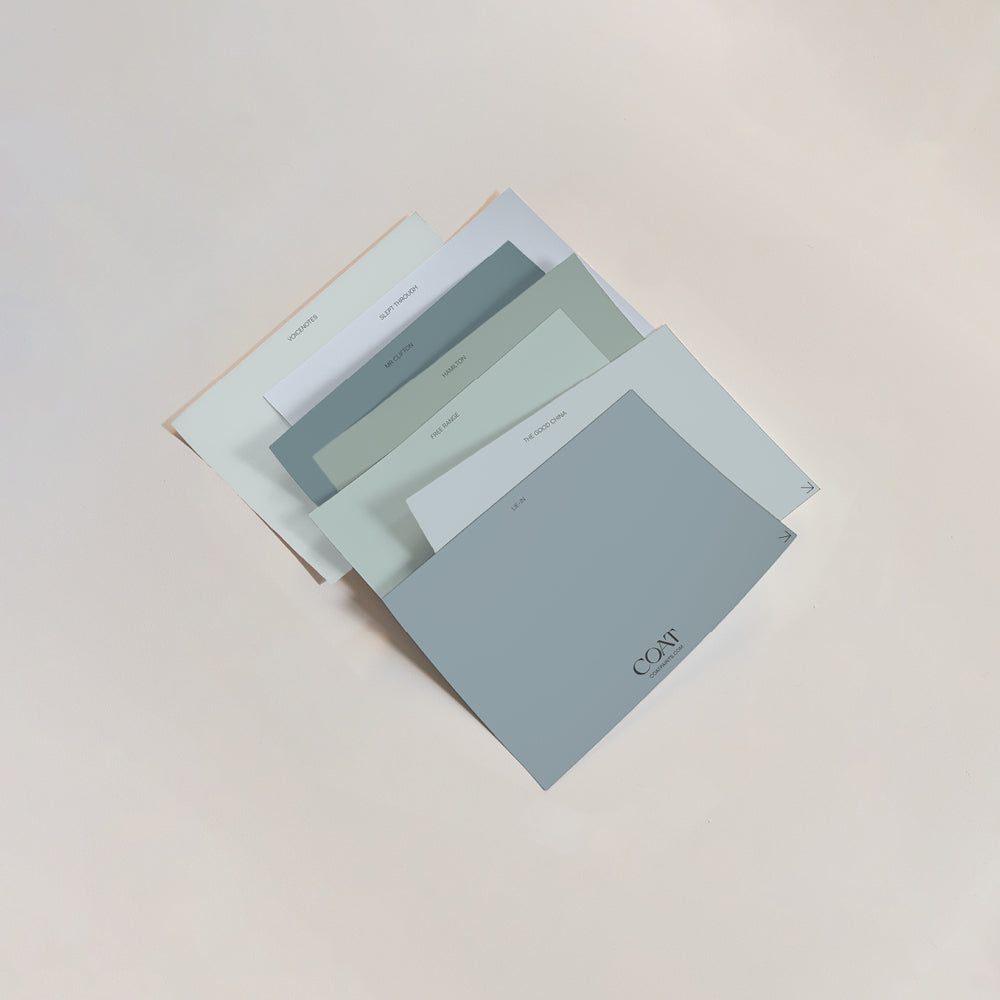
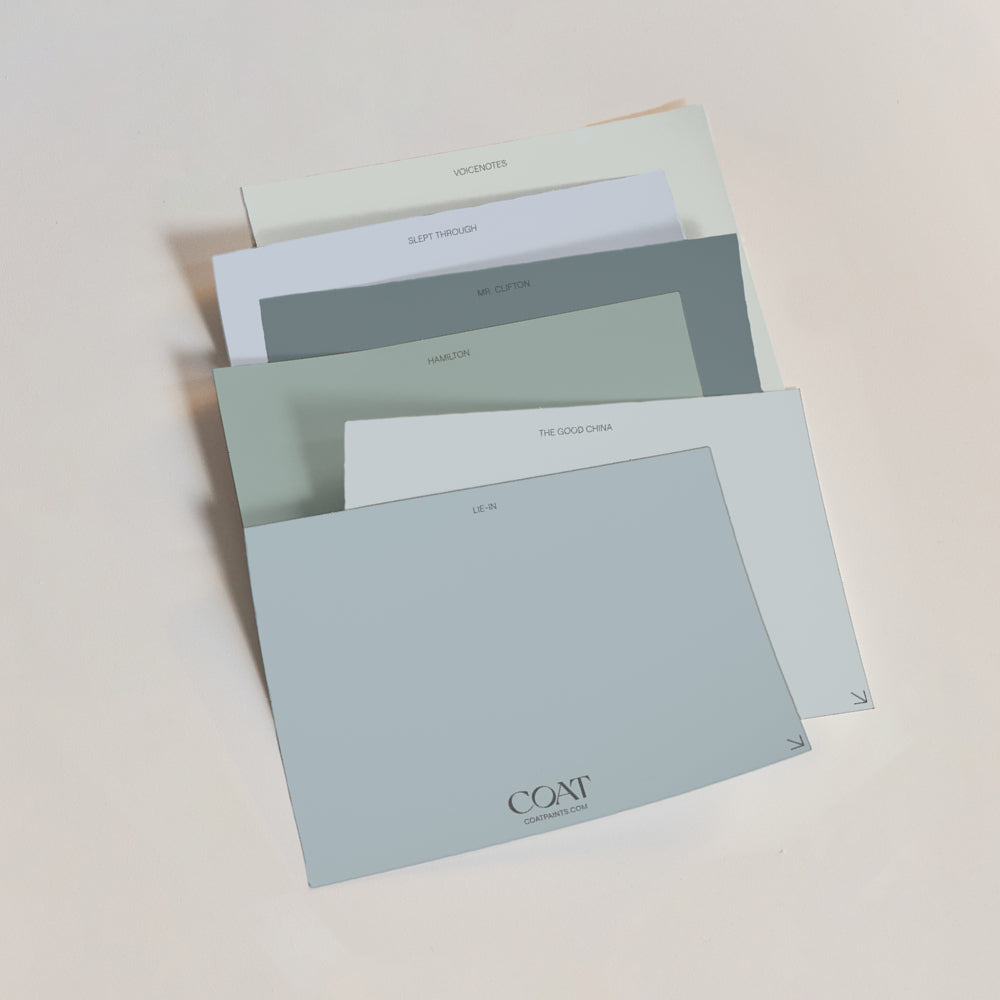
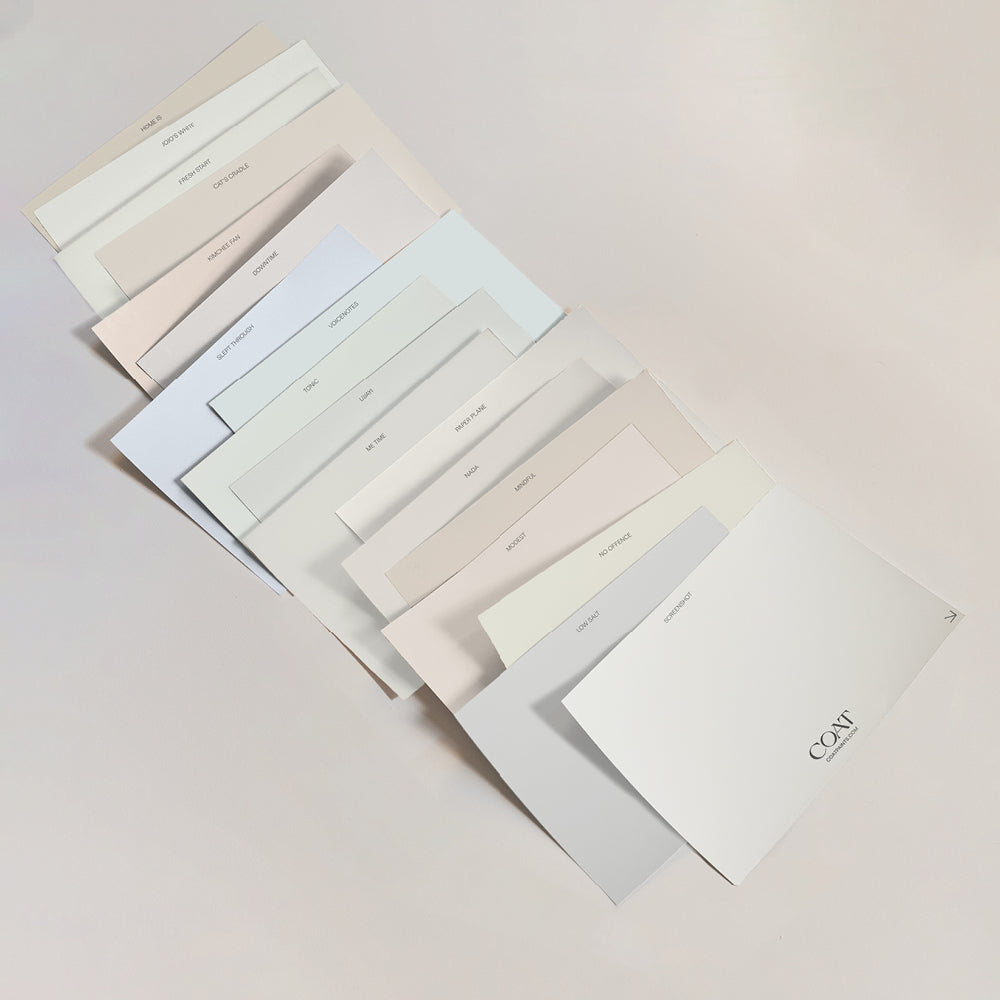
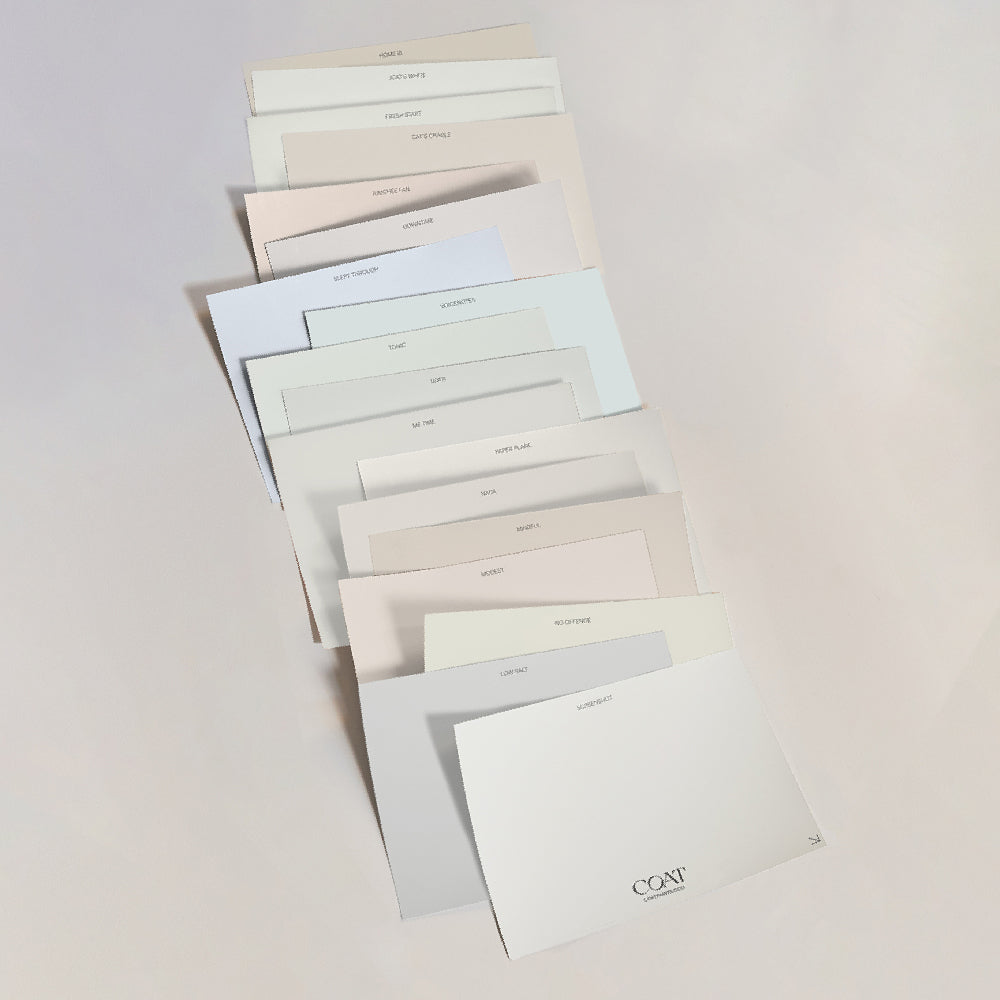
Now, this is the fun part. You might already know what colour you want (order our peel and stick swatches to see how the colour will look at different times of the day). But if you need inspiration, you’ve come to the right place. So, what colour should I paint my front door? Here are a few ideas:
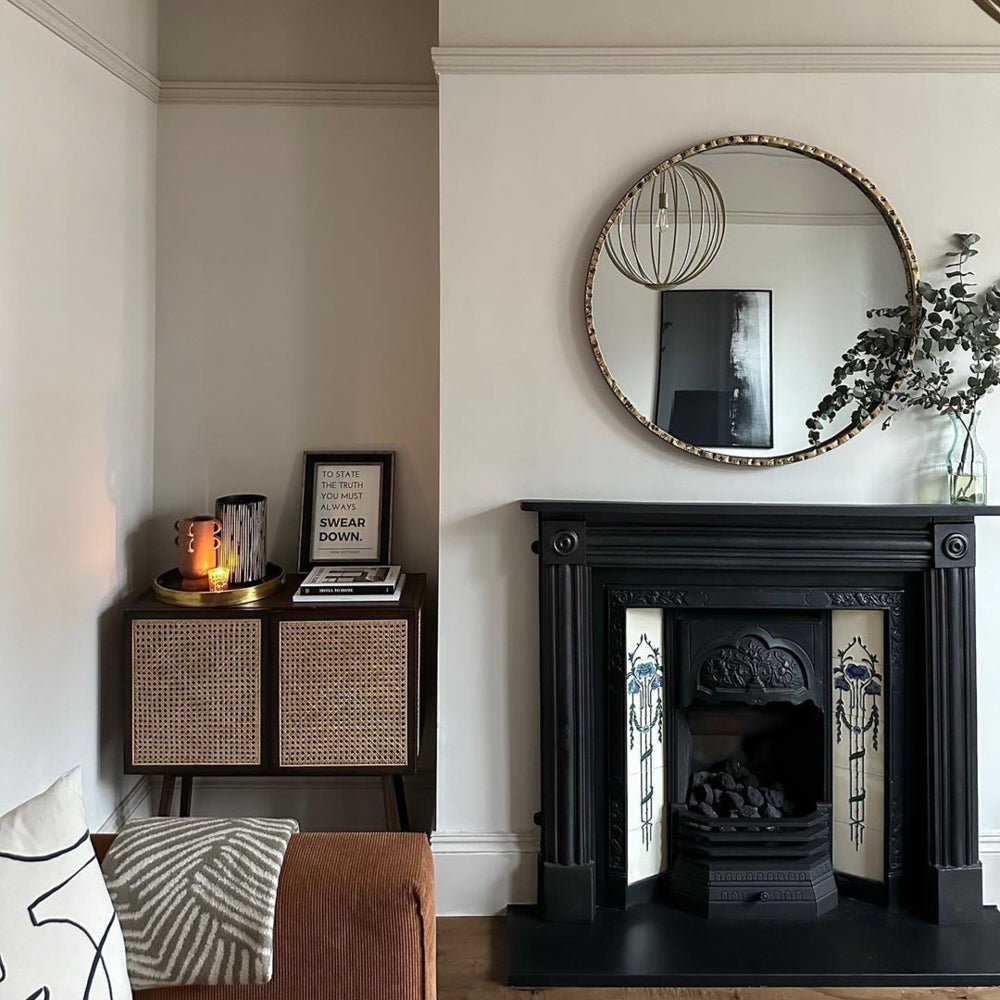
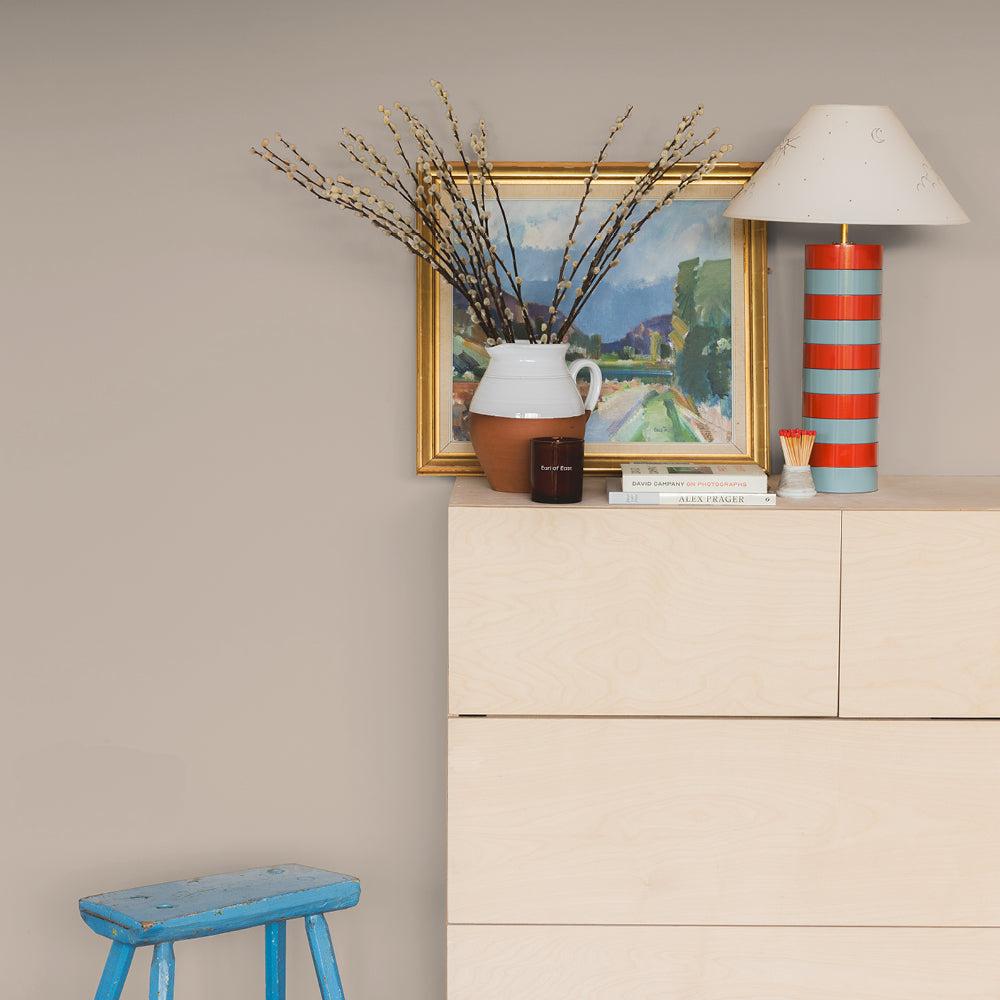
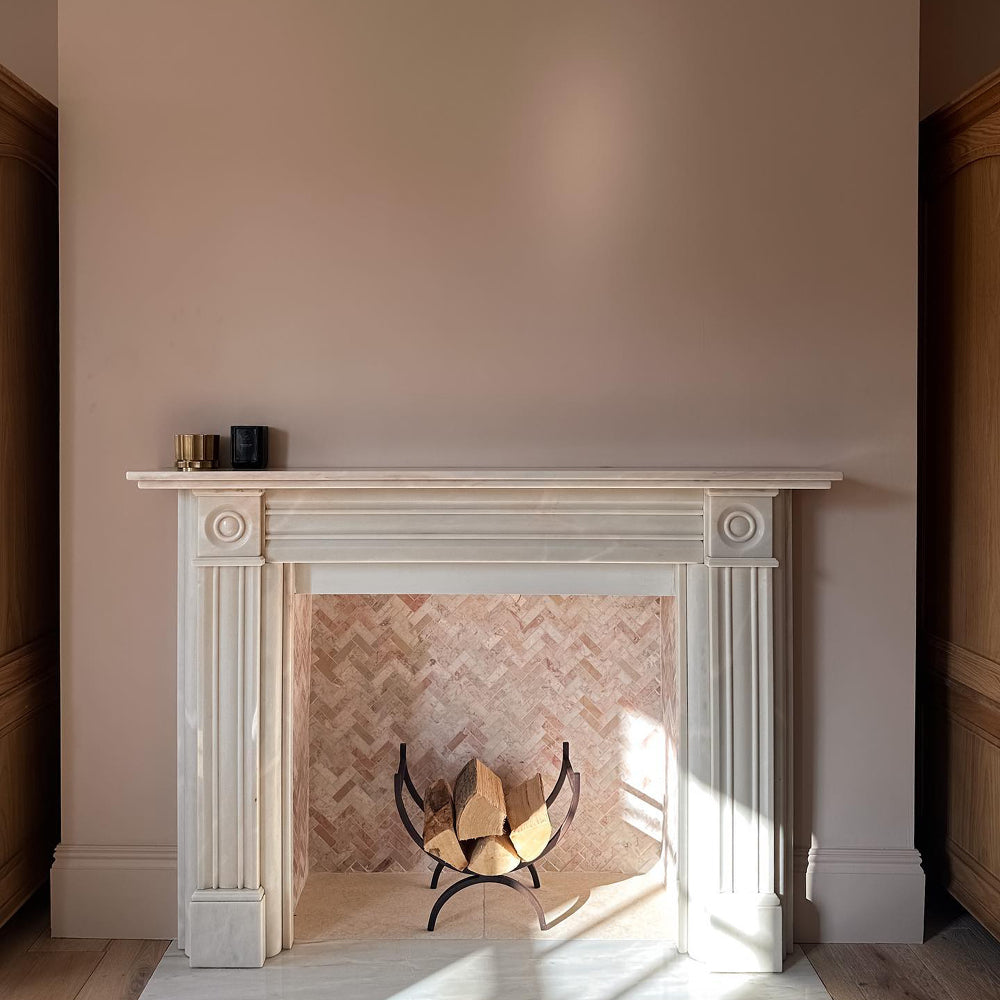
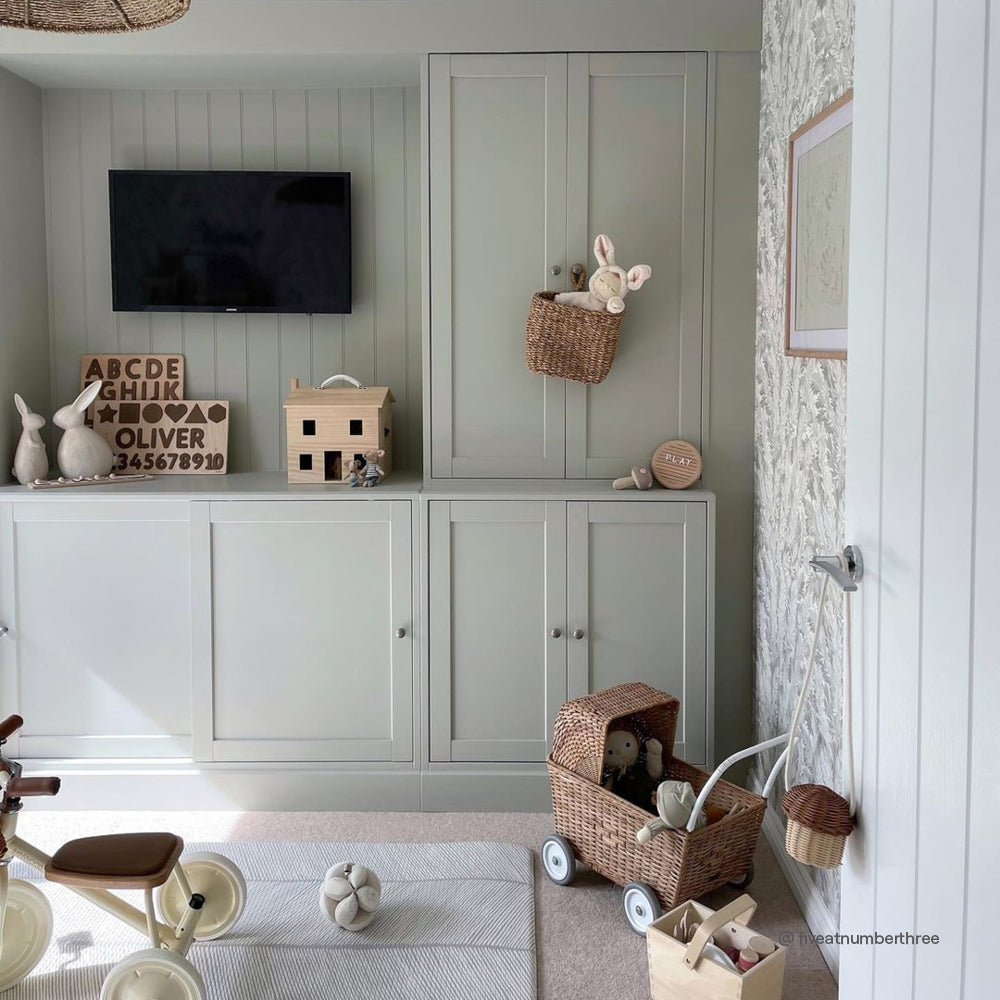
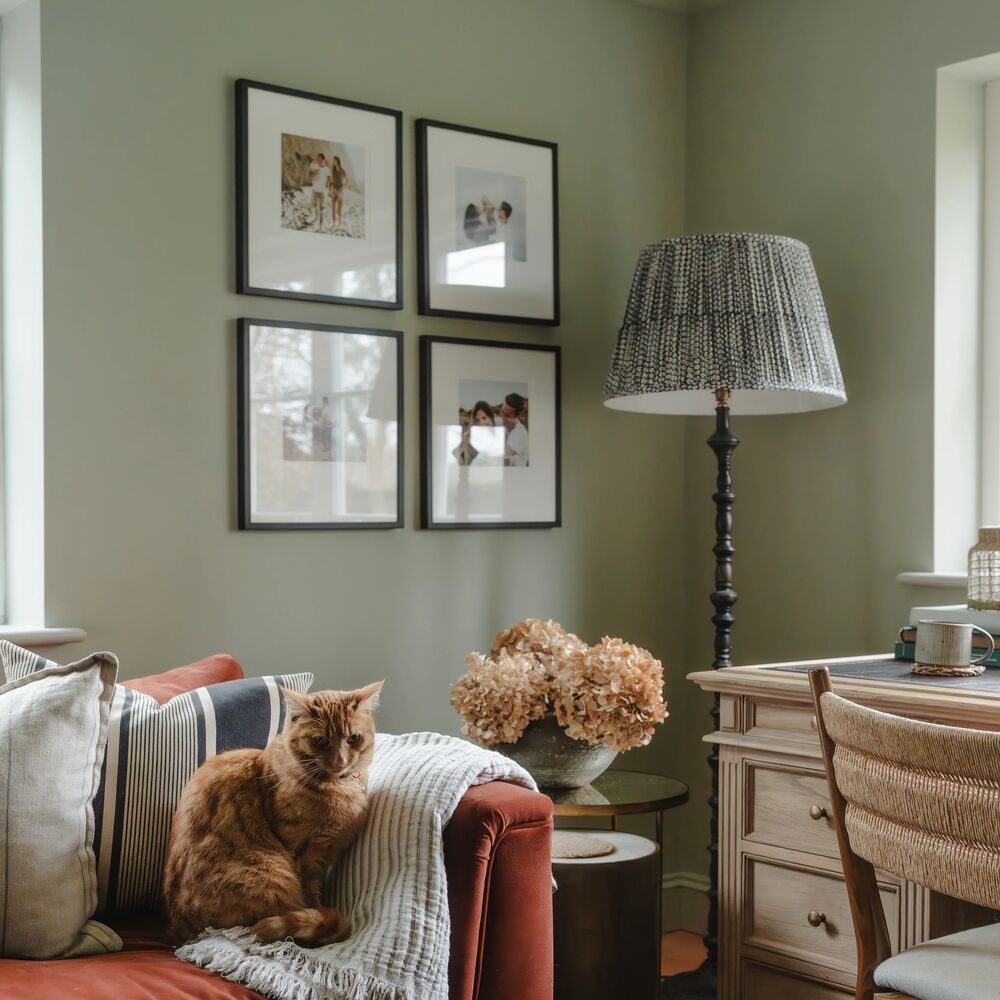
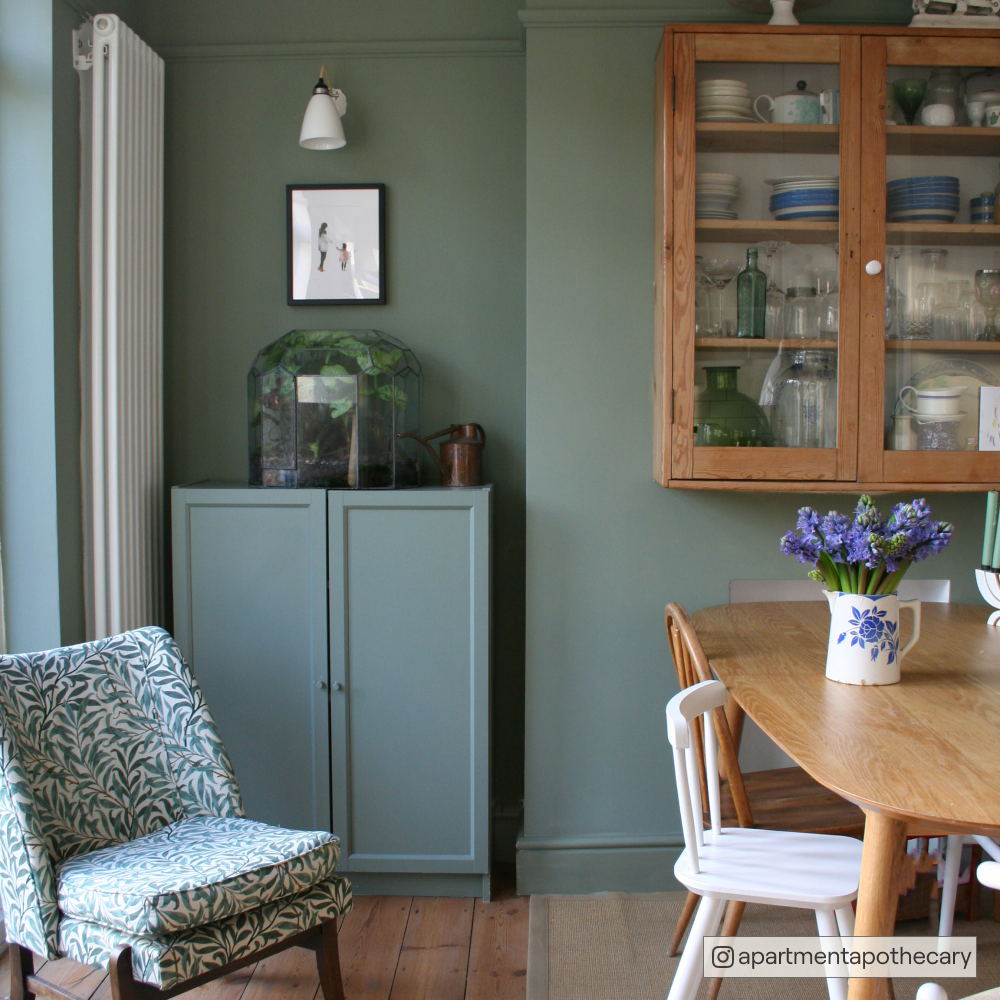
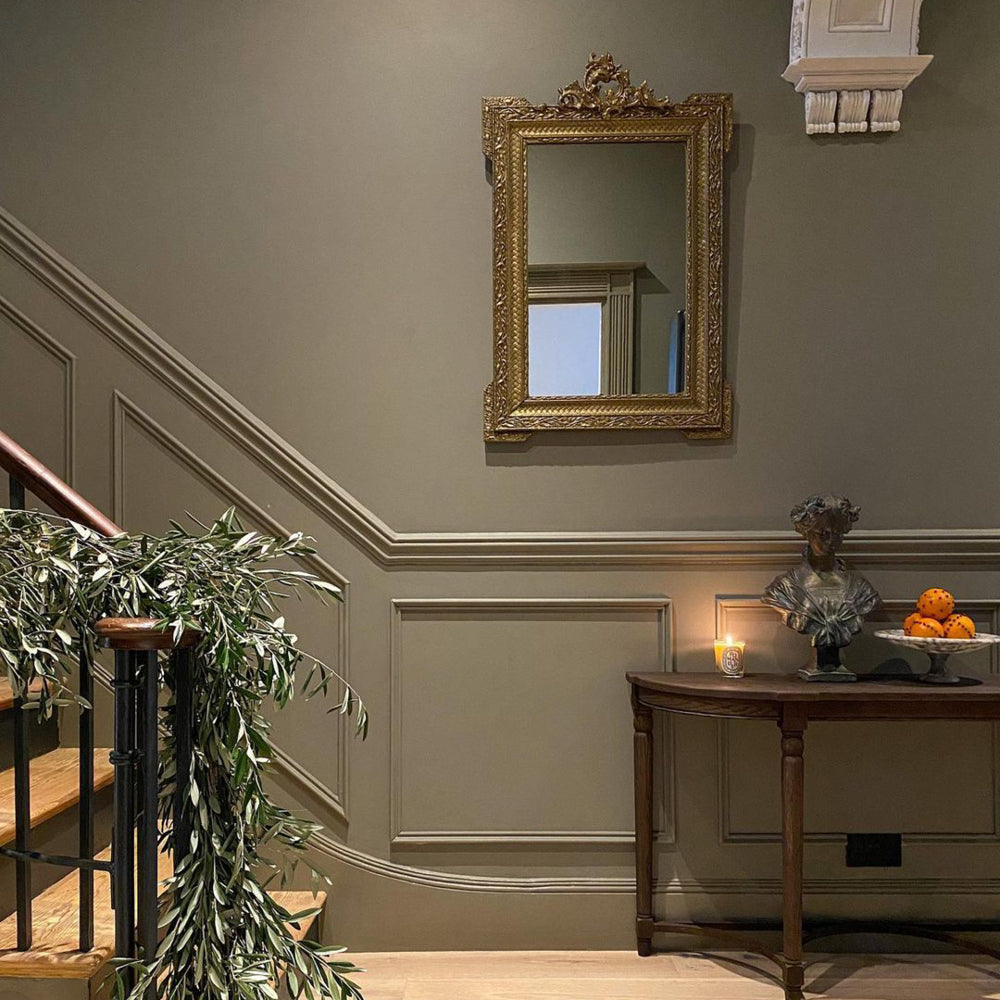
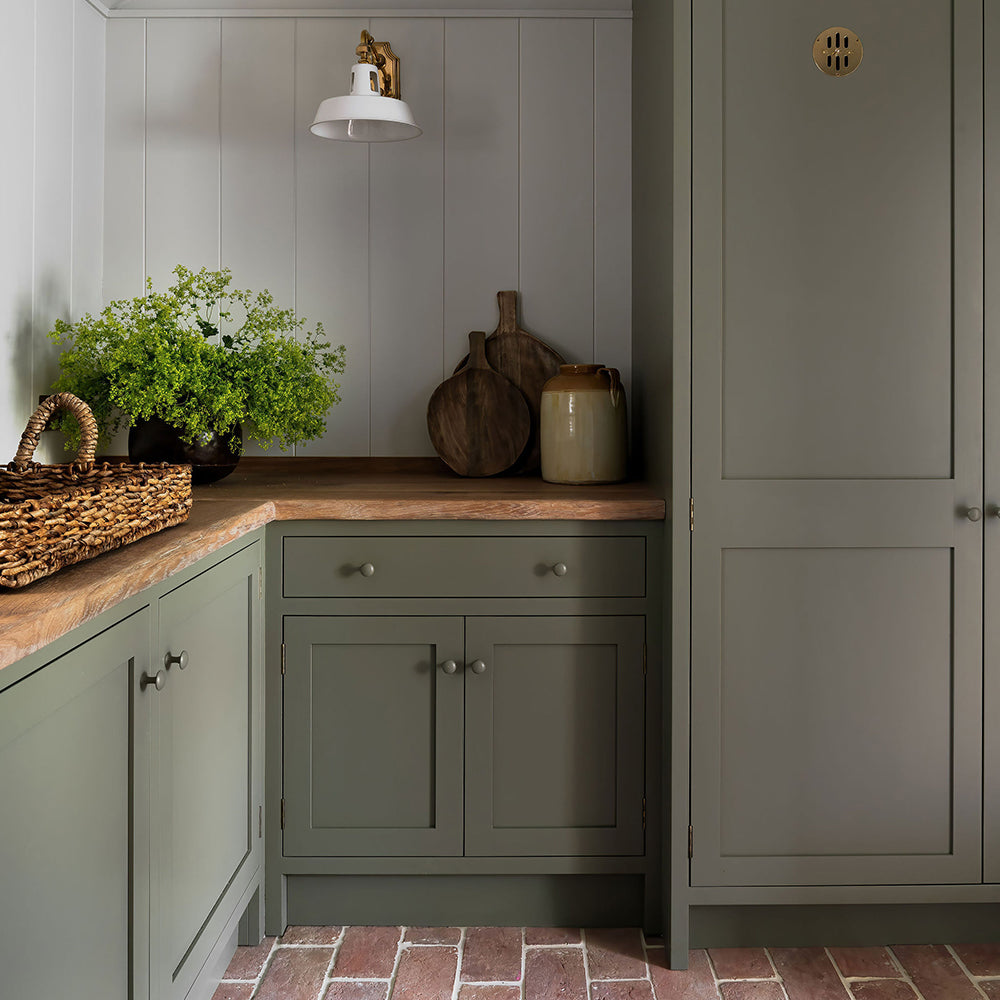
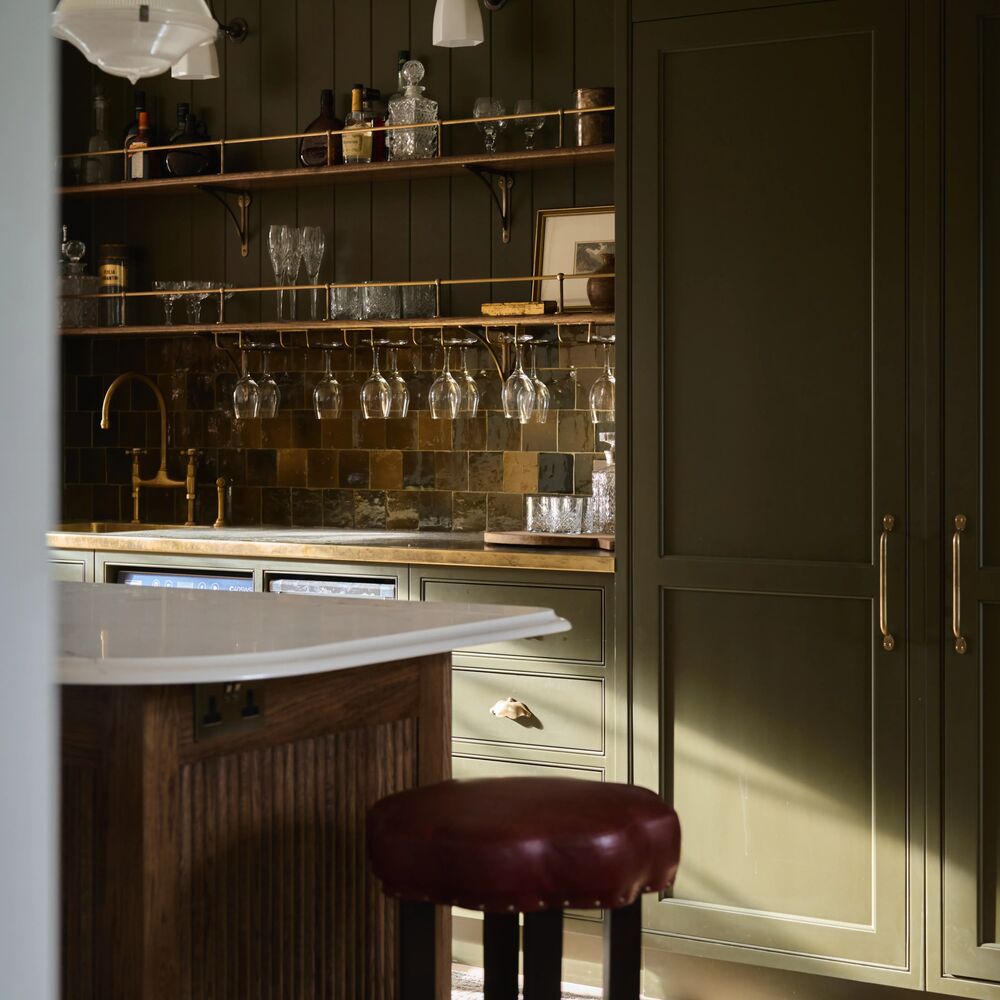
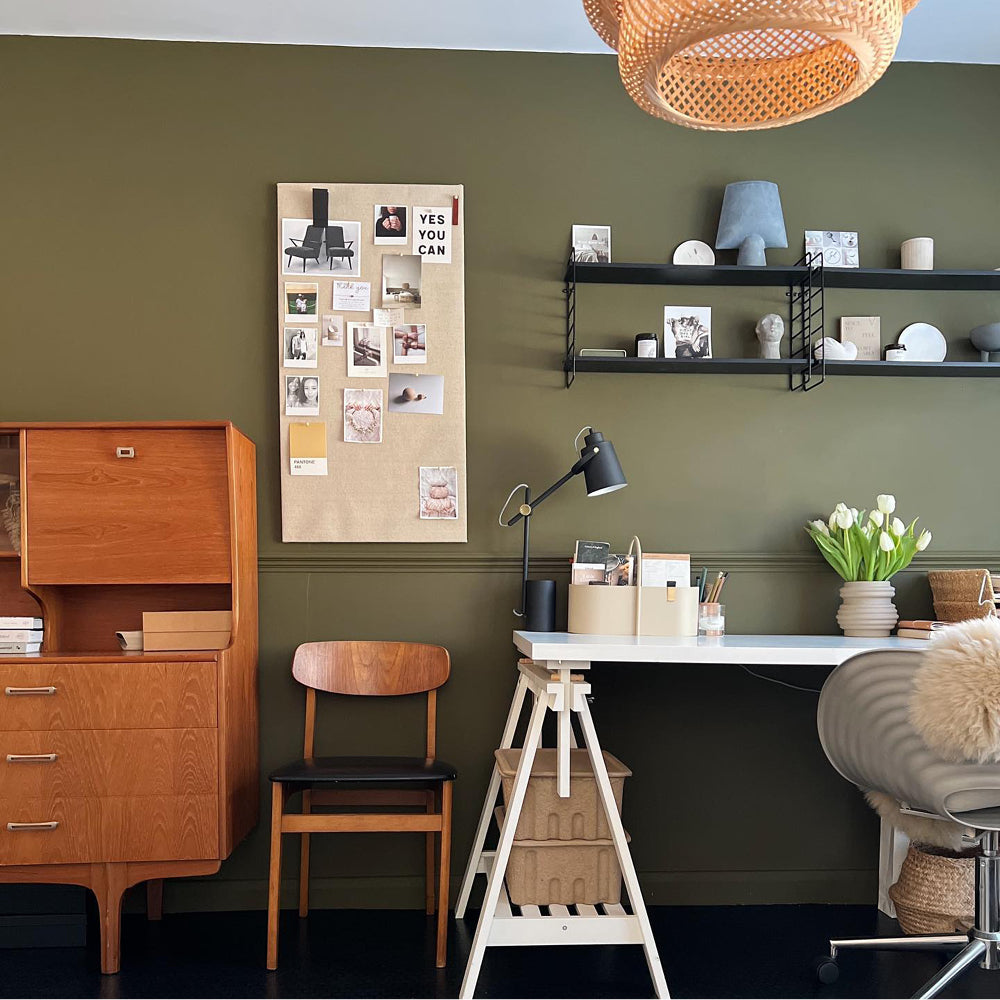
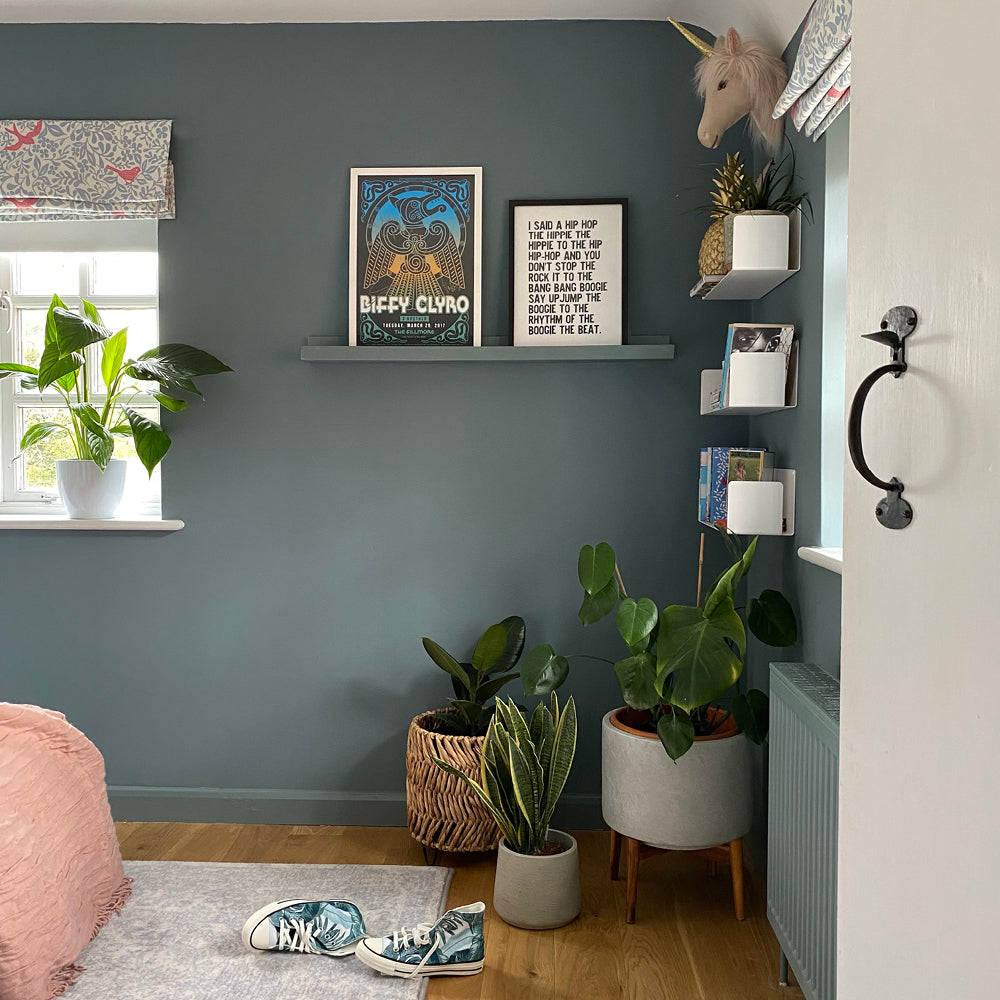
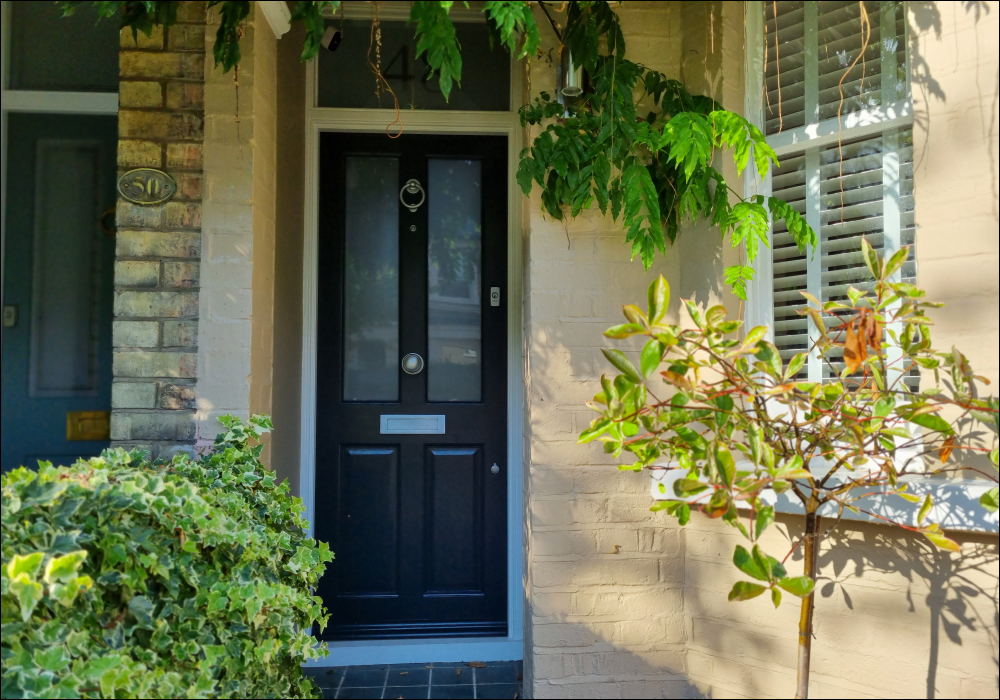
Think about the colour of the brickwork, windows, and roof. What colour would go well with them? For example, a dark blue exterior door paint will give a nice contrast to red brick. Or perhaps try a bold green. Not for you? A pale grey will also look fab. If your house is white/beige, a black door will look elegant. But if you’re brave with colour, go bright and bold.
Bold colours look amazing on modern homes - yellow and turquoise are both popular front door colours. Monochrome works well for period properties. But if you want to make a statement, a bright red door is also a good shout.
We’re not on about matching it to your local footie team! If you’re living by the coast, be inspired by the sea. If you’re in the countryside, add some more greenery with your front door colour. Although, we won’t judge you if you take inspiration from your fave sports team’s colours.
When it comes to painting front door tips, turn to the masters. Even if you don’t believe in the practice of feng shui, you could still use it to help you decide on your colour. If your door is south-facing, go with red or pink. North = black/blue. East = Green. West = metal (gold, silver or copper). They even have colour suggestions for doors facing southwest etc.
Why not reflect how you see your home with your front door colour? Orange evokes warmth and fun. Or base it on your personality. Yellow is friendly and optimistic. If you’re spiritual, you’ll absolutely love purple.
Sometimes you only need a bit of a refresh rather than an all-out change. You already know this colour looks good, so a different shade could be the way to go. Just remember that if you’re going darker to lighter, we recommend you use a primer, even if you’re painting over wood.
Remember, you can always easily change it. After all, popular front door colours now might be completely different in a few years time.

A Step-By-Step Guide To Painting Your Front Door
Are you ready for our painting front door tips? Here’s the first. You want to start early, so the door is dry by the evening. The prep process could take 2-3 hours for paint stripping and a couple more for sanding - a good reason to start early, so you can get all your prep done before lunch!
Step 1) Remove anything fixed to the door.
By that, we mean door handles and letterboxes, plus house number (if you have one on your door). It will be far easier to paint with these removed. If you don’t like the idea of taking off your door handle, put plenty of decorator’s masking tape around it before painting. Have glass panels? You’ll need to add masking tape around the edges before painting too.
Tip: Wedge the door open when you begin and keep the handle on you in case the door shuts, and you need to reattach it to get in your house!
Step 2) Clean the door.
Use soapy water (or sugar soap) to get rid of any grime and dirt. Be thorough, as you don’t want any stains showing through the paint. Rinse with clean water and allow the door to dry.
It’s best to inspect the door a few days before beginning the job, just in case you spot any mould. You’ll need a stronger cleaner to tackle that, so you don’t want to be caught out.
If you’re painting a new wooden door, check to see if it’s been treated before cleaning it. Add a few drops of water onto the wood. If the water soaks in, the door is ready to paint. However, to be safe, give the door a light sanding first (see steps 5 and 6) before painting (step 8). You will likely need two coats of exterior door paint, as the first will act as a primer. Alternatively, add a primer (step 7), and you will only need one coat of paint.
If the water beads up on your new wooden door, clean it with soapy water, rinse, then leave it to dry. This will then allow the paint to soak into the wood instead of sitting on top of it. Now the door is ready for paint but like above, give it a fine sanding first. And decide whether to use a primer or stain blocker before your first coat of paint.
Step 3) This step focuses on how to repaint front doors - scrape off any old paint layers.
Paint stripper will make this easier. Make sure you’re wearing gloves and goggles!
- Use an old paint brush to apply the paint stripper to your door in even strokes. Don’t forget to get into the mouldings and corners too. How do you know it’s working? It will look like the paint is bubbling.
- Leave for the recommended time stated on your product before using a flat-bladed scraper to remove the paint on a test patch. If it’s not coming off easily (or there are multiple layers), you might need to add a little more paint stripper. Allow it to work before testing again.
- Now that the stripper has worked its magic, you can scrape off all of the old paint on the flat surfaces to reveal the bare wood.
- Use a shave hook to remove paint from the mouldings, scraping it towards you.
- Time for another clean. Check the paint stripper instructions to see whether you should use white spirit or water. Be thorough - you want to remove all traces of the chemical from your door before leaving to dry and moving on to the next step.
Tip: If you have pets or children, you don’t want to risk them coming into contact with the paint stripper. Take the door off its hinges and work in a well-ventilated garage, shed or workshop.
Step 4) Fill any cracks or holes with wood filler.
Once your repair work is complete, leave the filler to dry. Sand these areas to smooth them down.

Step 5) Sand the door.
Safety first. Get your dust mask and goggles on. There’s going to be a lot of dust flying about!
- Use medium-grade sandpaper to sand the flat panels. Always work in the direction of the grain.
- Wrap the paper around a sponge to get into the mouldings and corners. Be careful not to sand too hard, so you don’t round them off.
- Sand the door again, this time using your fine grade sandpaper.
What about other door types?
UPVC and composite doors will definitely need sanding (and priming), as their glossy surface makes it harder for the paint to stick. Like above, start with the medium-grade sandpaper before going over again with the fine grade. Sanding will rough up the surface nicely for the primer, giving better adhesion to the paint. If you need advice on painting these types of doors, get in touch. We’re happy to help.
Painting a new wooden door? Sand once using fine grade sandpaper.
Step 6) After all that sanding, give the door another clean.
Say bye-bye dust. Wash the door in soapy water. Rinse with clean water, then allow it to dry.
Step 7) Prime the door (if needed).
Priming isn’t always a necessary step when painting a front door. However, the following will help you decide if you should follow this step:
- You’re changing from a dark colour to a light one.
Use a stain blocker to prevent the original colour from bleeding through your new one.
- Your wooden door has a high oil content or is particularly resinous.
There’s a chance this will bleed through. Use a stain blocker.
Add primer first to ensure the paint sticks.
COAT paints are self-priming, so you won’t need a separate primer unless you said yes to one of the previous points.
So, how do you add the primer? Follow the instructions for painting the door (see the next step). After applying, wait for it to dry before lightly sanding (fine grade) to create a smooth surface for the paint. Wipe the door with a damp cloth to remove any dust and allow it to dry.
Tip: Before you begin, if you have glass panels, you’ll want to tape around the edges to avoid getting any primer on the glass.
Step 8) The best way to paint front doors.
Right, this is your last chance to add any masking tape around your glass panels (or door handle if you didn’t take it off). Ok, so now that’s sorted, get your paint on. But, how you do this depends on the style of your door.
Panel doors:
- Use a paint brush (or roller) to go over the panels. Then use your brush to paint the mouldings surrounding them.
- Paint down the vertical centre of the door between the panels.
- Now paint the horizontal sections, starting at the top of the door.
- Then paint the remaining vertical sections on the outside.
- Finally, paint the door edges.
Doors with windows:
- Use a paint brush to paint the mouldings surrounding the glass.
- Paint the horizontal sections, starting at the top of the door.
- Then paint the vertical sections on the outside.
- Finish by painting the door edges.
Don’t forget to remove the masking tape while the paint is still wet.
Flat doors (no crevices or windows):
- Imagine splitting the door into 8 sections. Start by painting the top left section in horizontal strokes (left to right and back again until you’ve filled it). Then blend with vertical strokes going down then back up.
- Now repeat in the top right section and continue your way through the remaining sections of your door.
- Finish by painting the door edges.
Tip: Make sure you’re blending each section into the next while the paint is still wet.
Step 9) Leave the paint to dry.
Keep the door open using a wedge. Once dry, if you’re happy with the colour, move on to the next step. If it needs another coat, lightly sand the door with fine-grade sandpaper. Rinse the dust off with a damp cloth and leave to dry before repeating steps 8 and 9.
Step 10) Add the fixtures back on the door.
The door is dry, and the colour is already making your neighbours jealous. Congratulations. You’ve nailed how to paint a front door. Get that handle back on. And anything else you had to take off!
Right, that’s it - unless you’re also painting the inside. You’re unlikely to have time to paint both sides in one day unless you a) didn’t need to add primer and b) only needed one coat of colour to achieve your desired look. But hey, we’re not saying it’s impossible.
One last thing... you cannot use the exterior paint for the inside. As the name suggests, it is for outdoor use only. However, don’t despair. All COAT colours come in both exterior eggshell and interior eggshell. So, whether you want to use the same colour on both sides or a different colour, you’ll find the perfect paint for the job. Phew!

Publish Date
Author