How To Paint Wooden Garden Furniture
Painting wooden garden furniture is a fantastic way to freshen up your outdoor space. You can turn something old into something that looks brand new. Your wallet will thank you for not having to splash out on a new set. And as you can choose any colour you like, you can express yourself with bold colours - if that’s your thing!
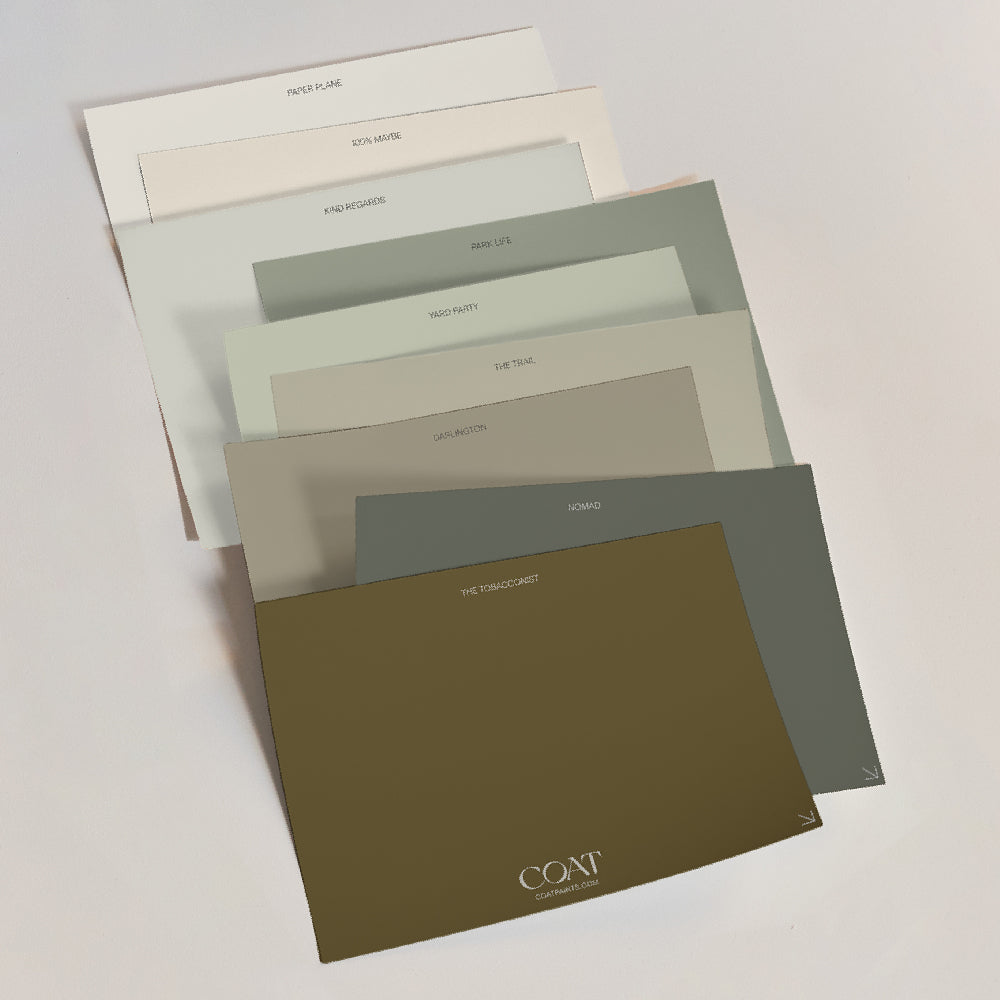
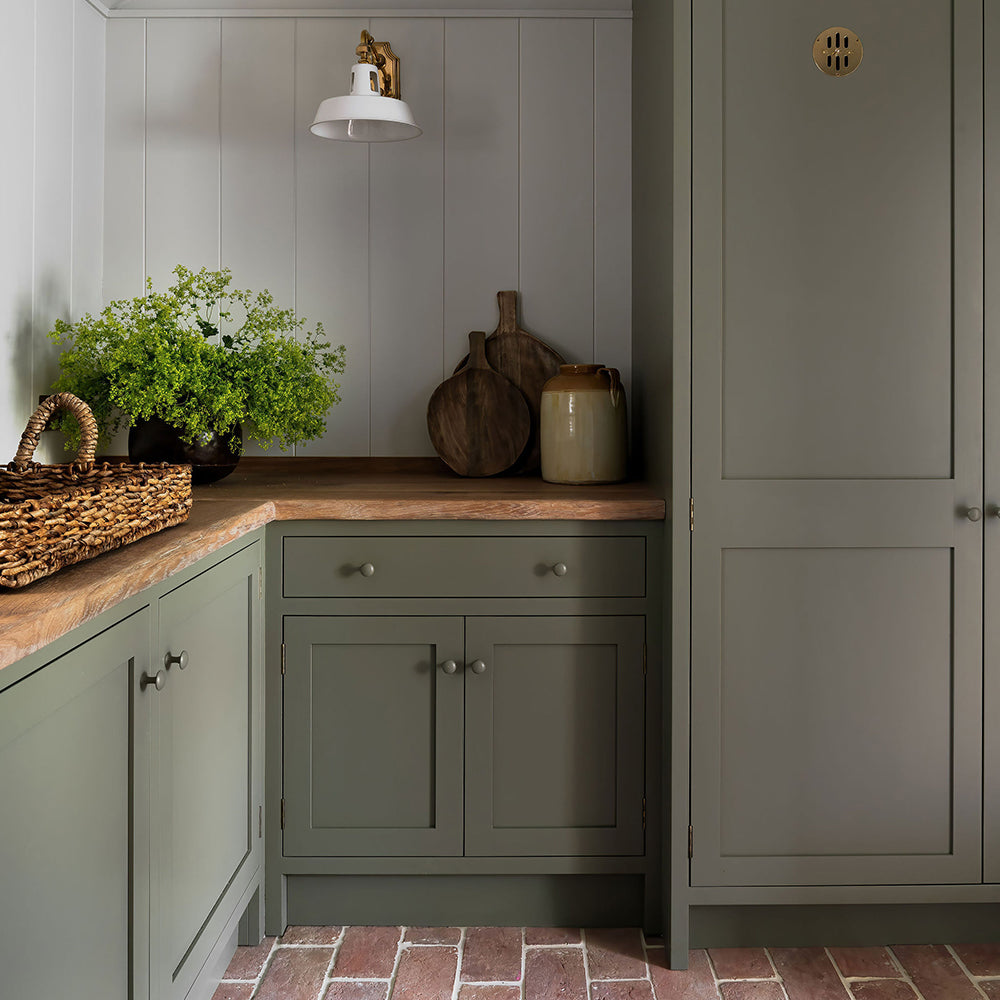
Whether you choose to use wood stain or paint will mainly be down to personal preference. Designed to withstand the elements, COAT’s exterior eggshell is the best outdoor wood paint for the job and comes in our complete colour range. But if you want to see the original wood markings through the colour, then stain may be the way to go. However, there are other things to consider, which we’ll go over later.

As for how to paint wooden garden furniture, you need to prep first. A familiar step when it comes to DIY. Then whether or not to prime is down to the condition of the wood plus the look you want to achieve. Follow our guide, and we will help you make the right decision for your project.
What Will You Need To Paint Wooden Garden Furniture?
Well, you’re going to need cleaning supplies for a start. And paint, of course. Here’s a handy list of all the stuff you’ll need when painting for outdoor wood:
- Sugar soap / warm soapy water (washing up liquid is fine)
- Bleach and washing powder (might not be needed but best have some on standby)
- Cloth / sponge
- Bucket
- Garden hose
- Sandpaper (coarse, medium and fine)
- Paint stripper (if needed)
- Gloves and goggles (for safety if using paint stripper!)
- Dust sheets
- Primer (make sure it’s for exterior use and water-based if pairing with COAT paint)
- Paint stirrer
- Paint for outdoor wood (choosing COAT? You’ll need our exterior paint)
- Paint brush
- Roller and tray (if painting a large surface)
Looking for eco-friendly brushes and rollers? Our sustainable essential supplies kits are made in the UK and are fully recyclable.

Step-By-Step Guide: The Best Way To Paint Wooden Garden Furniture
From prep to paint, we’ll guide you on the best methods for painting wooden garden furniture. As you’ll love the result, you’ll want it to last a long time, so we’ll also go over how to maintain it, no matter the weather!
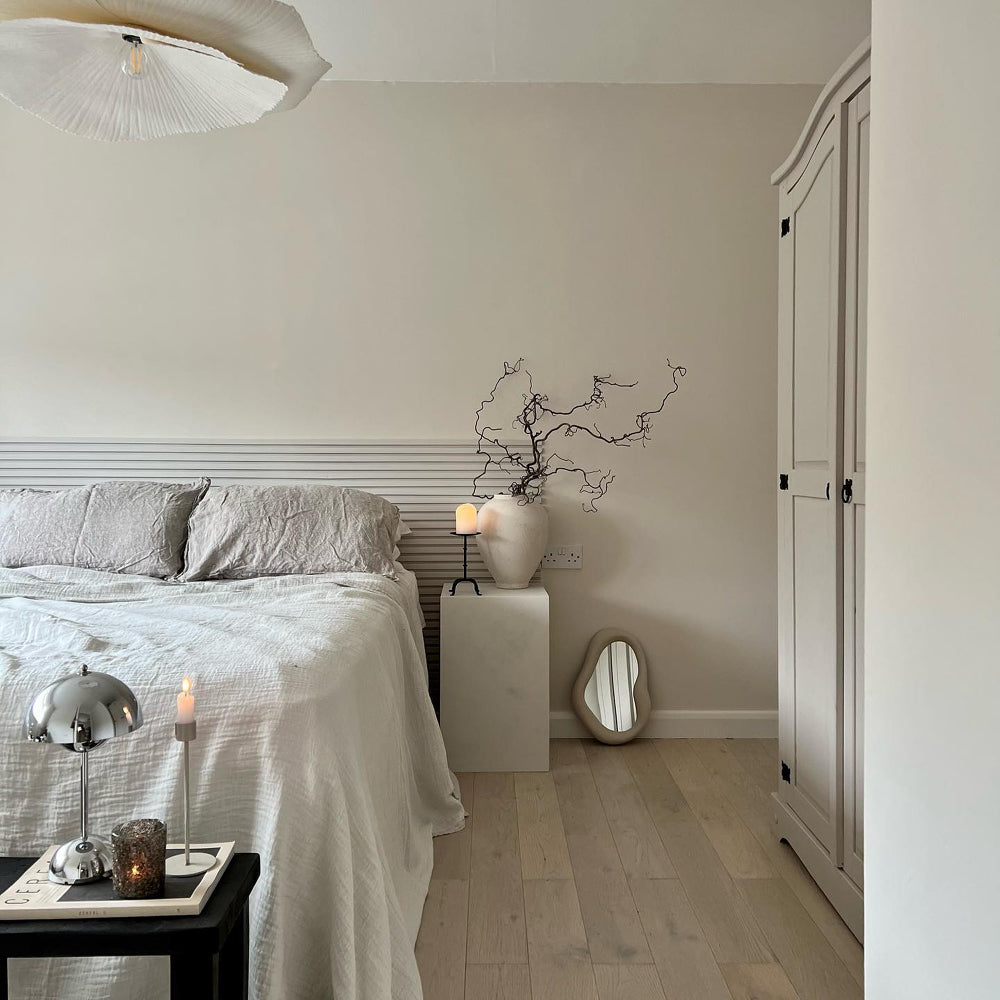
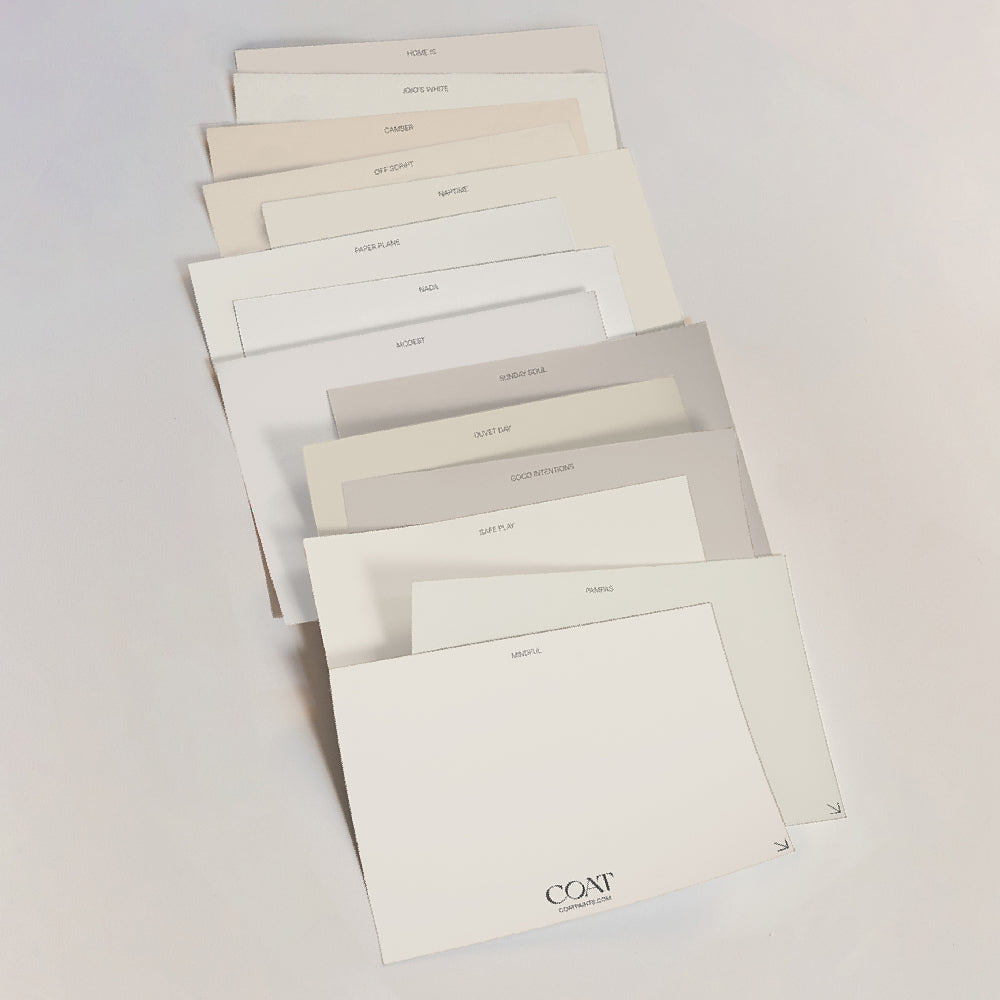
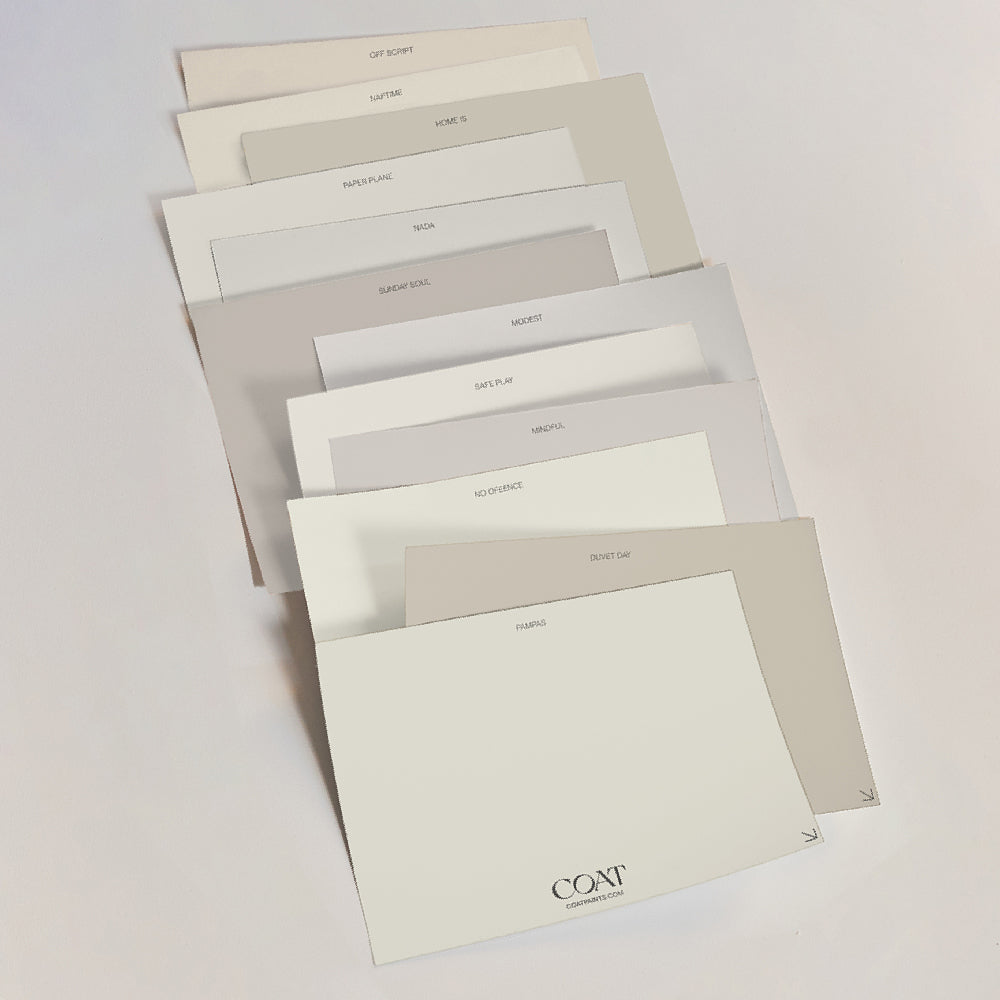
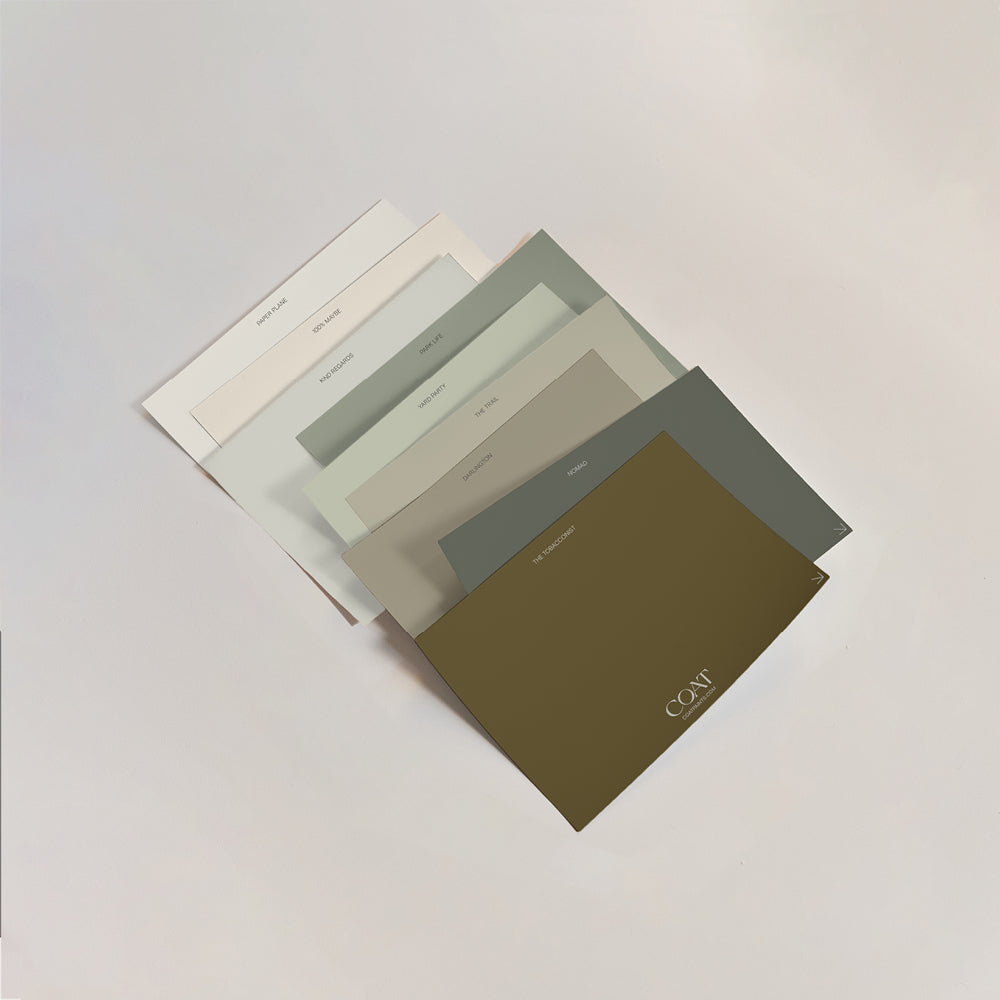
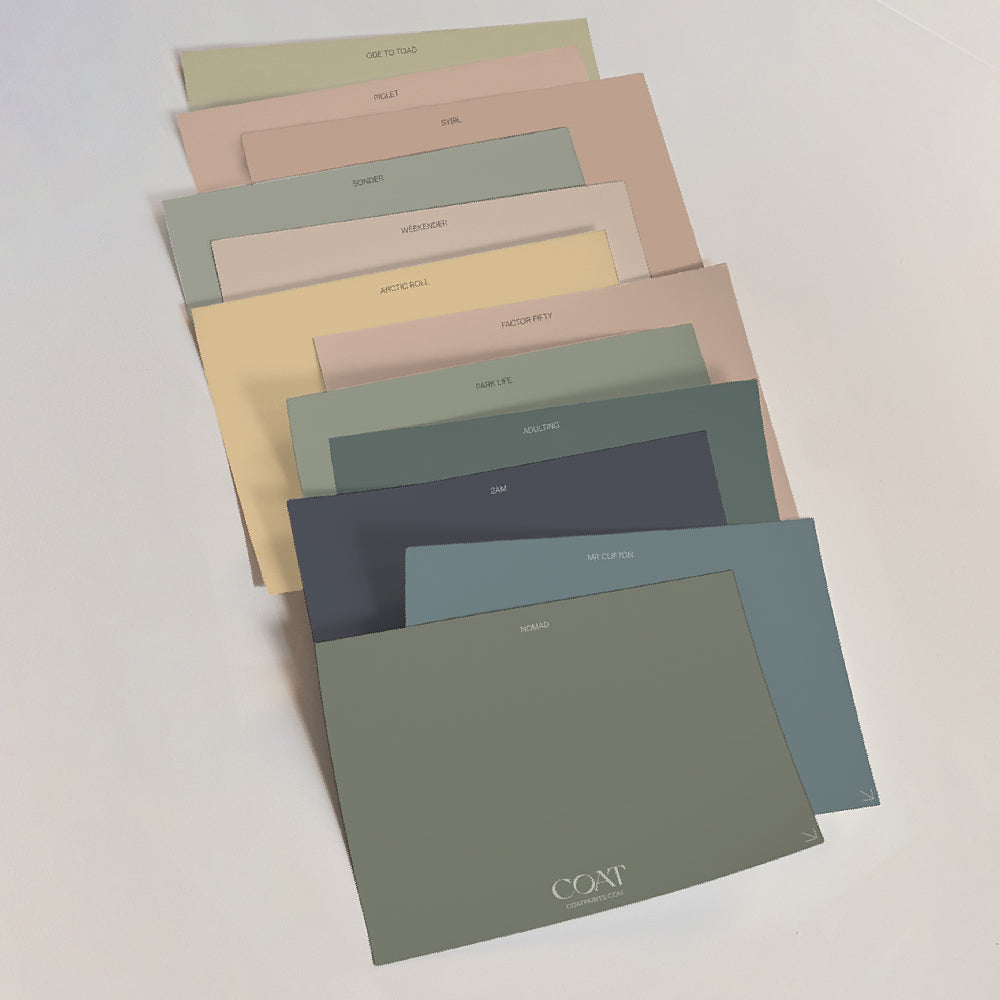
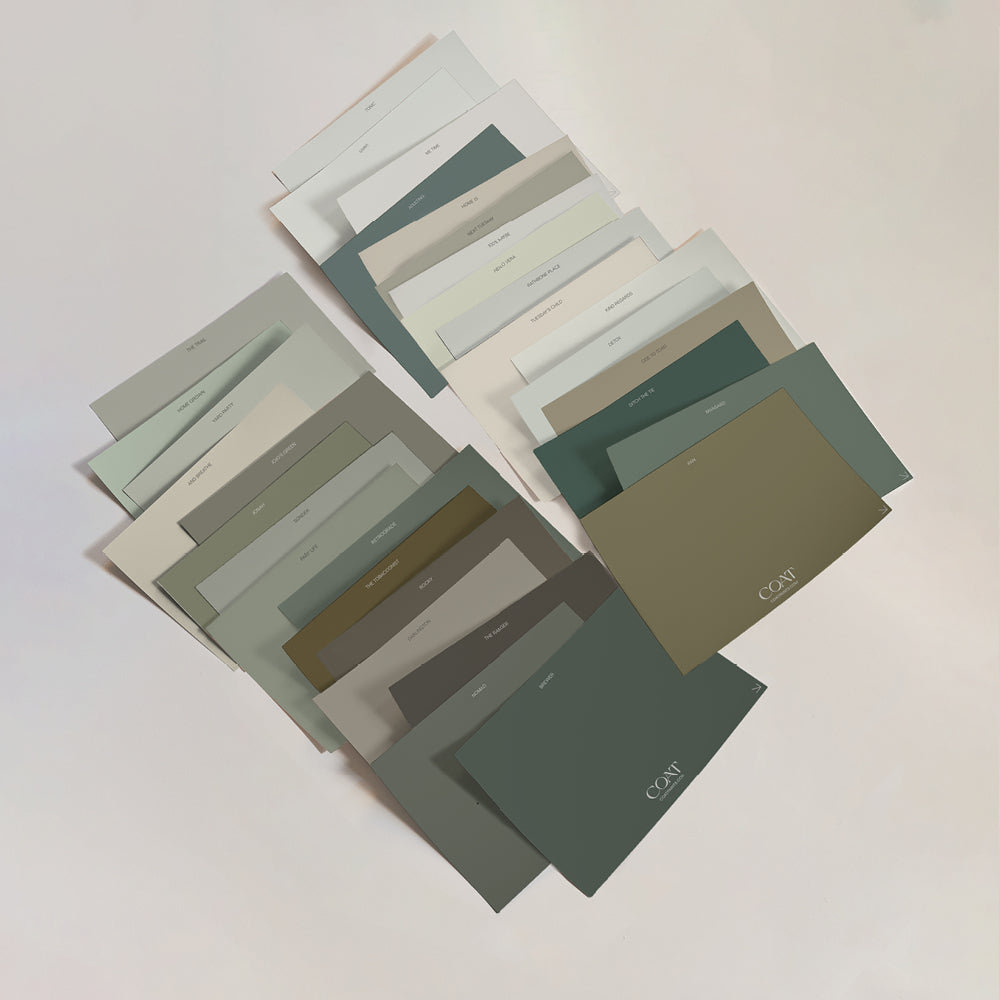
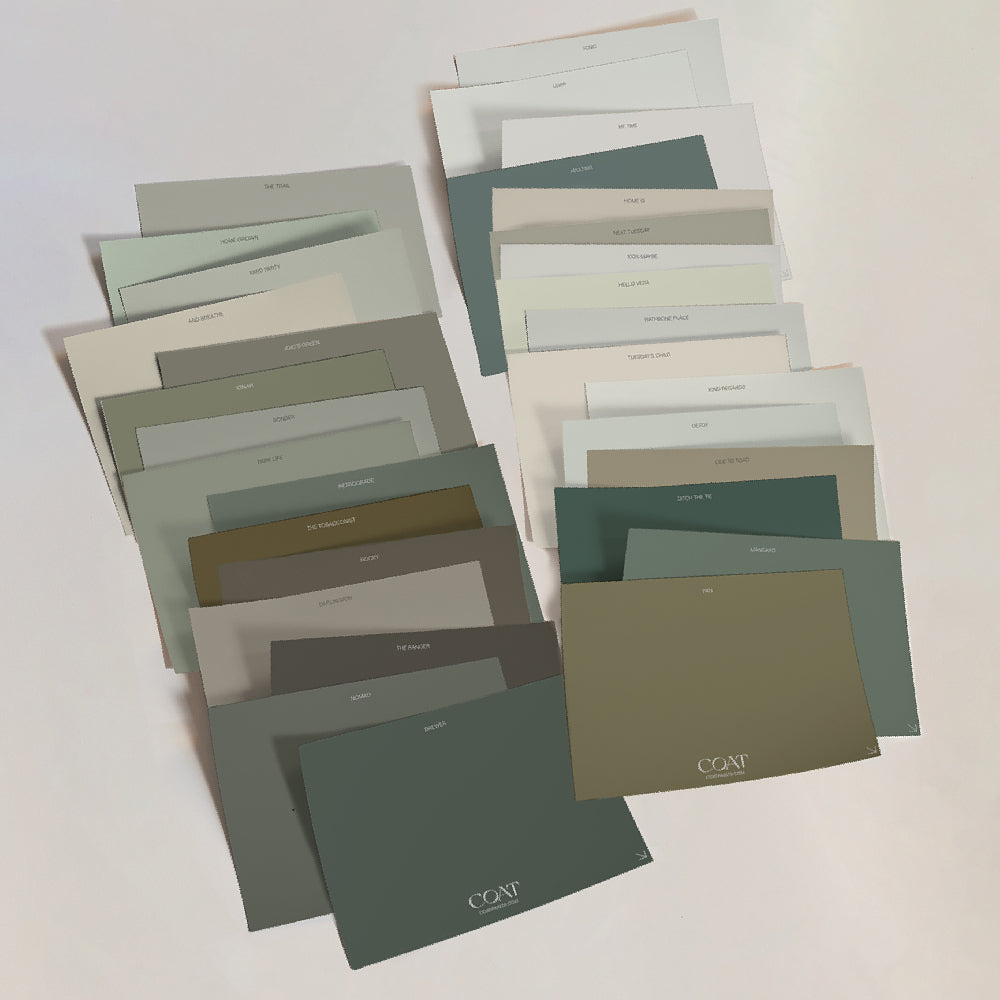
And if you need help picking a colour, use our peel and stick swatches to see how the paint will look at different times of the day. COAT’s exterior eggshell paint is long-lasting, weather-proof and provides rich coverage. Perfect for painting wooden chairs, tables and benches but also fences, brickwork and metal too. Good news if you’re planning on sprucing up more than just your garden furniture!
If you want to see the original wood colour, a transparent wood stain will work wonders. Or a semi-transparent one will enhance the original wood while still adding a little colour. You can also get them in a solid colour, but we’ll go over wood stain vs wood paint in step 4. What you pick will depend on durability, appearance and cost.
We have plenty of tips for you. So, follow our guide on how to paint wooden garden furniture, and you’ll be painting it like a pro.
Step 1: Prepare The Surface
To prepare the surface before painting wood, give it a good clean. You don’t want to mask over any mould or mildew with your paint as it will show through and not prevent the problem from getting worse. Inspect every inch of your furniture (that includes underneath). And brush away any cobwebs while you’re at it.
If the wood is old or has already been painted, scrub it with sugar soap or a mild detergent. Use some elbow grease because you need to remove all of the dirt. Rinse it off with your garden hose and leave the furniture to dry. Still see mildew? Here’s what to do:
- Mix 250ml of household bleach with 250ml of washing powder in half a bucket (at least 750 ml) of warm water.
- Clean the garden furniture in the solution and leave for 5 minutes before rinsing off with the hose.
- Make sure you’re wearing gloves for this… and goggles too!
- The garden furniture needs to be completely dry before moving on to the next step.
If you’re painting wooden garden furniture which is brand new, you first need to find out whether it has a protective coating:
- Add a few drops of water to the surface.
- If they soak in, the wood is untreated and ready for paint.
- If it beads up, scrub the wood with soapy water and leave it to dry - or leave the furniture outside for six months to allow it to weather (gives you plenty of time to choose your colour scheme).
When is the best time to paint outdoor furniture? Ideally, you want the weather to be warm and mild. If it’s a blistering hot day, the paint might dry too quickly, so when there’s a heatwave, sit back and enjoy it. That’s not the day to paint. Also, you want to avoid rain, so it may be best to paint it indoors if the weather is being typically British (code for unreliable).

Step 2: Sand
Sanding the wood before staining or painting is hard work but totally worth it. It will remove any imperfections like scratches or chips in the wood by creating a smooth surface. And it will help the wood to absorb the paint rather than just sitting on top.
How you sand depends on the condition of the wood. If it’s new wood, use fine-grade sandpaper (150 to 180) to slightly roughen up the surface for the paint to stick to. Always sand in the direction of the woodgrain.
If your wooden garden furniture is old and already painted on, you’ll need to remove any loose, flaky paint. Sand in the direction of the woodgrain - first with coarse sandpaper (40 to 60) before going over again with medium (80 to 120). If you want to go back to the original bare wood, you may need to sand for a third time with fine-grade sandpaper (150 to 180). Alternatively, use a paint stripper (follow the instructions carefully and make sure you’re wearing your gloves and goggles).
After all that sanding, you’ll need to remove all of the dust. But if you clean it with a damp cloth, you will have to wait until the furniture is dry before you can prime or paint. A quicker method is to get out your vacuum cleaner.

Step 3: To Prime or Not To Prime?
Priming isn’t always necessary when painting exterior wood. So, to help you decide, we’ll break down when to prime and when not to.
Prime the wood if:
- The wood has lots of knots (unless you don’t mind seeing them for character).
- You’re painting over dark wood with light coloured paint.
- When sanding, you haven’t completely removed the previous paint/stain in all areas - this will prevent the topcoat from looking blotchy where the original colour is showing through.
- The wood is high in oil content or resinous - these might bleed through the paint.
What’s the best outdoor wood paint primer? We recommend using a stain block primer. Check it is designed for exterior use and matches the paint/stain you’re using (e.g. water-based* or oil-based). And apply it in the direction of the grain.
*All COAT paints are water-based.
Do not prime the wood if:
- It is new and doesn’t meet any of the above criteria for priming. You will likely need two coats of paint/stain as the first will act as a primer, and the second will seal it (especially if the wood is overly porous).
- When sanding, the previous coat of paint/stain remained intact. Again, you may need two coats.
- You want to see the original wood markings/knots.
- You are using a transparent or semi-transparent wood stain (see next step).

Step 4: Stain or Not...
If you want to see the natural colour of the actual wood or only slightly change it, then go for a stain, as you can buy them in transparent/semi-transparent variations. But if you want to, say, add your favourite colour to your wooden furniture, either pick paint for outdoor wood or choose a stain that comes in a solid colour.
On that note, you may be wondering what’s the difference between picking paint or a solid colour stain. Well, by going over the pros of wood paint and wood stain, we’ll help you decide which is the best option for you.
Pros of paint vs stain:
- Exterior paint is more durable than exterior solid wood stain, therefore lasting longer.
- There are more colours to choose from.
- Paint is thicker, so it will cover any imperfections resulting in a smoother finish.
Pros of stain vs paint:
- Wood stain tends to be cheaper and quicker to apply (although you will likely need to use more of it when compared to paint because it is thinner).
- As stain absorbs deeply into the wood when colouring it rather than sitting on it like paint, the markings/knots of the wood will show through more clearly (good if you want to see the wood’s natural beauty).
- It fades rather than peels like paint does, making it easier to reapply when the time comes (less sanding involved).
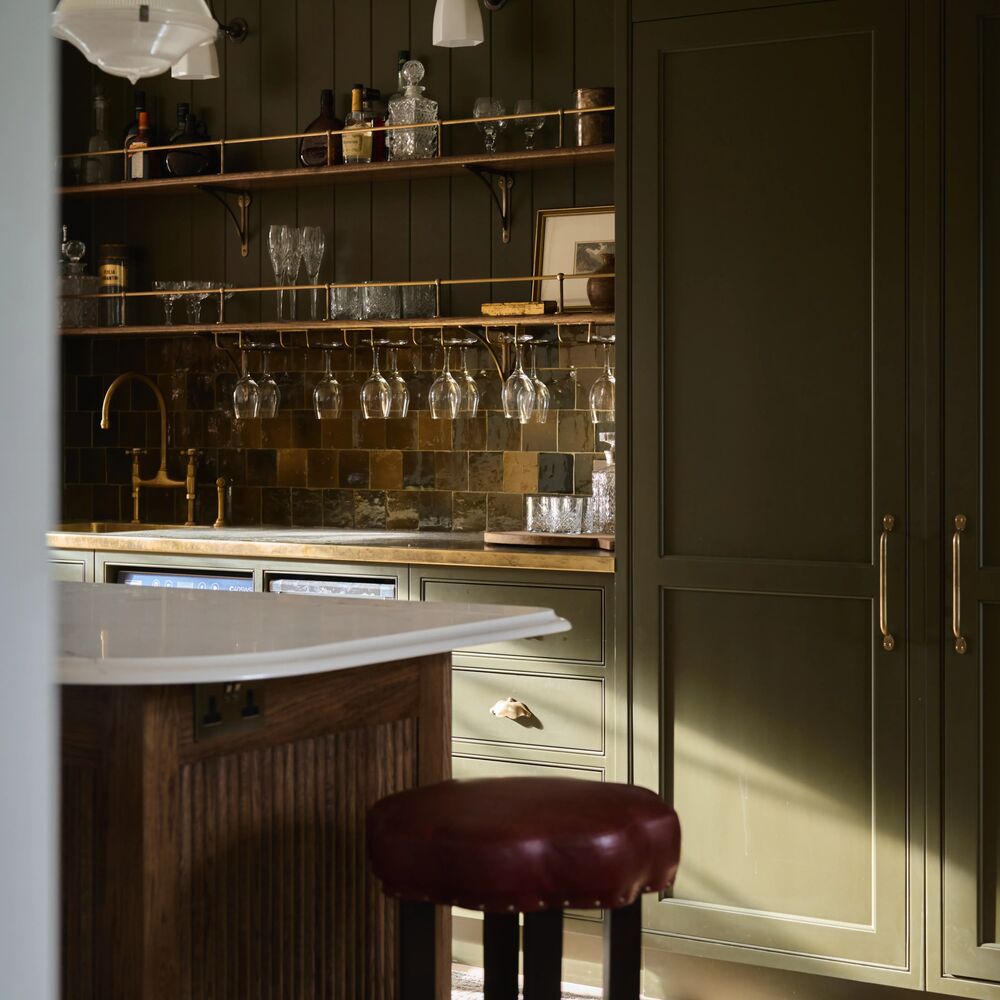
It’s down to personal preference, but if you do choose paint, our exterior eggshell will provide a rich, long-lasting cover. It can handle harsh weather conditions and won’t fade in direct sunlight - plus, it’s consciously made, so you’ll be doing your bit for the planet too.
When it comes to how to paint wooden garden furniture, like when you sand and prime, go in the direction of the grain.
Here are some more tips and tricks:
- Before you start, stir the paint thoroughly. Continue to stir every now and again throughout the painting process to maintain the consistency of the colour.
- For large flat surfaces, you can use a roller to save time. But for smaller/intricate areas, always use a brush.
- Lightly sand with fine-grade sandpaper (150 to 180) in between coats.

Step 5: Dry and Maintain
Always allow plenty of time for the paint to dry between coats or when you use your furniture, especially when painting wooden chairs… the last thing you want is to sit on it when the paint is still wet!
Consider painting inside or at least bring the furniture inside to dry. Not only do you not have to rely on the weather, but there’s also less risk of dust or dirt particles landing on the wet paint than if you left it to dry outside on a breezy day.

After all your hard work, you want your furniture to look fabulous. But let’s face it, rainy and snowy seasons are bound to leave their mark. And there’s only so much protection exterior paint can provide (as in, it’s not self-cleaning). That’s where a little TLC from you can make a huge difference.
Get in the habit of giving your painted wooden furniture a light wash every couple of months (or more frequently if needed). All you need is a bucket of warm soapy water and a sponge. Don’t use the abrasive side of the sponge, or you might take off the paint. Only apply pressure if there’s a stubborn stain… you know, the kinda stain left behind by an inconsiderate bird!
Also, think about where you place your furniture. Where possible, avoid putting it under trees as the sap will fall onto it (as well as any rotting leaves/flowers). Also, avoid anywhere excess water might drip onto it, e.g. if it’s too close to a sloping roof or a drain pipe.
So, now you know how to paint wooden garden furniture and how to protect it afterwards. Let’s get planning, starting with picking a colour you’ll love. With COAT’s peel and stick swatches, you can easily try out different colours in an eco-friendly way.
One last thing, after you finish painting your outdoor furniture, we’d love to see the results. Share your images with us @coatpaints.
Publish Date
Author