How To Paint Tiles
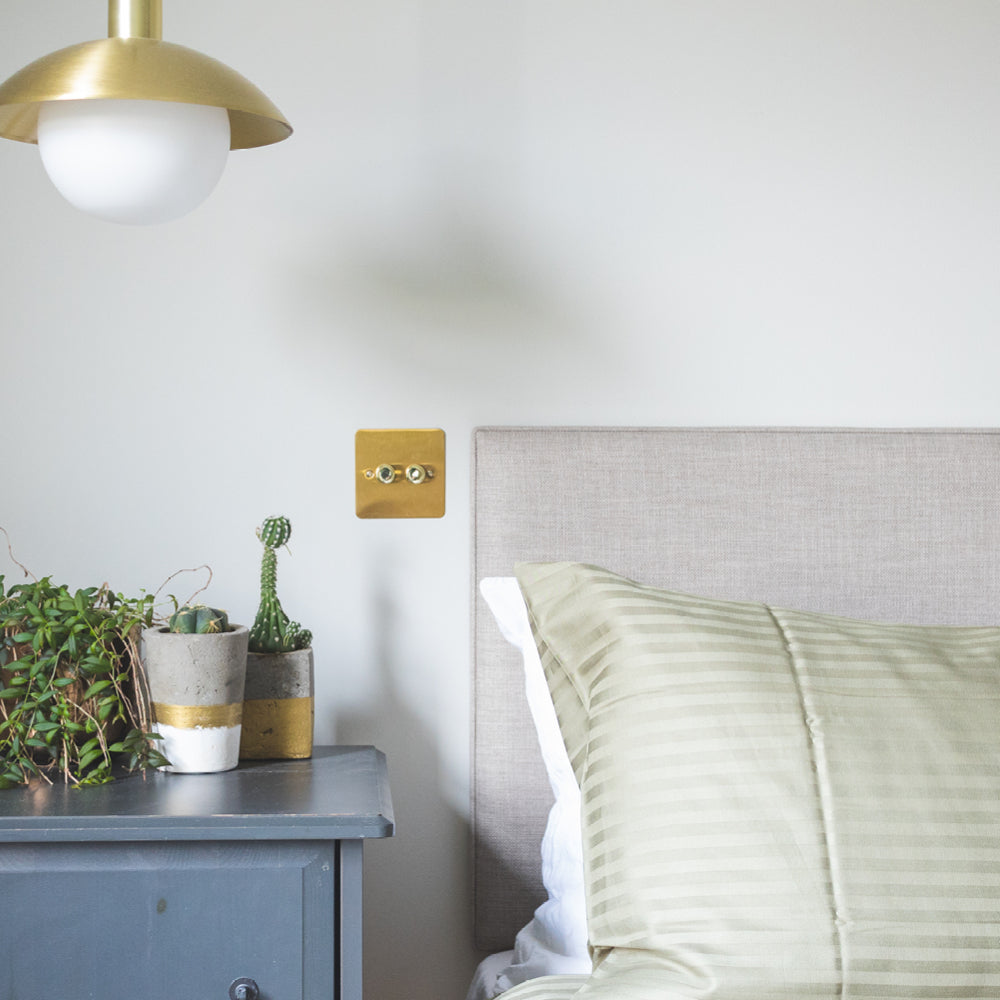
We get it. After a while, you get bored of staring at the same tiles day after day. So, can you paint tiles? Yes, you can. COAT’s Interior Eggshell is ideal for surfaces like tiles and wood.
Painting tiles instead of replacing them will refresh your space without breaking the bank. Good news if you’ve recently moved house and the previous owner’s taste was far different from your own!
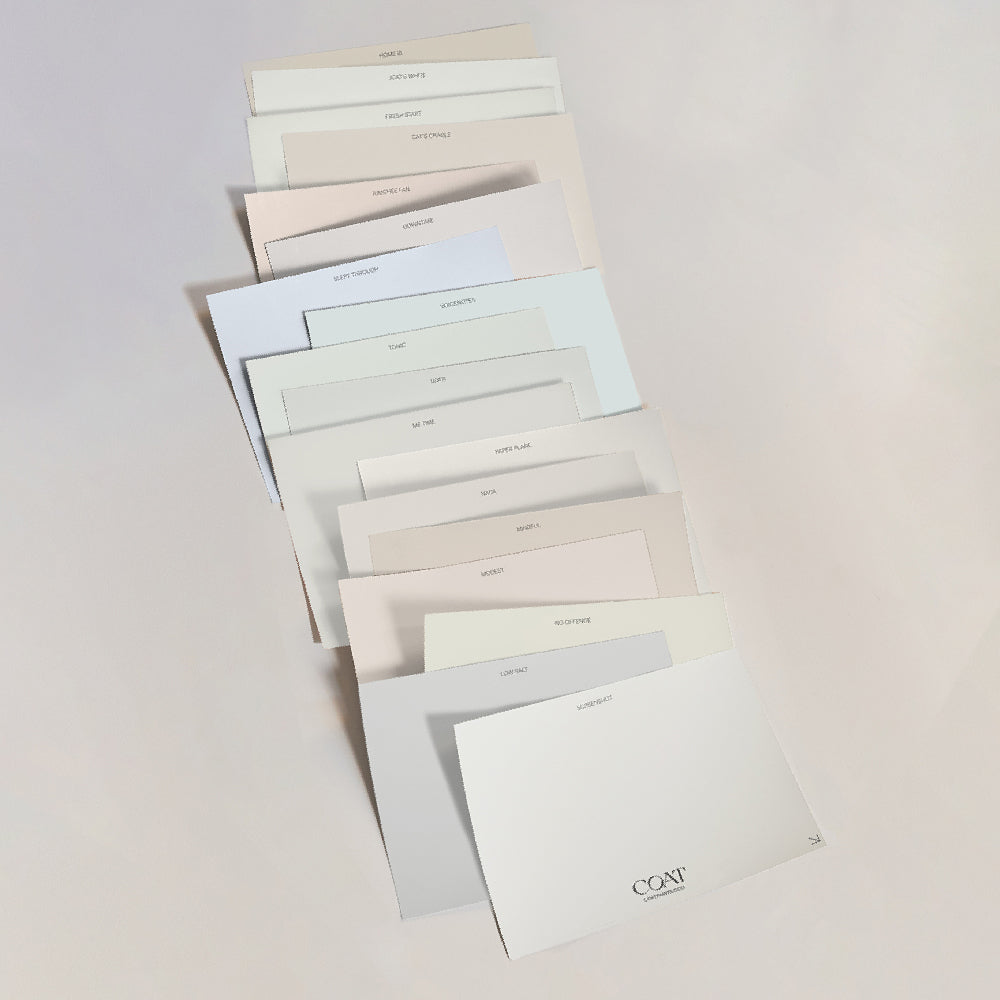
Is interior eggshell the best tile paint to use? There is such a thing as tile paint. However, you’ll find the choice of colours limited. But by prepping and priming first, interior eggshell water-based paint will work just fine when painting over kitchen tiles or bathroom tiles. And that way, you can have any colour you want.
Pro tip: Choose Eggshell for wall tiles, and COAT Floor Paint for tiles on the floor.
How Do You Paint Tiles?
Whether they are ceramic, glass, porcelain, or natural stone, painting on tiles will give them a new lease of life. Just follow these steps: clean, prep, prime and paint. Of course, there will be some planning involved first. Will you be painting the whole tile or stencilling a pattern onto the existing one?
And as tempting as it may be to skip cleaning and prepping, you’d be setting yourself up to fail. But we’ve got your back and will guide you on how to paint tiles with a flawless finish.
It might not be a forever solution. But when done right, it can last long enough for you to plan and save up for that kitchen reno or bathroom of your dreams!

What Will You Need To Paint Your Tiles?
From prep to paint, here’s all the stuff you’re gonna need!
Safety:
Gloves
Goggles
Dust mask
Materials:
Sugar soap
Limescale remover (if needed)
Mould/fungicidal spray
Epoxy glue (repairs cracks in tiles)
Grout (for repairs only)
Sandpaper (very fine - 220)
Primer (choose one for difficult surfaces)
Sealant (optional)
Paint (COAT’s soft sheen is the best for painting bathroom and kitchen tiles from our range)
Tools:
Sponge + scourer + bucket
Damp cloth
Decorating tape
Dust sheets
Paint brush (1”)
Roller + tray
When it comes to your tape, brush and tray, go green. Our essential supplies kit is good for the environment. How? Everything is made sustainably in the UK and fully recyclable.
Clean The Tiles Thoroughly
Nobody wants to add a colour they love only for a grease spot to show through. Or for the paint not to adhere properly and start peeling. So, cleaning tiles thoroughly before painting is an essential task.
Remember, the purpose of painting over tiles is to save some money. So, avoid any unnecessary breakages by tidying everything away into cupboards or boxes before you begin.
Right, now you can don those gloves. Remove any dust, food stains, grime and grease using the sugar soap (or a product designed for cleaning bathrooms/kitchens). Get the scourer side of your sponge on the tiles to scrape that dirt off. Really go for it, especially when painting kitchen tiles - you’ll be surprised how dirty they can get even if they look clean! You may also need limescale remover if in a hard water area.
Don’t forget to clean the grout. If you’re rolling a colour over your tiles, it will paint the grout too. If you notice any mould on the grouting or sealant, be sure to use a fungicidal spray to kill it off before you get started on painting. A steam cleaner is a great option for cleaning grout and tiles.
Spot mould on your grouting? Treat this before painting over tiles. Use a mould/fungicidal spray and follow the instructions.
Allow at least 5 hours for the tiles and grout to dry (or spread the project over two days). Check they’re definitely dry before moving on (either rub your finger along them or place kitchen roll on top to see if it absorbs any water).
One last thing, if there are gaps in the grout, use filler to repair them. For cracks in the tile, use epoxy glue. Follow the instructions and leave to set before moving on to the next step.
Sand The Tiles
Can you paint tiles without sanding first? Most tiles are covered in a glaze, which is hard for paint to stick to. So, you’ll need to rough up the surface by lightly sanding. However, if your tile is unglazed, you can skip the sanding and move straight to priming.
Use 220-grade sandpaper to avoid damaging the surface of the tile. Oh, and please put on your dust mask, goggles and gloves for this bit (we’re big on safety).
Lightly rub the sandpaper in small circles on the tile surface and linear strokes along the edges or any ridges. After sanding, use a damp cloth to wipe away the dust. If you spot any areas that are still shiny, give those areas another sand and clean.
Leave the tiles to dry - this should only take a couple of hours compared to cleaning tiles with sugar soap. Make sure they are dry before moving on to the next step (use your finger or a piece of kitchen roll to see if it soaks up any water).
Prime The Tiles
Can you paint tiles without priming first? If you’re using tile paint, you won’t need to unless the product specifies it. But if you’re using water-based paint (like COAT’s interior eggshell), you will need to add a tile paint primer. Why? Tiles are unstable surfaces, so need a helping hand to make sure the paint sticks.

Buy primer designed for difficult surfaces. The product should say for use on tiles or their material, e.g. ceramic. COATS multi surface primer is ideal!
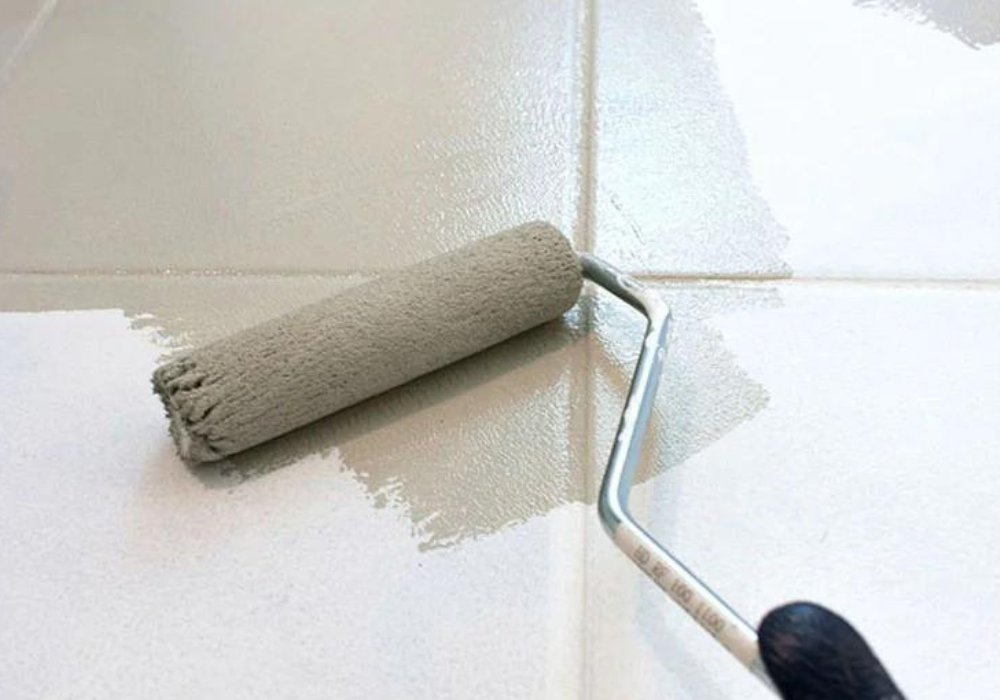
How do I add the primer? Use your 1” paint brush and work the grout. Then go over the tiles with a roller. A roller will be faster and also create a smoother finish. Apply a thin layer of primer. Allow it to dry before lightly sanding. Then wipe the dust away with a damp cloth.
Changing from a dark to a light colour? Use two coats of primer to avoid the colour bleeding through. Apply another thin coat with the roller. Leave to dry. Then lightly sand before wiping with a damp cloth.
Make sure the tiles are 100% dry between coats/painting.
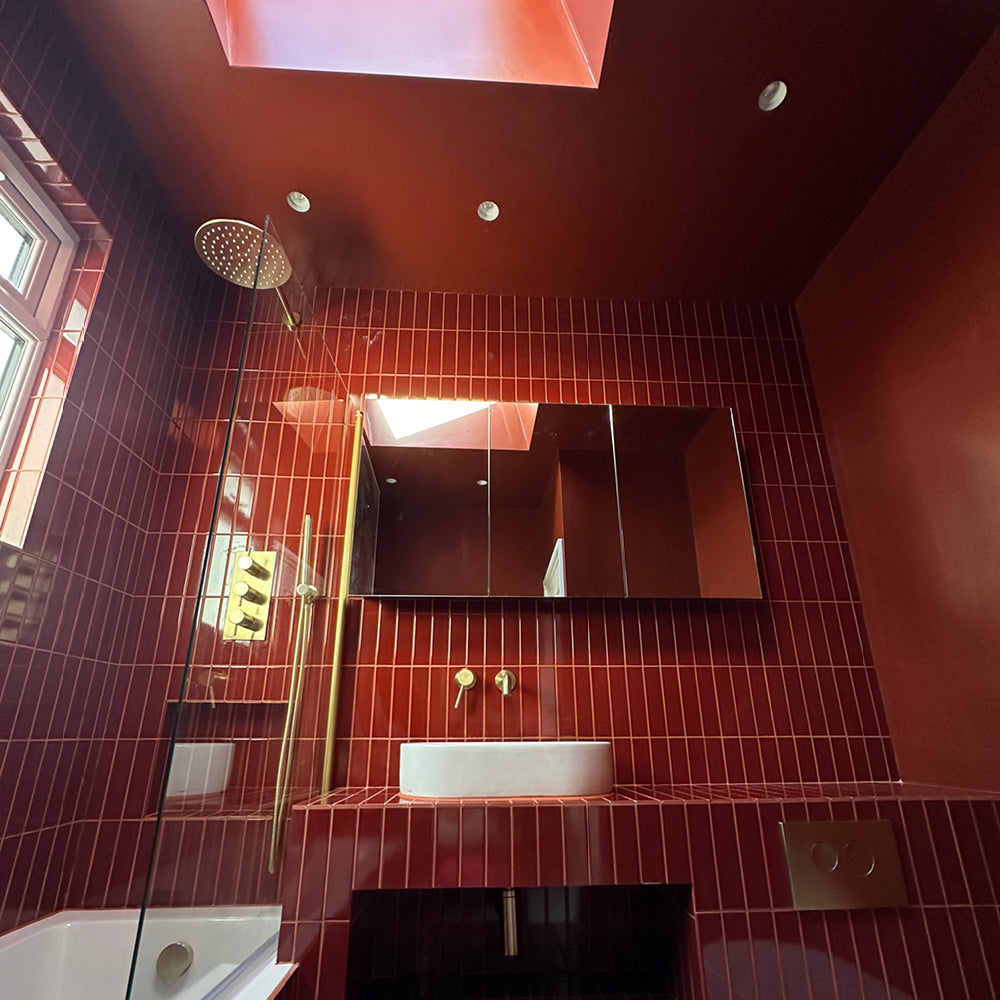
Tips For How To Paint Bathroom Tiles
Tip 1) Do not paint bathroom tiles in areas that get drenched.
I’m afraid the tiles in your shower/around your bathtub will have to stay as is (or be replaced).
Well, unless you don’t mind doing touch-ups. The extra moisture in these areas can lead the paint to fade quickly or even start peeling. But if this is only a temporary solution until you can afford a refurb, then go ahead.
Unless you’re super splashy with your water, it will be ok to paint the tiles around your sink.
Tip 2) Remove sealant around sink/bath/shower before painting.
Add new sealant after completely finishing the paint job.
If you are unable to remove this, use decorator’s tape to mask it off. Always have a damp cloth to hand when painting to wipe up any spillages.
Tip 3) You won’t be able to use abrasive cleaners once you’ve finished painting bathroom tiles.
Washing up liquid is the way to go here. Abrasive cleaners will take off the paint. It’s also why it’s important to treat any mould or fill in missing grout before painting tiles in the bathroom.
Tip 4) Easy does it
Less is more when it comes to giving your tiles a painted makeover. You’ll want to avoid overloading your brush with paint so just dip the very end in and wipe away any excess. If you notice paint bleeding from your stencil, you’ve gone in too heavy handed.
A sponge is a great option when painting tiles and usually prevents you from using too much paint. It’s also great if you want to cover a larger surface area, quickly.
Tip 5) Think outside the box
Let’s get creative. Painting tiles is a great way to introduce smaller details such as painting the grout in a complimentary shade or going round the edges of the tile in an accent colour. Grout paint is easy to come by and doubles up as a restorative agent for the grout to keep it looking healthy and fresh. Win win.
Tip 6) Be Creative With Stencils
Stencling is an easy and effective way of creating a patterned floor tile. Going freehand is always an option, but unless you’re skilled with a paintbrush, we suggest grabbing a stencil.
Although it’s a time consuming process, the end result is super effective and budget friendly! Definitely worth a try if you’re considering splashing out on brand new patterned tiles.
Practice makes perfect so before you dive in head first to your tiled floor, have a go using a spare tile or a paper plate. It can take a few goes to master the technique so worth doing.

Tips For How To Paint Kitchen Tiles
Tip 1) Thoroughly clean before painting kitchen tiles.
I know we’ve covered this already but let’s be honest, no matter how often you clean, there’s bound to be a grease stain or dried up bit of food somewhere. Cleaning kitchen tiles thoroughly before applying paint is crucial. And that includes the grout.
Tip 2) Protect surfaces you don’t want to get paint on.
Add masking tape around the edges. Place dust sheets on worktops and floors. Use a damp cloth to wipe up any spillages while painting kitchen tiles.
Tip 3) Same tip from how to paint bathroom tiles.
No abrasive cleaners post-paint!
Tip 4) Seal The Deal! (For any tile painting project)
You’ve done the hard bit and your newly tiled floor is looking great, but let’s keep it that way. Using a tile sealant is an effective way to give your project more longevity. This sealant will help to protect your tiles from water, oil and grease so that the time and effort of transforming your tiles hasn’t gone to waste.

Let The Paint Dry
Painting tiles may take longer to dry than walls. Warning - this can take up to 24 hours. And that’s for each coat. As the room is out of action for a few days, maybe add a big do not enter sign, so nobody ruins your work!
Aftercare
You’ve done the hard bit, well done! Once your tiles are painted, it’ll need some time to harden and you should treat the surface with care for upto three weeks, just to be on the safe side. Avoid getting it wet in the first week and going forward, clean with mild detergents and avoid those harsh chemicals that are out there to ruin your design.
If you’ve decided to paint your floor, don’t walk on it for at least 4 hours - the longer you leave it the better and for the next week walk on it in socks only and keep pet paws and claws at bay to avoid any damage.
Painting over tiles is a cheaper way to revamp them when you’re not a fan of what’s already there. Have a favourite COAT colour? Check out our Eggshell paint. It is perfect to use in bathrooms and kitchens - on tiles and wood. It’s low odour, rich in colour and most importantly… moisture-proof. Kinda what you need in those rooms!
Publish Date
Author