How To Cut In When Painting
Cutting in is a vital skill both for anyone attempting to paint a room. It isn’t difficult or even all that tricky once you know what you are doing. But, failing to even attempt cutting in can result in a very unprofessional look, and a disappointing DIY experience. Yuck.
So, what is cutting in anyway?
Cutting in is the way professional painters and decorators achieve crisp, even lines at the tops of walls. It doesn’t use painter’s tape, weird edgers or anything complex, just a steady hand on the brush. You simply paint a straight line, freestyle. Easy right?!
Imagine that. No messy, expensive painter’s tape. No long drying times between coats. So much less prep!
We hear you, it sounds daunting. It really isn’t, though. You just need a special 2-inch cutting in brush and a cut bucket (a bucket without an inner lip). Trust me, you can do this. In this article, we’ll show you the best way to cut in paint, give you step by step instructions and even offer up a few painting tips for cutting in on future projects.
Cutting In: When And Why
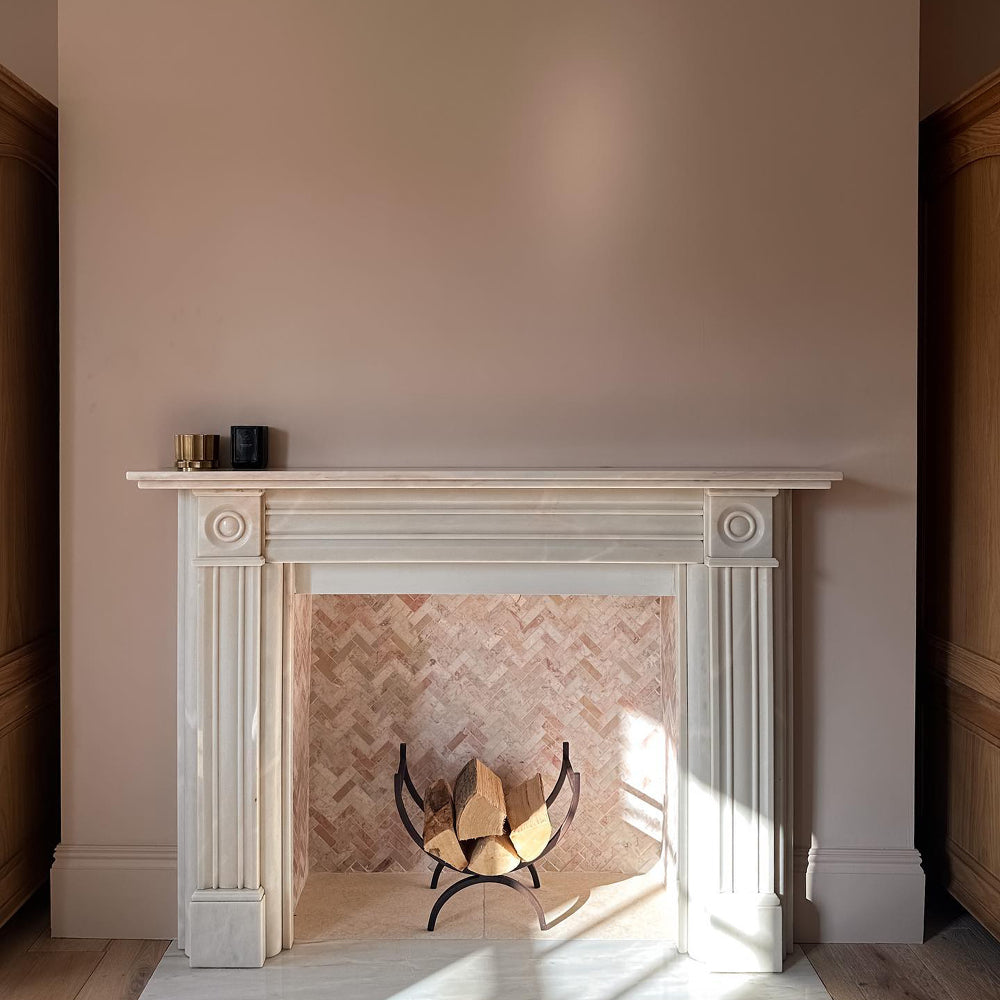
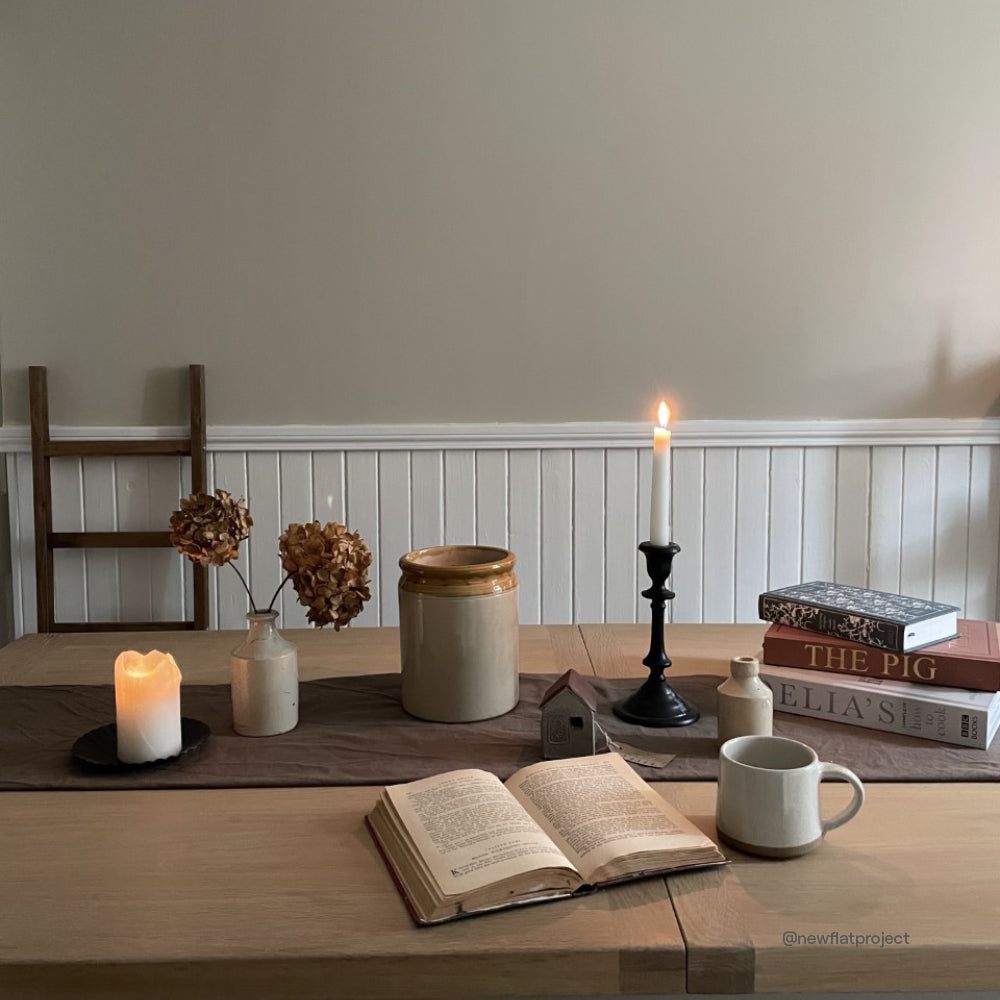
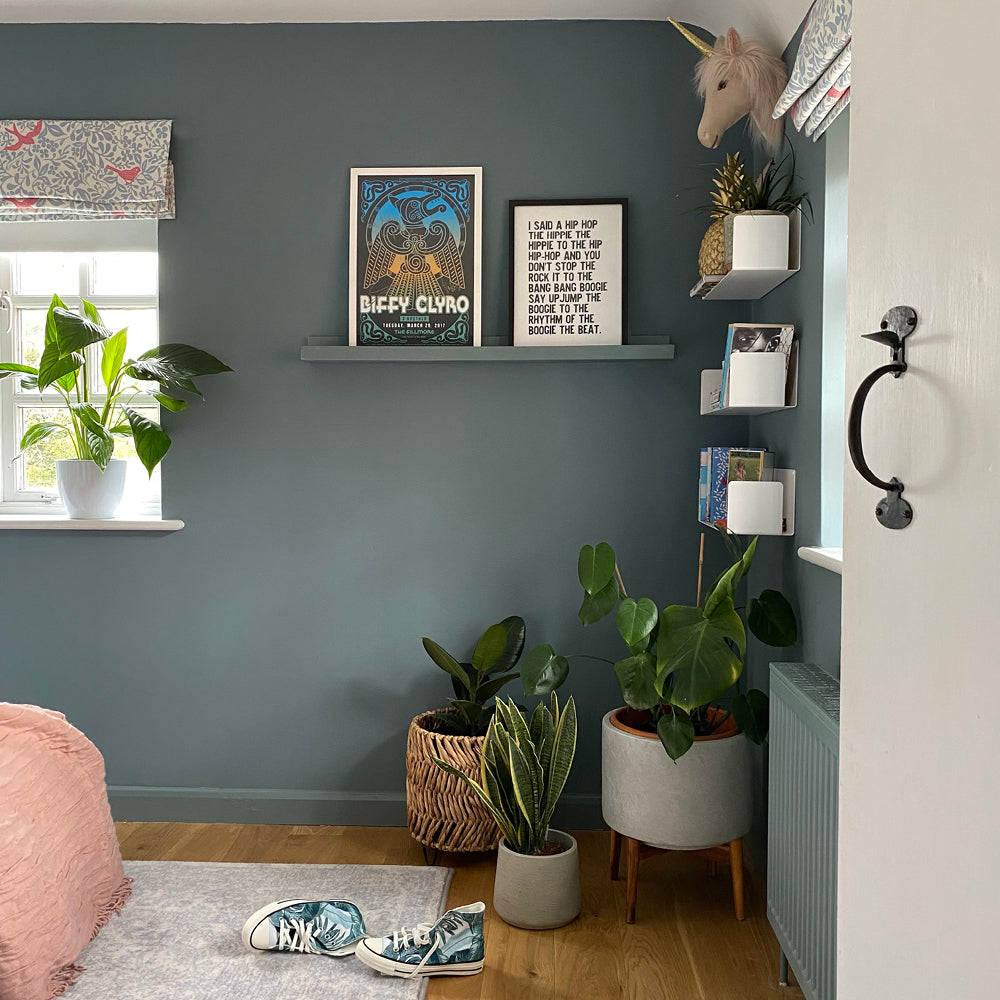
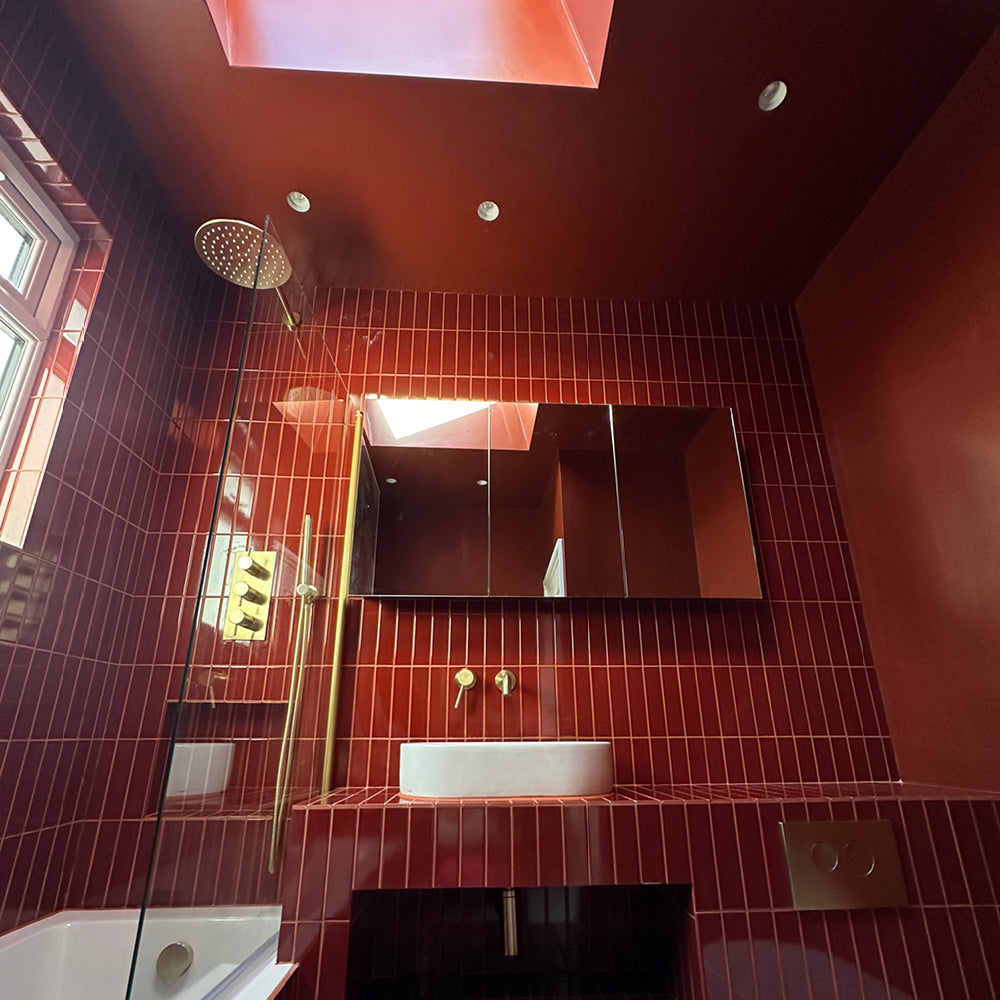
The obvious occasions for cutting in are skirting board or painting a ceiling, but there are plenty of other uses.
Say you want to paint your windows with white trim, but paint the walls themselves a darker colour. You could paint the trim, wait for it to dry, mask the trim and paint the coloured sections. But that will take forever, and using masking tape is never really certain. There is always a spot or two that needs to be re-done.
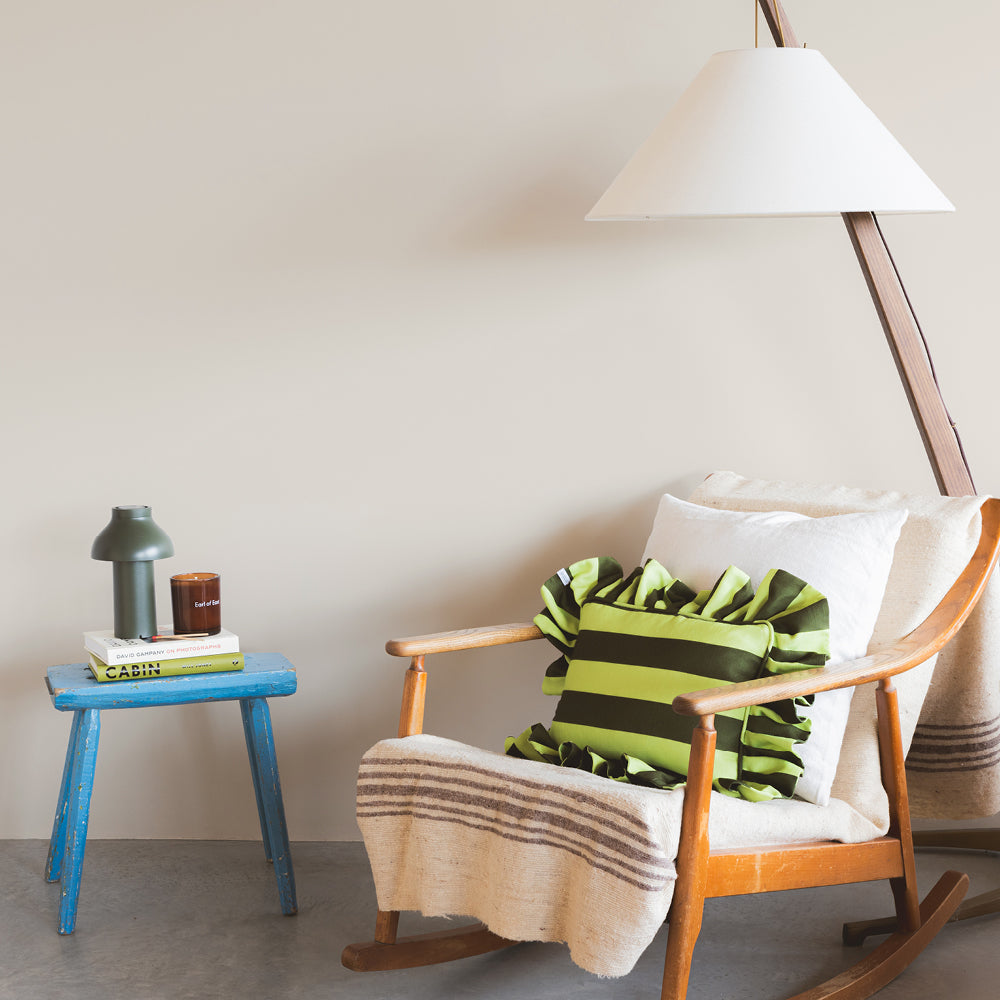
In the same way, you can cut in along any kind of trim – baseboards, corners and anywhere where one colour of paint meets another.
Why should you learn cutting in painting? It lets you skip literally half the prep compared to masking, you can get started right away and be finished in a single afternoon, and it is incredibly satisfying to see what the colours look like together straight away! Less time, less expense, more fun. Win-Win-Win!

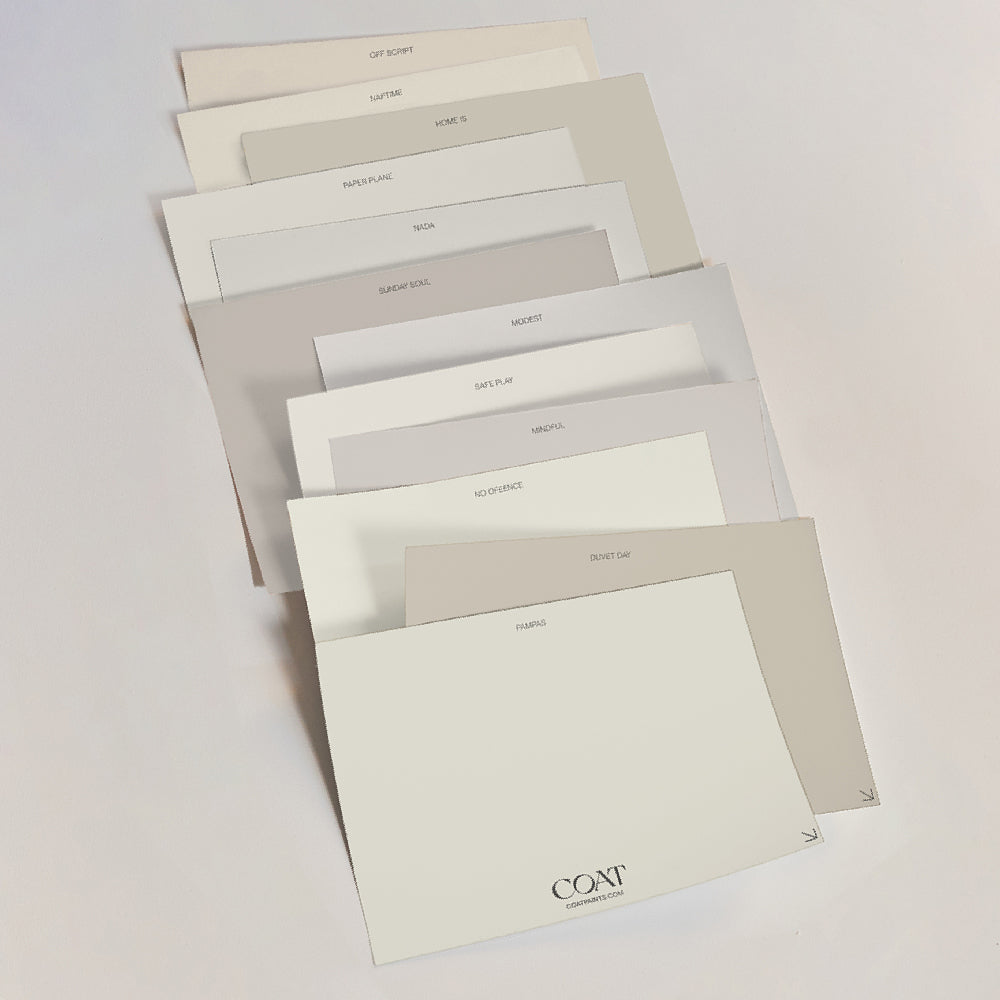
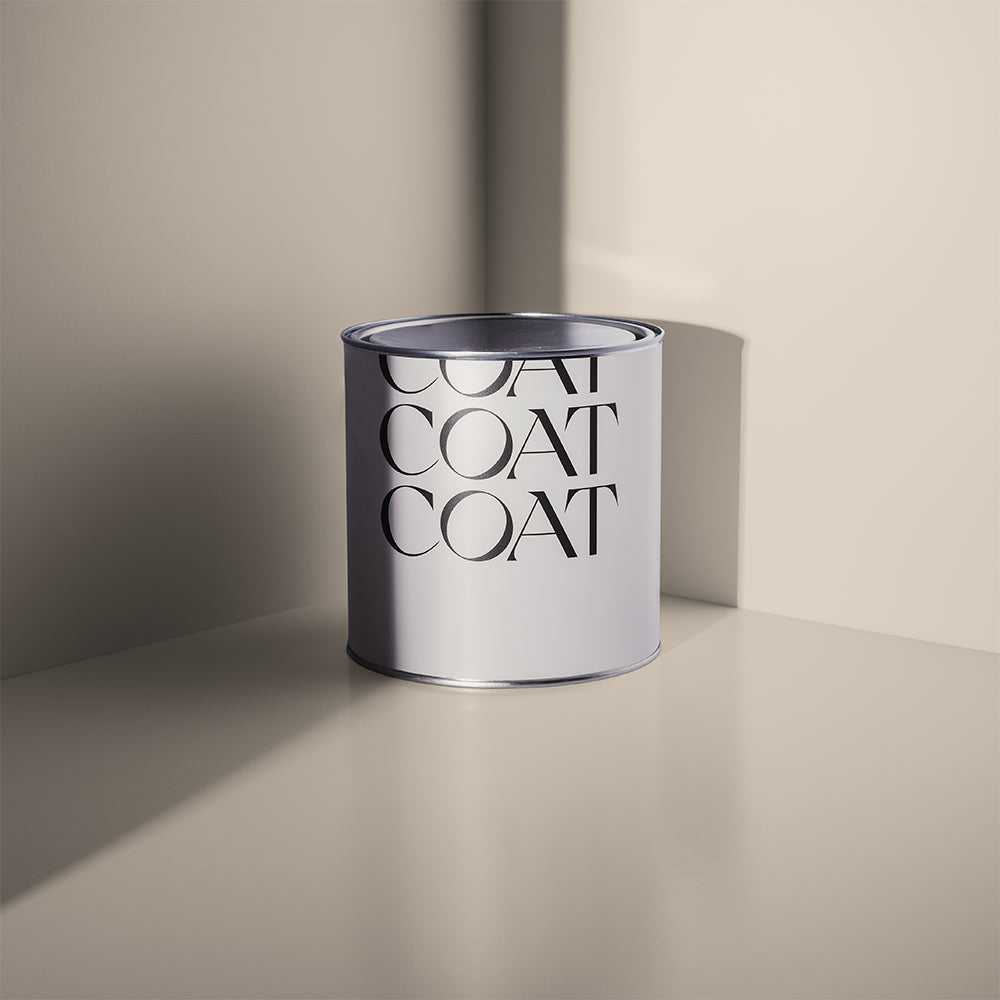
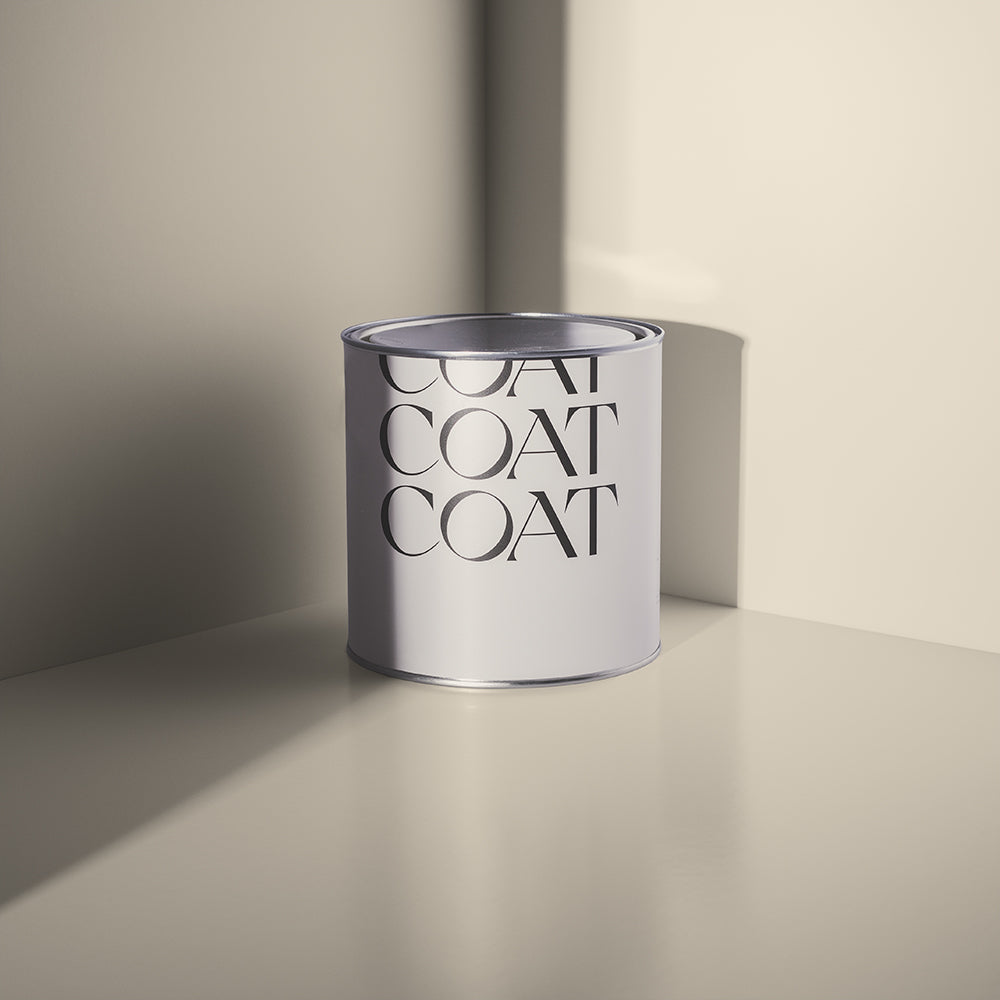
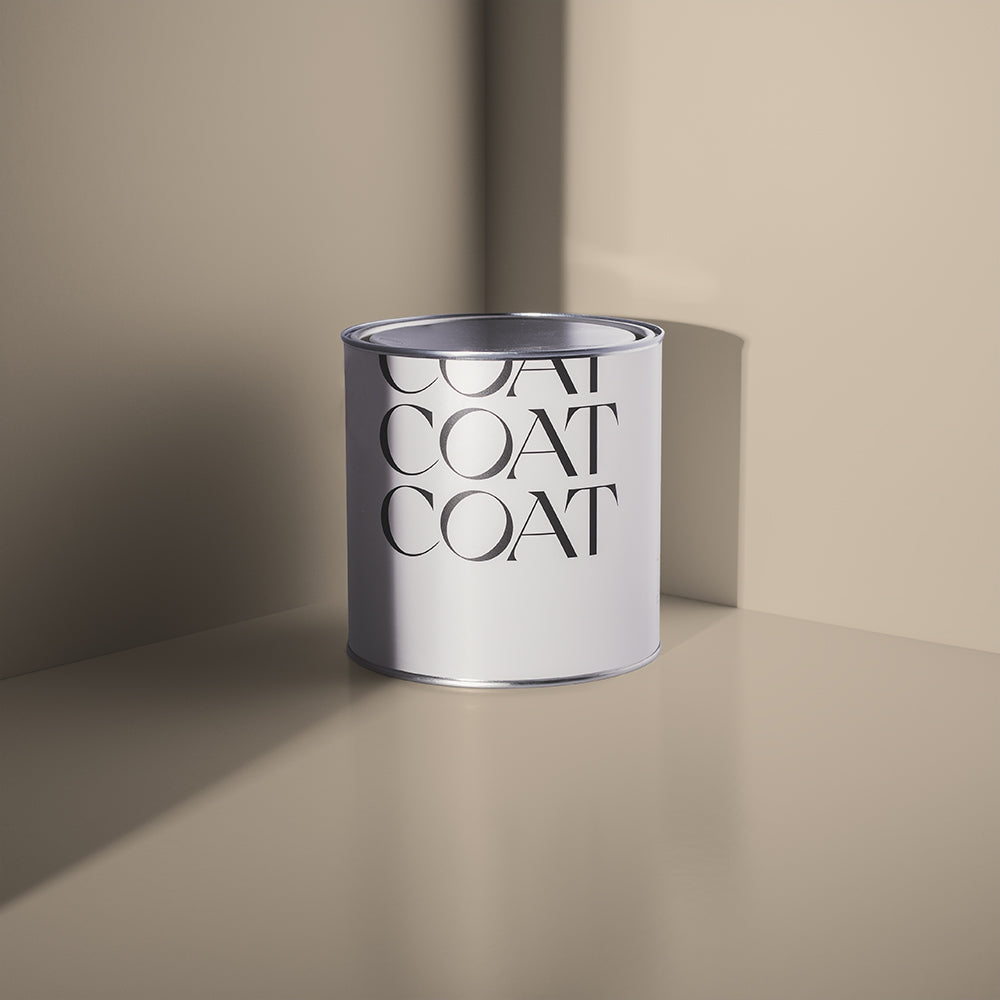
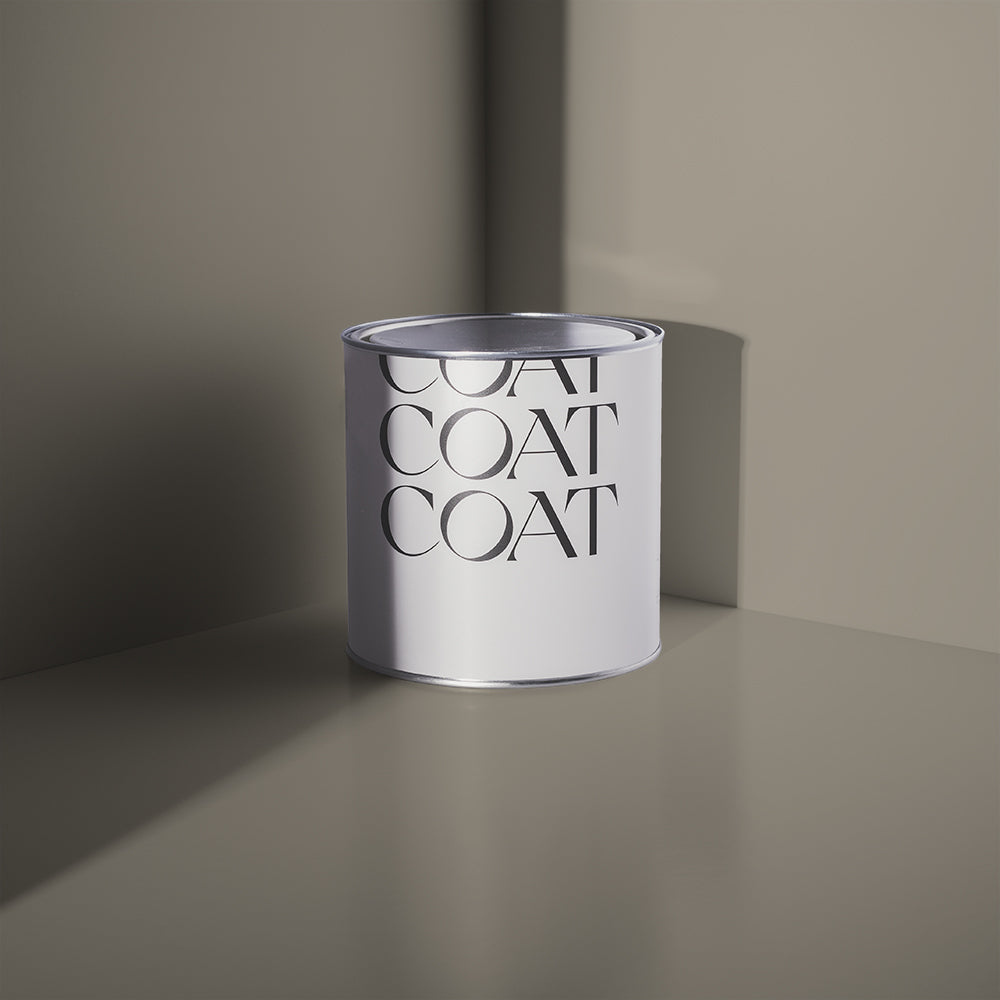
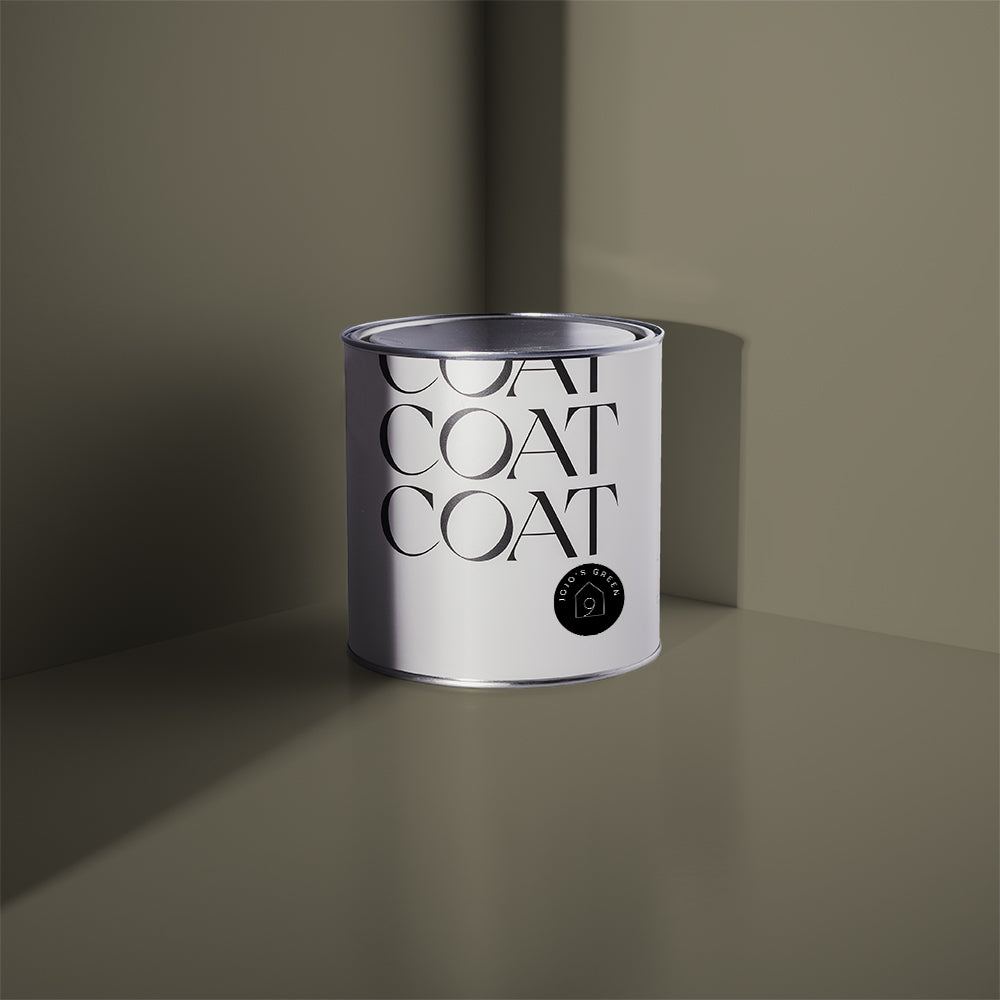
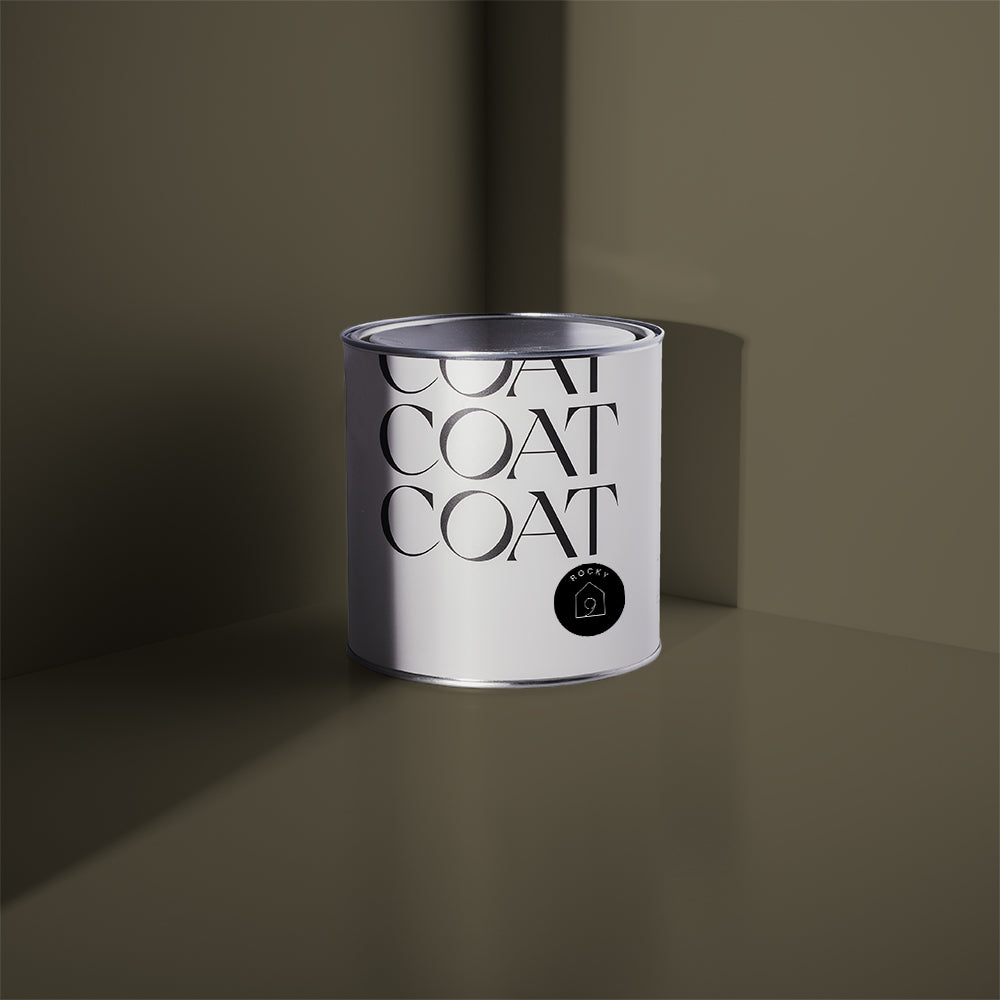
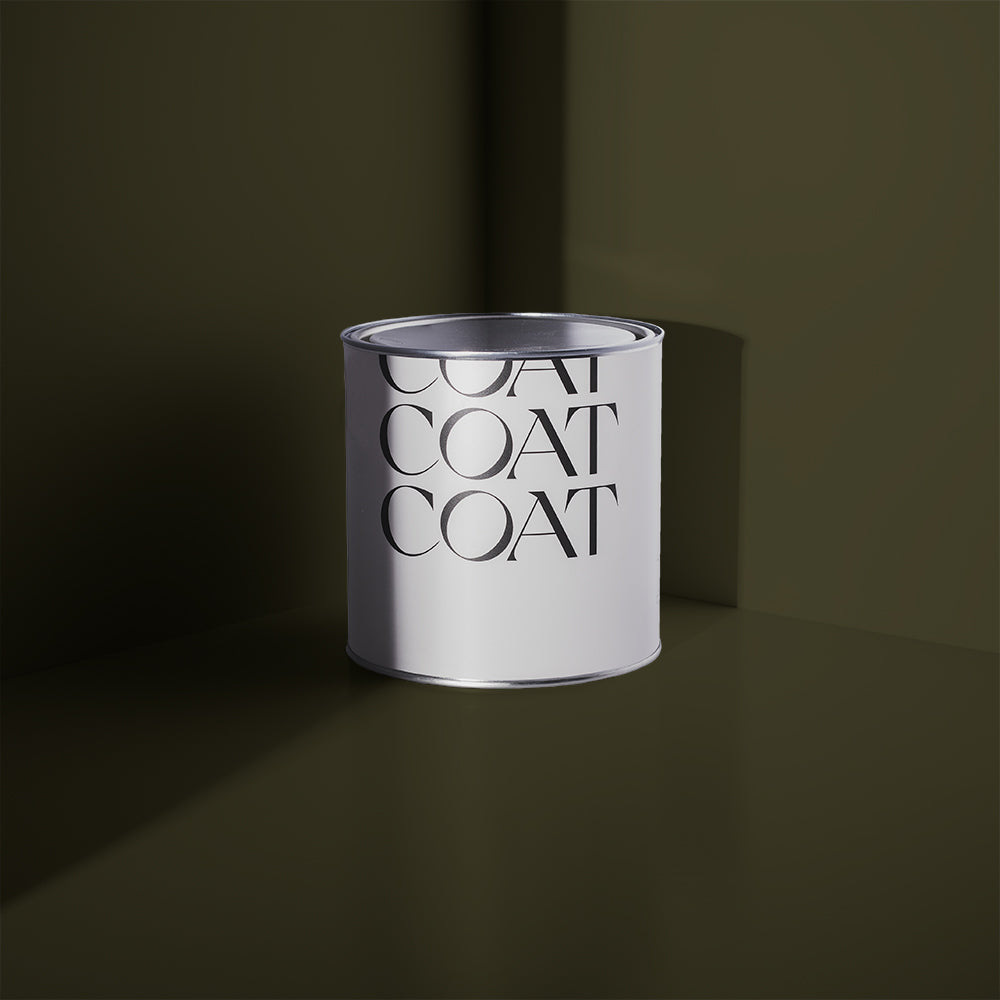
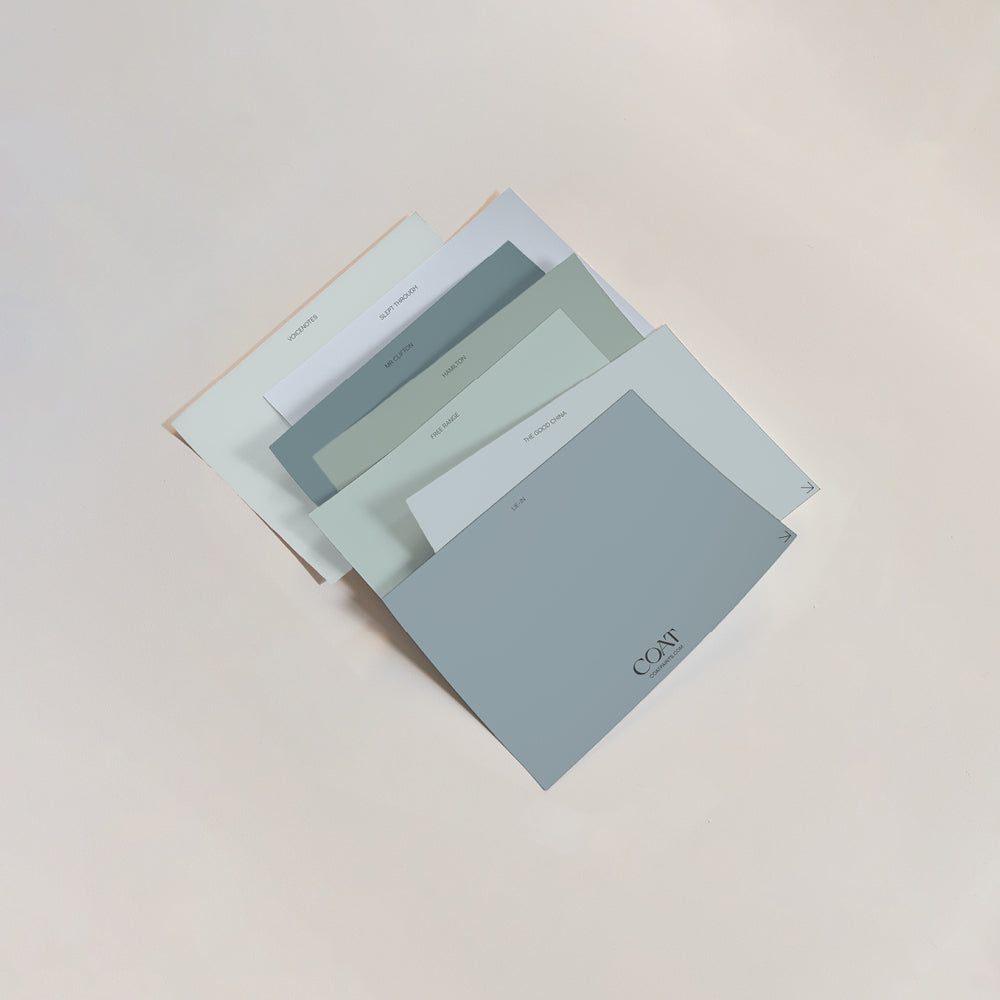
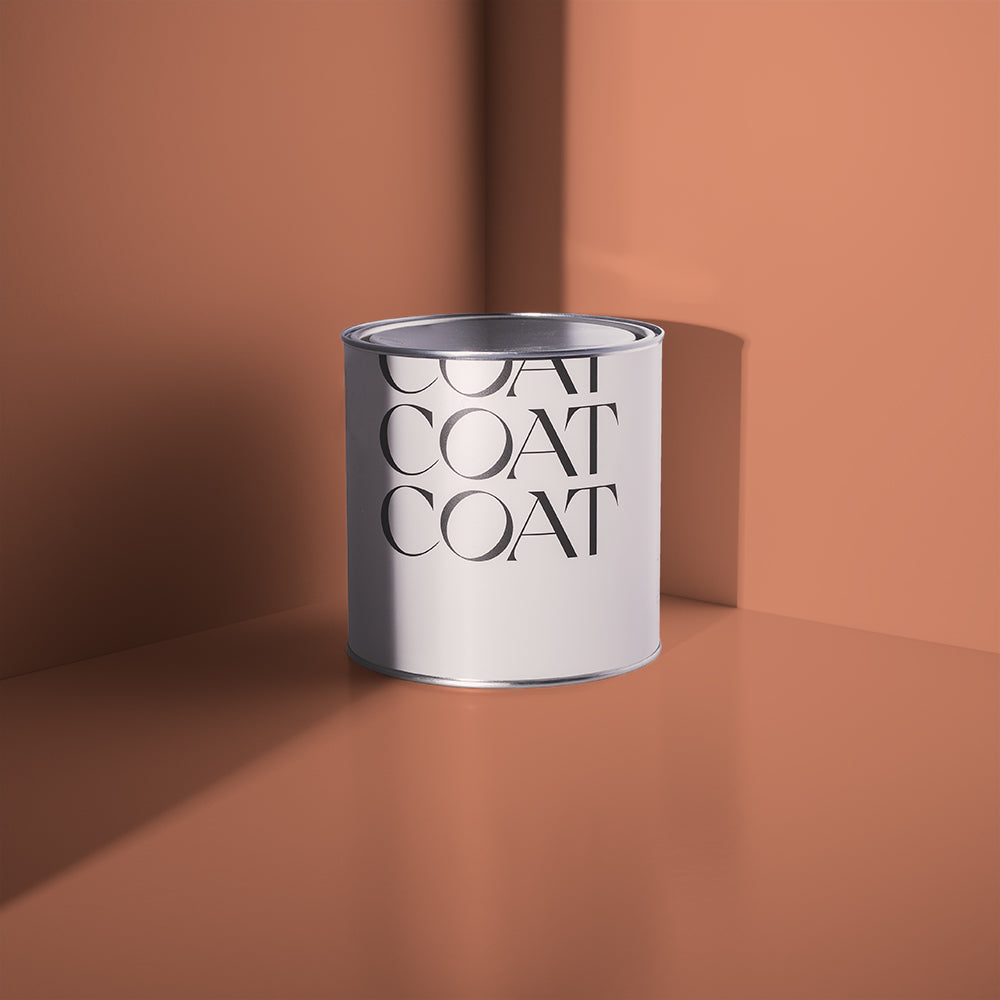
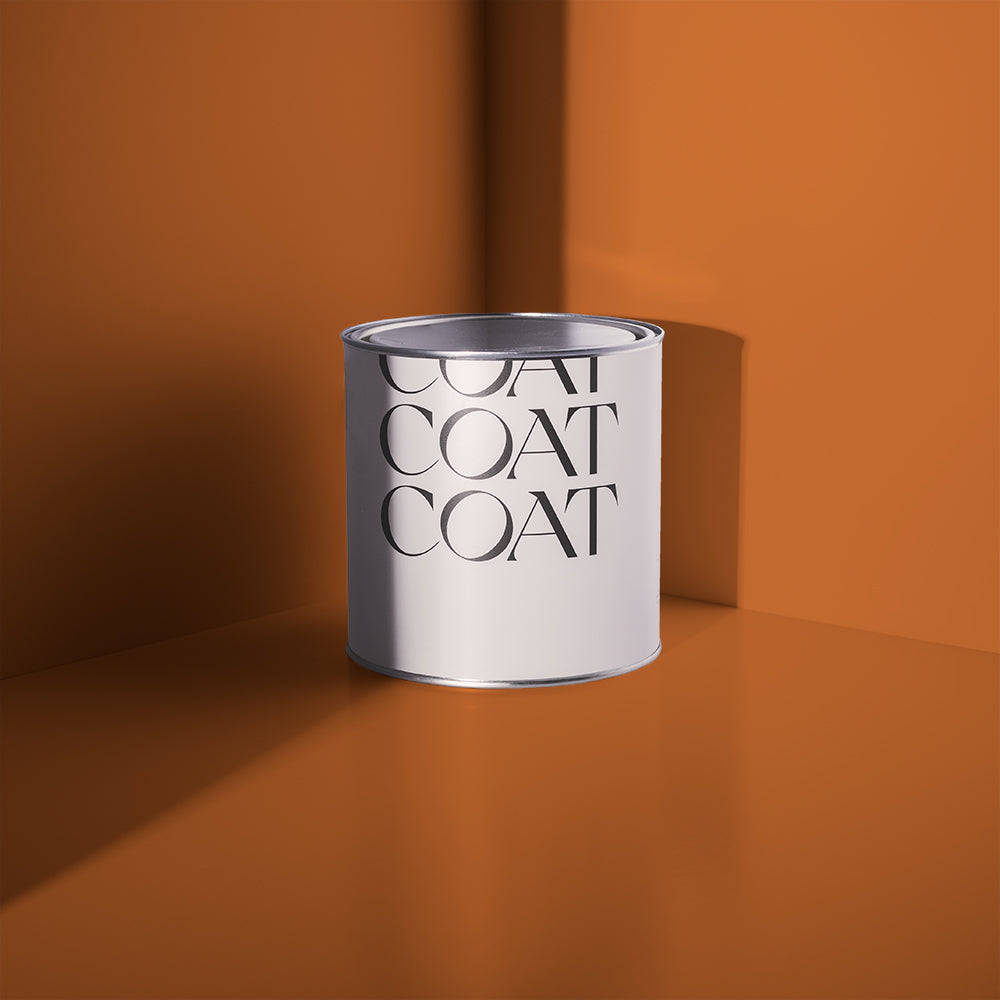
Choose Your Paint
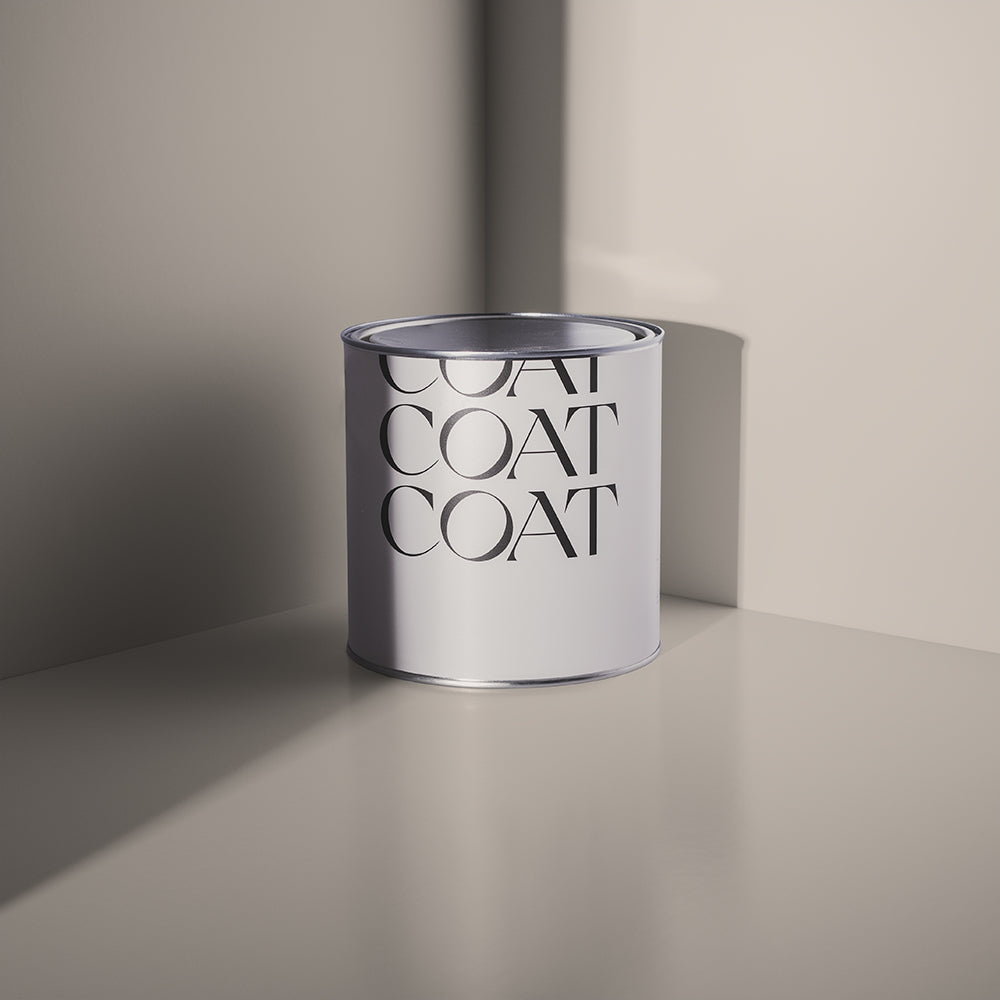
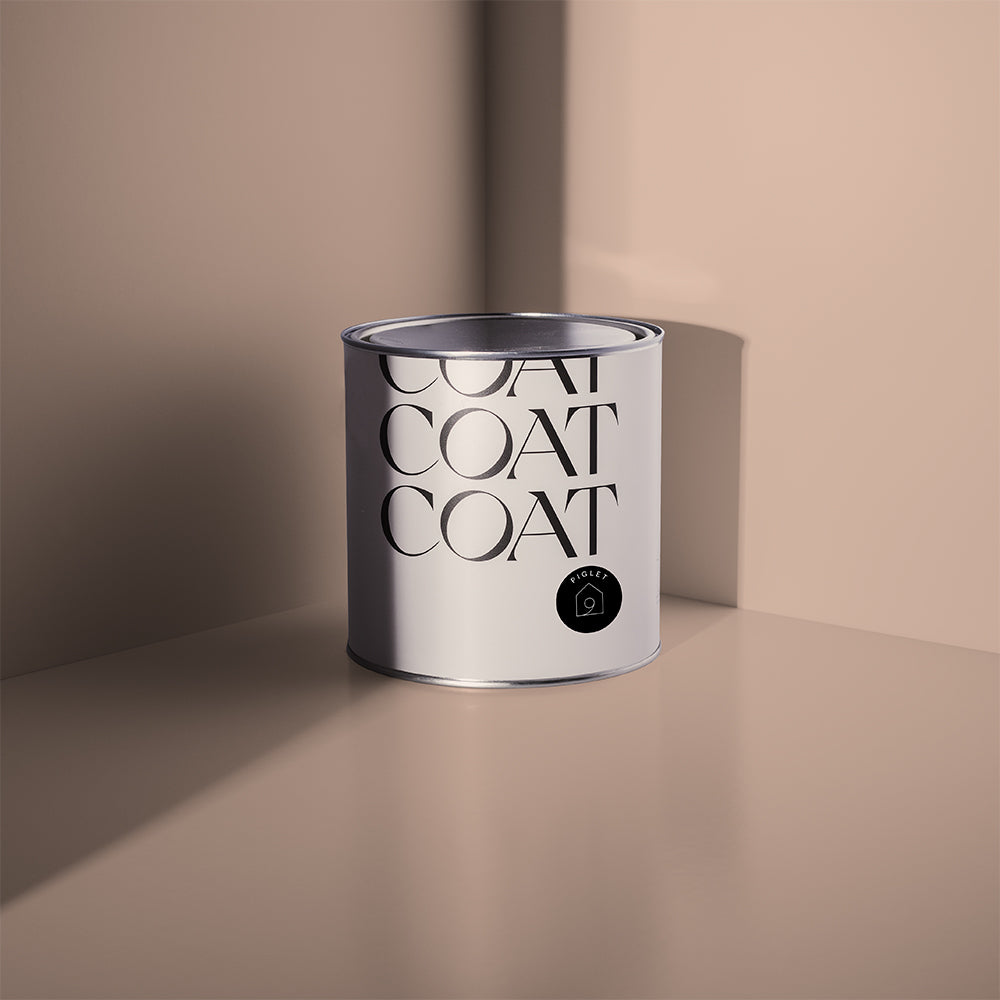
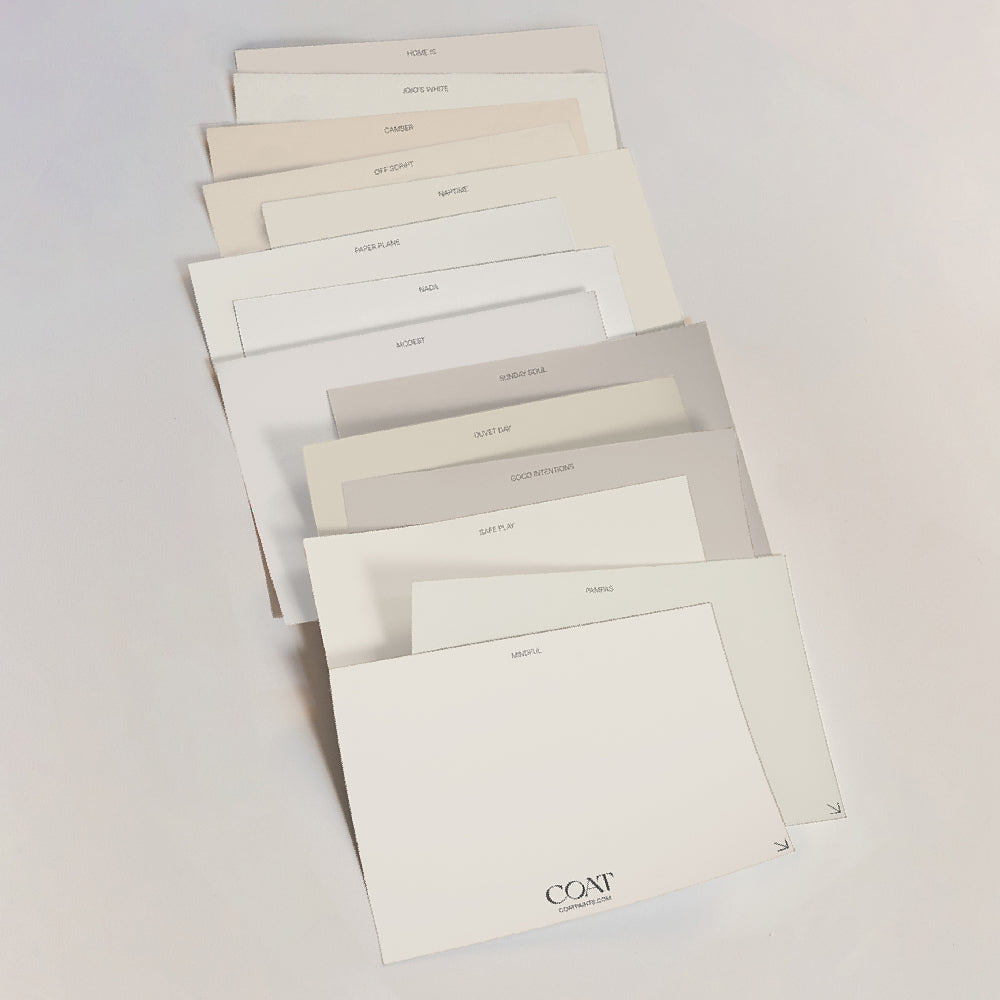
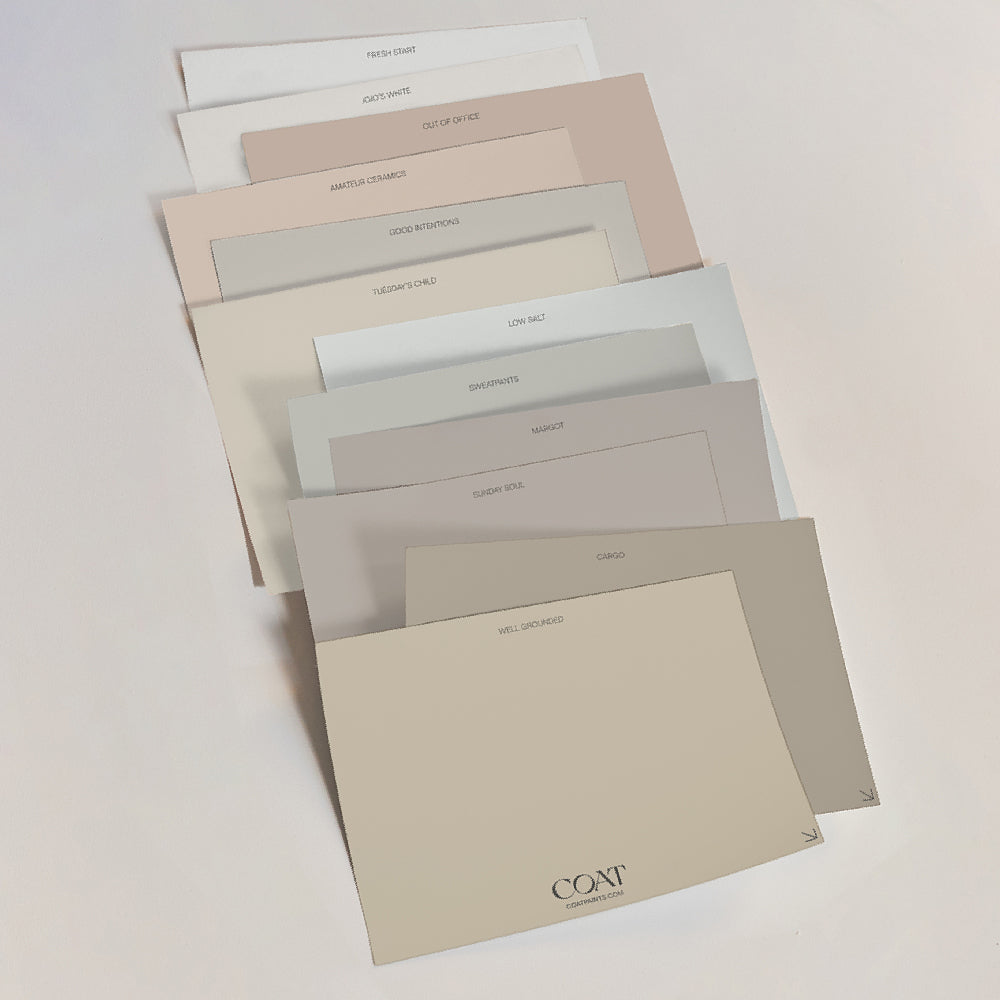
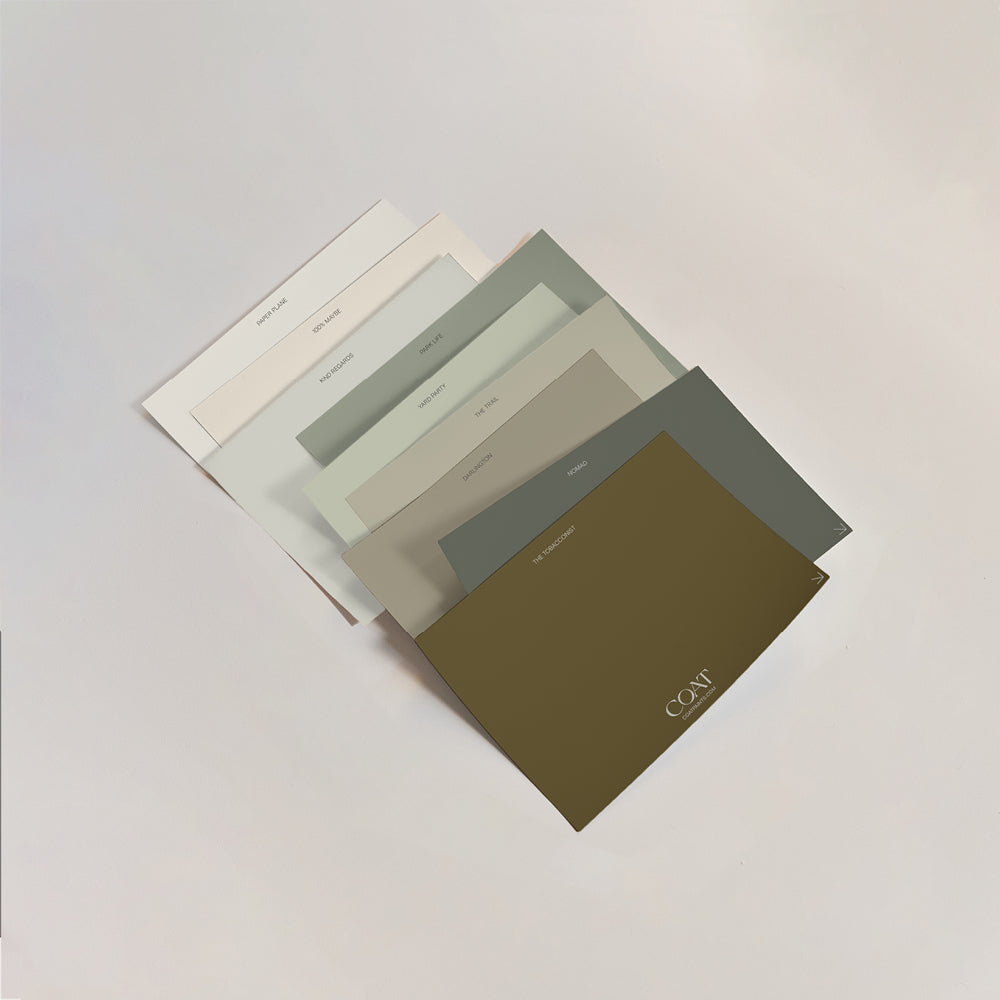
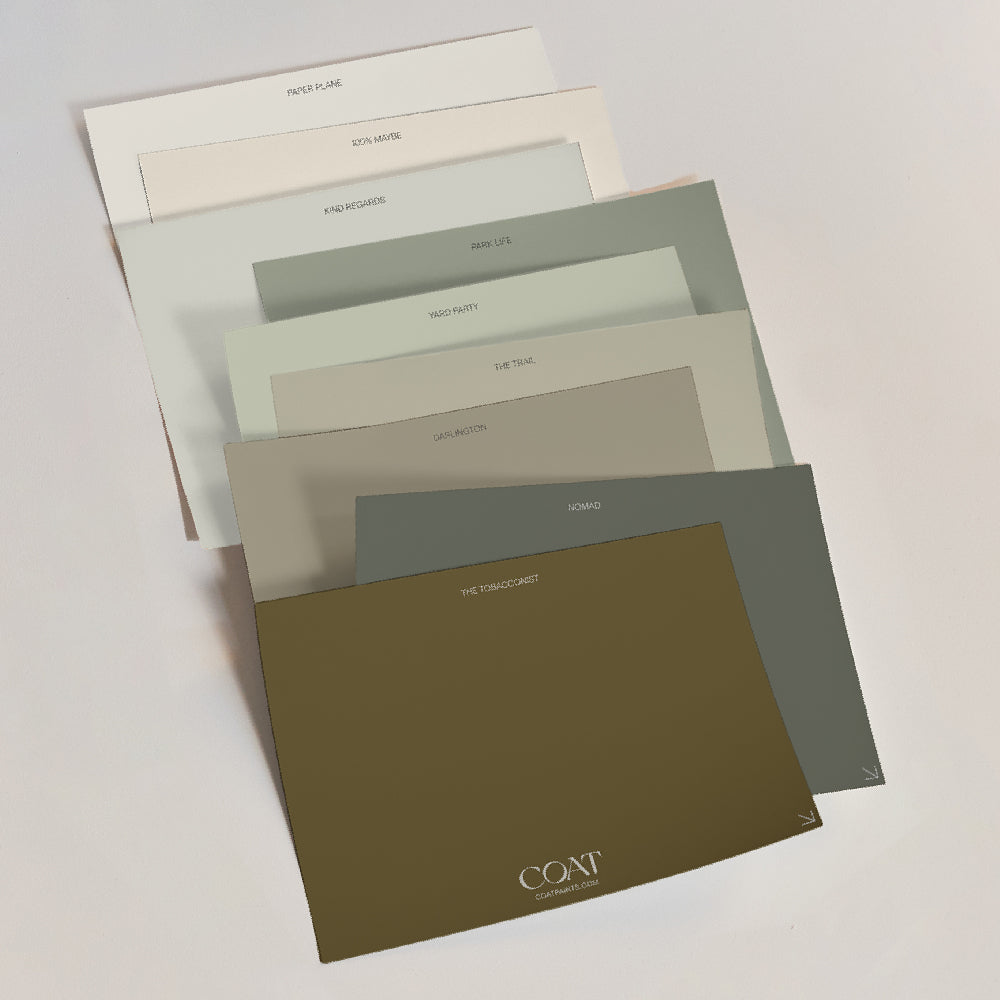
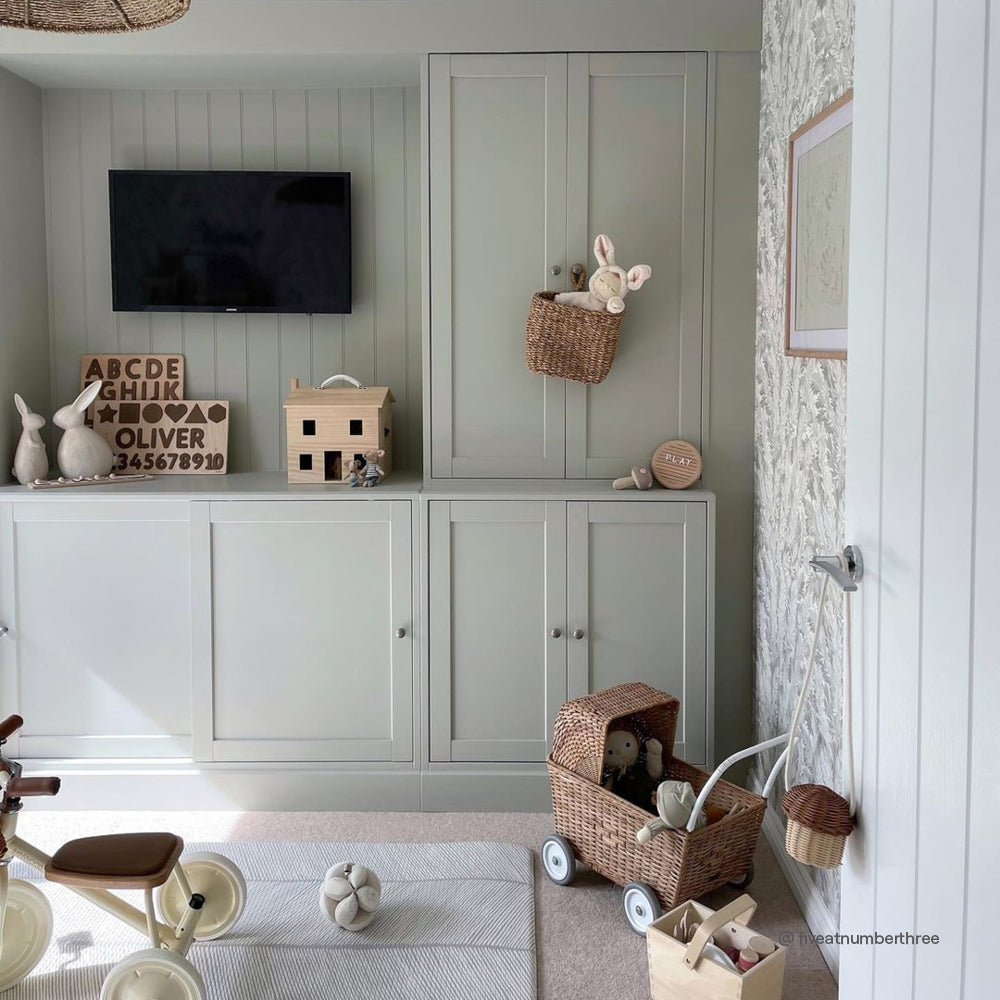
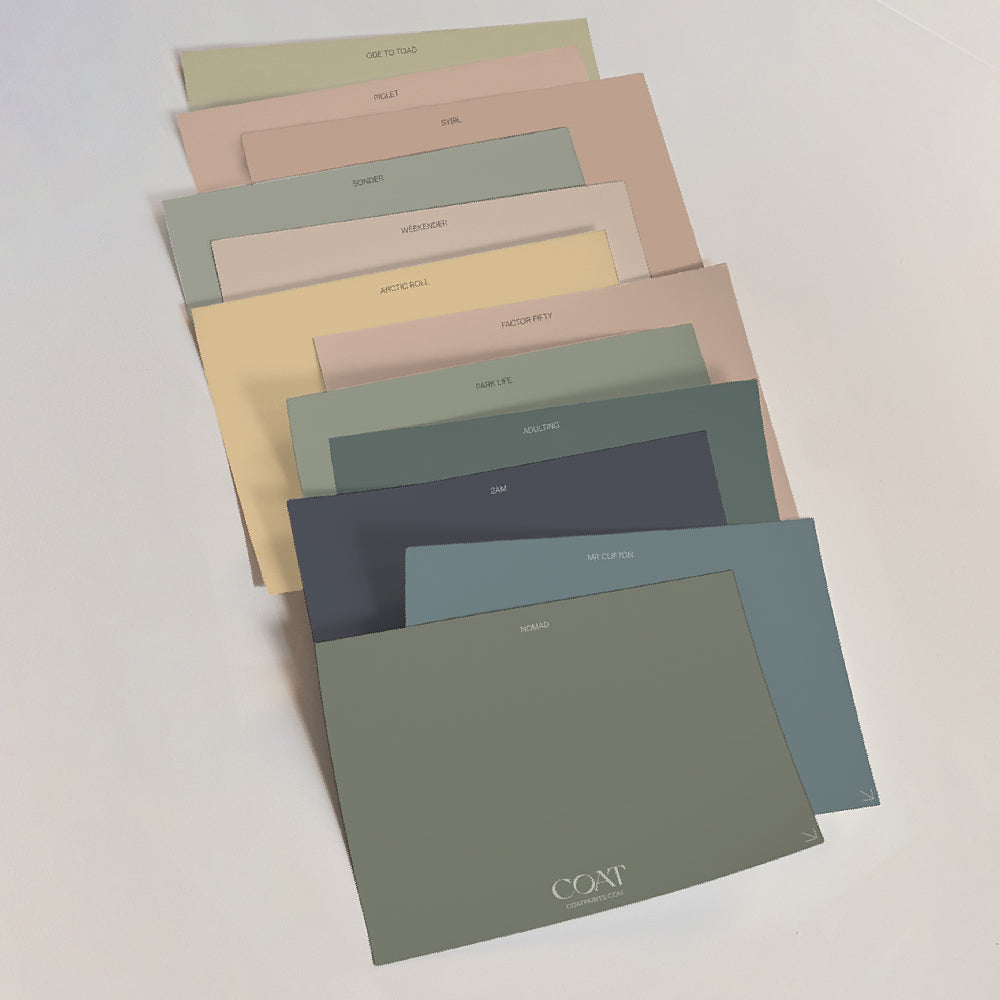
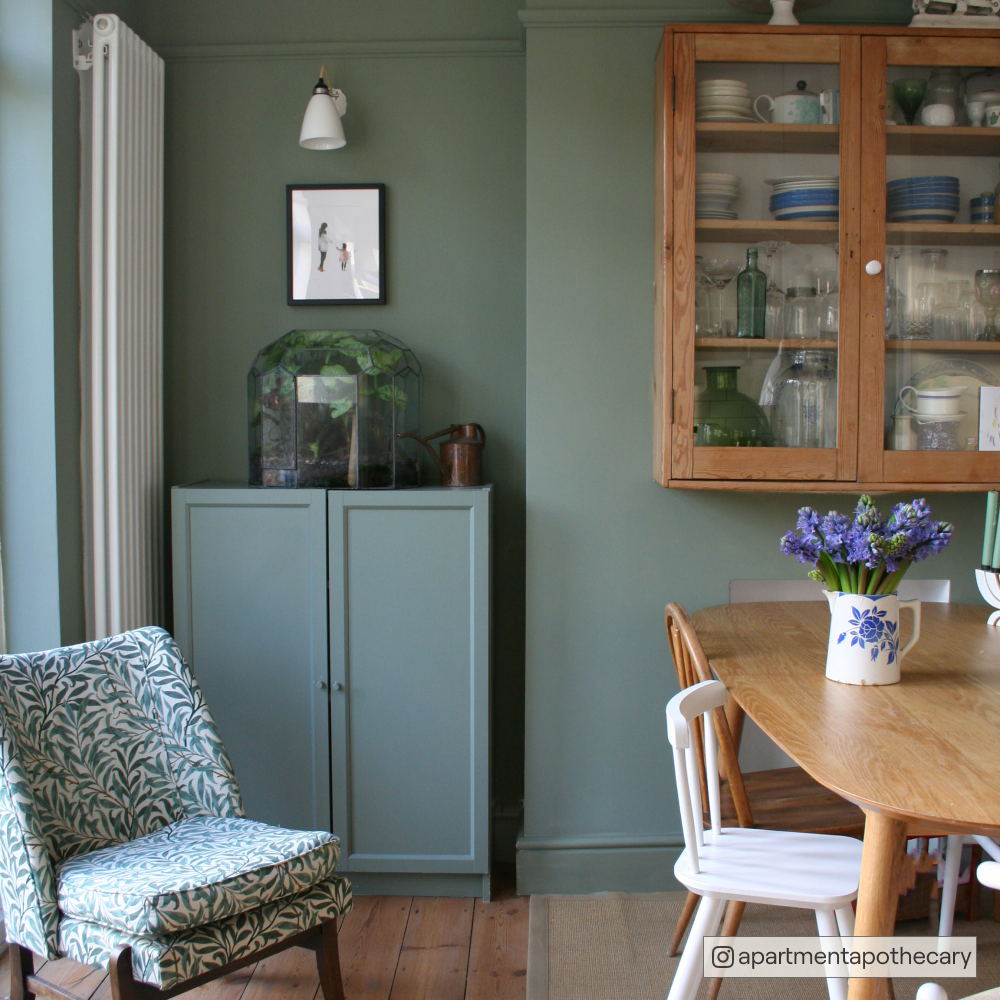
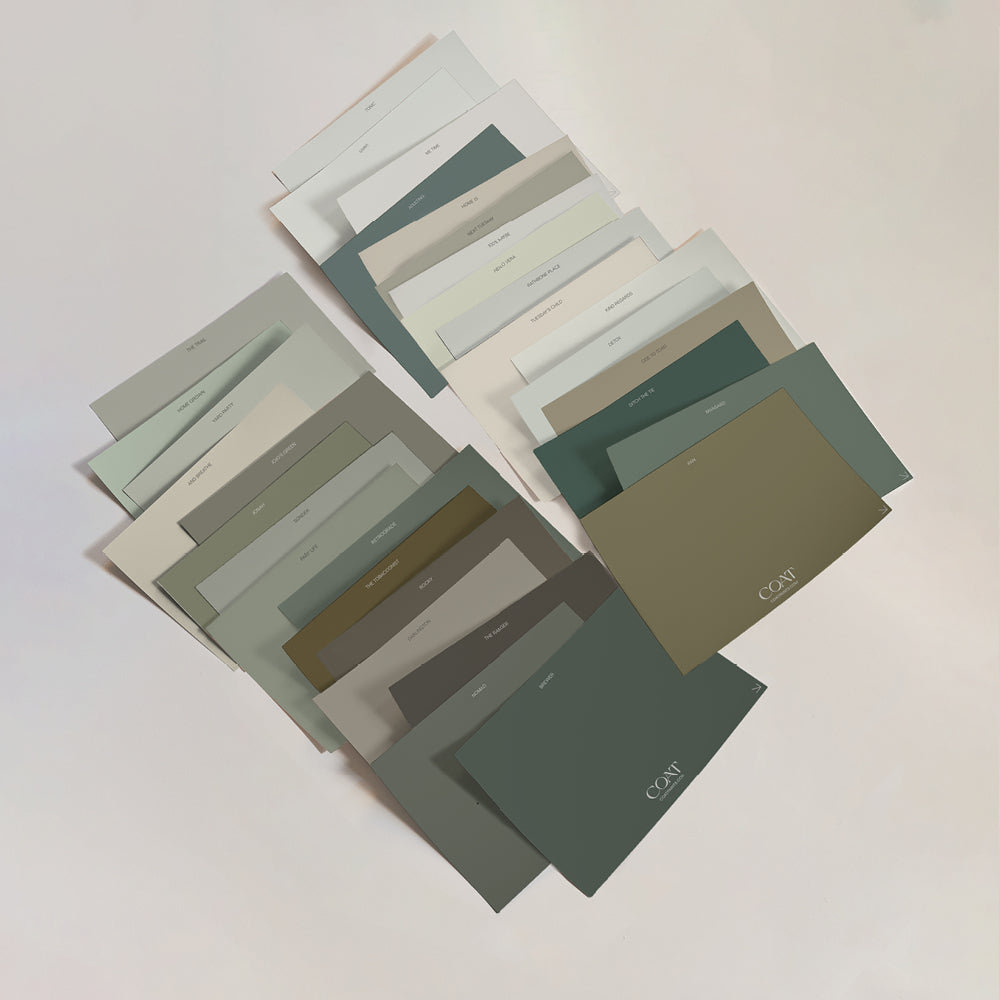
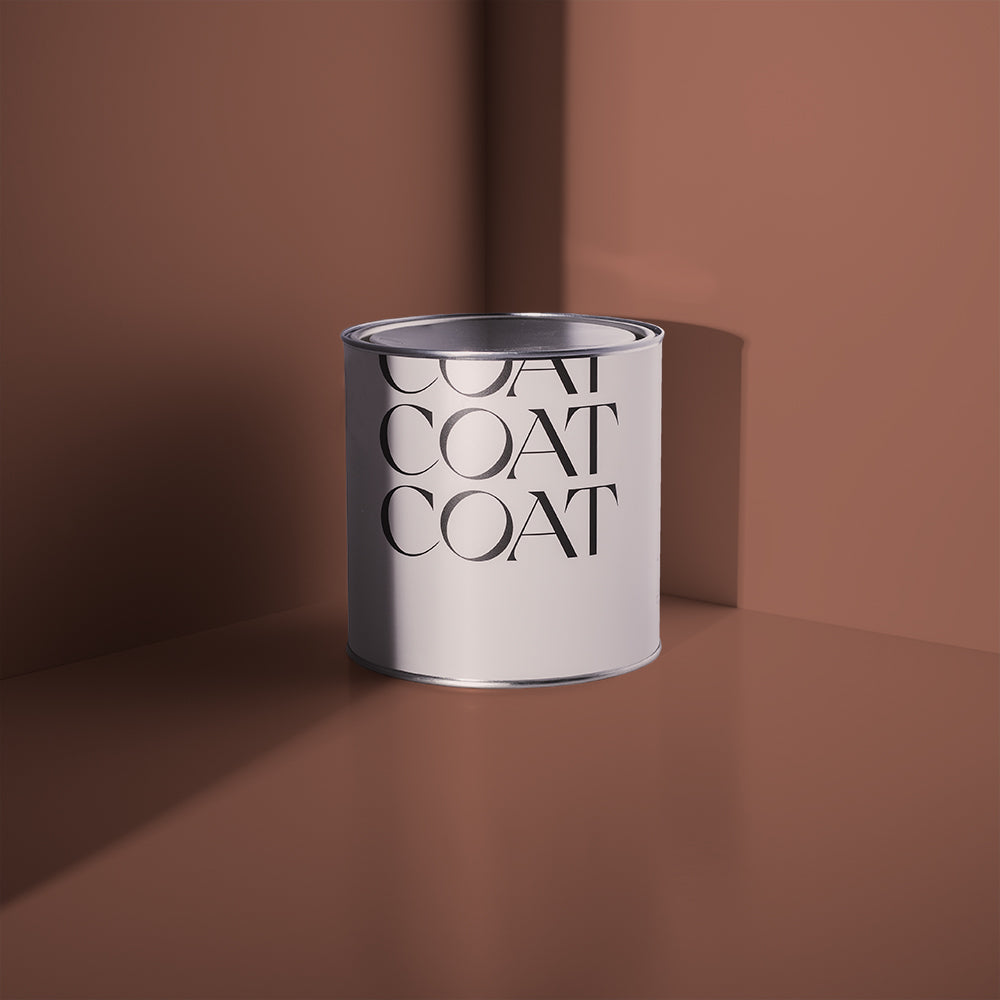
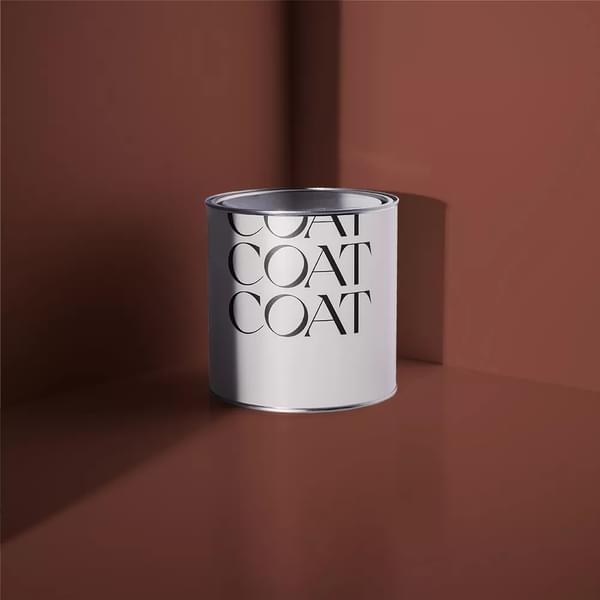
Our curated colour palette makes it simple to pick a colour that's bang on-trend. No matter what colour, texture and finish you choose, though, you’ll know you did your part to save the planet by buying the most ecologically responsible paint on the market today. The fact that it is also drop-dead gorgeous is just an added benefit.
Gather Your Tools And Materials
So, what will you need to get started? Not much, as it happens.
- A good 2-inch sash brush or specialty cutting in paint brush
- A cut bucket
- A clean white rag
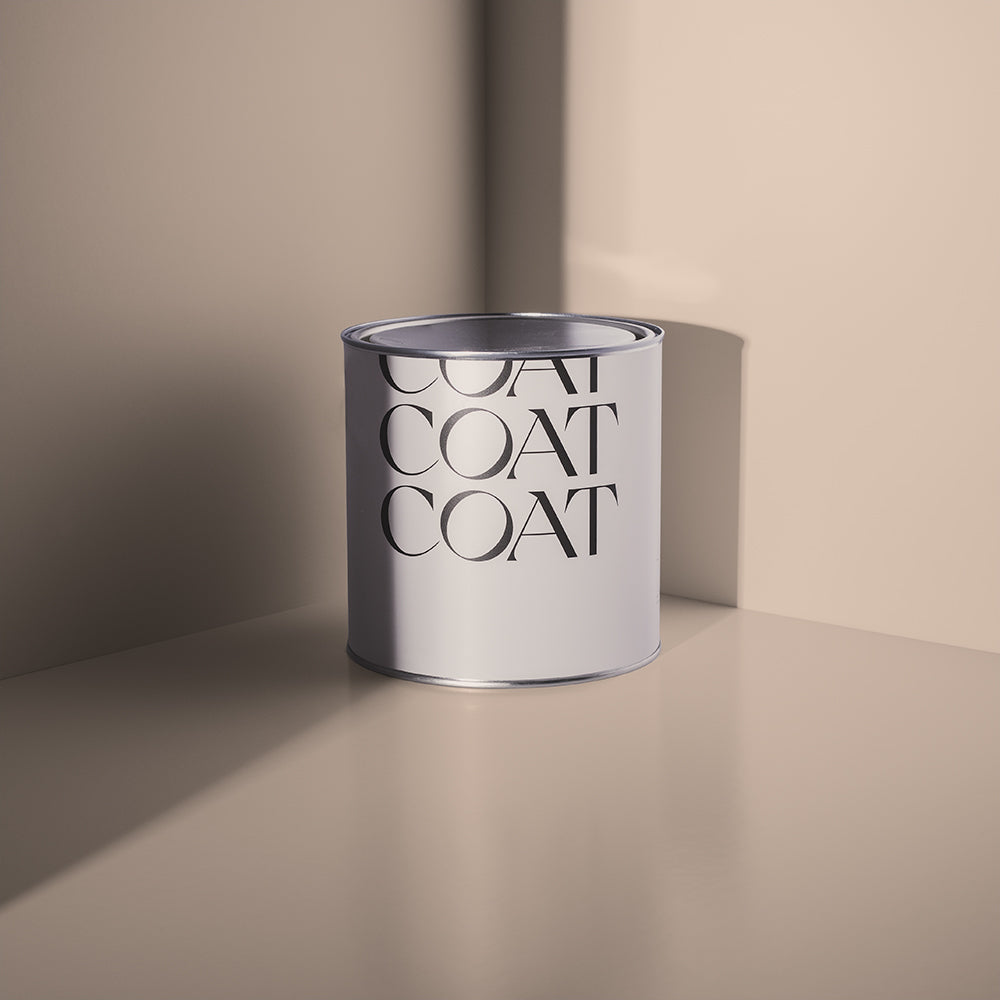
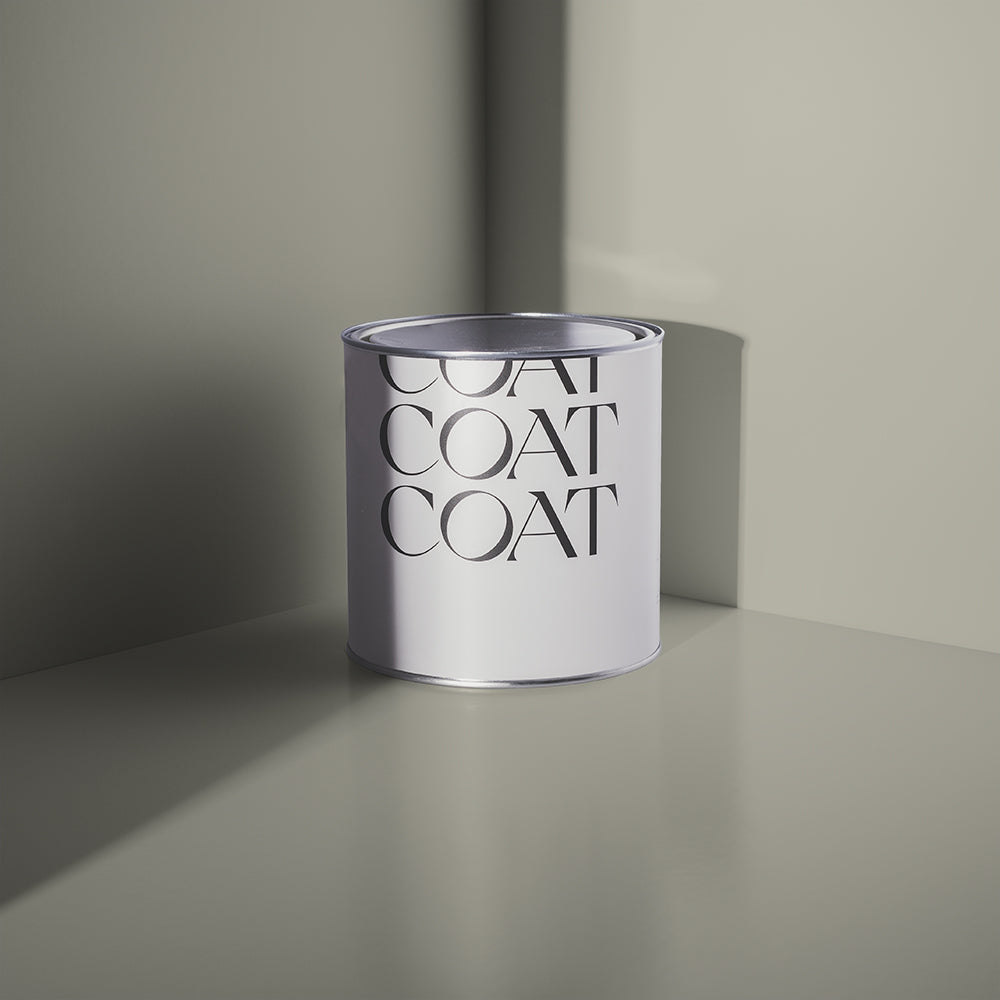
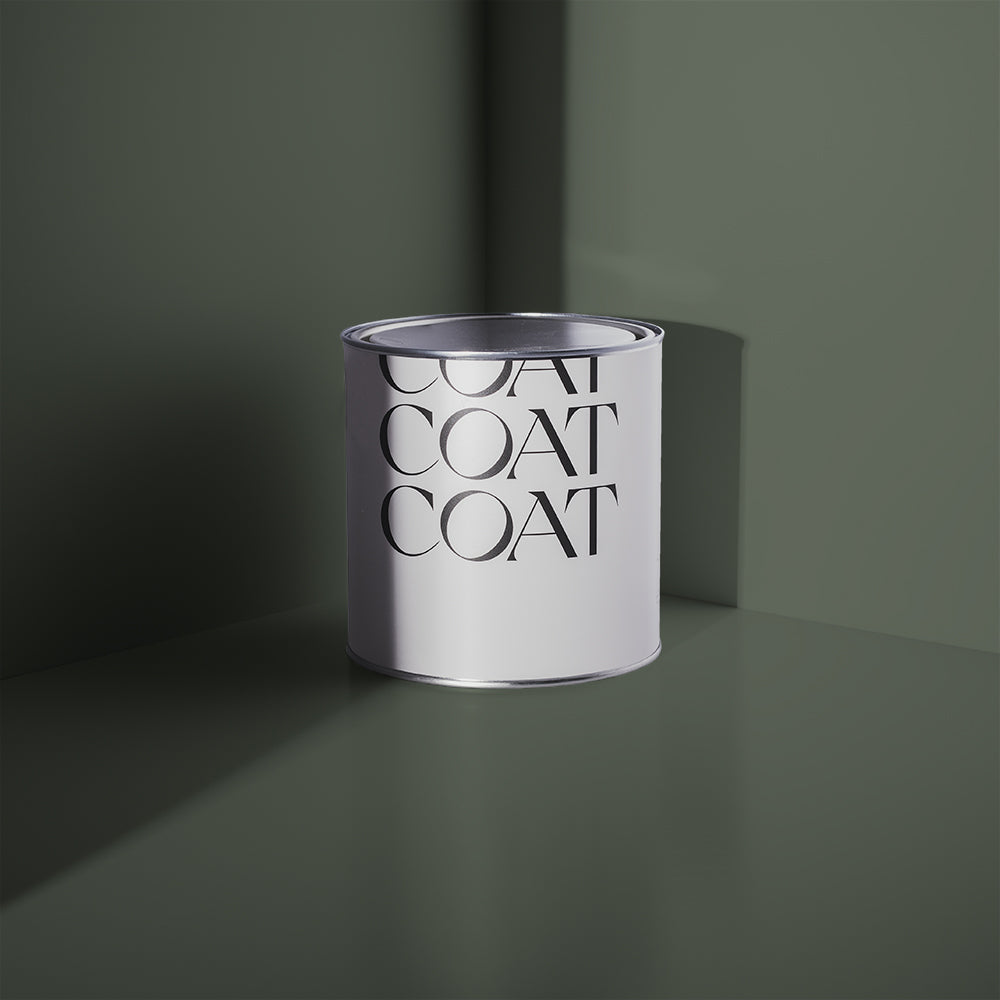
- Some high quality, ecologically responsible COAT paint
- A steady hand, and nerves of steel (Jks! You’ll be fine)
Fill Your Bucket
Well, more to the point, don’t fill your cut bucket. You will only need a centimetre to a centimetre and a half of paint. If you have more, it will be very easy to overload your brush, and that’s when things start going badly, badly wrong.
You’ll want to keep the sides of the bucket away from obstructions as well. You’ll be using the sides to wipe excess paint off of your brush. The rim of the cut bucket will be sticky with paint in no time. There will be drips, and you will get paint on your trousers. Try to dress appropriately.
Load Up Your Brush
OK. Now it is time to get some paint on that brush.
Less really is more when it comes to cutting in, trust me. Drips and dribbles can be killers here. Dip the tip of your brush into the paint, and pull the bristles along the edge of the cut bucket when you lift it out. This will skim off much of the excess paint, but leave you plenty to paint a nice, crisp freehand line.
The brush should start dry and finish dry. It doesn’t take much paint at all to cover most kinds of trim!
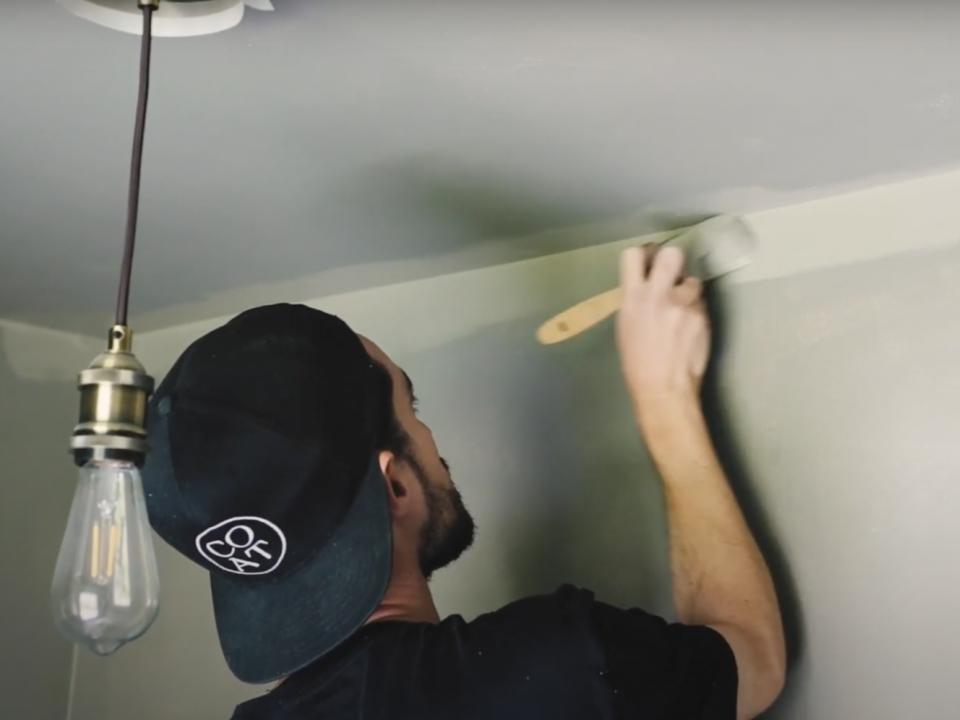
Apply Paint To The Line
Alright. This is where the rubber meets the road. This is the part cutting in was developed for. This is… actually the easy part.
Grip the brush lightly, just as you would hold a pencil. Your fingers should be near the bristles, but not actually touching them. Press the bristles gently to the wall so that they make a distinct wedge shape. The sharp edge of that wedge will draw your straight line.
As you begin moving the brush, the bristles will naturally flow out into a fan shape. Only the very edge of that fan, the part that was your wedge, will draw the line as you move forward. Everything else just makes that line thicker.
The first time you try this should be on a practice surface, or at least on a part of the wall that will soon be painted all of the colour you are using. Give yourself maybe 20 minutes to learn how the brush, the paint and the wall interact.
The technique you need to develop is starting well below the actual line you want to paint, drawing the edge of the fan up to match that line, holding it for just a few inches, then dipping back down into the area that will be all of the colour you are painting. Don’t try to do more than a few inches per swipe. That’s when bad things happen.
You make long straight lines by stringing lots of short ones together. It looks hard, but isn’t, promise.

Broaden The Paint Line
OK. Pressure’s off now. Here comes the really easy part.
Use your cutting in brush or a larger straight brush to make the line you just made thicker. You’ll just be adding to the part you don’t have to be careful on. The goal is to make the hand-painted line broad enough that when you pick up the roller to do the rest of the wall, you won’t have to come anywhere near that beautiful straight line you just made.
If you can make your hand-painted line a solid 5 centimetres wide, you’ll have plenty of margin when the roller comes out.
Erase Mistakes
Of course, there will be mistakes. There were mistakes when everyone did their first cutting in job, and there will be mistakes on their 200th as well. It happens, we’ll just fix them.
Grab that clean white rag we talked about. Get it very slightly wet, and wipe away any paint that ended up where it wasn’t supposed to be. You can even use this technique to erase any wobbles that spoil a nice straight line.
The only trick is that you have to do this straight away. Waiting even a minute can make wiping the paint away cleanly more difficult, and 5 minutes can make it impossible.
Paint The Rest Of The Room
OK. From here on out, it’s all paint roller work.
You already know how to do this part. Fill the roller from a paint tray, and apply in long, even strokes. This won’t take long at all, compared to the cutting in painting you just did, and it will be much less nerve-wracking.
Just make sure your roller doesn’t come anywhere near the cut-in border you made, and you’re golden. And if it does, well, the wet rag trick will still probably work.

Clean Up And Admire Your Work
So, no messy masking tape to remove or drag across the carpet. Nice. But you did use a drop cloth or a sheet, right? Whatever precautions you took, put them away. If you’re still feeling rambunctious, give the floor and surrounding areas a quick sweep or vacuum. You shouldn’t need the wet rag anymore at this point, but you may notice a drop of paint out of place somewhere over the next few days. A dab of mineral spirits should take that right off.
OK. You’re done. Gaze upon your work, mighty decorator, and have a cuppa. Don’t forget to act like it was incredibly difficult, fiddly work at every opportunity. You’ve earned a little appreciation.
We hope this guide to the dark art of cutting in painting has been helpful. If you liked it, we have several more articles like this one to help you boost your DIY skills. No matter what colours you end up cutting in with, COAT has you covered in achieving that look you hope to see.
Publish Date
Author