How To Prep For Painting
How to Prep Walls for Painting
Prep is key when it comes to painting. The aim of the game is to give yourself the best possible surface for all that lovely paint to stick to. In this post we’ll have a quick (ish) run through of the tools you may need and the steps to take when prepping walls, wood and radiators for painting - to make sure you get that flawless finish when you're done. It's well worth it, promise.
What do I need to prep walls for painting?
- Sugar Soap (or mild washing up liquid), bucket and sponge.
- Scraper and wall filler
- Stripping knife (if you’ve got wallpaper)
- Stepladder
- Screwdriver (to loosen sockets and fixtures)
- 180 grit sandpaper (check the pack of the sandpaper)
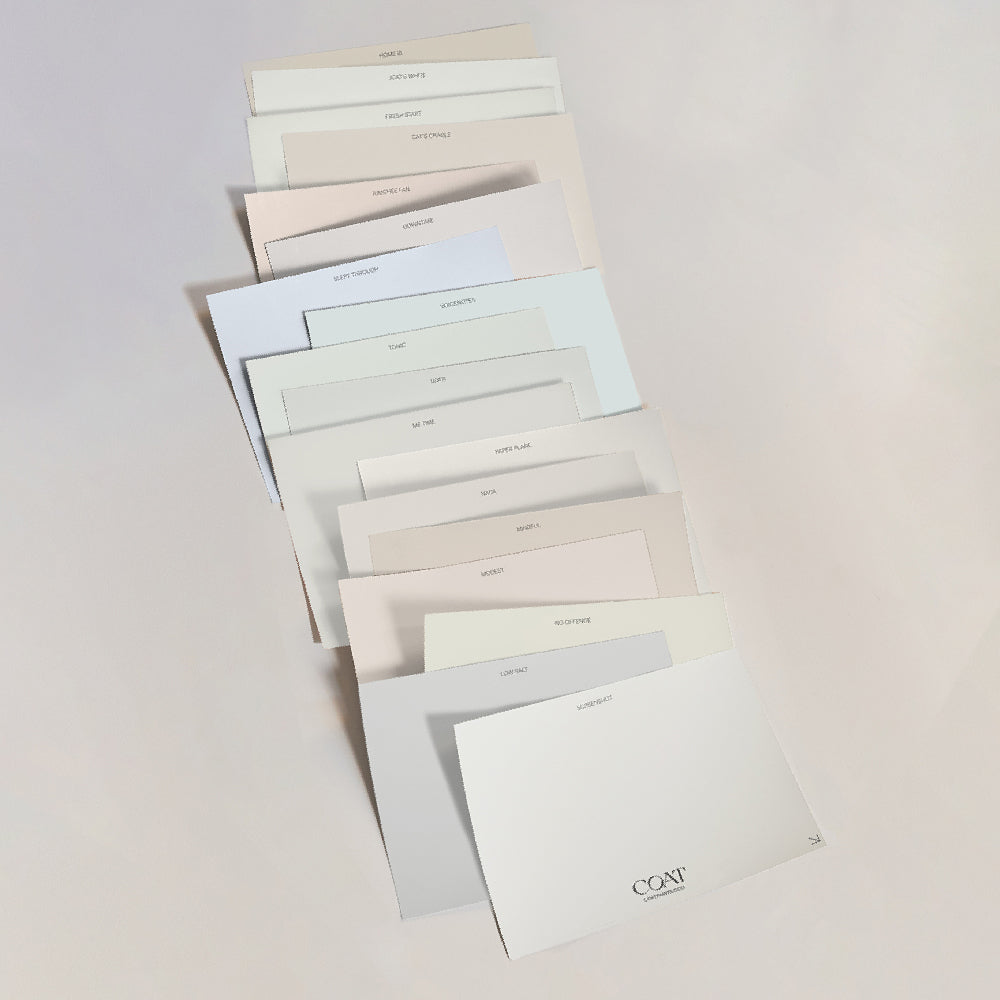
- A banging playlist – check out our COAT tunes on Spotify
Setting up the room
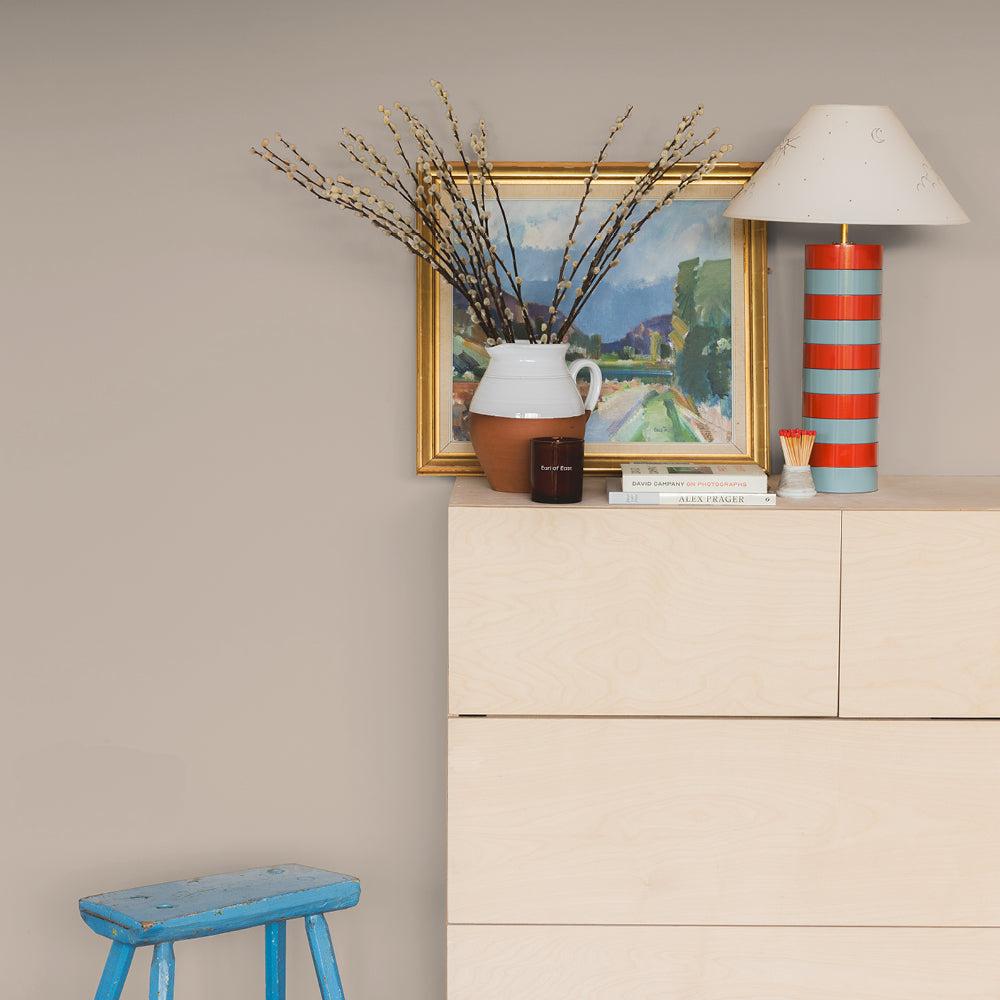
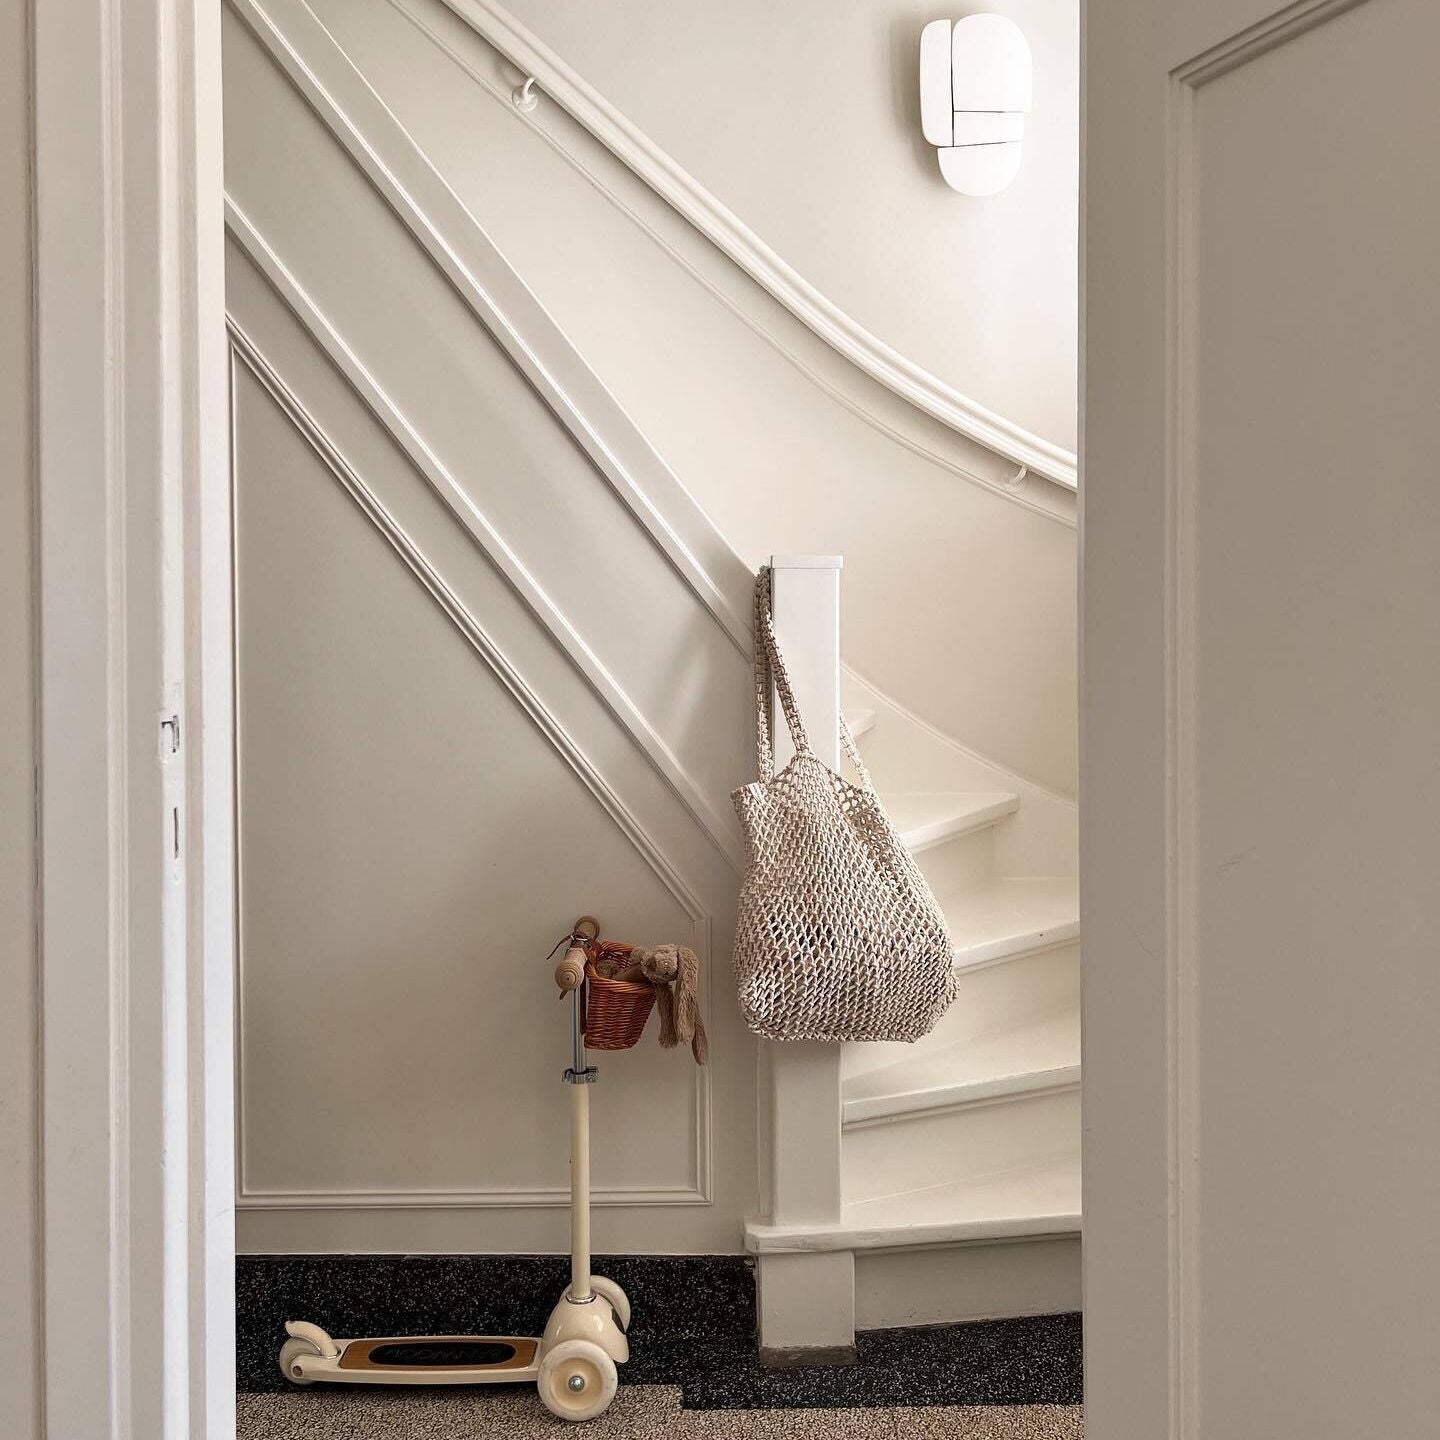
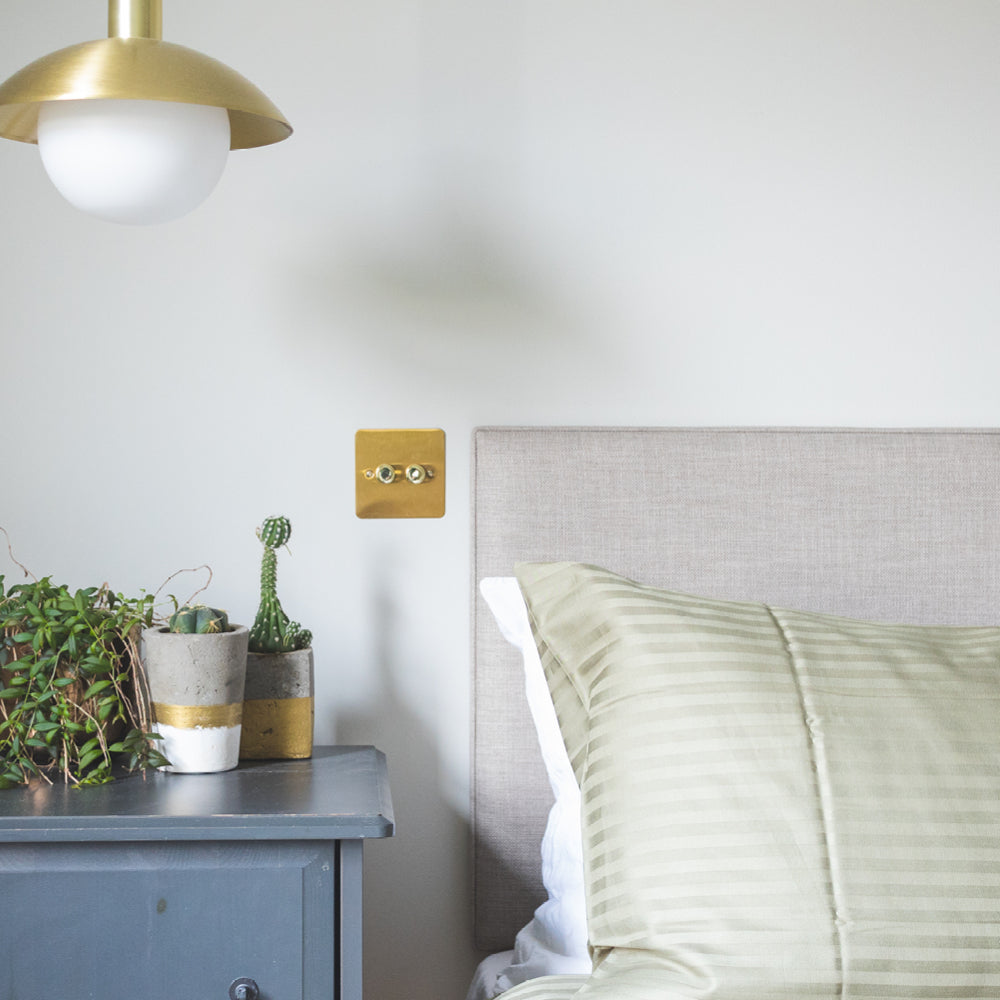
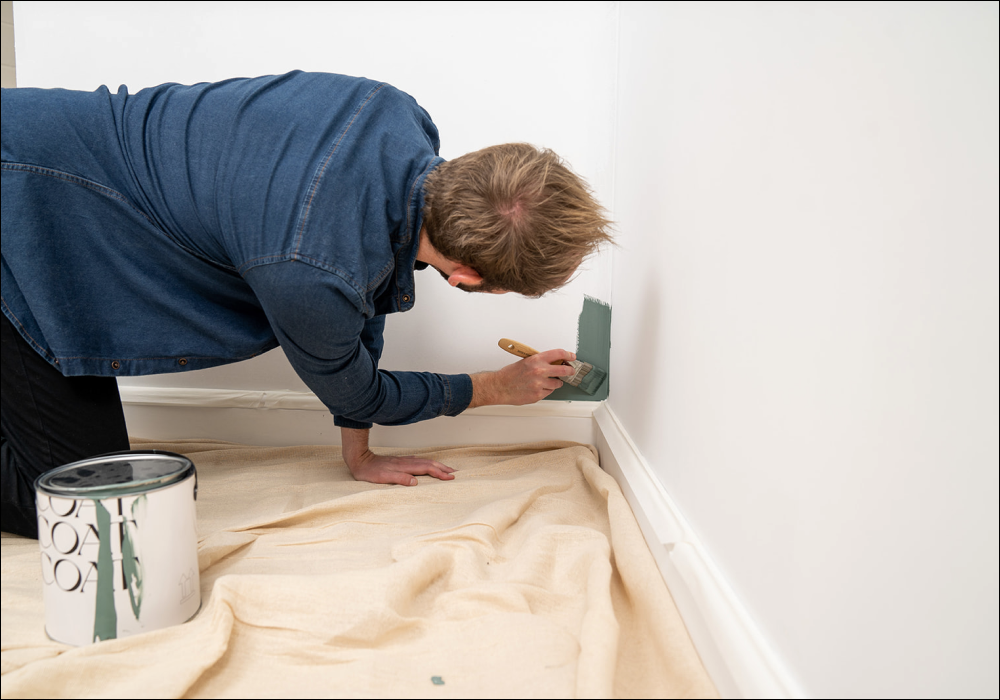
This bit is pretty obvious, but so many folks don’t give themselves enough room. Move your furniture out the way, cover it up and the floor around the area you’re going to prep. Old bedsheets will do the trick. Take down any pictures and shelves and pop them to one side, removing any nails or screws from the wall where possible (to avoid damaging your roller later on). Be careful with electrics, but you can also loosen sockets to allow you to paint underneath the edges and get a much cleaner painted edge. You should now have a clear wall in front of you – the canvas!

What to look for when prepping a wall for painting
So, there are a few things to keep an eye out for. If you have wallpaper that you want to paint over, just make sure it’s stable (not peeling anywhere) and there aren’t any metallic or glossy finishes on the paper. If this is the case we would suggest taking the paper off. You can either use a wallpaper stripper or stripping knife. If a few scraps are clinging on you can soak them with a sponge and hot water to soften the area.

For previously painted walls, take a look for any lumps and bumps or flaking paint areas. You can scrape these back to a solid edge, then apply some wall filler. Once it’s dry, use a piece of 180grit sandpaper to rub the area back to a smooth finish. Be a bit careful if your current paint is a glossy or silk finish. If this is the case we would recommend either giving the wall a rub down to ‘key’ the surface or using a specialist primer to ensure your COAT paint topcoat adheres properly, painting on to shiny stuff isn’t ideal. If you’re not sure, just drop us a line. Likewise if your wall has any damp patches or previous damage, check out our blog can you paint over damp here.
How to prepare new plaster for painting
So if you’ve got new plaster, it’s a slightly different story. Painting a newly plastered wall requires more prep as it needs to be sealed to provide a stable surface for the topcoat. Let the plaster dry to a uniform colour and finish, particularly watching for corners. Now apply a mist coat of good quality emulsion with a ratio of water (according to the manufacturers instruction) or COAT paint diluted 10% with water. This mist coat will soak in to the plaster, sealing the surface and preparing it for the top coats by ensuring the surface is the same finish. You can read more on our dedicated blog.
How do I clean my walls before painting?

Now that you’ve done the prep to get to a smooth and stable surface, it’s time to clean any dust and dirt. Grab a bucket with warm water and sugar soap (or a touch of mild washing up liquid) and clean the walls from top to bottom. This step is another key one, don’t paint cobwebs in, they don’t look great! No need to soak the wall, just a light clean down then once dry do the same again with cold water and you’re all set. This process will also highlight any final lumps or areas that may cause aggro, such as leftover wallpaper paste. You can always give these another sand down to finish prepping like a boss. Top tip as well, most folks leave the rad in place and struggle to clean and paint behind it. For a lot of newer properties the radiators is usually sat on two brackets, so it’s super simple to lift and lightly place on the floor or box while still attached. Just make sure you’ve checked properly before giving this a go, but it can be a great time saver.
Do I need a primer?
With COAT paint you don’t usually need a primer. In fact, cheap primer coats can be a pain as they can become the weak link. A good quality primer will help as mentioned above with a glossy or silky surface, or if you have a damp or staining issue that requires a specialist primer. If you’re not sure, just drop us a message.
Time to tape up
To get the cleanest lines, tape along your skirting, door frames and down any edges or detail. You can use our eco decorating tape or a good quality tape, don’t scrimp otherwise you’ll pay for it when you lift it up and the paint has found it’s way underneath. Once you’ve taped it out just run your finger along the top edge to make sure it’s fully down, nice and straight.

Now that you’re all masked up and you’ve let the walls dry thoroughly, just give the area a hoover and you’re all ready to paint. Nice work.
How to prep wood, furniture and skirting for painting
What do I need to prep wood for painting?
- Sugar Soap (or mild washing up liquid), bucket and sponge.
- Scraper and wood filler
- Stepladder
- 180 grit sandpaper (check the pack of the sandpaper)
- A banging playlist – check out our COAT tunes
Setting up the area
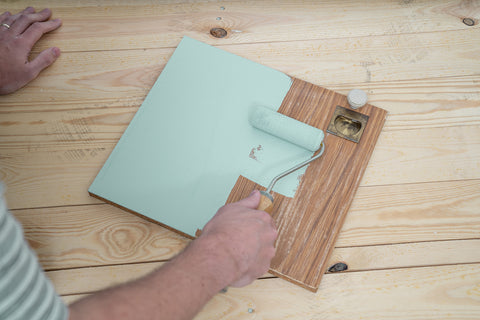
Make some space for yourself and cover over anything you don’t want to get damaged or dirty. This is the point where you may need to get a hand taking doors off hinges or removing door furniture (handles etc) so that you don’t have anything in your way when you’re ready to paint. If you’re painting cupboard doors and big flat surfaces it’s always better to paint them flat rather than trying to rush it in situ. Look out for any extruding nails that you can remove or knock back in to get the smoothest surface.

What to look for when prepping wood, furniture and skirting for painting.
If you’re about to paint on to fresh new wood, the main watch out is for the wood knots. Wood materials all behave differently, but generally new wood will leach natural resin and oils, predominantly from the knots. If you’re about to paint new wood then a good quality water-based wood knot primer is recommended to lock this in from the start.
If your skirting or furniture is already coated, then what you’re now looking to identify is whether this is a water-based coating or an older oil-based coating. Waxes and varnishes back in the day tended to be solvent based, so the oil won’t mix with a new water-based paint like COAT. Likewise on skirting and door frames that were once white but now yellow, this is a tell tale sign you have oil-based paint on it. To prepare these types of coatings for a new lick of paint, either use a specialist water-based primer that prepares the surface for new paint, or you can thoroughly sand/paint strip the old coating. This step is critical though as glossy, oily surfaces won’t cut the mustard when you’re putting a fresh coat on the top. So worth the effort to get this right.

If the pre-painted wood isn’t glossy and you’re pretty sure it’s a normal water-based paint, then happy days. Double check there aren’t any flaking paint areas – if you do find a flaky patch just scrape this back and sand around it to get back to a smooth solid edge.
If you have dings or chips out of the wood, just apply a small amount of water-base wood filler, let it dry, then sand back and you’re all set.
Do I need to sand wood before painting?
So if you’ve just applied a primer coat, then there is no need to sand. If you haven’t done anything, then it’s recommended to give the old coating a light sand to both key the surface, removing any lumps and bumps to create the perfect surface to paint.
How do I clean my furniture and skirting before painting?
Super simple, now that you’ve sanded and prepped, just a light wipe down with a cloth using a sugar soap solution or mild washing up liquid mix with warm water. Let it dry and then give it a final damp cloth wipe to remove any residue.
How to prep a radiator for painting

What do I need to prep a radiator for painting?
- Sugar Soap (or mild washing up liquid), bucket and sponge.
- 180 grit sandpaper (check the pack of the sandpaper)
- Cardboard (if you can’t take the rad off the wall)
- A banging playlist – check out our COAT tunes
Setting up the area
Make some space for yourself and cover over anything you don’t want to get damaged or dirty. Turn off the radiator valve and wait for it fully cool. Obviously only try to remove a radiator from the wall if you’re confident and happy to do so, no point in risking it, but it will make your life easier to get a great finish! If you can’t take the radiator off the wall then slide a piece of card in behind it and the wall to protect the wall from paint.
How to prep a radiator for painting
Give the radiator a light sand to key the surface and prep it for the top coat. This will help the paint stick and also remove any lumps, bumps and grime. Take particular care at the bottom edge and look for rust. If there are any rust patches then you can give these a scour and coat the area with a specialist water-based anti-rust metal primer for the ultimate finish. If you have any questions, just drop us a line.
Now give the radiator a light wipe down with a cloth using a sugar soap solution or mild washing up liquid mix with warm water. This will get rid of any dirt and dust so you’re set for the paint. Boom – rad paint prep complete.
FAQ's
Can I skip the priming step when prepping walls for painting?
Yes, you can sometimes skip the priming step when prepping walls for painting, especially if the surface is in good condition and the existing paint is not glossy or oily. If you're just painting over "normal" paint, 99% of the time you're fine. However, if the surface is shiny or if there are any concerns about adhesion, it's often good to prime the walls before painting.
How can I tell if the existing paint on woodwork is water-based or oil-based?
Determining whether the existing paint on woodwork is water-based or oil-based is important for proper preparation. One way to identify this is by observing the paint's behaviour - if it's flaking or peeling, it might be oil-based. If it's yellow-y and shiny, or particularly old (over 10 years) then it's more likely, too. If unsure, asking a professional or conducting a small test patch can make things clearer.
Do I really need to remove radiators from the wall before painting them?
Removing radiators from the wall before painting them is not always needed, but it can make the painting process easier and provide a more thorough finish. If removing the radiator isn't feasible, sliding a piece of cardboard behind it can protect the wall from paint drips and splatters. If you can live with the hidden area behind being a different colour - then OK. If not, then removing them or investing in a special thin roller with a long handle (designed to paint behind radiators) can be a good option.
Publish Date
Author