There’s nothing more frustrating than waking up to a freshly painted wall that’s started peeling. Fortunately it’s a fairly rare occurrence, but when it does happen, 99% of the time it boils down to the substrate (the base surface). So if you’re asking yourself why is my paint peeling, then read on as we debug the potential issues and how to tackle it.
What Is Paint Failure?
Paint failure, or paint adhesion loss, is the reduction of bond strength between a coat of paint and the surface to which it’s applied. In laymans terms this is peeling paint. It’s natural to immediately think you have a problem with your particular tin of paint (or batch) if you start to see an issue on the surface, but there are a few questions you can ask yourself, as well as understanding the different types of failure in order to begin diagnosing the problem. The objective fundamentally being to get your wall back to being a stable surface so you can finish your decorating.
It's tempting to just superficially pick away the flaking paint on walls and get impatient with just painting over flaking paint. But we don't recommend that. Just a few steps, and a bit of understanding will set you up for a flake-free future and a perfect paint finish.
Why Does Paint Peel?
When starting a decorating project, you want the best possible base to achieve the best results and to keep your paint job looking great for the foreseeable. When you’re learning how to fix flaking paint, it helps to understand the underlying issue that could be causing the damage. So why does paint peel? To put it simply, it peels and chips when the surface wasn’t prepared properly. Paint adheres best to a clean wall that’s free of moisture so it’s a good idea to nail this step to save yourself problems in the future.
Here are some other common reasons why your paint might be chipping or peeling:
- Dirty or oily walls - the paint has clung to the grime, not the wall and will deteriorate over time.
- Not primed - The paint you used might not have had a primer built in and when applied directly to a drywall, the paint was absorbed in some areas.
- Improper priming - The primer you used wasn’t appropriate for the conditions and may have been applied unevenly or with a thin coat.
- Poor quality paint - The paint has aged and has stopped adhering.
- Rushed painting - Ensuring your paint has dried fully between coats is crucial to achieving a flawless finish. Rushing this step can lead to chipping or peeling.
- Using latex paint over an oil based paint. The oil paint repels the water in the latex paint, thus the new paint can’t adhere properly and starts to flake away.
- Moisture - The wall has excess moisture from condensation or a leak.
Top tip: Look out for signs of water damage. If your paint sags, looks wrinkled or bubbles then it is likely that water is getting in. Before you start your project, fix any leaks and damaged surfaces before you start priming or painting.
Step-By-Step Guide: How To Fix Peeling Paint
Starting a painting project and running into peeling paint isn’t ideal, but by following these simple steps you’ll be well on the way to achieving that flawless finish. Below you’ll find everything you need to know about repairing your wall for the best adhesion and the tools you’ll need to achieve this.
Prepare The Area and Remove The Paint
Coming across old paint that’s chipped, flaked or is peeling is a common problem when renovating, but know that painting over it is a temporary solution and you’ll run into other problems later down the line. For a professional finish, ensure all the old paint is removed before getting started. It’ll give you a longer-lasting result and a smoother look. Win win.
If your surface just has a few minor paint chips from general wear and tear, repainting the small patch is a perfectly simple solution. It’s only when you have widespread paint peeling that you should repaint the whole wall. The end result will be more consistent and look fresher for longer. This will also prevent touchups for newly chipped paint.
Tip: It’s always worth keeping a small amount of paint in a airtight container like a jam jar for the inevitable wear and tear off your paint. This way you can just touch up as you go and save time and money on repainting the whole wall.
To start your chip repair, begin by removing the old paint by scraping. Don’t forget to wear safety glasses and a dust mask to protect your eyes and lungs.
Safety tip: If your home was built before 1978, it may be painted using lead based paint. If removed in the wrong way, it can be hazardous to your health so ensure you contact a professional for any lead-based paint removal.
Here’s everything you’ll need to fix those paint chips:
- A paint scraper, wire brush, sandpaper and a suitable primer.
- Paint and a paint applicator to use later.
- Protect anything you don’t want to get paint on with a dust-sheet and remove any furniture or decor that might get in the way.
- We recommend using painters tape around any trims or baseboards. This helps protect them from any paint drips and splatters.
Start by removing the biggest chips first and then work your way down to the tiny imperfections like paint flakes and scuffs. Be careful at this stage to not cause any further damage to the wall. Follow these steps to help you:
- Hold your paint scraper or putty knife at an angle.
- Slide your scraper along the wall. The peeling paint should lift of easily using this method.
- Buff over the surface using a wire brush to get rid of any imperfections or loose paint.
- Lightly sand around the area to ensure the surface is smooth in preparation for the paint.
- When no more paint flakes come off, you’re ready to patch up the area.
Patch The Wall
Great, so all your loose and chipped paint is now removed. Now we need to fill any chipped surfaces to ensure that when you apply the next coat of paint, you’ll have a nice smooth surface and end up with a flawless result. Here are the tools you’ll need to get the job done:
- Use a standard polyfiller product to fill the gaps - there are various sizes and types depending on the size of the gap
- If the paint has chipped off a wooden surface, use a wood filler like Calk instead.
- For peeling paint on drywall seams, try using drywall taping tools to fill those long cracks.
Once you’ve got the right supplies, follow these tips and tricks to fill in the areas:
- Spread a layer of sparkling on the damaged areas. We recommend using a putty knife or flat bladed drywall knife for the smoothest results.
- Let each layer dry per the manufacturers instructions before applying another one.
- Continue to build up the area using thin layers until it’s even or flush with the painted wall.
- Let the wall dry for at least 24 hours or as directed.
Top Tip: If you want to speed up the process use a hairdryer on a low heat setting and keep it continuously moving.
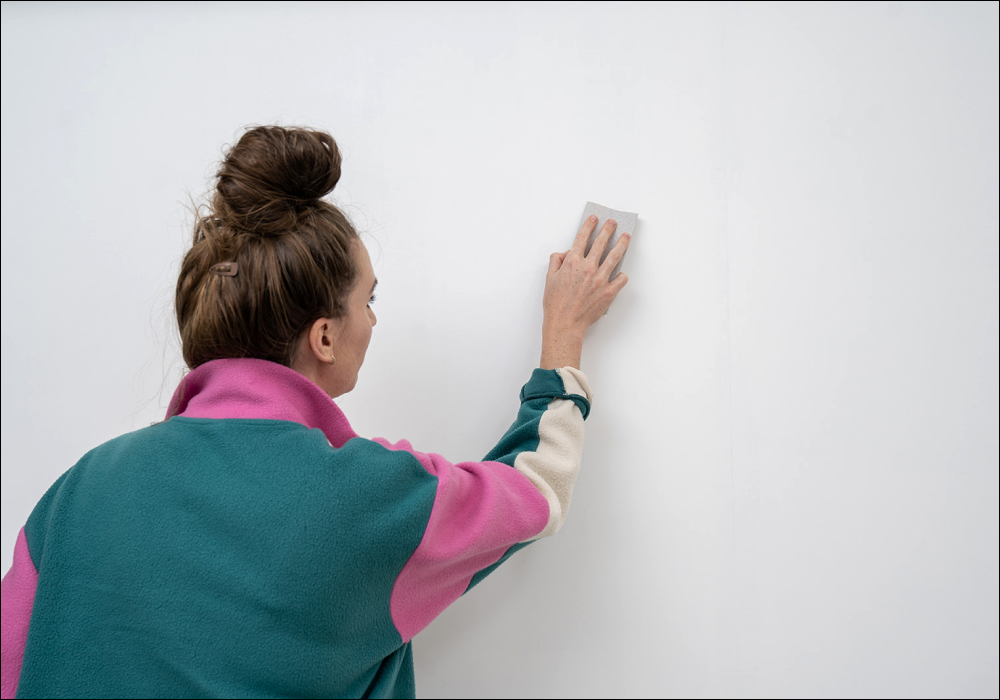
Sand The Patched Areas
Once all the patched spaces on the wall are completely dry, it’s time to smooth the wall. Although this may feel like a long process, you will get the best results from being patient. Sanding too early will give your filler an uneven surface. If it sticks to your sandpaper, it’s not dry yet. Smooth the patch with a fine grit sandpaper. We recommend a range from 180-220 grit. Using a sanding block, orbital sander or a stiff sanding sponge works just as well.
Top tip: If you’re a visual person, grabbing a piece of paper and a crayon and gently colour the page over the area will highlight the areas that still need sanding.
Ensure a perfectly blended wall by following these tips:
- Hold the sander flat against the wall to avoid taking further chunks out of the repaired area.
- Stop every so often and run your fingers over it to gauge smoothness.
- Level out all the patched areas.
If the walls have a texture surface this part might be a bit more tricky. When the filler is still slightly wet, add the desired texture using a variety of household tools. Using a small artists paintbrush works well or using an orange peel to make those small indents.
Clean Off The Sanded Dust and Apply Primer
Priming is an important stage to renovating and fixing a peeling paint job. When the holes from the paint chips are filled and sanded down, wipe down the surface with a damp cloth and prepare for priming. If the area you’re repairing is large, vacuum up any of the dust to avoid getting it in your paint work and ensure that the surface is completely free or any sanding grit that may have come off during the process.
Next, cover the repaired areas with a quality primer. This is crucial in ensuring the paint adheres to the wall effectively. It also seals out any unwanted moisture and prevents peeling paint from happening again. Ensure the newly cleaned area is completely dry before you start priming otherwise you’re back at square one.
Apply the primer. It should be the most concentrated over the damaged patch. Feather it out evenly over the rest of the wall. Follow the manufacturers' instructions for drying time. Consider the humidity of the room you’re priming and allow extra drying time if necessary.
Paint The Patch To Match The Wall
Finally, you’re at the final stage. The last step in how to fix peeling paint is to repaint the area. Keep these tips in mind when painting over the chip repair.
- Wait until the primer is completely dry before you start repainting the area.
- If you’re only patching up the area, you’ll only need to cover a small area with the new paint.
- Ideally, use the same paint colour that was used initially on the wall unless you want to completely change the look of the room. To ensure consistency, use the same method of painting. I.e. Roller or brush.
What does paint peeling look like?
Does this look like your wall?

First thing to check is whether the paint is peeling back to the previous coat and colour, or back to plaster. If the paint is peeling back to plaster, then you either have an unstable ‘mist coat’, possible chalky contract matt, or exposure to PVA from the plastering process (usually in corners) which is creating a weak layer, a bit like the jam in a sandwich not locking it together. As the top coat has dried it’s contracted and the weak layer has failed pulling the paint away from the wall. We have a whole blog dedicated to issues with plaster, so check it out.
If the paint is just peeling back to the layer below then there is an adhesion issue which needs to be tackled. Was the surface prepared properly? Was it grubby and dirty? Were there wallpaper paste remnants? Were there any other cleaning contaminants? Have you had a moisture issue? Or are you potentially painting over a glossy or older oil-based paint which could react with water? All could result in peeling or flaking paint. Cleaning and prepping a surface properly first is key.
Paint is mud cracking or bubbling
Mud cracking can occur when paint is applied too thickly, over a porous surface, or there is a build up in corners with excess paint. It’s really important to follow the guidance on the product to ensure you allow the correct amount of drying time in the right conditions. Rushing your painting can cause problems! Also a lot of folk try to slam on as much as possible in coat one. You're better off painting two even coats as you'll get a better base, adhesion level and final finish.
Bubbling paint is a blister or pocket which has reacted and expanded. It can occur when painting is taking place in direct sunlight or the surface is too hot, if you’re applying on to a wet surface or old wallpaper paste, or if there is excessive moisture and humidity.
What about the paint itself?
Always drop your paint supplier a line if you have an issue, stating the product information, batch number and supporting pictures. This will allow them to check that other customers haven’t had the same issue and help you diagnose the problem. If you’re not confident to rectify a peeling issue then it’s always recommended that you seek the advice of a professional, reputable decorator, although a lot of the resolutions are fairly straightforward - they just take a bit of time. You can also test the paint you’ve used in an inconspicuous area on another clean wall just for peace of mind.
COAT Paint Adhesion
COAT’s water-based paint is tested using the ISO 2049 cross hatch adhesion method (look it up, it’s like noughts and crosses). All our products perform to the highest standard when the surface is prepared according to our instructions. If you ever have any issues, just drop us a line.
FAQs
How can you tell if peeling paint is from an adhesion issue, or if it's peeling right back to the plaster layer?
To figure out if it's a bonding problem or peeling back to the plaster, take a good look. If it's peeling back to the previous coat or colour, it's probably not bonded right. But if it's peeling right down to the plaster, you've got issues like a dodgy mist coat or maybe some PVA causing trouble from the plastering process. If it's the former, it's all about the prep work; if it's the latter, it's a bonding problem.
What are some additional factors, aside from surface preparation, that could contribute to peeling or flaking paint?
Now, there can be other culprits behind peeling paint. Think dirty or oily walls, skipping the primer step, using the wrong primer, or slapping on poor-quality paint. Rushing the painting process, like not letting each coat dry properly, can also lead to trouble. And watch out for moisture issues, like condensation or leaks, they're troublemakers too!
Is there a specific method recommended for testing the adhesion of paint in an inconspicuous area on another clean wall?
If you're not sure what's causing the peeling, don't worry. Shoot a message to your paint company with the details: product info, batch number, and some pictures. They'll help you out. And for peace of mind, do a test patch in a hidden spot with the same paint. If all else fails, don't hesitate to call in the big guns—professionals or seasoned decorators can tackle these problems with ease.
